
Make these adorable Mini Strawberry Tarts in under 30 minutes! Crispy tart shell + creamy strawberry milk filling + fresh strawberry topping. So easy and delicious!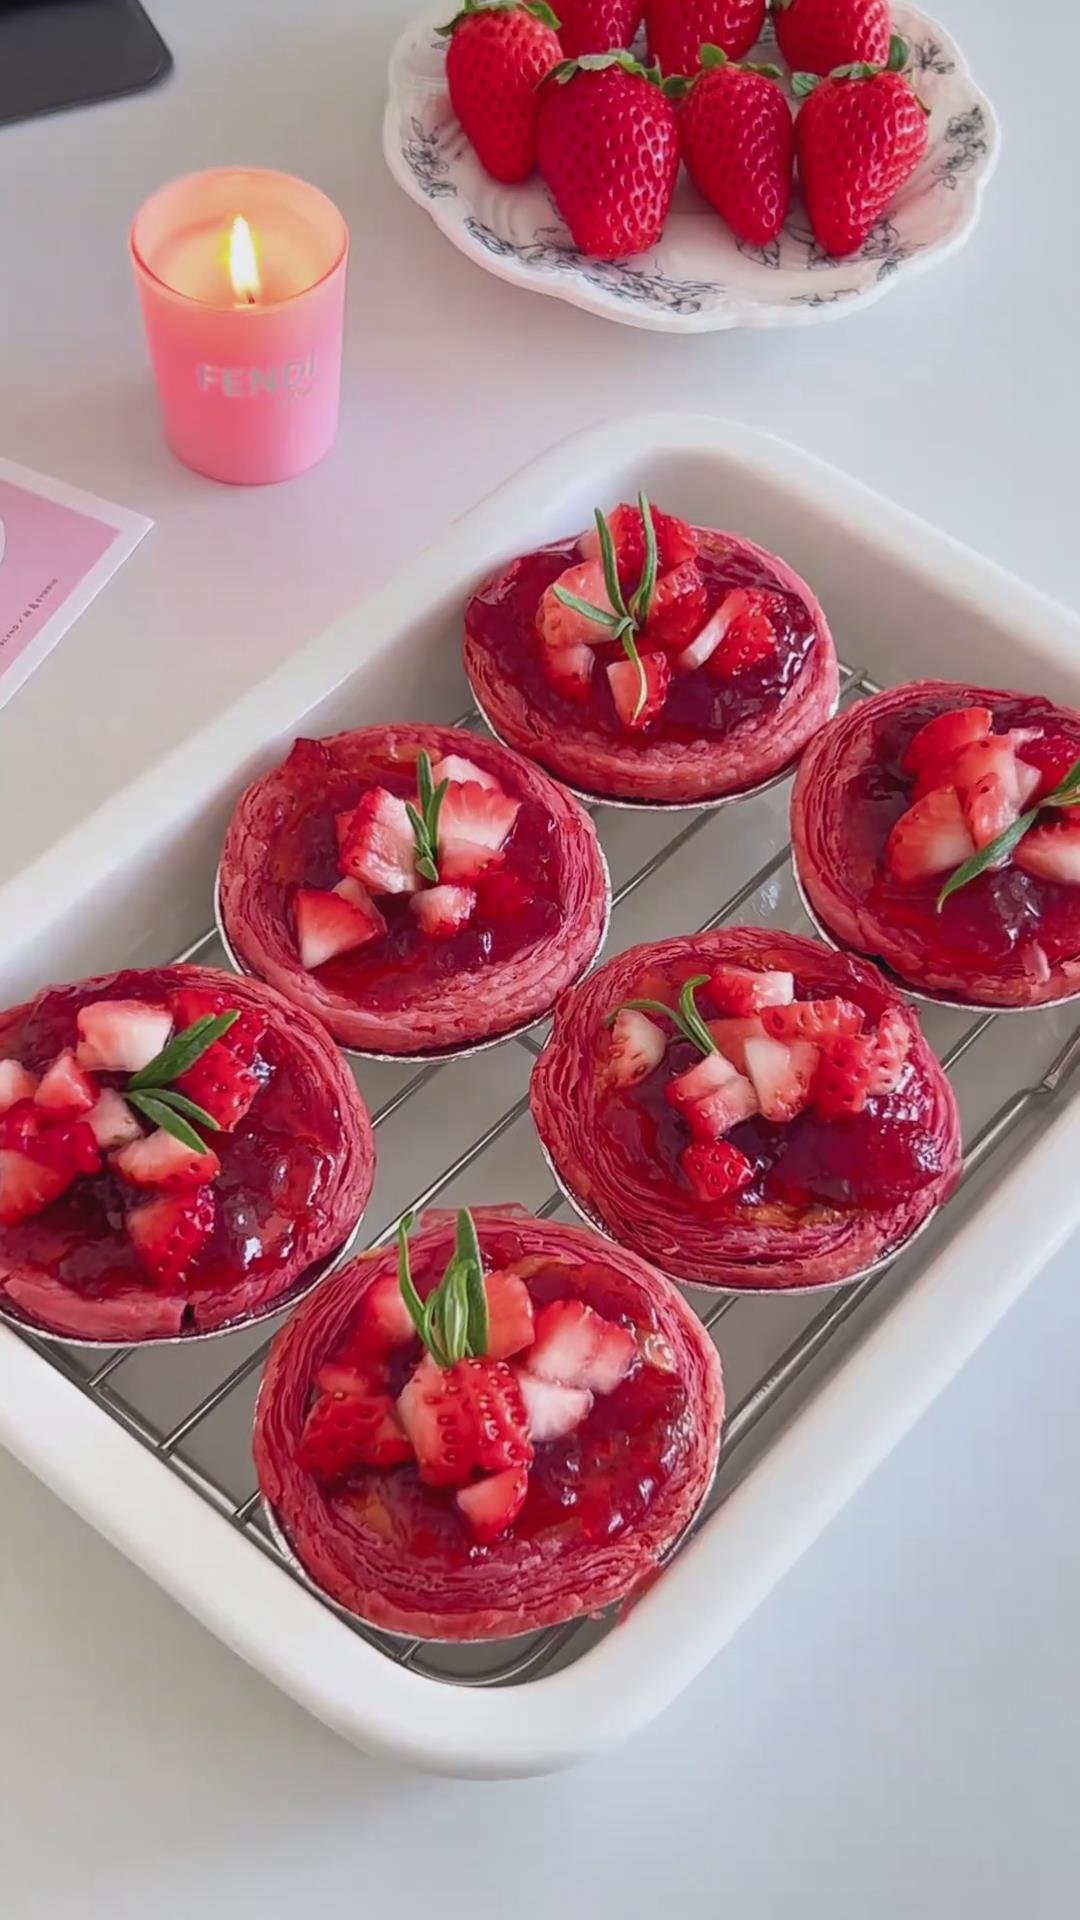
I’ve lost count of how many times I’ve mentioned this—but it’s hands down my best kitchen habit: I always keep tart shells stashed in the freezer.
They save me on busy mornings, unexpected guests, and kid-approved snacks. If something can be prepared and baked in under 30 minutes, it instantly becomes one of my go-to recipes.
Today’s Mini Strawberry Tarts are exactly that. They’re completely beginner-friendly and super fast to make.
The filling is a mix of fresh strawberry milk and heavy cream, giving it that perfect balance of fruitiness and creaminess.
Since they’re “mini strawberry tarts,” I’m using store-bought strawberry tart shells. But any tart shells will work — even homemade ones.
If you’d like to make your own, you can follow the tart crust recipe from my German Egg Custard Tarts.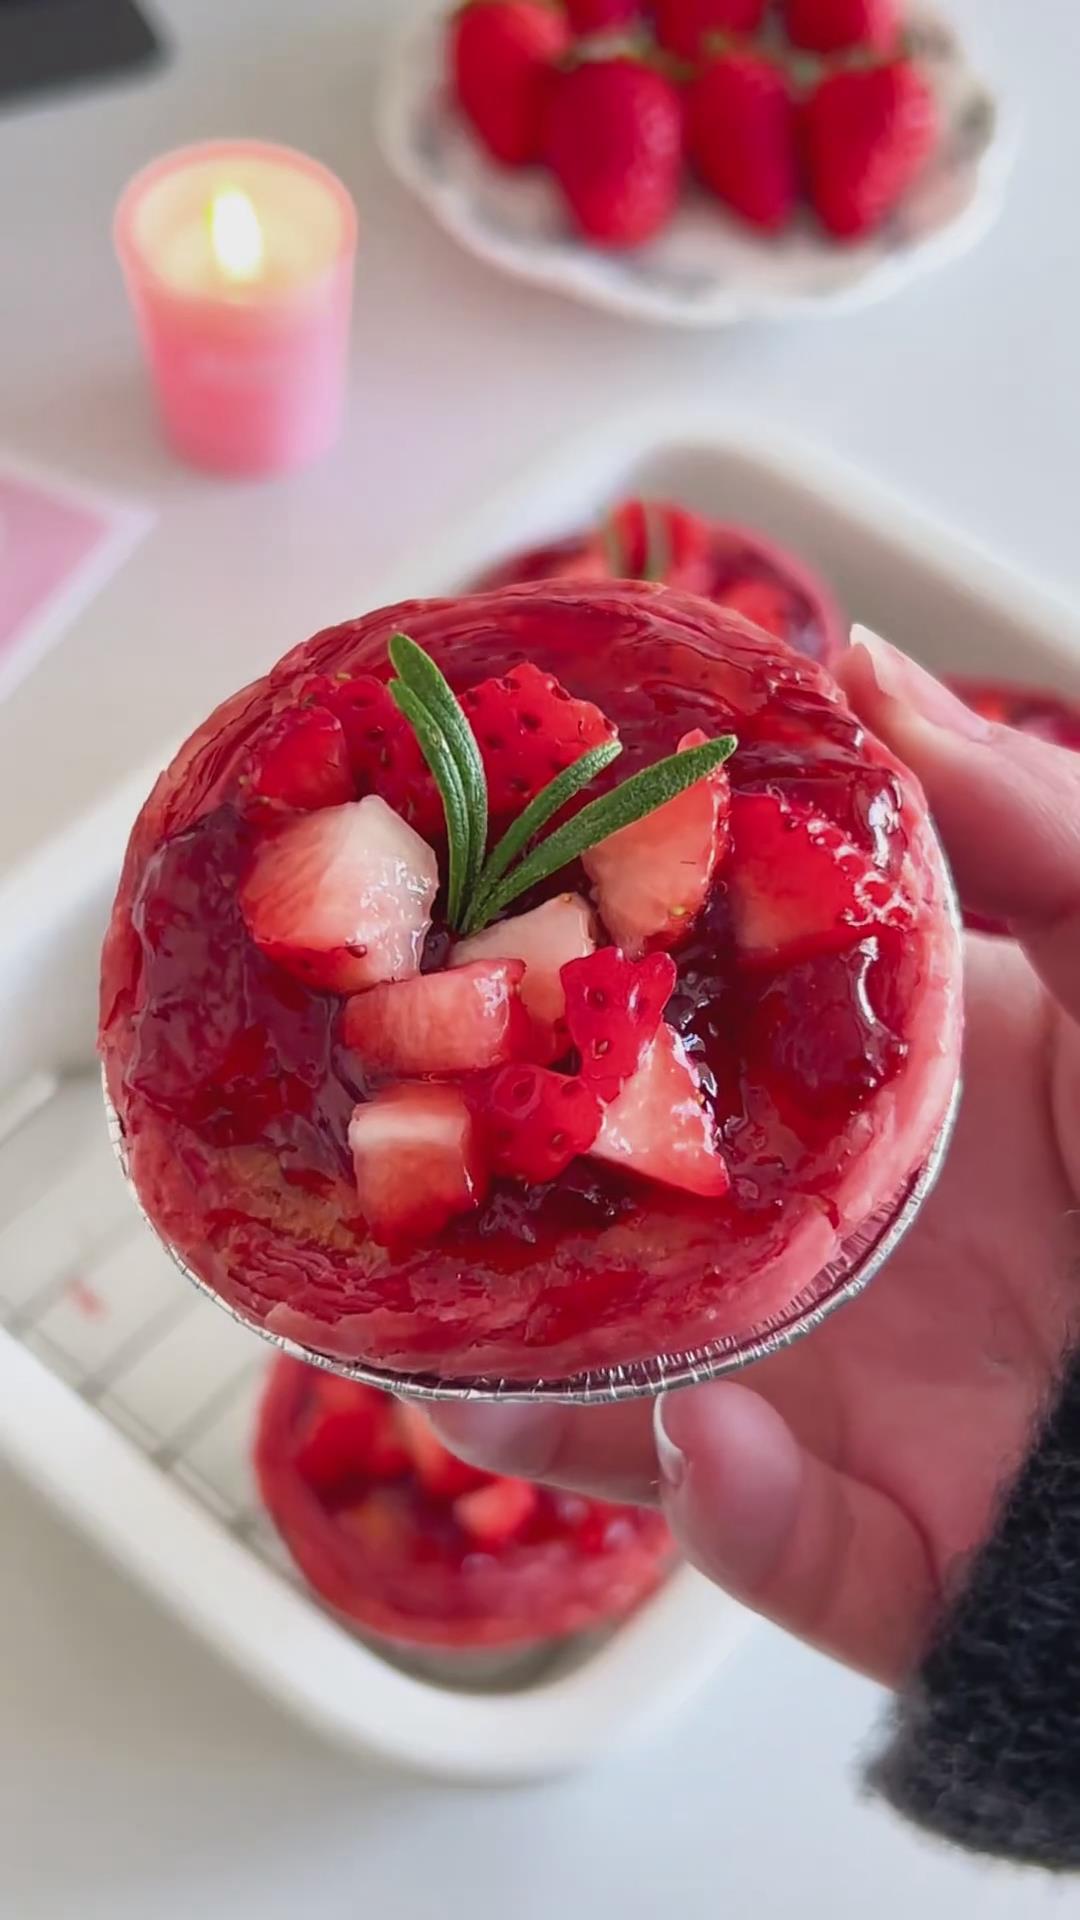
A Quick Topping Tip
I personally like adding the topping after baking — the tarts are already delicious straight from the oven.
After they cool, I usually spoon on extra strawberry jam and top with fresh diced strawberries.
But here’s another great option:
If you want a deeper strawberry flavor, you can even try placing a layer of strawberry jam and fresh strawberry pieces into the tart shell before pouring in the custard.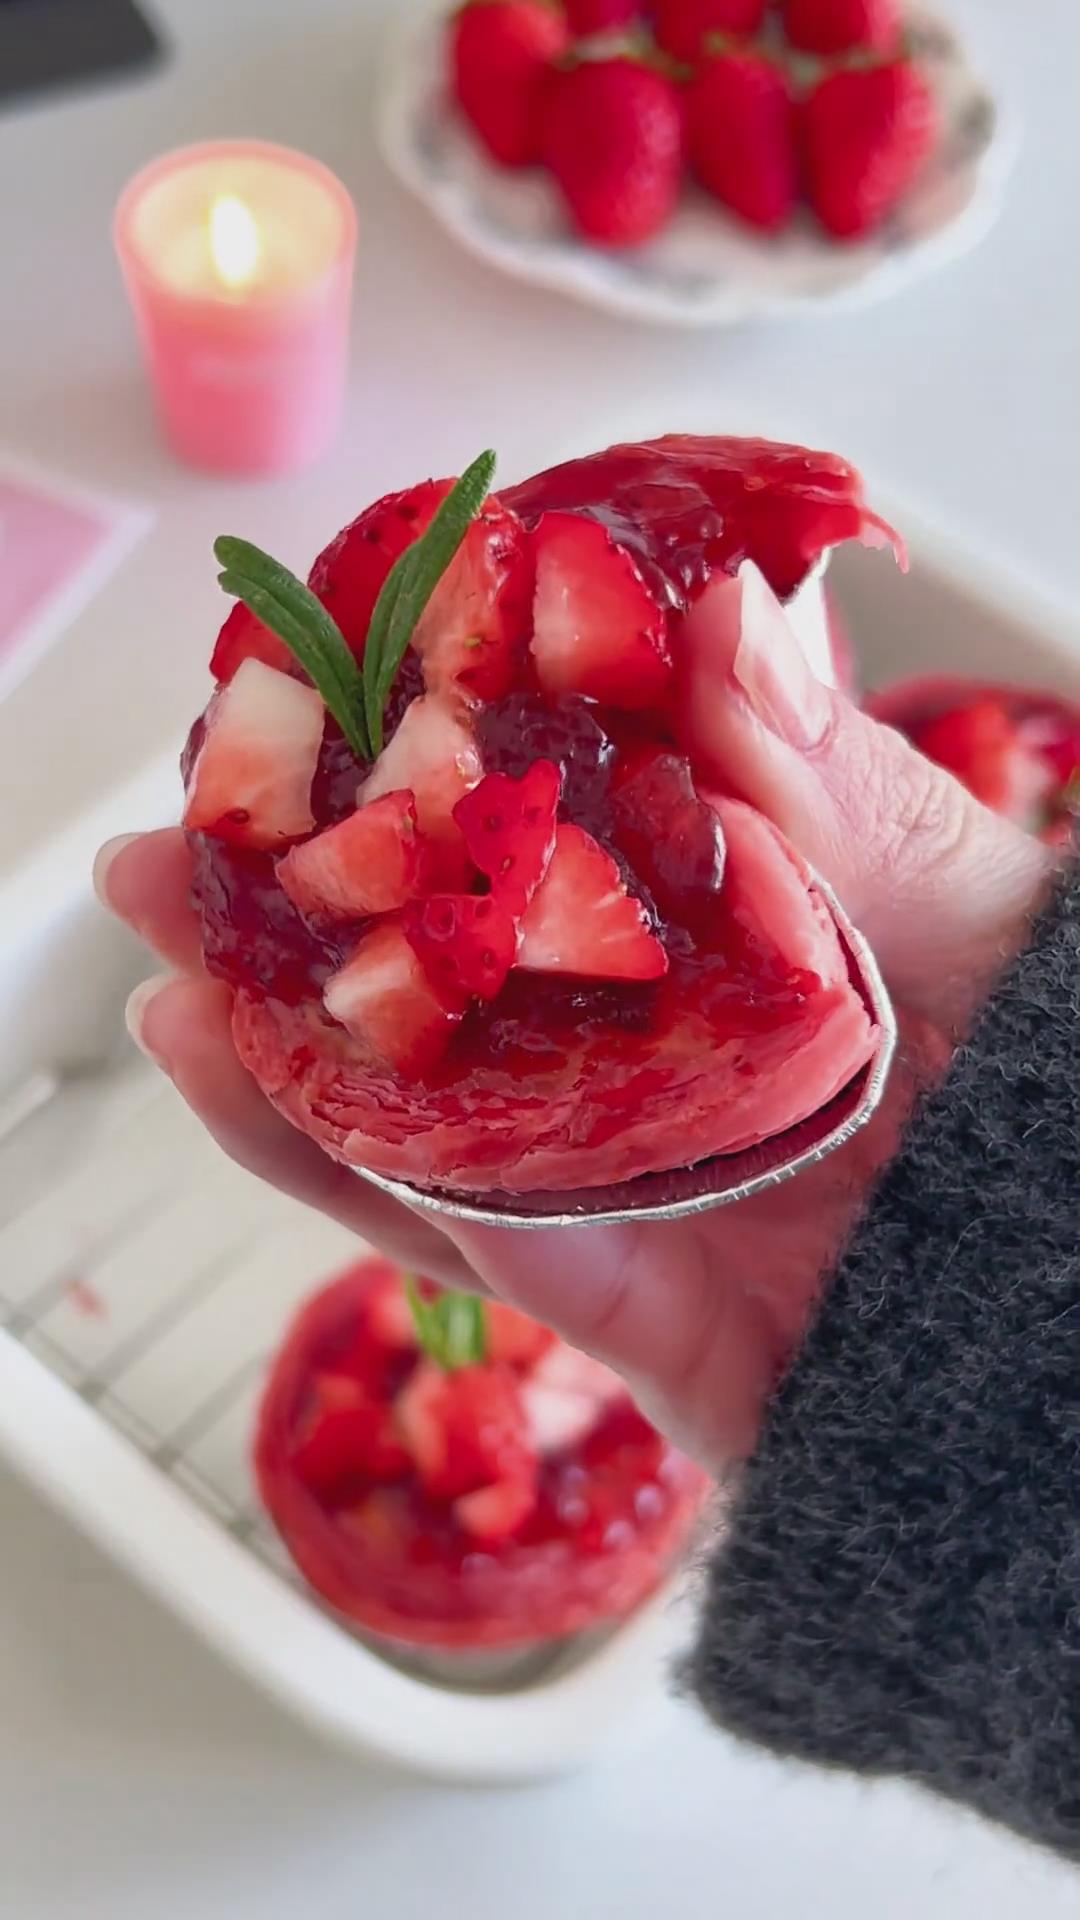
Why You‘ll Love This Recipe
- Mini tarts = perfect individual servings — elegant for tea time, gatherings, or gifting.
- Strawberry lava center adds juicy, fruity sweetness and surprise in every bite.
- Creamy, silky custard without fuss thanks to the simple egg + cream base.
- Ready-made tart shells save time yet still deliver crisp, flaky texture.
- Quick to bake and easy to assemble — even beginners can succeed.
Ingredients and Substitutions
- Ready-made strawberry tart shells — Convenient and perfectly crisp. If strawberry tart shells aren’t available, simply use regular egg tart shells. Choose the crispy variety for the best texture.
- Egg + Egg Yolk — A whole egg helps the custard set, while the additional yolk makes the filling extra silky and creamy. The leftover egg white can be saved for other recipes like meringue or adding to scrambled eggs.
- Granulated sugar — A small amount balances acidity from the strawberries. Feel free to adjust slightly based on how sweet or tart your strawberries are.
- Heavy cream — Using cream with 30–36% fat ensures the custard is smooth and rich. Avoid non-dairy whipped toppings, as they alter the texture and flavor.
- Strawberry milk — Adds an extra layer of strawberry flavor. If you don’t have it, use regular milk with a tiny bit of strawberry jam, or simply stick with milk.
- Strawberry Jam — This becomes the lava center after baking. A smooth variety (without seeds or chunks) gives the prettiest, meltiest finish.
- Fresh strawberries — Cut into small pieces for freshness, texture, and a pop of color on top.
How to Make Simple Strawberry Lava Tarts
1. Preparation & Preheating
Preheat your oven to 200°C (400°F). If using an air fryer, preheat it to 180°C (350°F). Wash your fresh strawberries, pat them dry, and cut them into small, bite-sized pieces.
2. Making the Custard Filling
Add the egg, egg yolk, and 6 g sugar to a bowl. Pour in 100 ml heavy cream and 30 ml strawberry milk. Whisk gently until the mixture is fully combined.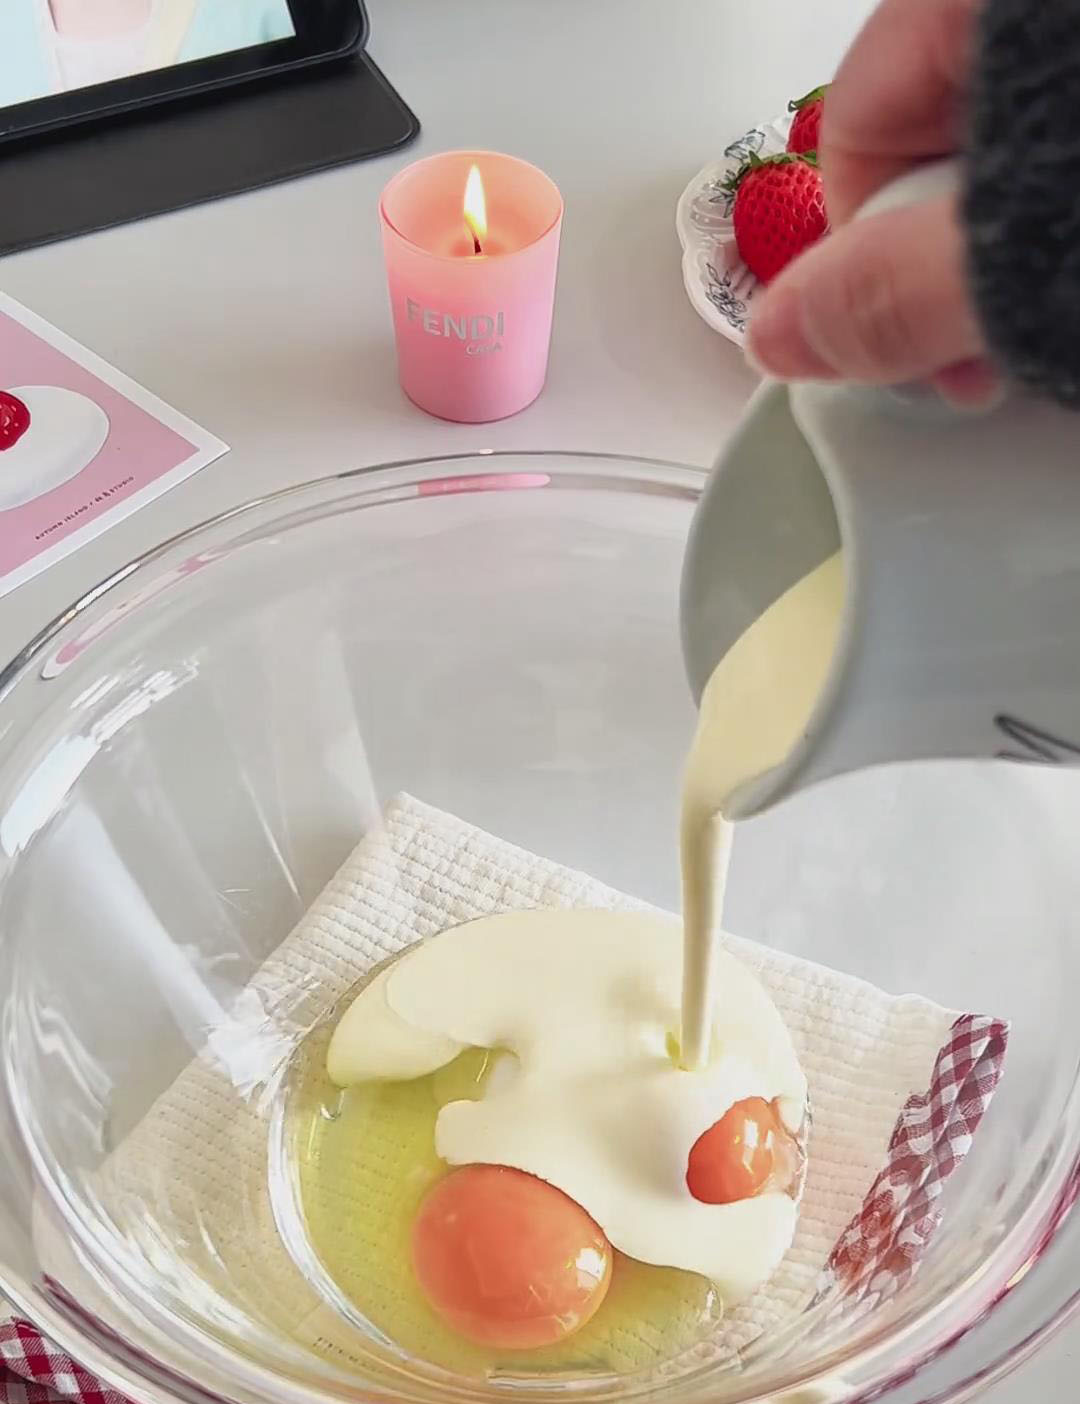
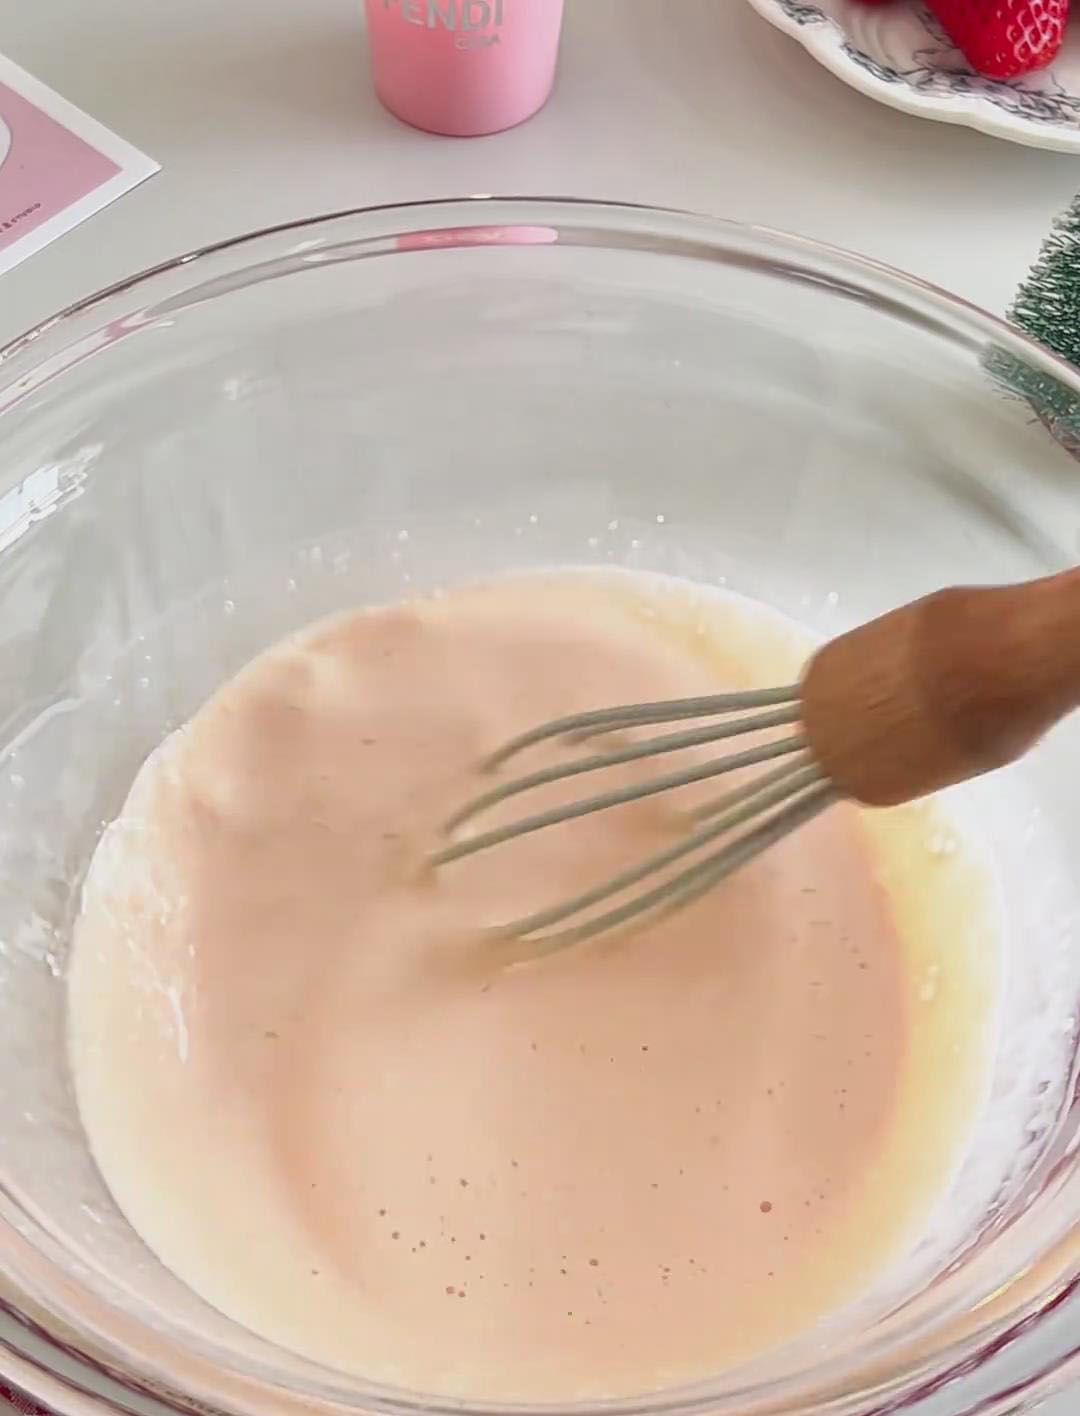
Be careful not to whisk too vigorously to prevent creating too many air bubbles.
For the absolute silkiest texture, strain the entire custard mixture through a fine-mesh sieve into a jug or another bowl. 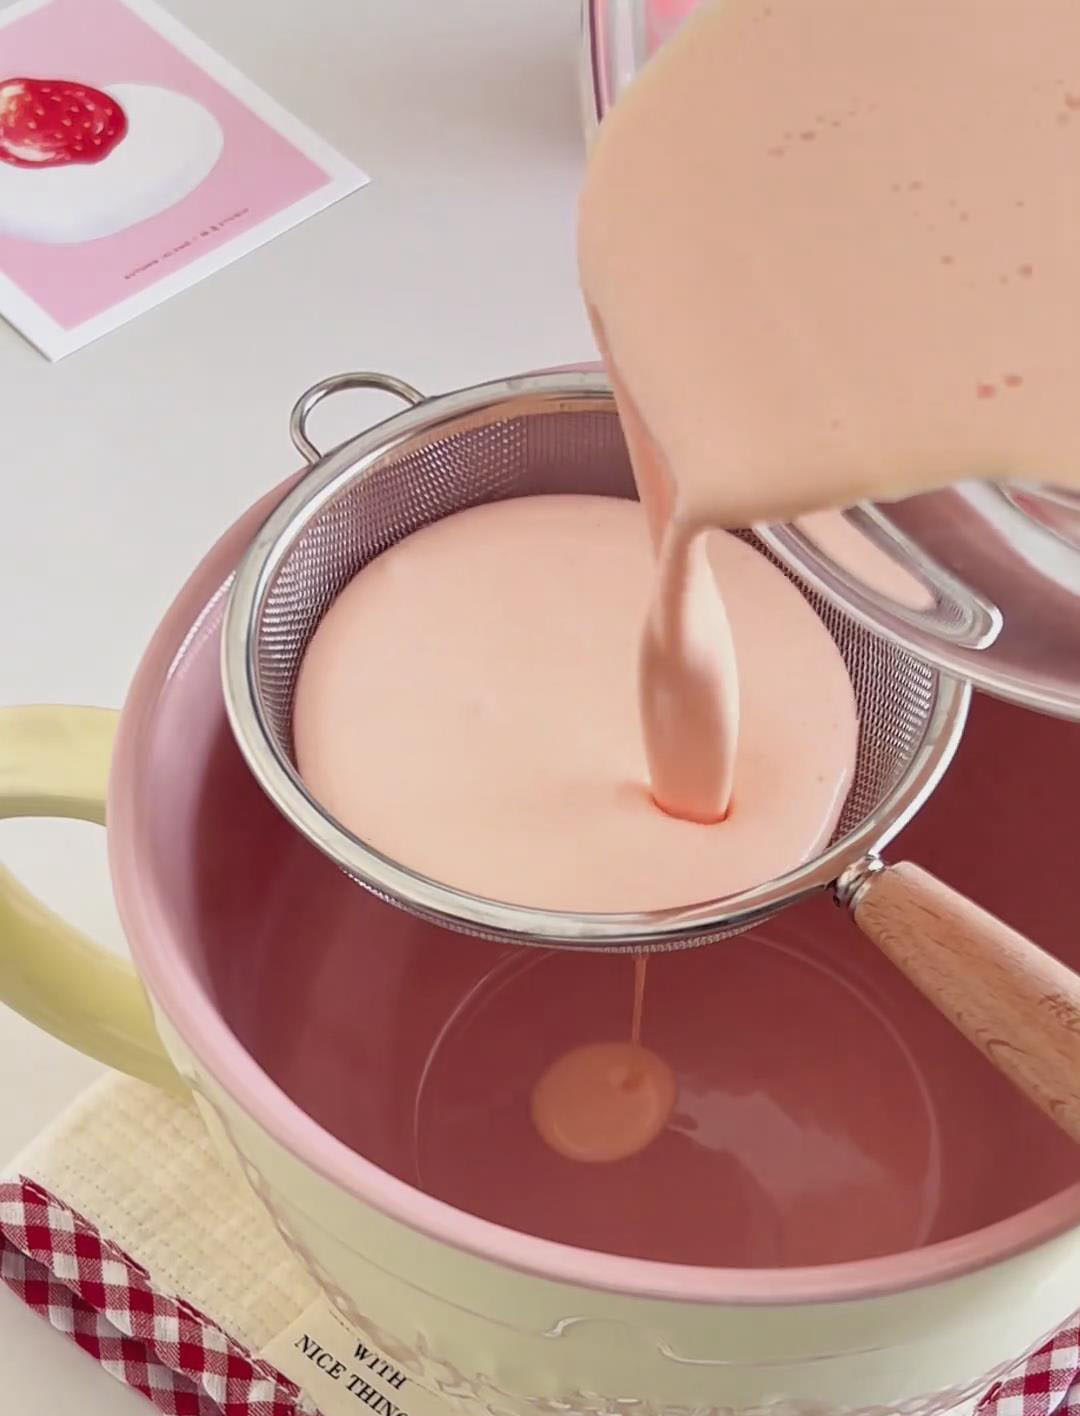
This crucial step removes any undissolved egg strands and bubbles, guaranteeing a perfectly smooth filling after baking.
3. Assembling & Baking the Tarts
Arrange your ready-made tart shells on a small baking tray. Slowly pour the strained custard into the shells, filling each one only about 80% full. This leaves necessary room for the custard to puff up slightly in the oven without overflowing.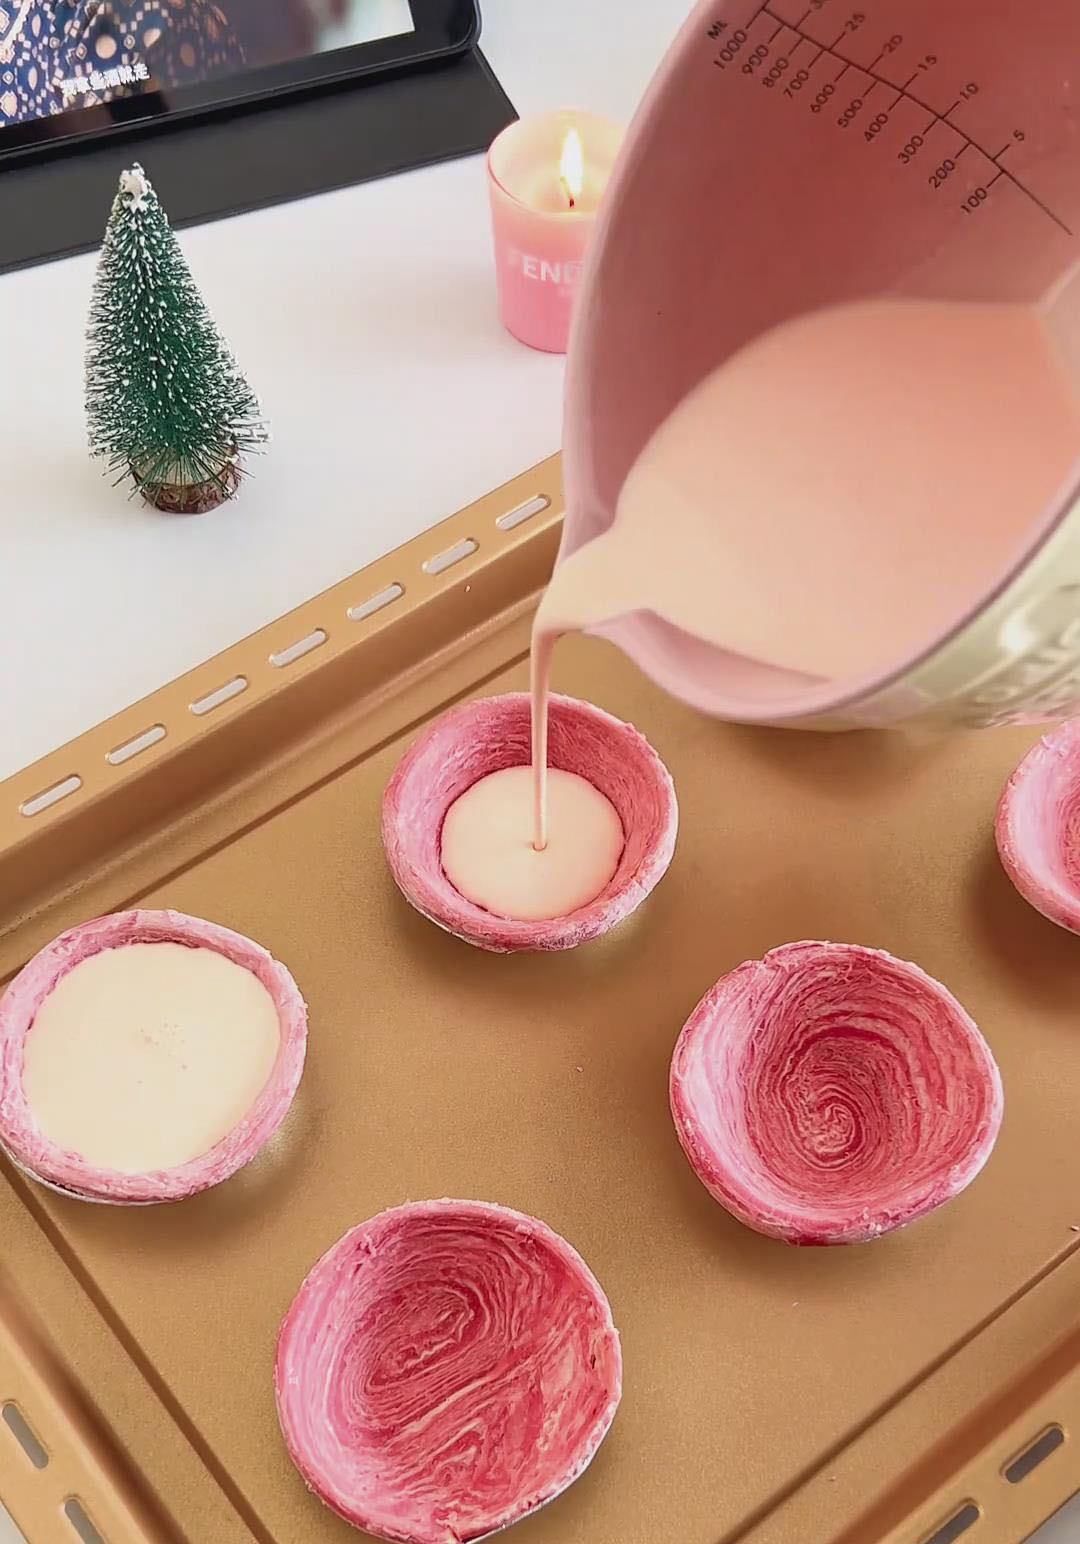
Place the baking tray in the preheated oven and bake for 12-15 minutes, or until the custard is set around the edges but may still have a slight jiggle in the very center.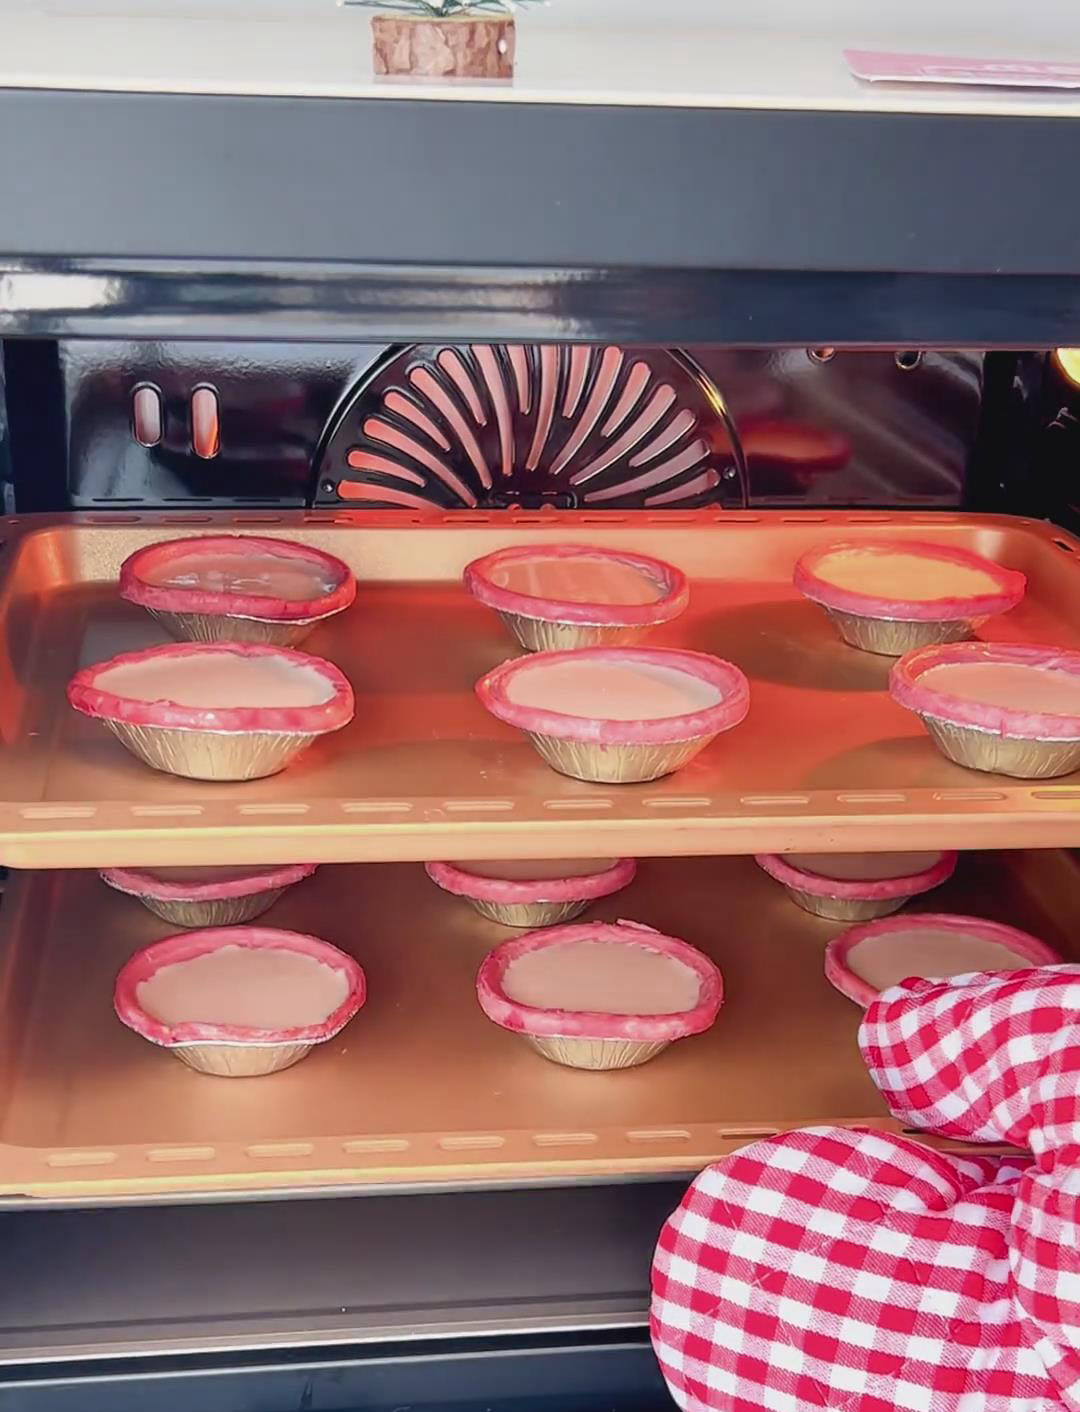
The tops should be lightly golden. If using an air fryer, bake at 180°C for about 10 minutes.
4. Adding the topping
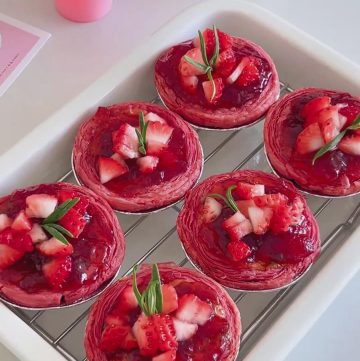
Remove the tarts from the oven and let them cool on a wire rack for a few minutes. They will deflate slightly as they cool, which is normal.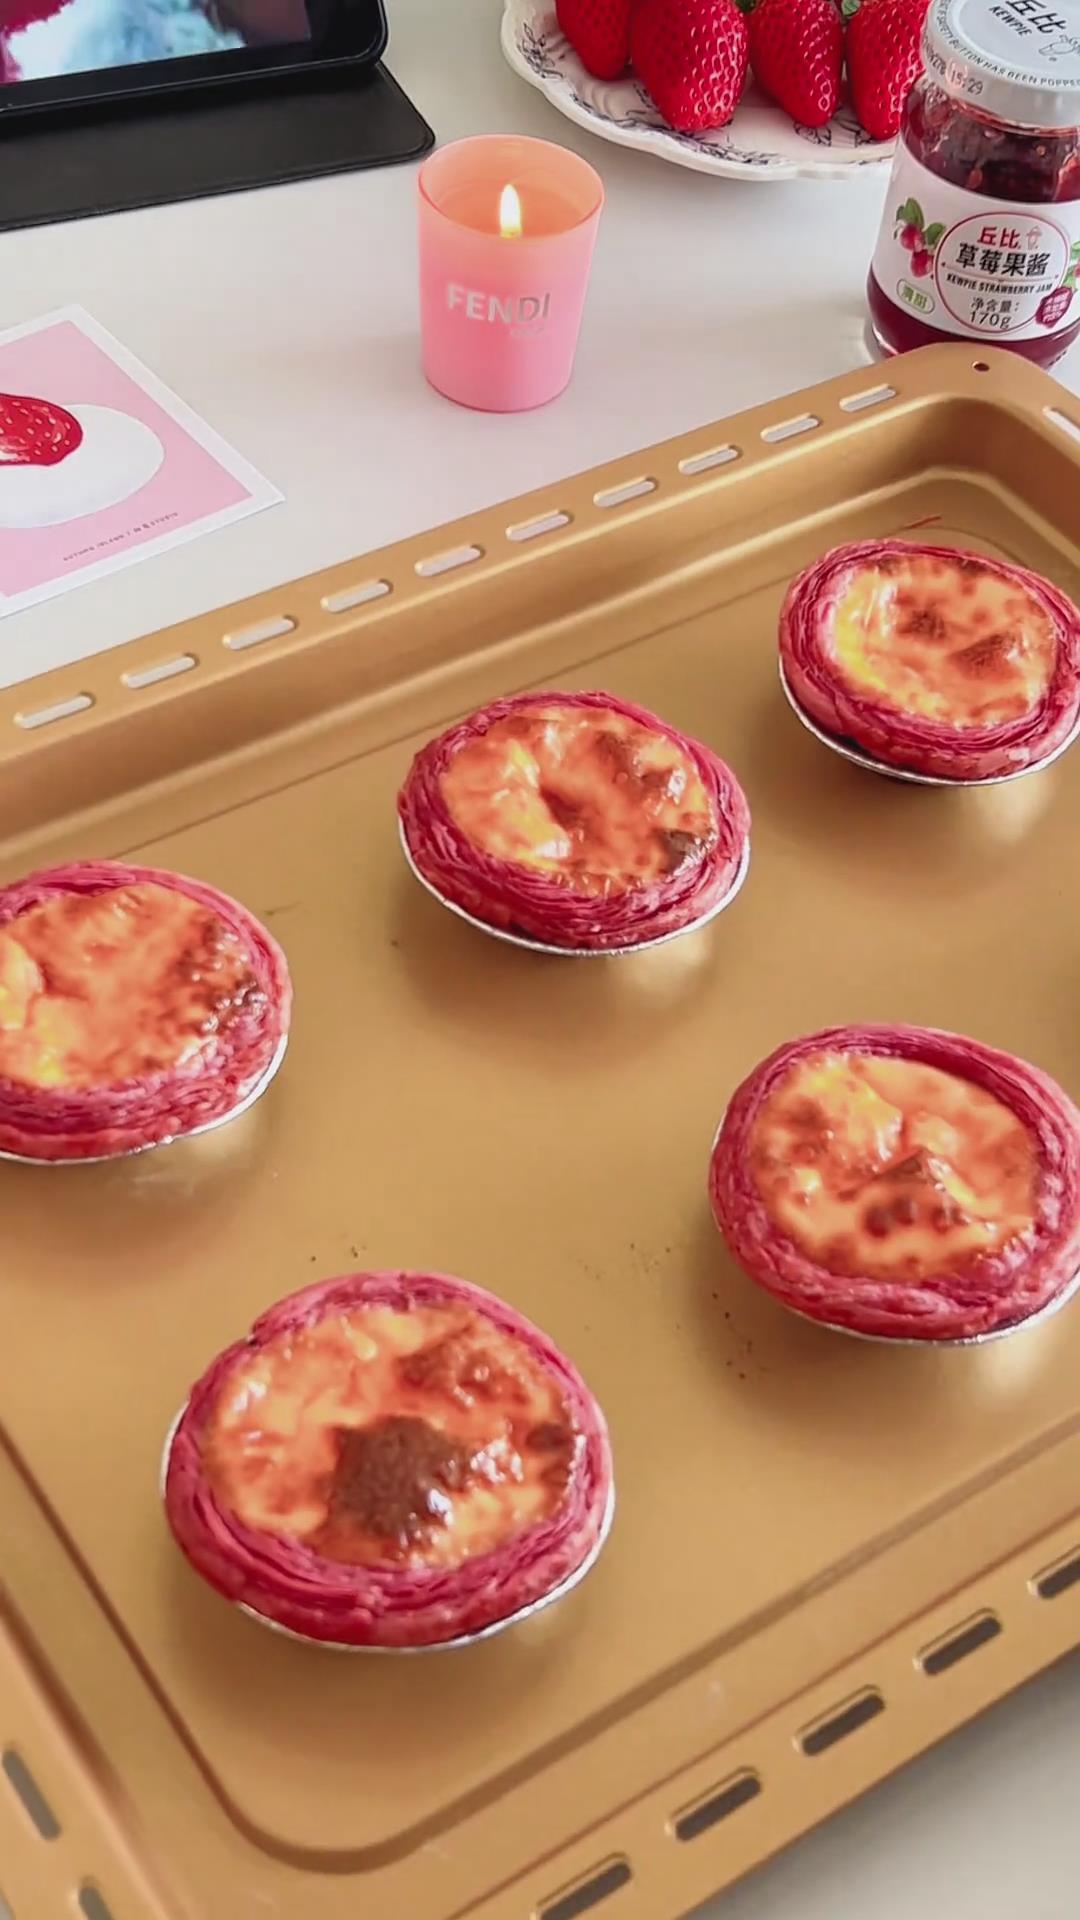
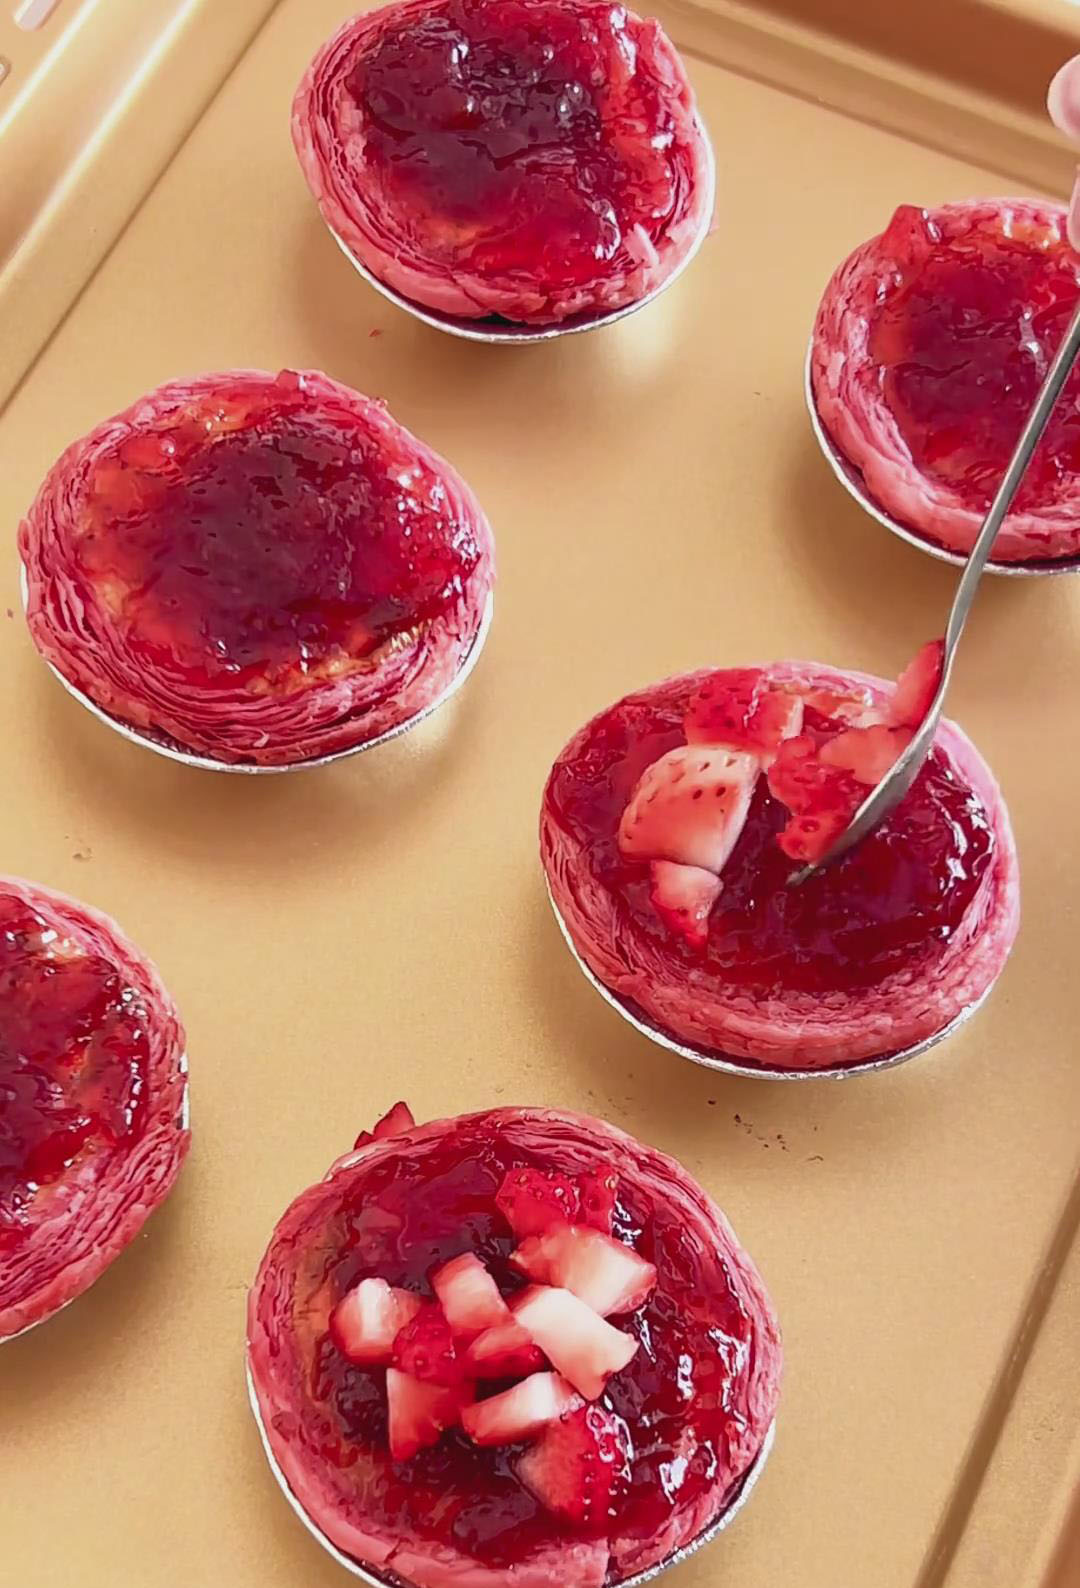
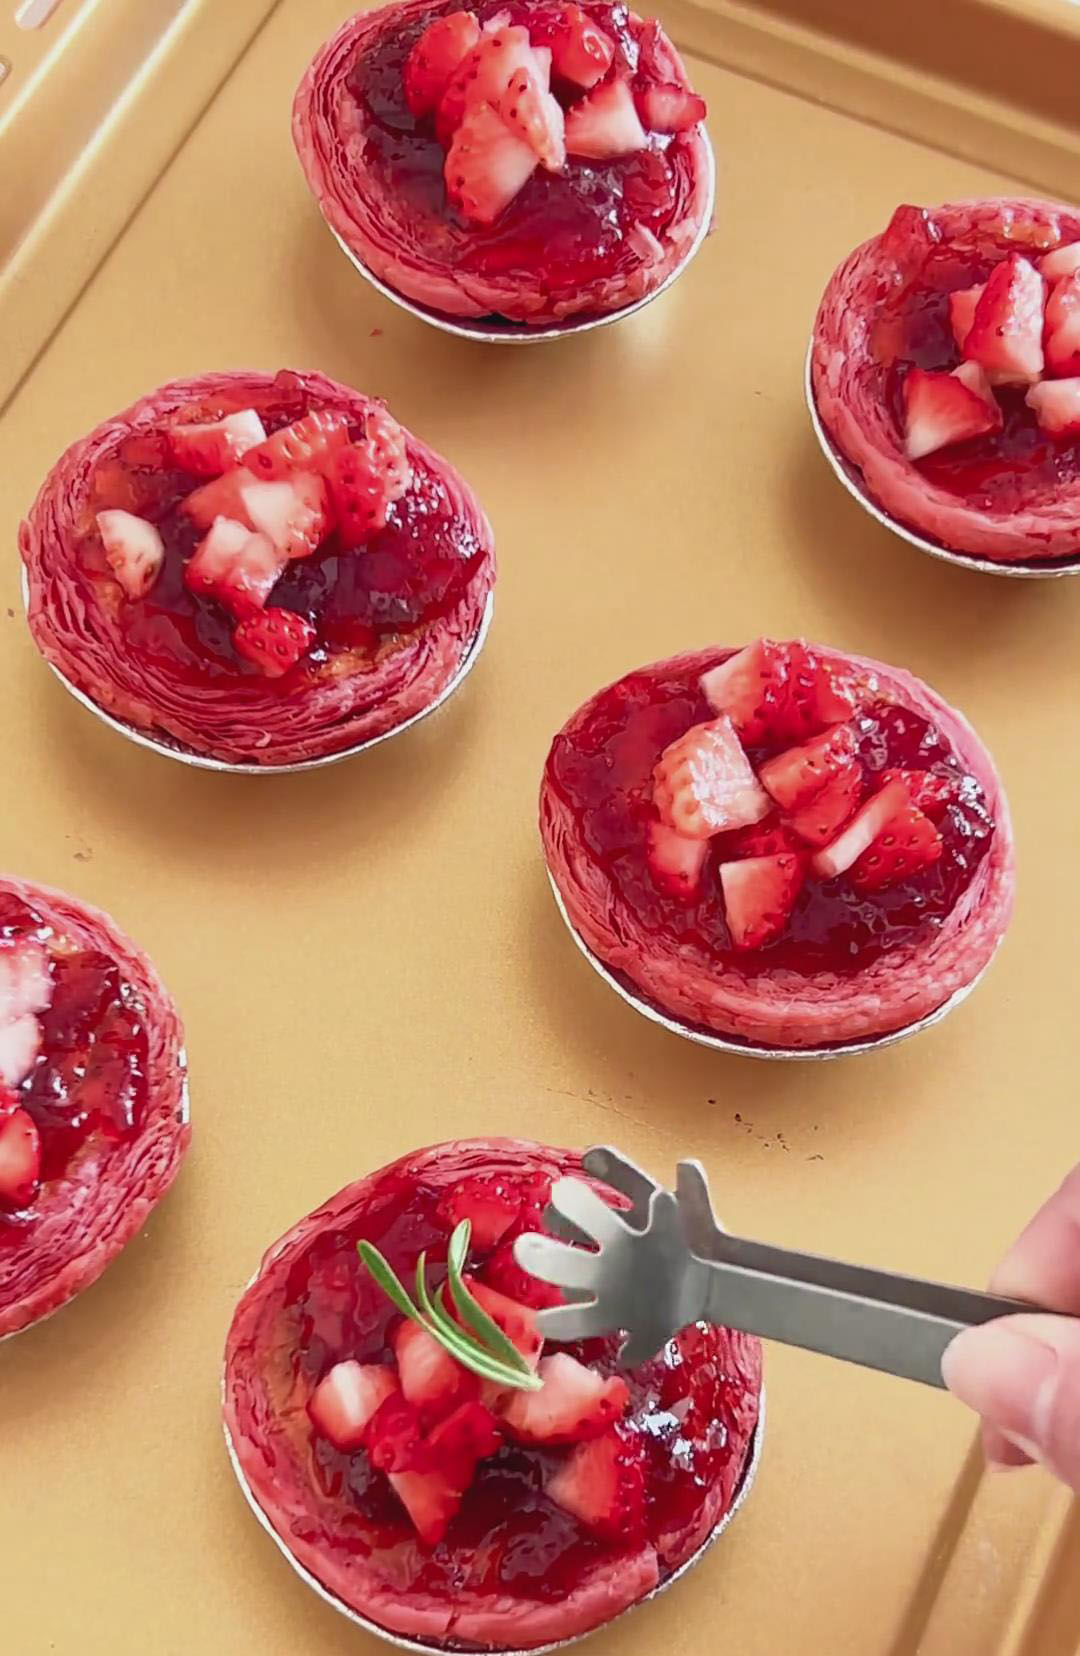
Spread a layer of strawberry jam into each tart. Add strawberry pieces on top and garnish with rosemary if desired.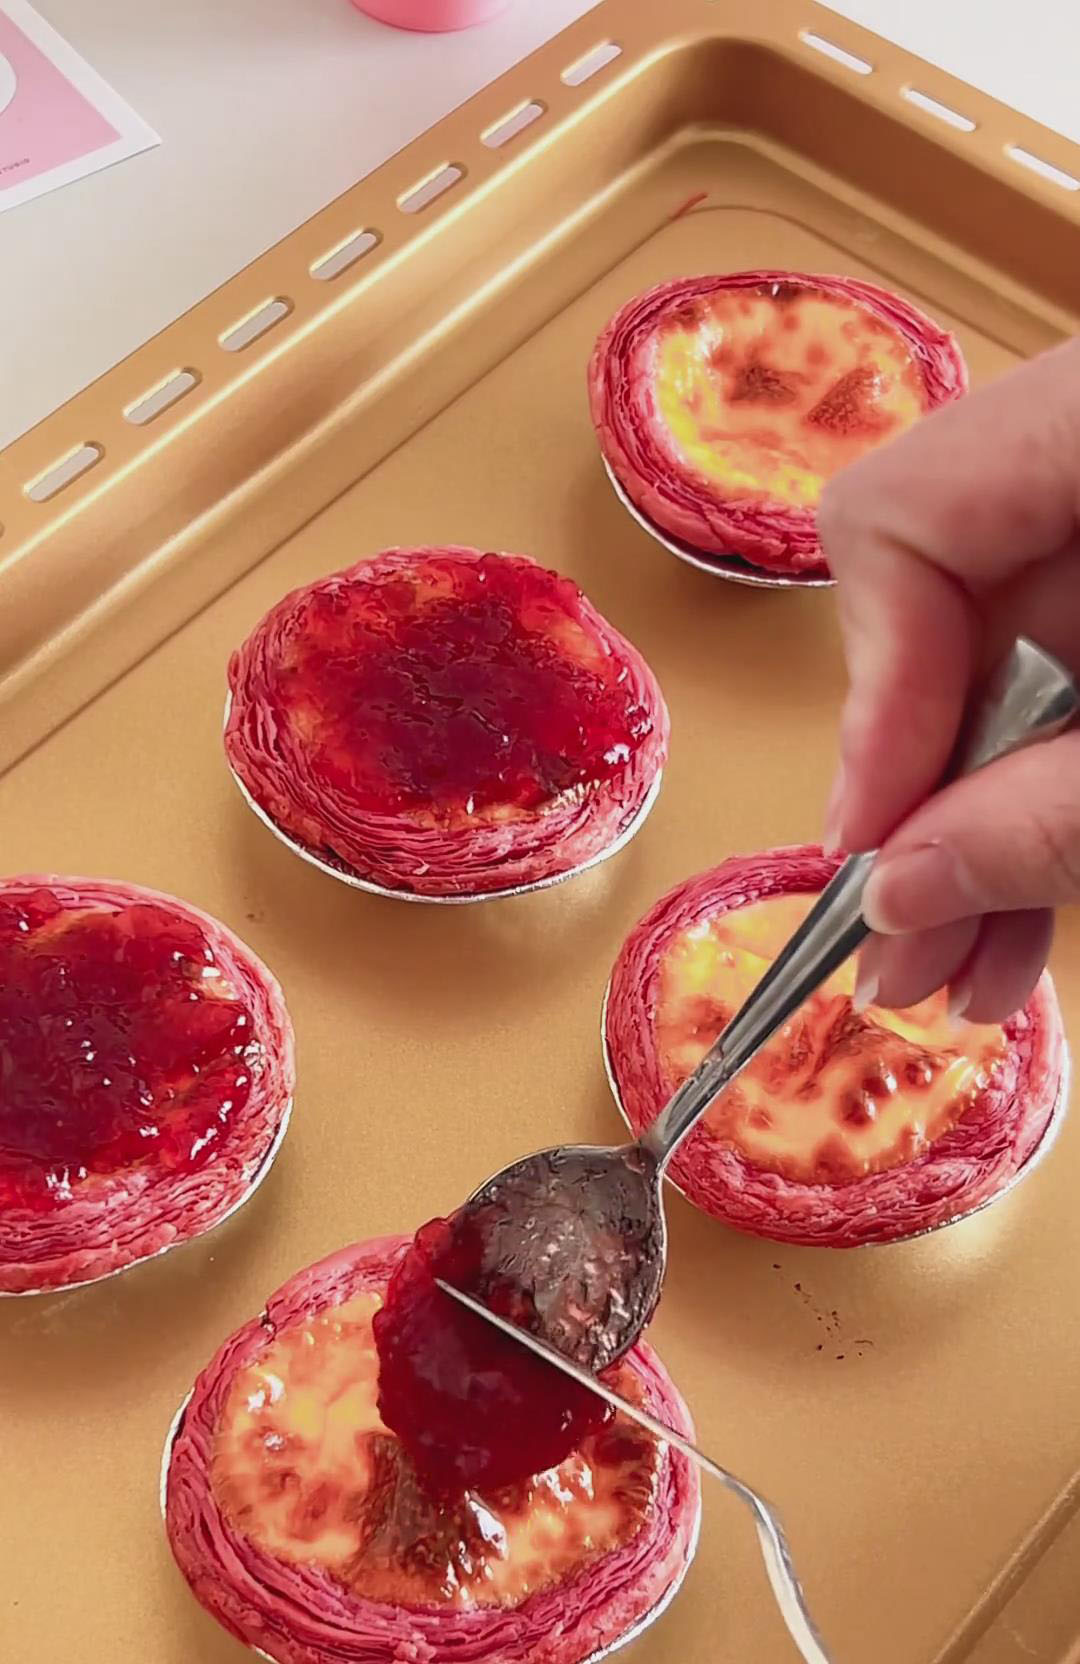
 Tips & Tricks
- Leave space for expansion: Fill tart shells only up to 80% to prevent spilling during baking.
- Strain the custard for a smooth texture: This removes bubbles and ensures a glossy finish without holes.
- Avoid low oven temperature: Baking under 190°C may cause a grainy or uneven texture.
- Enhance flavor: Add one drop of vanilla extract to the custard or a bit of cream cheese into the strawberry jam for a richer taste.
- Air fryer works too: Follow the same instructions using the adjusted temperature and time.
Frequently Asked Questions
Can I make these tarts ahead of time?
These tarts are truly best served fresh on the day they are made, while the shell is at its crispiest. However, you can store any leftovers sealed in the refrigerator for up to 1 day.
My custard filling bubbled over. What happened?
This is almost always caused by overfilling the tart shells. Remember, 80% full is perfect! Also, ensure your oven is fully preheated to the correct temperature so the custard sets rapidly.
The custard is not smooth. How can I fix this?
For a perfectly smooth custard, ensure you stir the mixture gently (don’t whip it), always strain it before baking, and bake at a high enough temperature (at least 190°C / 375°F).
Can I reheat the tarts?
Yes! If the tarts have been chilled, the shells will soften. To re-crisp them, warm them in a 160°C (320°F) oven for 3-5 minutes. If the jam center has firmed up, a very brief 10-second burst in the microwave on low power can make it gooey again.
More Mini Tart Recipes You May Love:
- Lemon Curd Tartlets
- German Egg Custard Tarts
- Matcha Tiramisu Egg Tarts
- Chocolate Matcha Tart
- Chocolate Custard Tarts
Strawberry Tartlets with Creamy Custard
Ingredients
For the Custard Filling
- 1 large whole egg
- 1 large egg yolk
- 6 g fine granulated sugar
- 100 ml whipping cream
- 30 ml strawberry milk
For Assembly
- 12 ready-made strawberry tart shells
- Strawberry jam as needed (approx. 50g total)
- Fresh strawberries chopped, for topping
Instructions
Preparation & Preheating
- Preheat your oven to 200°C (400°F). If using an air fryer, preheat it to 180°C (350°F). Wash your fresh strawberries, pat them dry, and cut them into small, bite-sized pieces.
Making the Custard Filling
- Add the egg, egg yolk, and 6 g sugar to a bowl. Pour in 100 ml heavy cream and 30 ml strawberry milk. Whisk gently until the mixture is fully combined.
- Be careful not to whisk too vigorously to prevent creating too many air bubbles.
- For the absolute silkiest texture, strain the entire custard mixture through a fine-mesh sieve into a jug or another bowl. This crucial step removes any undissolved egg strands and bubbles, guaranteeing a perfectly smooth filling after baking.
Assembling & Baking the Tarts
- Arrange your ready-made tart shells on a small baking tray. Slowly pour the strained custard into the shells, filling each one only about 80% full. This leaves necessary room for the custard to puff up slightly in the oven without overflowing.
- Place the baking tray in the preheated oven and bake for 12-15 minutes, or until the custard is set around the edges but may still have a slight jiggle in the very center. The tops should be lightly golden. If using an air fryer, bake at 180°C for about 10 minutes.
Adding the topping
- Remove the tarts from the oven and let them cool on a wire rack for a few minutes. They will deflate slightly as they cool, which is normal.
- Spread a layer of strawberry jam into each tart. Add strawberry pieces on top and garnish with rosemary if desired.
Leave a Reply