
This 3-layer brownie in a mug is the ultimate indulgence. Quick to make, rich in chocolate, and perfectly balanced with creamy and crispy textures. Your personal dessert heaven!
3-Layer Mug Brownie — Fudgy, Creamy & Crispy!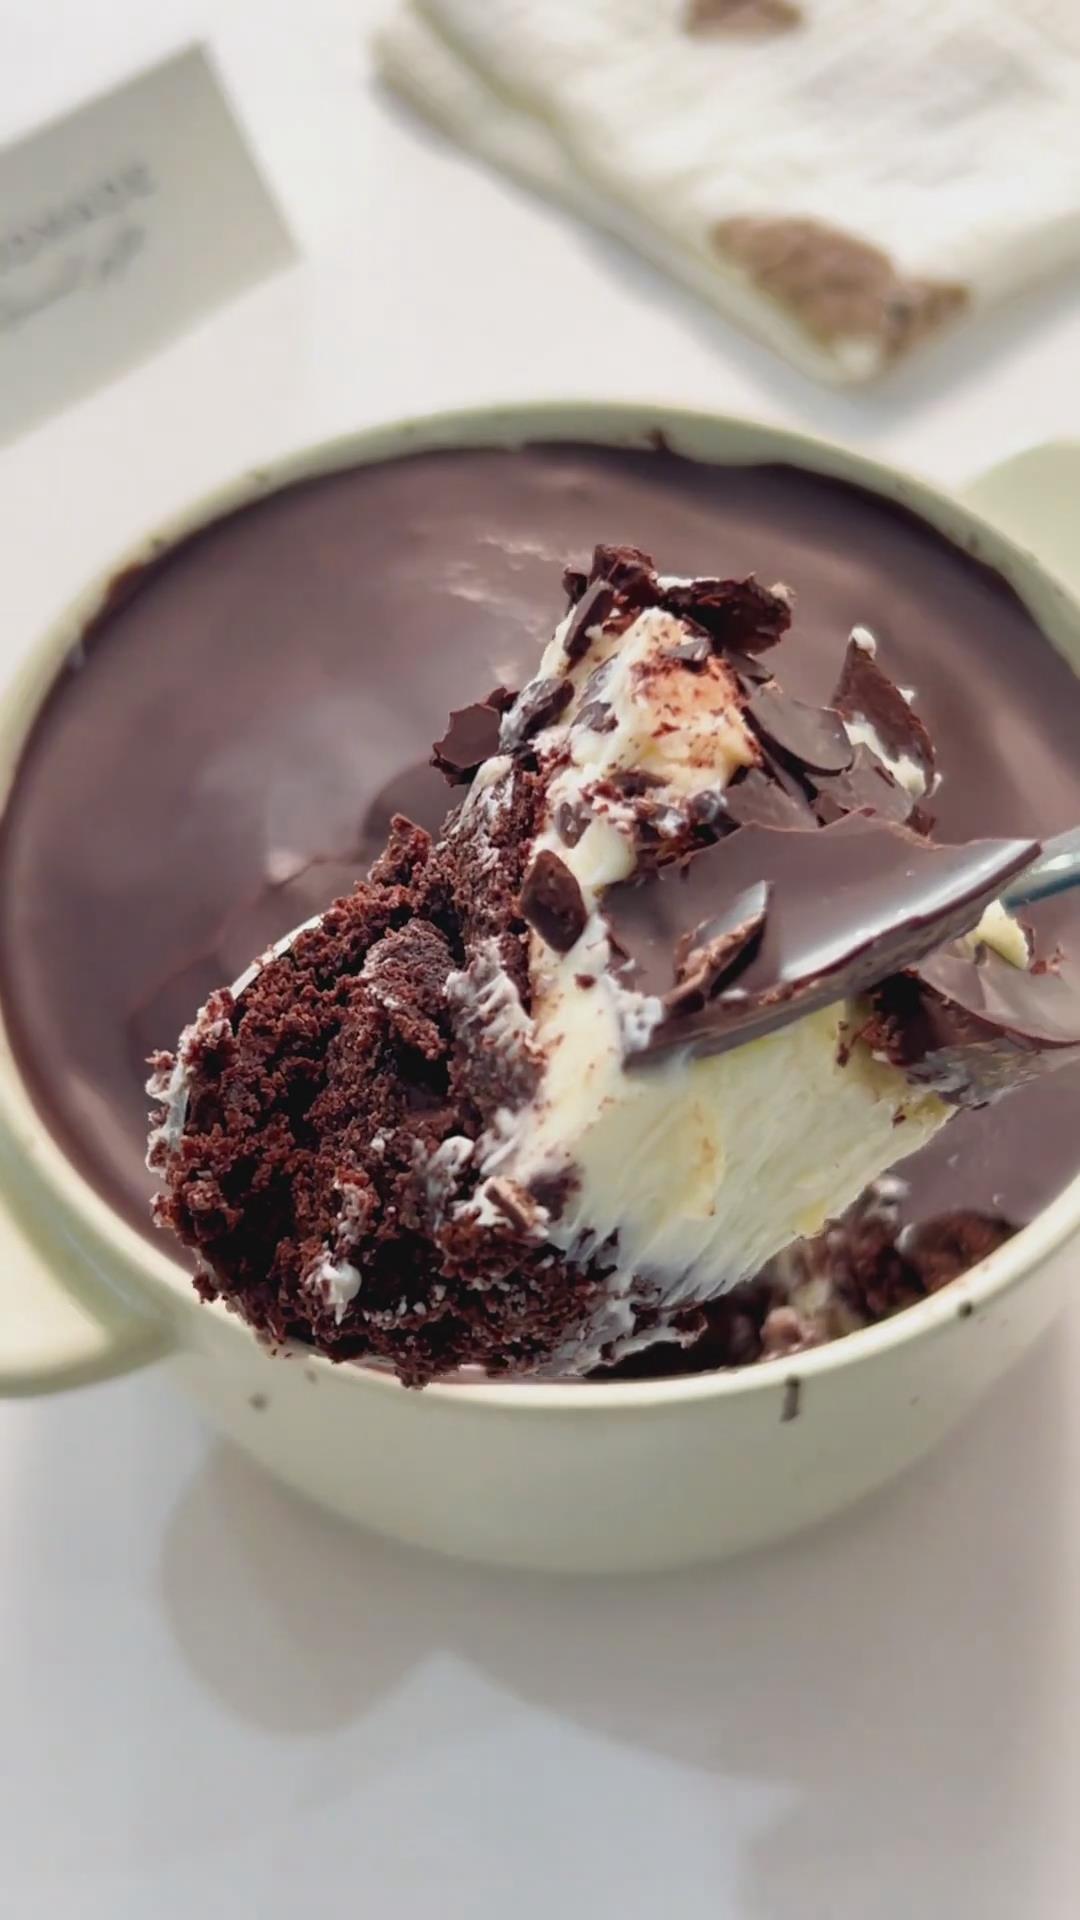
Brownies and all their delightful variations have always been some of my absolute favorite desserts.
A few days ago, I shared my Brownie Cookies, which are perfect for sharing or enjoying with a cup of coffee.
But sometimes, I don’t want to bake a whole tray just to satisfy a single craving. That’s when I turn to my brownie in a mug.
But this isn’t your ordinary single-serve brownie.
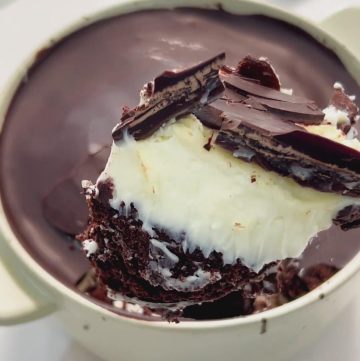
I’ve taken it up a notch by creating three luxurious layers in one mug.
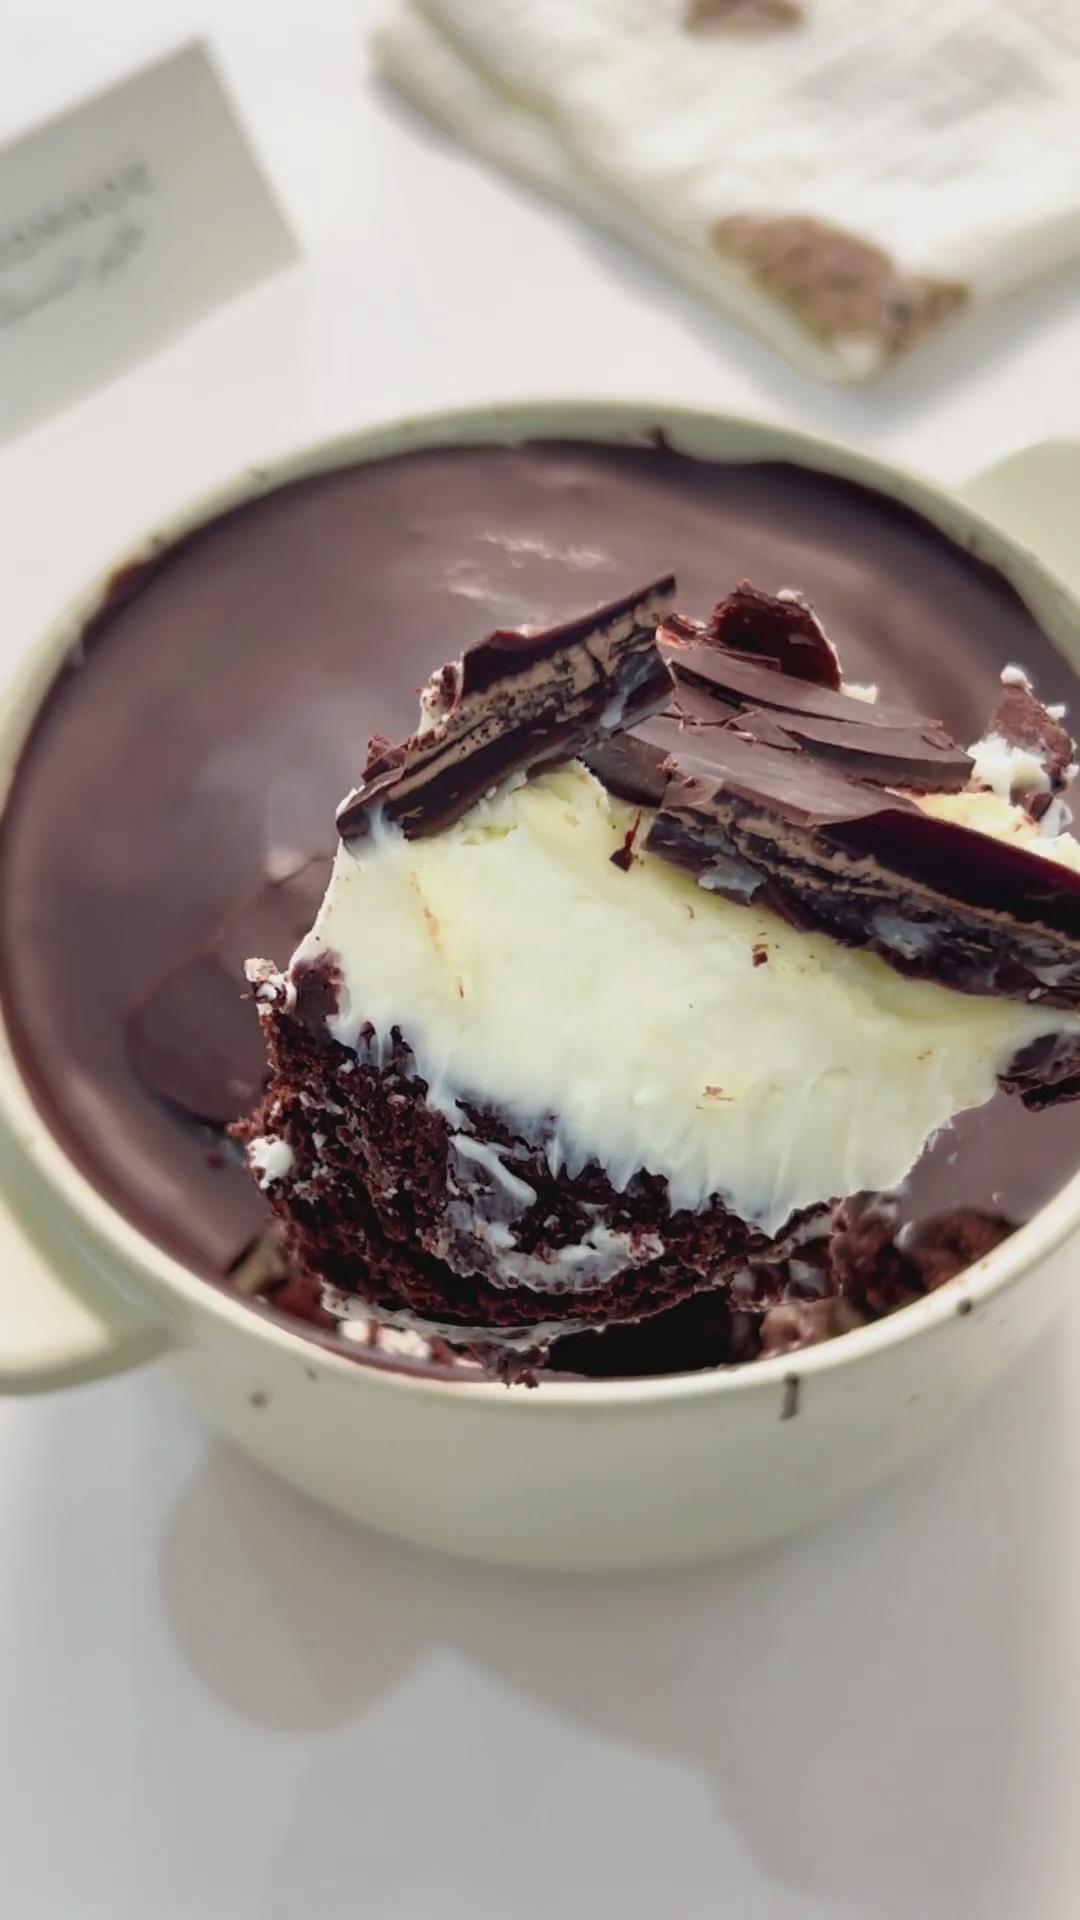
The base is a soft, rich chocolate brownie that melts in your mouth.
The middle layer is a silky cream cheese frosting that adds a smooth, slightly tangy contrast to the chocolate.
Finally, the top is a crisp, glossy chocolate layer that adds a satisfying snap and completes the indulgent experience.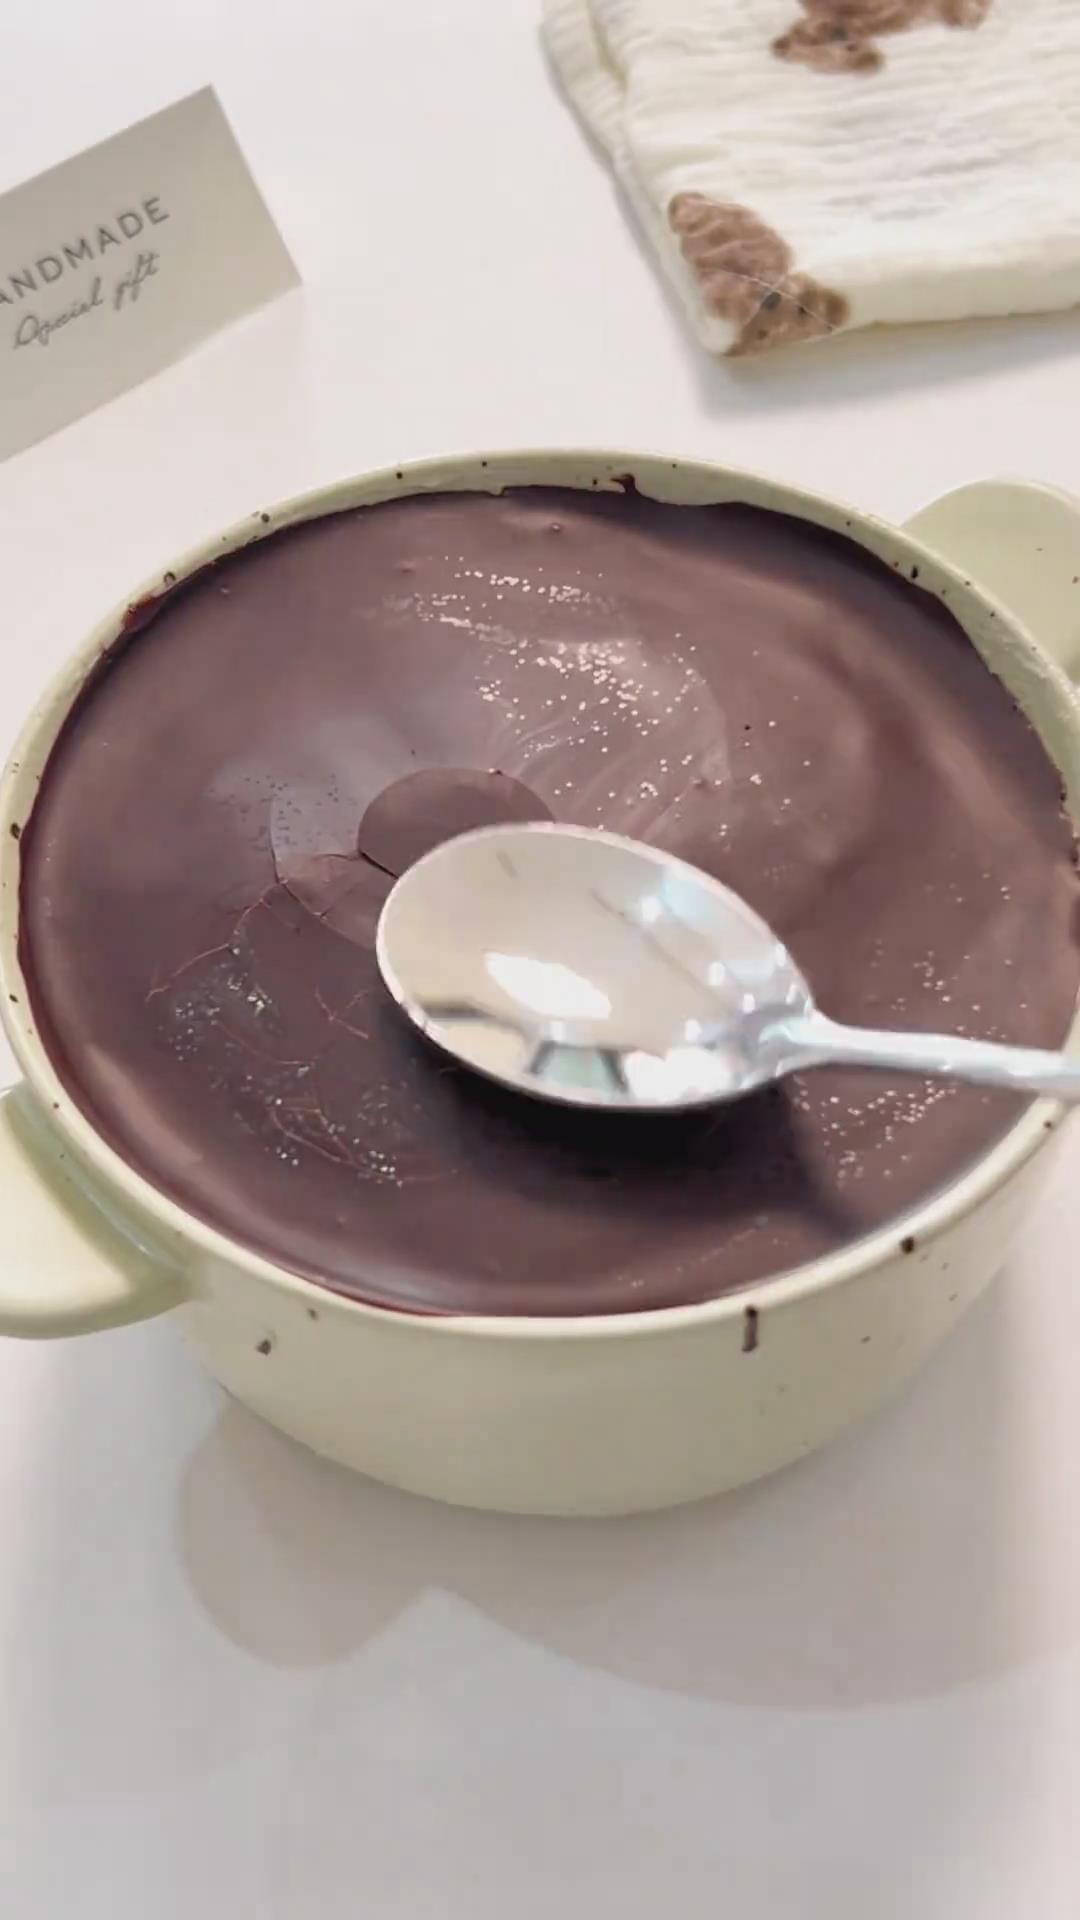
Ingredients and Substitutions
- Eggs – Using a whole egg is key for giving the brownie base structure and a cake-like lift. A room-temperature egg will incorporate more air when whipped, leading to a fluffier texture.
- Low-Gluten (Cake) Flour – I specifically recommend low-protein cake flour for the brownie layer. Its delicate structure ensures the base stays tender and soft, not tough or chewy, which is crucial in a quick microwave bake.
- Unsweetened Cocoa Powder – This provides the deep, authentic chocolate flavor. Be sure to use natural, unsweetened cocoa powder, not Dutch-processed, for the best result in this quick recipe.
- Dark Chocolate – I recommend using a good-quality dark chocolate (around 70%) for both layers. It provides an intense, sophisticated flavor that balances the sweetness. You can use milk chocolate for a sweeter, milder taste.
- Cream Cheese – This must be fully softened at room temperature to create a perfectly smooth, lump-free frosting that’s easy to spread. Don’t try to use it straight from the fridge.
- Unsalted Butter – Using unsalted butter lets you control the exact level of saltiness in the dessert. Melt it gently to avoid burning.
How to Make a Triple-Layer Chocolate Brownie Mug Cake
1. Prepare Your Mug and Ingredients
Take your cream cheese out of the fridge to soften. Choose a large, microwave-safe mug (at least 12 oz / 350ml capacity). Ensure all ingredients are measured and ready.
2. Make the Brownie Batter
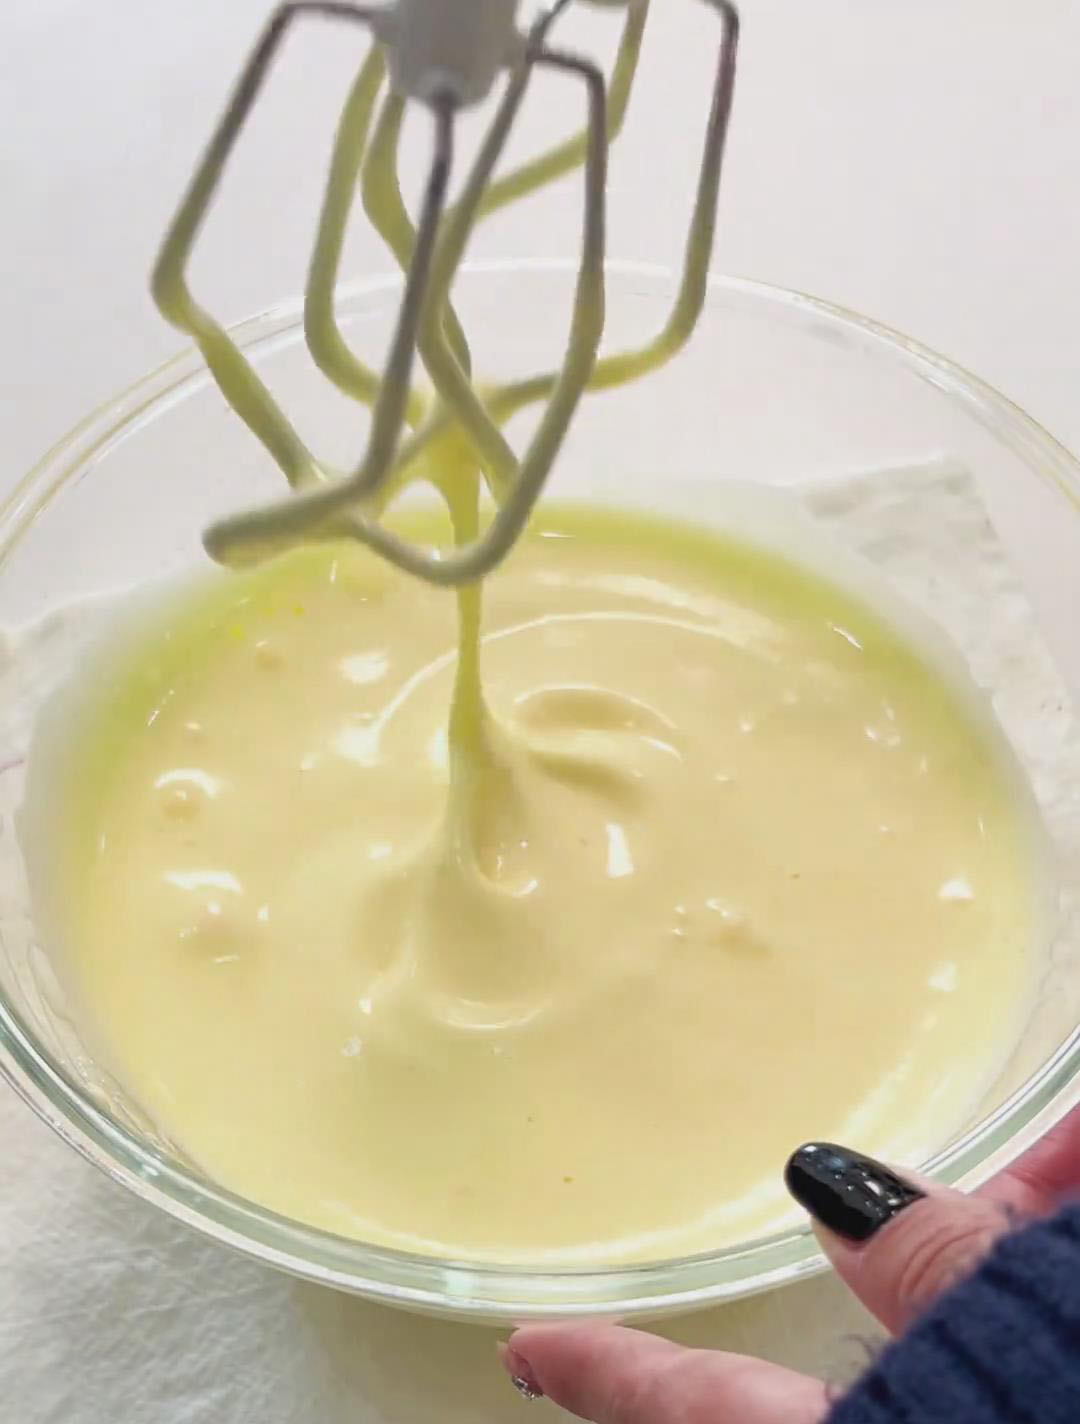
In a small mixing bowl, combine the room-temperature egg and 35g of sugar.
Use a hand whisk or electric mixer to beat them together vigorously for 2-3 minutes until the mixture becomes pale yellow, thick, and forms ribbons that slowly disappear when you lift the whisk.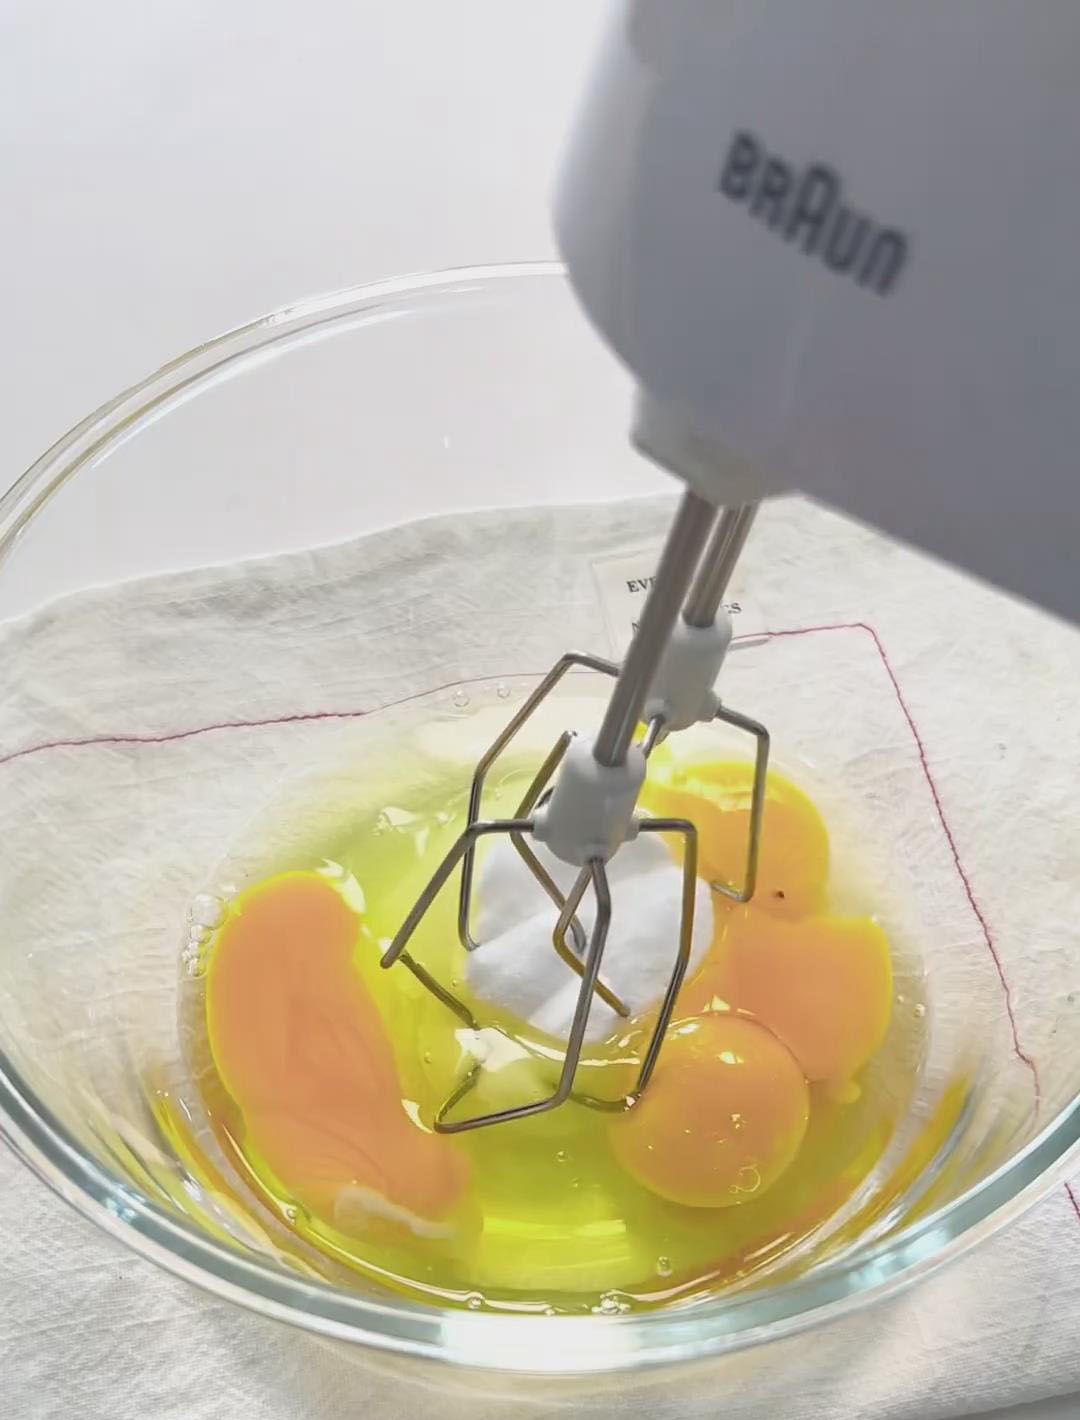
Sift the 55g of cake flour and 25g of cocoa powder directly into the egg mixture.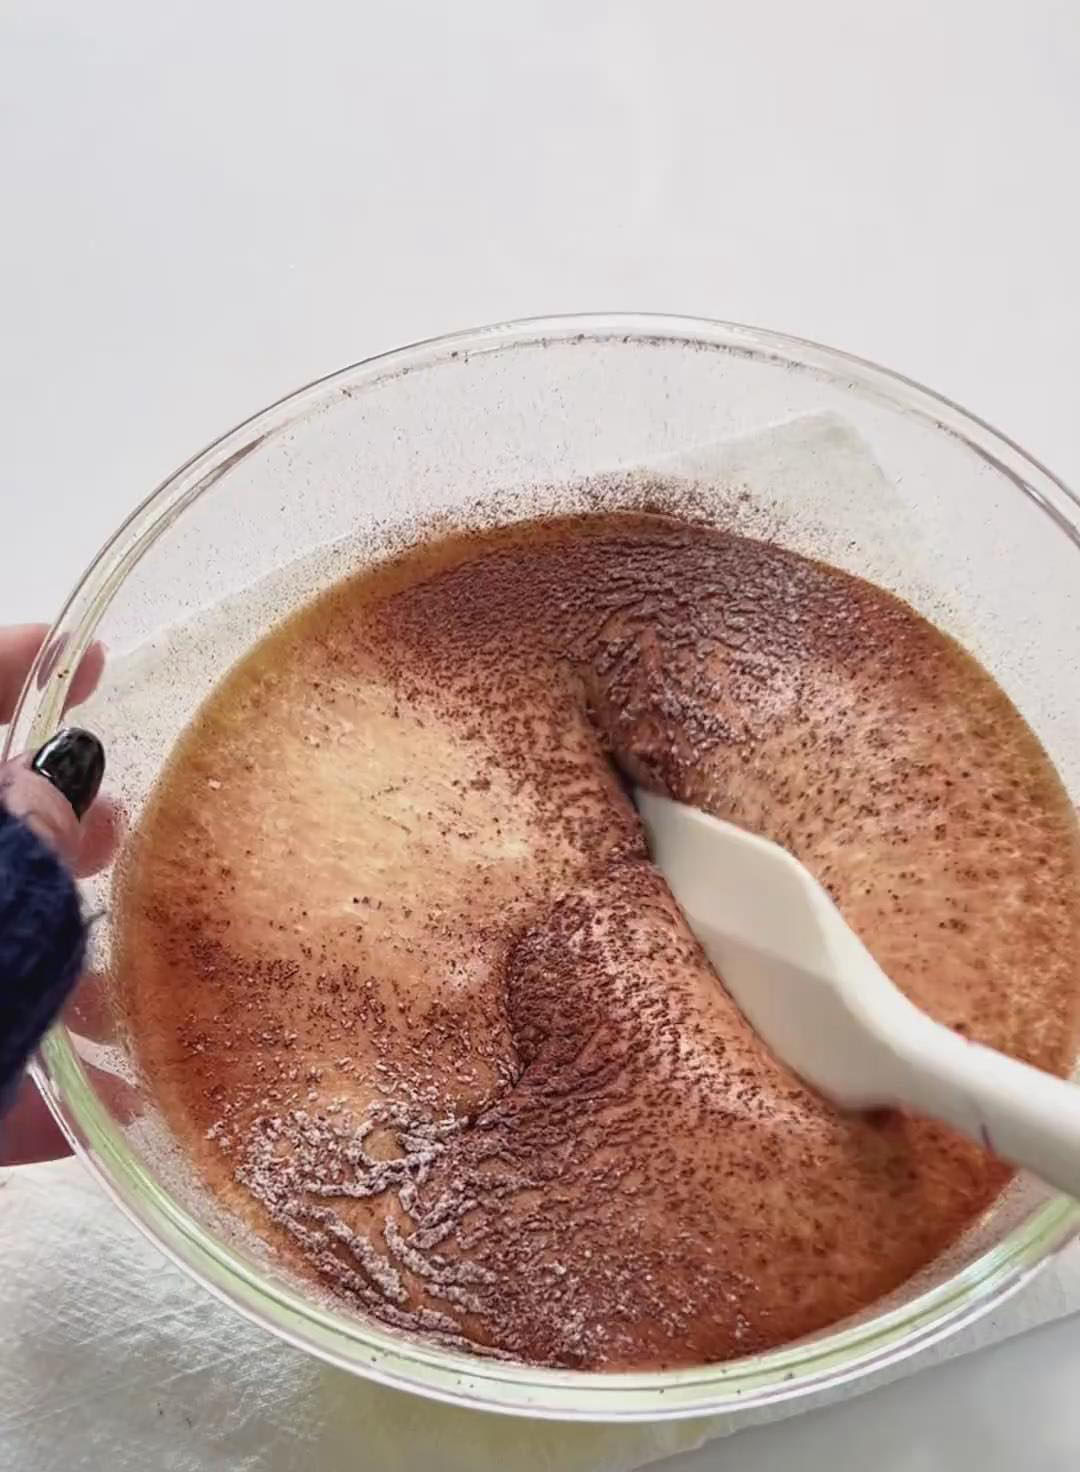
Use a spatula to gently fold the dry ingredients in until just combined and no dry pockets remain. Be careful not to overmix.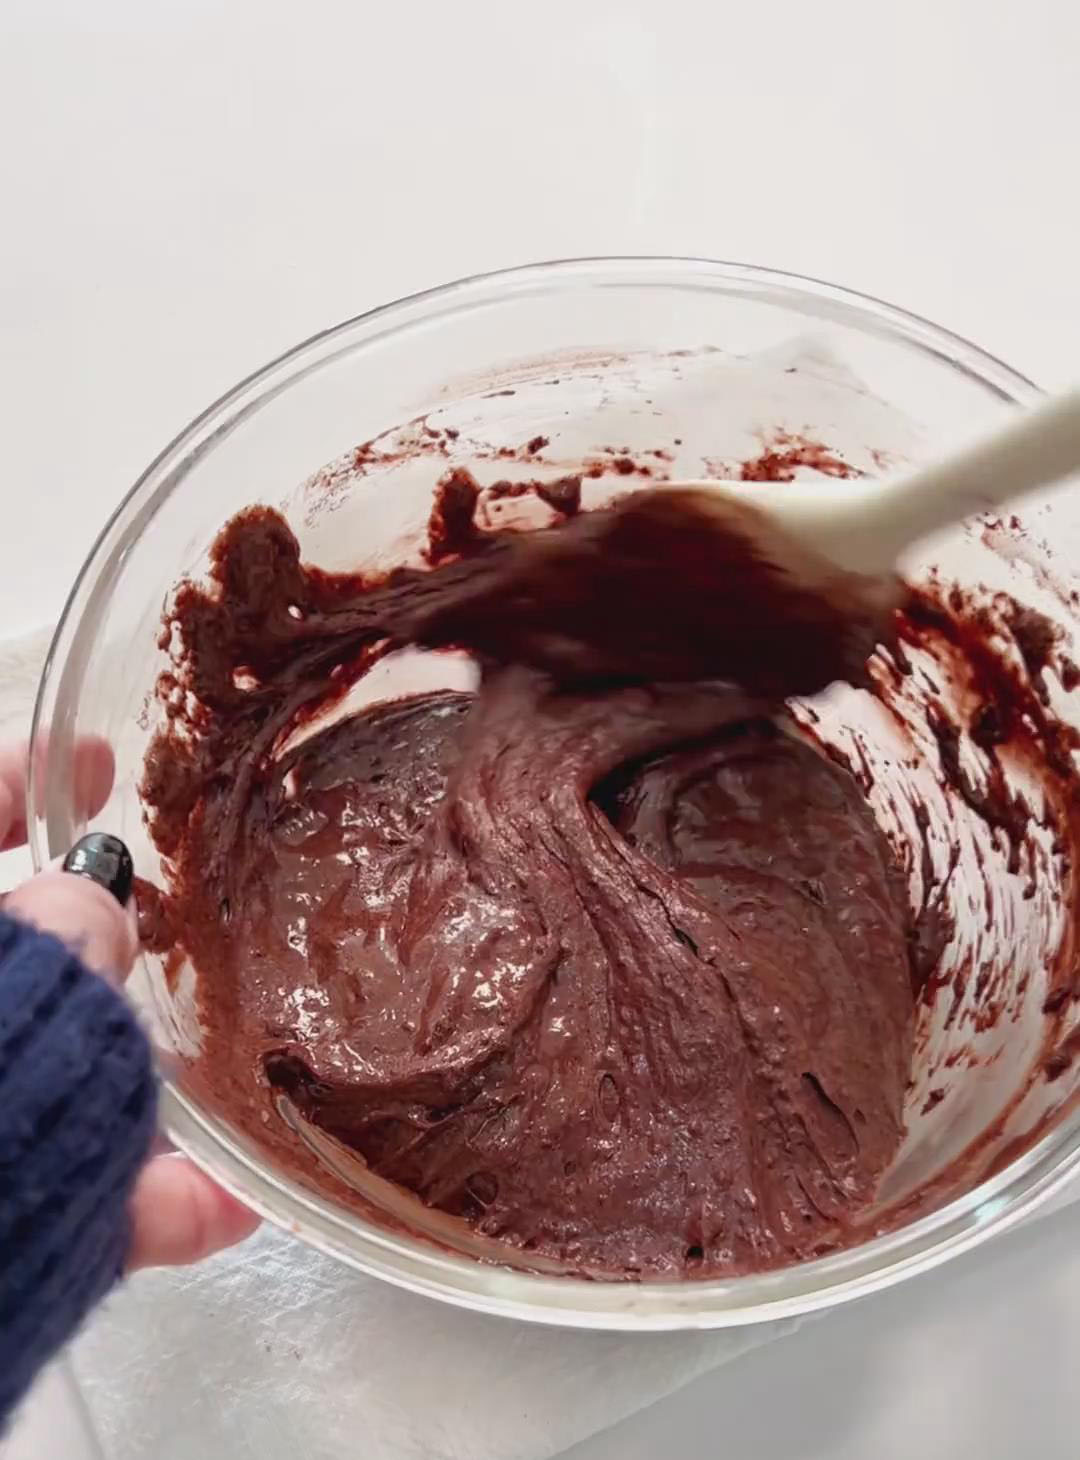
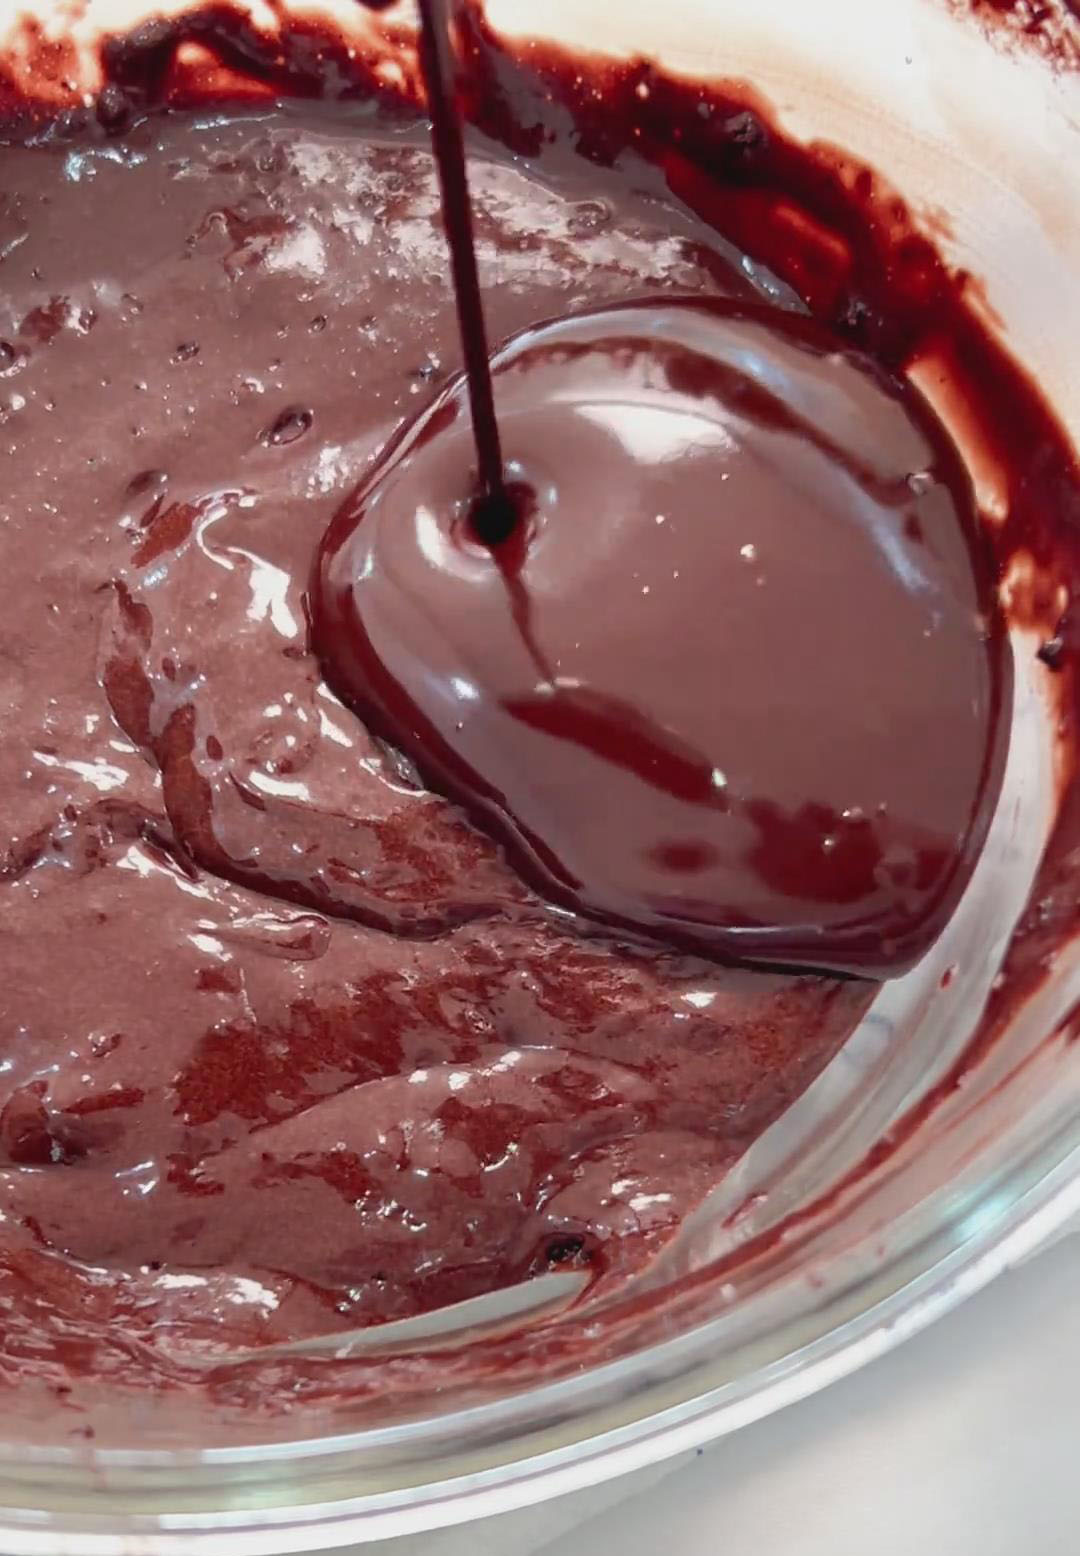
Melt the butter and dark chocolate together over a hot-water bath, cool slightly, then pour into the batter and fold to combine.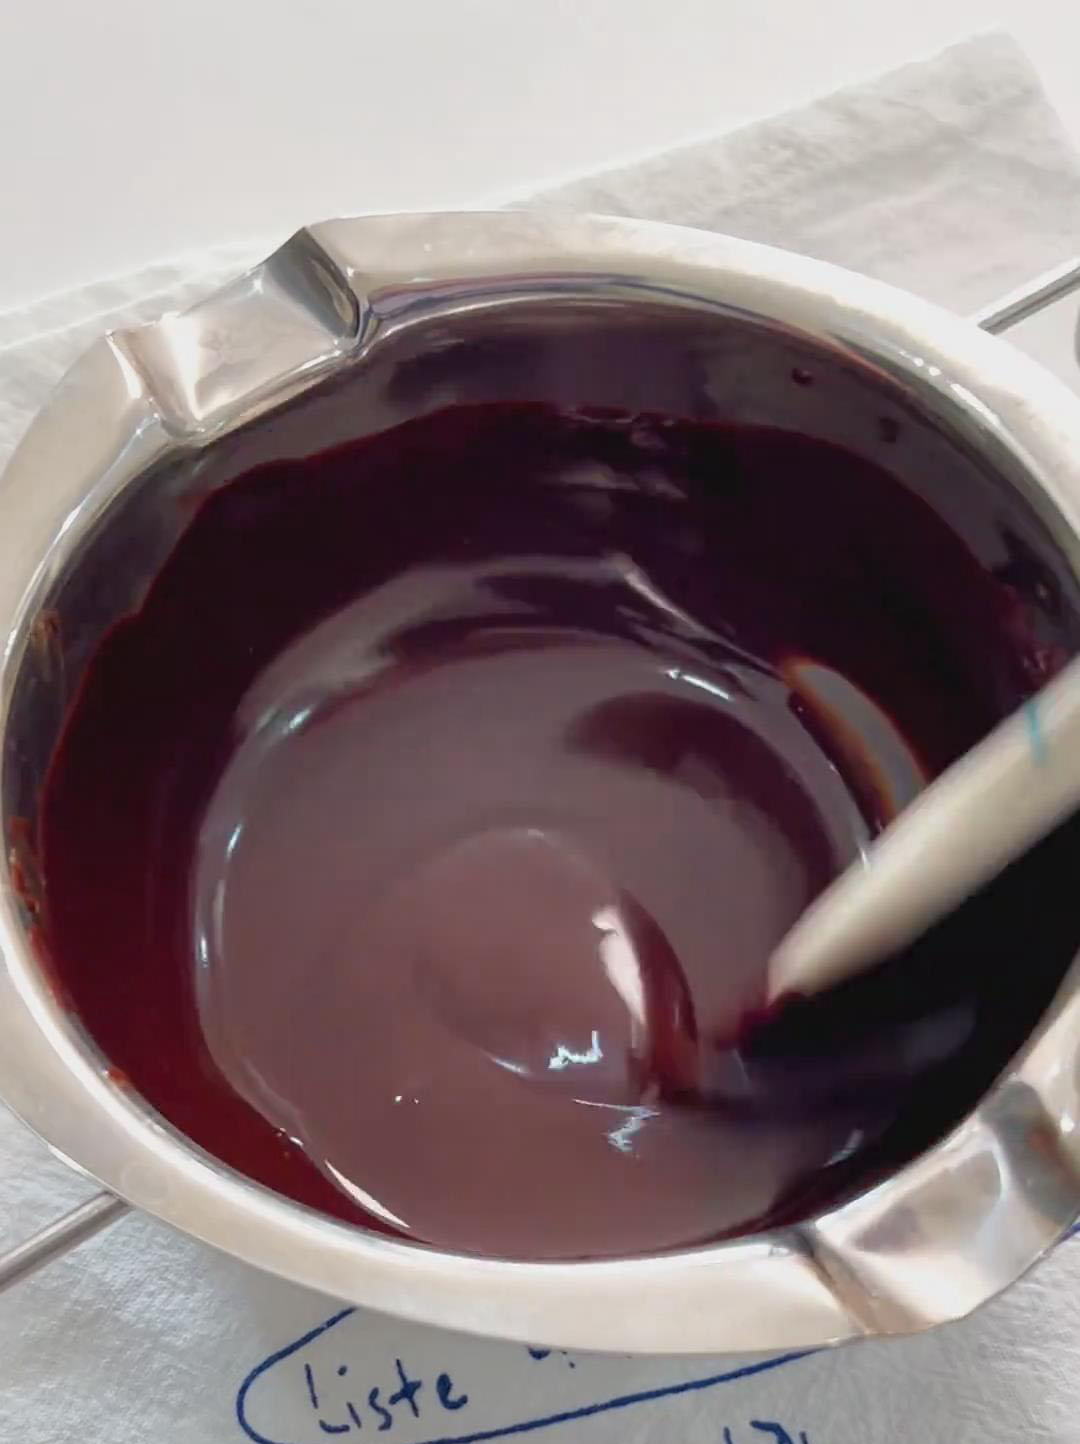
3. Cook the Brownie Base
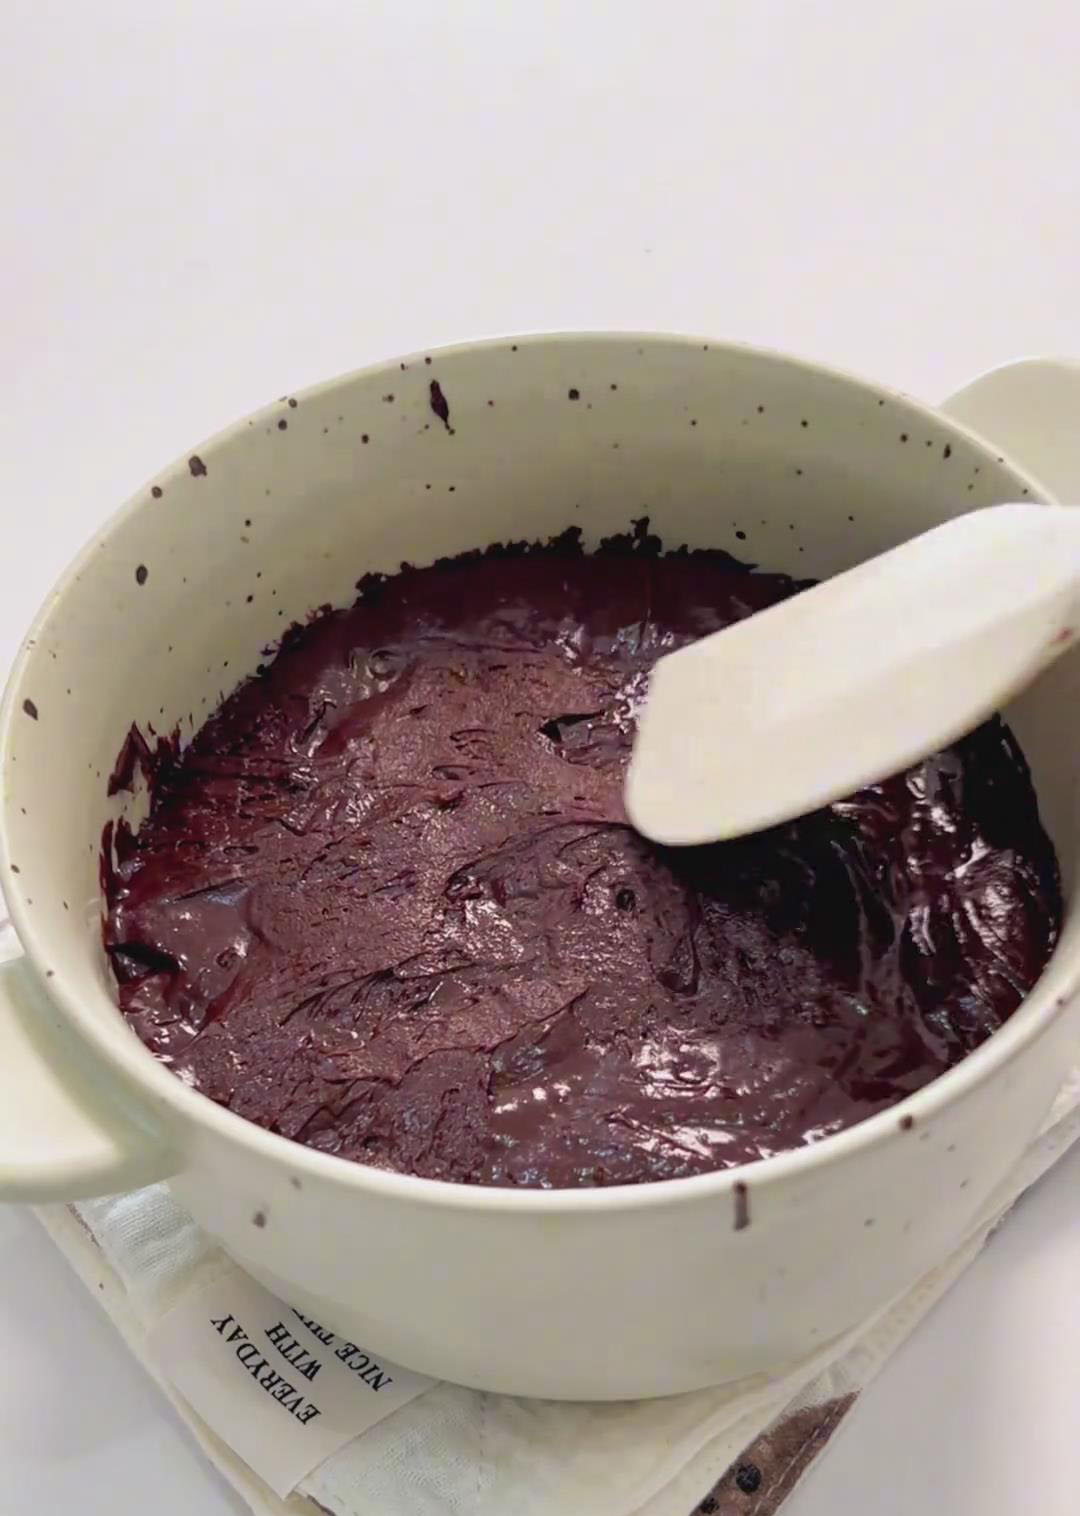
Pour the brownie batter into your mug or baking vessel and smooth the top.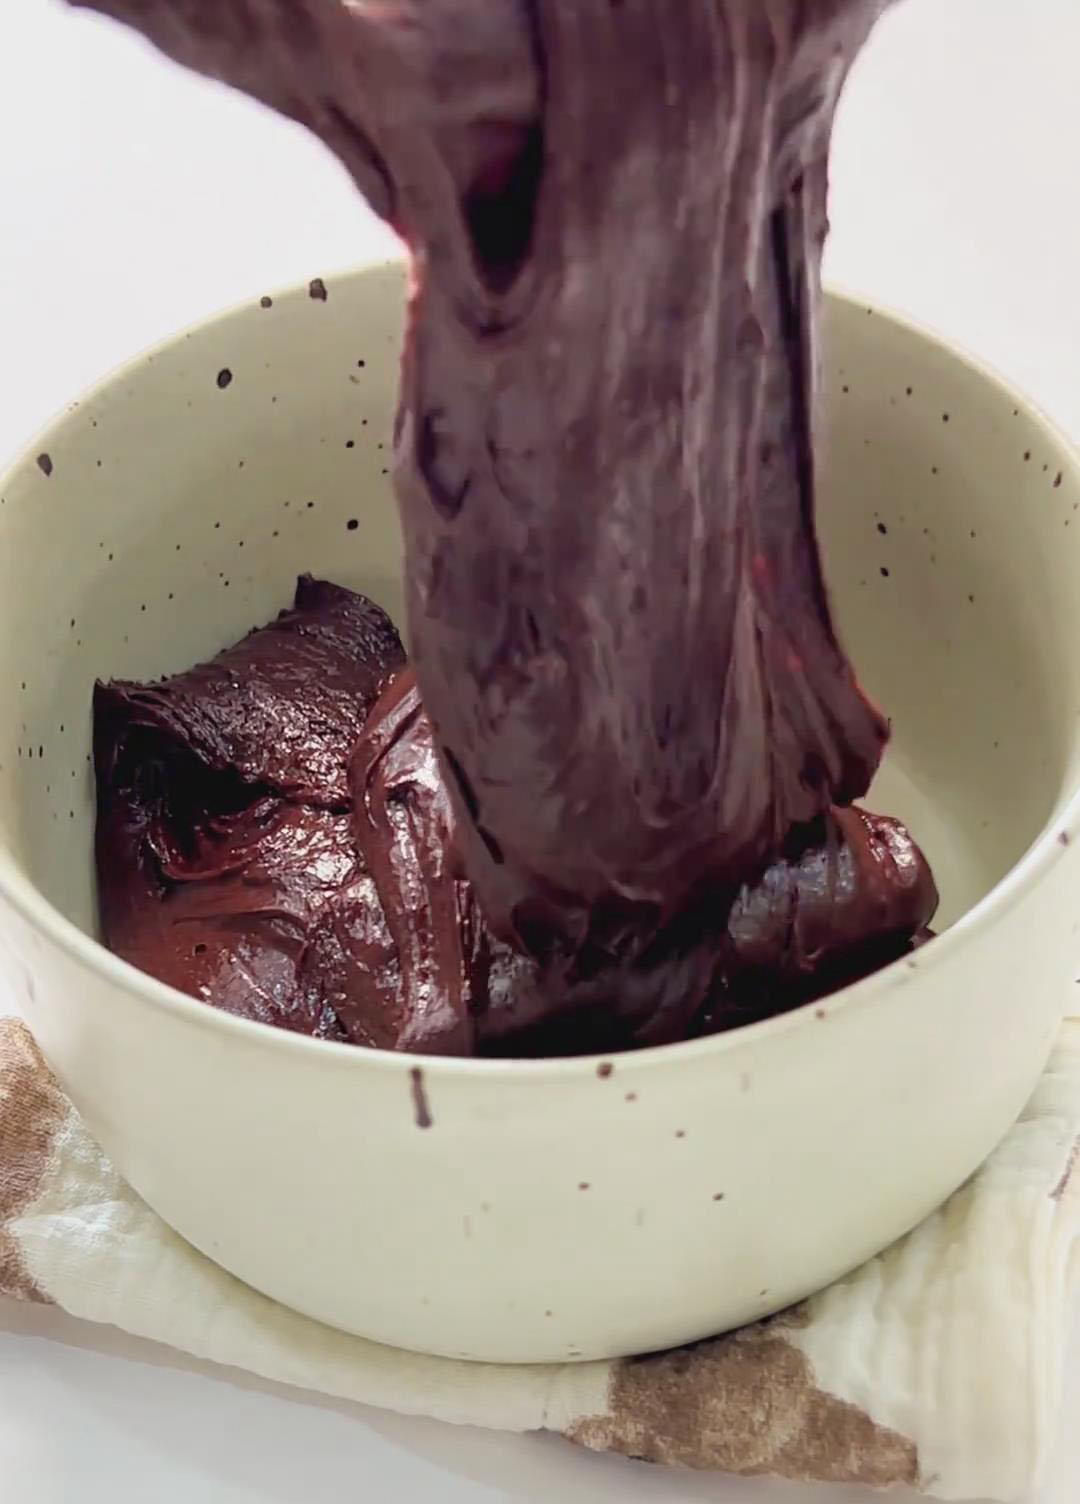
Bake at 180°C for 20 minutes, or microwave in short intervals until set in the center.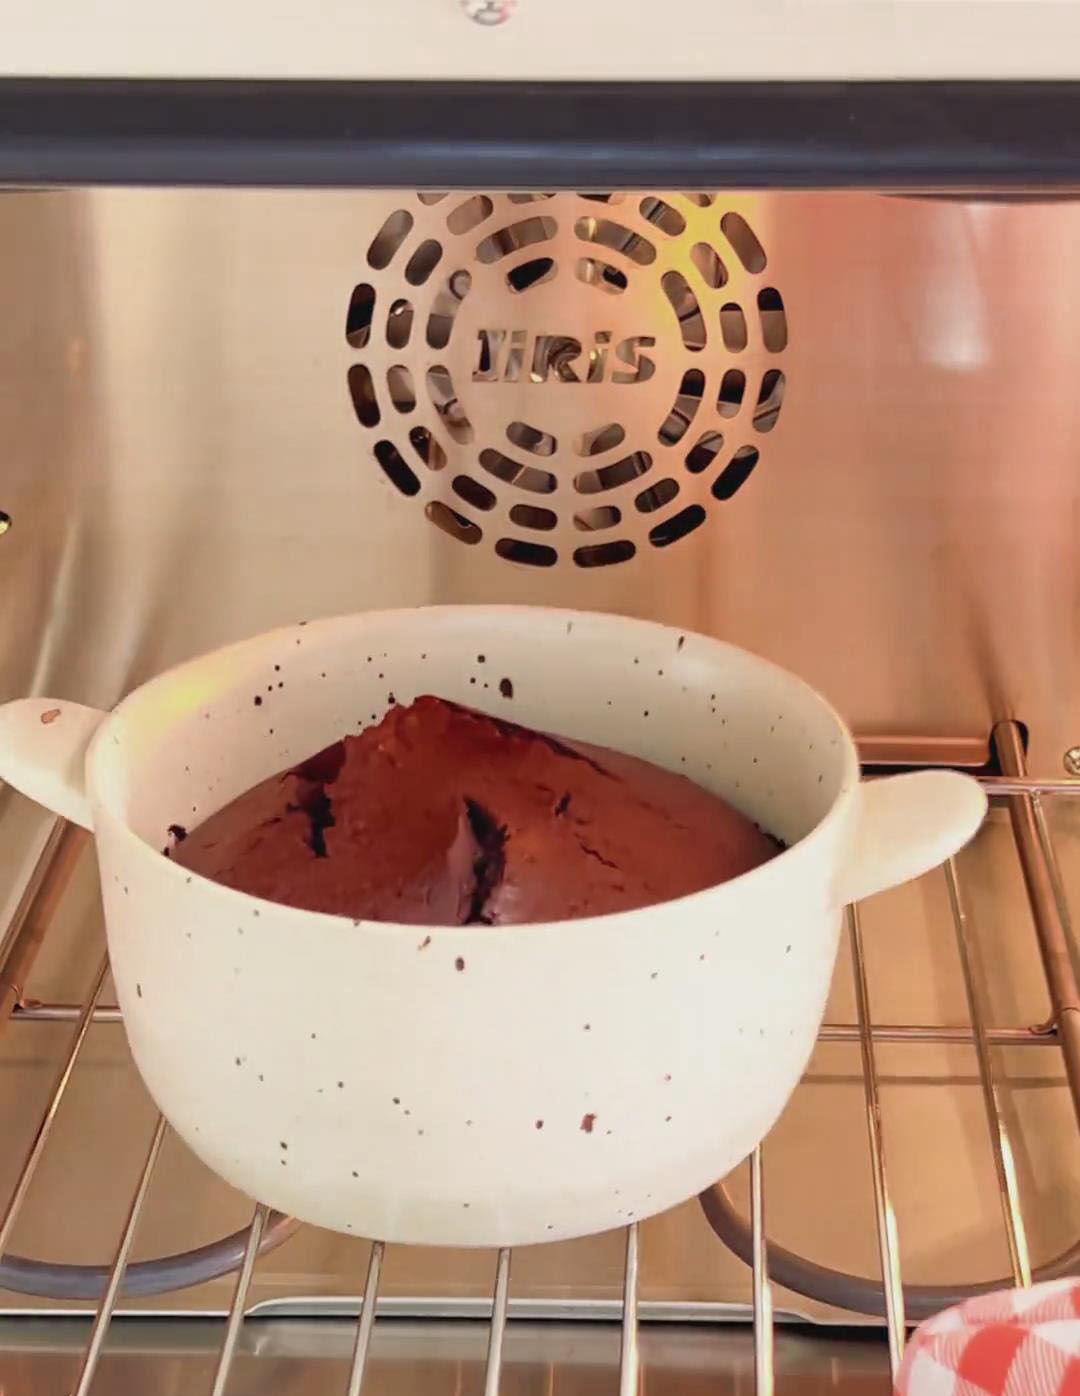
Place on a cooling rack and let it cool completely to room temperature (about 30 minutes).
4. Prepare the Cream Cheese Frosting
While the brownie cools, make the frosting.
In a small bowl, combine the softened 180g of cream cheese and 15g of sugar.
Stir vigorously with a spatula or spoon until the mixture is completely smooth, creamy, and free of any lumps. Set aside.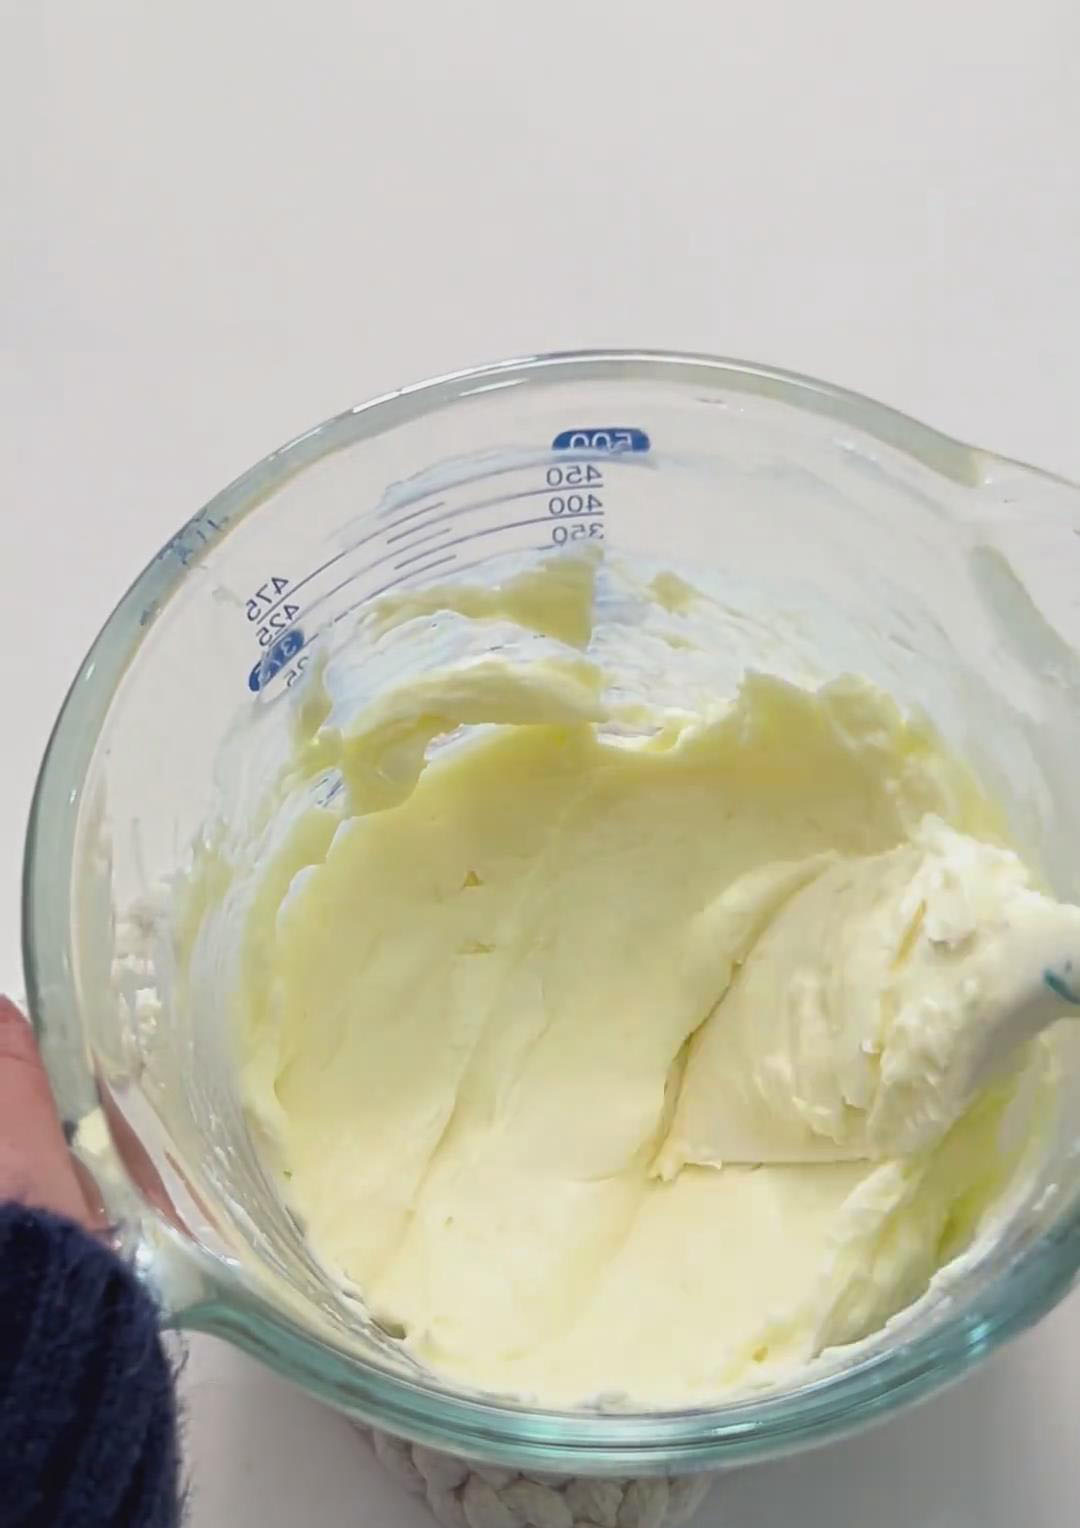
5. Make the Chocolate Crust
Place the 45g of dark chocolate in a clean microwave-safe bowl. Melt it using the same 20-second burst method, stirring until smooth. Let it cool for 2-3 minutes until it is no longer hot to the touch but still liquid.
6. Assemble the Layers
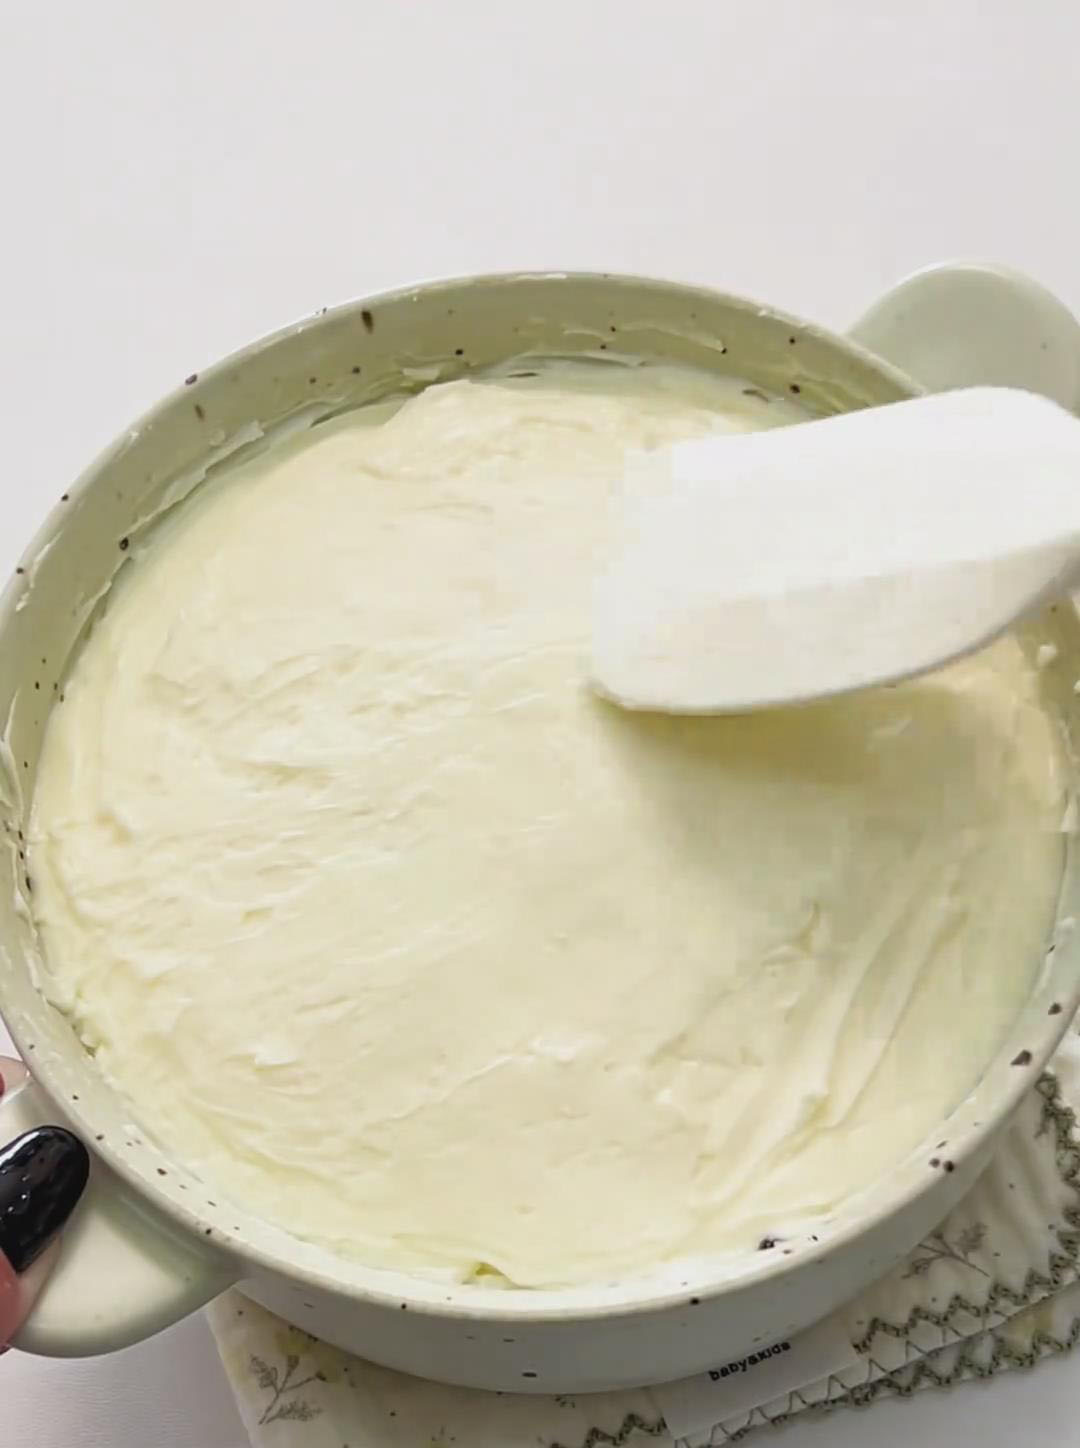
Once the brownie base is completely cool, spread the cream cheese frosting evenly over the top with a spoon or small spatula.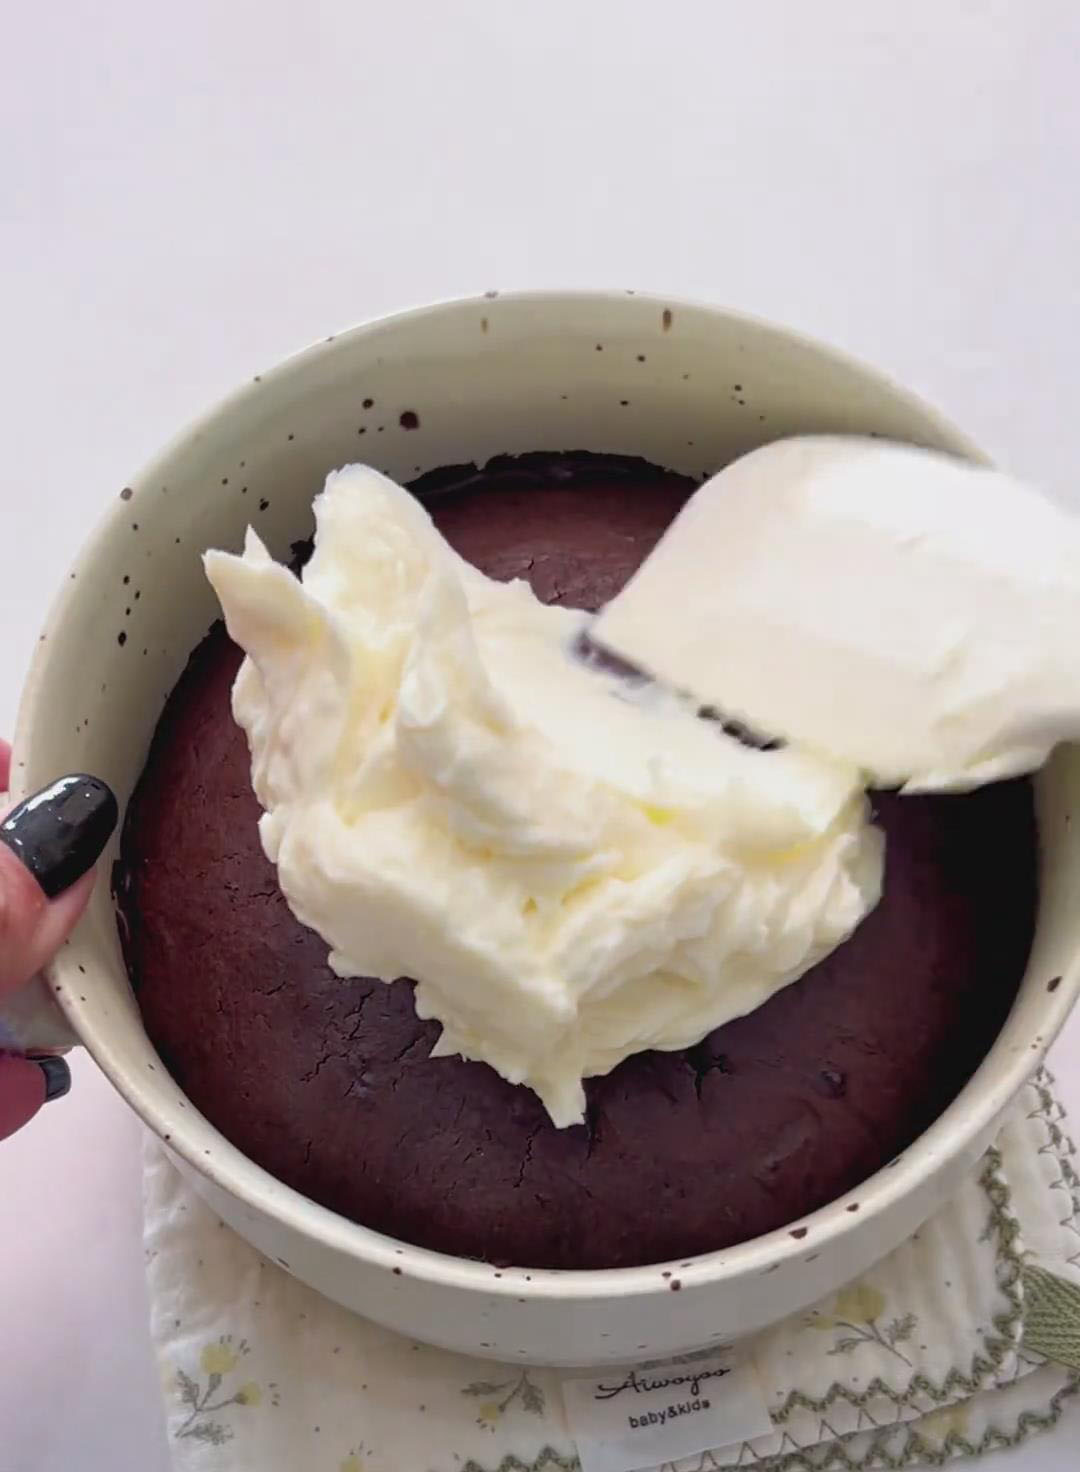
Carefully pour the cooled, melted chocolate over the cream cheese layer. Gently tilt and rotate the mug to encourage the chocolate to flow and cover the entire surface in a thin, even layer.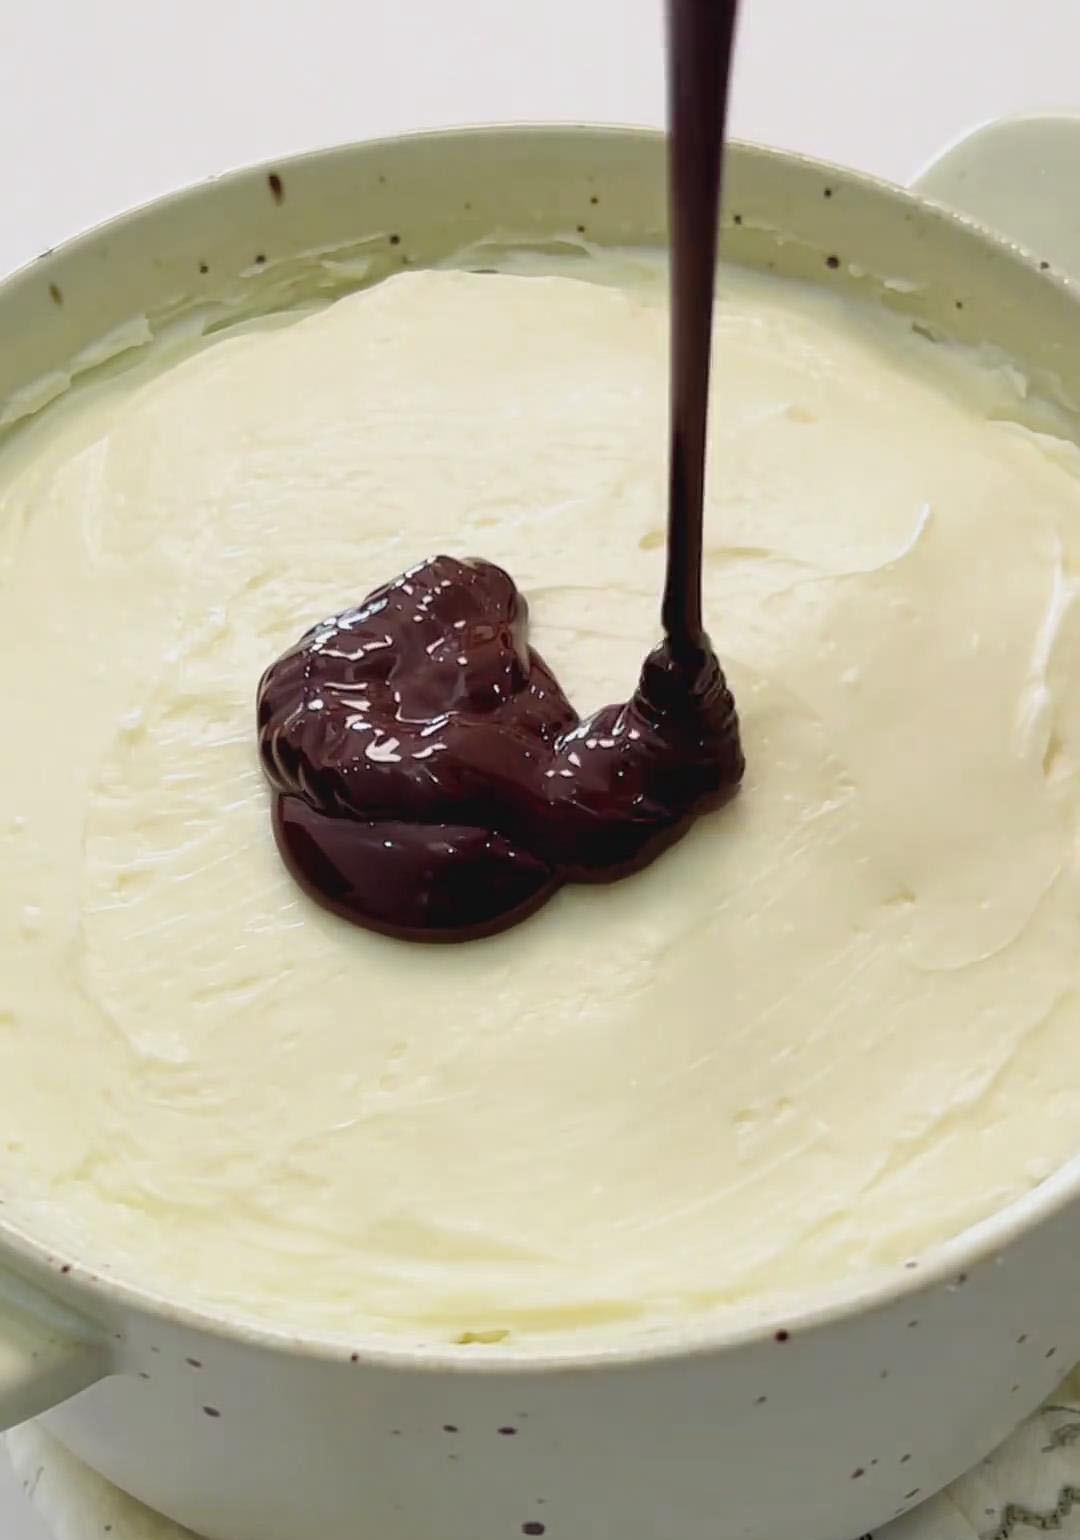
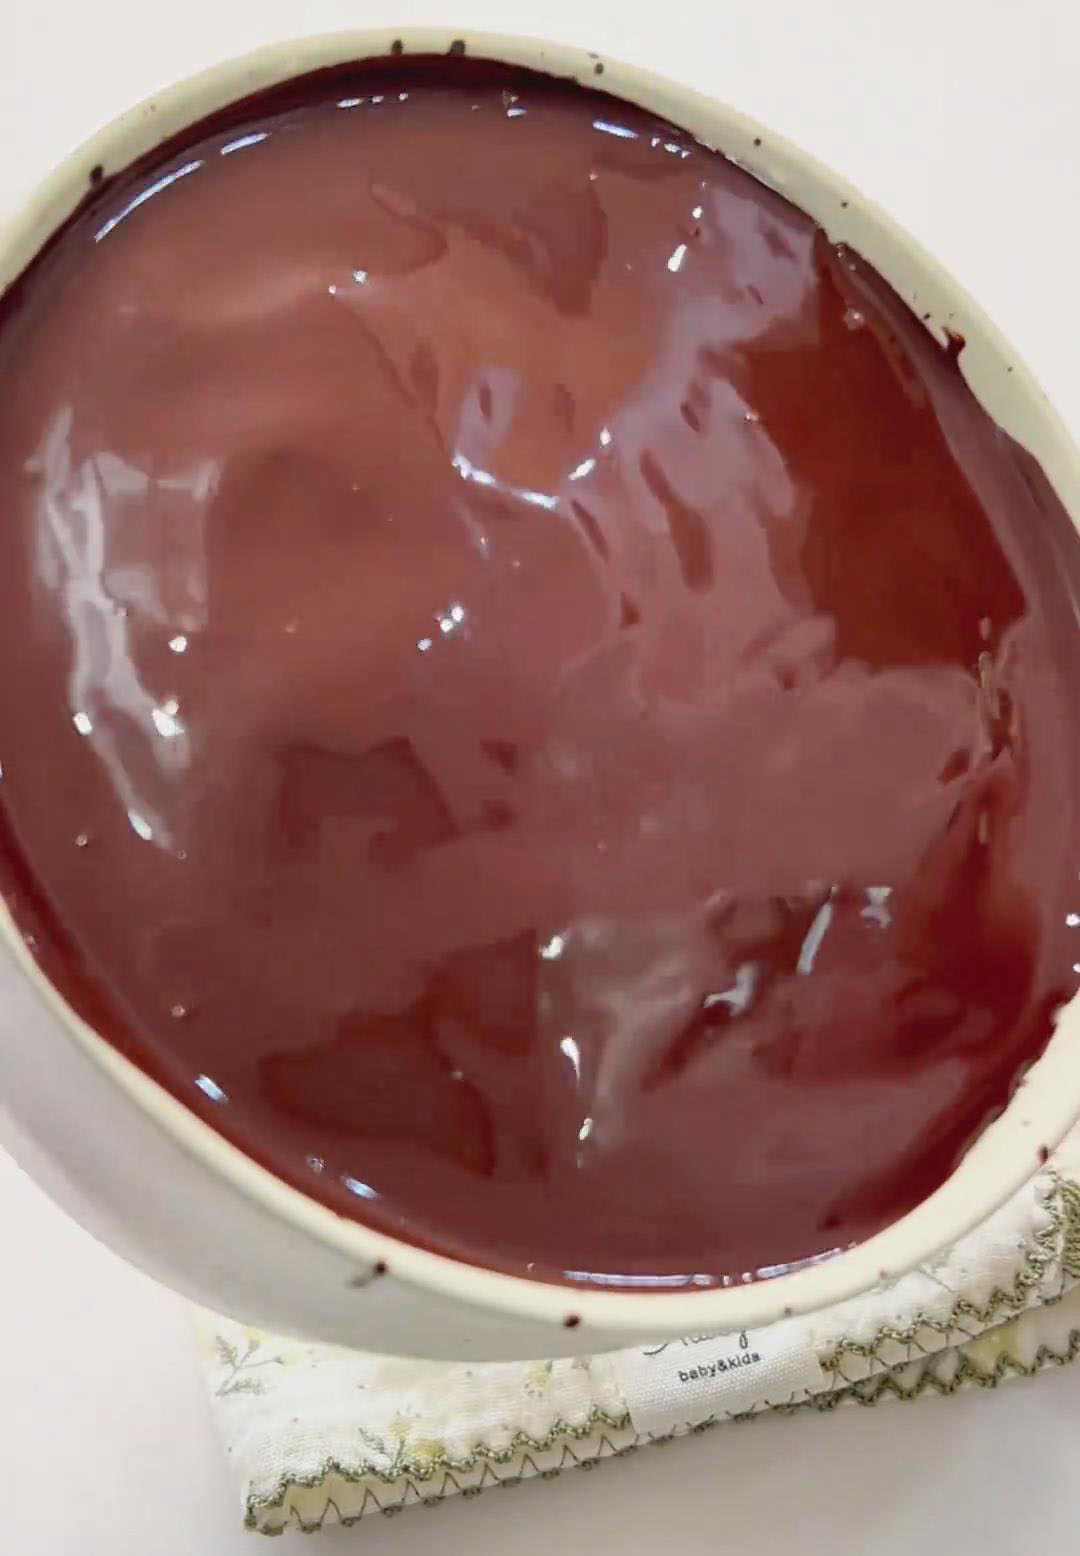 7. Set and Serve
Place the mug in the refrigerator for at least 30 minutes to allow the chocolate crust to harden completely.
Once set, the top will be firm and glossy. Enjoy directly from the mug with a spoon!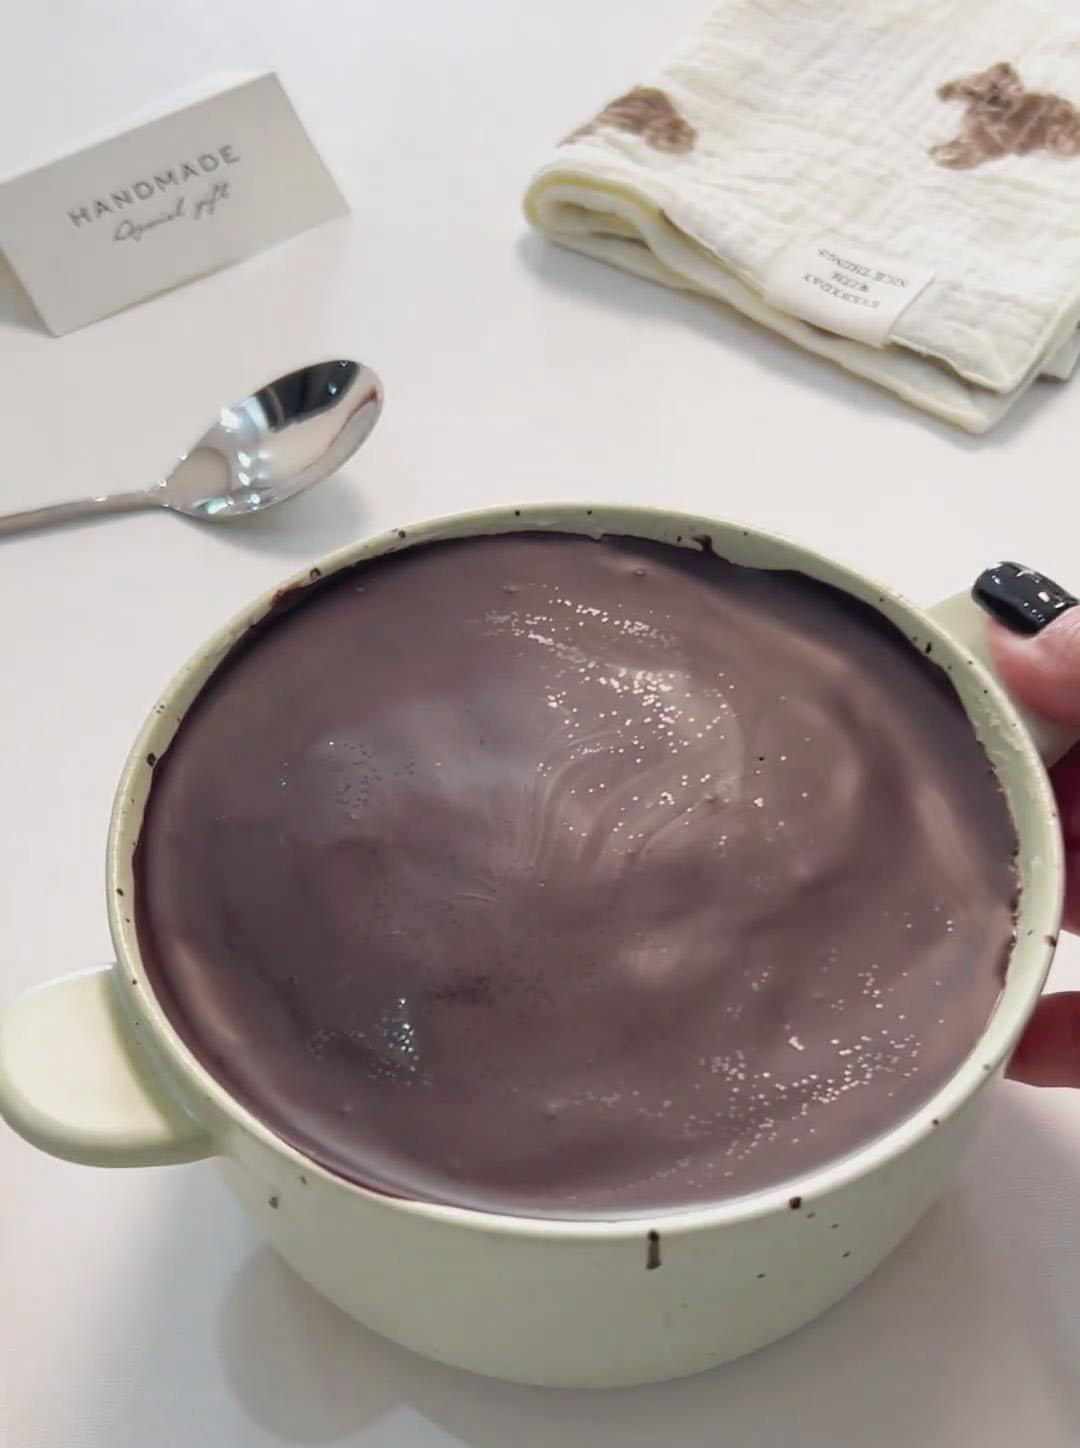
Tips & Tricks
- Whip the eggs properly — You want thick, pale ribbons to keep the brownie soft and airy.
- Fold gently — Overmixing or stirring too aggressively will deflate the batter.
- Sift all dry ingredients — This prevents lumps and keeps the brownie texture smooth.
- Fully soften the cream cheese — Otherwise it won’t blend smoothly and may leave small lumps.
- Let chocolate cool before pouring — Hot chocolate will melt the cream cheese layer and won’t set correctly.
- Chill before eating — The top layer needs time to become crisp.
Frequently Asked Questions
Why is my brownie dense or collapsed?
The eggs may not have been whipped enough, or the batter was overmixed and lost its airiness.
My cream cheese layer is grainy — what happened?
Your cream cheese was likely still too cold. It must be softened until easily spreadable.
Why didn‘t my top layer become crisp?
The melted chocolate was probably too hot when poured, causing it to mix into the cream cheese instead of forming a clean shell.
How should I store the mug brownie?
Keep it covered and refrigerated for 3–4 days, or freeze for up to 7 days. Thaw about 10 minutes before eating.
Single-Serve Brownie with Cream Cheese & Chocolate Crunch
Ingredients
For the Brownie Base
- 3 large egg room temperature
- 35 g fine granulated sugar
- 55 g low-gluten cake flour
- 25 g unsweetened cocoa powder
- 30 g unsalted butter
- 35 g dark chocolate approx. 70% cocoa
For the Cream Cheese Frosting
- 180 g cream cheese room temperature
- 15 g fine granulated sugar
For the Chocolate Crust
- 45 g dark chocolate approx. 70% cocoa
Instructions
Prepare Your Mug and Ingredients
- Take your cream cheese out of the fridge to soften. Choose a large, microwave-safe mug (at least 12 oz / 350ml capacity). Ensure all ingredients are measured and ready.
Make the Brownie Batter
- In a small mixing bowl, combine the room-temperature egg and 35g of sugar. Use a hand whisk or electric mixer to beat them together vigorously for 2-3 minutes until the mixture becomes pale yellow, thick, and forms ribbons that slowly disappear when you lift the whisk.
- Sift the 55g of cake flour and 25g of cocoa powder directly into the egg mixture.
- Use a spatula to gently fold the dry ingredients in until just combined and no dry pockets remain. Be careful not to overmix.
- Melt the butter and dark chocolate together over a hot-water bath, cool slightly, then pour into the batter and fold to combine.
Cook the Brownie Base
- Pour the brownie batter into your mug or baking vessel and smooth the top.
- Bake at 180°C for 20 minutes, or microwave in short intervals until set in the center.
- Place on a cooling rack and let it cool completely to room temperature (about 30 minutes).
Prepare the Cream Cheese Frosting
- While the brownie cools, make the frosting.
- In a small bowl, combine the softened 180g of cream cheese and 15g of sugar.
- Stir vigorously with a spatula or spoon until the mixture is completely smooth, creamy, and free of any lumps. Set aside.
Make the Chocolate Crust
- Place the 45g of dark chocolate in a clean microwave-safe bowl. Melt it using the same 20-second burst method, stirring until smooth. Let it cool for 2-3 minutes until it is no longer hot to the touch but still liquid.
Assemble the Layers
- Once the brownie base is completely cool, spread the cream cheese frosting evenly over the top with a spoon or small spatula.
- Carefully pour the cooled, melted chocolate over the cream cheese layer. Gently tilt and rotate the mug to encourage the chocolate to flow and cover the entire surface in a thin, even layer.
Set and Serve
- Place the mug in the refrigerator for at least 30 minutes to allow the chocolate crust to harden completely. Once set, the top will be firm and glossy. Enjoy directly from the mug with a spoon!
Leave a Reply