
Make this beautiful Strawberry Cream Naked Cake using just one 6-inch pan! Fresh strawberries, soft sponge, and light cream—simple, elegant, and perfect for celebrations.
Easy Strawberry Cream Naked Cake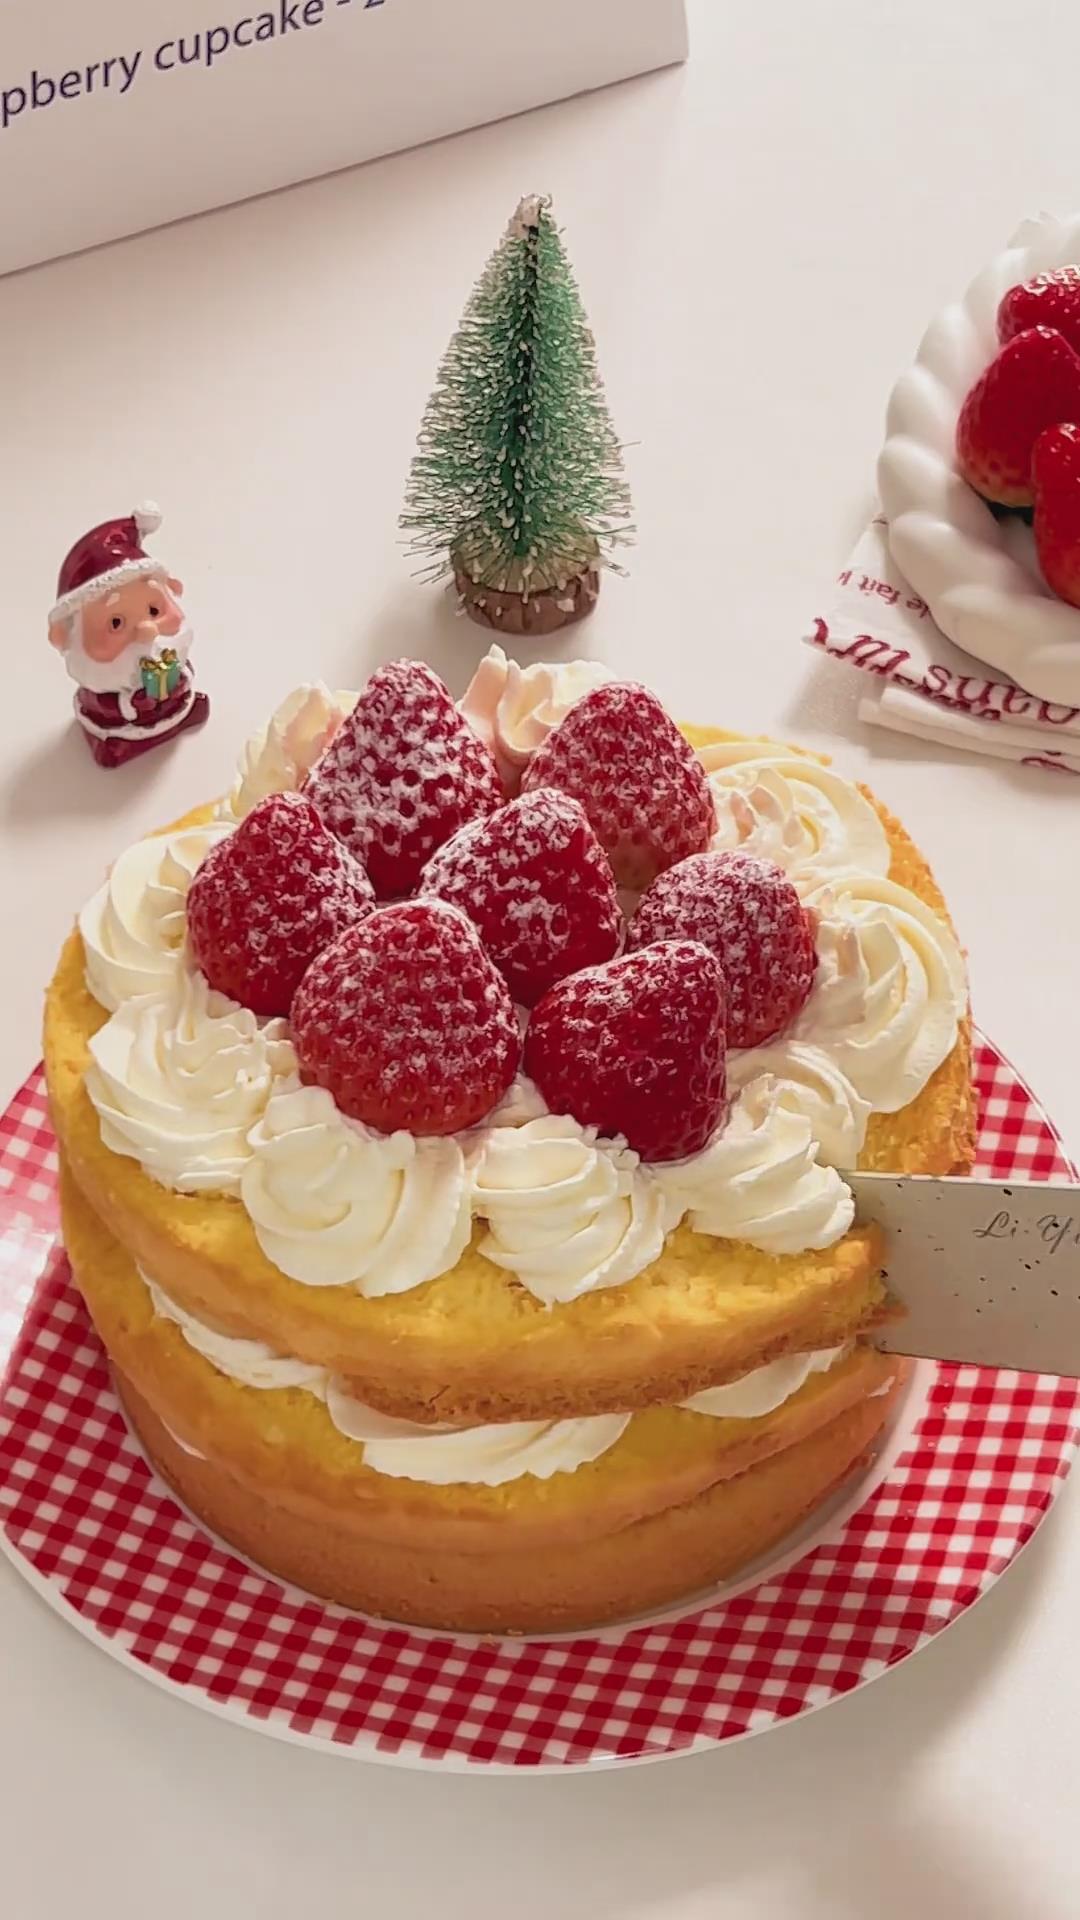
You probably already know this about me, but I love making desserts with fresh fruit. Strawberries, especially, have a special place in my kitchen.
So when strawberry season finally rolled around, I felt that familiar spark of excitement.
It was officially time to bring out all my strawberry dessert ideas again.
And at the top of my list? This soft, fluffy, and dreamy Strawberry Cream Naked Cake.
I made this cake for my daughter’s birthday, and the moment she saw it, she literally started jumping up and down with excitement.
After tasting it, she told me it was even better than the store-bought cakes.
To be honest, that made me a little nervous—I’m scared she might request the exact same cake every year from now on!
One thing I really wanted with this recipe was simplicity.
A lot of naked cake recipes require baking three separate layers, which can be stressful if your oven doesn’t fit multiple pans (mine definitely doesn’t).
So I took the easier route: I bake one tall cake in a 6-inch pan and slice it into three layers using a serrated knife.
It’s so much more space– and time-efficient, and the layers turn out just as beautiful.
Why You‘ll Love This Recipe
- Soft, fluffy, reliable chiffon cake. The technique ensures a perfectly risen, bouncy cake that stays light and tender.
- Silky, lightly sweetened whipped cream. With just the right amount of sugar, it complements the strawberries without overpowering them.
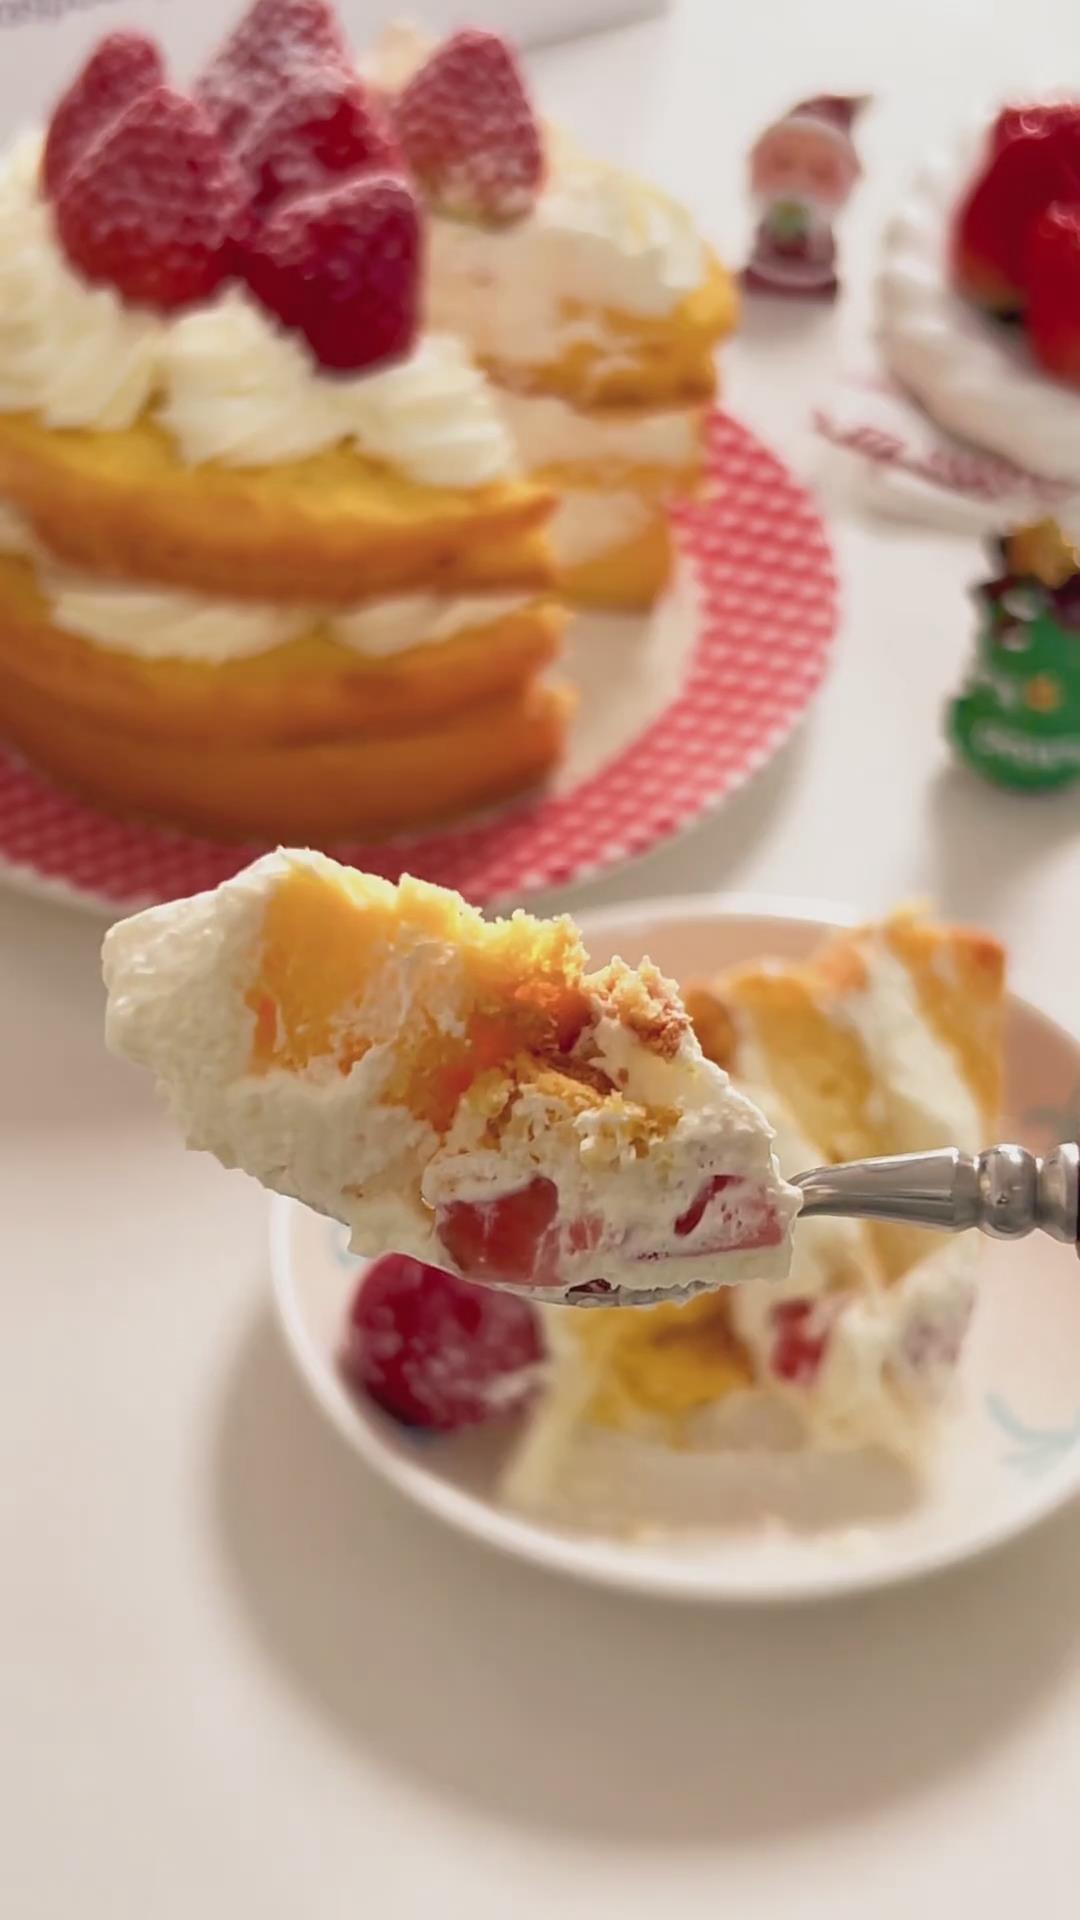
- Fresh strawberries in every bite. Juicy, tart, and sweet strawberries brighten the cream and bring the whole cake to life.
- Beautiful naked-cake look. With exposed layers and fresh berries on top, it’s naturally elegant without needing complicated decorating skills.
- Perfect for make-ahead. The cake components can be prepared ahead, making assembly easy and stress-free.
Ingredients and Substitutions
Cake Ingredients
Eggs – The recipe uses 3 medium eggs, separated. Room-temperature eggs whip more easily and help the chiffon rise higher. Make sure the egg whites stay completely free of oil or yolk so they whip properly.
Milk – Whole milk adds moisture and tenderness to the chiffon. If you don’t have milk, water can be used, but milk gives better texture.
Corn oil – Use a neutral, light-flavoured oil like soybean or sunflower oil so it doesn’t interfere with the cake’s delicate flavour. Avoid strongly aromatic oils like peanut oil.
Cake flour – Low-gluten flour is essential for a soft chiffon. It prevents the batter from becoming dense. Don’t substitute it with all-purpose flour.
Granulated sugar (for meringue) – Adding sugar in three stages helps create a stable, glossy meringue, ensuring the cake rises tall and airy.
Cream & Filling Ingredients
Heavy cream (30–36% fat) – Higher-fat cream whips better and gives a smooth, silky texture. I don’t recommend non-dairy whipping cream because the flavour and mouthfeel are noticeably different.
Granulated sugar (for cream) – Adjust sweetness to taste. This amount lightly sweetens the cream without overpowering the strawberries or cake.
Fresh strawberries – Choose fresh, firm, sweet-tart berries. Some will be diced for the filling and the rest used whole for decoration.
Powdered sugar – Optional, but adds a delicate, snowy finish on top.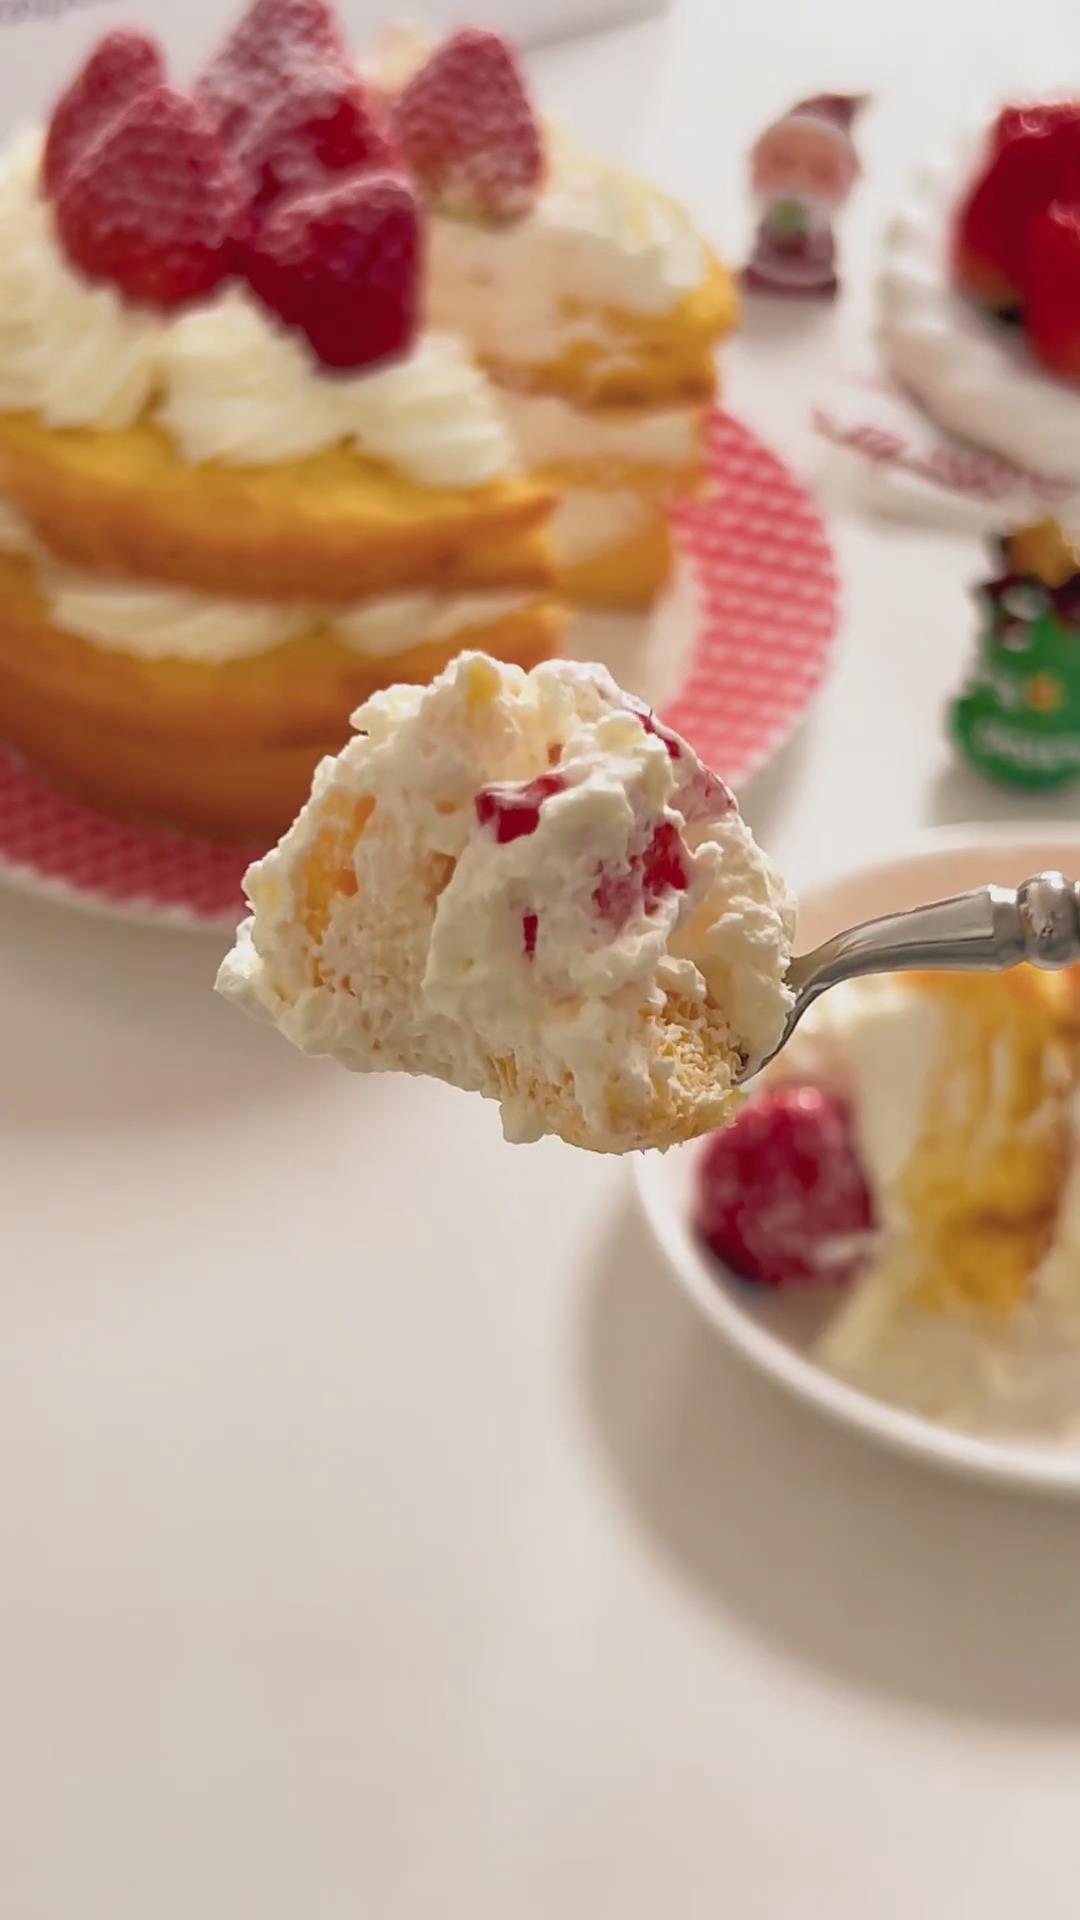
How to Make Strawberry Cream Naked Cake
1. Prepare the Ingredients
Bring eggs to room temperature, then separate the yolks and whites. The bowl for the egg whites must be completely clean, dry, and free of any fat.
Wash the strawberries, pat them dry. Dice some for the filling, and keep a few whole for decoration — I used 7 whole ones on top.
Preheat your oven to 150°C (top and bottom heat) for 10 minutes.
2. Make the Egg Yolk Batter
In a mixing bowl, combine 45 ml milk and 35 ml corn oil. Whisk until fully emulsified and smooth.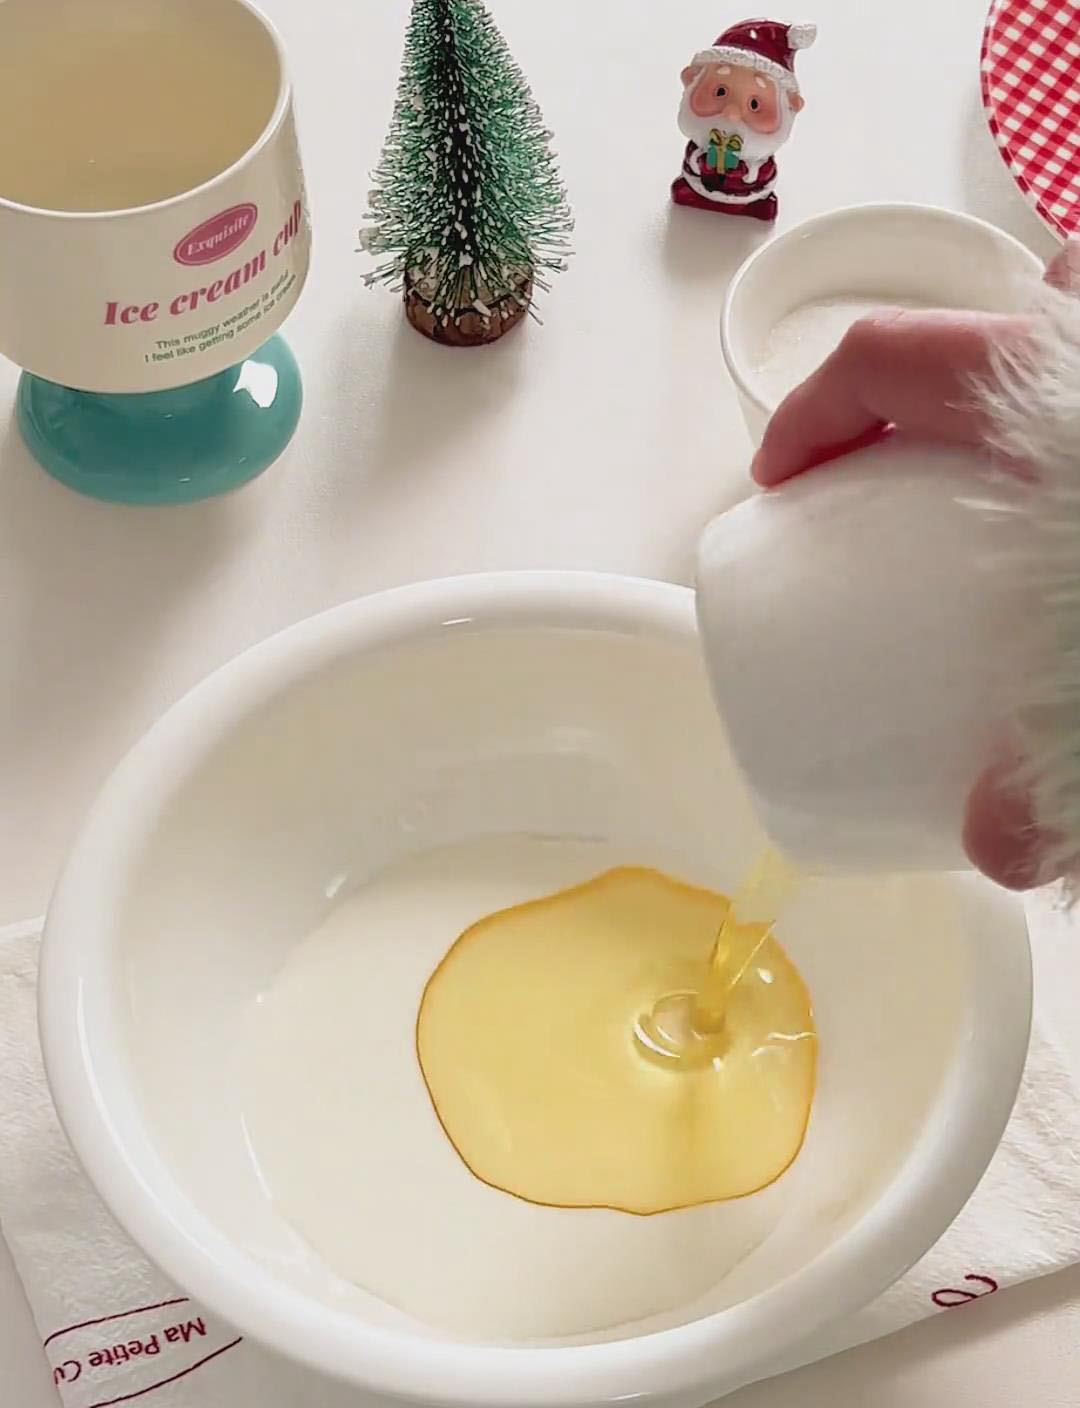
Sift in the cake flour and mix using a Z-shaped motion until no dry flour remains.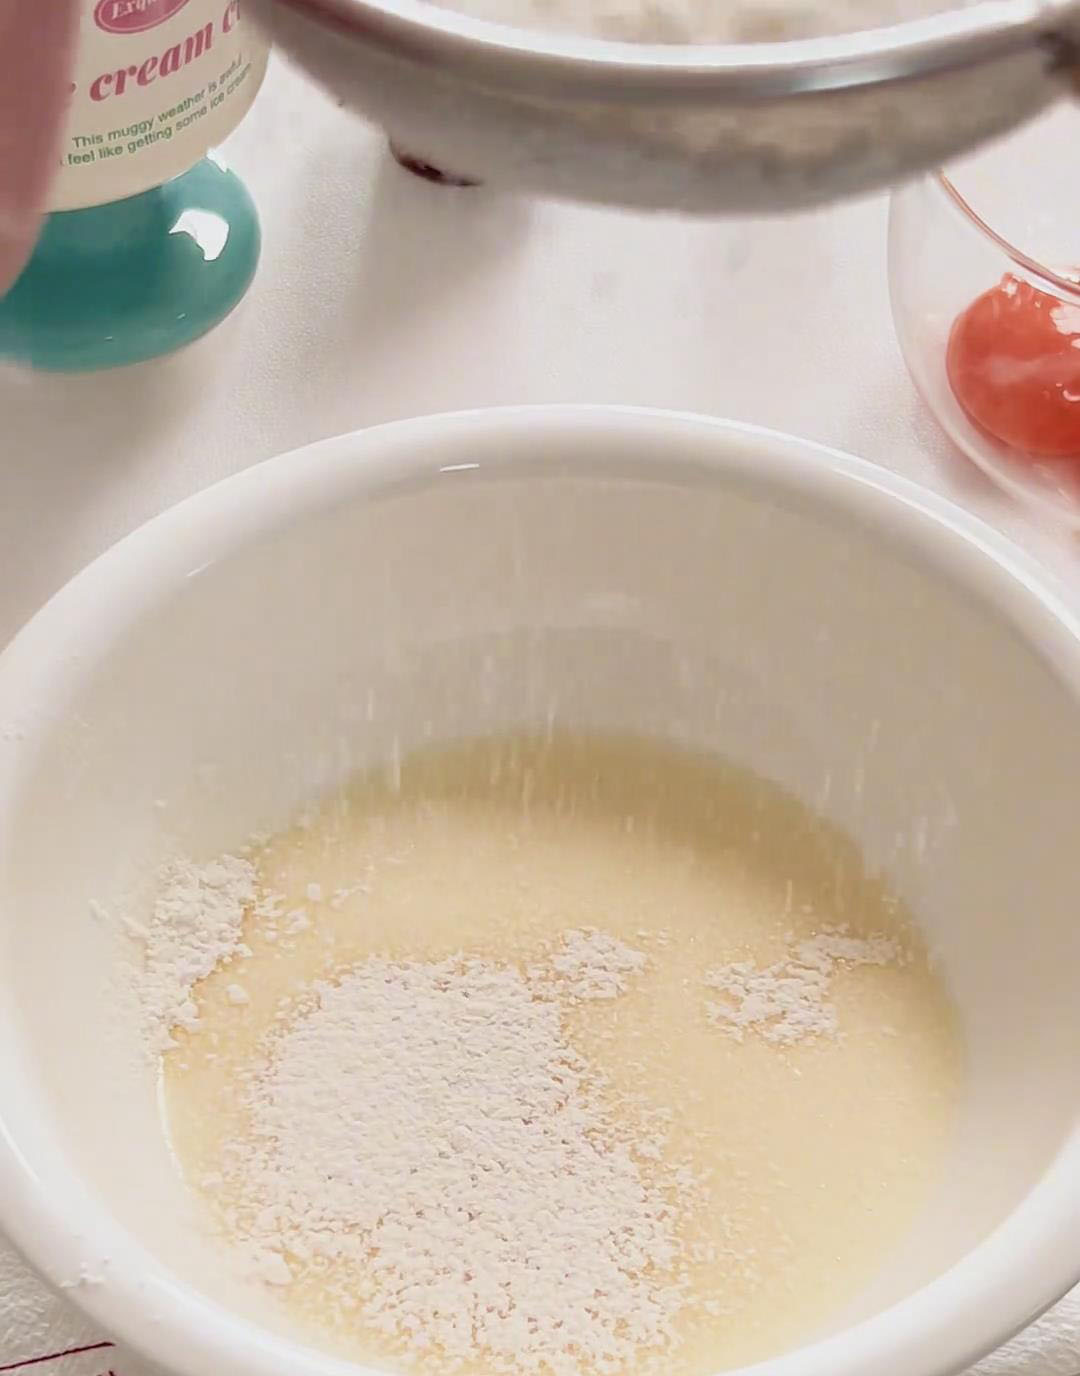
Add the 3 egg yolks and mix again in a Z-motion until the batter becomes smooth and cohesive.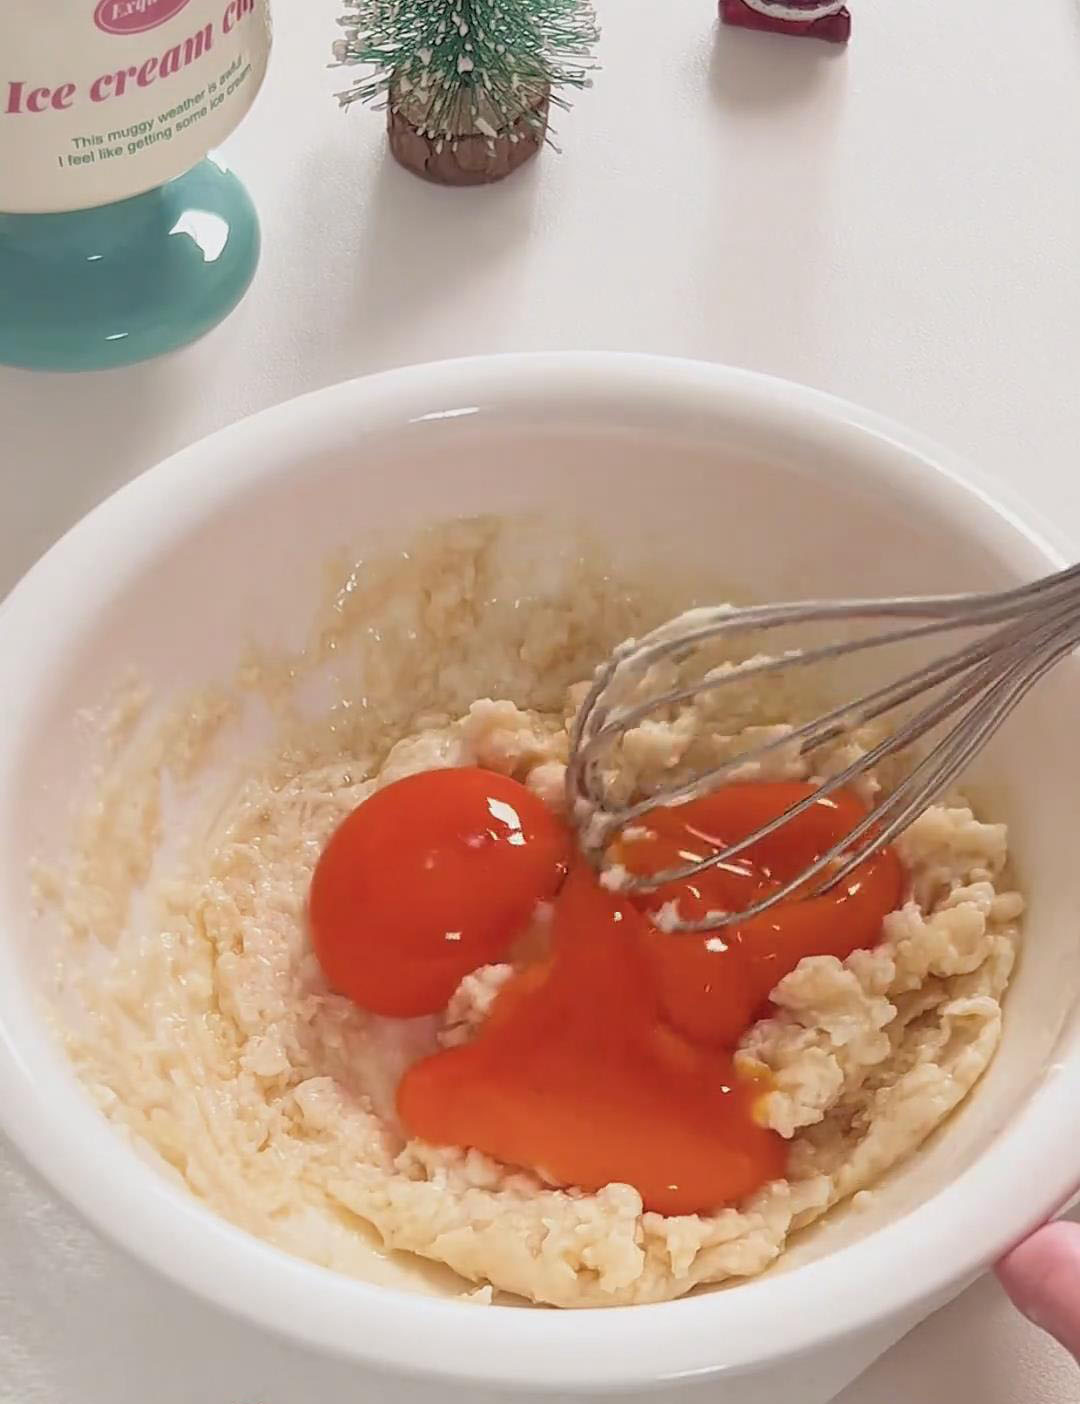

3. Make the Meringue
Beat the egg whites on medium-high speed until large bubbles form. Add 1/3 of the sugar (≈17g).
Continue beating until bubbles become fine. Add the second 1/3 sugar.
When lines appear in the meringue, add the final 1/3 sugar.
Beat on low to stabilize the meringue until it forms stiff peaks (straight, firm tips).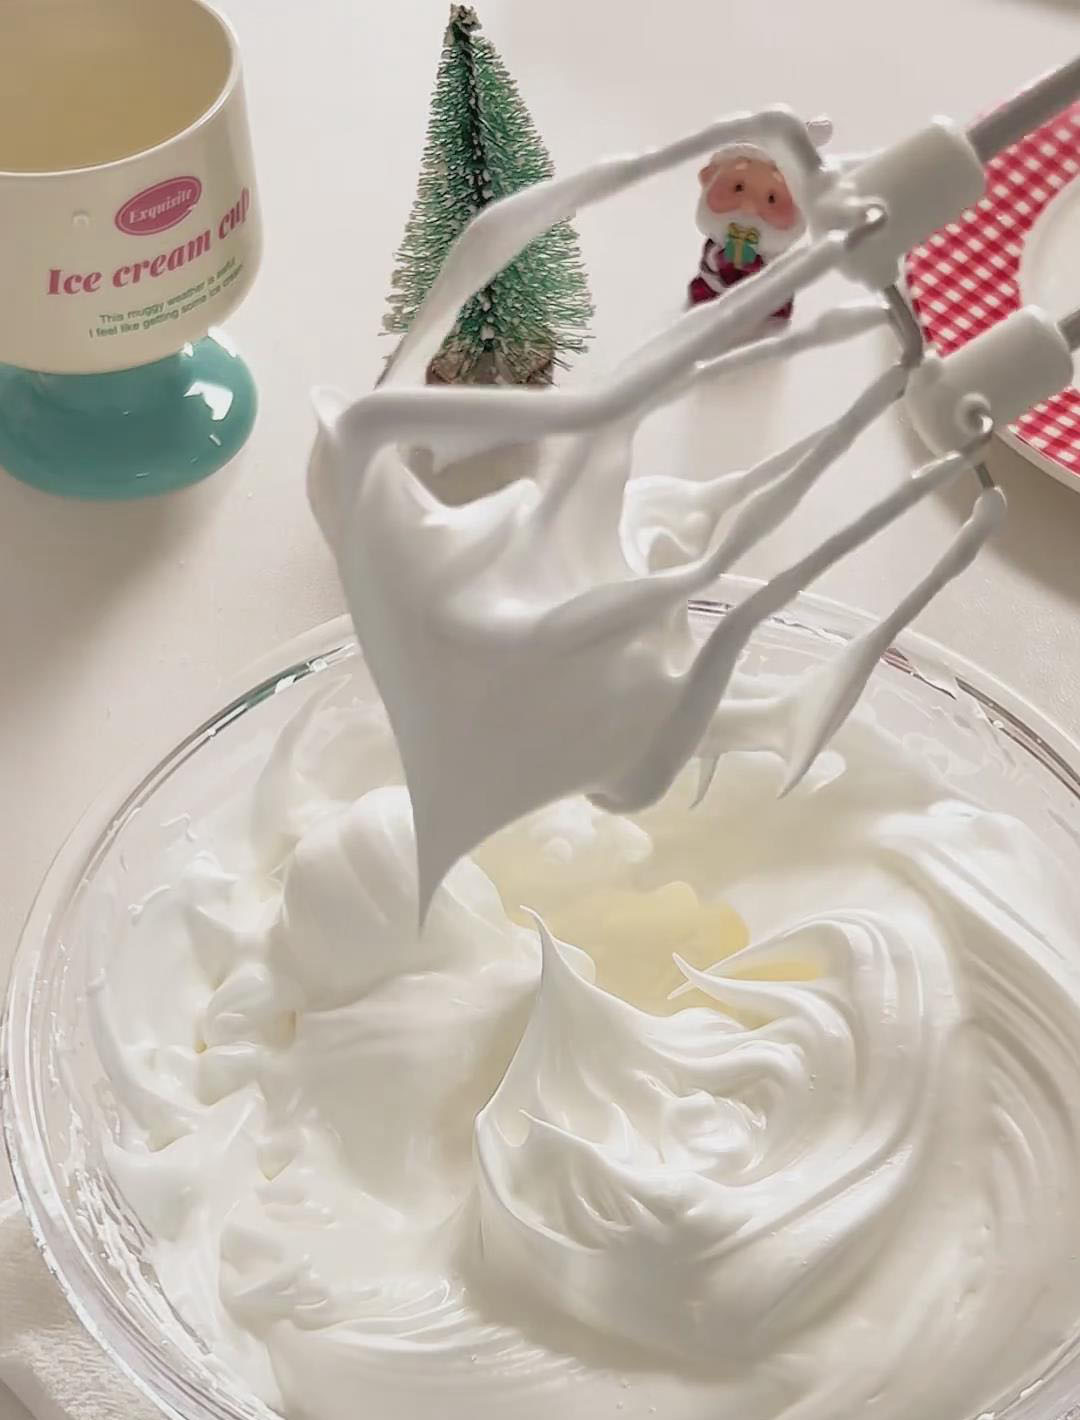
4. Combine the Batter & Bake
Add 1/3 of the meringue into the yolk batter and fold gently from bottom to top.
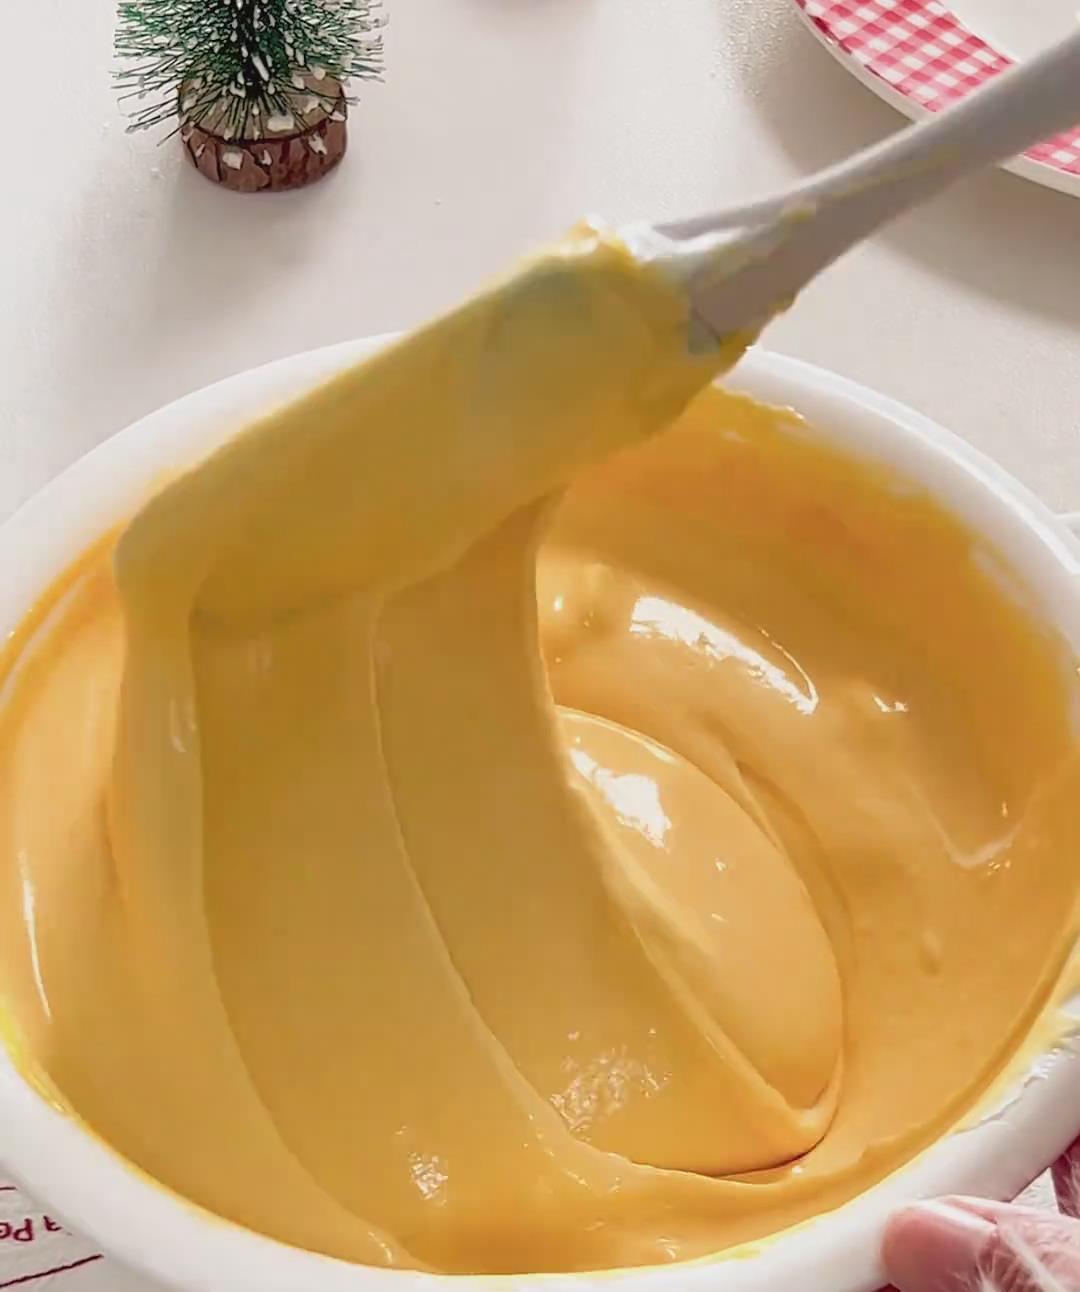 Pour this mixture back into the remaining meringue and fold until fully combined.
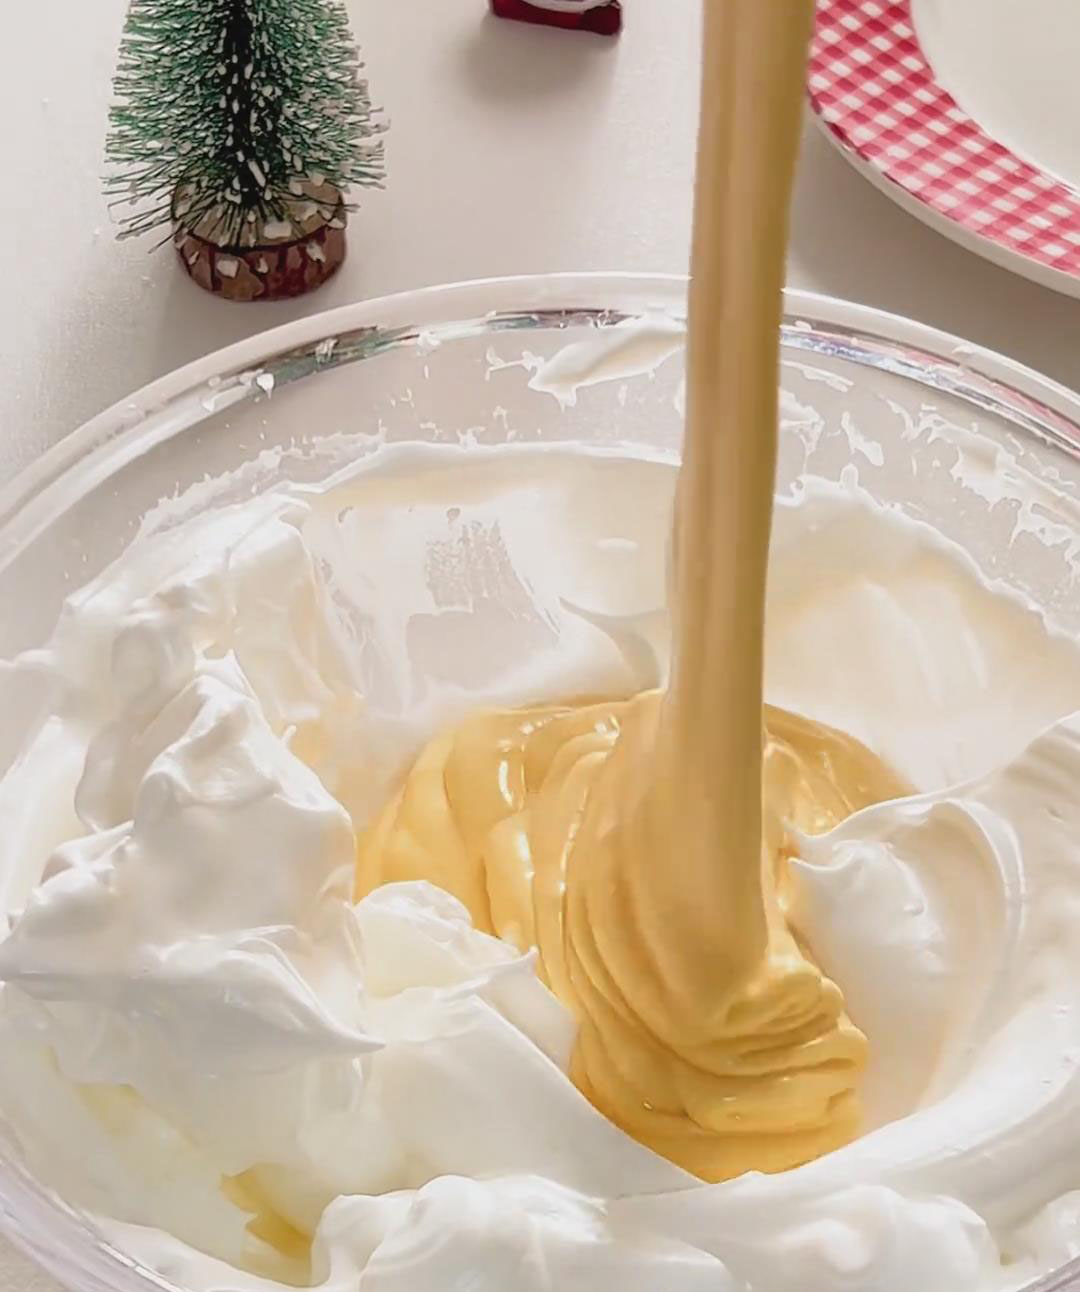
Pour the batter into a 6-inch cake pan. Tap the pan 3–5 times to release big air bubbles and pop surface bubbles with a toothpick.
Bake at 180°C for 50 minutes on the middle rack.
Remove from the oven and immediately invert the cake onto a cooling rack. Cool completely (about 30 minutes).
5. Whip the Cream & Assemble
Whip 400 ml heavy cream + 25 g sugar on medium speed until soft peaks with clear lines form. Transfer the whipped cream to a piping bag fitted with a large round or star tip.
Slice the cooled cake horizontally into three 2-cm layers.
Place the first layer on your serving plate.
Pipe or spread cream, add diced strawberries, and swirl more cream on top. Add the second cake layer.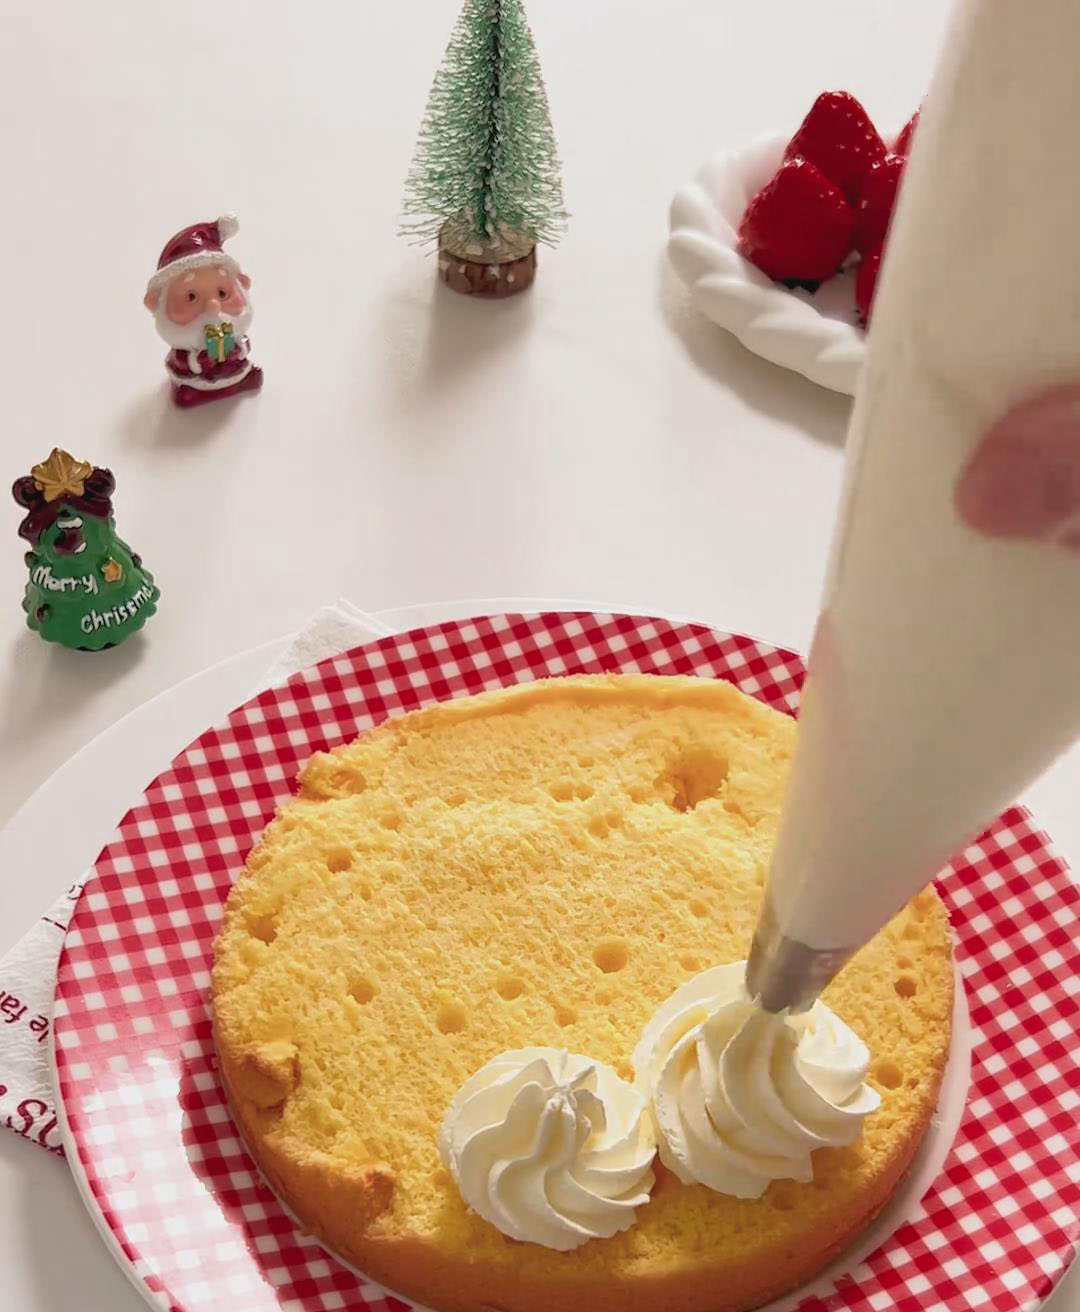

Repeat the cream → strawberries → cream pattern.
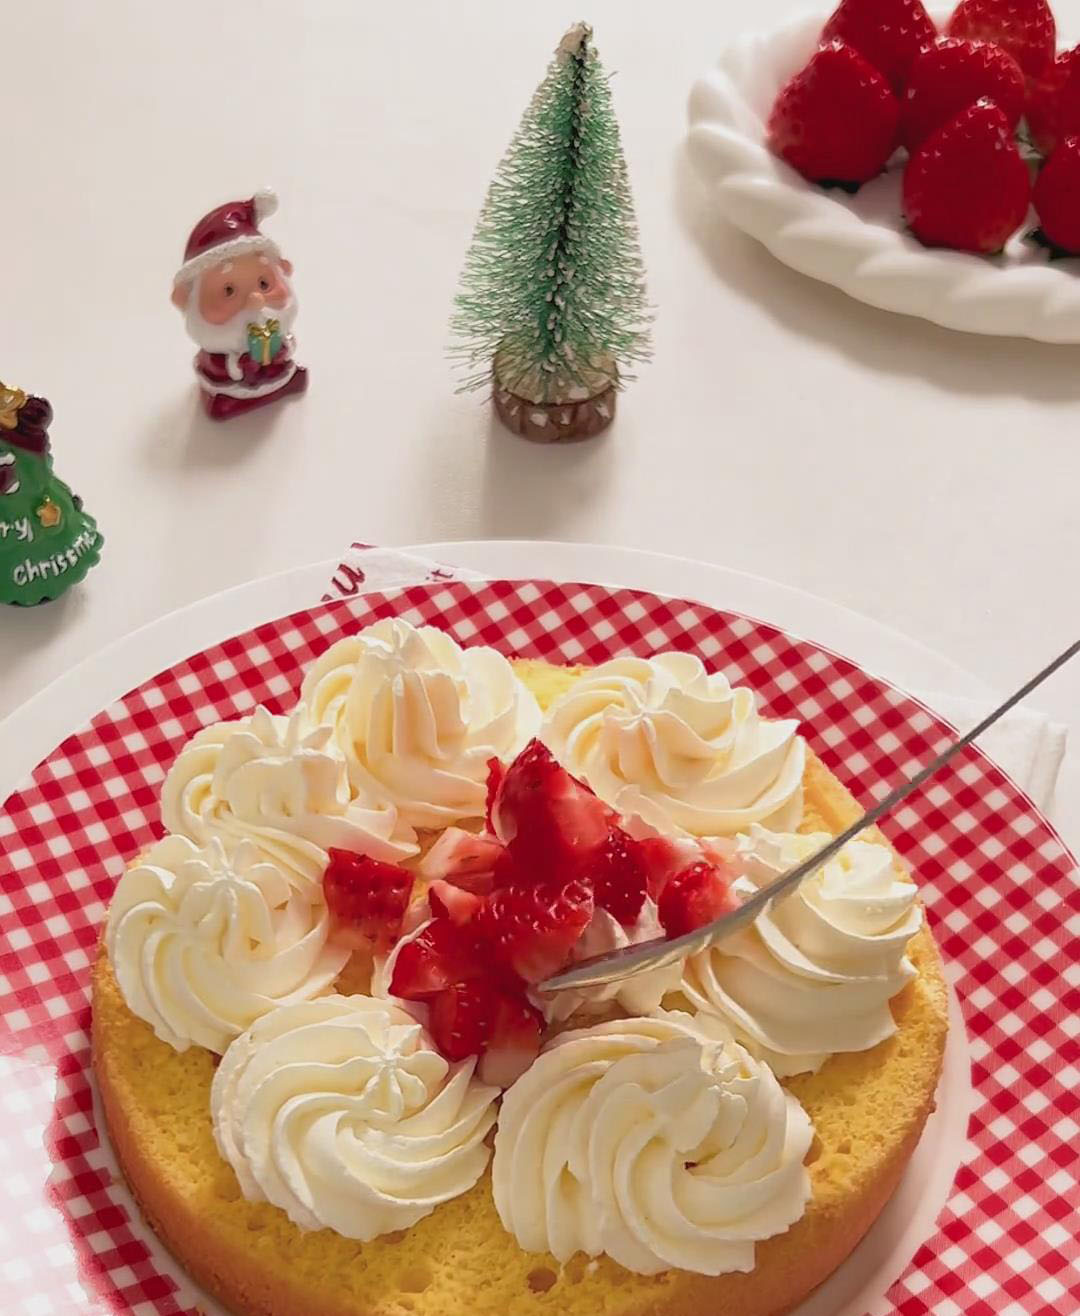
Place the third cake layer on top. Pipe cream and arrange whole strawberries (I used 7).
Dust with powdered sugar to finish.
Tips & Tricks
- Whip the meringue properly – Stiff peaks are essential. Under-whipped or over-whipped egg whites can collapse the cake.
- Fold gently – Use light, sweeping motions to avoid deflating the batter.
- Invert the cake immediately after baking – This prevents collapse and ensures a tall, fluffy sponge.
- Keep ingredients cold for whipping cream – Chill the cream, bowl, and beaters to ensure smooth, stable whipped cream.
- Dry the strawberries well – Excess moisture can cause the cream to slide or the cake layers to soften too much.
- Use a serrated knife for slicing – Gently saw back and forth to avoid squishing the sponge.
Frequently Asked Questions
How should I store this cake?
Keep the cake refrigerated in an airtight container for 1–2 days. Strawberries spoil quickly, so it’s best enjoyed the same day or the next day.
Can I make the cake ahead of time?
Yes. You can bake the chiffon cake a day ahead and store it wrapped in the fridge. Assemble the cake on the day you plan to serve.
Why did my cake shrink or collapse?
This usually happens if the meringue deflated during folding or if the cake was under-baked. Next time, make sure the meringue reaches stiff peaks and bake for the full 50 minutes.
My cream became grainy—what happened?
It was likely over-whipped. Stop whipping as soon as you see soft peaks with clear lines.

The Prettiest Strawberry Naked Cake — No Frosting Skills Needed
Ingredients
For the Chiffon Cake
- 3 large eggs separated and at room temperature
- 45 ml whole milk at room temperature
- 35 ml corn oil or other neutral vegetable oil
- 55 g low-gluten cake flour
- 50 g fine granulated sugar for the egg whites
For the Cream Frosting & Filling
- 400 ml cold whipping cream heavy cream, 30-36% fat
- 25 g fine granulated sugar
- 300 g fresh strawberries divided (some diced for filling, some kept whole for decoration)
- Powdered sugar for dusting (optional)
Instructions
Prepare the Ingredients
- Bring eggs to room temperature, then separate the yolks and whites. The bowl for the egg whites must be completely clean, dry, and free of any fat.
- Wash the strawberries, pat them dry. Dice some for the filling, and keep a few whole for decoration — I used 7 whole ones on top.
- Preheat your oven to 150°C (top and bottom heat) for 10 minutes.
Make the Egg Yolk Batter
- In a mixing bowl, combine 45 ml milk and 35 ml corn oil. Whisk until fully emulsified and smooth.
- Sift in the cake flour and mix using a Z-shaped motion until no dry flour remains.
- Add the 3 egg yolks and mix again in a Z-motion until the batter becomes smooth and cohesive.
Make the Meringue
- Beat the egg whites on medium-high speed until large bubbles form. Add 1/3 of the sugar (≈17g).
- Continue beating until bubbles become fine. Add the second 1/3 sugar.
- When lines appear in the meringue, add the final 1/3 sugar.
- Beat on low to stabilize the meringue until it forms stiff peaks (straight, firm tips).
Combine the Batter & Bake
- Add 1/3 of the meringue into the yolk batter and fold gently from bottom to top.
- Pour this mixture back into the remaining meringue and fold until fully combined.
- Pour the batter into a 6-inch cake pan. Tap the pan 3–5 times to release big air bubbles and pop surface bubbles with a toothpick.
- Bake at 180°C for 50 minutes on the middle rack.
- Remove from the oven and immediately invert the cake onto a cooling rack. Cool completely (about 30 minutes).
Whip the Cream & Assemble
- Whip 400 ml heavy cream + 25 g sugar on medium speed until soft peaks with clear lines form. Transfer the whipped cream to a piping bag fitted with a large round or star tip.
- Slice the cooled cake horizontally into three 2-cm layers.
- Place the first layer on your serving plate. Pipe or spread cream, add diced strawberries, and swirl more cream on top. Add the second cake layer.
- Repeat the cream → strawberries → cream pattern.
- Place the third cake layer on top. Pipe cream and arrange whole strawberries (I used 7).
- Dust with powdered sugar to finish.
Leave a Reply