
These pork floss mochi pancakes are soft, fluffy, and filled with a stretchy, chewy mochi center. The sweet pancake pairs perfectly with savory pork floss for an addictive sweet-salty bite. No oven needed and perfect for breakfast or dessert.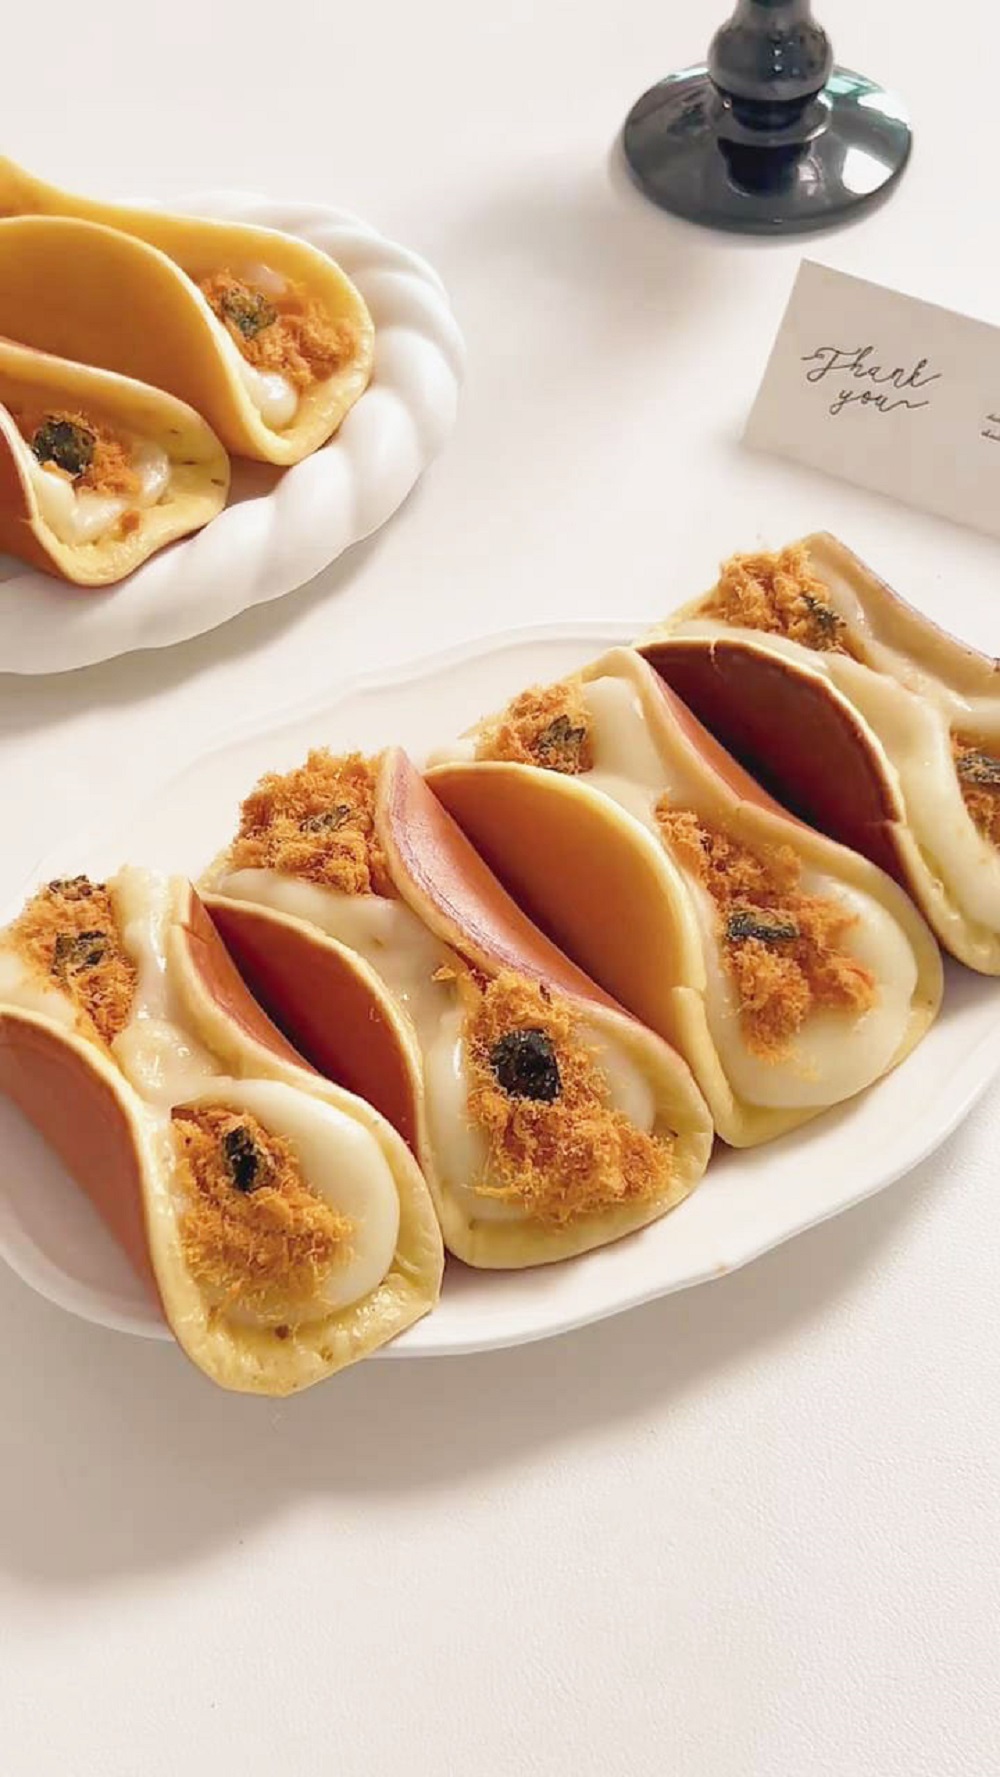
I have absolutely no resistance to chewy, stretchy mochi. That soft, bouncy texture is completely addictive, and fluffy pancakes are another one of my all-time favourites. Light, tender, and gently milky, they’re the kind of comfort food that instantly makes everything feel better.
When these two favourites come together, you get this mochi pancake.
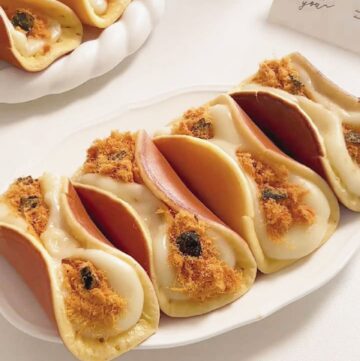
Thick, pillowy pancakes packed with eggy flavour, wrapped around an extra-generous layer of stretchy, Q-bouncy mochi inside.
If you have pork floss on hand, I highly recommend adding it. The sweet-and-savory combination really shines here — every bite feels like the best of both worlds, and it’s genuinely hard to stop eating once you start.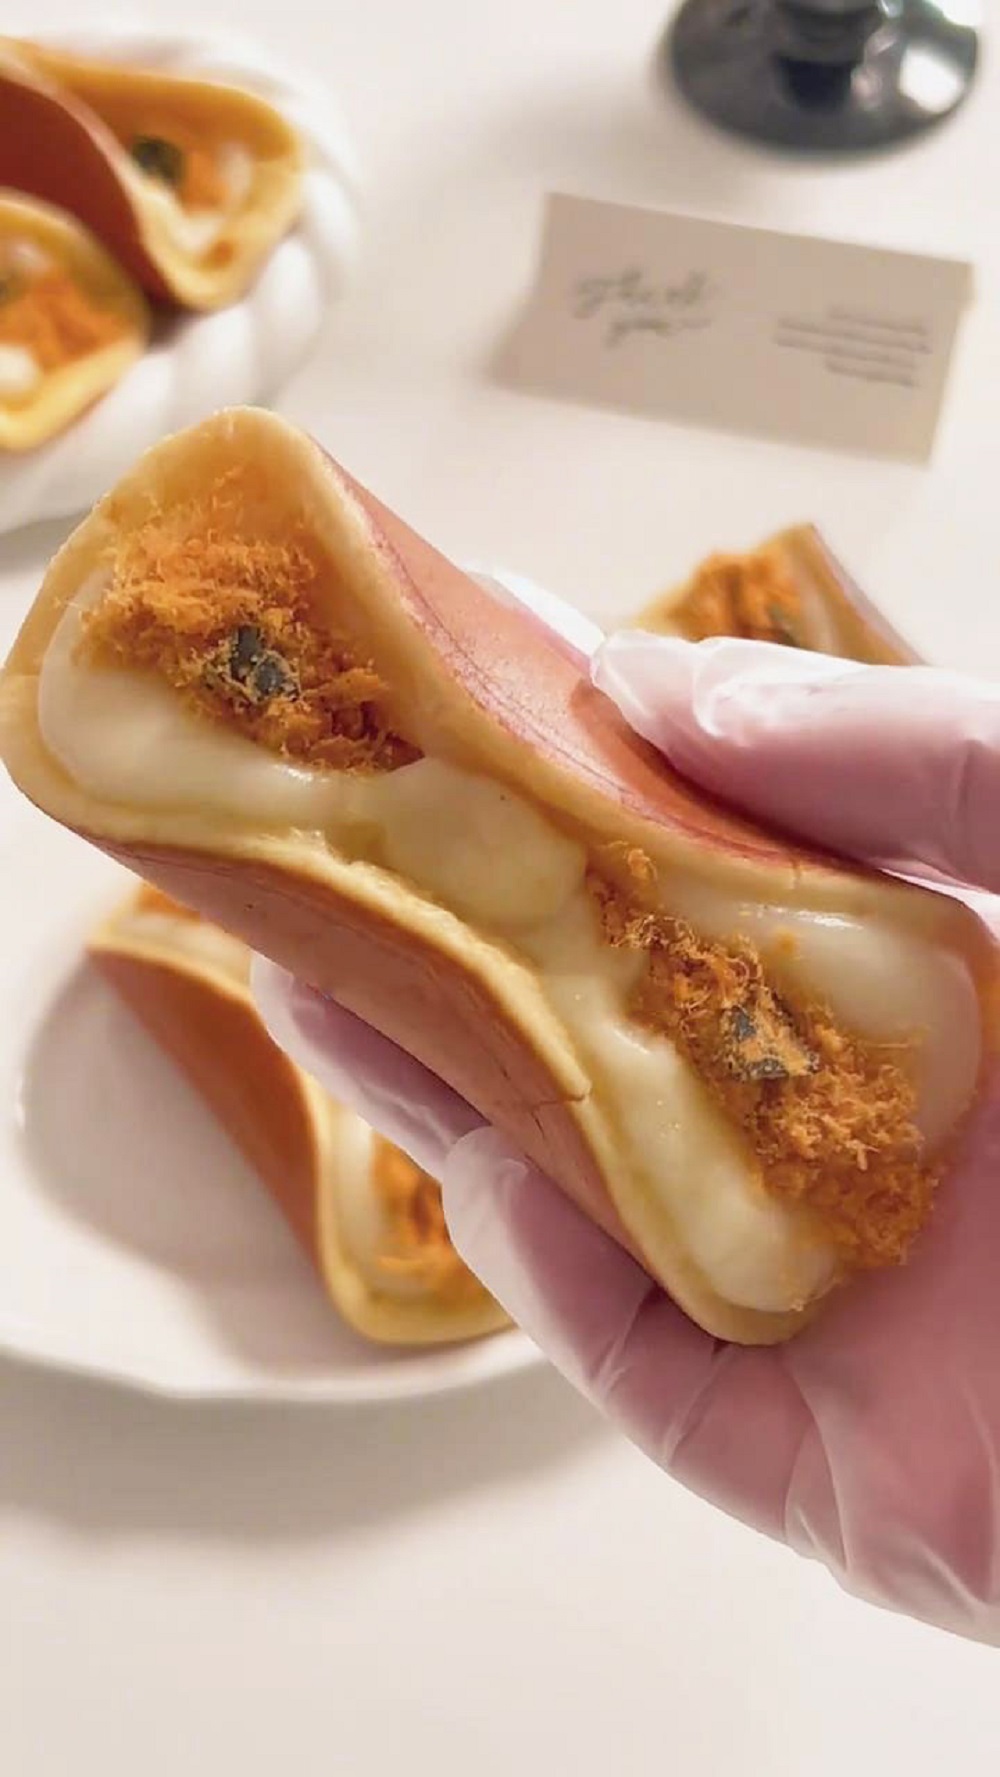
Why You‘ll Love This Recipe
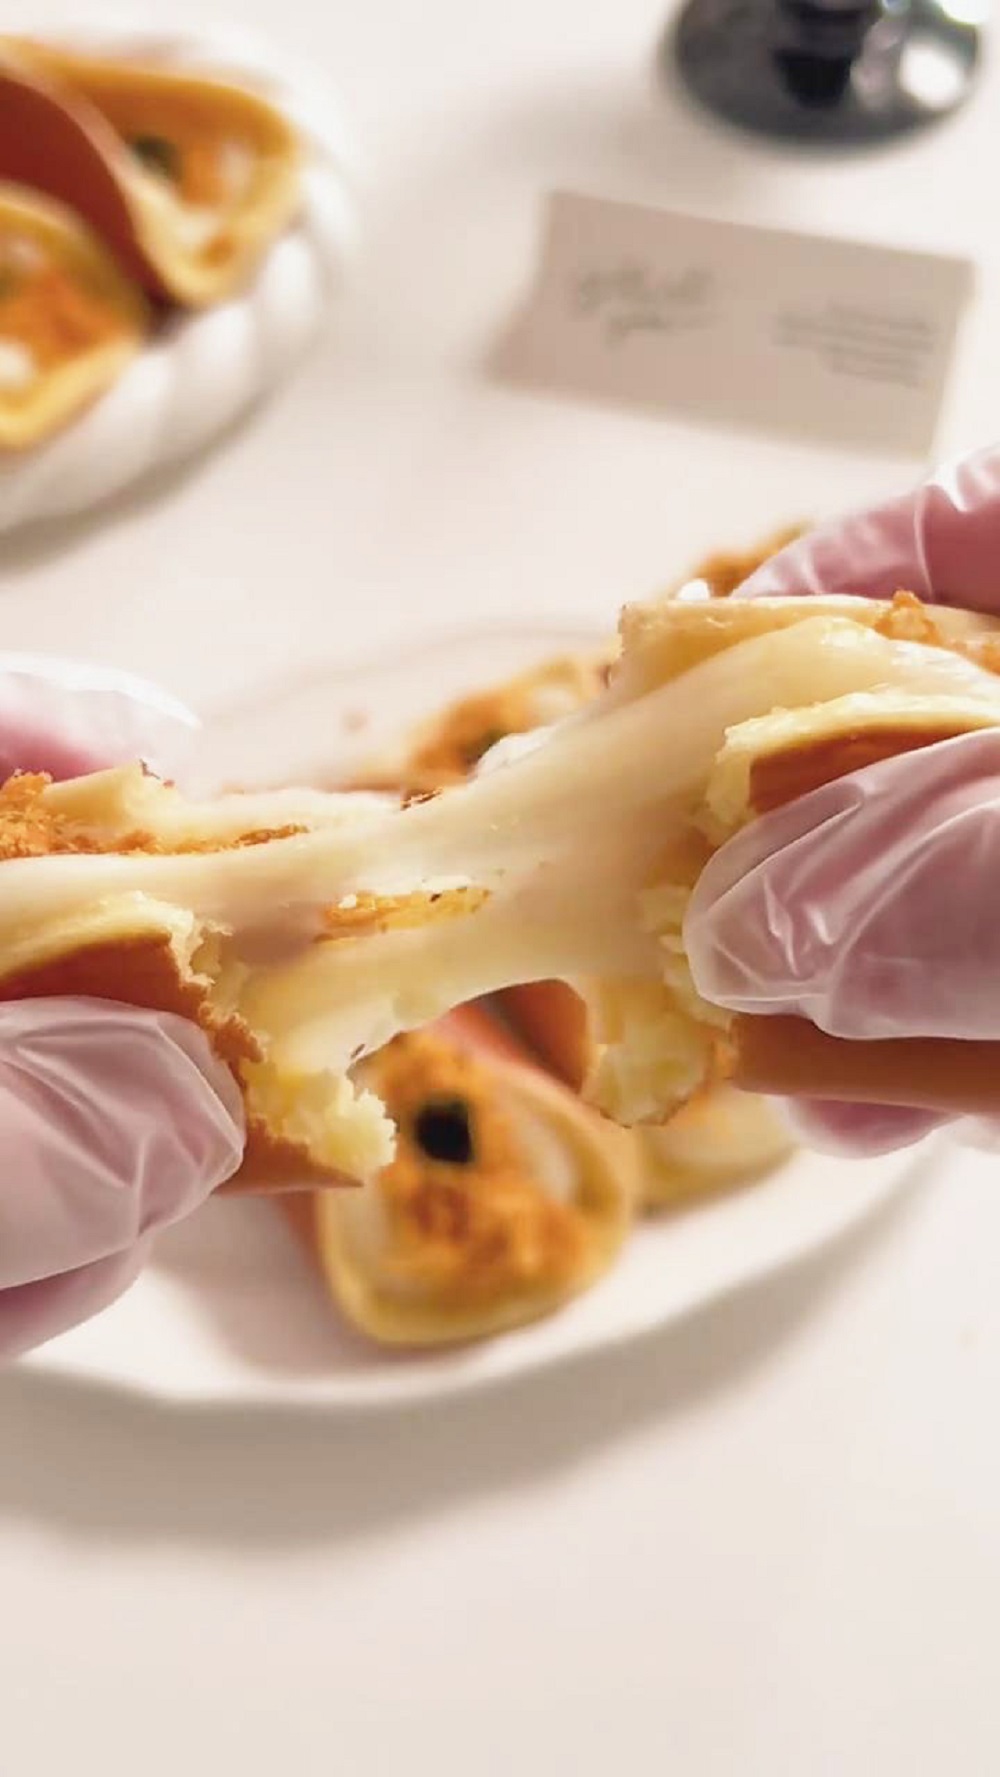
- These mochi pancakes are soft, fluffy, and chewy all at once, with incredible texture contrast.
- The sweet pancake and mochi pair perfectly with savory pork floss, creating a balanced sweet-salty flavour.
- The recipe is pan-fried and oven-free, making it perfect for small kitchens or quick desserts.
- Everything can be made with simple pantry ingredients, yet the final result feels bakery-worthy.
Ingredients and Substitutions
Egg Pancake Batter
- Cake flour – Low-gluten flour is essential here. It keeps the pancake soft and tender and prevents it from becoming chewy. I don’t recommend substituting this with all-purpose flour as the texture will be noticeably different.
- Baking powder – This is the key leavening agent that helps the pancake rise and stay fluffy. The amount is very precise to prevent the pancake from collapsing.
- Granulated sugar – Used to lightly sweeten the pancake. You can adjust slightly depending on your preference, but it’s balanced to complement the savory filling.
- Corn oil – A neutral oil works best. I recommend corn oil or other mild-flavoured vegetable oils like soybean or sunflower oil. Avoid strongly flavoured oils.
- Eggs – Room-temperature eggs blend more smoothly into the batter and help create a silky, lump-free texture.
- Milk – Whole milk adds moisture and softness to the pancake batter. If needed, water can be used, but the pancakes will be slightly less rich.
Mochi Filling
- Glutinous rice flour – This is essential for achieving that soft, stretchy mochi texture. Do not substitute with tapioca starch, as the texture will be completely different.
- Cornstarch – Helps strengthen the mochi structure and reduces excessive stickiness. Combined with glutinous rice flour, it creates the perfect chew.
- Granulated sugar – Lightly sweetens the mochi and balances the overall flavour. It also improves the texture and should not be omitted.
- Milk – Whole milk makes the mochi smoother and more tender. Water can be used if necessary, but the mochi will be slightly drier.
- Butter – Adds richness, improves elasticity, and prevents sticking. This is an important ingredient and should not be skipped.
Filling and Garnish
- Pork floss – Plain pork floss works best for its savory, umami flavour. Seaweed pork floss or beef floss can also be used if preferred.
How to Make Pork Floss Mochi Pancakes
Prep & Make the Mochi
In a medium, heatproof bowl, whisk together the glutinous rice flour, cornstarch, and 13g of sugar.
Gradually whisk in the 160ml of milk until you have a completely smooth, lump-free batter.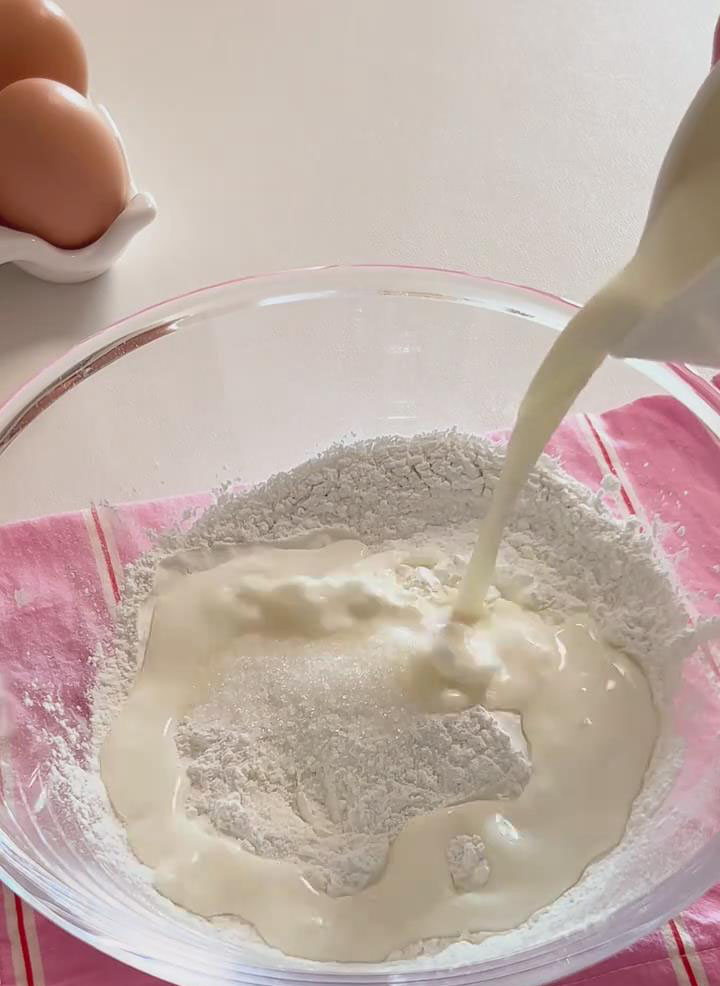
Sift the mixture once to remove any lumps.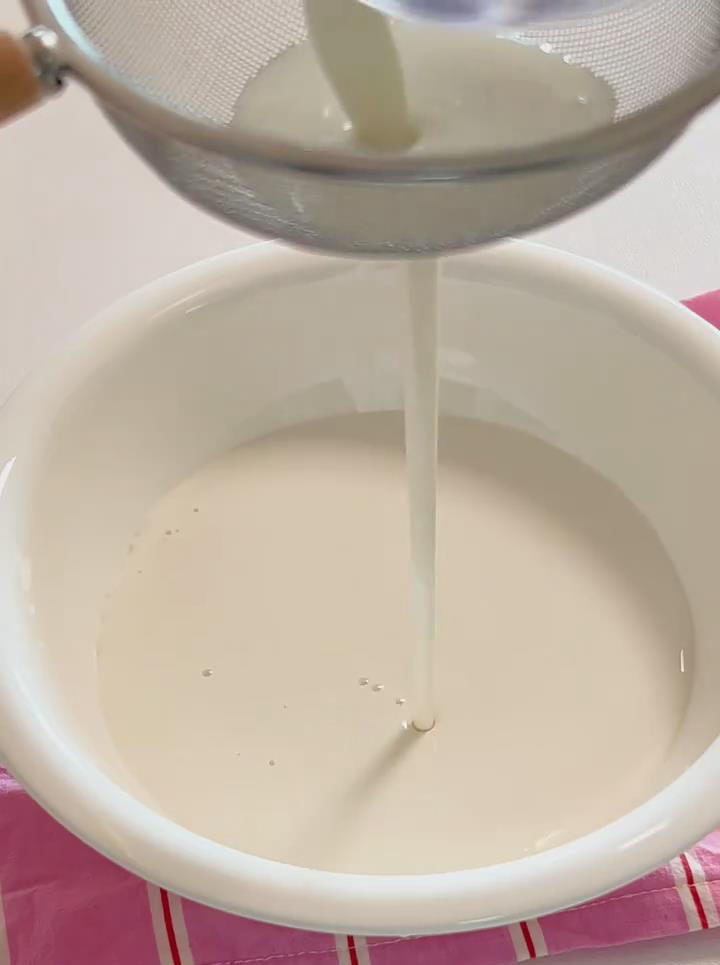
Cover the bowl tightly with plastic wrap. Poke a few small holes in the wrap to allow steam to escape.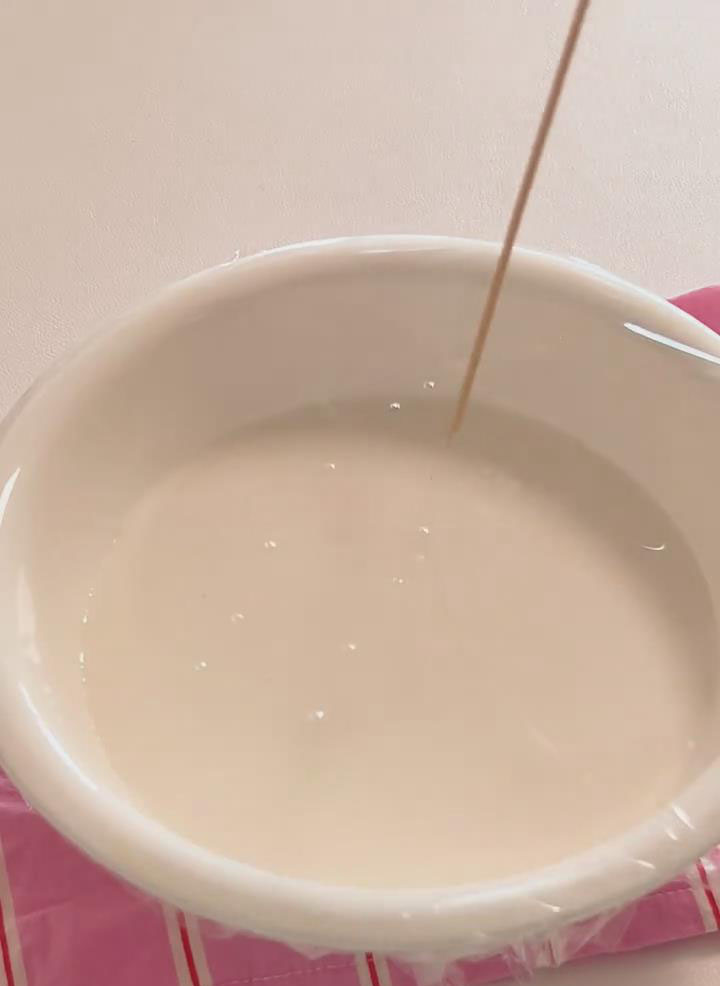
Place the bowl in a steamer set over boiling water. Steam for 20 minutes. The mochi is done when it looks opaque, is completely set, and no liquid batter remains.
Carefully remove the bowl (it will be hot).
Immediately add the 10g of softened butter to the hot mochi. Use a silicone spatula to fold and stir until the butter is fully melted and incorporated. The dough will be very sticky at this stage.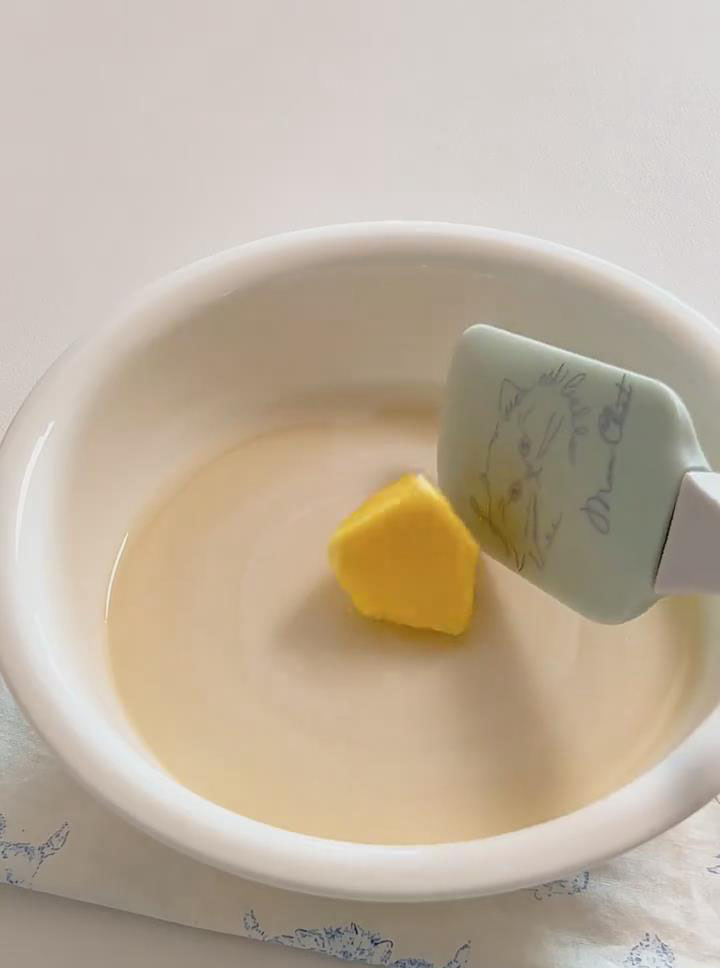
Let the mochi dough cool until it’s safe to handle but still warm.
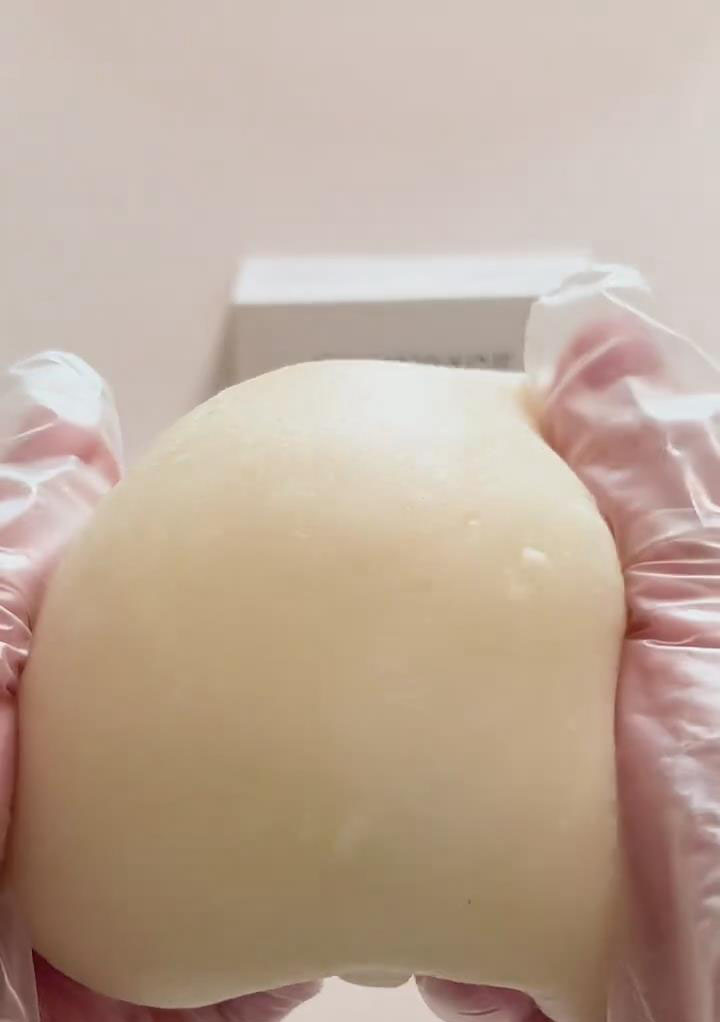
Put on a pair of clean food-safe gloves (highly recommended to prevent sticking).
Lift, stretch, and fold the mochi dough for 2-3 minutes until it becomes smooth, elastic, and less sticky.
Divide the dough into 6-8 equal portions and shape each into a small, flat disc about 0.5cm thick. Set aside covered.
Make the Pancake Batter
While the mochi steams, make the batter.In a large bowl, combine the sifted cake flour and baking powder with sugar, corn oil, eggs, and milk.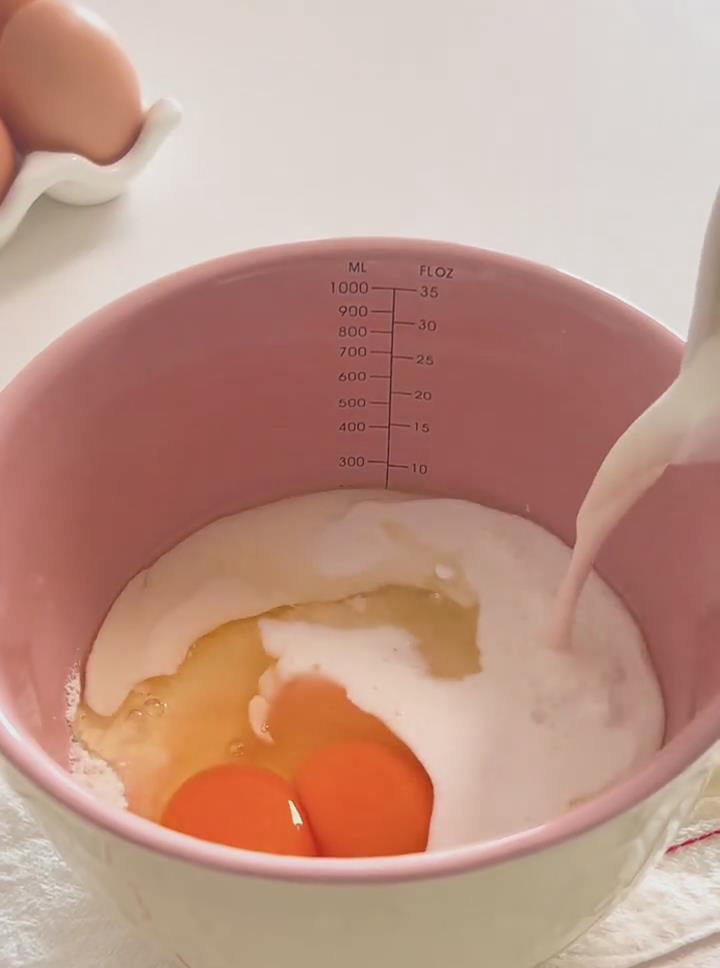
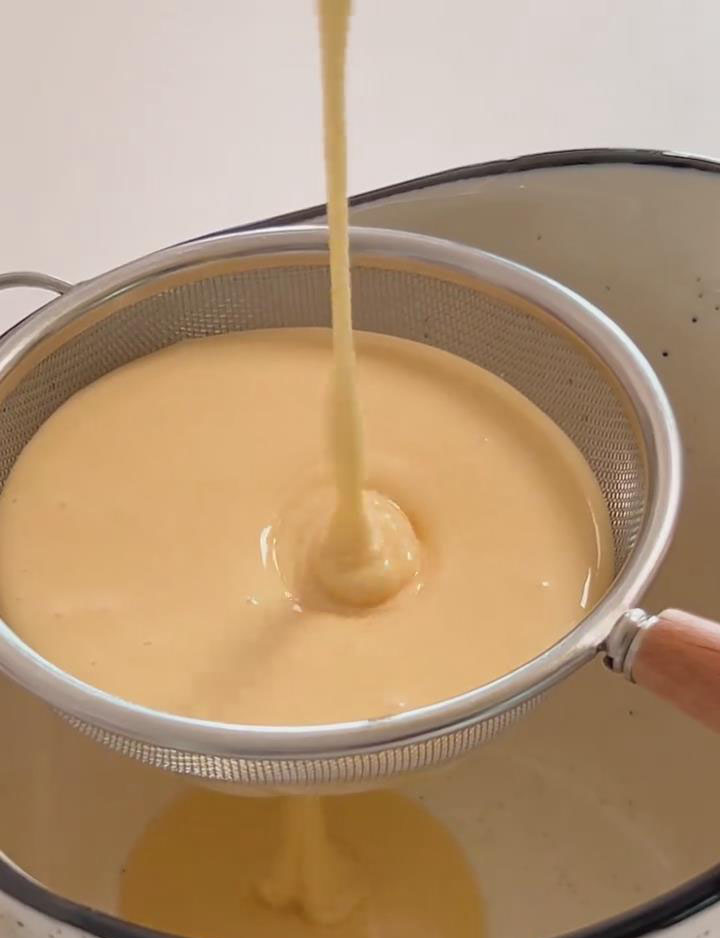
Mix until smooth and lump-free, then strain the batter for an extra silky texture.
Cook and Assemble the Pancakes
Heat a large non-stick skillet or griddle over low to medium-low heat. There is no need to grease the pan as the batter contains oil.
For each pancake, ladle about 1/4 cup (roughly 35g) of batter onto the skillet.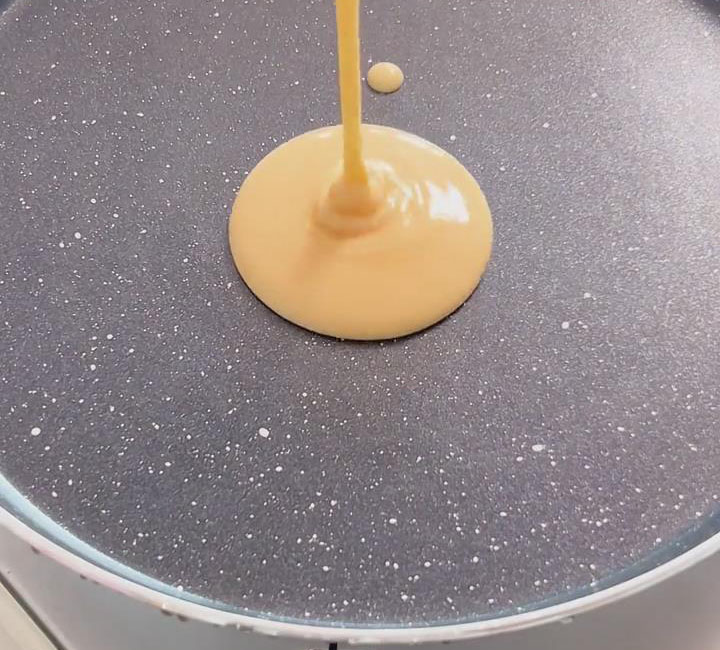
Cook until the surface is covered with small bubbles and the edges look set and dry, about 2 minutes. The bottom should be a light golden brown.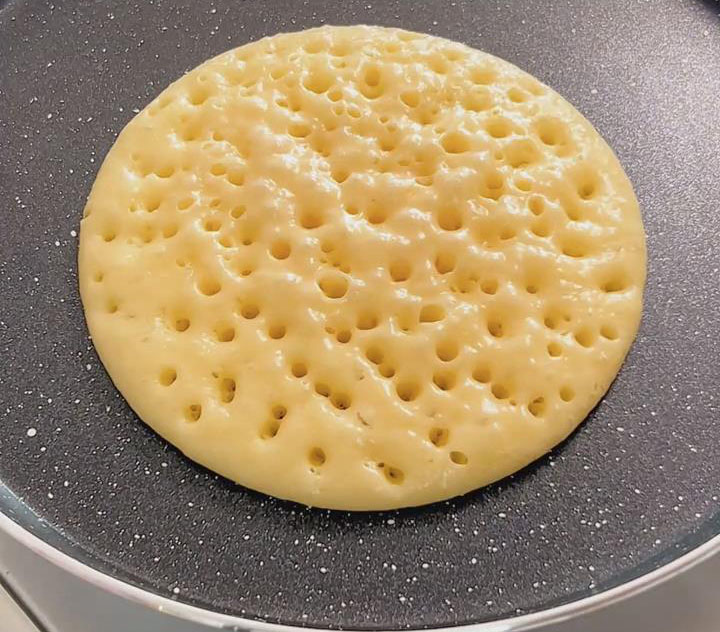
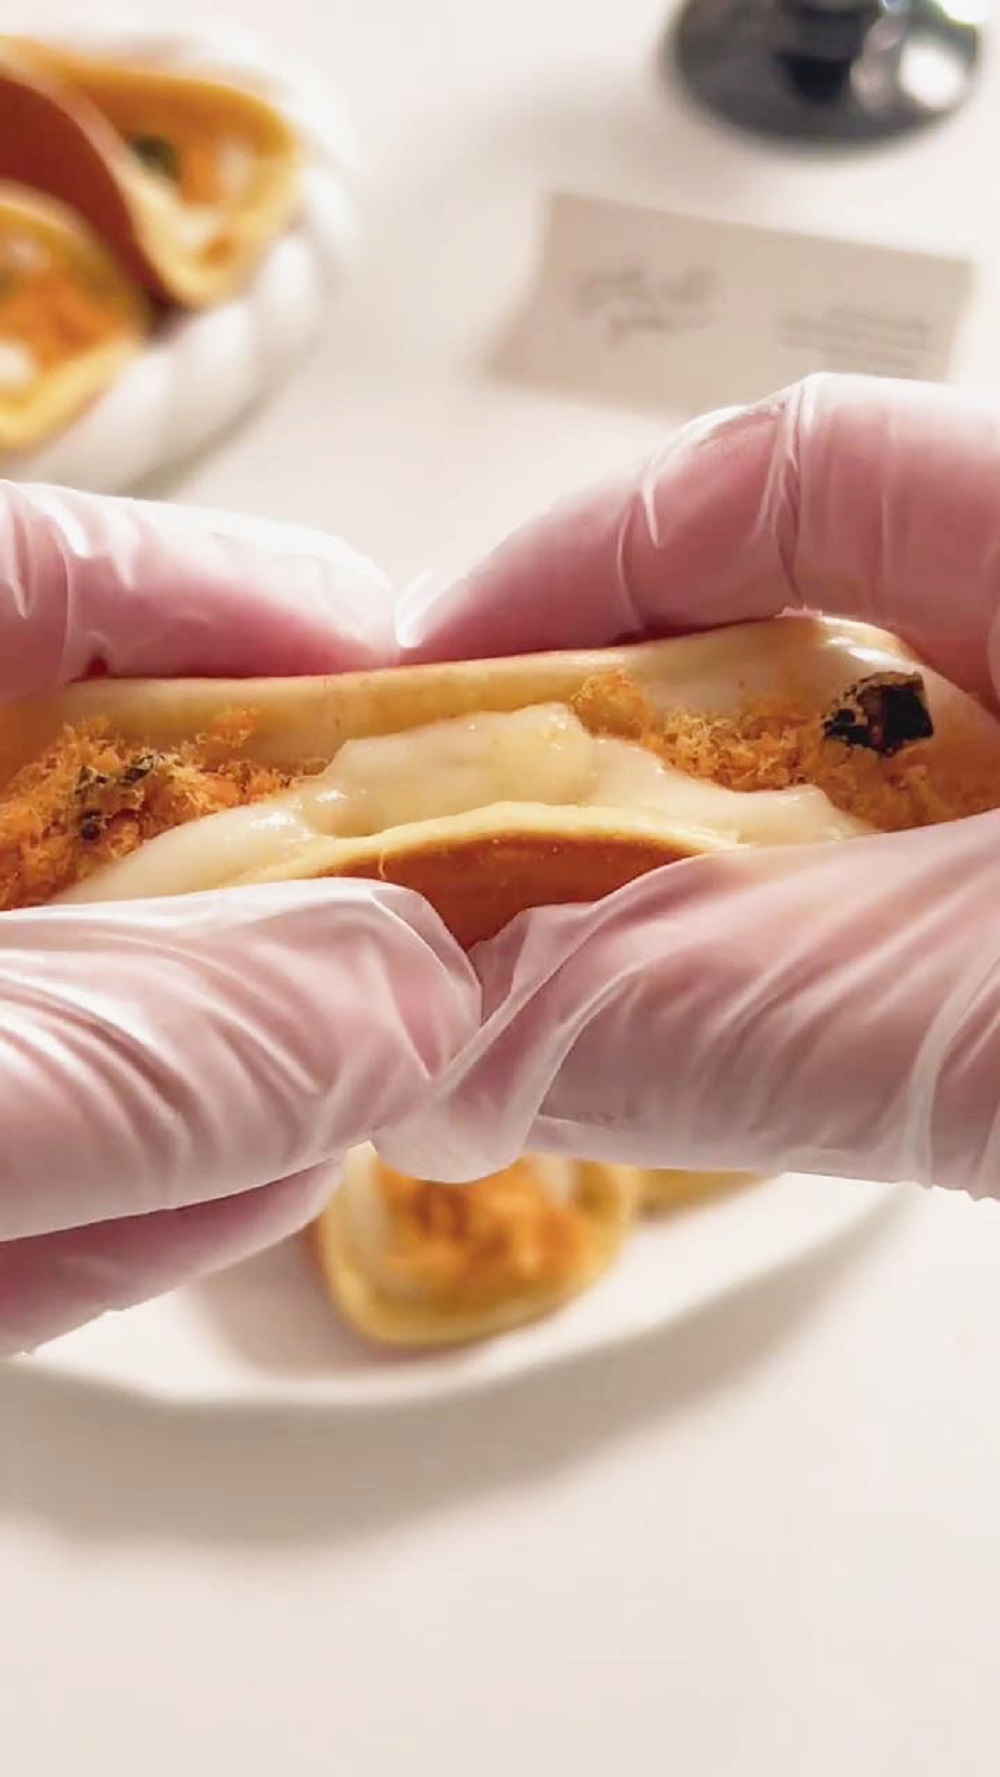
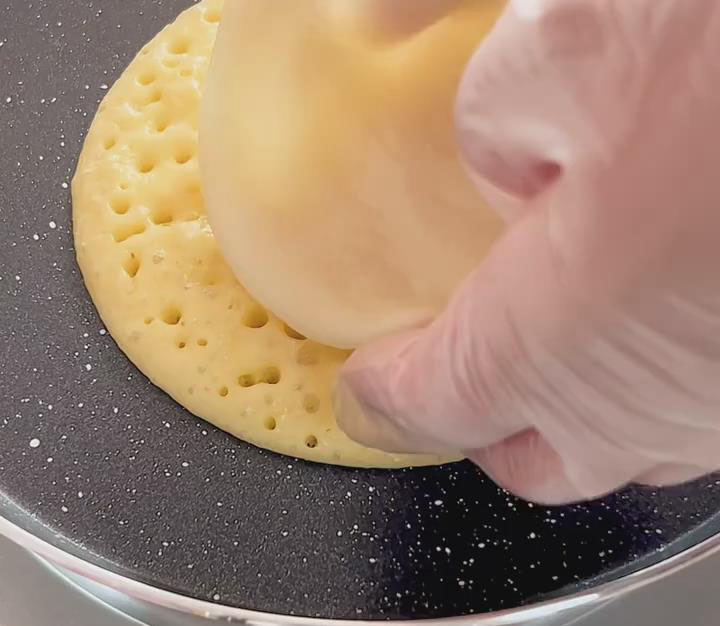
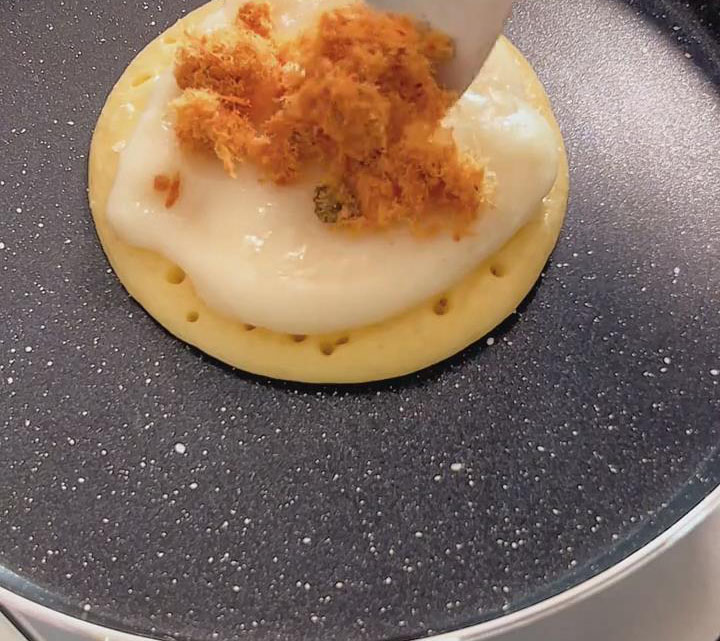
Do not flip. Instead, place one of your prepared mochi discs directly onto the center of the uncooked surface of the pancake. Sprinkle a generous tablespoon of pork floss over the mochi.
Using a thin spatula, carefully fold the pancake in half over the filling, creating a half-moon shape.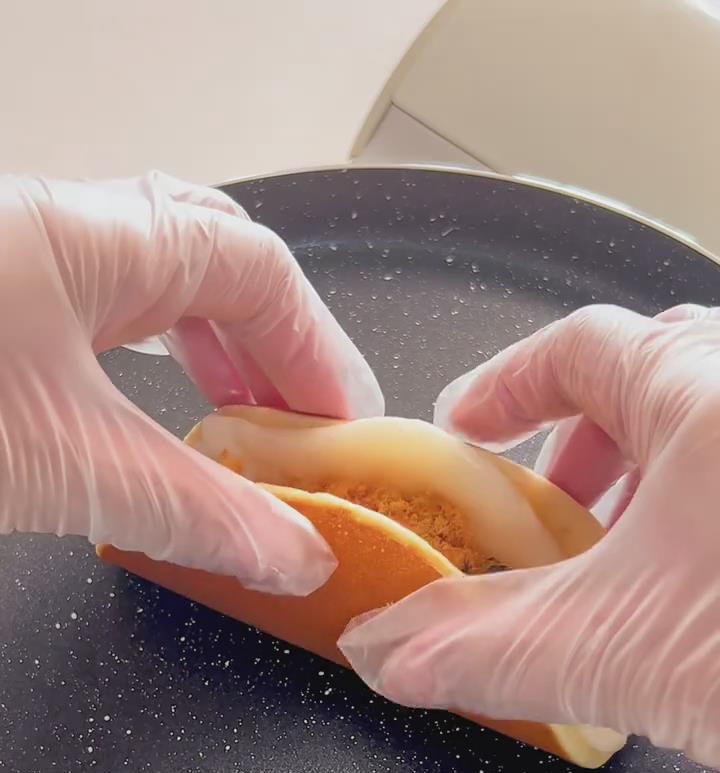
Transfer to a plate. Repeat with the remaining batter, mochi, and pork floss.
Serve immediately while warm and the mochi is soft and stretchy.
Tips & Tricks
- Keep the heat low when cooking both the mochi and pancakes to avoid burning and uneven texture.
- Sift the pancake batter for the smoothest, fluffiest result.
- Work with warm mochi when kneading — it’s much easier to stretch and becomes smoother.
- Flatten the mochi thinly so the pancake folds easily and cooks evenly.
- Use a nonstick pan to prevent sticking without additional oil.
Frequently Asked Questions
Why is my mochi too sticky?
If the mochi feels overly sticky, it may not have been cooked long enough or fully mixed with the butter. Kneading while warm helps improve elasticity and smoothness.
Can I make the mochi in advance?
Yes. The mochi can be prepared ahead of time and wrapped tightly. Let it return to room temperature before using so it’s pliable.
Why are my pancakes not fluffy?
Make sure your baking powder is fresh and that the batter was properly sifted. Cooking on low heat also helps the pancakes rise evenly.
Can I store leftover mochi pancakes?
These are best enjoyed fresh while warm. If needed, store them covered in the fridge and reheat gently in a pan over low heat.
More pancake recipes
Easy Mochi Pancakes with Chewy Center (No Oven)
Ingredients
For the Pancake Batter
- 100 g cake flour
- 5 g baking powder
- 30 g granulated sugar
- 15 ml corn oil
- 2 large eggs room temperature
- 110 ml whole milk room temperature
For the Homemade Mochi
- 80 g glutinous rice flour Mochiko
- 15 g cornstarch
- 13 g granulated sugar
- 160 ml whole milk
- 10 g unsalted butter softened
For Assembly
- 50 g pork floss Rousong
Instructions
Prep & Make the Mochi
- In a medium, heatproof bowl, whisk together the glutinous rice flour, cornstarch, and 13g of sugar. Gradually whisk in the 160ml of milk until you have a completely smooth, lump-free batter.
- Sift the mixture once to remove any lumps.
- Cover the bowl tightly with plastic wrap. Poke a few small holes in the wrap to allow steam to escape.
- Place the bowl in a steamer set over boiling water. Steam for 20 minutes. The mochi is done when it looks opaque, is completely set, and no liquid batter remains.
- Carefully remove the bowl (it will be hot).
- Immediately add the 10g of softened butter to the hot mochi. Use a silicone spatula to fold and stir until the butter is fully melted and incorporated. The dough will be very sticky at this stage.
- Let the mochi dough cool until it's safe to handle but still warm.
- Put on a pair of clean food-safe gloves (highly recommended to prevent sticking).
- Lift, stretch, and fold the mochi dough for 2-3 minutes until it becomes smooth, elastic, and less sticky.
- Divide the dough into 6-8 equal portions and shape each into a small, flat disc about 0.5cm thick. Set aside covered.
Make the Pancake Batter
- While the mochi steams, make the batter.In a large bowl, combine the sifted cake flour and baking powder with sugar, corn oil, eggs, and milk.
- Mix until smooth and lump-free, then strain the batter for an extra silky texture.
Cook and Assemble the Pancakes
- Heat a large non-stick skillet or griddle over low to medium-low heat. There is no need to grease the pan as the batter contains oil.
- For each pancake, ladle about 1/4 cup (roughly 35g) of batter onto the skillet.
- Cook until the surface is covered with small bubbles and the edges look set and dry, about 2 minutes. The bottom should be a light golden brown.
- Do not flip. Instead, place one of your prepared mochi discs directly onto the center of the uncooked surface of the pancake. Sprinkle a generous tablespoon of pork floss over the mochi.
- Using a thin spatula, carefully fold the pancake in half over the filling, creating a half-moon shape.
- Transfer to a plate. Repeat with the remaining batter, mochi, and pork floss.
- Serve immediately while warm and the mochi is soft and stretchy.
Leave a Reply