
This chocolate mochi recipe is a must-try! No baking, no hassle—just stir, fry, and enjoy! With a soft, chewy center and a dusting of cocoa powder, it’s the perfect chocolatey snack. Learn how to make this easy, no-bake treat in under 30 minutes with just a few simple ingredients!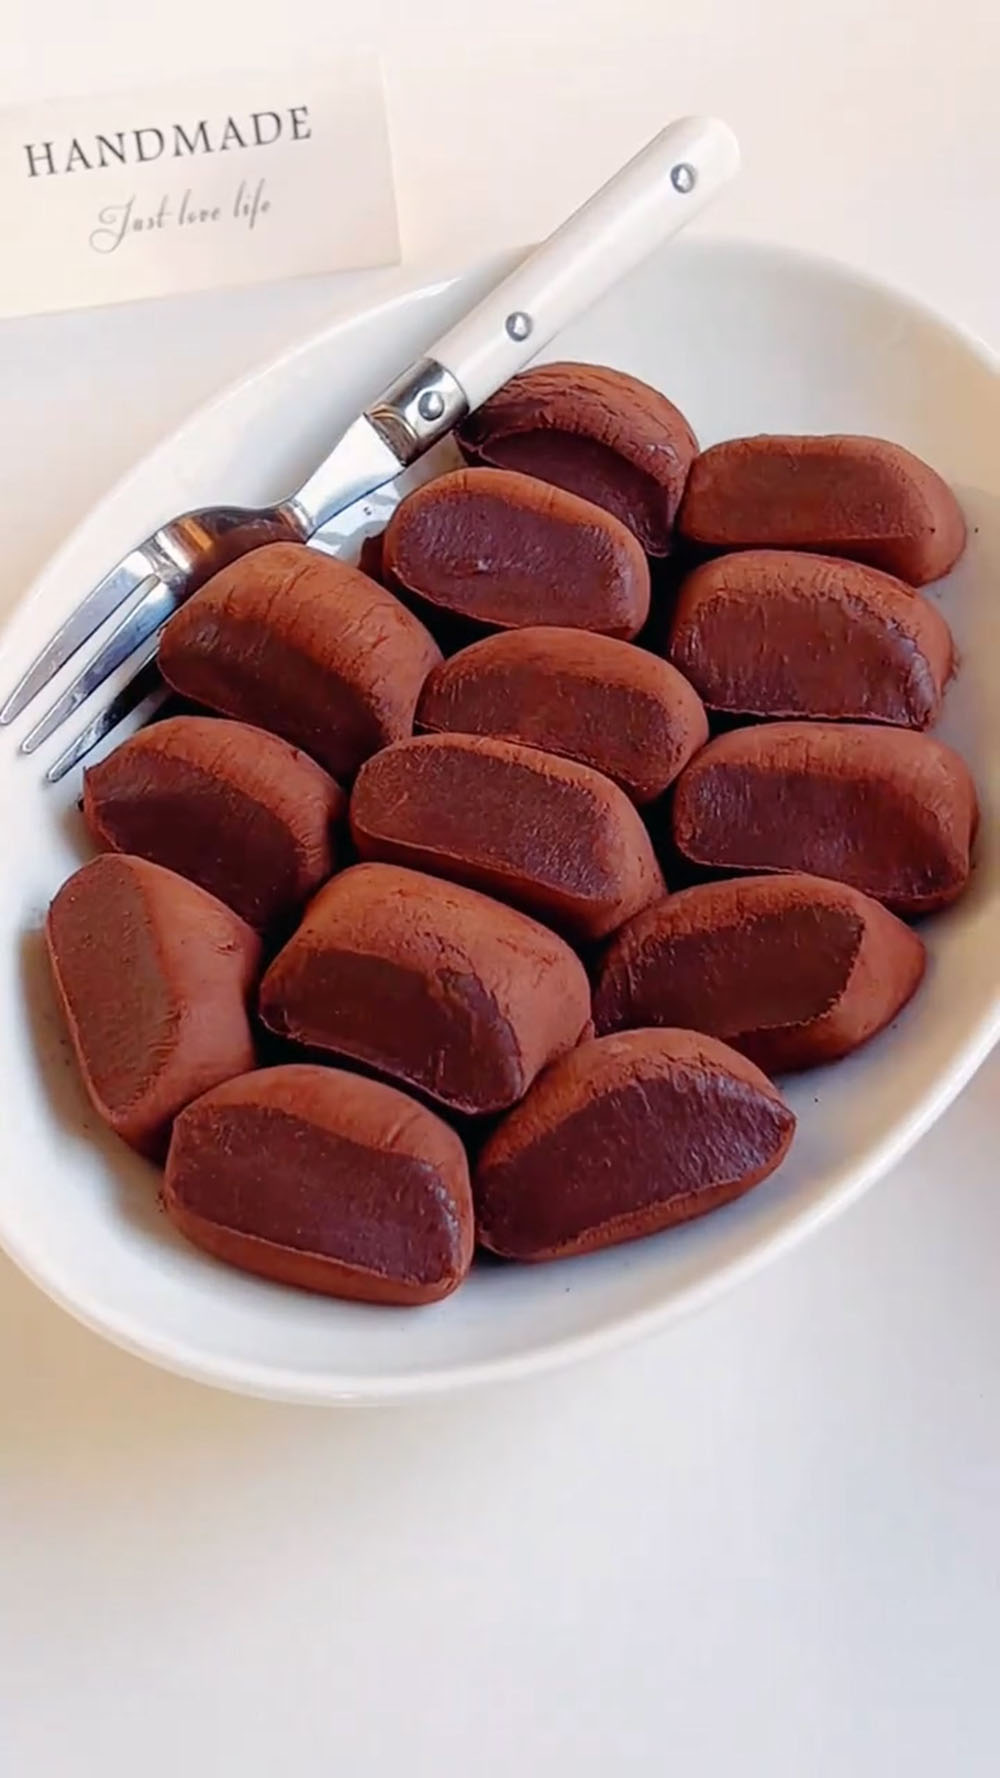
Ever since I made my very first batch of mochi, I’ve been absolutely hooked on this chewy, delicious treat!
It’s become one of my favorite things to experiment with in the kitchen.
Over time, I’ve shared numerous mochi recipes and variations, each with its own unique twist.
Some of my absolute favorites include:
- Osmanthus Mochi
- Matcha Mochi Bites
- Brown Sugar Pearl Mochi
- Sweet Potato Mochi with Cheese
- Watermelon Mochi Bites
- Passionfruit Mochi
- Cherry Mochi
But among all of these, this Chocolate Mochi recipe stands out as one of the easiest I’ve ever made.
With just six basic, easy-to-find ingredients, it comes together quickly and effortlessly. I love how you can achieve the perfect chewy, stretchy texture without needing any complicated steps or fancy equipment.
Instead of steaming, which is traditional for mochi, I prefer to pan-fry it. This method gives the outside a slightly crispy texture, while the inside remains soft and gooey.

Ingredients and Substitutions
- Glutinous Rice Flour – The key ingredient for creating mochi’s signature chewy texture. Do not substitute it with regular rice flour or all-purpose flour, as they will not provide the characteristic soft, sticky, and chewy texture.
- Cornstarch – This adds elasticity and helps the mochi keep its shape. You can substitute cornstarch with tapioca starch if needed, but cornstarch is easier to find.
- Cocoa Powder – For that deep chocolate flavor. I always recommend using pure cocoa powder to avoid any artificial taste. It’s what gives this mochi its rich chocolatey depth, so choose one you love!
- Granulated Sugar – Used to sweeten the mochi. You can adjust the amount depending on how sweet you want it. If you like your mochi less sweet, you can reduce the sugar to 30g.
- Milk – Full-fat milk gives the mochi a creamy, smooth texture. If you’re looking for a lighter version, feel free to use skim milk, but whole milk really enhances the flavor.
- Butter – This is optional, but I suggest adding it for a smooth, buttery finish. It helps with the texture, making the mochi more melt-in-your-mouth. Don’t skip this step!
- Cocoa Powder (for coating) – Used to prevent the mochi from sticking together and to enhance the chocolate flavor. Feel free to sprinkle more cocoa powder on top to make the chocolate flavor stand out even more.
How to Make Chocolate Mochi
1. Mix the Batter
In a medium-sized mixing bowl, whisk together the glutinous rice flour, cornstarch, the 10g of cocoa powder, and the granulated sugar until evenly combined. Pour in the milk. Whisk vigorously until you have a completely smooth, lump-free, and liquid batter. It will be quite thin, like chocolate milk.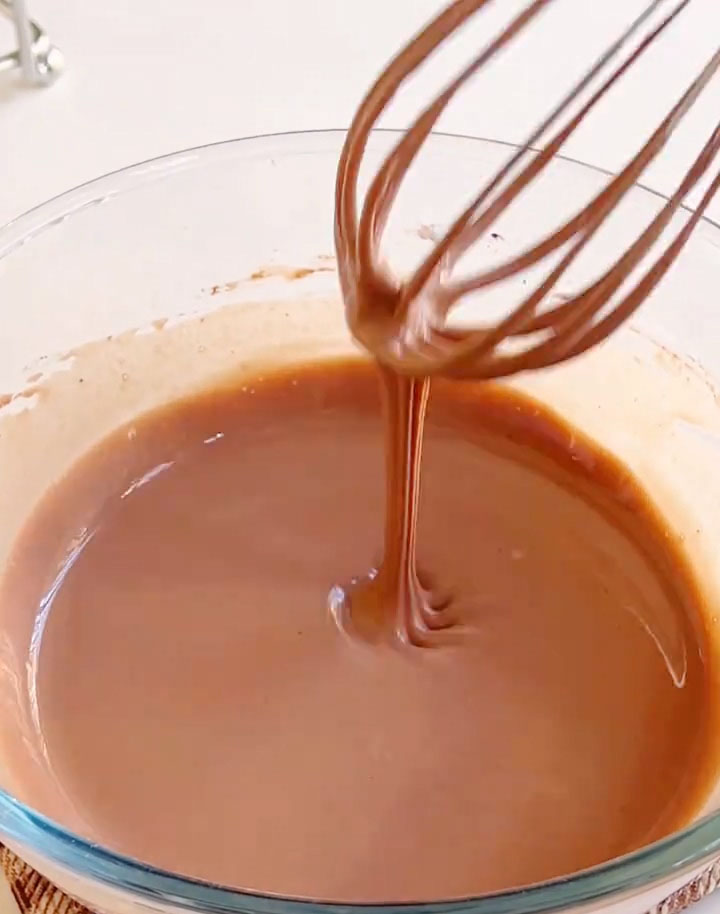
2. Cook the Dough
Place a non-stick skillet or saucepan over medium-low heat. For absolute precision, it’s helpful to pass the batter through a fine-mesh sieve directly into the cold pan. This catches any last tiny lumps.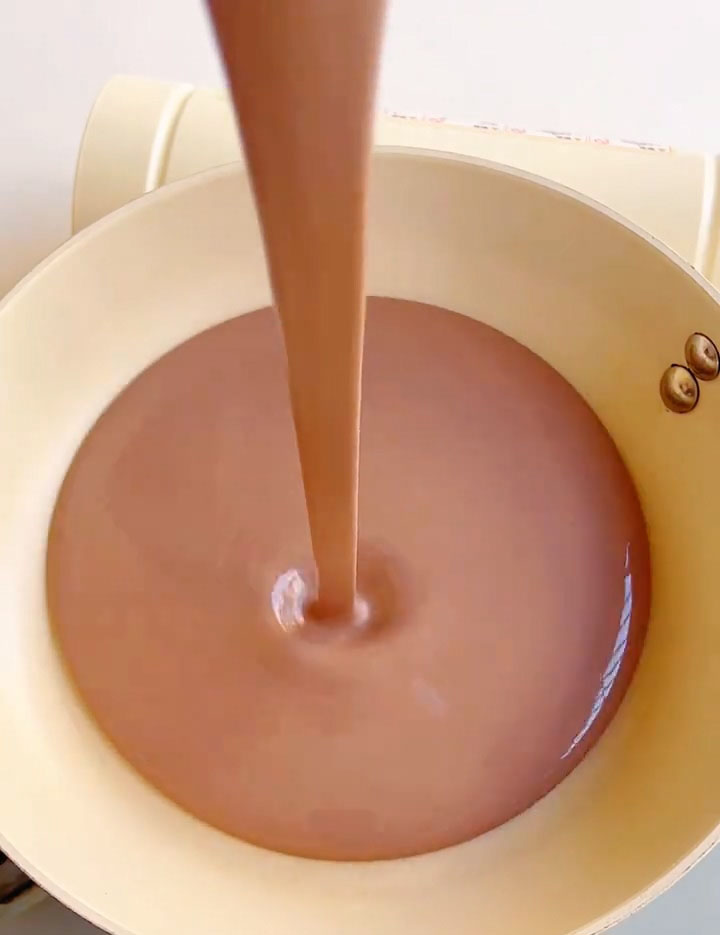
Add the softened butter to the pan with the batter.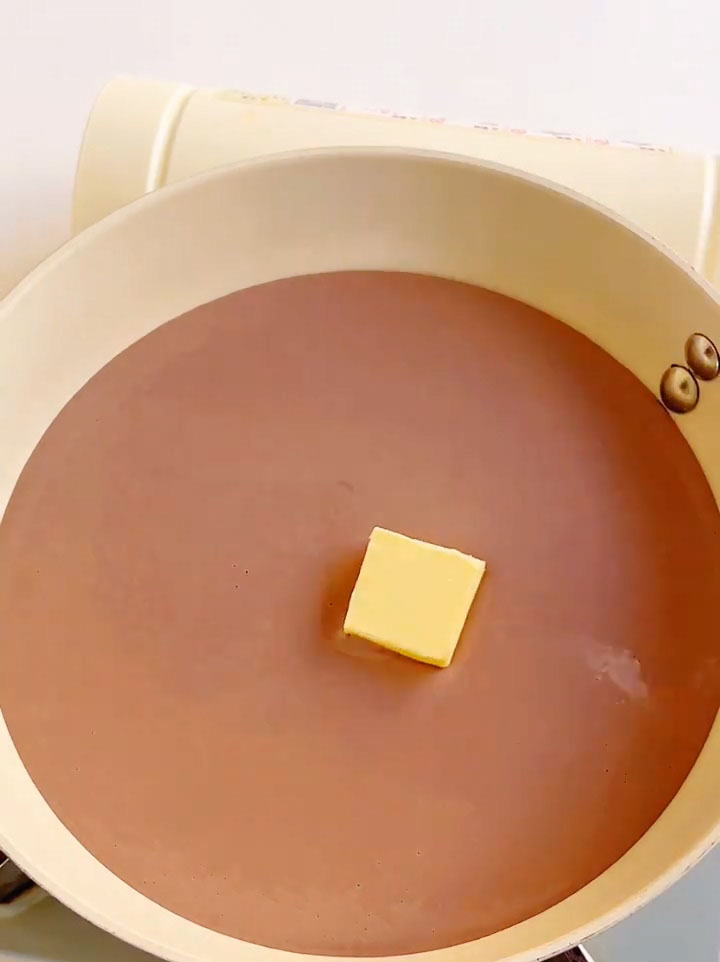
Begin to heat the mixture. As it warms, start stirring constantly with a silicone spatula or a wooden spoon. The mixture will begin to thicken. This process takes about 8-12 minutes.
Continue to stir, scraping the bottom and sides of the pan continuously. The batter will transform from a liquid to a thick paste, and then suddenly it will “seize” and come together into a single, cohesive dough ball that pulls away cleanly from the pan. Once it forms a smooth ball and no longer looks wet or sticky against the pan, it’s done.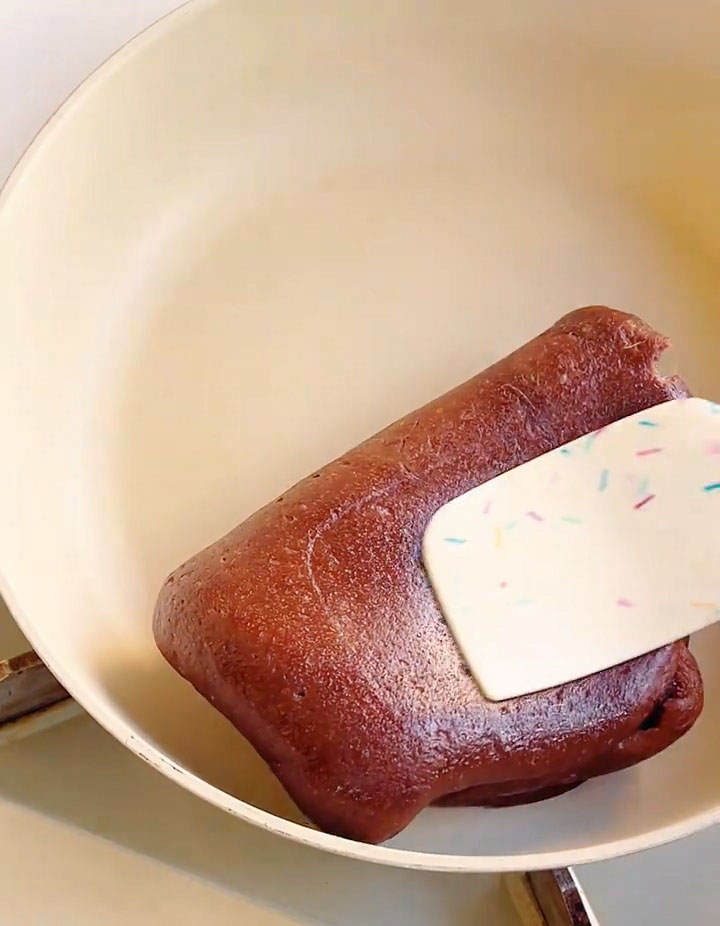
3. Knead for Stretch
Immediately transfer the hot dough ball onto a clean work surface or a large plate. Let it cool for just 2-3 minutes, until it’s cool enough to handle without burning your hands.
Now, begin to knead. Put on food-safe gloves if you have them (to prevent sticking). Stretch the dough out, fold it over, and knead it. Repeat this stretching and folding process for a good 4-5 minutes. This mechanical action is what develops the gluten-like structure in the rice flour and creates that fantastic, signature mochi chew and stretch. The dough will go from slightly lumpy to incredibly smooth, shiny, and elastic.
4. Shape and Coat
Once the dough is smooth, shape it into a log about 1 inch (2.5 cm) in diameter.
Spread the 2-3 tablespoons of cocoa powder for coating on a separate plate or a piece of parchment paper. Roll the mochi log in the cocoa powder until it’s completely covered on all sides. This prevents sticking and adds more chocolate flavor.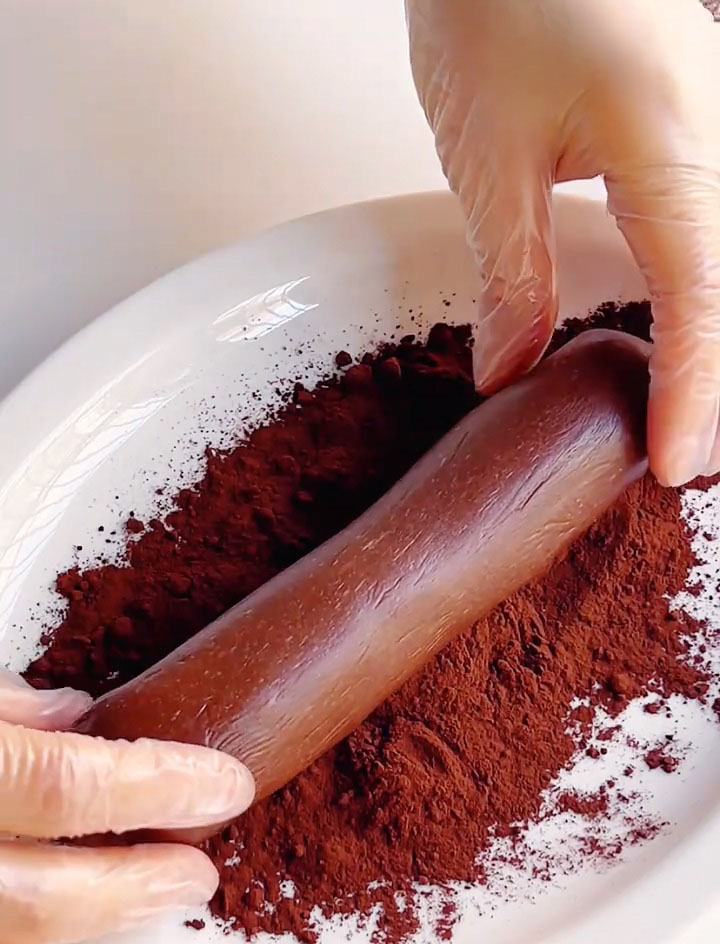
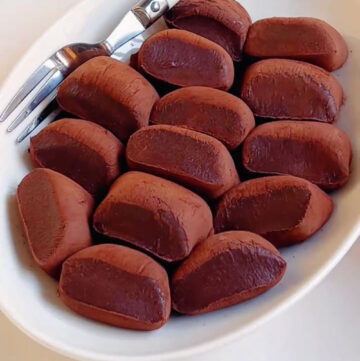
Using a sharp knife or a bench scraper, cut the log into bite-sized pieces, about ¾-inch (2 cm) wide.
Tips & Tricks
- Mixing the Batter: Be sure to sift your dry ingredients to avoid lumps. This ensures the batter is smooth and silky. If the batter feels too runny after mixing, you can add a little more rice flour. If it’s too thick, add a touch more milk to adjust the consistency.
- Cooking Over Low Heat: Low and slow is key here! Stir constantly while cooking to prevent burning, and watch the mixture closely as it thickens.
- Kneading: Knead the mochi dough until it becomes smooth. This will help create that perfect chewy texture.
- Coating with Cocoa Powder: Don’t skip the cocoa powder for coating, as it prevents the mochi from sticking together and adds to the chocolatey flavor.

Frequently Asked Questions
My mochi is too hard/dry. What happened?
This usually means the dough was overcooked in the pan, driving out too much moisture. Next time, remove it from the heat the moment it forms a clean ball that pulls away from the pan. Also, ensure you are using the correct glutinous rice flour and not a different type of flour.
My mochi is too sticky and messy to handle. Help!
This can happen if the dough was slightly undercooked or if the environment is very humid. The best fix is to ensure you cook it until it’s truly a firm, clean ball in the pan. When kneading and shaping, always keep your hands, the work surface, and the finished log generously coated with cocoa powder.
Can I make these ahead of time?
You can make the dough, shape it, and coat it a few hours before serving. Store the pieces in a single layer in an airtight container at cool room temperature. For longer storage (up to 2 days), keep them in the fridge, but note they will become firmer. Let them come to room temperature for the best texture before eating.
Can I use a different coating?
Absolutely! Instead of cocoa powder, you can roll the mochi in toasted soybean flour (kinako), shredded coconut, powdered sugar, or even crushed nuts for a different flavor and texture experience.
Can I add a filling?
This particular dough is perfect as-is for a soft, chewy bite. If you want to add a filling (like sweet red bean paste or a chocolate ganache), you would need to shape the warm dough around the filling immediately after kneading, which requires a slightly different technique to ensure it seals properly.
How to Make Chocolate Mochi (No Oven Needed!)
Ingredients
Main Ingredients:
- 160 g glutinous rice flour
- 30 g cornstarch
- 10 g cocoa powder
- 40 g granulated sugar
- 230 g milk full-fat or skim
- 20 g butter softened
Decoration:
- Cocoa powder as needed for coating
Instructions
Mix the Batter
- In a medium-sized mixing bowl, whisk together the glutinous rice flour, cornstarch, the 10g of cocoa powder, and the granulated sugar until evenly combined. Pour in the milk. Whisk vigorously until you have a completely smooth, lump-free, and liquid batter. It will be quite thin, like chocolate milk.
Cook the Dough
- Place a non-stick skillet or saucepan over medium-low heat. For absolute precision, it's helpful to pass the batter through a fine-mesh sieve directly into the cold pan. This catches any last tiny lumps.
- Add the softened butter to the pan with the batter.
- Begin to heat the mixture. As it warms, start stirring constantly with a silicone spatula or a wooden spoon. The mixture will begin to thicken. This process takes about 8-12 minutes.
- Continue to stir, scraping the bottom and sides of the pan continuously. The batter will transform from a liquid to a thick paste, and then suddenly it will "seize" and come together into a single, cohesive dough ball that pulls away cleanly from the pan. Once it forms a smooth ball and no longer looks wet or sticky against the pan, it's done.
Knead for Stretch
- Immediately transfer the hot dough ball onto a clean work surface or a large plate. Let it cool for just 2-3 minutes, until it's cool enough to handle without burning your hands.
- Now, begin to knead. Put on food-safe gloves if you have them (to prevent sticking). Stretch the dough out, fold it over, and knead it. Repeat this stretching and folding process for a good 4-5 minutes. This mechanical action is what develops the gluten-like structure in the rice flour and creates that fantastic, signature mochi chew and stretch. The dough will go from slightly lumpy to incredibly smooth, shiny, and elastic.
Shape and Coat
- Once the dough is smooth, shape it into a log about 1 inch (2.5 cm) in diameter.
- Spread the 2-3 tablespoons of cocoa powder for coating on a separate plate or a piece of parchment paper. Roll the mochi log in the cocoa powder until it's completely covered on all sides. This prevents sticking and adds more chocolate flavor.
- Using a sharp knife or a bench scraper, cut the log into bite-sized pieces, about ¾-inch (2 cm) wide.
Leave a Reply