
This no-bake dark chocolate mousse cake is rich, silky, and incredibly easy to make. With a crunchy Oreo cookie base, smooth chocolate mousse, and glossy chocolate glaze, this dessert is perfect for chocolate lovers. No oven required, beginner friendly, and ideal for parties, afternoon tea, or make-ahead desserts.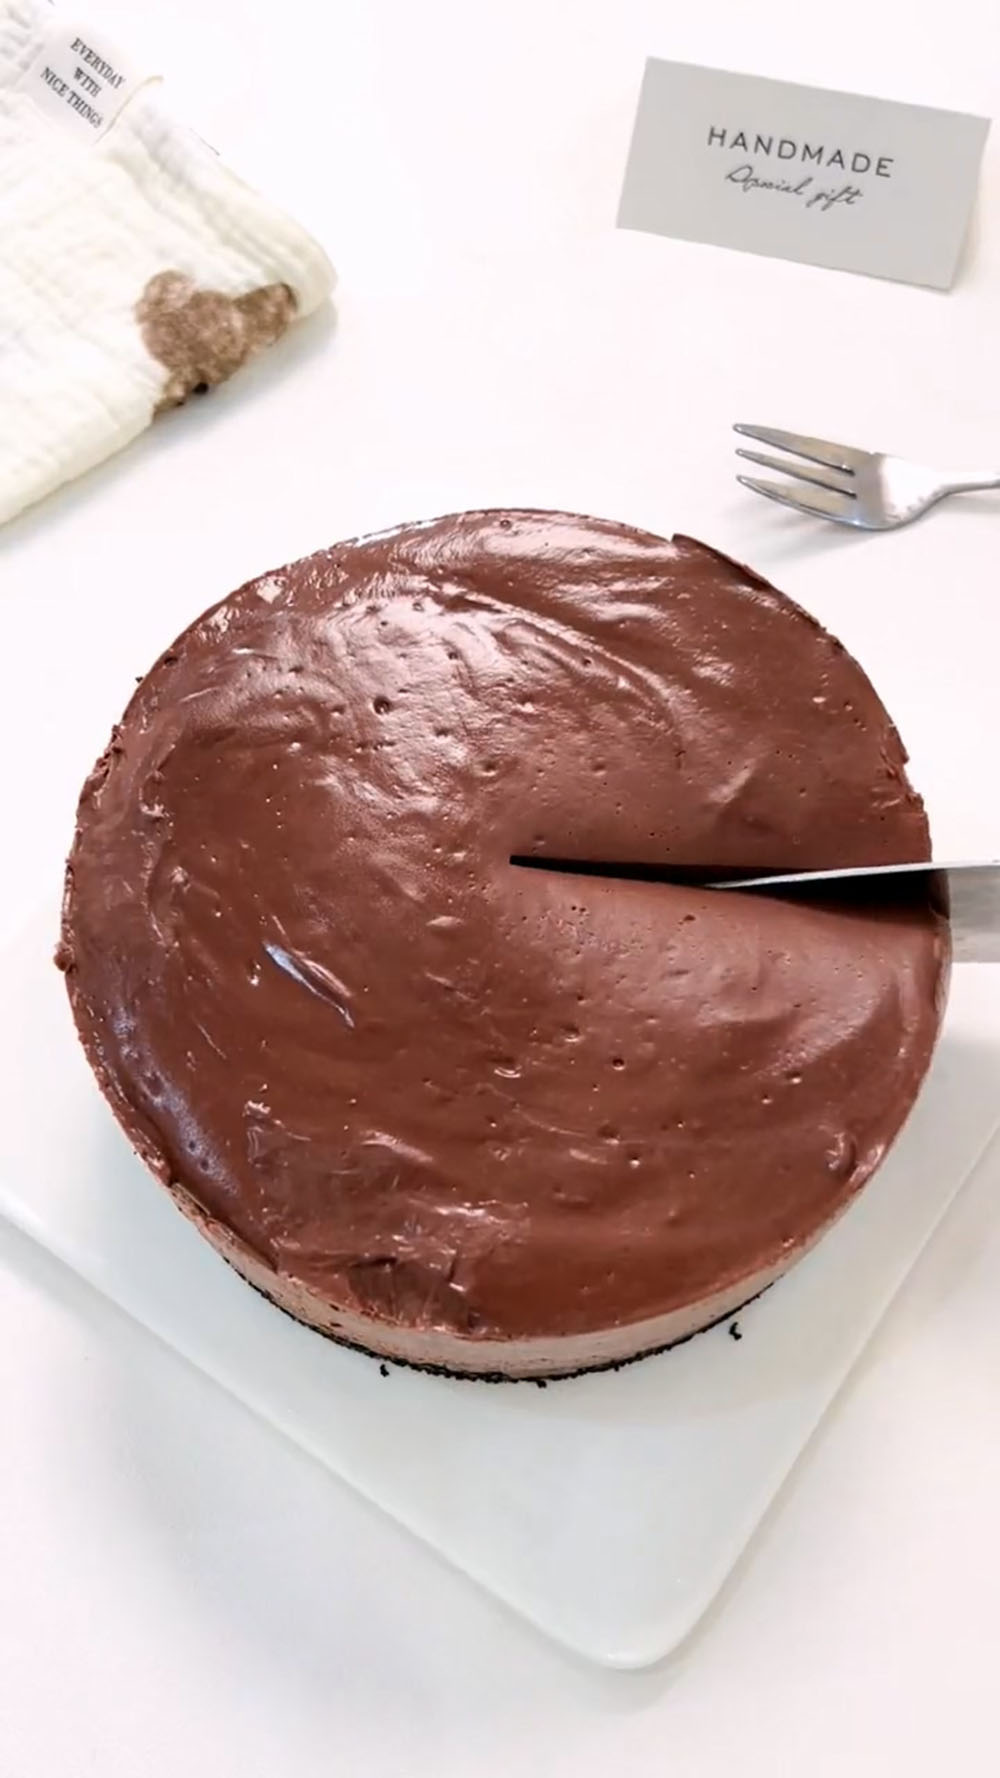
I have absolutely no resistance to chocolate. I love using it in desserts of all kinds, and whenever I’m deciding what to make, chocolate is almost always my first choice.
Among all chocolate desserts, mousse cakes are my true favourite. I love their light yet indulgent texture — silky smooth, airy, and never too heavy.
If you’ve been following my blog for a while, you may have noticed that mousse-style desserts appear quite often here.
I’ve previously shared recipes like Easy Strawberry Mousse Cups, Mini Strawberry Cheesecake Mousse Cake, and Oreo Chocolate Mousse Cups, each one loved for its creamy texture and simple preparation.
This time, I’m excited to share a chocolate mousse cake that my family and I truly adore.
It’s rich, smooth, and deeply chocolatey without being overwhelming.
Best of all, it’s made without an oven and comes together with just a few simple steps. I hope this recipe brings as much joy to your kitchen as it does to ours.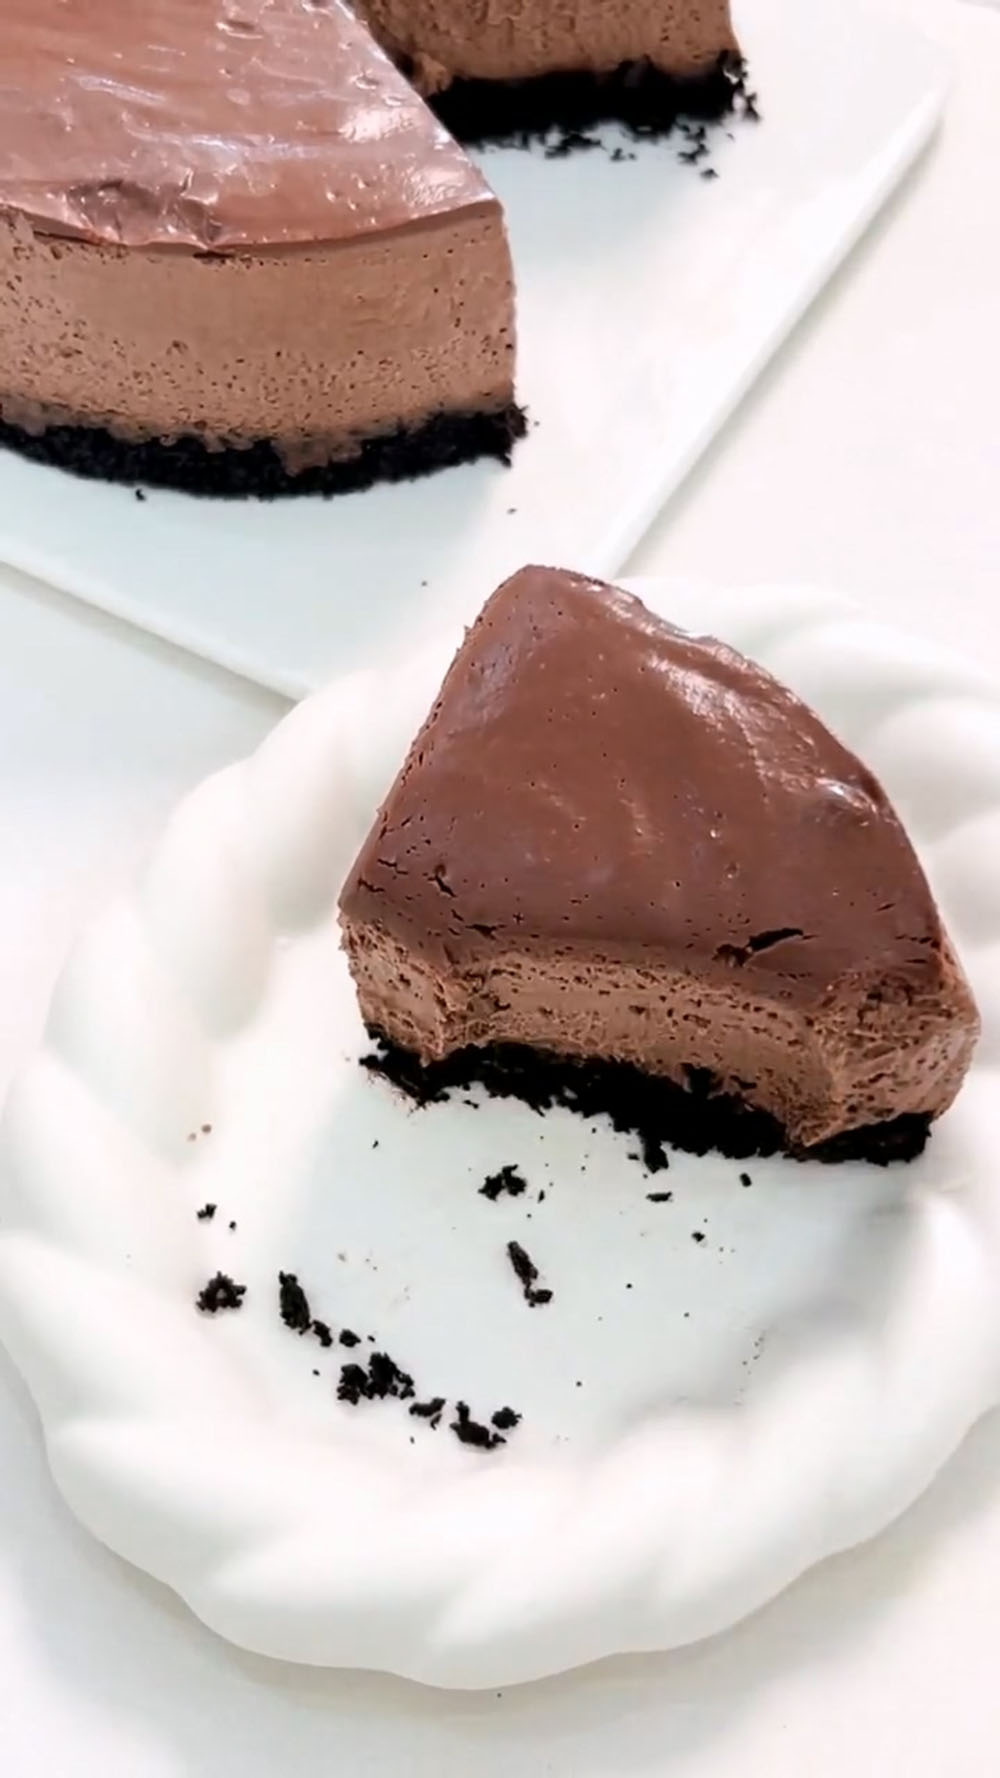
Why you’ll love this recipe
- Unbelievably Rich & Silky: This mousse cake delivers an intense, grown-up chocolate flavor that’s decadent without being overly sweet or heavy, thanks to high-quality dark chocolate.
- Foolproof & No-Bake: The process is all about mixing and chilling. There’s no baking, no tricky techniques—just straightforward steps that guarantee a perfect result every time.
- Incredible Textures: Experience the perfect contrast between the crisp, buttery Oreo crust and the impossibly smooth, melt-in-your-mouth chocolate mousse, all finished with a sleek, shiny glaze.
- Make-Ahead Marvel: This cake needs time to set, making it an ideal make-ahead dessert for dinner parties, celebrations, or a special weekend treat.
Ingredients
Oreo Cookie Base
- Oreo Crumbs – You’ll need the crumbs from Oreo cookies with the cream filling removed. This forms the quintessential crunchy base. Digestive biscuit crumbs make a good substitute.
- Butter – Unsalted butter, melted, acts as the glue that holds the cookie base together firmly. Don’t skip it, or the base will crumble.
Dark Chocolate Mousse
- Dark Chocolate – I recommend using a high cocoa content dark chocolate (around 60-70%) for a deep, sophisticated flavor that’s not too sweet. It melts smoothly for a silky mousse.
- Whole Milk – Helps to smoothly melt the chocolate and creates the perfect pudding-like consistency for the mousse base. Full-fat milk gives the richest result.
- Heavy Cream – Always use cold, heavy whipping cream (with a fat content of 36% or higher). Whipping it is what gives the mousse its light, airy, and creamy texture.
- Gelatin Sheets – This is the key setting agent that gives the mousse its stable, sliceable structure. You must soften them in cold water first—hot water will ruin their setting power.
- Granulated Sugar – A moderate amount balances the bitterness of the dark chocolate. You can adjust the quantity slightly based on the cocoa content of your chocolate.
Dark Chocolate Glaze
- Dark Chocolate & Heavy Cream – A simple ganache made with this classic ratio creates a glossy, fluid glaze that drapes beautifully over the cake for a professional finish.
Ingredients for the Recipe
Oreo Cookie Base
- 90 g Oreo cookie crumbs (from approx. 10-12 Oreos, filling removed)
- 35 g unsalted butter, melted
Dark Chocolate Mousse
- 160 g dark chocolate, chopped
- 120 g whole milk
- 300 g heavy cream, cold
- 6 g gelatin sheets
- 30 g granulated sugar
Dark Chocolate Glaze
- 60 g dark chocolate, chopped
- 75 g heavy cream
How to Make No-Bake Dark Chocolate Mousse Cake
1. Make the Oreo Cookie Base
Melt the butter gently over a water bath until fully liquid. Add the melted butter to the Oreo crumbs and mix until every crumb is evenly coated.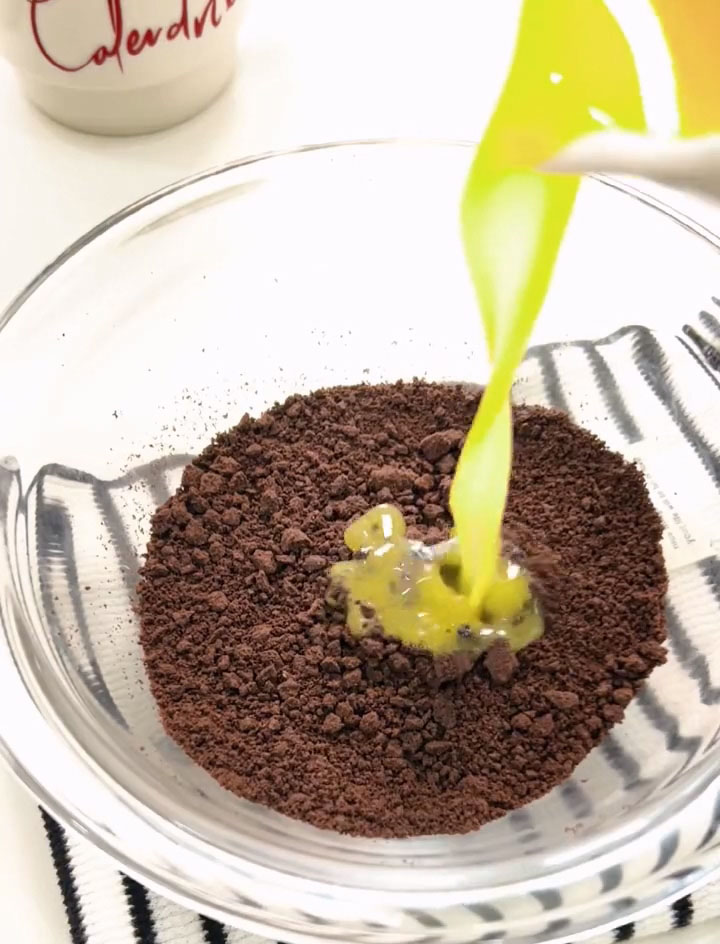
Pour the mixture into the bottom of a 6-inch springform pan or cake ring placed on a parchment-lined plate. Using the bottom of a glass or a measuring cup, press the crumbs down firmly and evenly to create a compact base. Refrigerate for at least 10 minutes to set while you make the mousse.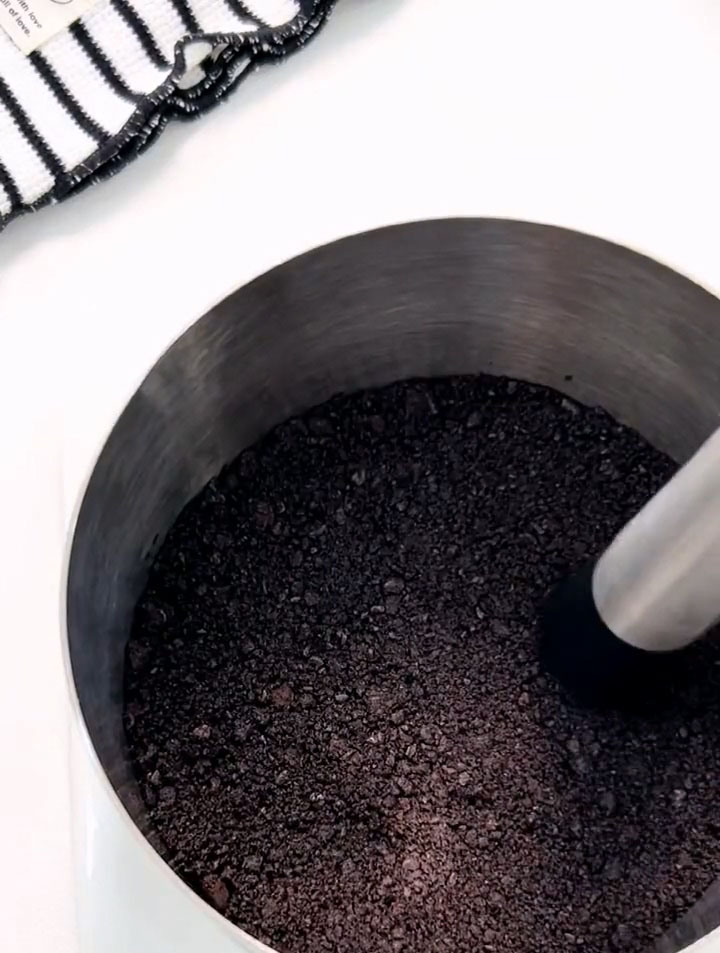
2. Prepare the Dark Chocolate Mousse
Place the gelatin sheets in a small bowl of cold water to soften for about 5 minutes.
Combine the chopped dark chocolate and milk in a heatproof bowl. Set the bowl over a pot of gently simmering water (double boiler), ensuring the bottom of the bowl doesn’t touch the water. Stir frequently until the chocolate is completely melted and the mixture is smooth.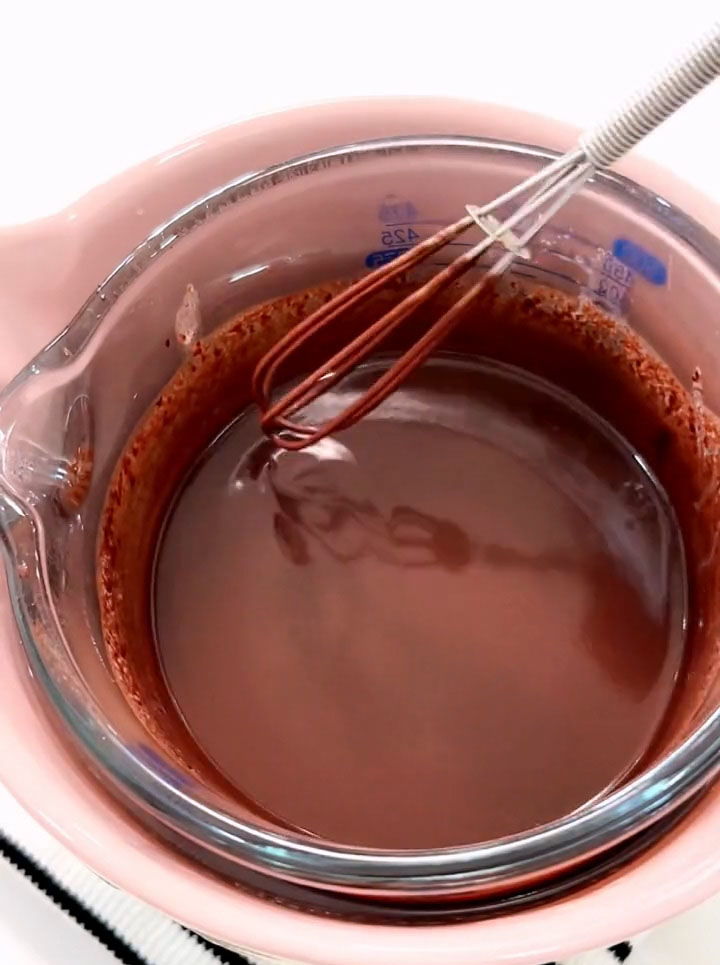
Remove the bowl from the heat. Squeeze out any excess water from the softened gelatin sheets and add them to the warm chocolate mixture. Stir vigorously until the gelatin is fully dissolved. Set this aside and let it cool to room temperature. It should feel just slightly warm to the touch.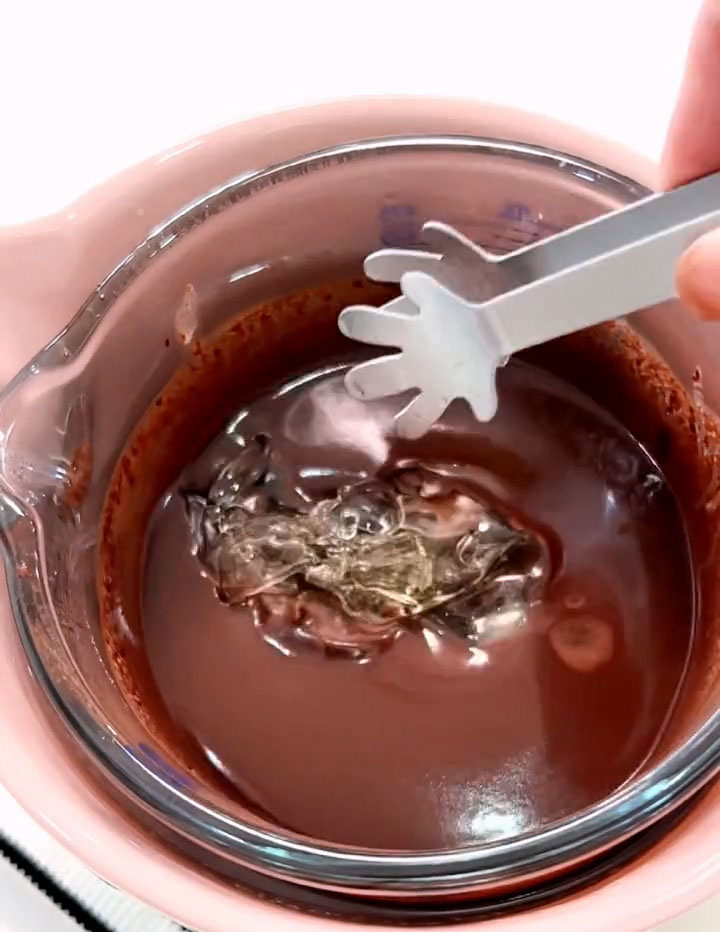
In a separate large bowl, combine the cold heavy cream and sugar. Using an electric hand mixer or a whisk, whip the cream until it reaches soft to medium peaks—it should be thick, hold its shape, and have a creamy, spreadable consistency like thick yogurt. Be careful not to overwhip.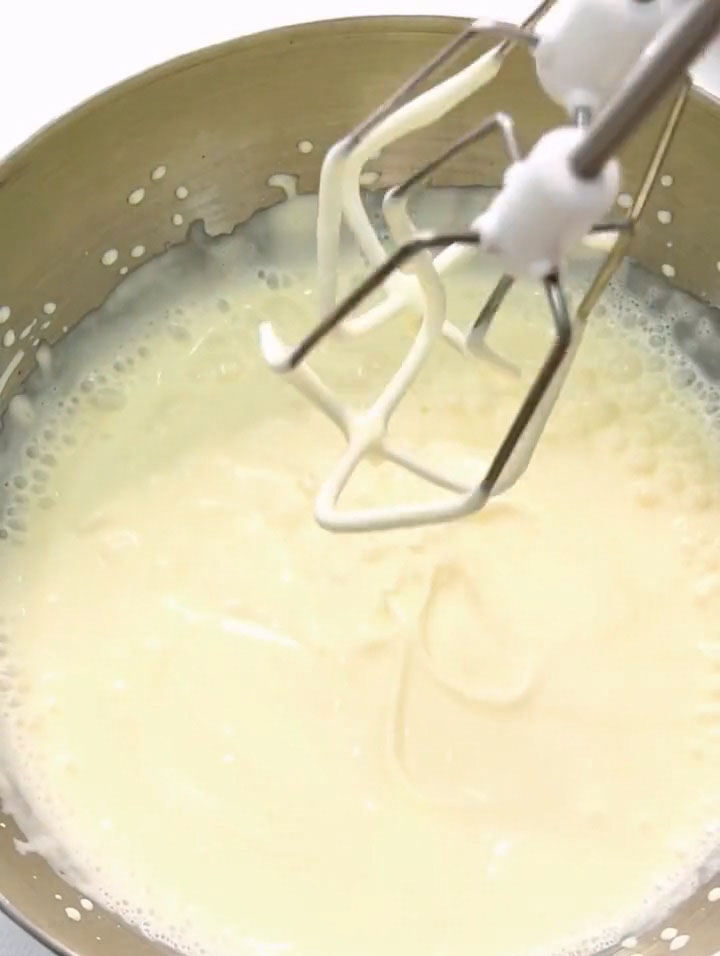
Pour the cooled (but still liquid) chocolate mixture into the whipped cream. Whip the two together until you have a uniformly chocolate-colored, smooth mousse with no streaks of white cream.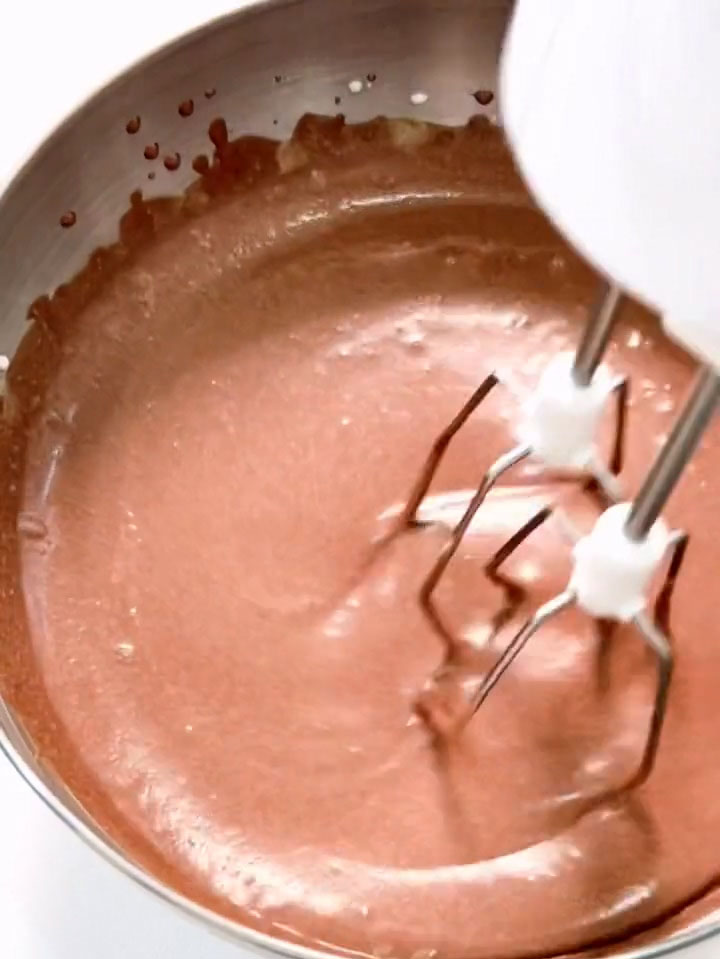
3. Assemble and Chill the Mousse Cake
Remove the prepared cookie base from the fridge. Pour the chocolate mousse over the base, spreading it evenly with a spatula. Gently tap the pan on the counter a few times to release any air bubbles.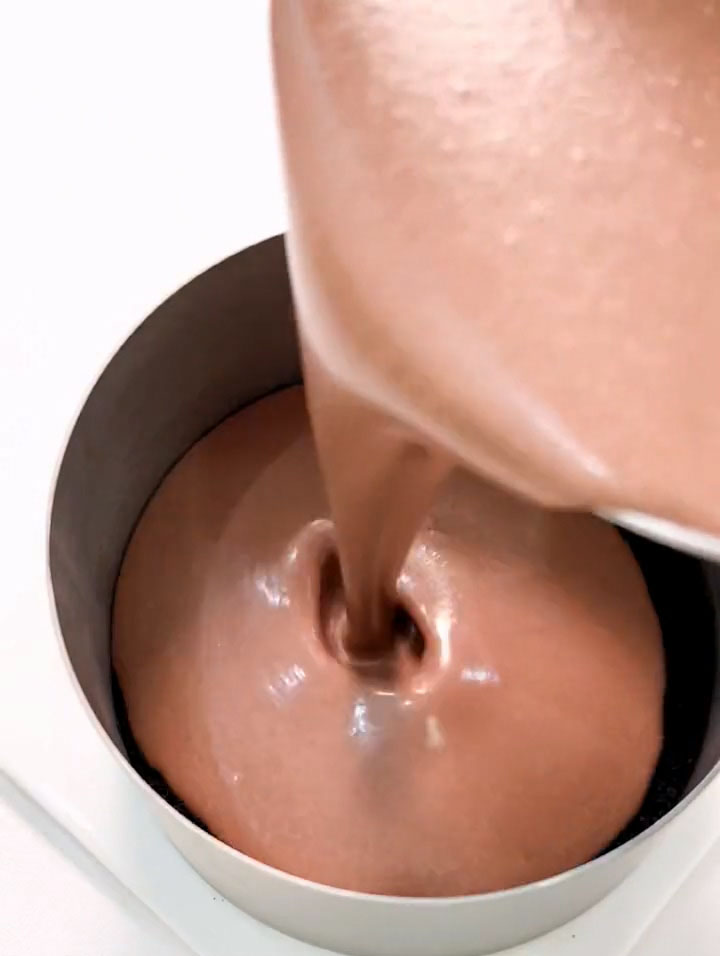
Carefully transfer the cake to the refrigerator. Chill for at least 4 hours, or ideally overnight, until the mousse is completely firm and set.
4. Make the Chocolate Glaze and Finish
Combine the dark chocolate and heavy cream in a bowl and melt over a water bath until smooth and glossy. Let the glaze cool to about body temperature — too hot and it will melt the mousse underneath.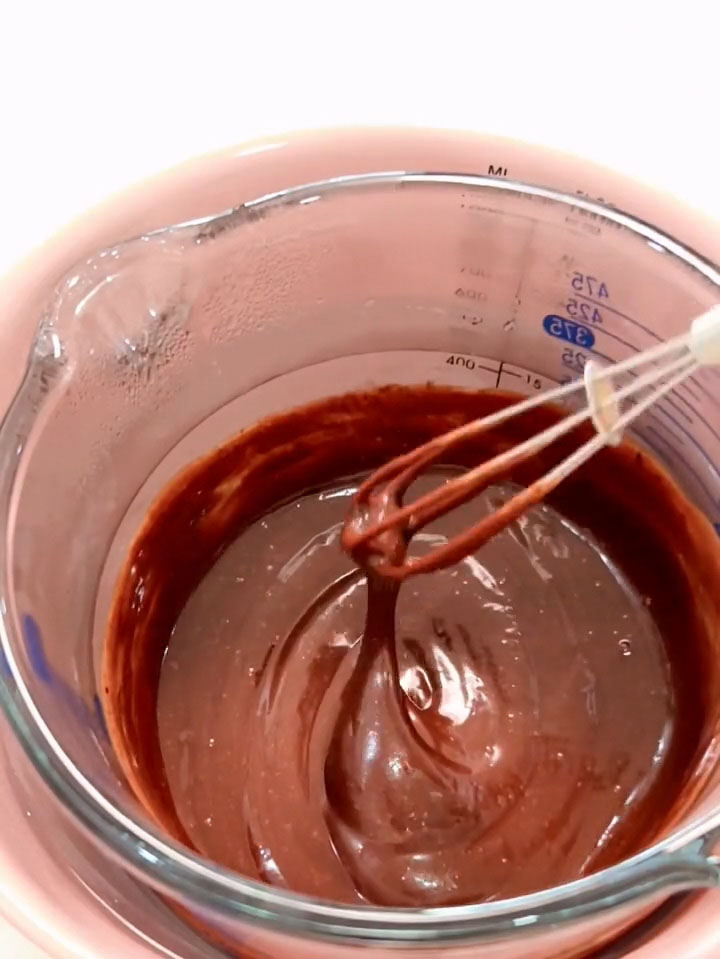
Pour the glaze gently over the set mousse cake, allowing it to flow naturally over the surface. Tilt the pan slightly if needed to help it spread evenly.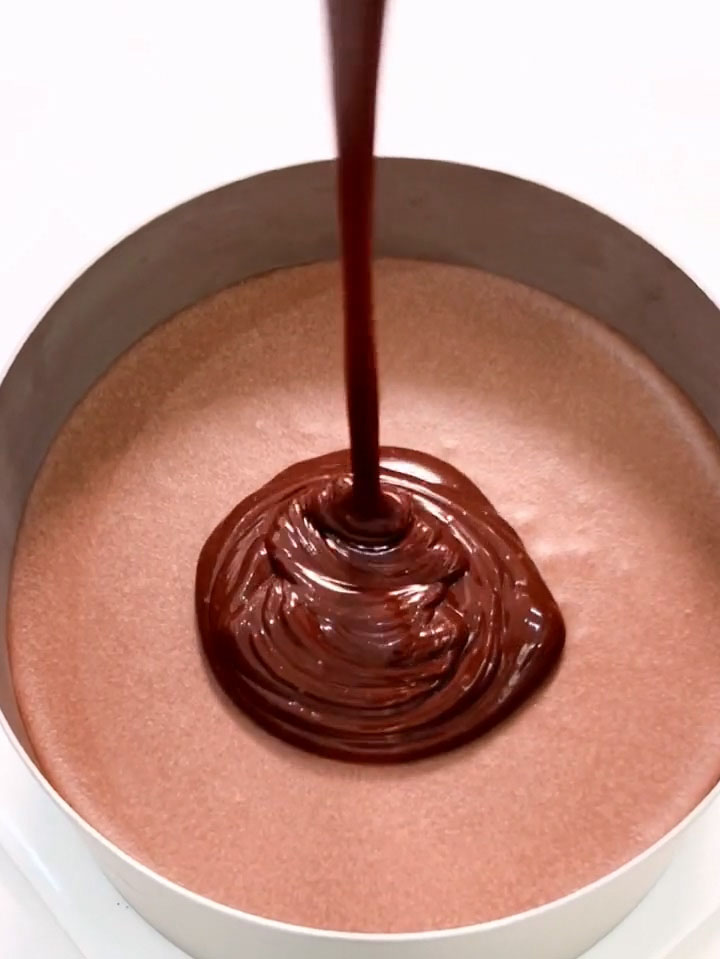
Return the cake to the refrigerator for another 20 minutes, just until the glaze is set.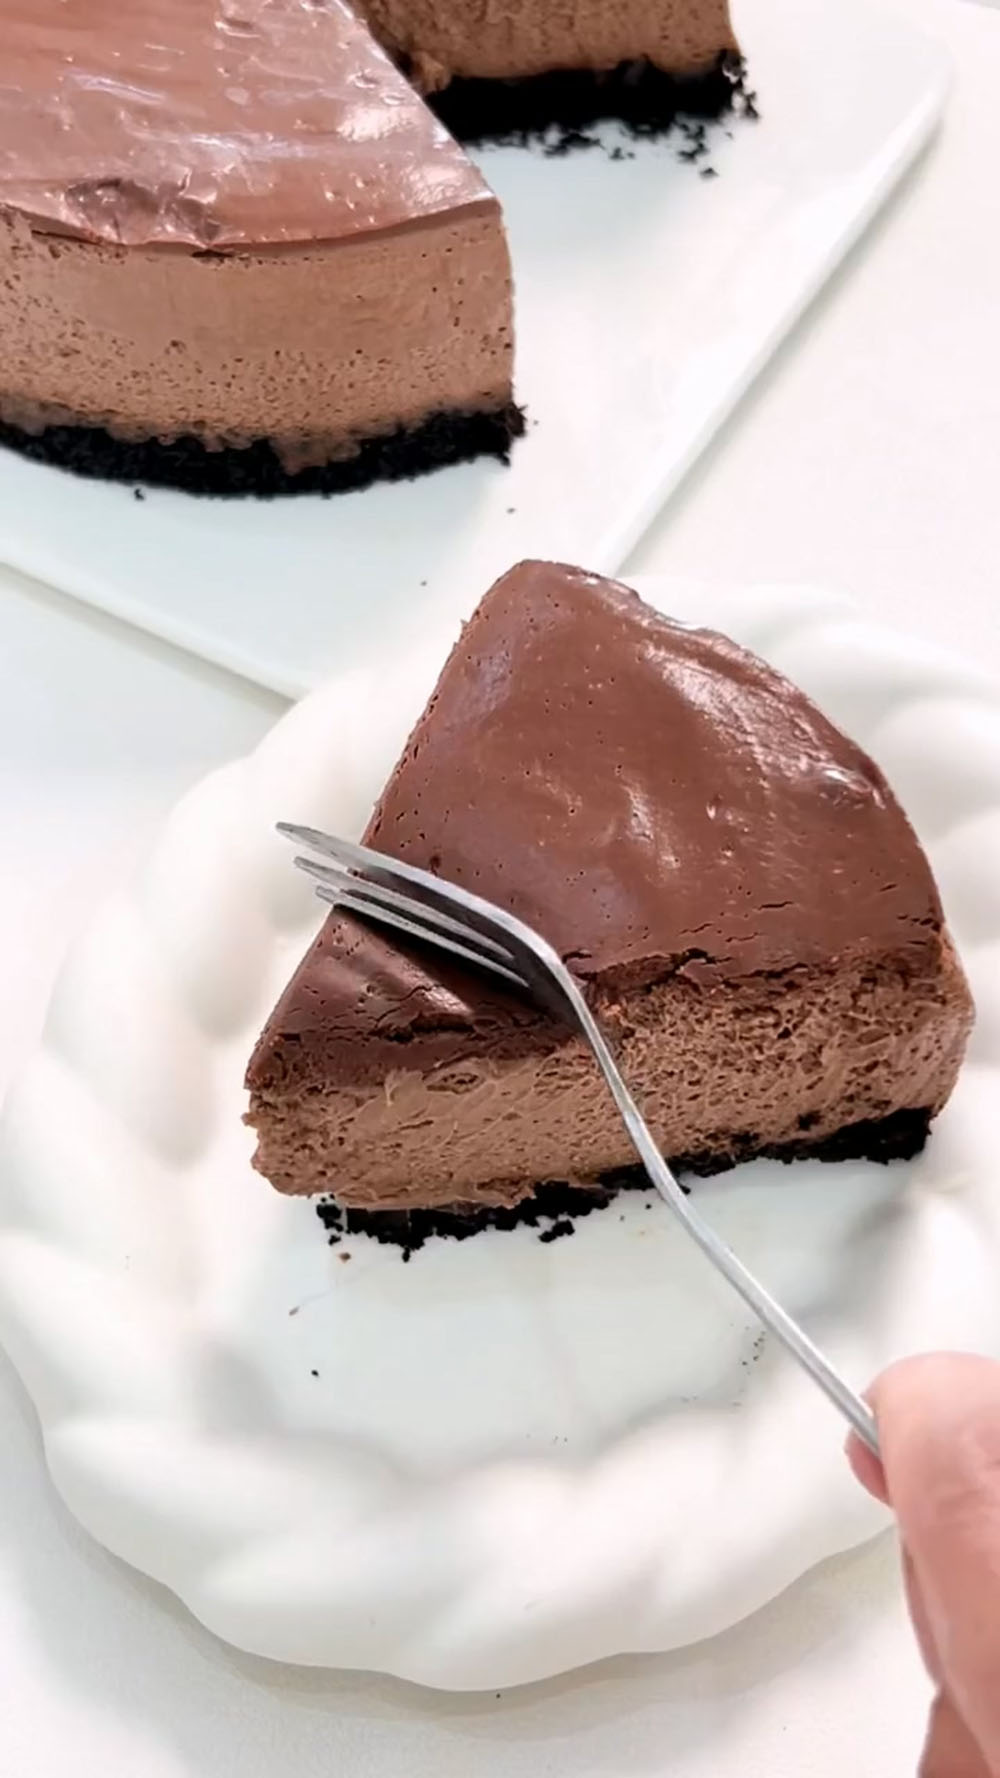
Tips & Tricks
- Press the Base Firmly: This is the most crucial step for the cookie base. Press it down as firmly as you can to create a solid, compact layer that won’t crumble when sliced.
- Cool the Chocolate Mixture: Before folding the melted chocolate-gelatin mixture into the whipped cream, ensure it has cooled to room temperature. Adding it while too warm will melt the cream and deflate your mousse, affecting its texture and ability to set.
- Whip Cream to the Right Stage: Whip the cream until it’s thick and holds soft peaks—it should still be somewhat pourable. Over-whipping will make the mousse dense and difficult to fold smoothly.
- Perfect Glaze Temperature: The ideal glaze is fluid but not runny. Letting it cool to lukewarm (around 30°C) ensures it will coat the cake beautifully without being too thin and soaking in or too thick and clumping.
- Clean Unmolding: For a pristine-looking cake, warm the sides of your pan or ring slightly before removing it. A warm kitchen towel wiped around the outside or a quick pass with a hairdryer does the trick.
Frequently Asked Questions
Can I use gelatin powder instead of sheets?
Yes. Use 1 teaspoon (about 3g) of unflavored powdered gelatin. Sprinkle it evenly over 2 tablespoons of cold water in a small dish. Let it sit for 5-10 minutes to “bloom” (become spongy). Then, add this bloomed gelatin directly to the warm chocolate-milk mixture and stir until dissolved.
Why is my mousse not setting?
The most common reasons are: 1) The chocolate mixture was too hot when folded into the cream, melting it. 2) The gelatin wasn’t fully dissolved. 3) The cake wasn’t chilled long enough. Ensure each step is followed and allow a full 4+ hours for chilling.
How far in advance can I make this cake?
This cake is an excellent make-ahead dessert. You can prepare it completely (including the glaze) 1-2 days in advance. Store it covered in the refrigerator.
Can I freeze this mousse cake?
Yes, you can freeze it for up to 1 month. Freeze it (without the glaze for best results) until solid, then wrap tightly in plastic wrap. Thaw overnight in the refrigerator before glazing and serving. The texture may be slightly firmer but still delicious.
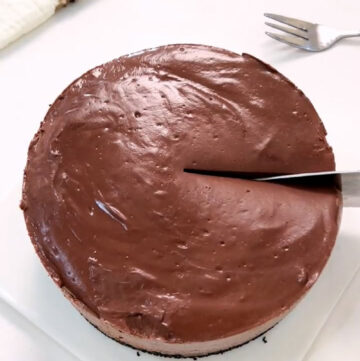
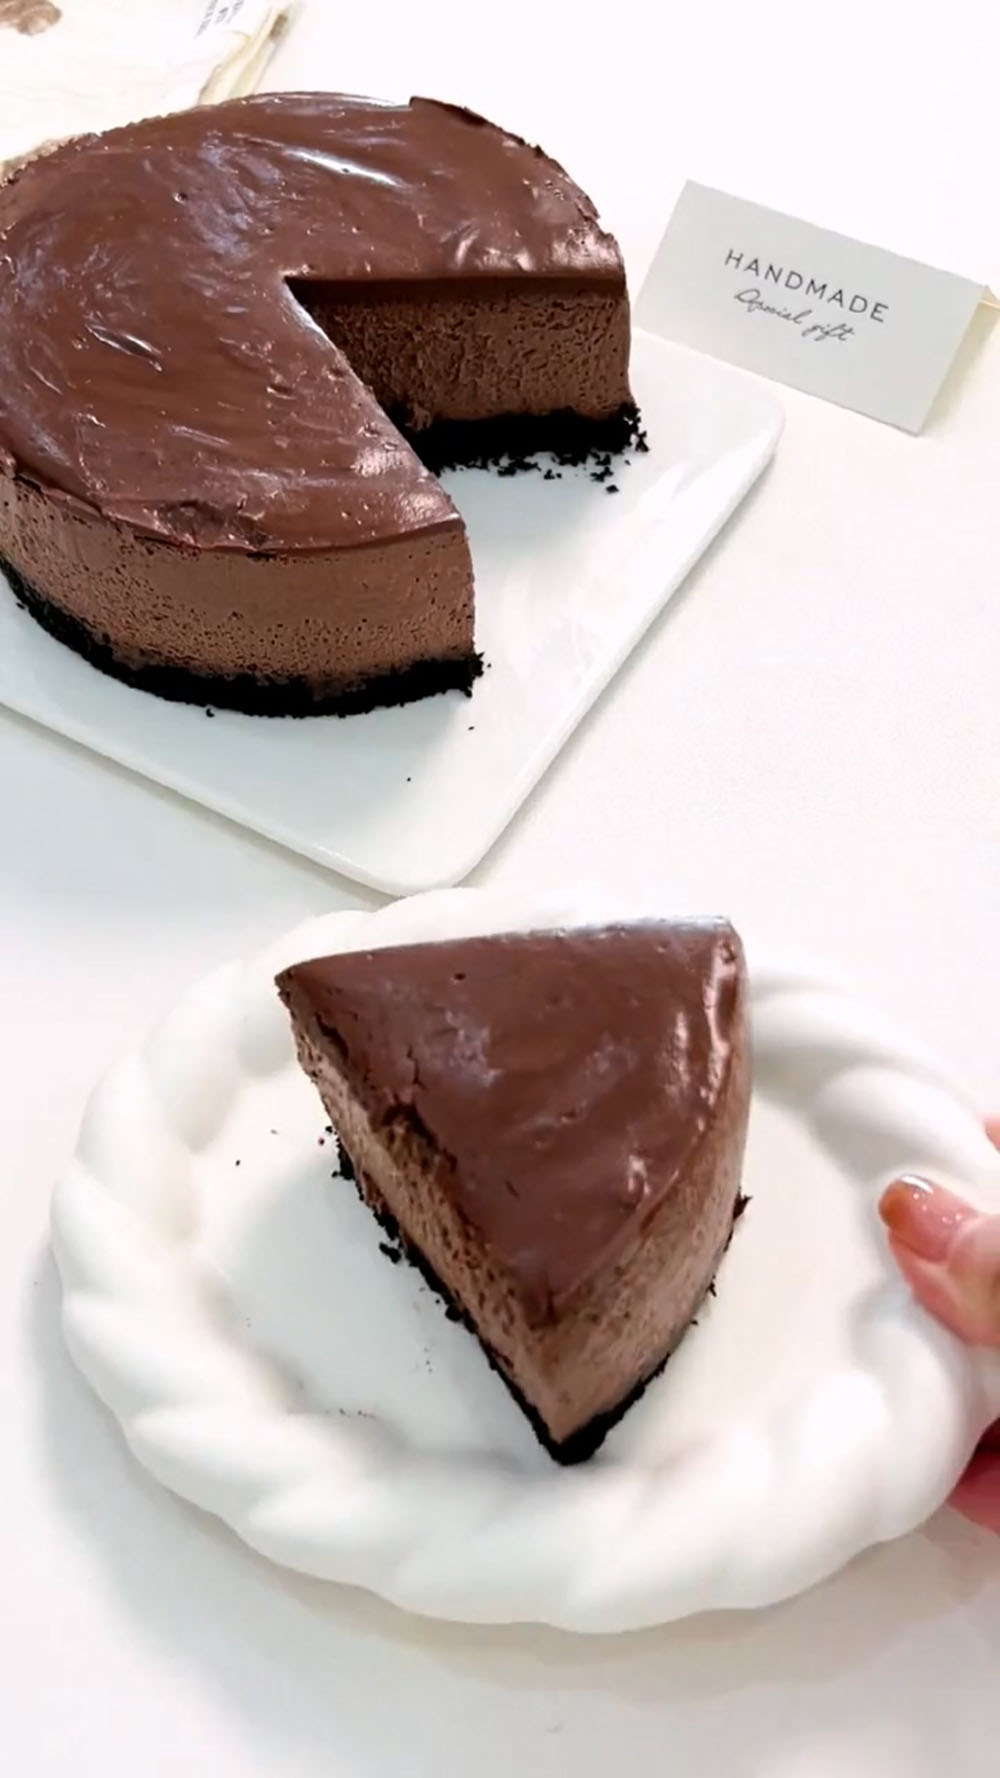
Simple No-Bake Chocolate Cake That Looks Bakery-Made
Ingredients
Oreo Cookie Base
- 90 g Oreo cookie crumbs from approx. 10-12 Oreos, filling removed
- 35 g unsalted butter melted
Dark Chocolate Mousse
- 160 g dark chocolate chopped
- 120 g whole milk
- 300 g heavy cream cold
- 6 g gelatin sheets
- 30 g granulated sugar
Dark Chocolate Glaze
- 60 g dark chocolate chopped
- 75 g heavy cream
Instructions
Make the Oreo Cookie Base
- Melt the butter gently over a water bath until fully liquid. Add the melted butter to the Oreo crumbs and mix until every crumb is evenly coated.
- Pour the mixture into the bottom of a 6-inch springform pan or cake ring placed on a parchment-lined plate. Using the bottom of a glass or a measuring cup, press the crumbs down firmly and evenly to create a compact base. Refrigerate for at least 10 minutes to set while you make the mousse.
Prepare the Dark Chocolate Mousse
- Place the gelatin sheets in a small bowl of cold water to soften for about 5 minutes.
- Combine the chopped dark chocolate and milk in a heatproof bowl. Set the bowl over a pot of gently simmering water (double boiler), ensuring the bottom of the bowl doesn't touch the water. Stir frequently until the chocolate is completely melted and the mixture is smooth.
- Remove the bowl from the heat. Squeeze out any excess water from the softened gelatin sheets and add them to the warm chocolate mixture. Stir vigorously until the gelatin is fully dissolved. Set this aside and let it cool to room temperature. It should feel just slightly warm to the touch.
- In a separate large bowl, combine the cold heavy cream and sugar. Using an electric hand mixer or a whisk, whip the cream until it reaches soft to medium peaks—it should be thick, hold its shape, and have a creamy, spreadable consistency like thick yogurt. Be careful not to overwhip.
- Pour the cooled (but still liquid) chocolate mixture into the whipped cream. Whip the two together until you have a uniformly chocolate-colored, smooth mousse with no streaks of white cream.
Assemble and Chill the Mousse Cake
- Remove the prepared cookie base from the fridge. Pour the chocolate mousse over the base, spreading it evenly with a spatula. Gently tap the pan on the counter a few times to release any air bubbles.
- Carefully transfer the cake to the refrigerator. Chill for at least 4 hours, or ideally overnight, until the mousse is completely firm and set.
Make the Chocolate Glaze and Finish
- Combine the dark chocolate and heavy cream in a bowl and melt over a water bath until smooth and glossy. Let the glaze cool to about body temperature — too hot and it will melt the mousse underneath.
- Pour the glaze gently over the set mousse cake, allowing it to flow naturally over the surface. Tilt the pan slightly if needed to help it spread evenly.
- Return the cake to the refrigerator for another 20 minutes, just until the glaze is set.
Leave a Reply