
A luxurious twist on classic flan! This caramel cheesecake flan is silky, lightly sweet, and melts in your mouth. The combination of cream cheese and caramel creates a perfectly balanced dessert that’s easy to make at home.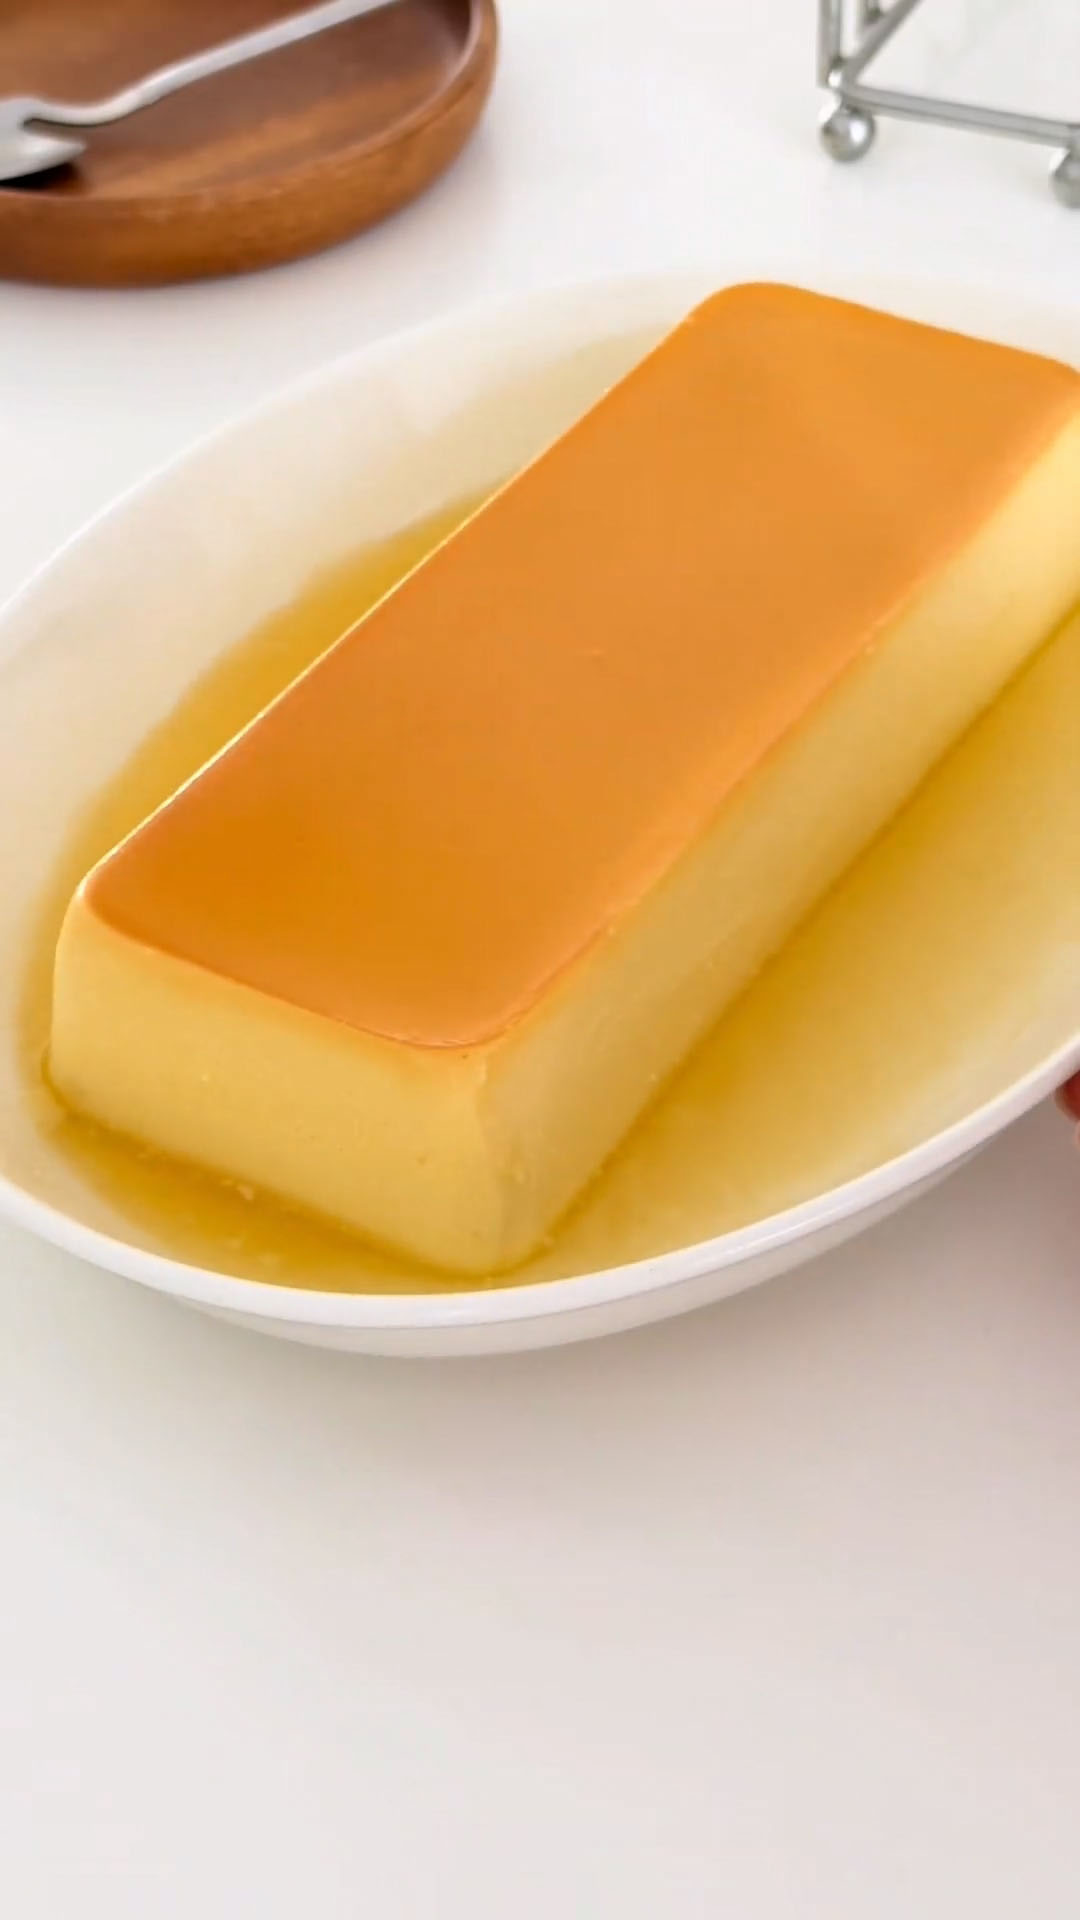
This is a flan recipe I’ve made countless times—it’s a thoroughly tested and reliable one that I keep coming back to. Every time I make it, the texture turns out smooth and creamy with that perfect caramel finish, so I know it works.
I’ve taken the time to write out each step as clearly and in as much detail as possible.
While it may look a little long at first glance, every detail is there for a reason—to guide you through the process and help you avoid common mistakes. I truly wanted to make this as beginner-friendly as possible, so you can feel confident and achieve a silky, bakery-quality flan on your very first try.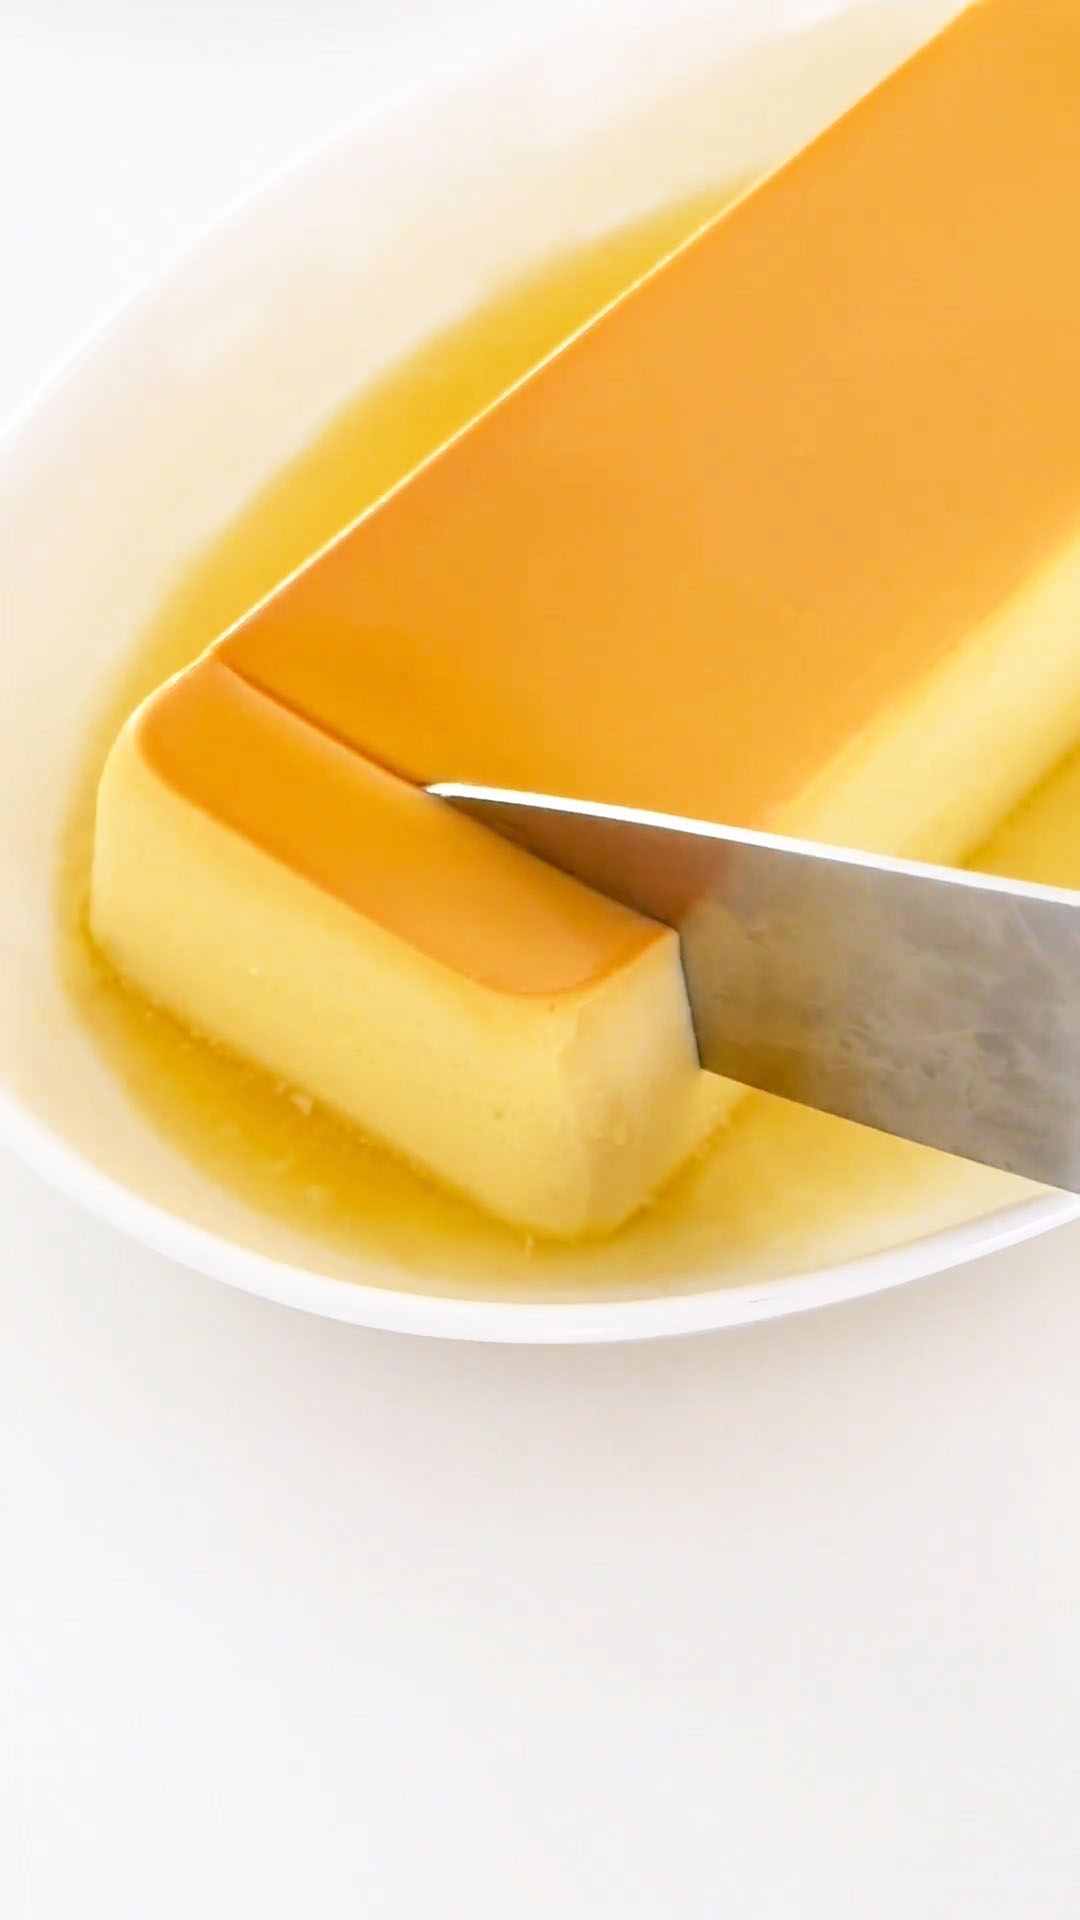
Why You’ll Love This Recipe
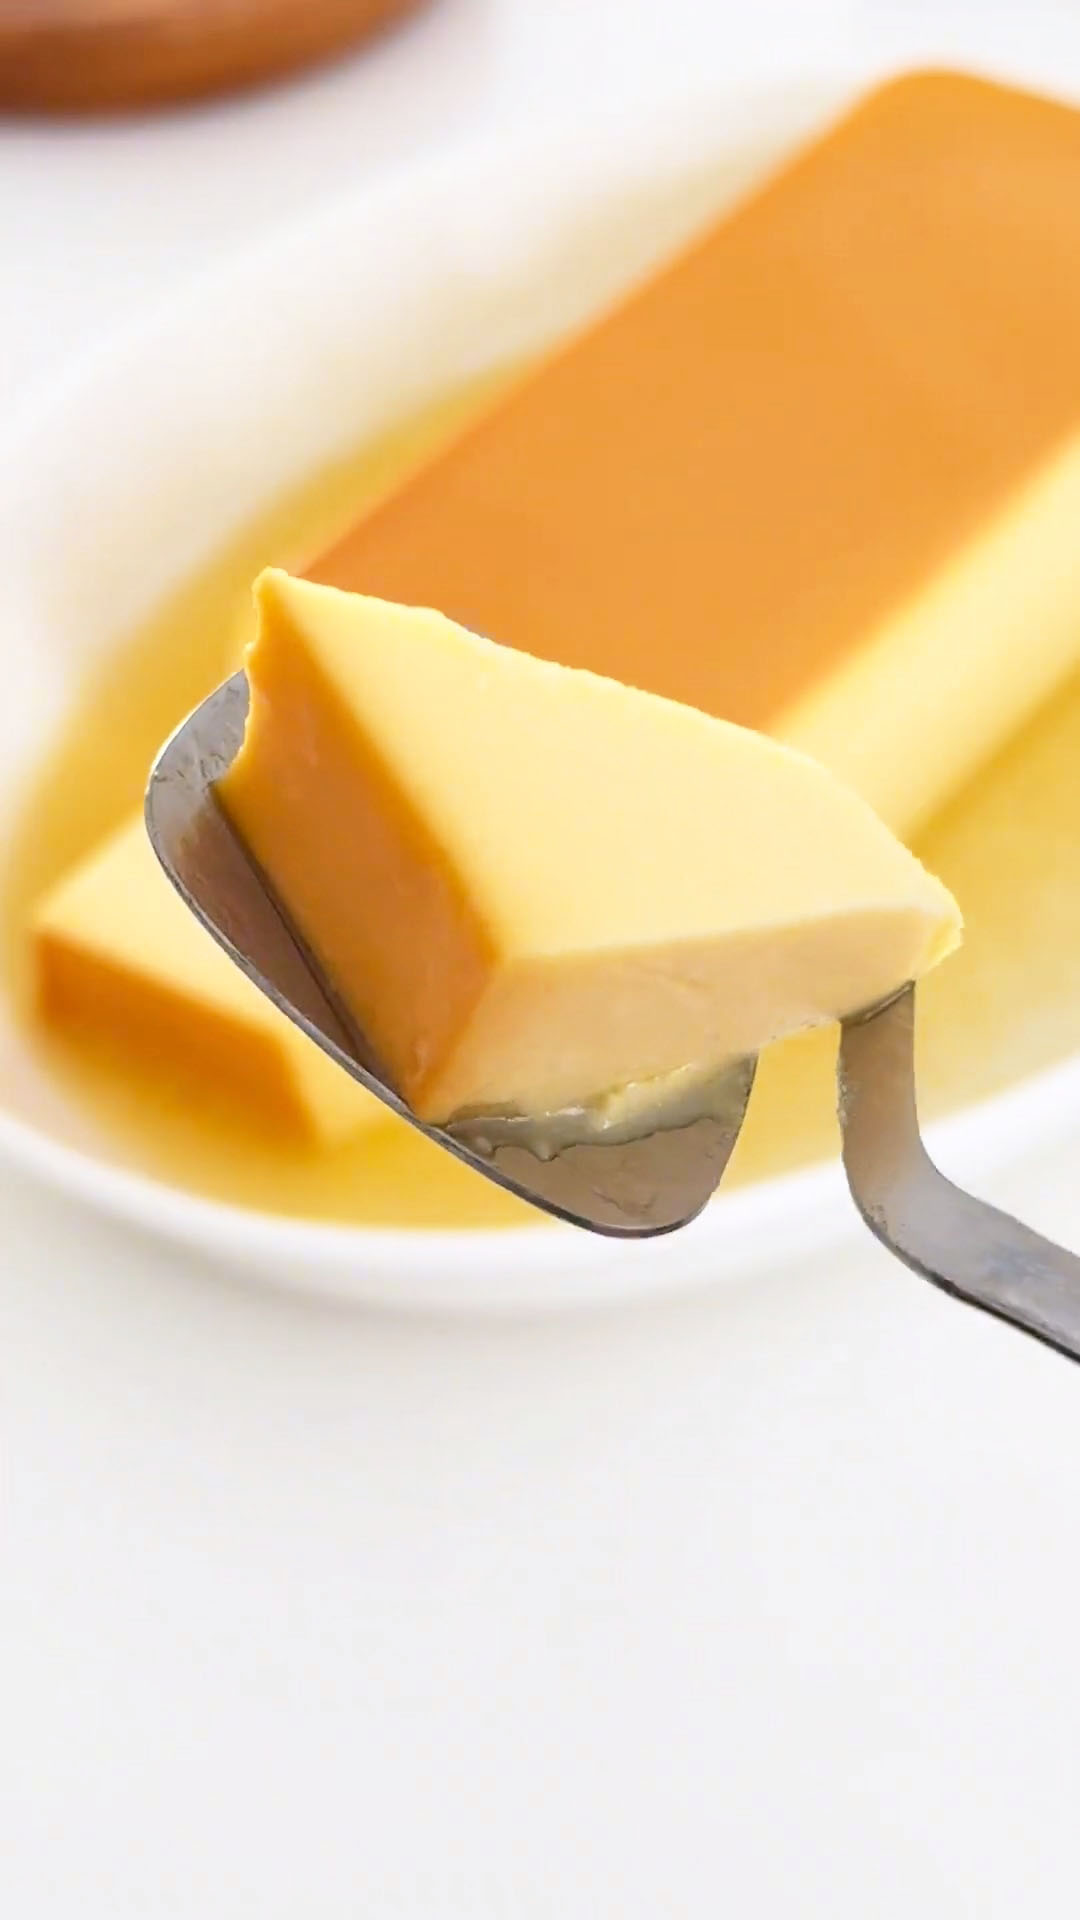
- Incredibly silky texture – The addition of cream cheese creates a custard that’s noticeably more refined and velvety than ordinary flan, almost like a cross between traditional flan and Japanese cotton cheesecake in texture
- Perfectly balanced sweetness – The combination of caramel’s gentle bitterness with the creamy, tangy custard means each bite is complex and never cloying
- Foolproof water bath method – Even if you’ve never made flan before, the gentle, slow baking ensures a smooth, crack-free surface without any special techniques
- Make-ahead perfection – This is one of those magical desserts that actually tastes better after a day in the fridge, making it ideal for dinner parties and holiday entertaining
- Versatile serving options – Serve it as an elegant standalone dessert, pair it with fresh berries for brightness, or get creative and use it as a luxurious cake filling
Ingredients and Substitutions
- White sugar – Regular granulated white sugar is essential for proper caramelization. I don’t recommend substituting with brown sugar or alternative sweeteners here, as they burn differently and contain impurities that can affect the caramel’s clarity and flavor. The precise ratio of sugar to water ensures that perfect amber color every time.
- Water – We use water in two different ways here. The first small amount combines with sugar to create the ideal environment for caramelization. The hot water added at the end is crucial—it stops the cooking process and thins the caramel for easy pouring. Never use cold water for this final addition or your caramel will seize into a hard, unusable mass.
- Cream cheese – This is the secret ingredient that elevates this flan above all others. You’ll want it fully softened to room temperature—I usually take it out of the fridge at least two hours ahead. Full-fat block cream cheese works best; avoid spreadable versions in tubs as they contain stabilizers that can affect the texture.
- Sweetened condensed milk – This provides both sweetness and that signature dense, creamy richness without needing to dissolve sugar separately. The 60g measurement is precise—too much and the flan becomes overly sweet, too little and you lose that characteristic silkiness.
- Eggs – Large eggs at room temperature incorporate more smoothly into the batter, reducing the risk of curdling. I set mine in a bowl of warm water for 10 minutes if I’ve forgotten to take them out ahead of time. They’re what gives the flan its structure while maintaining that melt-in-your-mouth quality.
- Whole milk – I strongly recommend full-fat milk here. The higher fat content contributes to the luxurious mouthfeel and helps create that velvety texture we’re after. Lower fat milks contain more water and can result in a slightly less creamy finished product.
- Heavy whipping cream – Look for heavy cream with at least 35% milk fat. This is what makes the flan taste genuinely decadent rather than simply like baked custard. The combination of milk and cream hits that sweet spot between richness and lightness.
- Vanilla extract – Just a few drops brightens all the other flavors and adds that warm, aromatic quality that makes desserts taste complete. Real vanilla extract is worth using here, though the recipe works beautifully even without it.
Caramel Layer
- 40 g white sugar
- 15 g water
- 20 g hot water
Cheese Custard
- 100 g cream cheese, fully softened to room temperature
- 60 g sweetened condensed milk
- 4 large eggs, room temperature
- 200 g whole milk
- 100 g heavy whipping cream
- Few drops vanilla extract (optional)
How to Make Caramel Cheese Flan
Make the Caramel Layer
Start by making your caramel—this happens quickly so have everything ready before you begin.
Place 40g white sugar and 15g water in a small saucepan. Here’s the most important part: do not stir. Just let it sit there. Turn the heat to medium-low and watch as the sugar slowly dissolves and begins to bubble. You can gently swirl the pan by the handle to ensure even heating, but resist every urge to put a spoon in there—stirring is what causes crystallization and grainy caramel.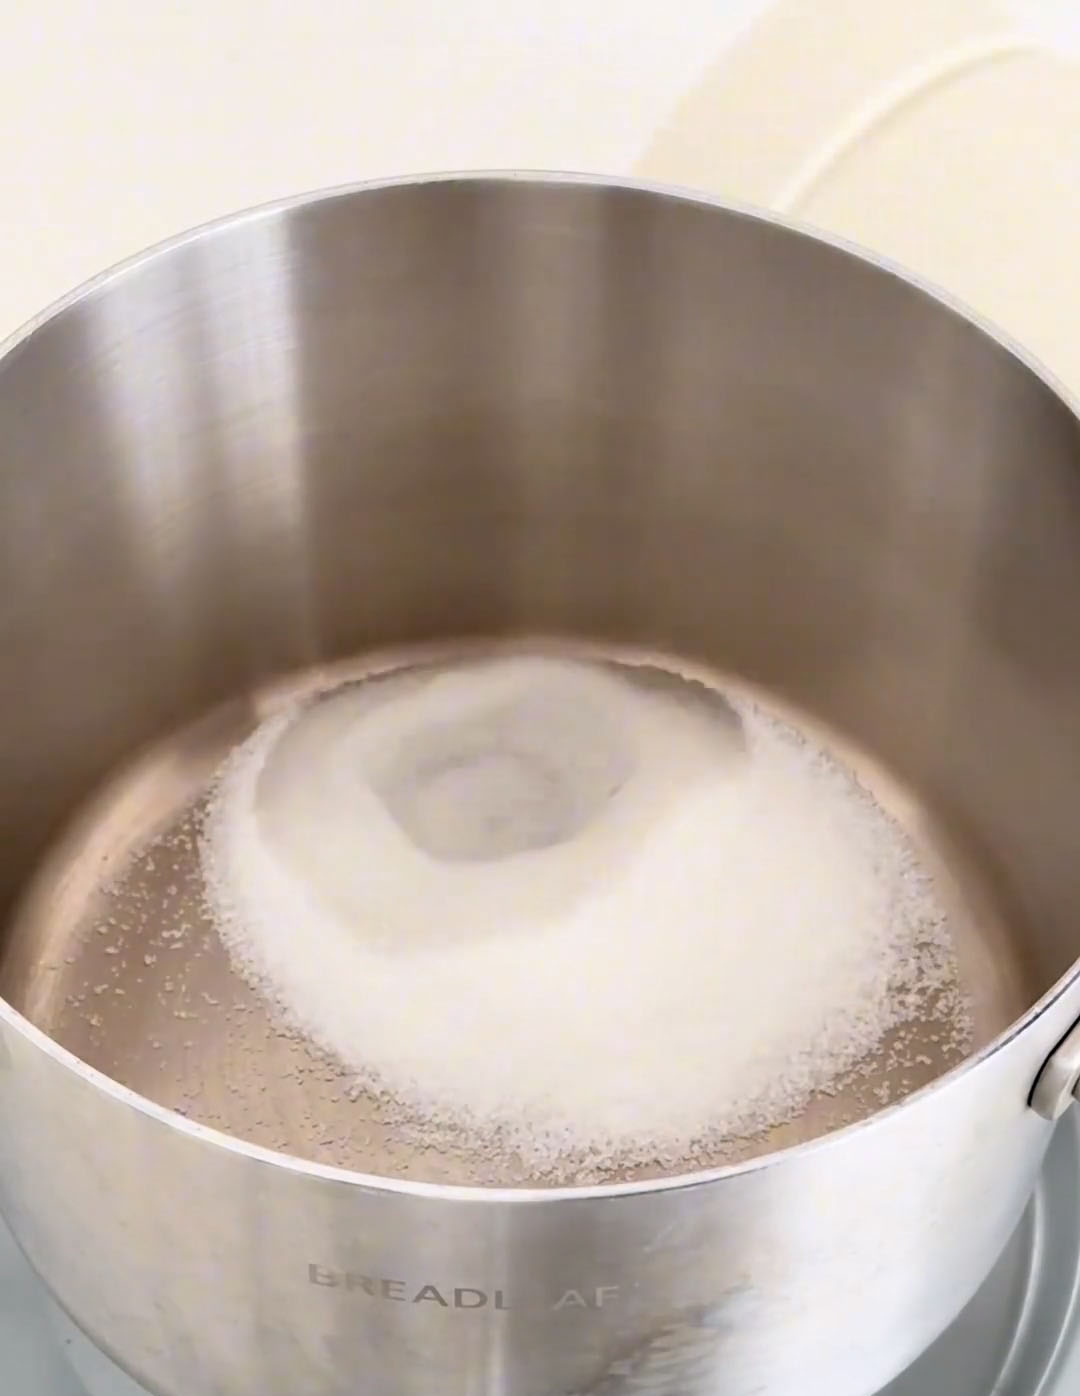
Continue cooking until the mixture transforms into a beautiful amber color, like a new copper penny. The moment you see it reach that rich golden-brown, remove it from the heat immediately. The residual heat will continue darkening it slightly.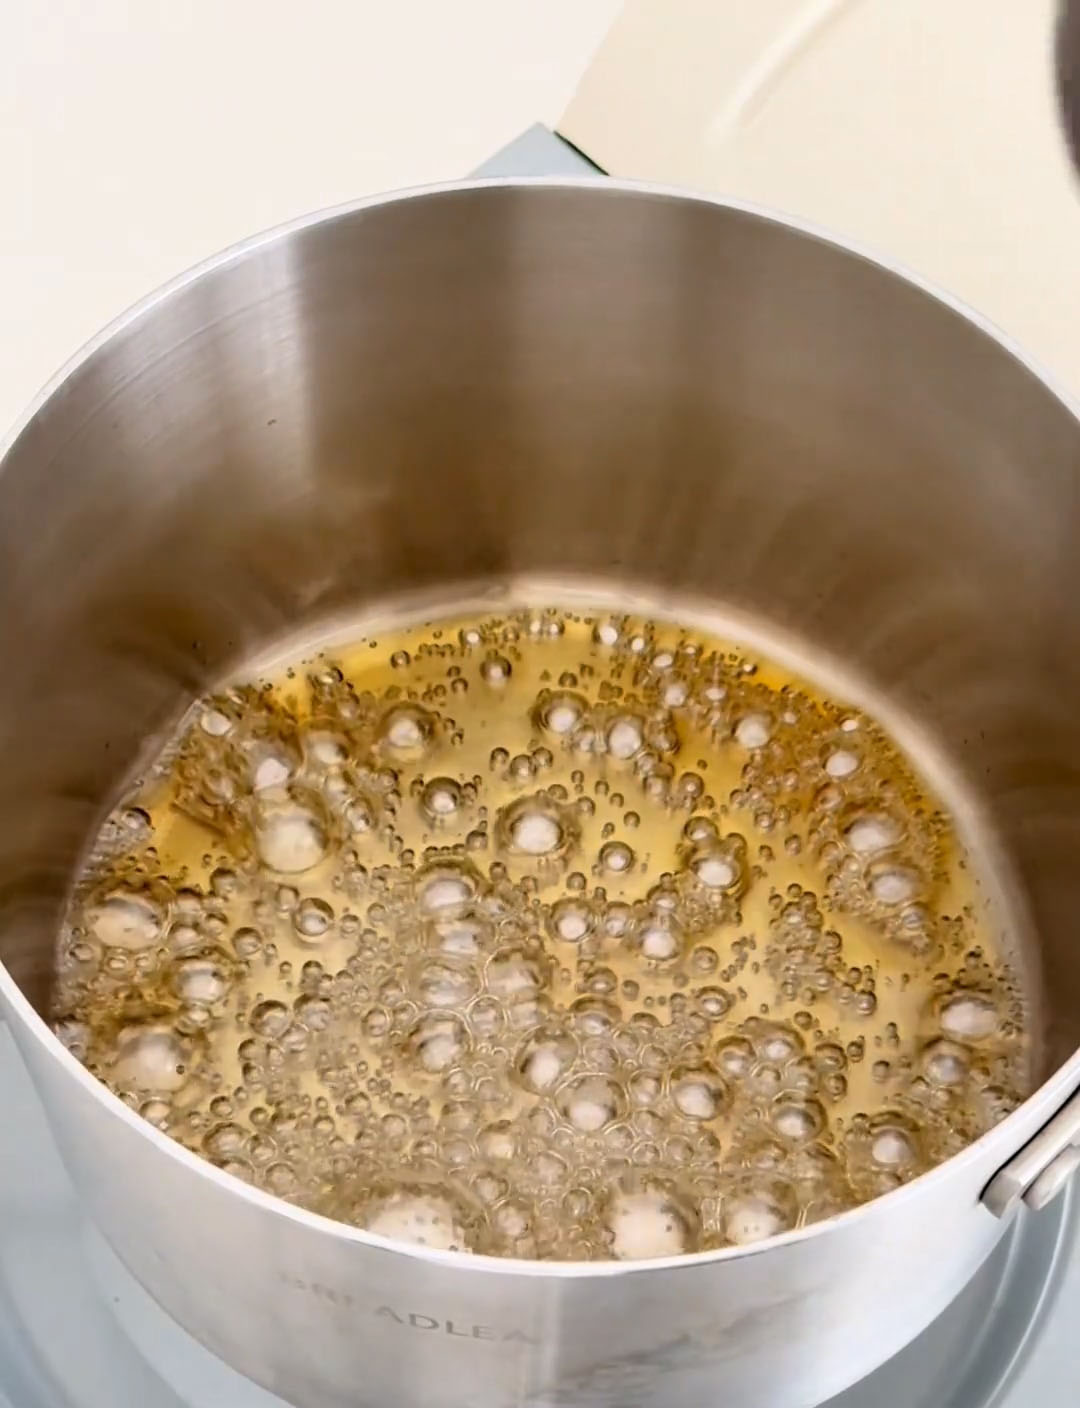
Now carefully pour in the 20g hot water—stand back because it will bubble up vigorously.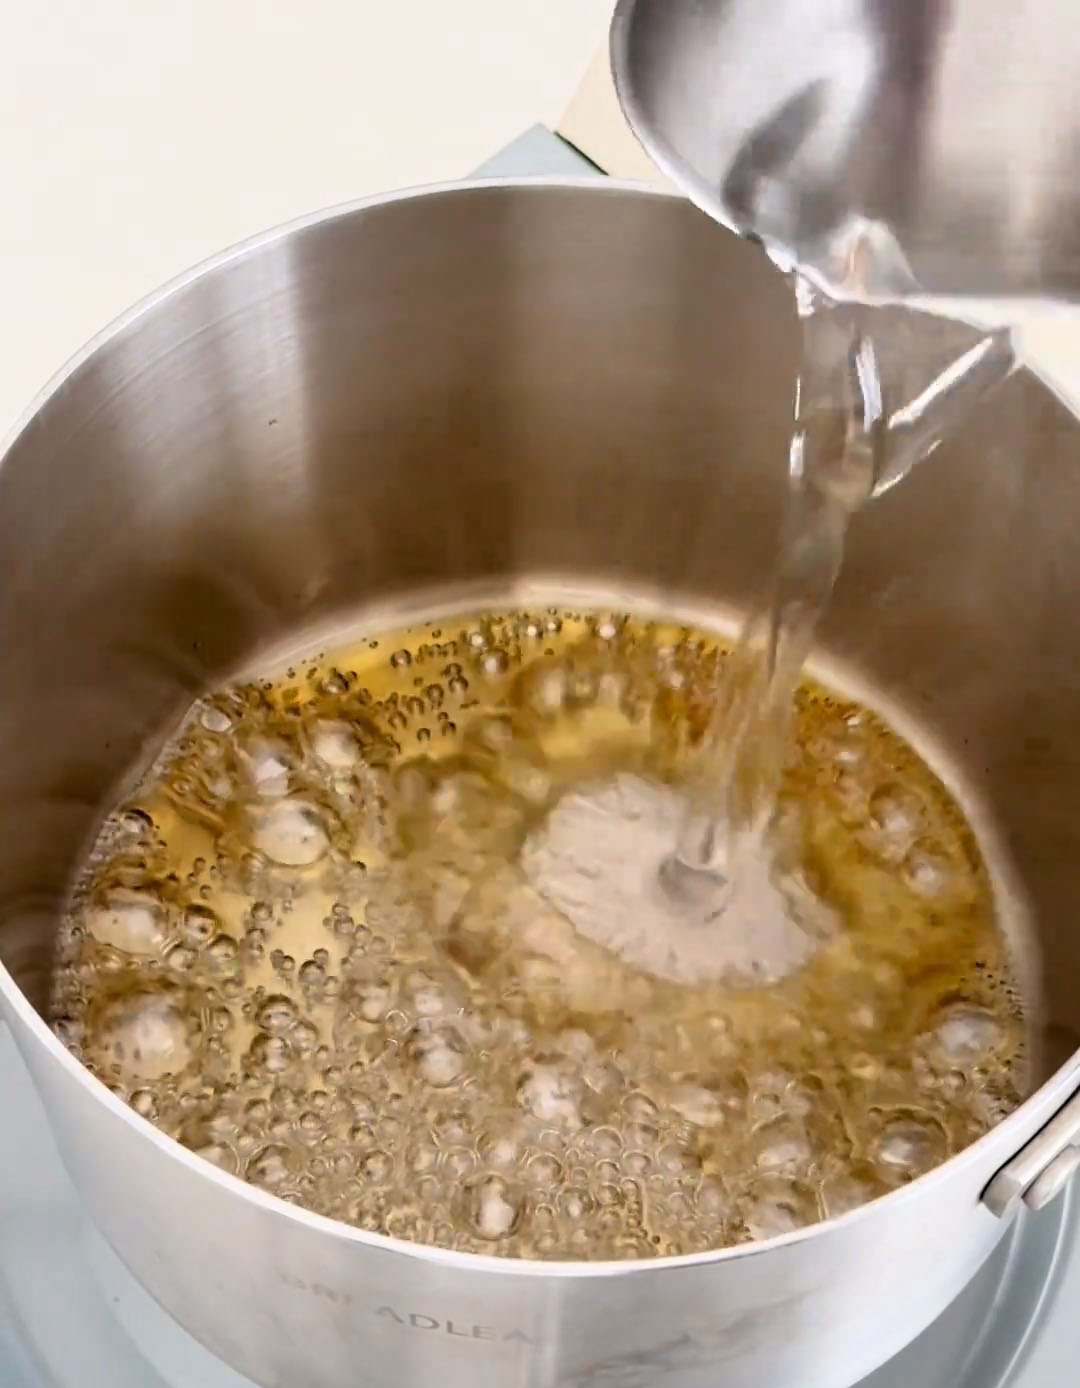
Working fast before it sets, pour this caramel into your flan mold or divide it among individual ramekins. Tilt and swirl to coat the bottom evenly. Set aside to cool and harden while you make the custard.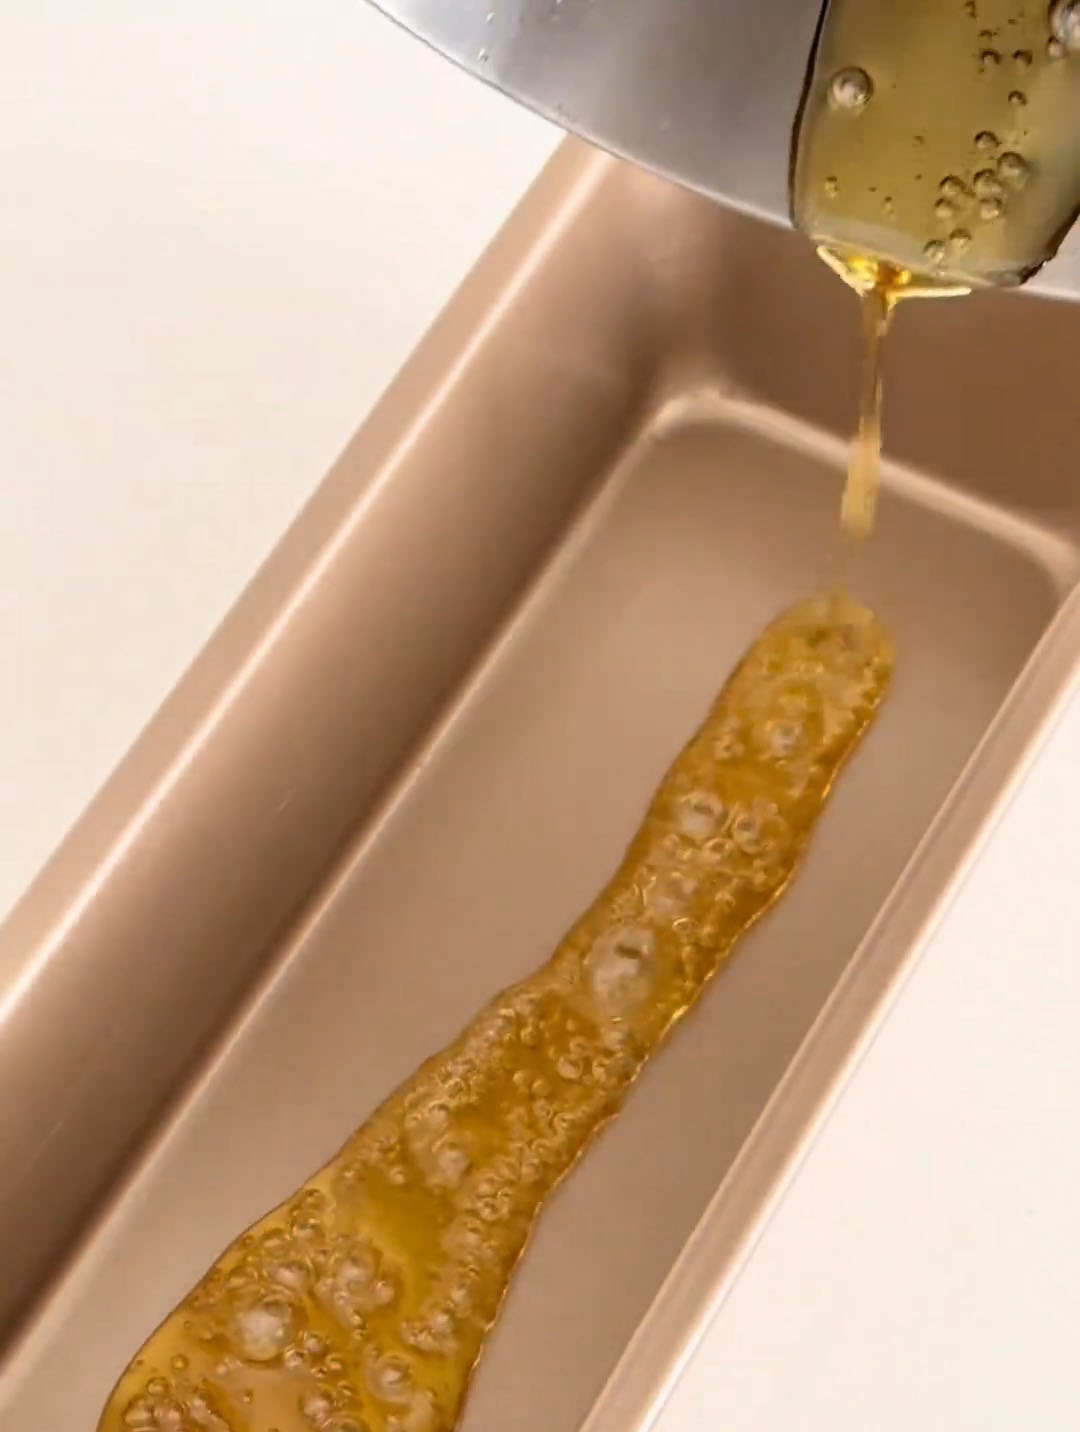
Prepare the Cheese Custard
In a large bowl, combine your completely softened cream cheese with the sweetened condensed milk. Using a silicone spatula or wooden spoon, mash and stir until the mixture becomes completely smooth with absolutely no lumps. This takes a few minutes of patience, but it’s worth every second—any remaining cream cheese lumps will show up in your finished flan.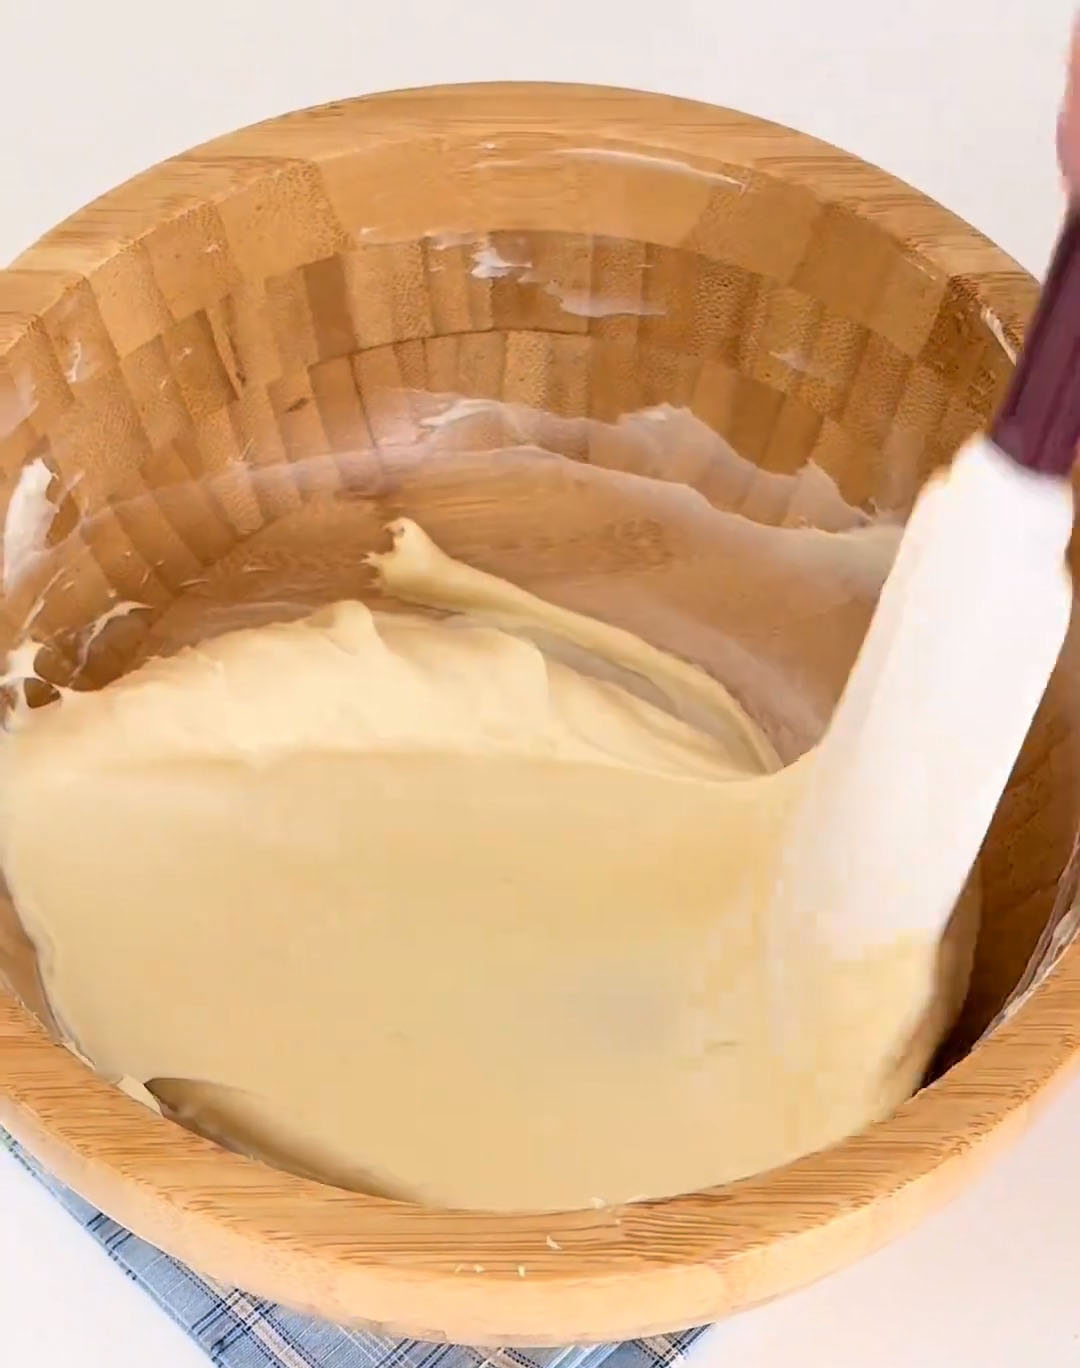
Add the eggs one at a time, mixing well after each addition to ensure a silky consistency.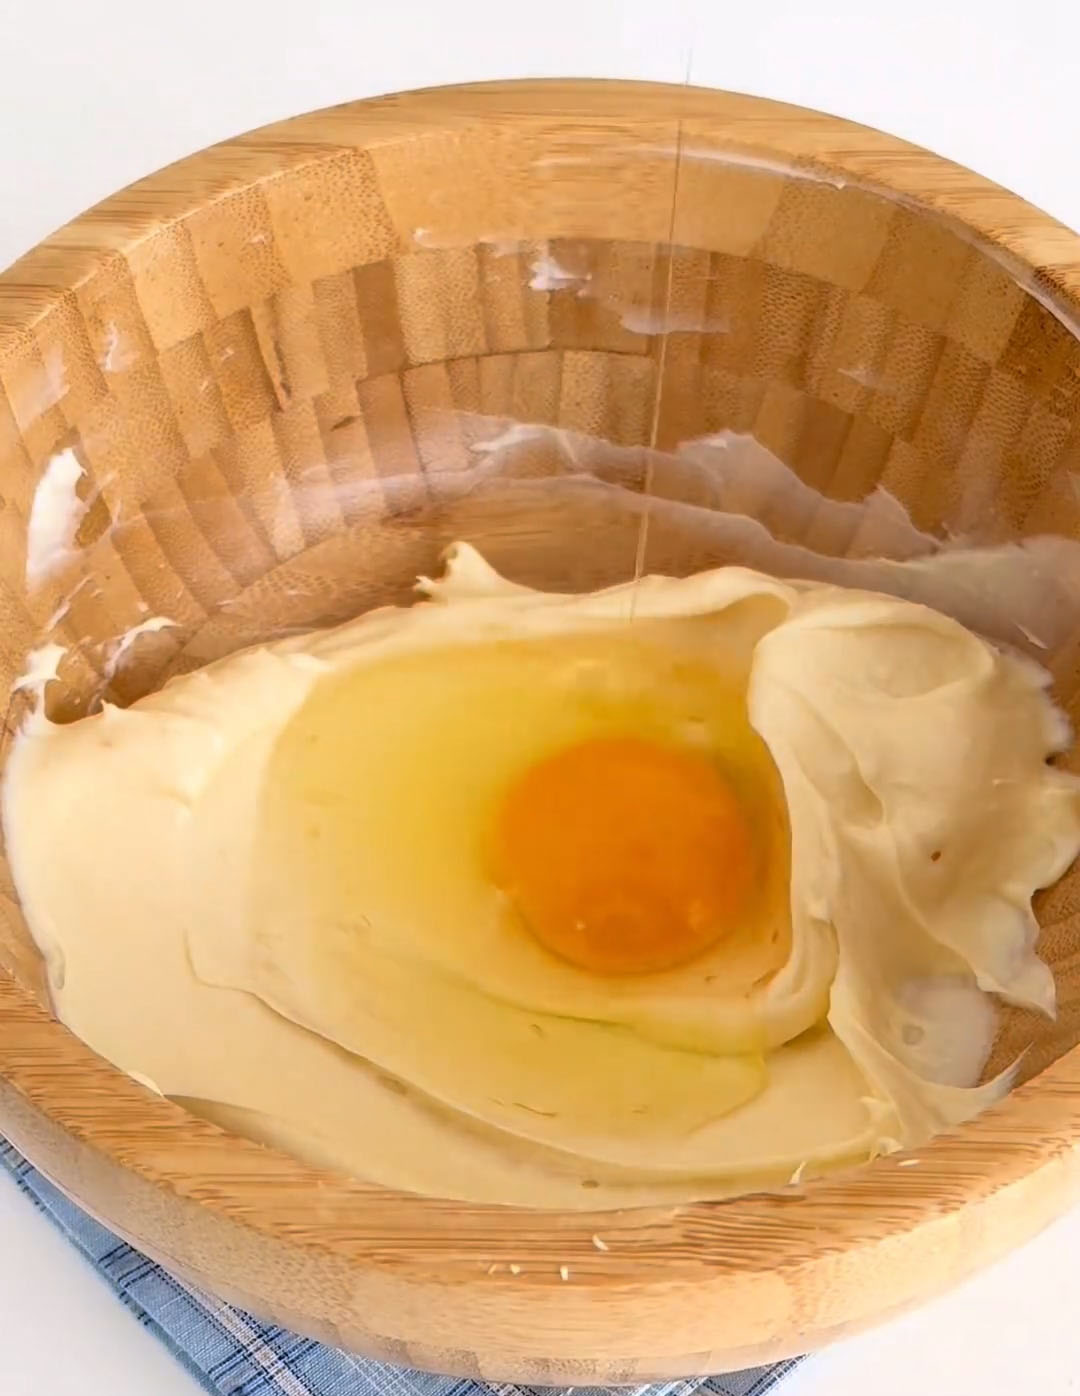
Heat and Combine the Milk Mixture
Here’s a little trick—use that same saucepan from the caramel (don’t wash it, the residue adds flavor). Pour in the milk, heavy cream, and vanilla if using. Warm it over low heat just until it’s warm to the touch, about 60°C or 140°F. You should be able to hold your finger in it comfortably for a few seconds. The goal is warmth, not boiling—boiled milk will give your flan a porous, honeycomb texture.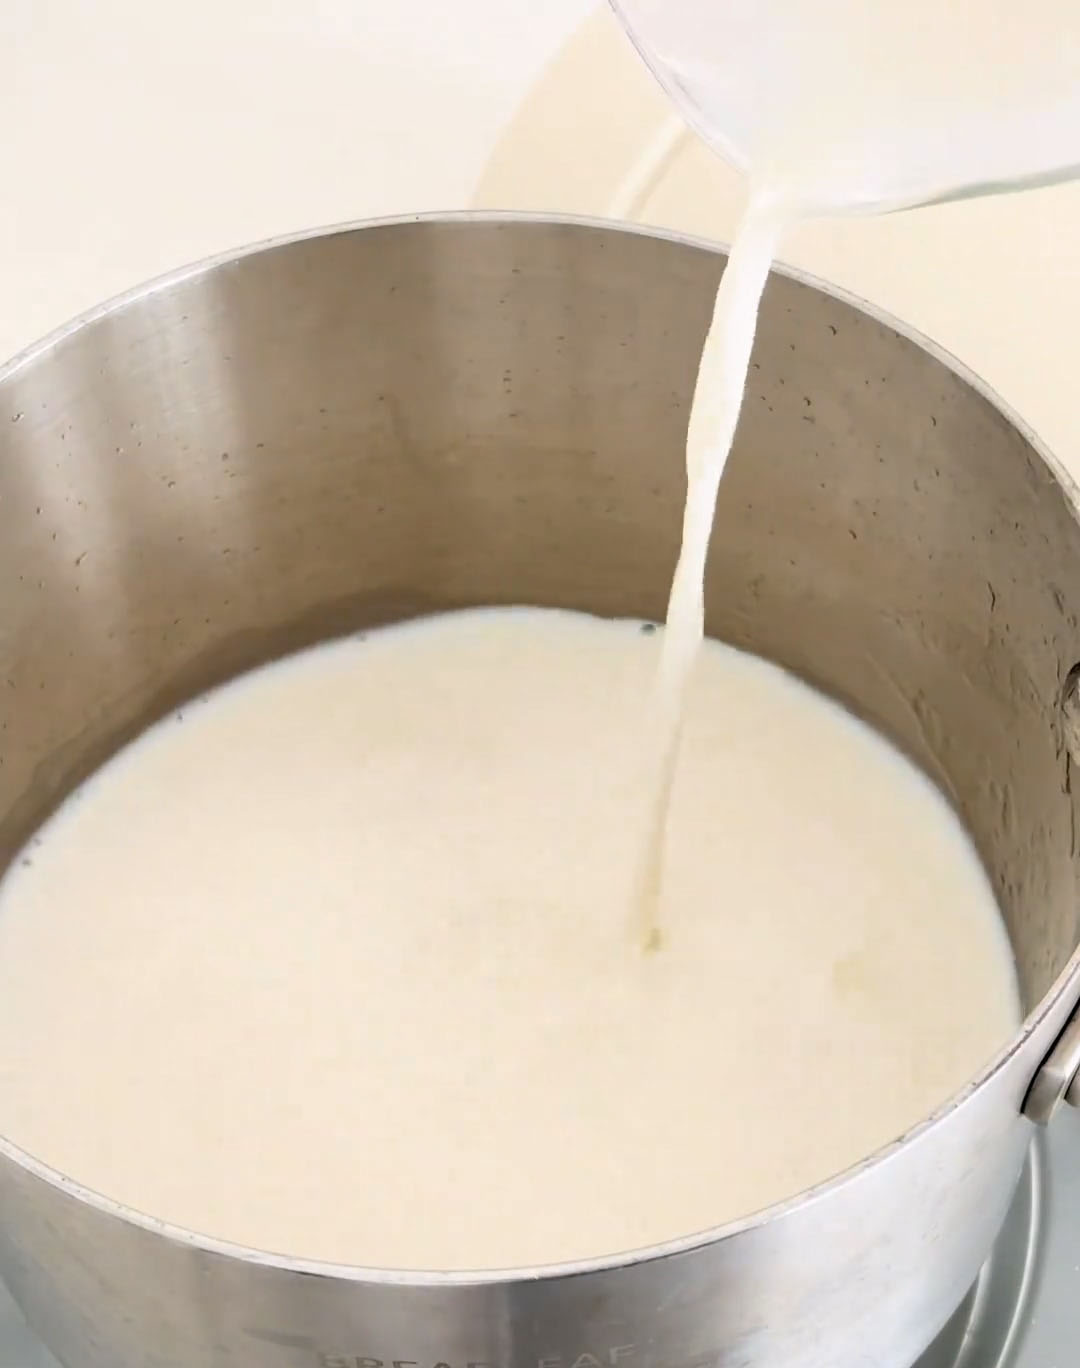
Slowly drizzle this warm milk mixture into your cheese and egg batter, stirring constantly with your spatula. Go slowly to let the eggs adjust to the temperature gradually.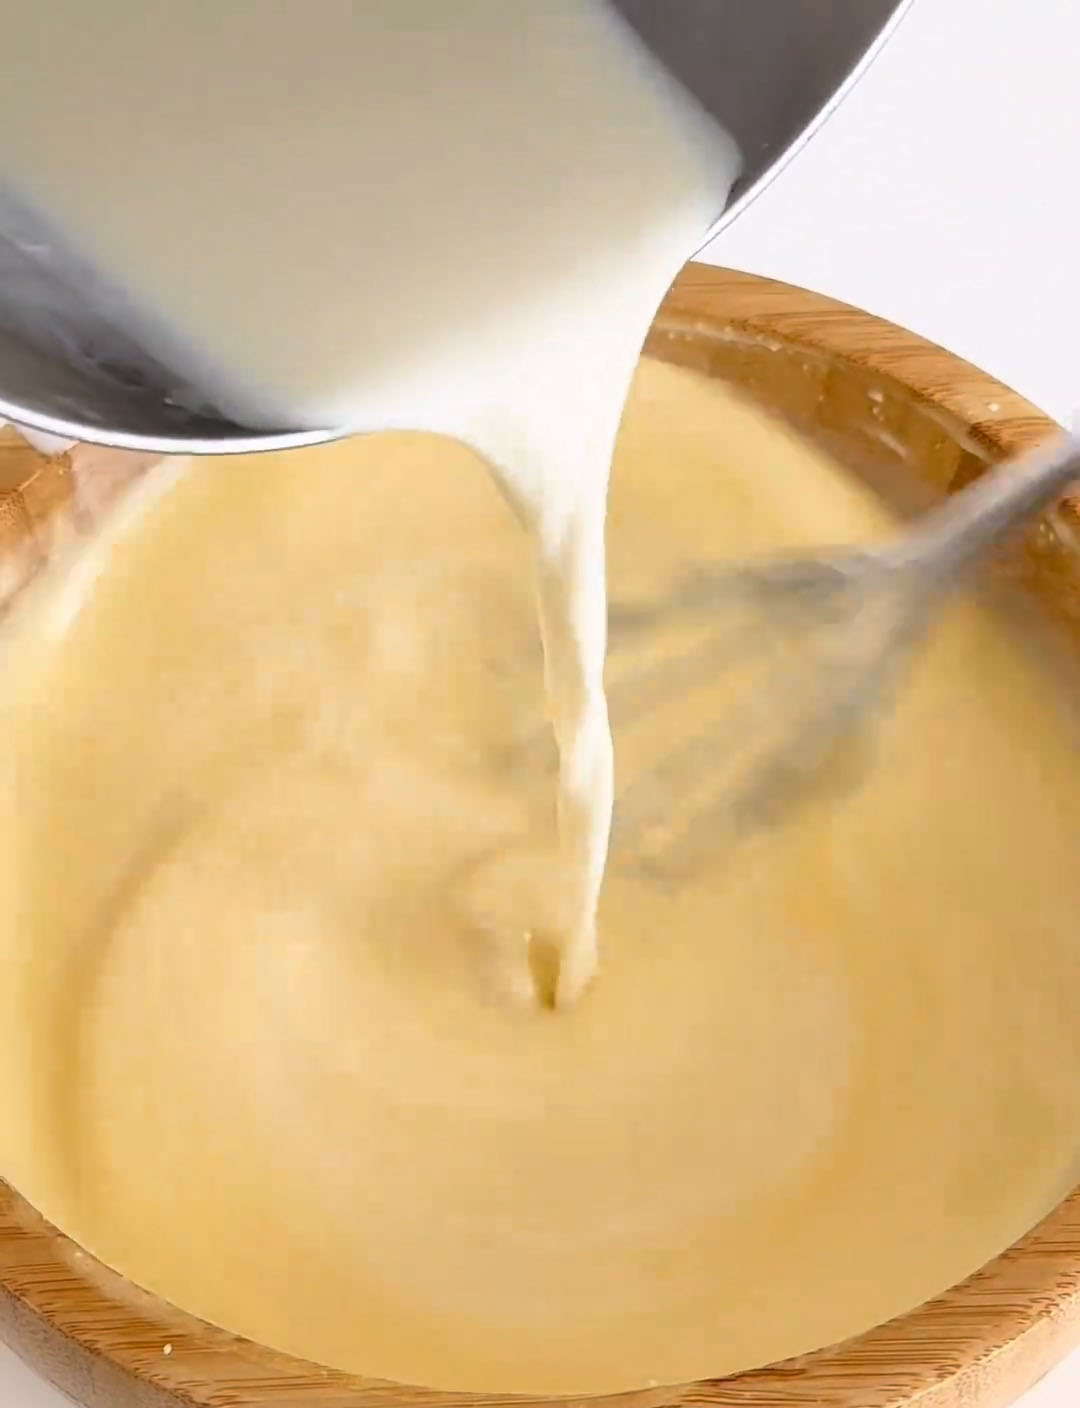
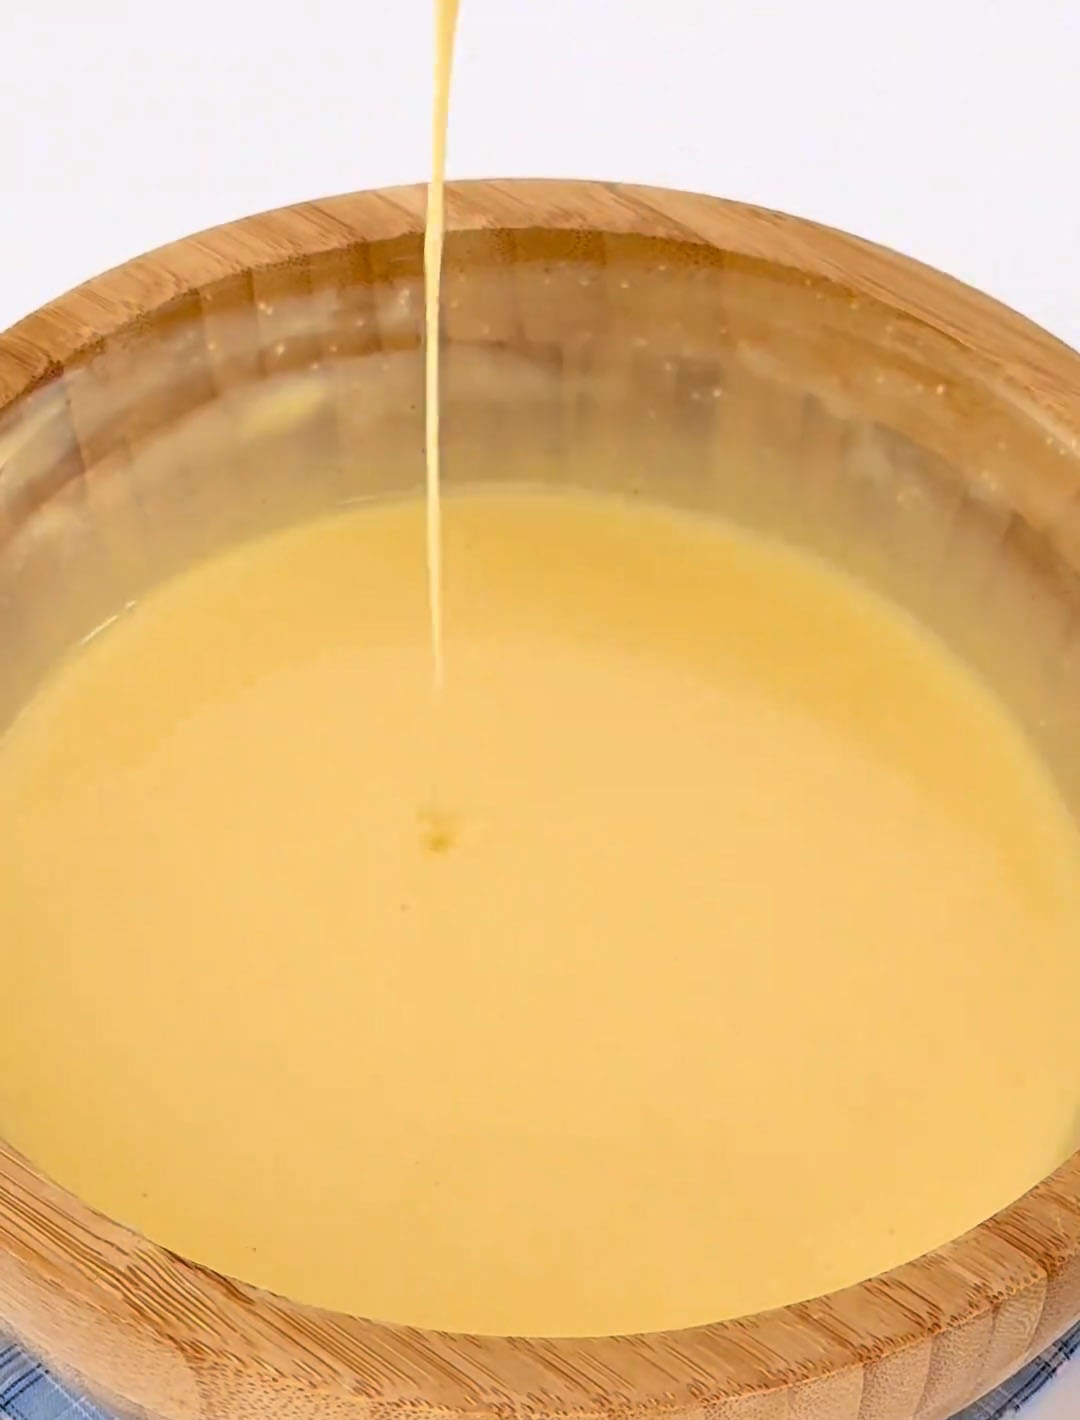
Once everything is combined, here’s the step that guarantees professional results: strain the entire mixture through a fine-mesh sieve into a large measuring cup or bowl with a spout. Press it through with your spatula, then discard any bits left behind. This one step eliminates any stray lumps and ensures the silkiest possible texture.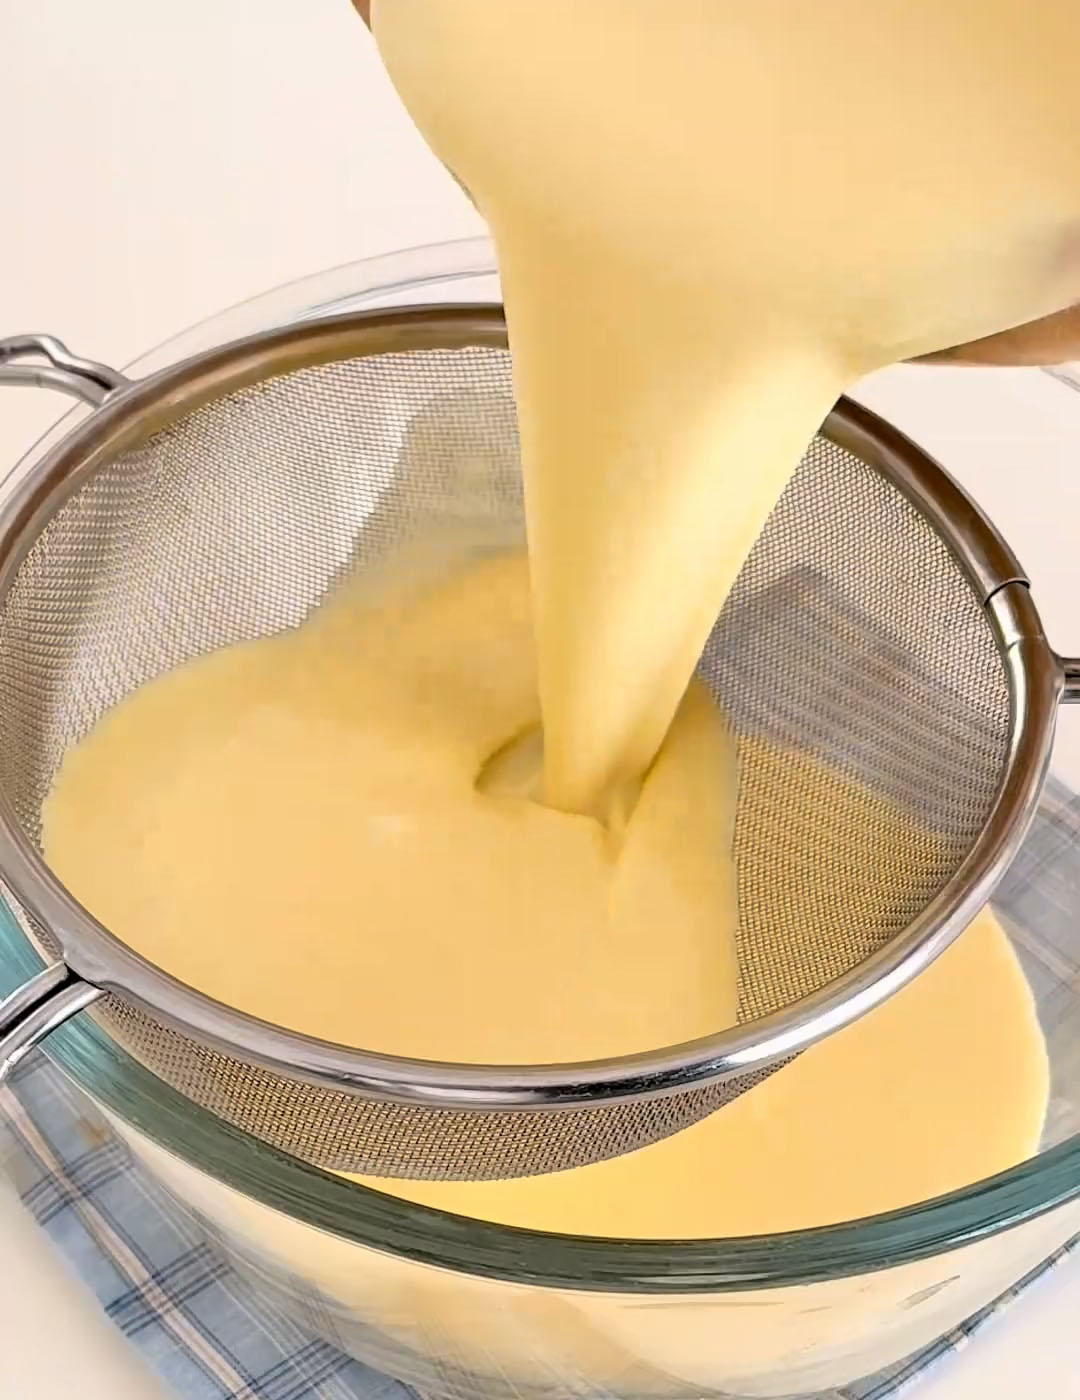
Water Bath Baking
Position a rack in the center of your oven and preheat to 160°C (325°F). Bring a kettle of water to a boil—you’ll need it for the water bath.
Place your caramel-lined mold or ramekins into a deep baking pan. Slowly pour the strained custard into the molds over the hardened caramel.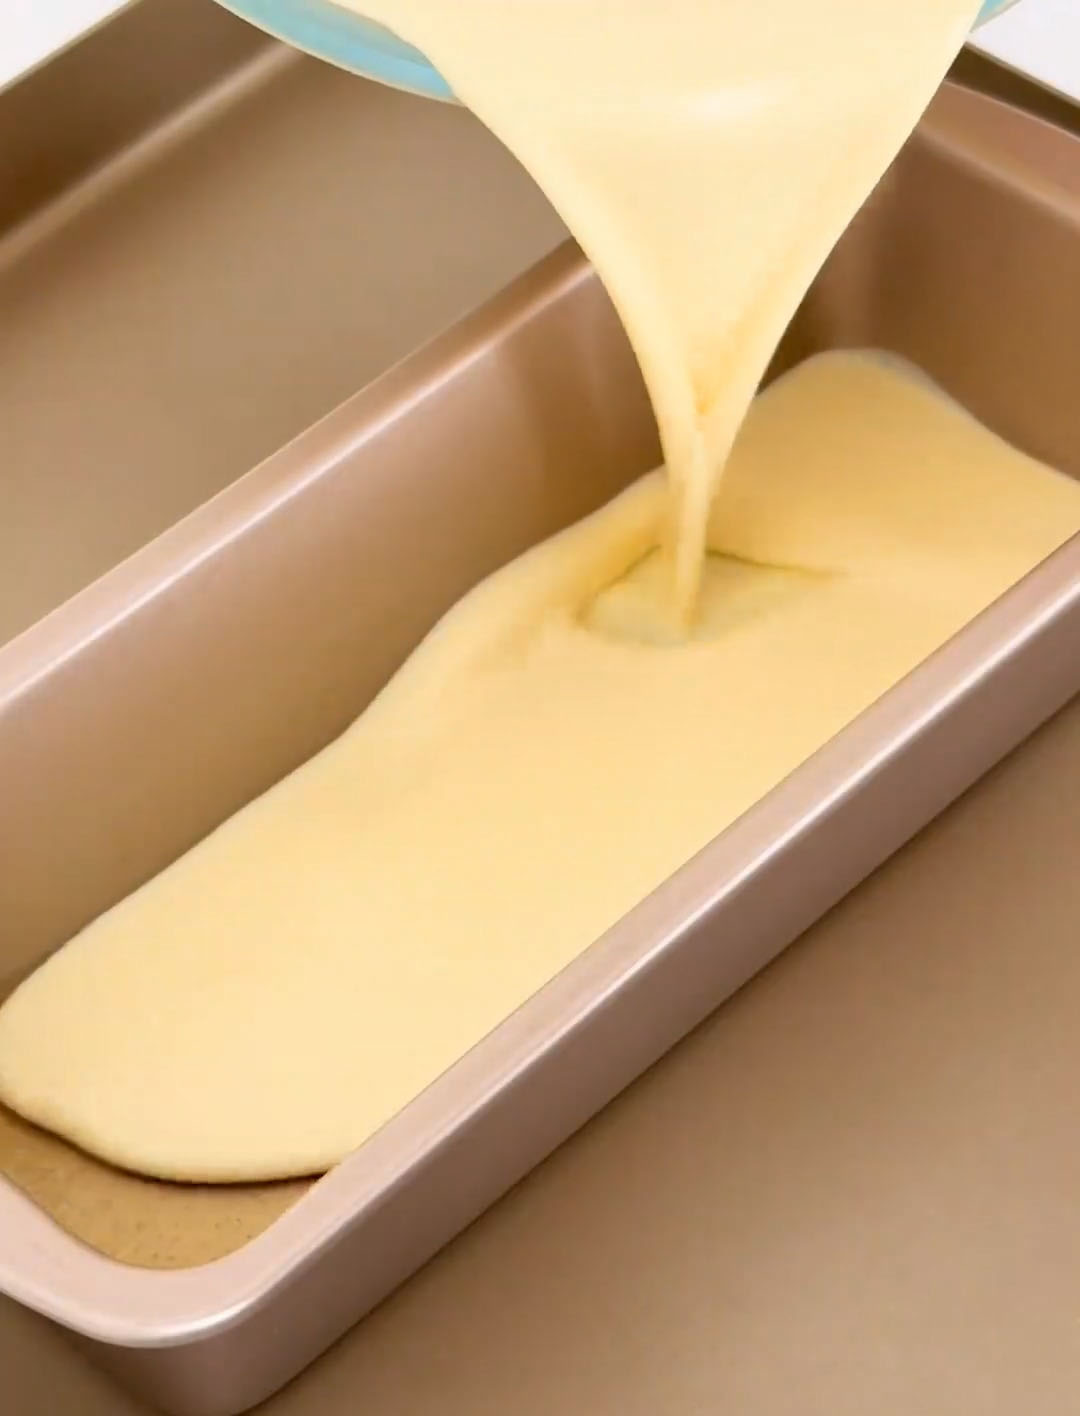
Now cover the mold tightly with aluminum foil. This is crucial—it prevents a skin from forming and keeps water condensation from dripping onto your custard.
Carefully pour the hot water from your kettle into the pan until it reaches about halfway up the sides of your molds.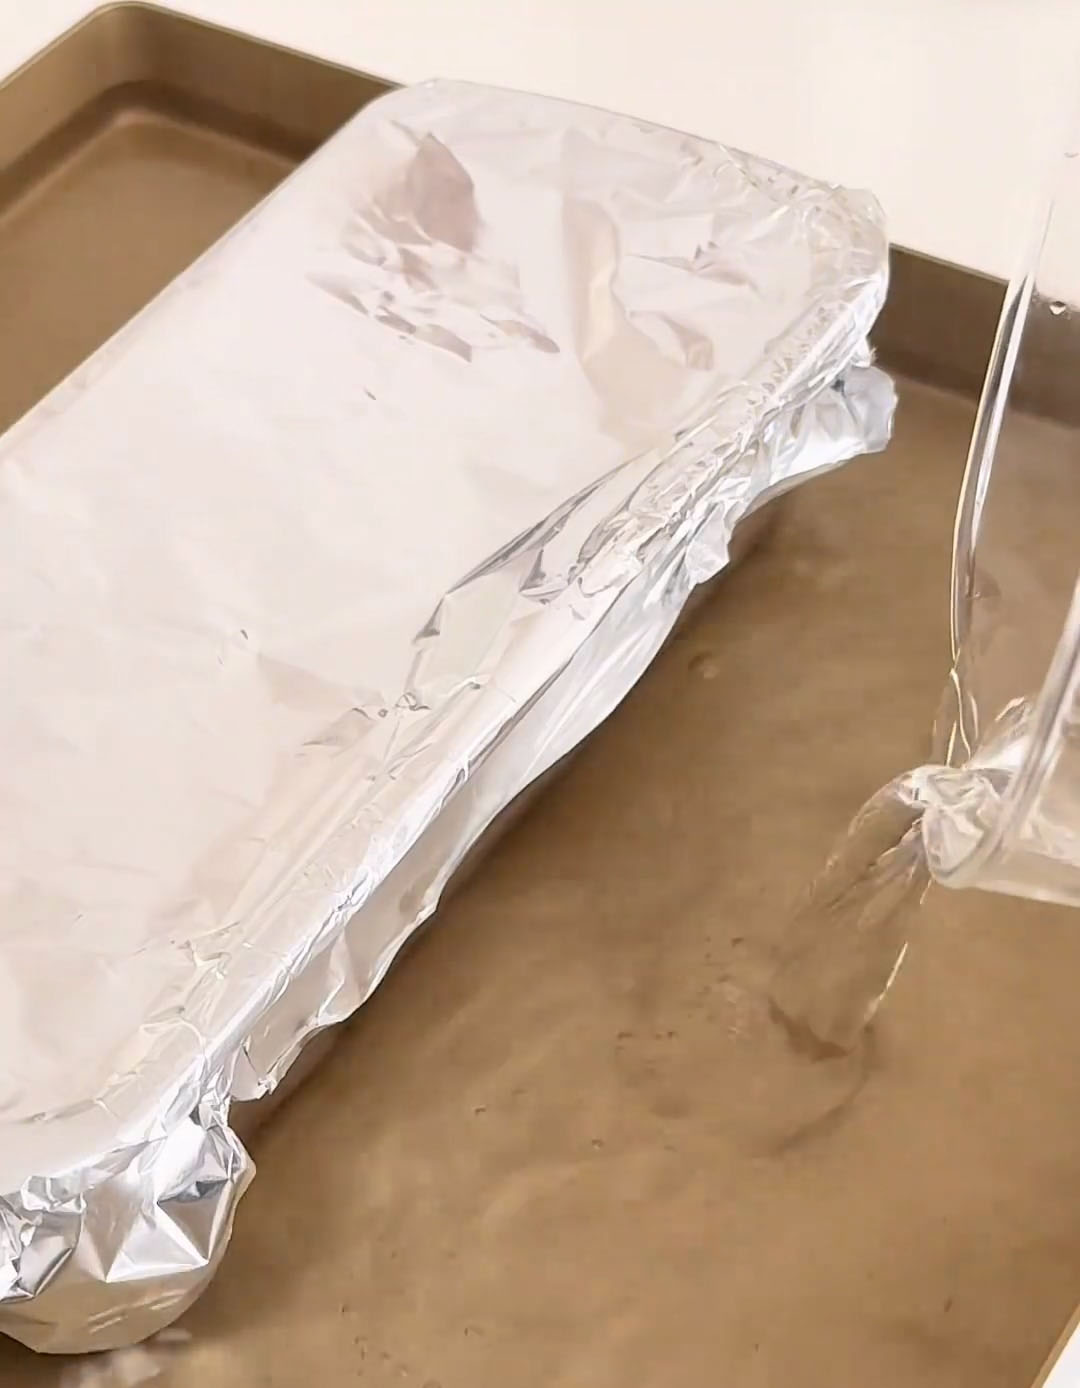
Bake for 80 minutes. The flan is done when the edges are set but the center still has a slight jiggle—like firm Jell-O, not liquid. A knife inserted near the edge should come out clean. Remove the pan from the oven, then carefully lift the molds out of the water bath. Let them cool completely on a wire rack.
Chill and Unmold
Once at room temperature, refrigerate for at least 8 hours, but overnight is truly best.
When you’re ready to serve, run a thin knife around the edge of each mold, pressing gently against the sides to break the seal.
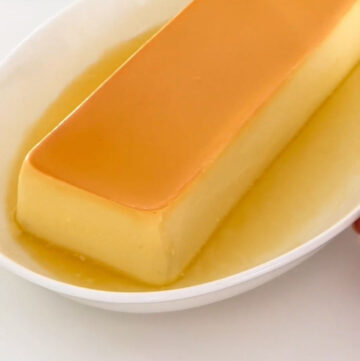
Place a serving plate with a slight lip (to catch the caramel) upside-down over the mold, then quickly and confidently invert everything. Give it a gentle shake—you should hear and feel the flan release. Lift the mold away and watch as the caramel sauce cascades down the sides of your beautiful, golden-brown flan.
Storage
This caramel cheese flan keeps beautifully in the refrigerator for up to 3 days. Store it covered in the original mold if you haven’t unmolded it yet, or cover the serving dish tightly with plastic wrap once unmolded. The texture actually remains perfect throughout—no drying out or becoming rubbery. I don’t recommend freezing this flan as the custard can separate upon thawing, affecting that silky texture we worked so hard to achieve.
Tips and Tricks
- Master the caramel – The golden rule of caramel making is hands-off patience. Let the sugar and water mixture do its thing without interference. If you absolutely must intervene, gently swirl the pan by the handle—never insert a spoon. Watch carefully as it approaches that amber color because caramel goes from perfect to burnt in seconds. Remember that it will continue darkening slightly after you remove it from heat.
- Temperature matters for cream cheese – Really, truly let that cream cheese soften completely. Cold cream cheese will leave you with lumpy custard no matter how vigorously you mix. I press it with my finger—if it doesn’t give easily and leave an indent, it needs more time. This small patience pays off in silky texture.
- Warm milk, not hot – The milk mixture should feel pleasantly warm to your finger, not uncomfortable. If it’s too hot, you’ll end up with flecks of cooked egg throughout your custard. If you’re unsure, err on the side of cooler—it will still combine perfectly, just give it a good stir.
- Don’t skip the straining – I know it seems like an extra step, but straining removes the tiny bits that somehow always remain and guarantees that restaurant-quality smoothness. It takes one minute and makes a noticeable difference.
- Seal that foil tightly – Water bath baking only works if your foil cover is secure. You want the gentle, moist heat surrounding your flan, not water droplets falling onto its surface. Crimp the edges well.
- Respect the chilling time – I know it’s tempting to dig in sooner, but an under-chilled flan won’t hold its shape when unmolded. Overnight chilling transforms it from good to spectacular. The wait is absolutely worth it.
Frequently Asked Questions
Why does my flan have bubbles on top?
Small air bubbles can form if you whisk too vigorously or if your milk was too hot when combined. The straining step helps remove larger bubbles, and tapping the filled molds on the counter releases most of them before baking. A few tiny surface bubbles are normal and won’t affect the taste.
Can I make this in one large dish instead of individual servings?
Absolutely. Use an 8-inch round cake pan or ceramic baking dish and increase the baking time by about 15-20 minutes. The same doneness test applies—edges set, center slightly jiggly. You may need to extend the chilling time as well since a larger flan takes longer to cool through.
My caramel hardened completely before I poured in the custard. What went wrong?
This happens if your caramel cools too much before adding the custard. Work quickly when pouring the caramel into molds, and try to have your custard ready to go soon after. If you’re making ahead, it’s actually fine if the caramel hardens completely—it will melt again during baking and create that beautiful sauce.
Why is my flan watery or weeping liquid?
This usually indicates either overbaking or underbaking. If it’s overbaked, the proteins tighten up and squeeze out moisture. If it’s underbaked, the structure hasn’t fully set. Next time, watch carefully for that perfect jiggle—firm at the edges but still wobbly in the very center.
Can I reduce the sugar or make this dairy-free?
Sugar is structural in both the caramel and custard, so reducing it significantly will affect both setting and texture. For dairy-free, I haven’t had success with substitutes—the cream cheese and dairy combination is central to this particular recipe’s magic. I’d recommend finding a specifically dairy-free flan recipe rather than adapting this one.
My flan stuck to the mold when I tried to unmold it. Help!
Next time, run your knife more thoroughly around the edge, pressing firmly against the mold itself rather than cutting into the flan. If it’s really stuck, dip the bottom of the mold in hot water for 10-15 seconds to slightly melt the caramel, then try again. And make sure it was chilled the full time—properly set flan releases much more easily.
Easy Caramel Cheesecake Flan (No-Fail Recipe)
Ingredients
Caramel Layer
- 40 g white sugar
- 15 g water
- 20 g hot water
Cheese Custard
- 100 g cream cheese fully softened to room temperature
- 60 g sweetened condensed milk
- 4 large eggs room temperature
- 200 g whole milk
- 100 g heavy whipping cream
- Few drops vanilla extract optional
Instructions
Make the Caramel Layer
- Start by making your caramel—this happens quickly so have everything ready before you begin.
- Place 40g white sugar and 15g water in a small saucepan. Here's the most important part: do not stir. Just let it sit there. Turn the heat to medium-low and watch as the sugar slowly dissolves and begins to bubble. You can gently swirl the pan by the handle to ensure even heating, but resist every urge to put a spoon in there—stirring is what causes crystallization and grainy caramel.
- Continue cooking until the mixture transforms into a beautiful amber color, like a new copper penny. The moment you see it reach that rich golden-brown, remove it from the heat immediately. The residual heat will continue darkening it slightly.
- Now carefully pour in the 20g hot water—stand back because it will bubble up vigorously.
- Working fast before it sets, pour this caramel into your flan mold or divide it among individual ramekins. Tilt and swirl to coat the bottom evenly. Set aside to cool and harden while you make the custard.
Prepare the Cheese Custard
- In a large bowl, combine your completely softened cream cheese with the sweetened condensed milk. Using a silicone spatula or wooden spoon, mash and stir until the mixture becomes completely smooth with absolutely no lumps. This takes a few minutes of patience, but it's worth every second—any remaining cream cheese lumps will show up in your finished flan.
- Add the eggs one at a time, mixing well after each addition to ensure a silky consistency.
Heat and Combine the Milk Mixture
- Here's a little trick—use that same saucepan from the caramel (don't wash it, the residue adds flavor). Pour in the milk, heavy cream, and vanilla if using. Warm it over low heat just until it's warm to the touch, about 60°C or 140°F. You should be able to hold your finger in it comfortably for a few seconds. The goal is warmth, not boiling—boiled milk will give your flan a porous, honeycomb texture.
- Slowly drizzle this warm milk mixture into your cheese and egg batter, stirring constantly with your spatula. Go slowly to let the eggs adjust to the temperature gradually.
- Once everything is combined, here's the step that guarantees professional results: strain the entire mixture through a fine-mesh sieve into a large measuring cup or bowl with a spout. Press it through with your spatula, then discard any bits left behind. This one step eliminates any stray lumps and ensures the silkiest possible texture.
Water Bath Baking
- Position a rack in the center of your oven and preheat to 160°C (325°F). Bring a kettle of water to a boil—you'll need it for the water bath.
- Place your caramel-lined mold or ramekins into a deep baking pan. Slowly pour the strained custard into the molds over the hardened caramel.
- Now cover the mold tightly with aluminum foil. This is crucial—it prevents a skin from forming and keeps water condensation from dripping onto your custard.
- Carefully pour the hot water from your kettle into the pan until it reaches about halfway up the sides of your molds.
- Bake for 80 minutes. The flan is done when the edges are set but the center still has a slight jiggle—like firm Jell-O, not liquid. A knife inserted near the edge should come out clean. Remove the pan from the oven, then carefully lift the molds out of the water bath. Let them cool completely on a wire rack.
Chill and Unmold
- Once at room temperature, refrigerate for at least 8 hours, but overnight is truly best.
- When you're ready to serve, run a thin knife around the edge of each mold, pressing gently against the sides to break the seal.
- Place a serving plate with a slight lip (to catch the caramel) upside-down over the mold, then quickly and confidently invert everything. Give it a gentle shake—you should hear and feel the flan release. Lift the mold away and watch as the caramel sauce cascades down the sides of your beautiful, golden-brown flan.
Leave a Reply