
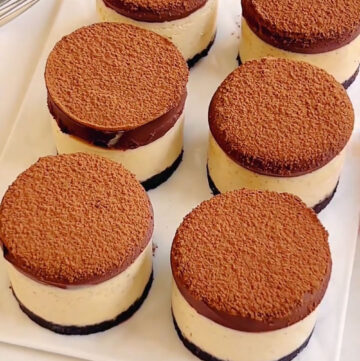
These mini Earl Grey cheesecakes are silky smooth, creamy, and full of that signature tea aroma. With a crunchy Oreo base and rich chocolate topping, this no-bake dessert is easy yet elegant—perfect for beginners!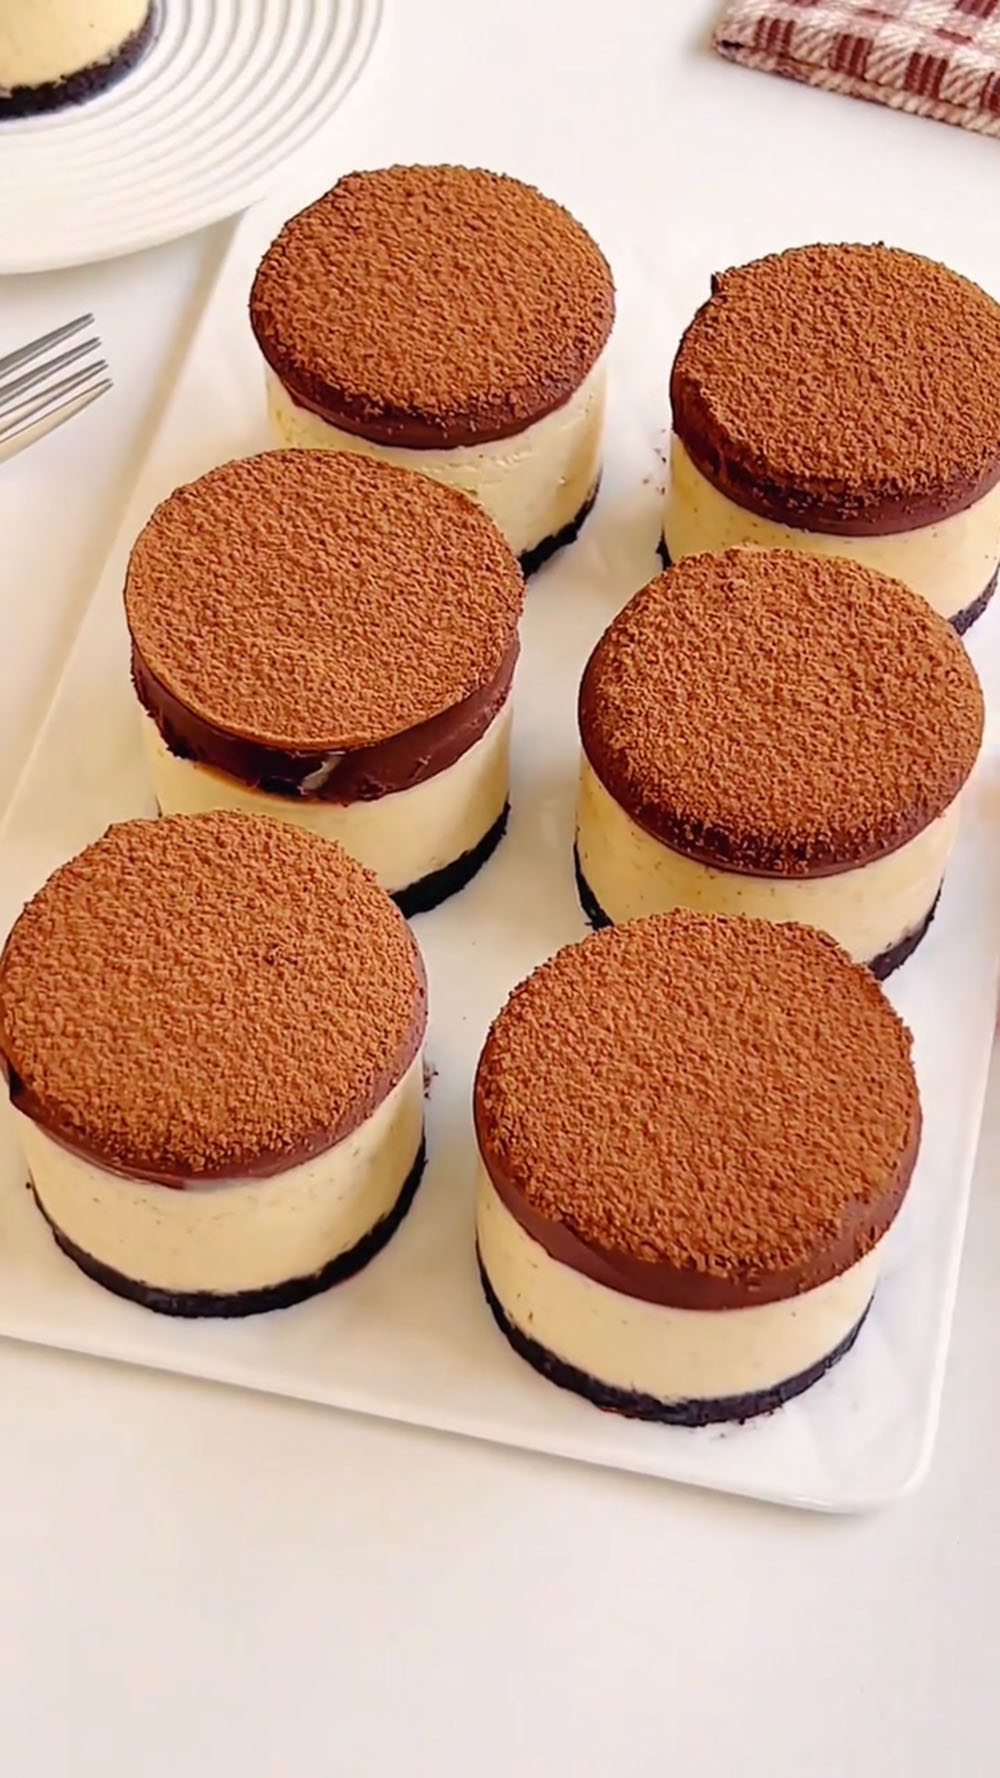
This mini Earl Grey cheesecake is one of those recipes I find myself coming back to again and again.
It’s completely no-bake, incredibly smooth, and layered with textures—from a buttery biscuit base to a fragrant tea-infused cheesecake filling, finished with a luscious chocolate topping.
What I love most is how simple it is to make.
No complicated techniques, no oven, just a few careful steps and some patience while it chills. Yet the final result looks and tastes like something straight out of a café.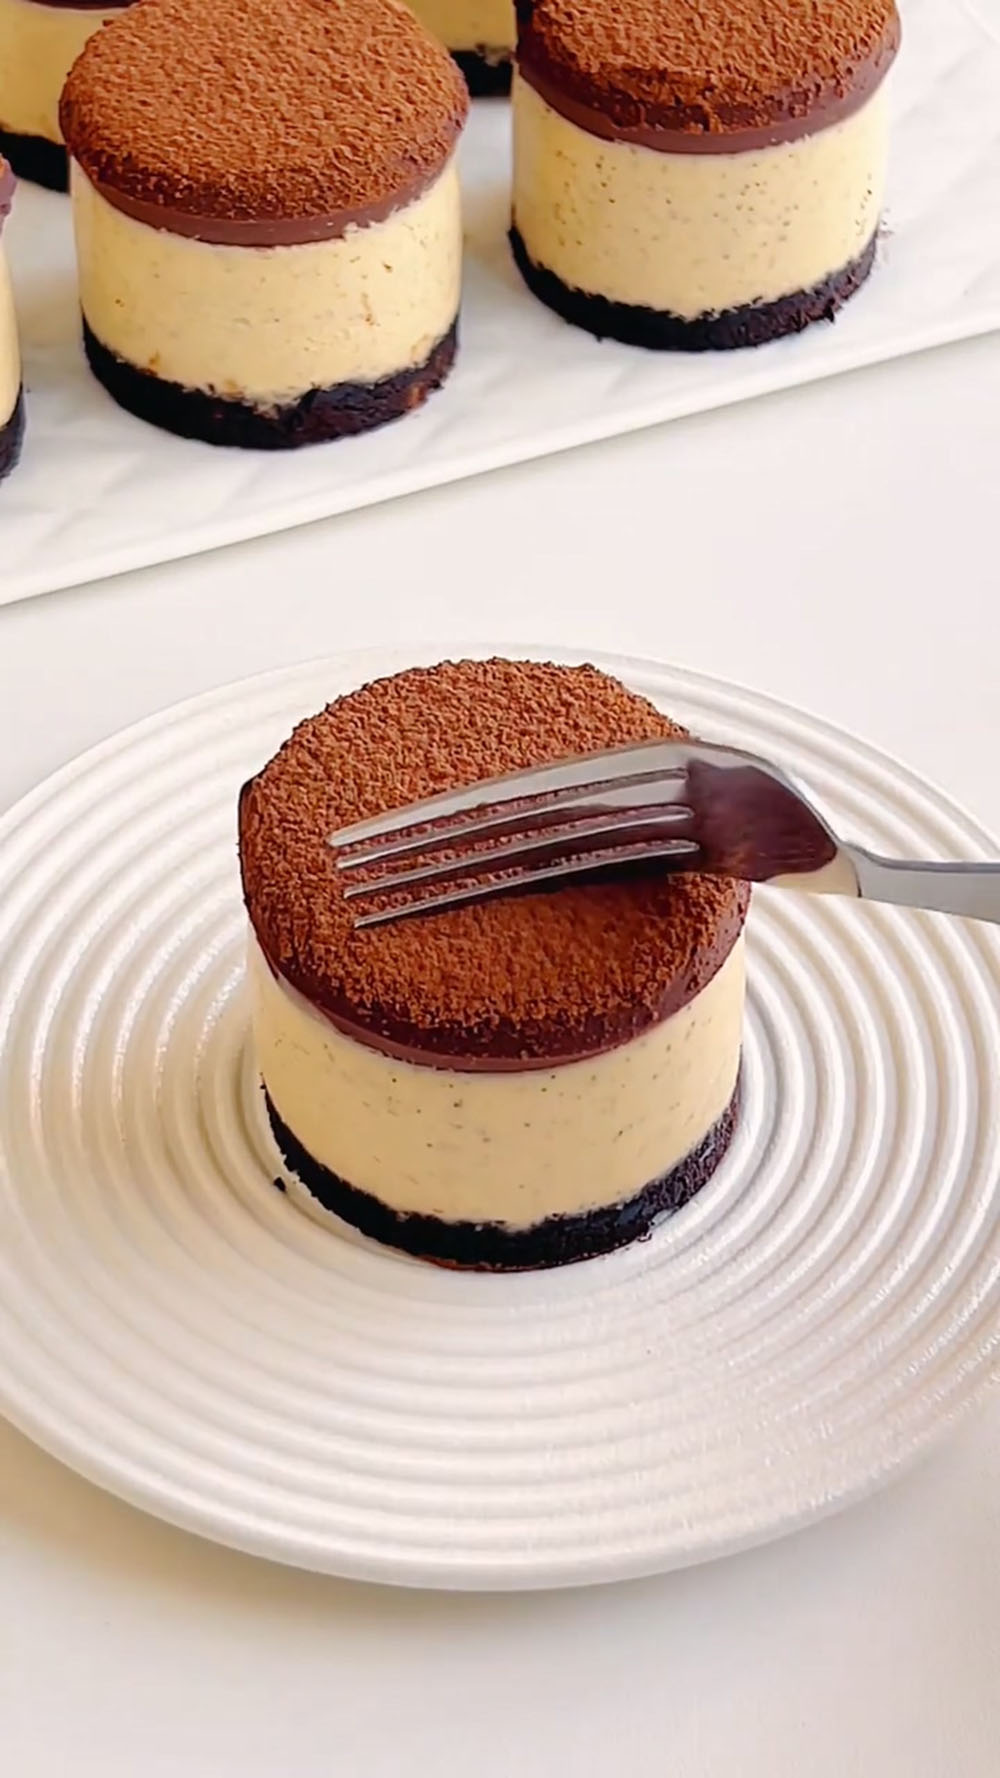
Why You’ll Love This Recipe
- No oven required – Perfect for warm days or when you want a fuss-free dessert
- Perfectly portioned – Individual servings mean no slicing, no mess, and easy sharing
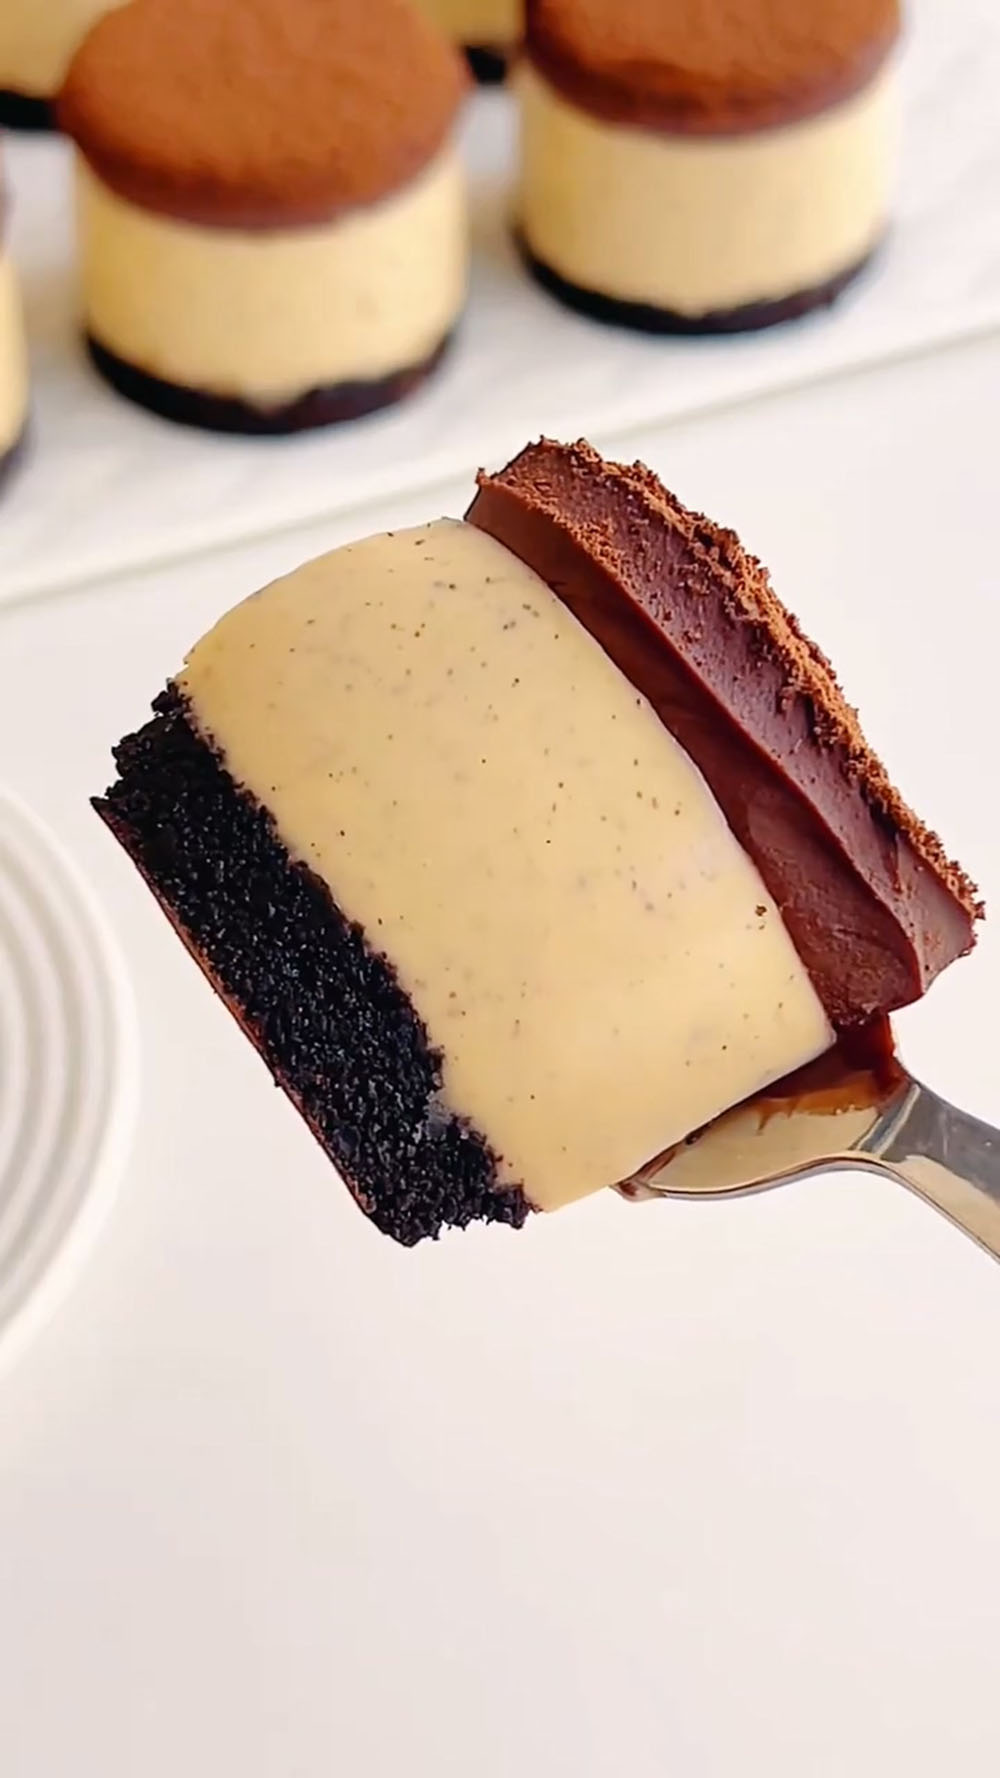
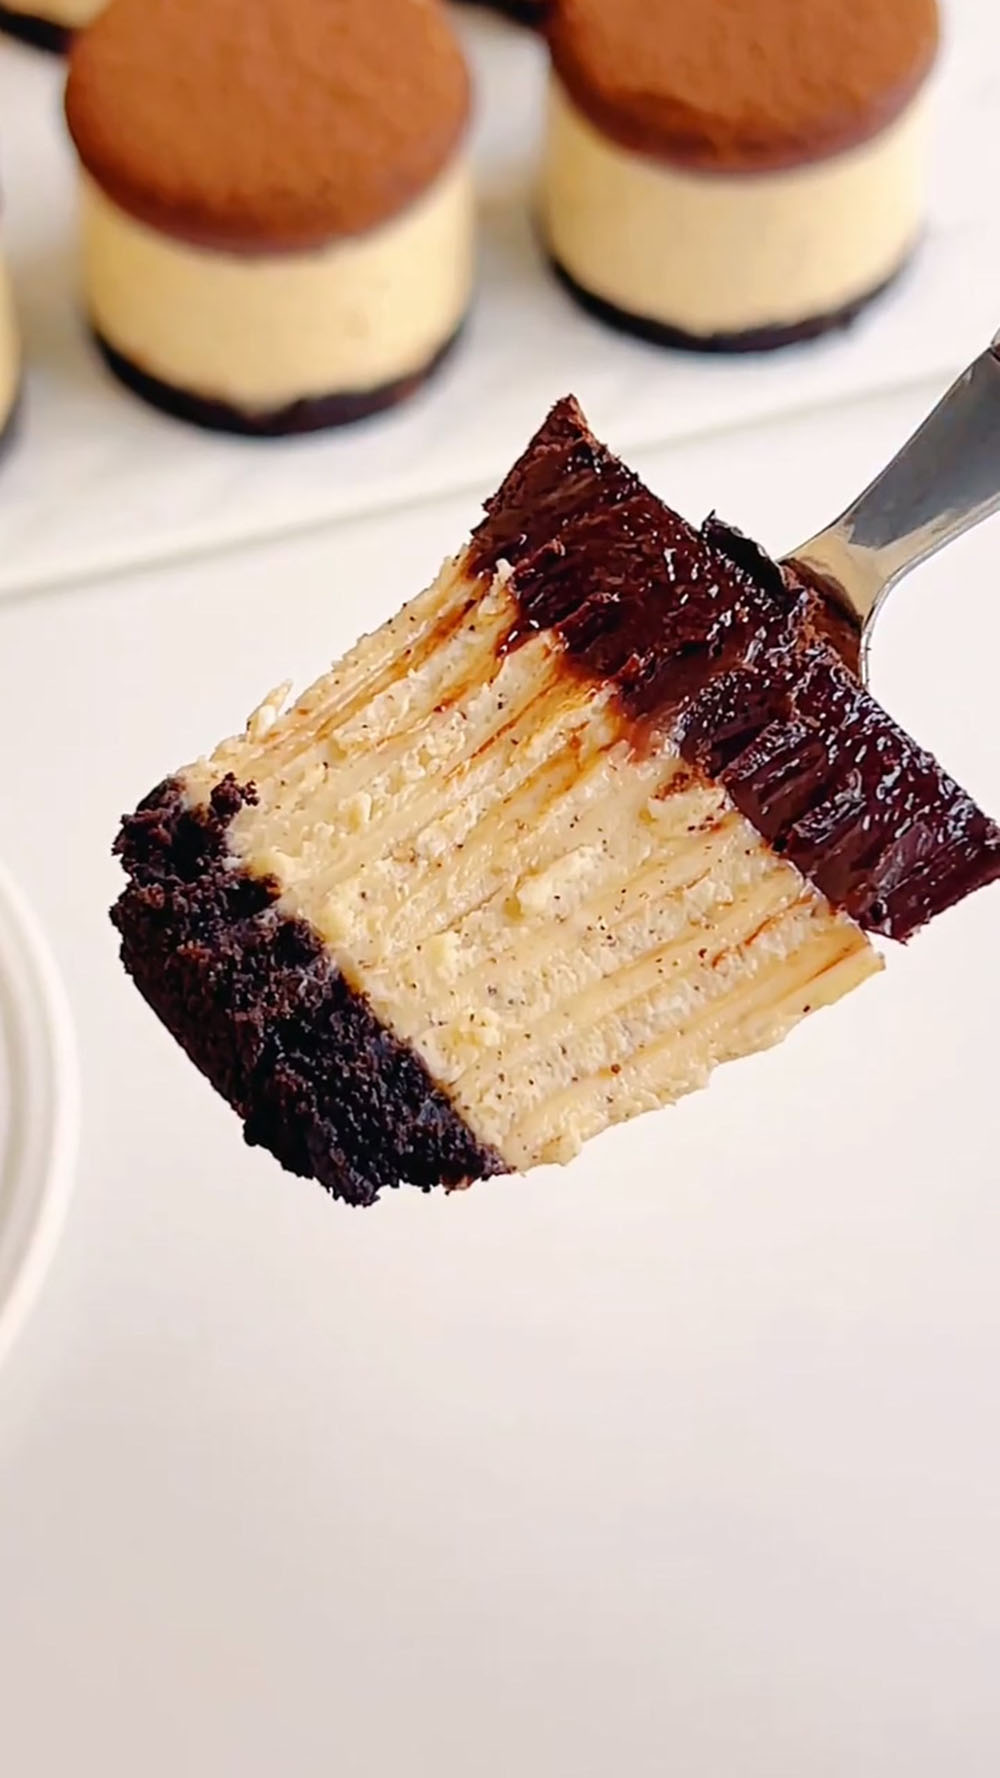
- Layered with texture – A crunchy cookie base, creamy tea-infused filling, and silky chocolate top in every bite
- Make-ahead friendly – These beauties actually taste better after chilling overnight
- Balanced flavours – The floral notes of Earl Grey, tangy cream cheese, and rich dark chocolate complement each other beautifully
Ingredients
Cookie Base
- Oreo crumbs – The classic choice for a no-bake cheesecake base. I recommend removing the cream filling completely and using only the cookie part for the best texture and flavour.
- Unsalted butter – Melted butter binds the cookie crumbs together to create a firm, sliceable base. I always use unsalted butter to control the overall salt level, allowing the sweetness of the dessert to shine through.
Earl Grey Cheesecake Layer
- Cream cheese – The foundation of any great cheesecake. I strongly recommend using full-fat, block-style cream cheese for the creamiest, most stable results. It absolutely must be at room temperature before you begin—this ensures a silky, lump-free batter that sets perfectly.
- Whipping cream – Look for animal-based whipping cream with at least 30% fat content. The cream is used without whipping, adding richness and contributing to the mousse-like texture of this no-bake cheesecake.
- Granulated sugar – Just enough to balance the tanginess of the cream cheese and the subtle bitterness of the Earl Grey. You can adjust by 5–10g if you prefer a slightly sweeter or less sweet dessert.
- Milk – A small amount of whole milk helps thin the cream cheese to a pourable consistency. I recommend whole milk for the richest flavour, though any milk you have on hand will work.
- Earl Grey tea powder – This is where the signature flavour comes from. I recommend using pure Earl Grey tea powder rather than flavoured tea blends for a clean, aromatic bergamot flavour that isn’t bitter.
- Gelatin sheets – The key to a perfectly set no-bake cheesecake that holds its shape. Always use cold water to soften gelatin sheets—never hot water, which can weaken their setting power.
Raw Chocolate Layer
- Dark chocolate – Choose a high-quality dark chocolate with at least 70% cocoa content for the richest, most complex flavour. The chocolate should melt smoothly without any lumps, creating that signature silky texture.
- Whipping cream – Heated and combined with dark chocolate to create the glossy, melt-in-your-mouth raw chocolate layer. The fat content in the cream ensures a luxurious texture that sets to a soft, velvety consistency.
- Cocoa powder (optional) – A light dusting just before serving adds a beautiful finishing touch and reinforces the chocolate flavour.
Ingredients for Recipe
Cookie Base
- 100 g Oreo crumbs
- 45 g unsalted butter
Earl Grey Cheesecake Layer
- 220 g cream cheese, room temperature
- 220 g whipping cream
- 60 g granulated sugar
- 50 g milk
- 2 g Earl Grey tea powder
- 8 g gelatin sheets
Raw Chocolate Layer
- 120 g dark chocolate (70% cocoa or higher)
- 130 g whipping cream
Topping (Optional)
- Cocoa powder, for dusting
How to Make Mini Earl Grey Cheesecake
For the Cookie Base
Prepare the base – In a small saucepan, melt 45g unsalted butter over low heat until completely liquid. Meanwhile, place 100g Oreo crumbs in a medium bowl. Pour the melted butter over the crumbs and stir thoroughly with a silicone spatula until every crumb is evenly coated and the mixture holds together when pressed.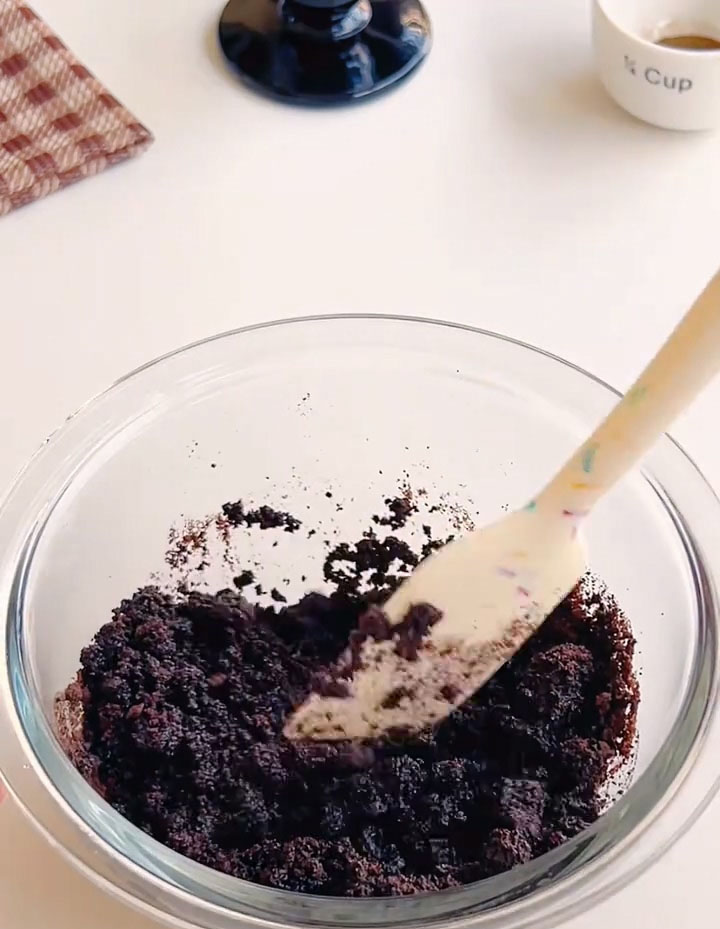
Form the crust – Divide the buttery crumb mixture evenly among your mini cheesecake moulds or a lined muffin tin. Press firmly with the back of a spoon or a flat-bottomed glass to create an even, compact layer. Transfer to the refrigerator and chill for 20 minutes to set.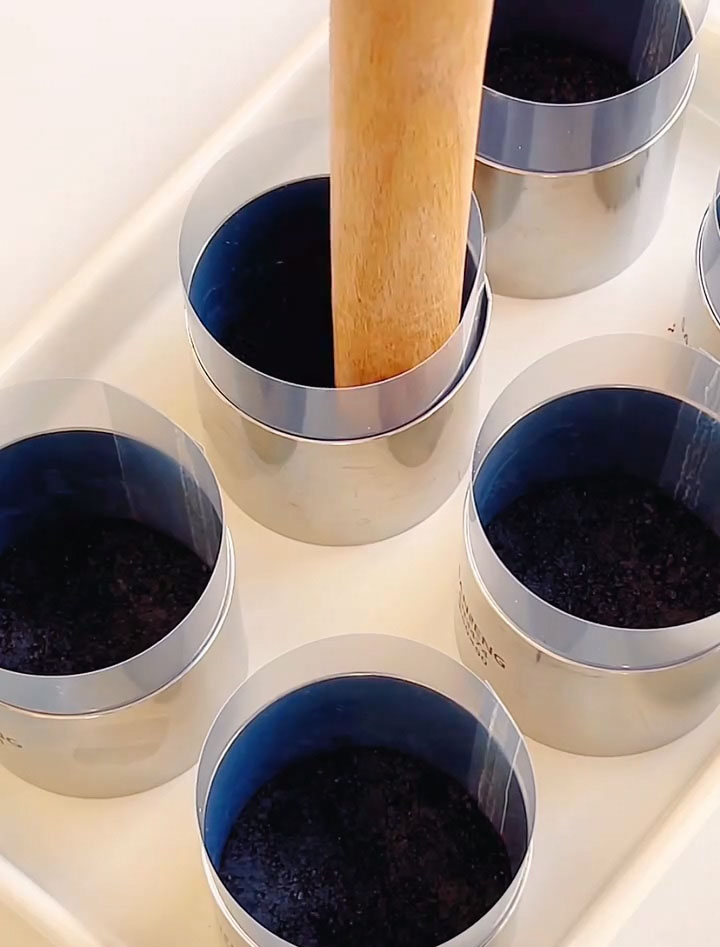
For the Earl Grey Cheesecake Layer
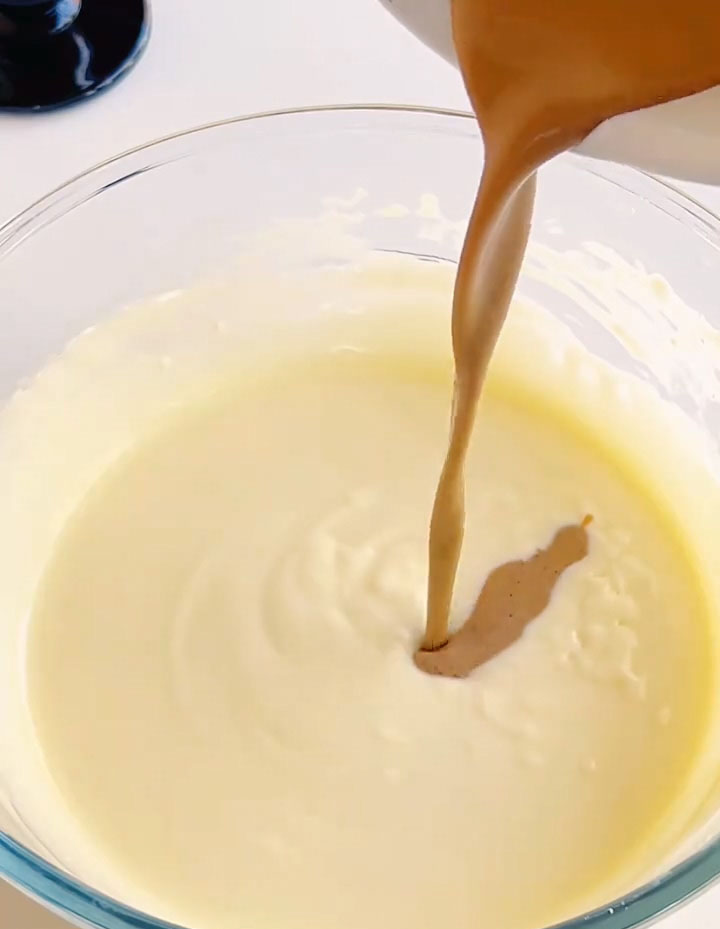
Infuse the tea – In a small saucepan, combine 50g milk and 2g Earl Grey tea powder. Bring to a gentle simmer over low heat, then remove from the heat and let steep for 5 minutes to allow the tea flavour to fully develop.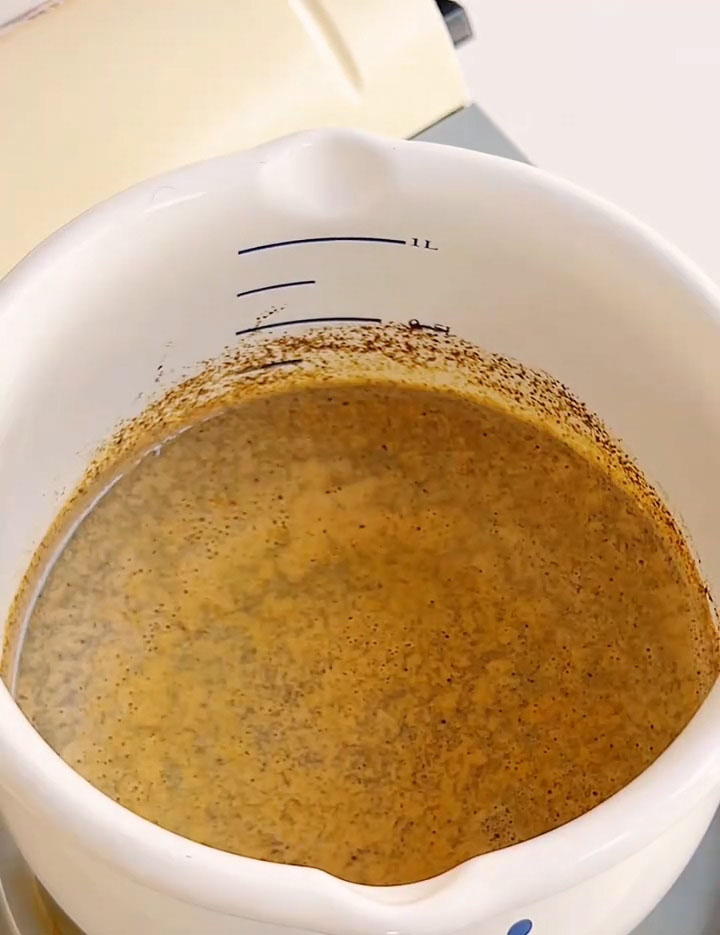
Activate the gelatin – While the milk mixture is still warm, add 8g of cold, softened gelatin sheets (be sure to squeeze out excess water first). Stir until the gelatin is completely dissolved.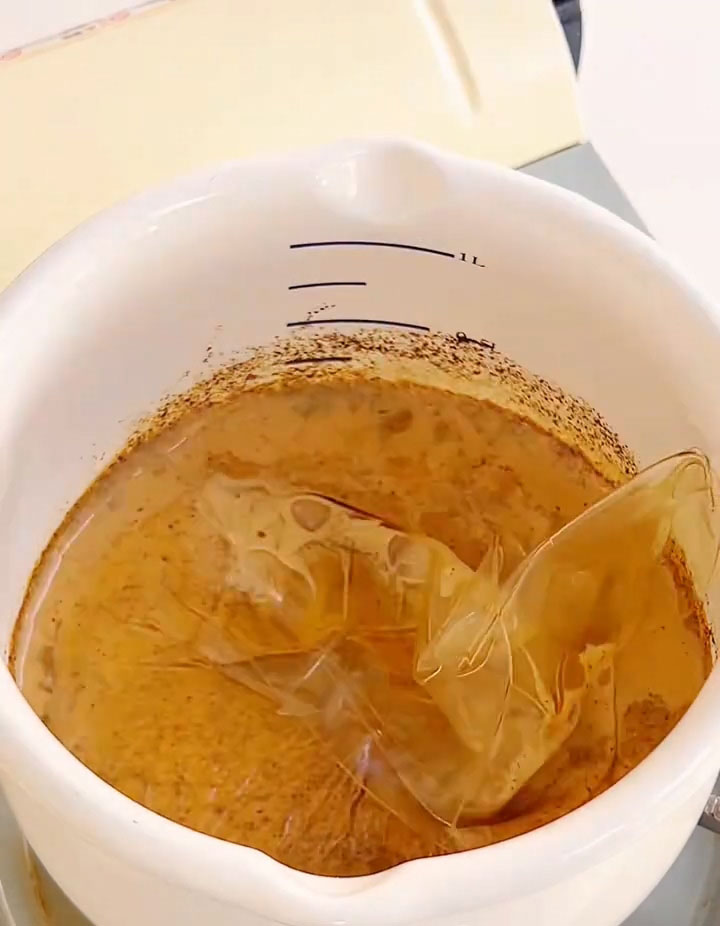
Prepare the cream cheese base – In a large mixing bowl, combine 220g room-temperature cream cheese and 60g granulated sugar. Use a spatula or hand mixer on low speed to beat until smooth, creamy, and completely free of lumps.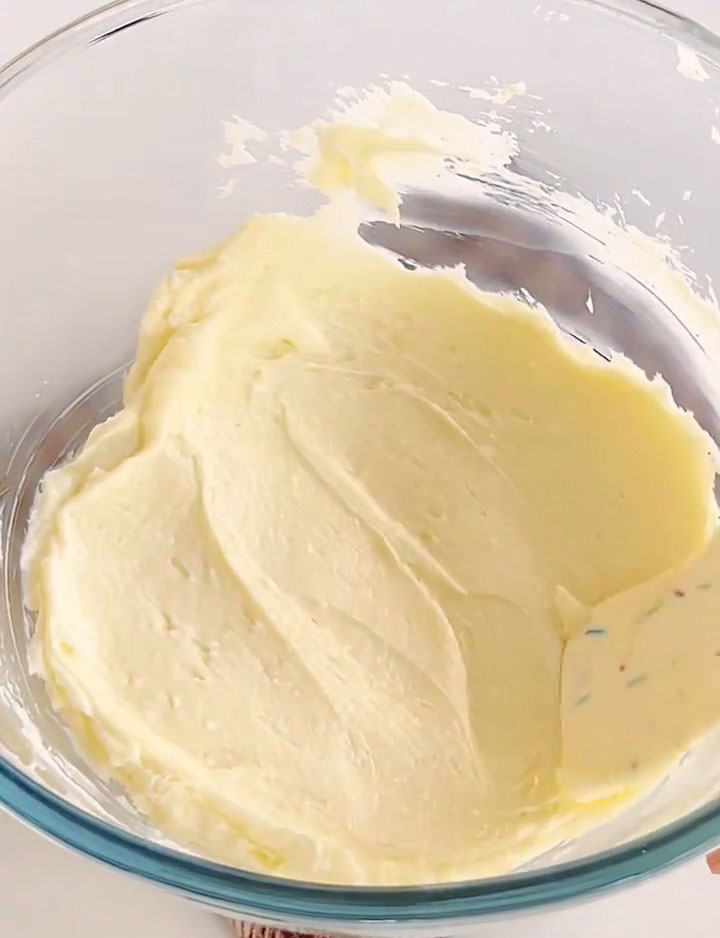
Combine the layers – Add the heavy cream and mix until well combined. Then pour in the Earl Grey milk mixture and stir until smooth and evenly incorporated.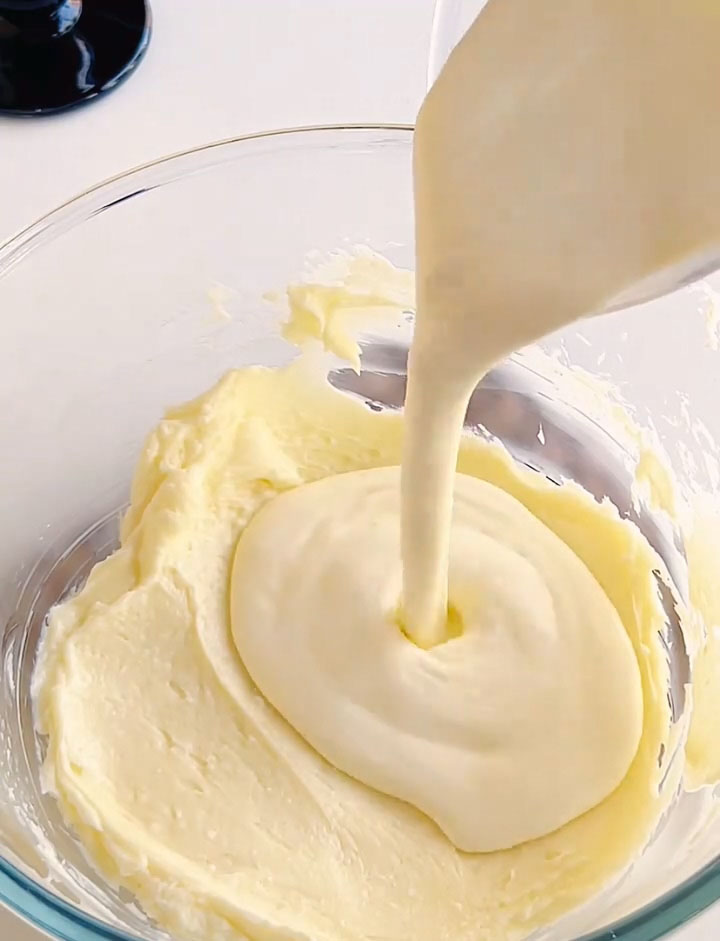
Assemble – Remove the chilled cookie bases from the refrigerator. Divide the cheesecake batter evenly among the moulds, pouring gently to avoid disturbing the crust. Tap each mould lightly on the counter to release any air bubbles. Return to the refrigerator and chill for at least 4 hours, or until the cheesecake layer is completely firm.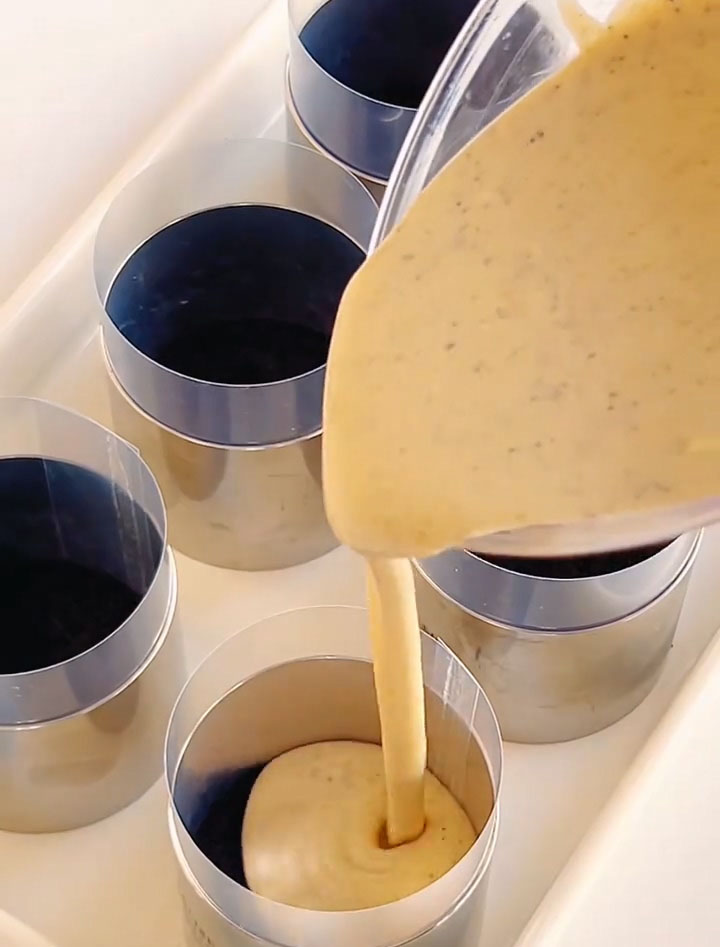
For the Raw Chocolate Layer
Melt the chocolate – Place 120g dark chocolate and 130g whipping cream in a heatproof bowl. Set over a saucepan of simmering water (ensuring the bowl doesn’t touch the water) and stir gently until the chocolate is fully melted and the mixture is smooth. Alternatively, microwave in 20-second intervals, stirring between each. Allow the mixture to cool until it reaches just above room temperature.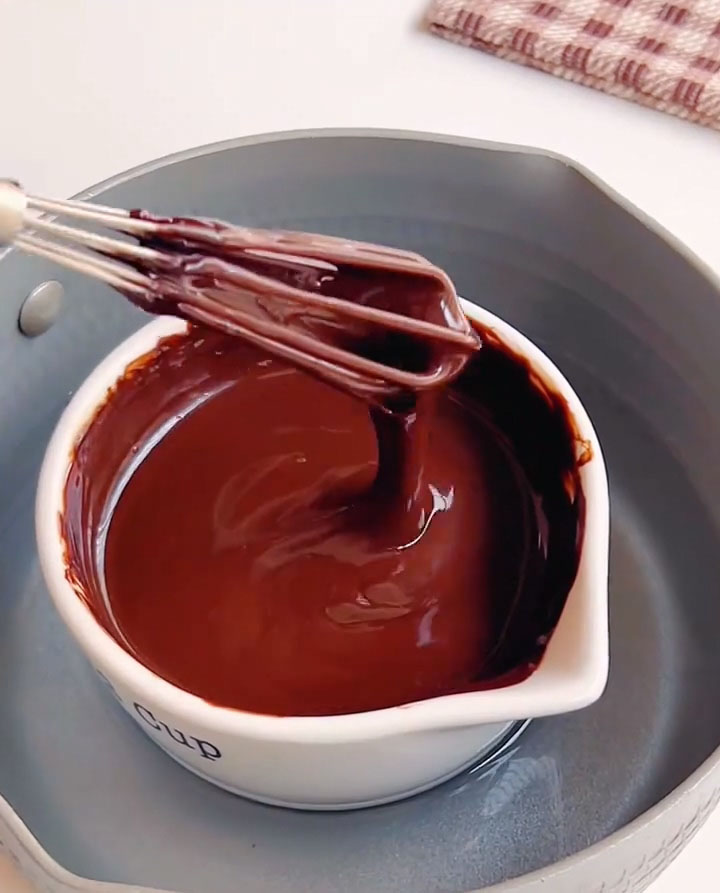
Add the topping – Remove the set cheesecakes from the refrigerator. Pour the cooled chocolate mixture evenly over each cheesecake, tilting gently if needed to create a smooth, even layer. Tap lightly to settle. Return to the refrigerator and chill for at least 30 minutes, until the chocolate layer is fully set.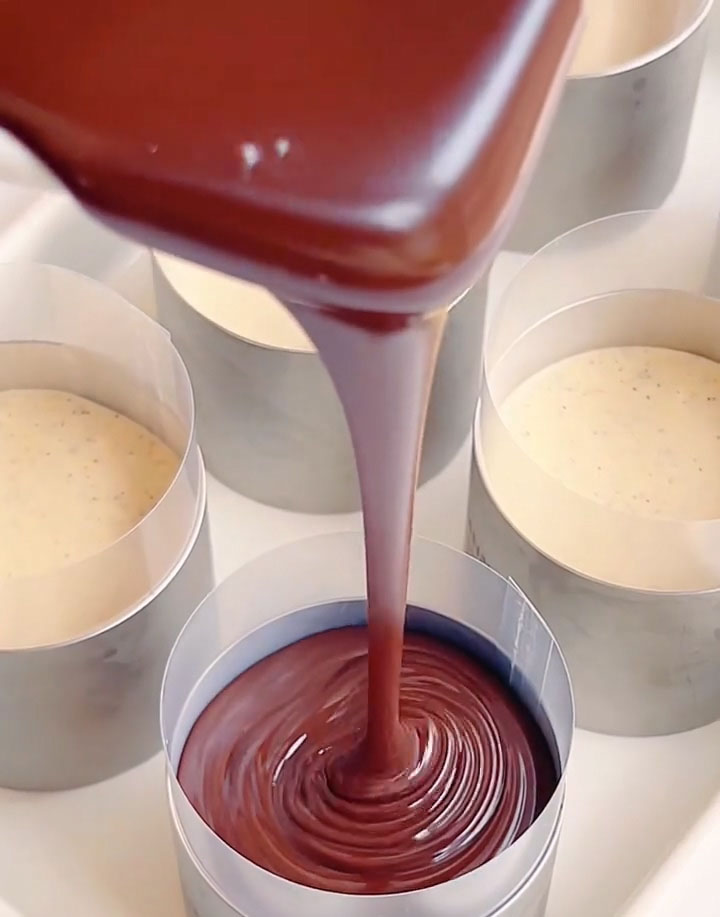
Unmolding and Serving
Release the cheesecakes – Once completely set, remove the cheesecakes from the refrigerator. If using a silicone mould, gently peel away the sides. For rigid moulds, run a thin knife around the edge or briefly warm the outside with a hairdryer for 10–20 seconds, then lift the cheesecakes out carefully.
Finish and serve – Just before serving, dust the tops with cocoa powder if desired. Serve chilled.
Storage
Store these mini Earl Grey cheesecakes in an airtight container in the refrigerator for up to 4 days. The flavours continue to meld and develop over time, making them even more delicious on the second day.
Tips & Tricks
- Use room temperature cream cheese – This cannot be overstated. Cold cream cheese will result in a lumpy, uneven batter that won’t set smoothly. Take your cream cheese out of the refrigerator at least 1–2 hours before starting.
- Properly soften your gelatin – Always soak gelatin sheets in a bowl of cold water for 5–10 minutes until completely soft. Gently squeeze out the excess water before adding to warm liquids. Never add gelatin directly to boiling liquids, as this can weaken its setting ability.
- Press the crust firmly – A well-compacted crust is essential for clean slicing. Take your time pressing the Oreo mixture into the moulds, ensuring it’s tight and even. Loose crumbs will crumble when you unmold.
- Let the chocolate layer cool – Adding hot chocolate mixture over cold cheesecake can cause the cheese layer to soften or melt slightly. Allow your chocolate topping to cool to just above room temperature before pouring for the cleanest layers.
- Patience is key – Allow the full chilling time for each layer. Rushing this process can result in layers that blend together or a cheesecake that doesn’t hold its shape when unmolded. Overnight chilling is ideal.
Frequently Asked Questions
Why is my cheesecake layer not setting?
If your cheesecake layer remains soft or runny after 4–6 hours of chilling, the gelatin may not have been properly activated. Ensure your gelatin sheets are fully softened in cold water and completely dissolved in a warm liquid before incorporating. Also, verify that your refrigerator is at the correct temperature (below 4°C / 40°F).
Can I use powdered gelatin instead of sheets?
Yes, you can substitute 8g of sheet gelatin with approximately 1 teaspoon (about 2.5g) of powdered gelatin. Sprinkle the powder over 2 tablespoons of cold water and let it sit for 5 minutes to bloom, then gently heat until dissolved before adding to your mixture.
My raw chocolate layer isn’t smooth – what went wrong?
If your chocolate seizes or appears grainy, it may have been overheated. Dark chocolate is delicate – melt it gently over low heat or in short microwave bursts, stirring frequently. Also, ensure no moisture comes into contact with the chocolate, as even a drop of water can cause it to seize.
Can I make this recipe in a larger pan instead of individual servings?
Absolutely! You can prepare this recipe in a 6-inch springform pan or a standard loaf pan. The chilling times will remain the same, though you may want to add an extra 30 minutes to the final set to ensure the centre is firm. When ready to serve, you can slice into portions.
How do I get clean, neat layers when unmolding?
Patience with chilling is the secret. Ensure each layer is completely set before adding the next. When unmolding, a brief warm-up around the edges with a hairdryer or warm towel helps release the cheesecake cleanly without melting the sides. For the cleanest presentation, unmold just before serving.
Mini Earl Grey Cheesecake (No-Bake & So Creamy!)
Ingredients
Cookie Base
- 100 g Oreo crumbs
- 45 g unsalted butter
- Earl Grey Cheesecake Layer
- 220 g cream cheese room temperature
- 220 g whipping cream
- 60 g granulated sugar
- 50 g milk
- 2 g Earl Grey tea powder
- 8 g gelatin sheets
Raw Chocolate Layer
- 120 g dark chocolate 70% cocoa or higher
- 130 g whipping cream
Topping (Optional)
- Cocoa powder for dusting
Instructions
For the Cookie Base
- Prepare the base – In a small saucepan, melt 45g unsalted butter over low heat until completely liquid. Meanwhile, place 100g Oreo crumbs in a medium bowl. Pour the melted butter over the crumbs and stir thoroughly with a silicone spatula until every crumb is evenly coated and the mixture holds together when pressed.
- Form the crust – Divide the buttery crumb mixture evenly among your mini cheesecake moulds or a lined muffin tin. Press firmly with the back of a spoon or a flat-bottomed glass to create an even, compact layer. Transfer to the refrigerator and chill for 20 minutes to set.
For the Earl Grey Cheesecake Layer
- Infuse the tea – In a small saucepan, combine 50g milk and 2g Earl Grey tea powder. Bring to a gentle simmer over low heat, then remove from the heat and let steep for 5 minutes to allow the tea flavour to fully develop.
- Activate the gelatin – While the milk mixture is still warm, add 8g of cold, softened gelatin sheets (be sure to squeeze out excess water first). Stir until the gelatin is completely dissolved.
- Prepare the cream cheese base – In a large mixing bowl, combine 220g room-temperature cream cheese and 60g granulated sugar. Use a spatula or hand mixer on low speed to beat until smooth, creamy, and completely free of lumps.
- Combine the layers – Add the heavy cream and mix until well combined. Then pour in the Earl Grey milk mixture and stir until smooth and evenly incorporated.
- Assemble – Remove the chilled cookie bases from the refrigerator. Divide the cheesecake batter evenly among the moulds, pouring gently to avoid disturbing the crust. Tap each mould lightly on the counter to release any air bubbles. Return to the refrigerator and chill for at least 4 hours, or until the cheesecake layer is completely firm.
For the Raw Chocolate Layer
- Melt the chocolate – Place 120g dark chocolate and 130g whipping cream in a heatproof bowl. Set over a saucepan of simmering water (ensuring the bowl doesn't touch the water) and stir gently until the chocolate is fully melted and the mixture is smooth. Alternatively, microwave in 20-second intervals, stirring between each. Allow the mixture to cool until it reaches just above room temperature.
- Add the topping – Remove the set cheesecakes from the refrigerator. Pour the cooled chocolate mixture evenly over each cheesecake, tilting gently if needed to create a smooth, even layer. Tap lightly to settle. Return to the refrigerator and chill for at least 30 minutes, until the chocolate layer is fully set.
Unmolding and Serving
- Release the cheesecakes – Once completely set, remove the cheesecakes from the refrigerator. If using a silicone mould, gently peel away the sides. For rigid moulds, run a thin knife around the edge or briefly warm the outside with a hairdryer for 10–20 seconds, then lift the cheesecakes out carefully.
- Finish and serve – Just before serving, dust the tops with cocoa powder if desired. Serve chilled.
Leave a Reply