
This lemon cheesecake bars recipe is one of my go-to no-bake desserts. It’s rich yet refreshing, with a silky cheesecake layer and crunchy biscuit base. So easy to make and always a crowd favorite!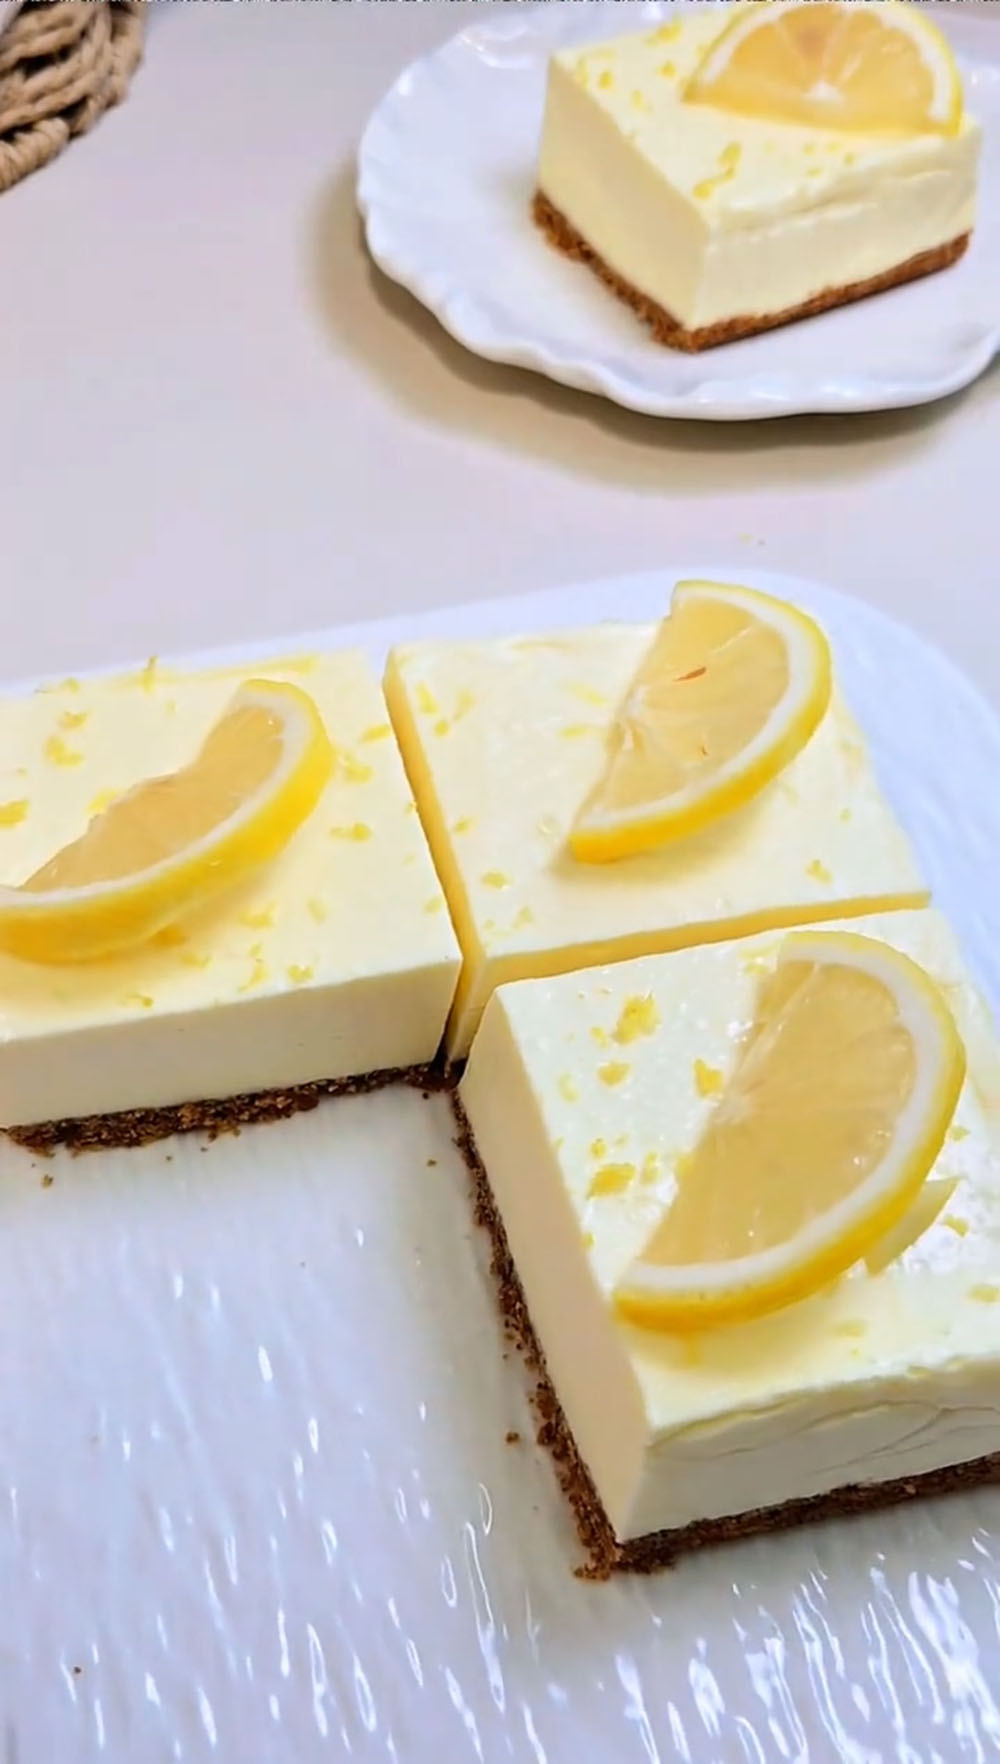
I’ve always loved lemon flavors—whether in savory dishes or desserts. It just adds that fresh, bright touch that makes everything taste so much better.
Over time, I’ve shared quite a few lemon recipes, like my Lemon Chicken (One-Pan Dinner!), Lemon Chicken Wings (No Frying Needed), Lemon Cream Cheese Scones, and Lemon Basque Cheesecake.
And if you love my Key Lime Pie Bars, I’m pretty sure you’re going to love these lemon cheesecake bars just as much—they have that same refreshing, tangy, creamy goodness in every bite.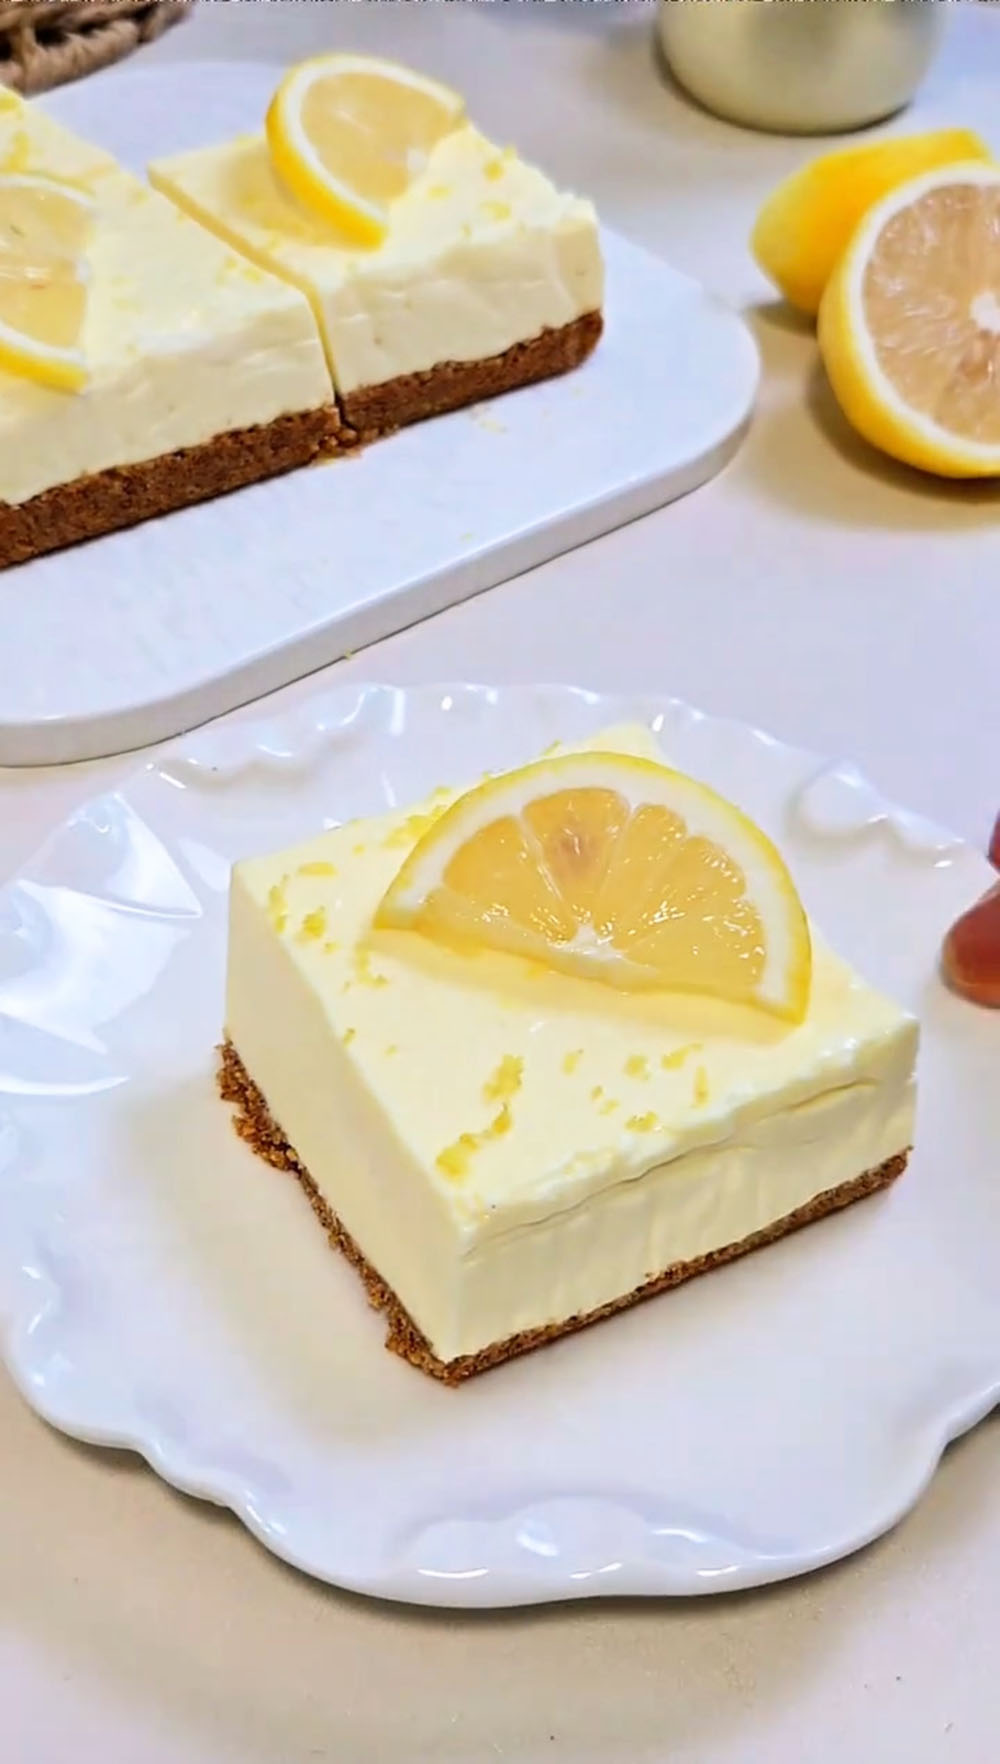
Why You’ll Love This Recipe
- It’s completely no-bake and beginner-friendly
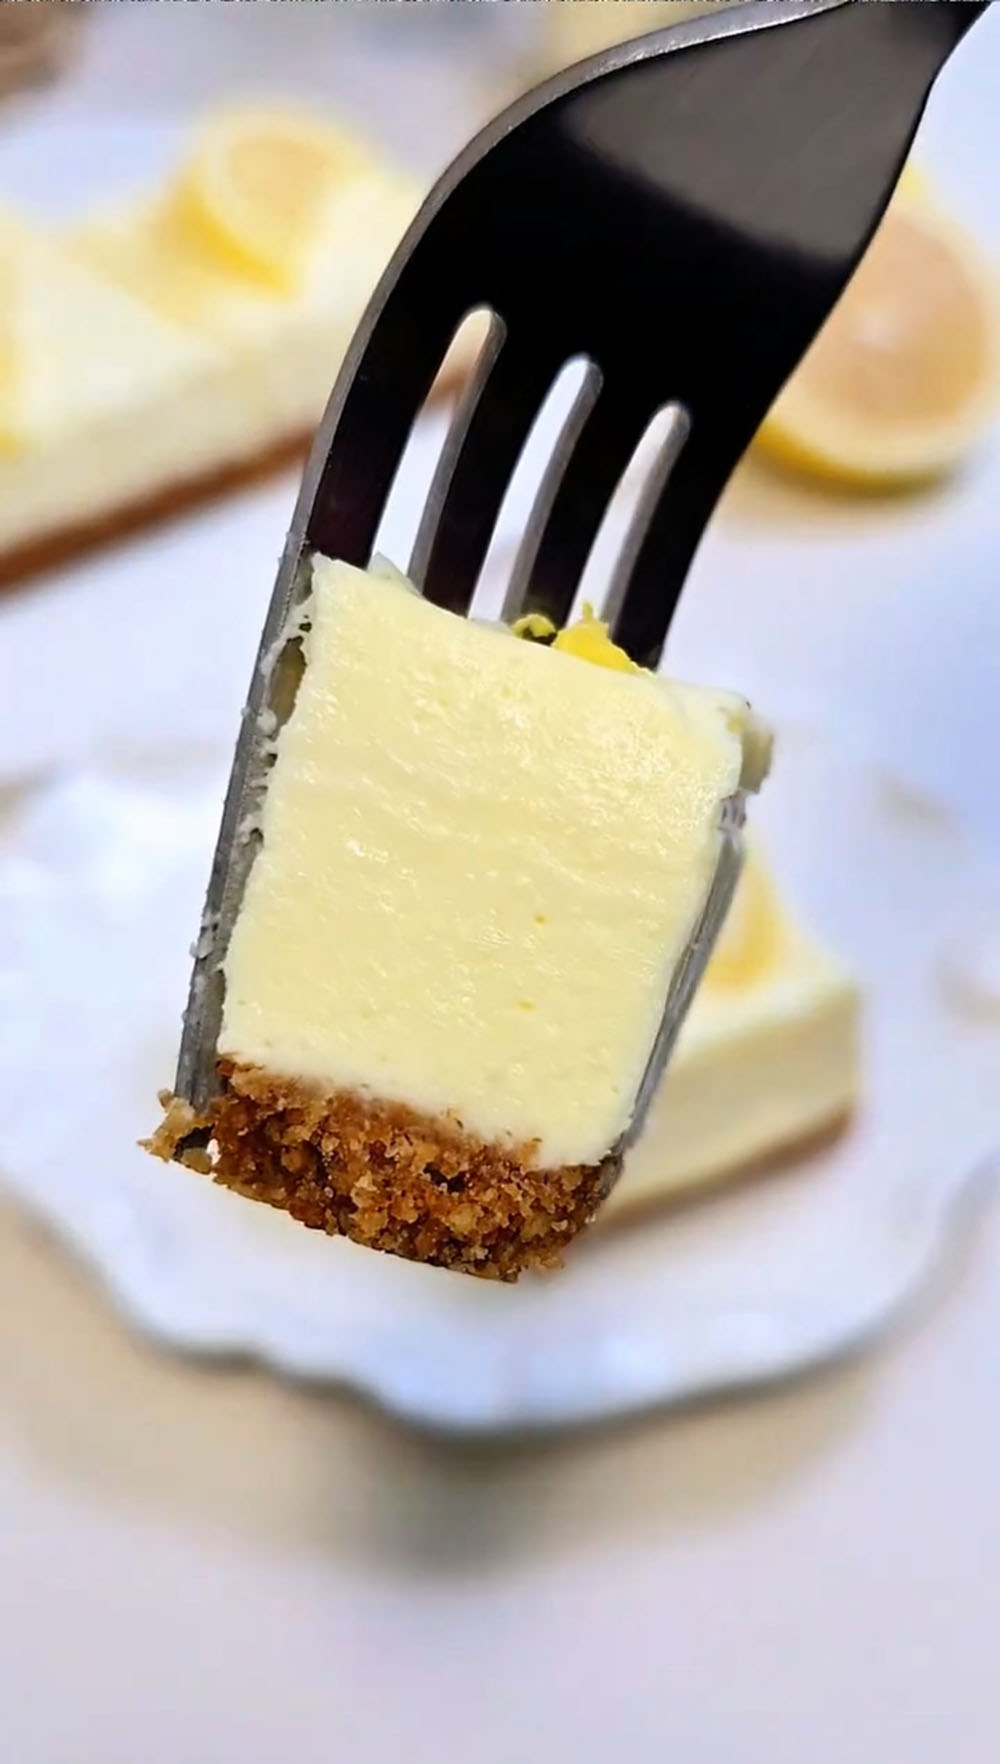
- The texture is ultra creamy and smooth with a crunchy base
- The lemon flavor is fresh, bright, and perfectly balanced
- It’s light and refreshing, not overly rich or heavy
- Great for make-ahead desserts or warm weather treats
Ingredients and substitutions
- Digestive biscuits – A classic choice for the base with a crisp texture that holds together well. You can also use Oreo cookies with the filling removed if you prefer a chocolatey twist.
- Butter – Melted butter binds the biscuit crumbs together and adds a rich, buttery flavour. I recommend using unsalted butter for better control over taste.
- Cream cheese – This is the key to a rich and creamy cheesecake layer. It must be softened at room temperature to ensure a smooth, lump-free texture.
- Granulated sugar – Adds just enough sweetness to balance the tanginess of the lemon and cream cheese without making the dessert overly sweet.
- Yogurt – I recommend using thick, plain yogurt for a creamy texture and a slight tang that enhances the freshness of the dessert. Avoid runny yogurt.
- Lemon juice – Freshly squeezed lemon juice is best for a bright and natural citrus flavour. It really makes the cheesecake taste fresh and vibrant.
- Milk – Warm milk helps dissolve the gelatin and adds smoothness to the cheesecake mixture. Full-fat milk works best.
- Gelatin sheets – Essential for setting the cheesecake so it holds its shape. Be sure to soak them in cold water before using.
- Lemon zest & lemon slices – Optional, but great for decoration and adding extra lemon aroma on top.
Ingredients
Biscuit Base
- 70g digestive biscuits
- 25g melted butter
Lemon Cheesecake Filling
- 200g cream cheese, softened
- 25g granulated sugar
- 120g thick plain yogurt
- 15g lemon juice (freshly squeezed)
- 50g warm milk
- 8g gelatin sheets (softened)
Decoration (Optional)
- Lemon zest
- Lemon slices
How to Make Lemon Cheesecake Bars
Make the biscuit base
Crush the digestive biscuits into fine crumbs using a rolling pin or food processor. Transfer them into a bowl and pour in the melted butter.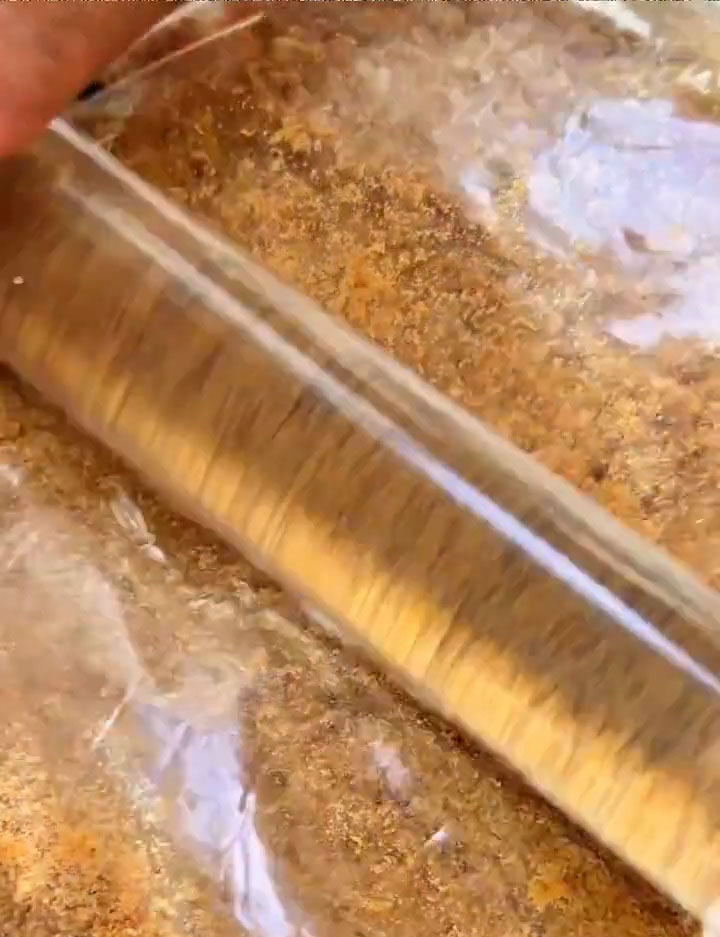
Mix until all the crumbs are evenly coated and resemble wet sand.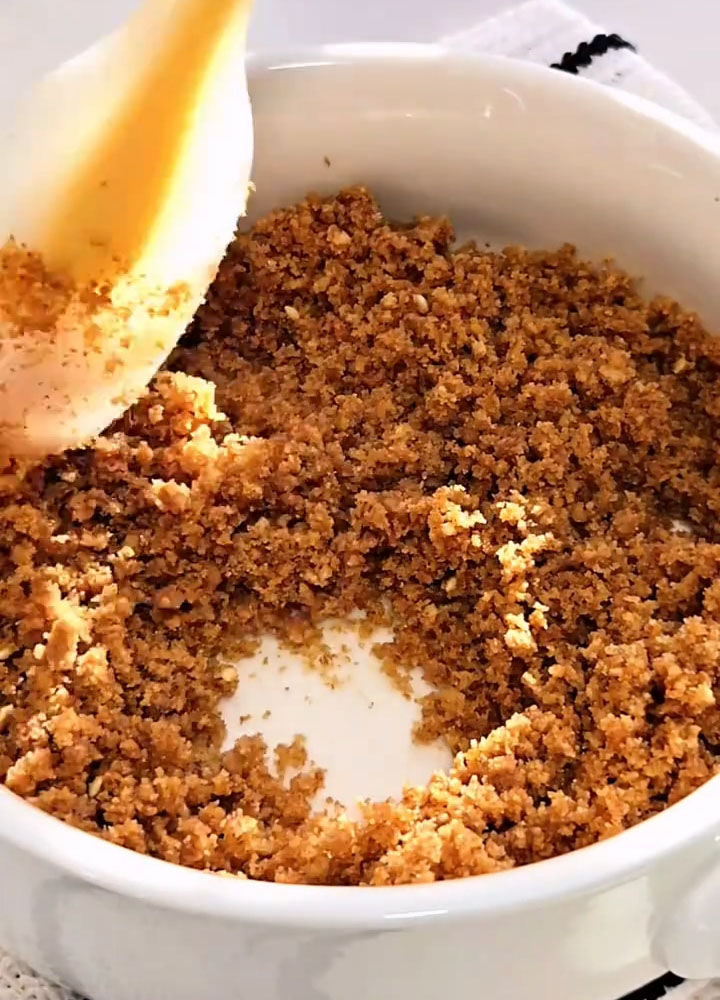
Press the mixture firmly into a lined square pan, smoothing it into an even layer. Place it in the freezer for about 20 minutes to firm up.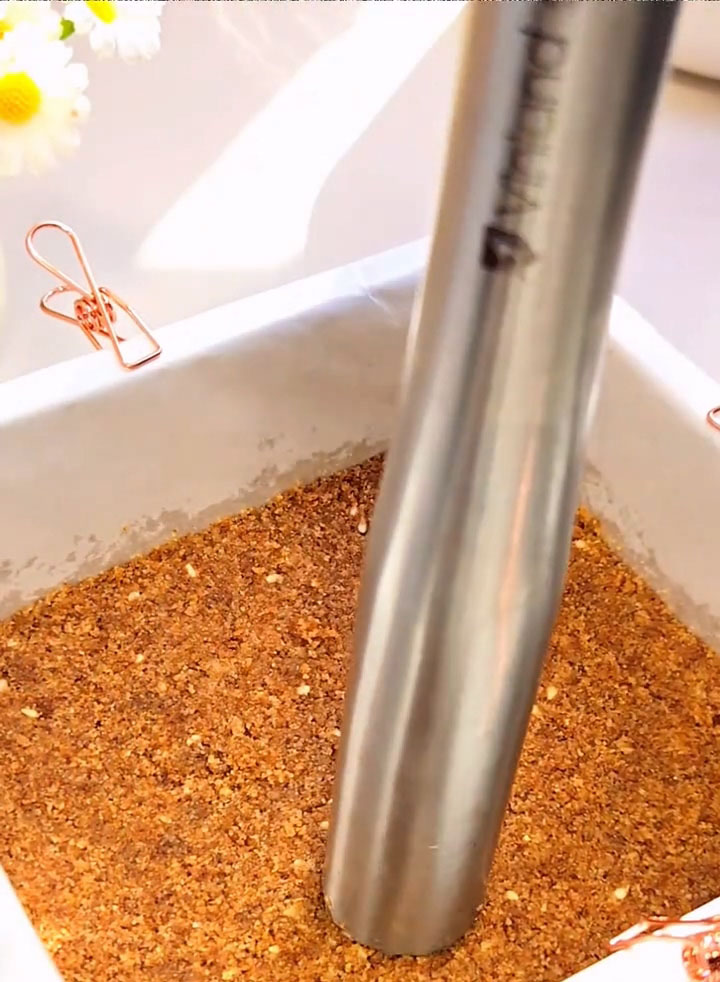
Make the lemon cheesecake filling
In a large bowl, add the softened cream cheese and sugar. Mix until completely smooth and free of lumps.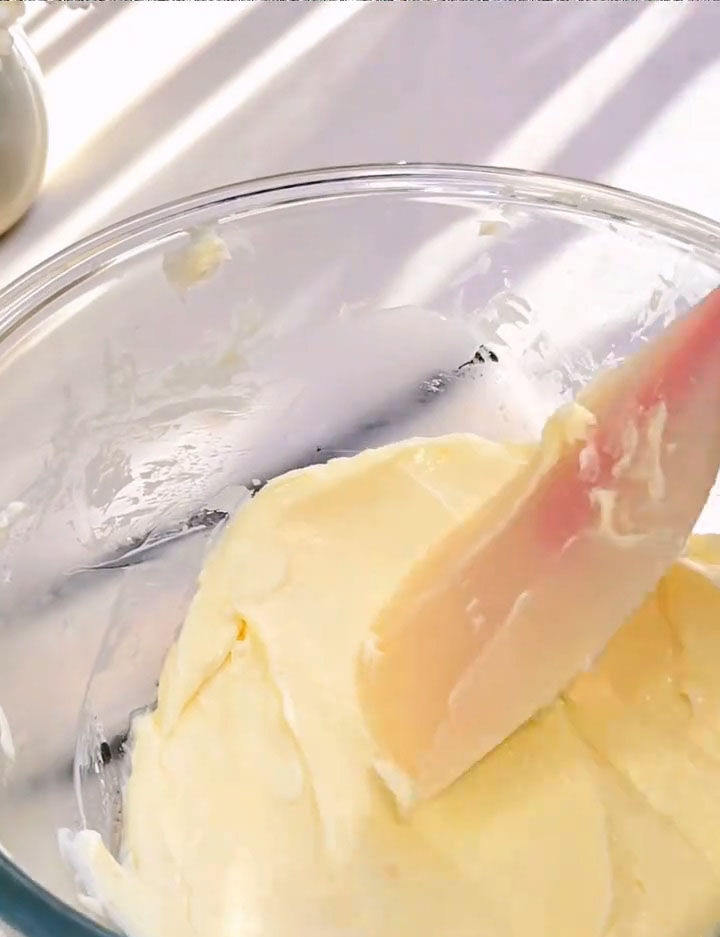
Add the thick yogurt and mix again until fully combined and silky.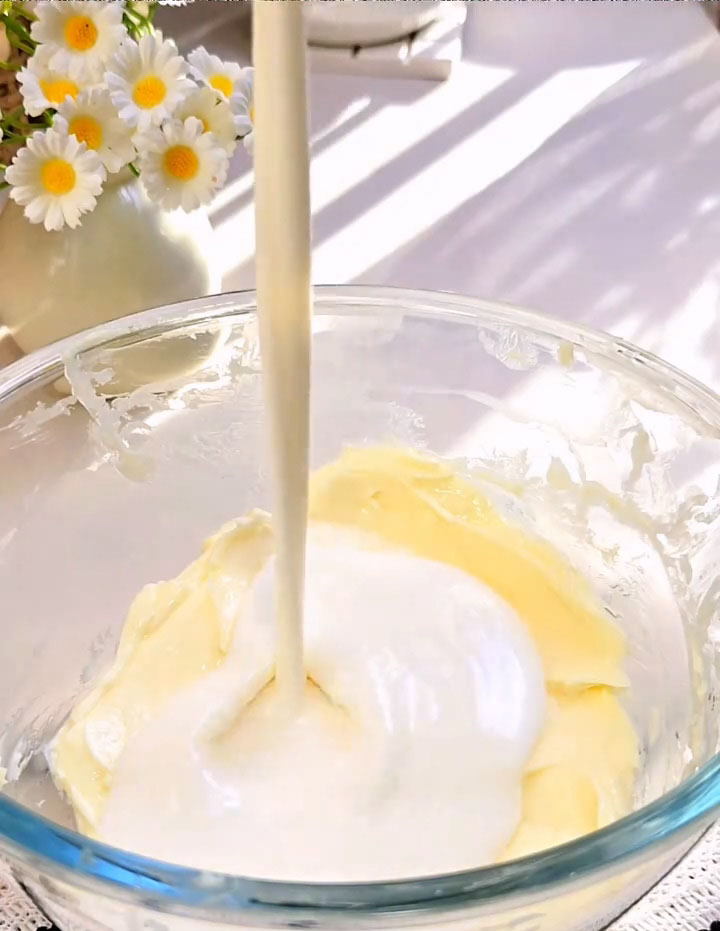
Soak the gelatin sheets in cold water until softened, then squeeze out excess water. Add them into the warm milk and stir until fully dissolved.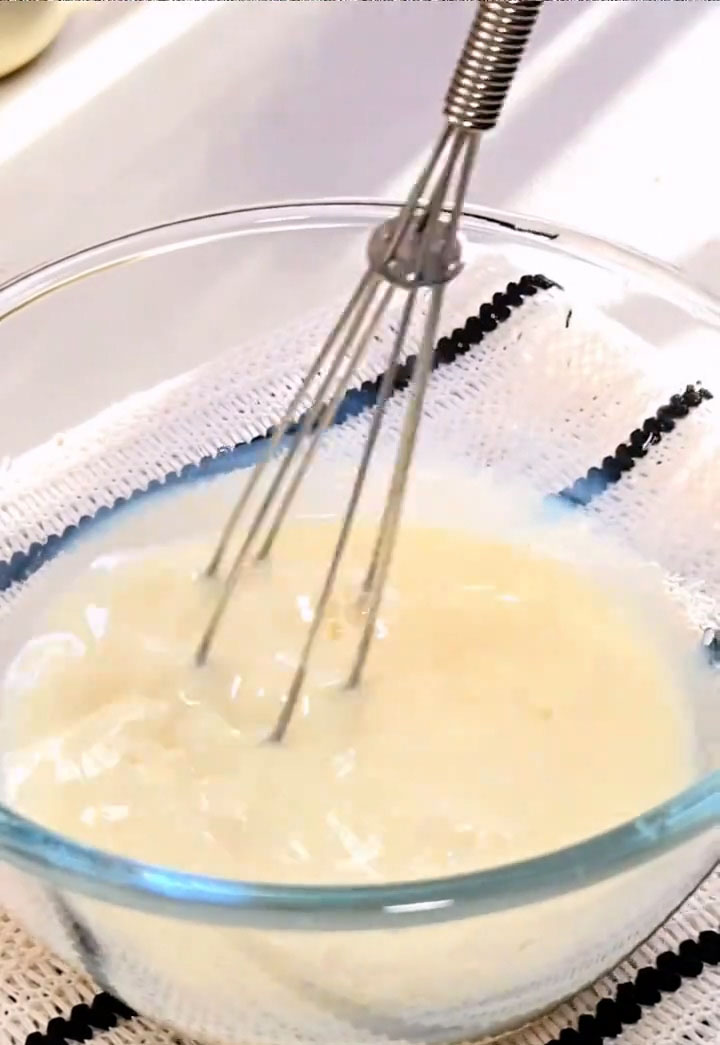
Pour the gelatin mixture into the cheesecake mixture and stir well.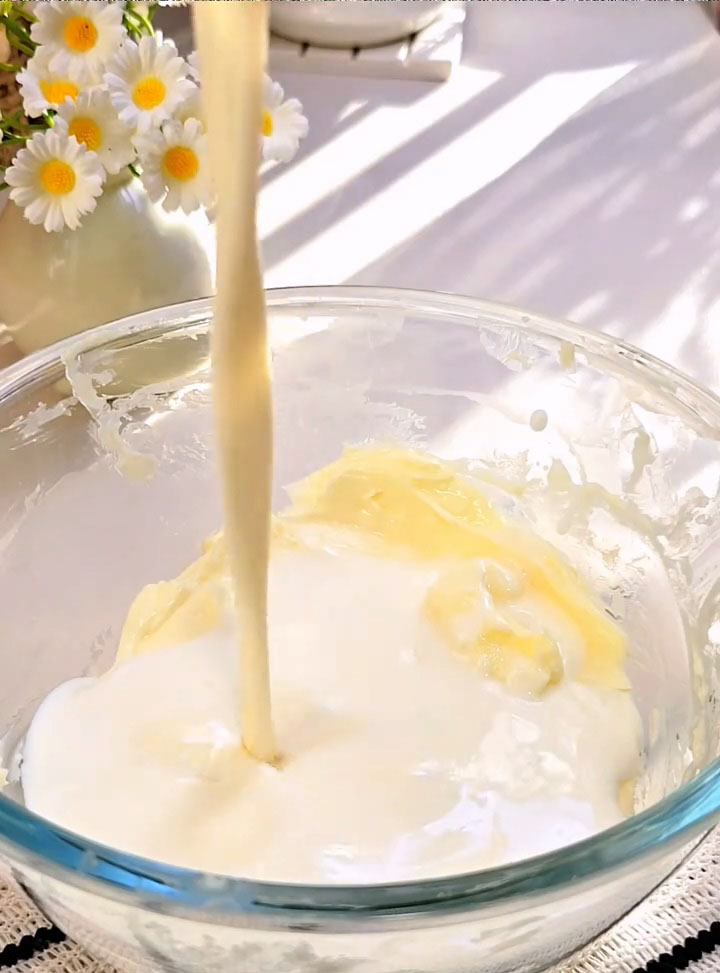
Finally, add the fresh lemon juice and gently mix until smooth.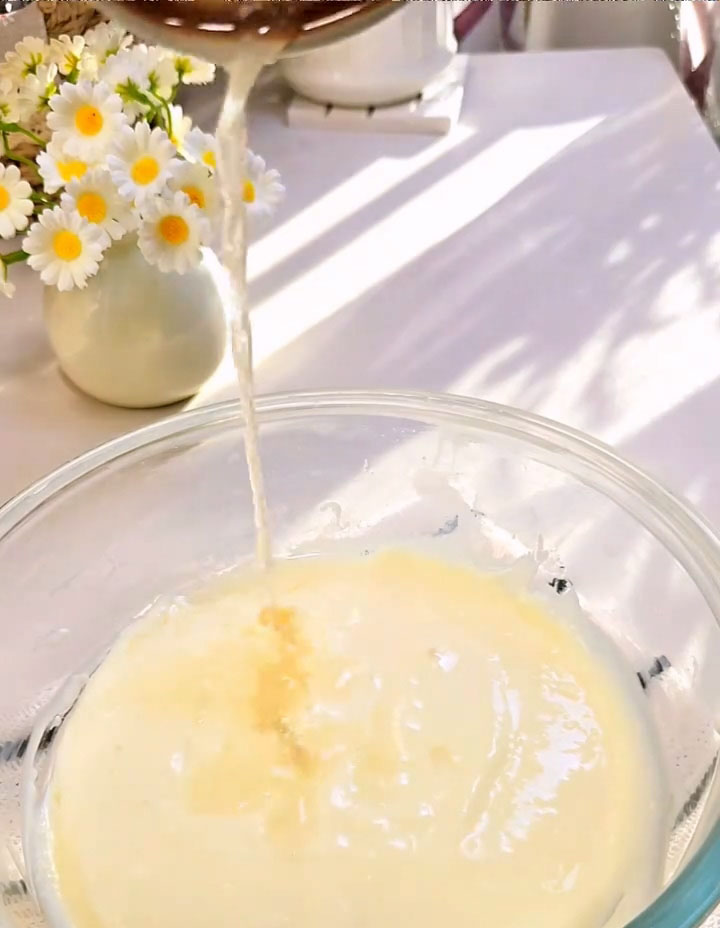
Assemble and chill
Pour the cheesecake filling over the chilled biscuit base. Use a spatula to smooth out the top.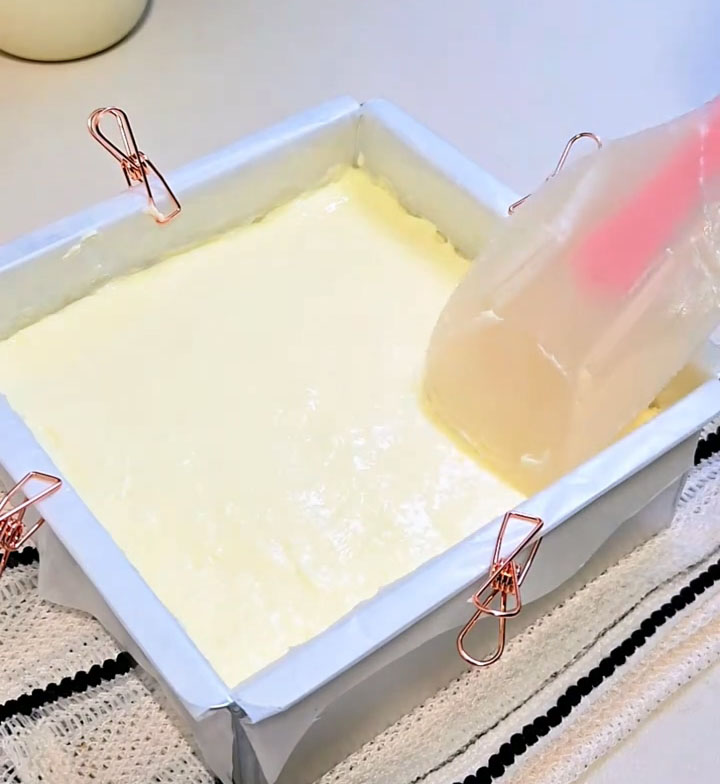
Tap the pan lightly to remove air bubbles.
Refrigerate for at least 4 hours, or preferably overnight, until fully set.
Decorate and serve
Once set, carefully remove the cheesecake from the pan.
Top with lemon zest and slices if desired, then slice into bars and serve chilled.
Storage
Store the lemon cheesecake bars in an airtight container in the fridge for up to 3 days.
Tips & Tricks
- Make sure the cream cheese is fully softened to avoid lumps
- Use thick yogurt for the best creamy texture
- Always dissolve gelatin completely before adding it in
- Chill long enough so the bars set properly before slicing
- Press the biscuit base firmly so it holds together well
Frequently Asked Questions
Why didn’t my cheesecake set properly?
The gelatin may not have fully dissolved, or the cheesecake didn’t chill long enough. Make sure to refrigerate for at least 4 hours.
Can I make this ahead of time?
Yes! It’s actually better when made a day in advance for the best texture.
Can I freeze it?
Not recommended, as freezing can affect the creamy texture and make it watery after thawing.

Easy Lemon Cheesecake Bars Recipe (Perfect Summer Dessert)
Ingredients
Biscuit Base
- 70 g digestive biscuits
- 25 g melted butter
Lemon Cheesecake Filling
- 200 g cream cheese softened
- 25 g granulated sugar
- 120 g thick plain yogurt
- 15 g lemon juice freshly squeezed
- 50 g warm milk
- 8 g gelatin sheets softened
Decoration (Optional)
- Lemon zest
- Lemon slices
Instructions
Make the biscuit base
- Crush the digestive biscuits into fine crumbs using a rolling pin or food processor. Transfer them into a bowl and pour in the melted butter.
- Mix until all the crumbs are evenly coated and resemble wet sand.
- Press the mixture firmly into a lined square pan, smoothing it into an even layer. Place it in the freezer for about 20 minutes to firm up.
Make the lemon cheesecake filling
- In a large bowl, add the softened cream cheese and sugar. Mix until completely smooth and free of lumps.
- Add the thick yogurt and mix again until fully combined and silky.
- Soak the gelatin sheets in cold water until softened, then squeeze out excess water. Add them into the warm milk and stir until fully dissolved.
- Pour the gelatin mixture into the cheesecake mixture and stir well.
- Finally, add the fresh lemon juice and gently mix until smooth.
Assemble and chill
- Pour the cheesecake filling over the chilled biscuit base. Use a spatula to smooth out the top.
- Tap the pan lightly to remove air bubbles.
- Refrigerate for at least 4 hours, or preferably overnight, until fully set.
Decorate and serve
- Once set, carefully remove the cheesecake from the pan.
- Top with lemon zest and slices if desired, then slice into bars and serve chilled.
Leave a Reply