
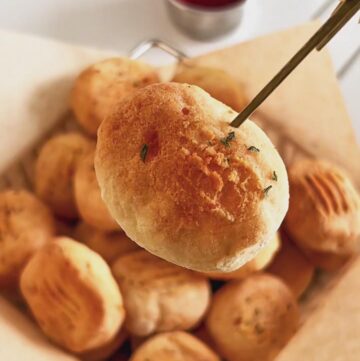
These crispy potato pops are made with just 2 potatoes and almost no oil! Crunchy on the outside, soft and fluffy inside, and perfect with ketchup. An easy air fryer snack that kids and adults both love — oven option included.
Easy Air Fryer Potato Pops (Crispy & Low-Oil)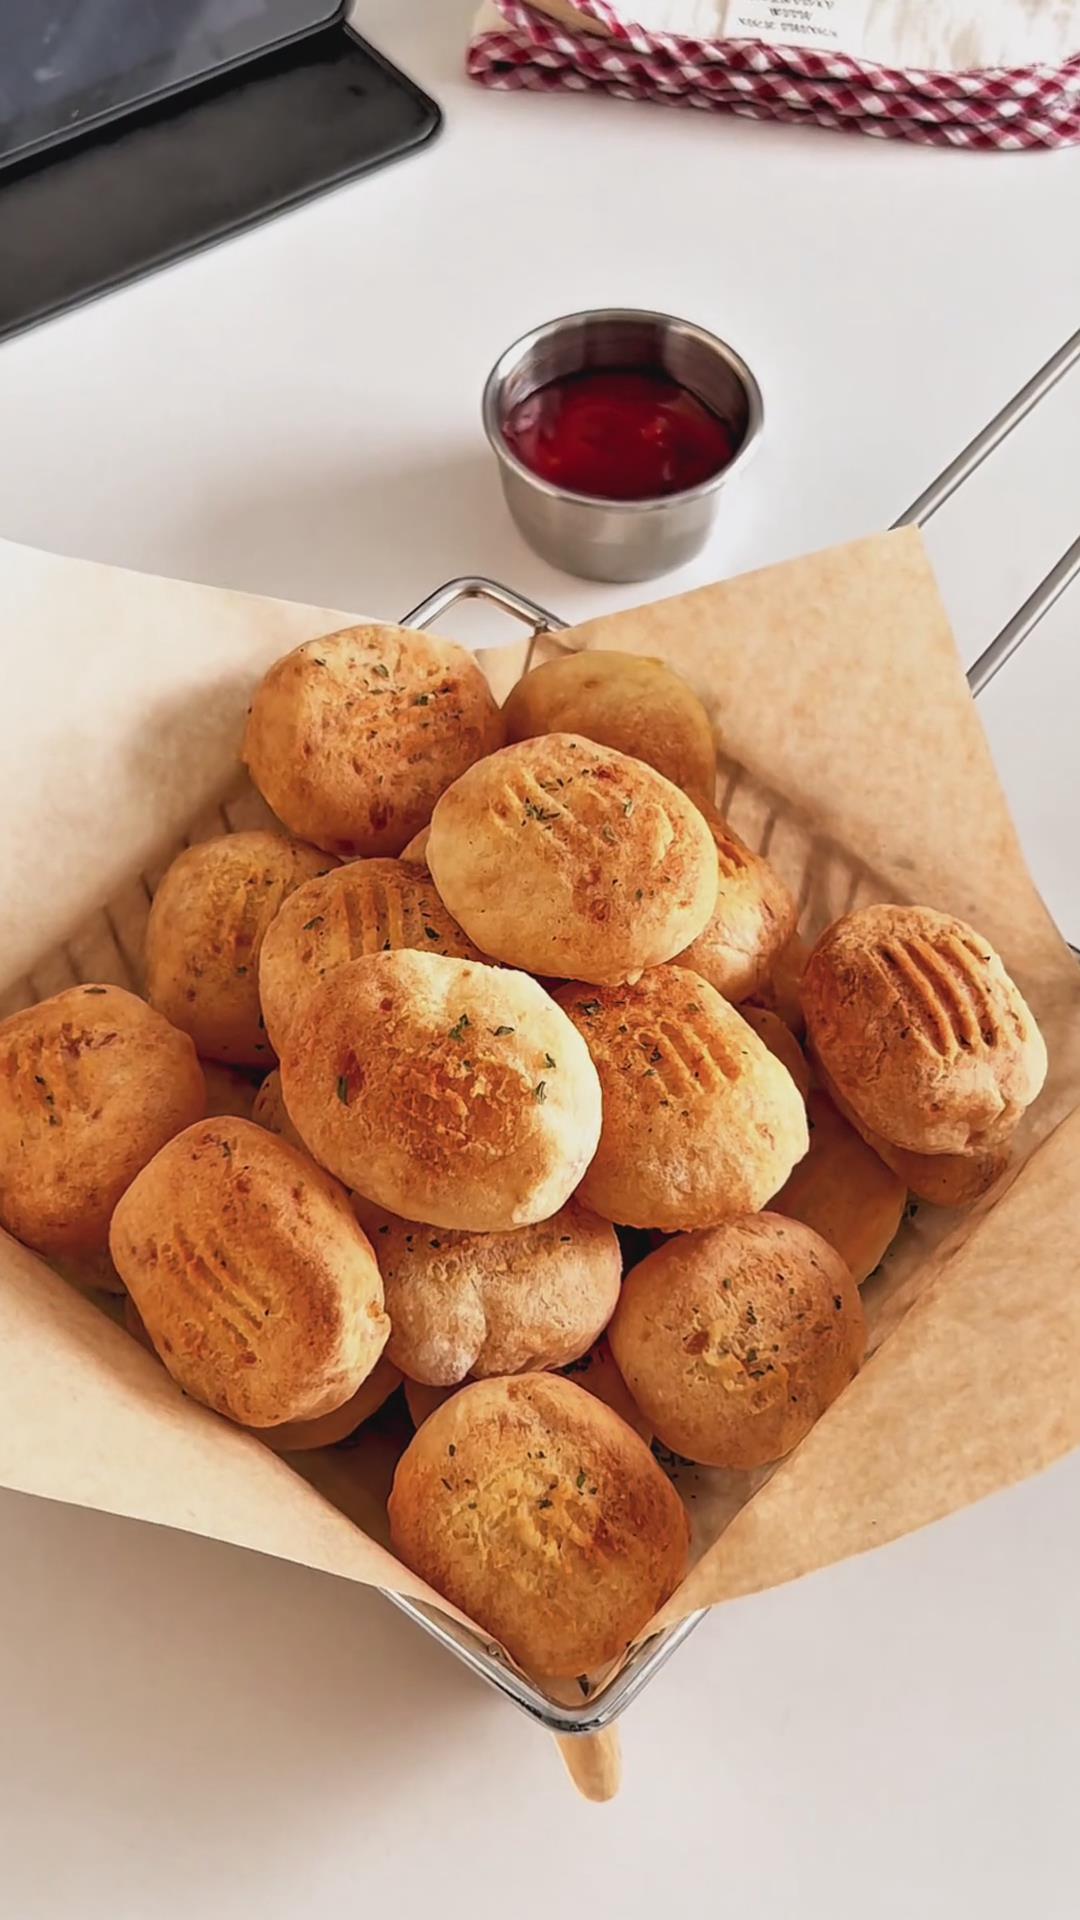
The very first time I used an air fryer, I was instantly sold — and I honestly haven’t stopped using it since.
It uses so little oil, and best of all, it’s almost completely hands-off. You just put the food in, set the timer, and let it do its thing.
I already have quite a few air fryer recipes on my blog, and some of the most loved ones in our house include Air Fryer Chicken Cutlets for Kids, Air Fryer Chicken Drumsticks, and Easy Yaki Onigiri with a Melty Cheese Filling.
Today, I’m sharing these crispy potato pops.
They’re completely no-fry and very low in oil, with a golden, crunchy exterior and a soft, fluffy center.
All you need are two potatoes, and the air fryer keeps them crisp without any excess grease.
The method is simple and beginner-friendly — and if you don’t have an air fryer, you can easily make them in the oven too.
One small tip: I usually steam my potatoes in a bamboo steamer. If you use a different method and notice water collecting after steaming, be sure to drain it completely.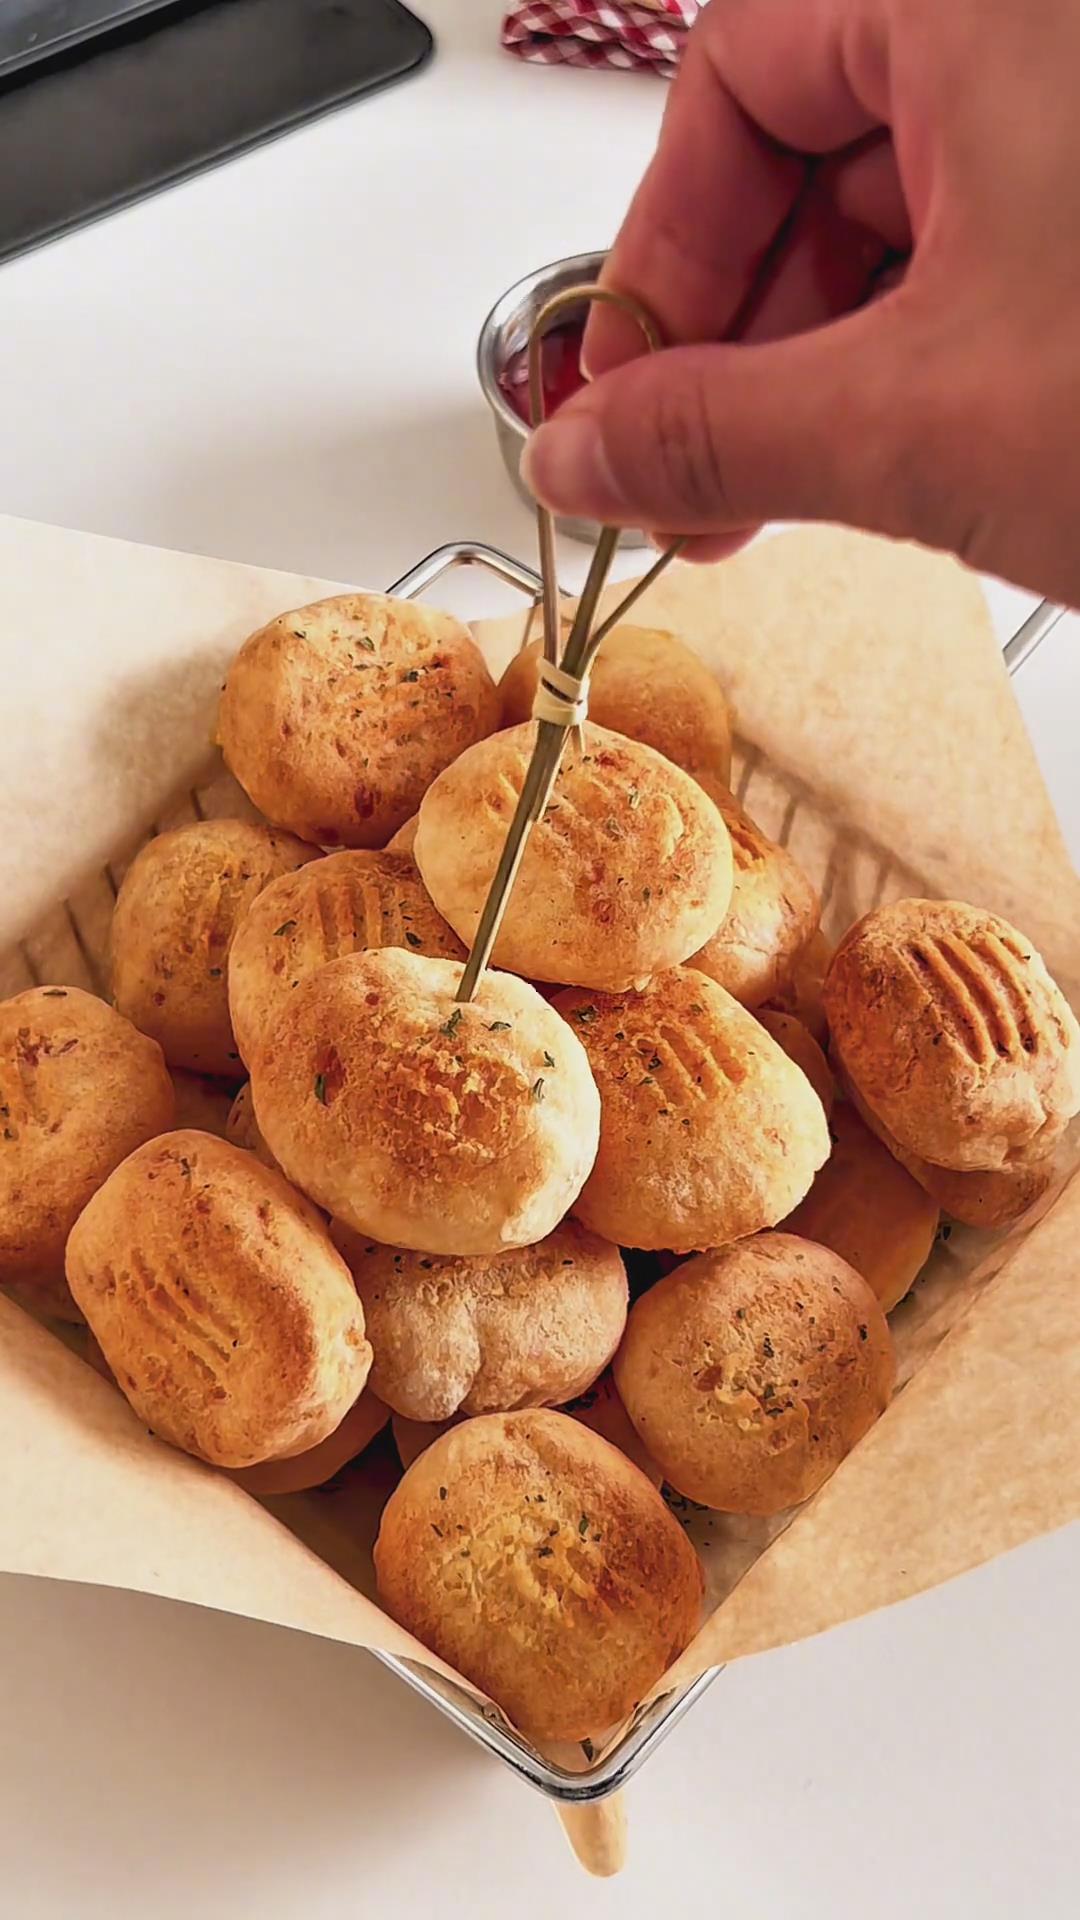
Why You‘ll Love This Recipe
- They’re crispy without deep frying, making them lighter and less greasy.
- Simple ingredients you likely already have at home.
- Crunchy outside with a soft, potato-rich interior.
- Easy to shape and bake, with clear, foolproof steps.
- Perfect for dipping and great for both kids and adults.
Ingredients and Substitutions
Ingredients and substitutions
Potatoes
I recommend using yellow-fleshed potatoes with a higher starch content. They steam up soft and fluffy, making them easier to mash, shape, and form into potato pops with a tender, slightly chewy interior.
Cornstarch
Cornstarch is essential in this recipe. It helps bind the potato mixture and creates that signature crispy exterior. It cannot be replaced with flour, as flour will result in a softer, bread-like texture instead of a crisp bite.
Salt
Salt is used simply to season the potatoes and bring out their natural flavour. You can adjust slightly to suit your taste, but it’s best not to skip it.
Black pepper
Freshly ground black pepper adds a subtle warmth and savoury depth without overpowering the potato flavour.
Cooking oil
A small amount of oil is brushed on the surface to enhance crispiness and colour. If you prefer, it can be omitted, but the potato pops will be slightly less golden.
Ketchup
Used for dipping, ketchup adds a sweet and tangy contrast. If unavailable, salad dressing or black pepper sauce works just as well.
How to Make Potato Pops
1. Steam the Potatoes
Wash and peel the potatoes, then slice them into approximately 0.5 cm thick slices. Thinner slices steam faster and more evenly.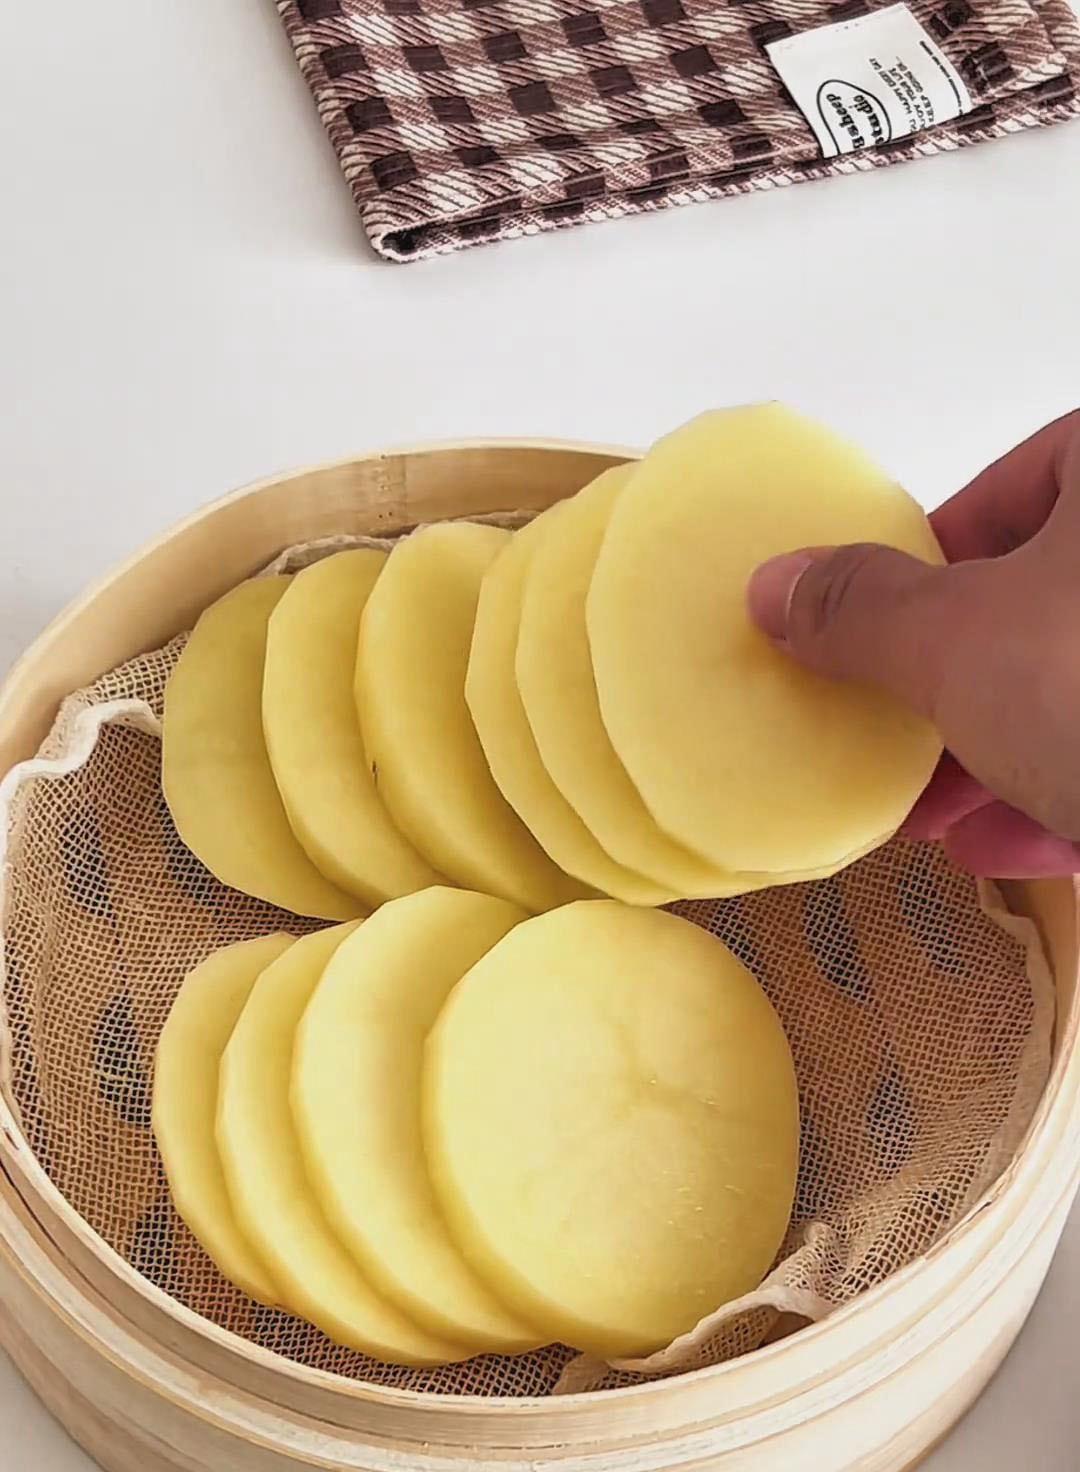
Bring plenty of water to a boil in a steamer. Add the potato slices and steam over high heat for 15–20 minutes, until a chopstick or fork can easily pierce through them.
Remove the potatoes and allow them to cool until warm. This prevents burning your hands and makes the potatoes easier to mash and knead.
2. Mix and Shape
Transfer the warm potato slices to a large bowl. Add the salt, black pepper to the bowl. Use a potato masher or spoon to mash them until completely smooth, with no visible lumps.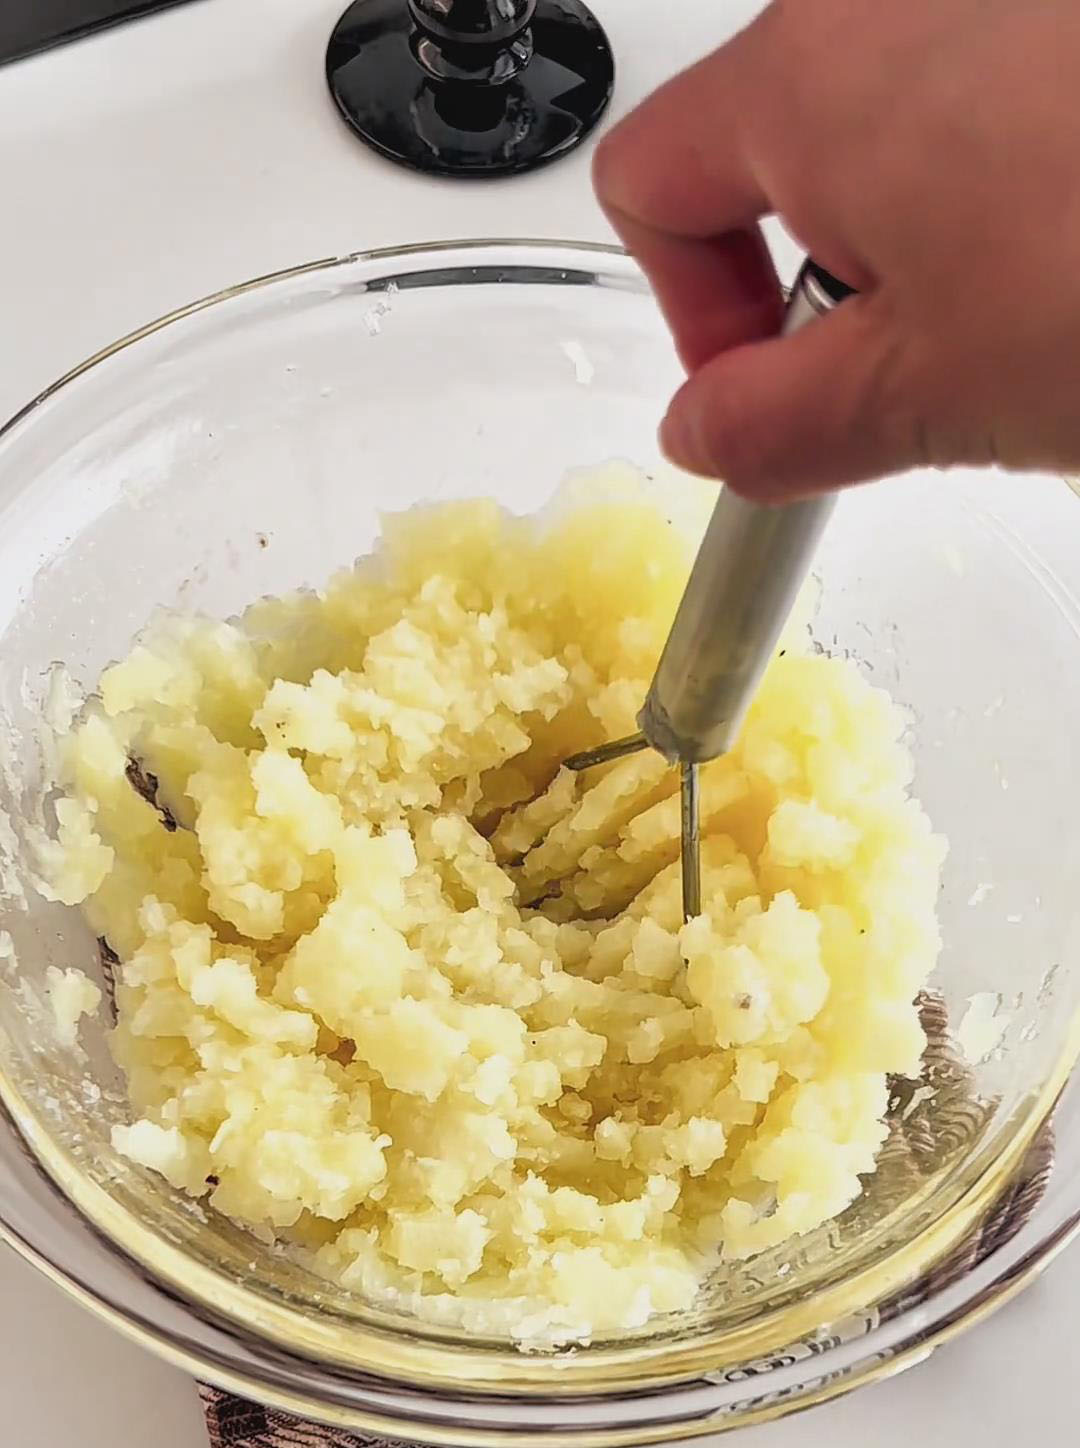
Add cornstarch. Knead thoroughly by hand until a soft, smooth dough forms that is no longer sticky.
If the mixture feels too dry, add a small amount of warm water. If it’s too sticky, sprinkle in a little more cornstarch.
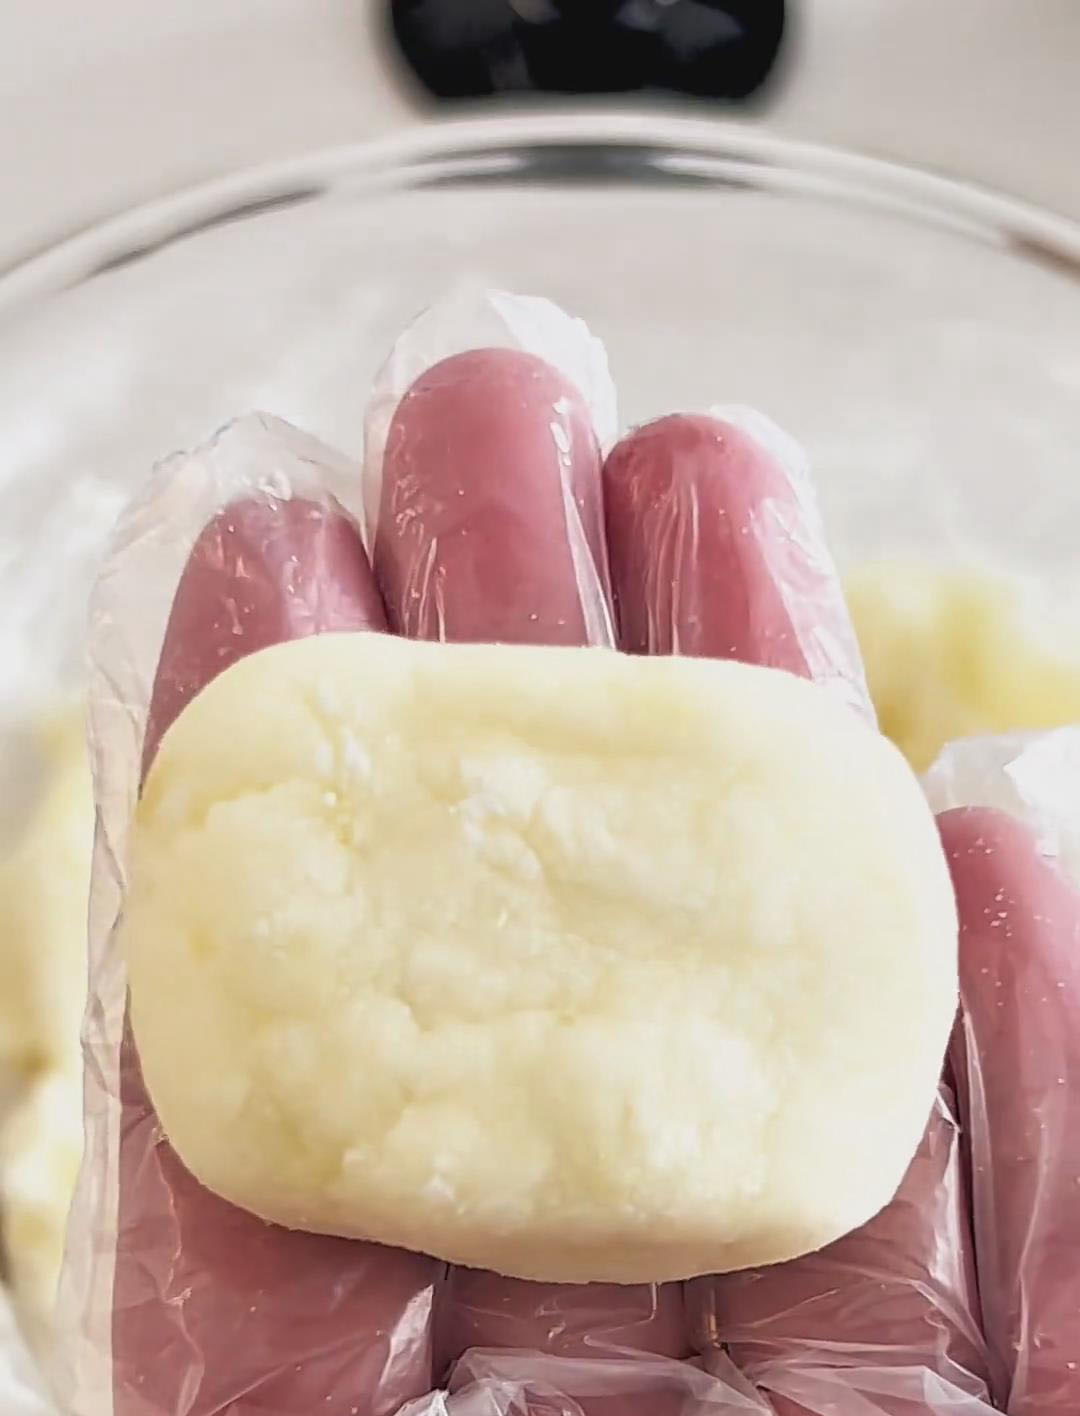
Take about 20 g of the mixture, roll it into a ball, then gently press and shape it into a small rectangular potato pop about 1 cm thick. Keeping the thickness even helps prevent burning or undercooking.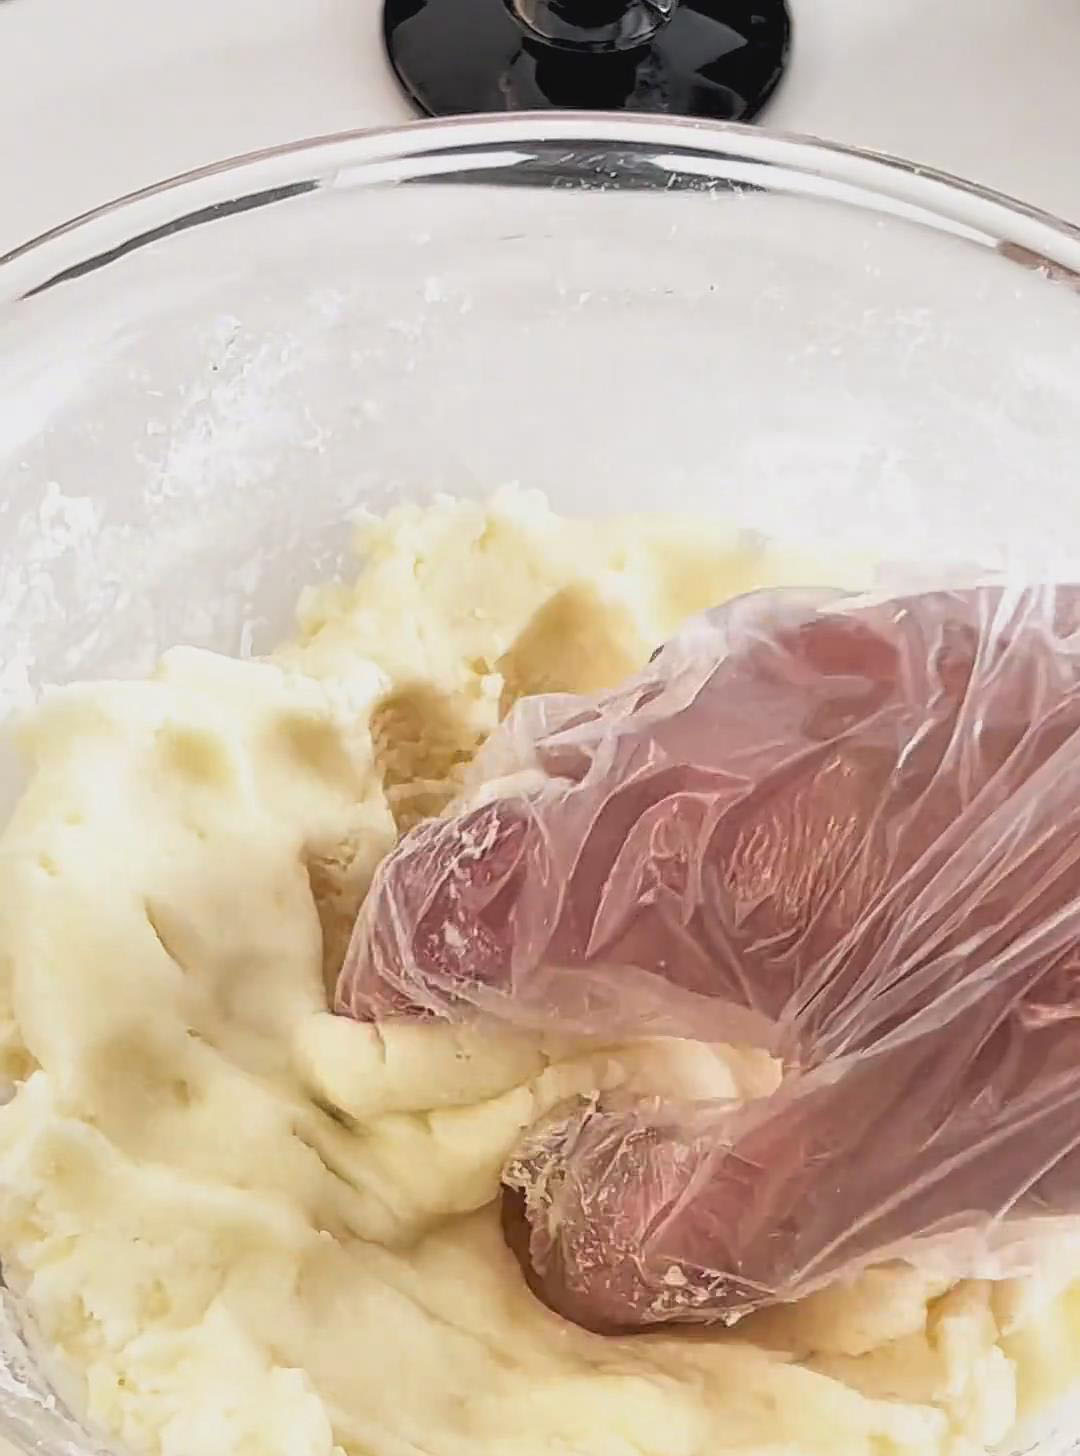
Arrange the shaped potato pops on a baking tray lined with parchment paper.
Lightly brush the surface of the potato pops with cooking oil. This step is optional but recommended for better colour and crunch.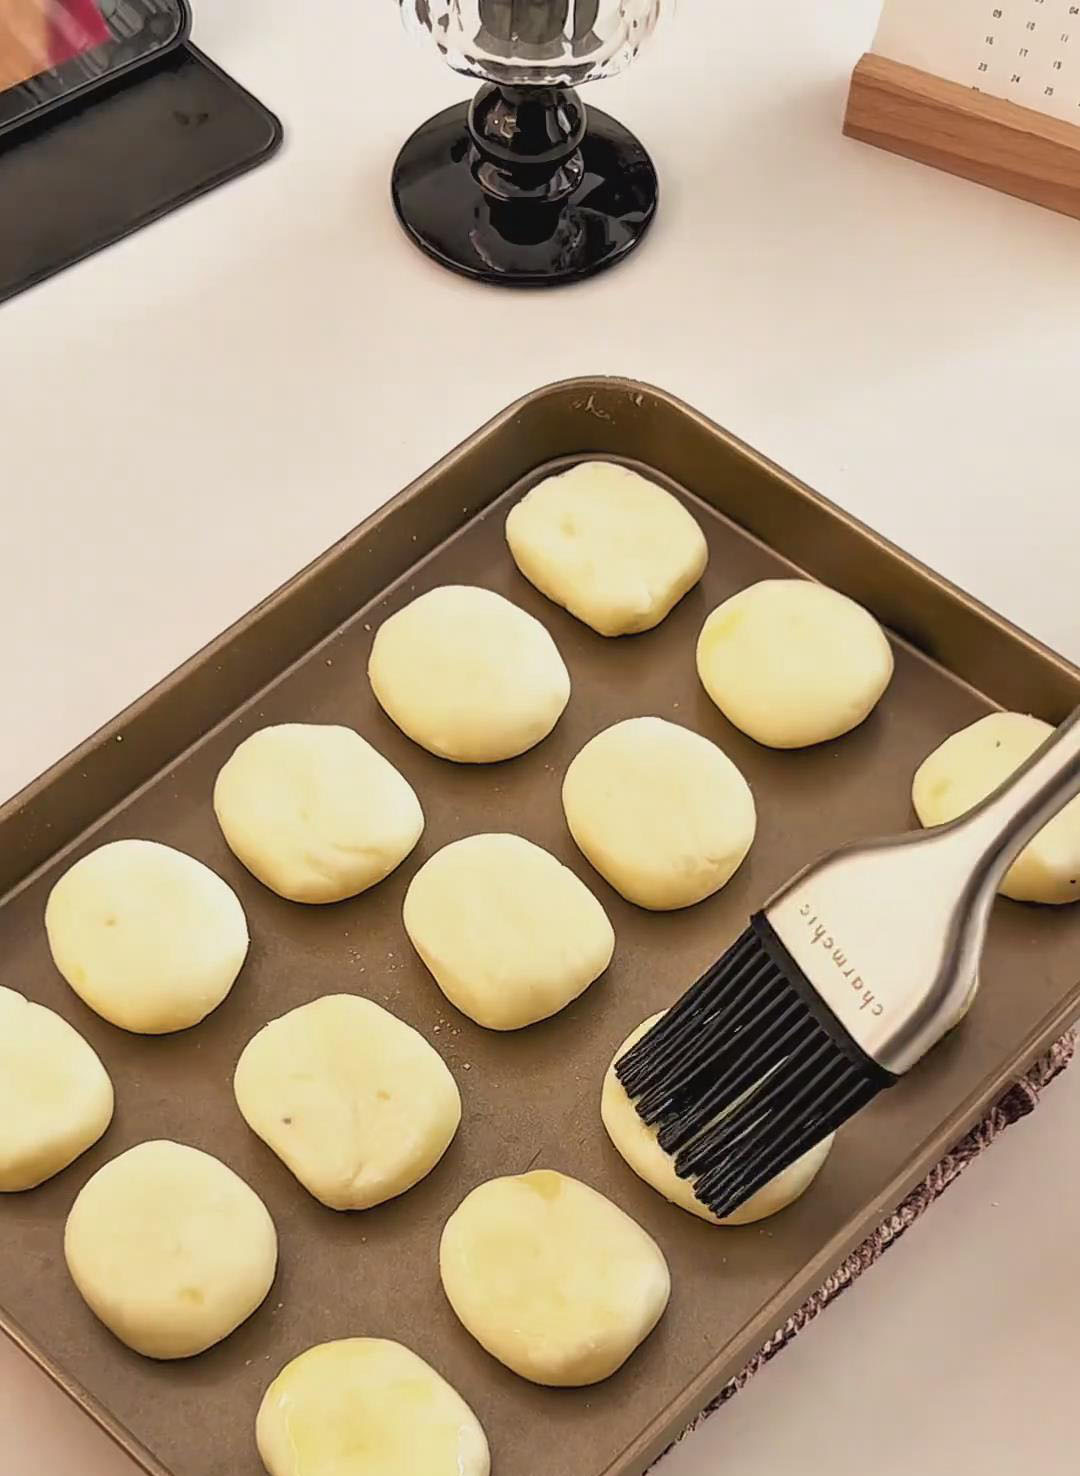
Lightly press fork marks onto the surface to prevent puffing during baking and to enhance crispiness.
3. Bake the Potato Pops
Preheat the air fryer to 180°C (355°F) for 5 minutes. Place the tray inside and bake for 10 minutes.
Carefully remove the tray, flip each potato pop, brush lightly with oil again, and return to the air fryer for another 10 minutes.
Bake until the potato pops are golden brown, crispy on the outside, and lightly browned around the edges.
4. Serve
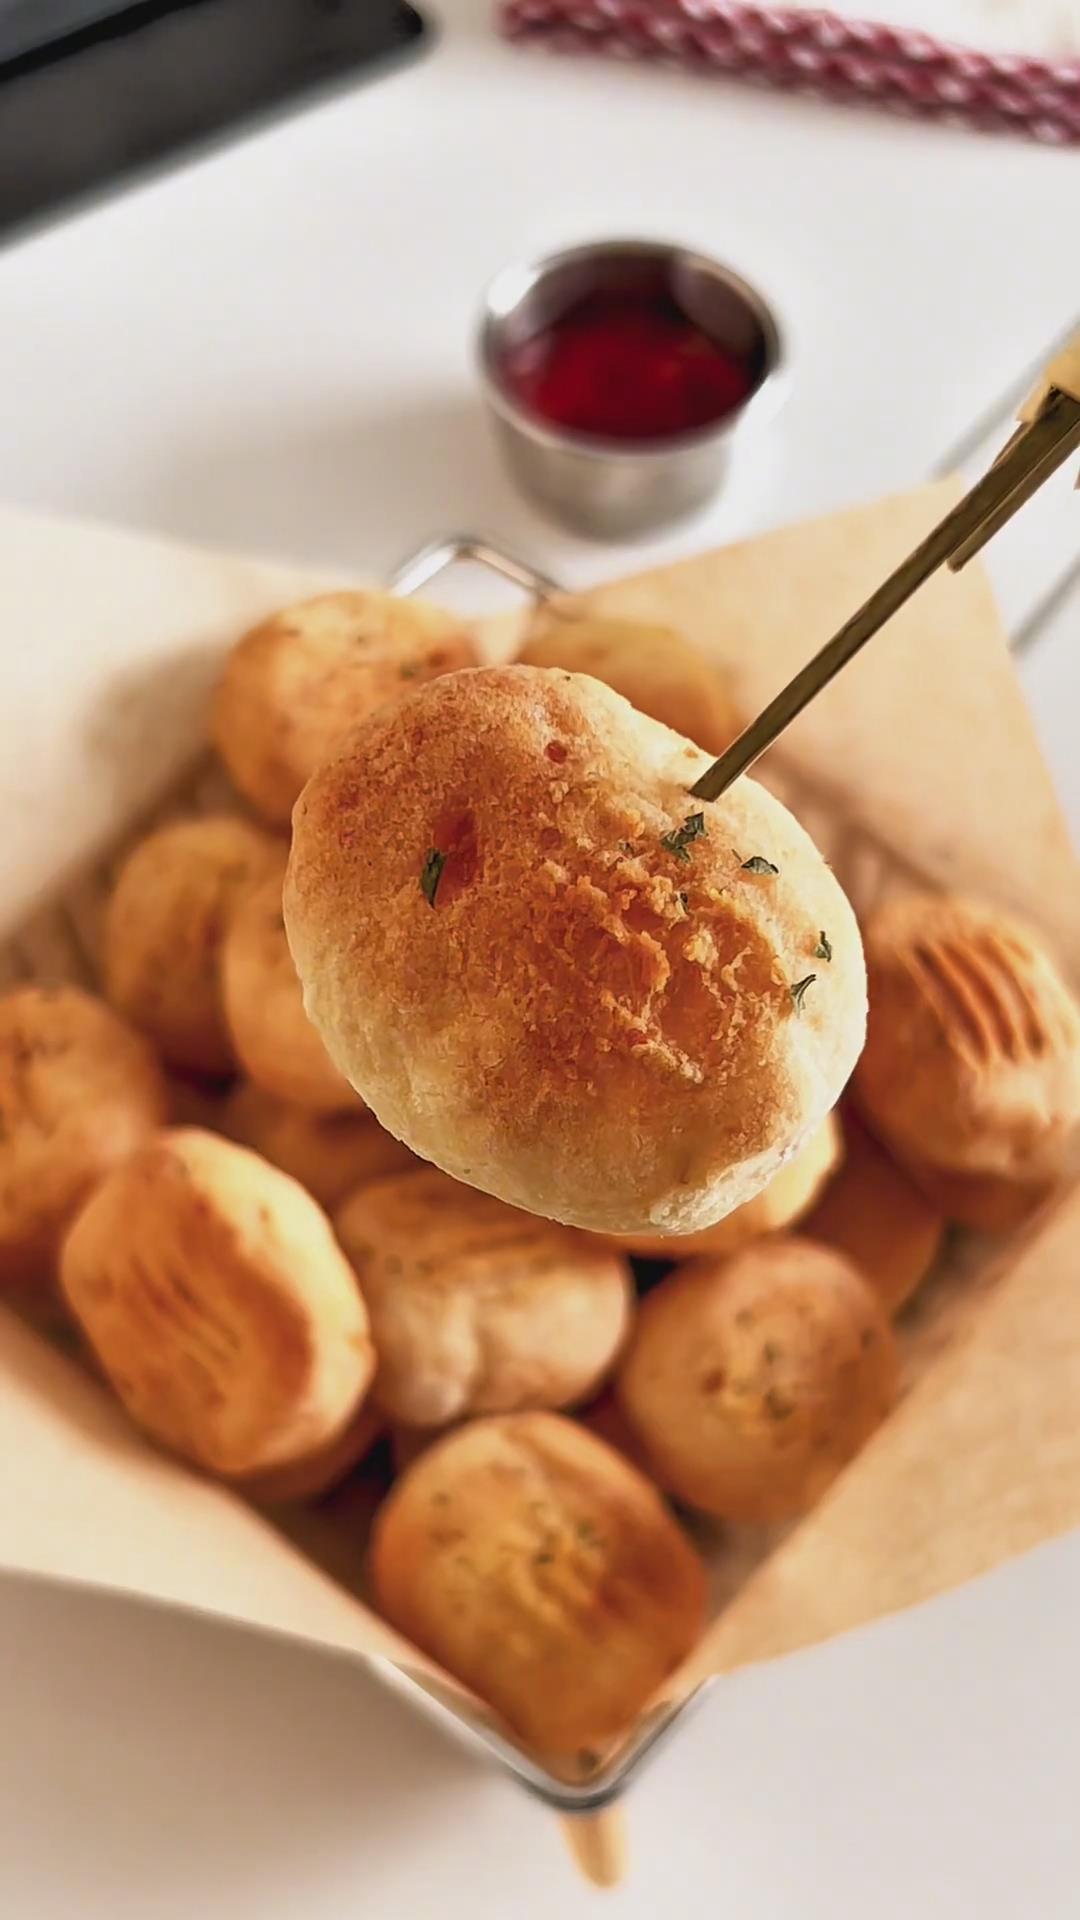
Remove the potato pops from the air fryer and let them rest for 2 minutes. This short cooling time allows the exterior to crisp up even more.
Serve warm with ketchup or your favourite dipping sauce.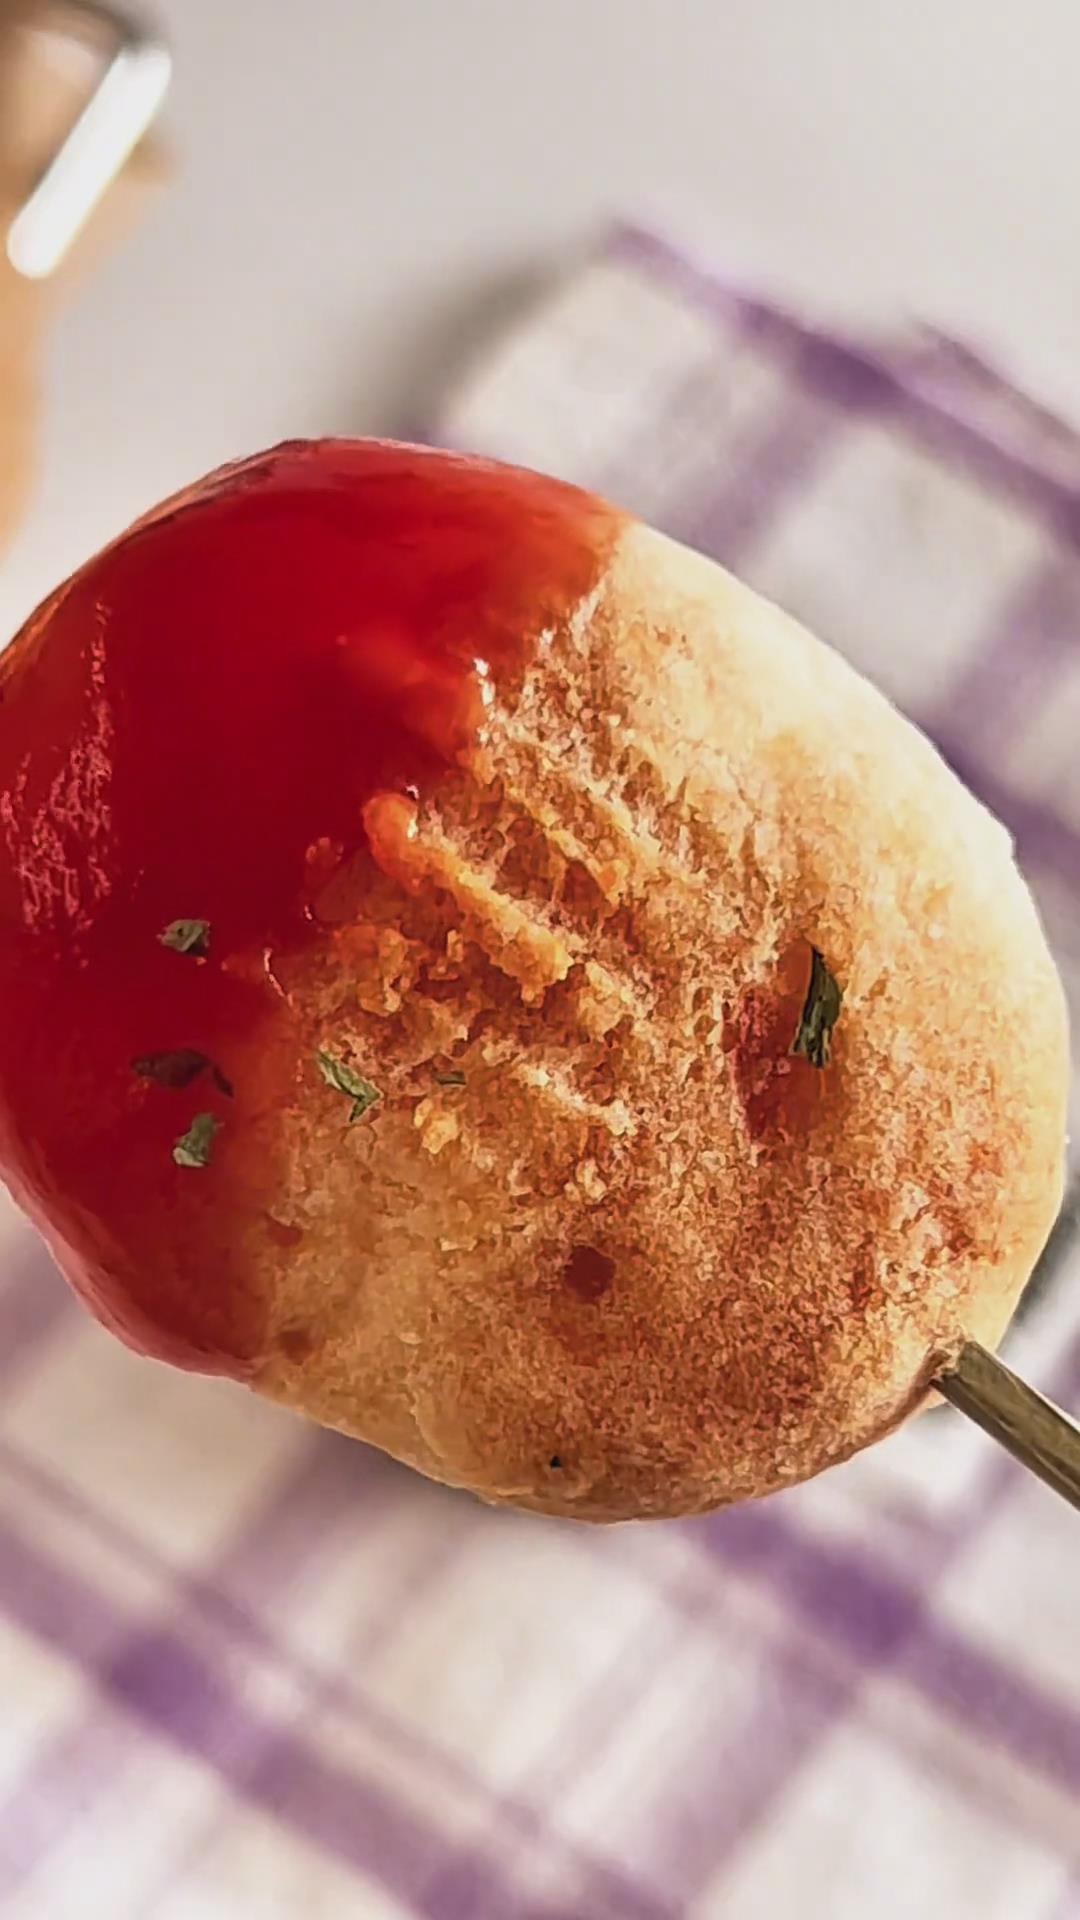
Tips & Tricks
Always let the potatoes cool to warm before adding cornstarch to avoid clumping and uneven texture.
Adjust the cornstarch slightly depending on the moisture of your potatoes — just enough to form a smooth, workable dough.
Keep the potato pops around 1 cm thick. Too thin and they’ll burn; too thick and the inside won’t dry out properly.
Flip halfway through baking and brush oil on both sides to ensure even crispiness.
Frequently Asked Questions
Why aren‘t my potato pops crispy?
This usually happens if the potatoes were too hot when mixed with cornstarch, or if there wasn’t enough cornstarch to help with structure and crisping. Make sure the potatoes are warm, not hot, and flip them halfway through baking.
Can I make these without an air fryer?
Yes. Brush a non-stick pan lightly with oil and cook the potato pops over low heat for about 5 minutes per side, until golden and crispy.
Can I store leftover potato pops?
Yes. Store them in an airtight container in the fridge for 1–2 days.
How do I reheat them?
Reheat in the air fryer at 160°C (320°F) for 5 minutes, or pan-fry over low heat for about 3 minutes to restore crispiness.
3-Ingredient Air Fryer Potato Pops | Crispy & Healthy
Ingredients
For the Potato Dough
- 500 g about 2 medium starchy potatoes (e.g., Russet or Yukon Gold), peeled and sliced
- 100 g cornstarch
- 3 g salt
- Freshly ground black pepper to taste
For Cooking & Serving
- 10 ml neutral cooking oil for brushing, optional
- Ketchup or your favorite dipping sauce
Instructions
Steam the Potatoes
- Wash and peel the potatoes, then slice them into approximately 0.5 cm thick slices. Thinner slices steam faster and more evenly.
- Bring plenty of water to a boil in a steamer. Add the potato slices and steam over high heat for 15–20 minutes, until a chopstick or fork can easily pierce through them.
- Remove the potatoes and allow them to cool until warm. This prevents burning your hands and makes the potatoes easier to mash and knead.
Mix and Shape
- Transfer the warm potato slices to a large bowl. Add the salt, black pepper to the bowl. Use a potato masher or spoon to mash them until completely smooth, with no visible lumps.
- Add cornstarch. Knead thoroughly by hand until a soft, smooth dough forms that is no longer sticky.
- If the mixture feels too dry, add a small amount of warm water. If it's too sticky, sprinkle in a little more cornstarch.
- Take about 20 g of the mixture, roll it into a ball, then gently press and shape it into a small rectangular potato pop about 1 cm thick. Keeping the thickness even helps prevent burning or undercooking.
- Arrange the shaped potato pops on a baking tray lined with parchment paper.
- Lightly brush the surface of the potato pops with cooking oil. This step is optional but recommended for better colour and crunch.
- Lightly press fork marks onto the surface to prevent puffing during baking and to enhance crispiness.
Bake the Potato Pops
- Preheat the air fryer to 180°C (355°F) for 5 minutes. Place the tray inside and bake for 10 minutes.
- Carefully remove the tray, flip each potato pop, brush lightly with oil again, and return to the air fryer for another 10 minutes.
- Bake until the potato pops are golden brown, crispy on the outside, and lightly browned around the edges.
Serve
- Remove the potato pops from the air fryer and let them rest for 2 minutes. This short cooling time allows the exterior to crisp up even more.
- Serve warm with ketchup or your favourite dipping sauce.
Leave a Reply