
This Cherry Matcha Mousse Cake combines earthy matcha, sweet juicy cherries, and creamy cheesecake mousse in a gorgeous layered no-bake dessert. With its soft texture and vibrant colours, it’s the perfect treat for spring, summer, or festive celebrations.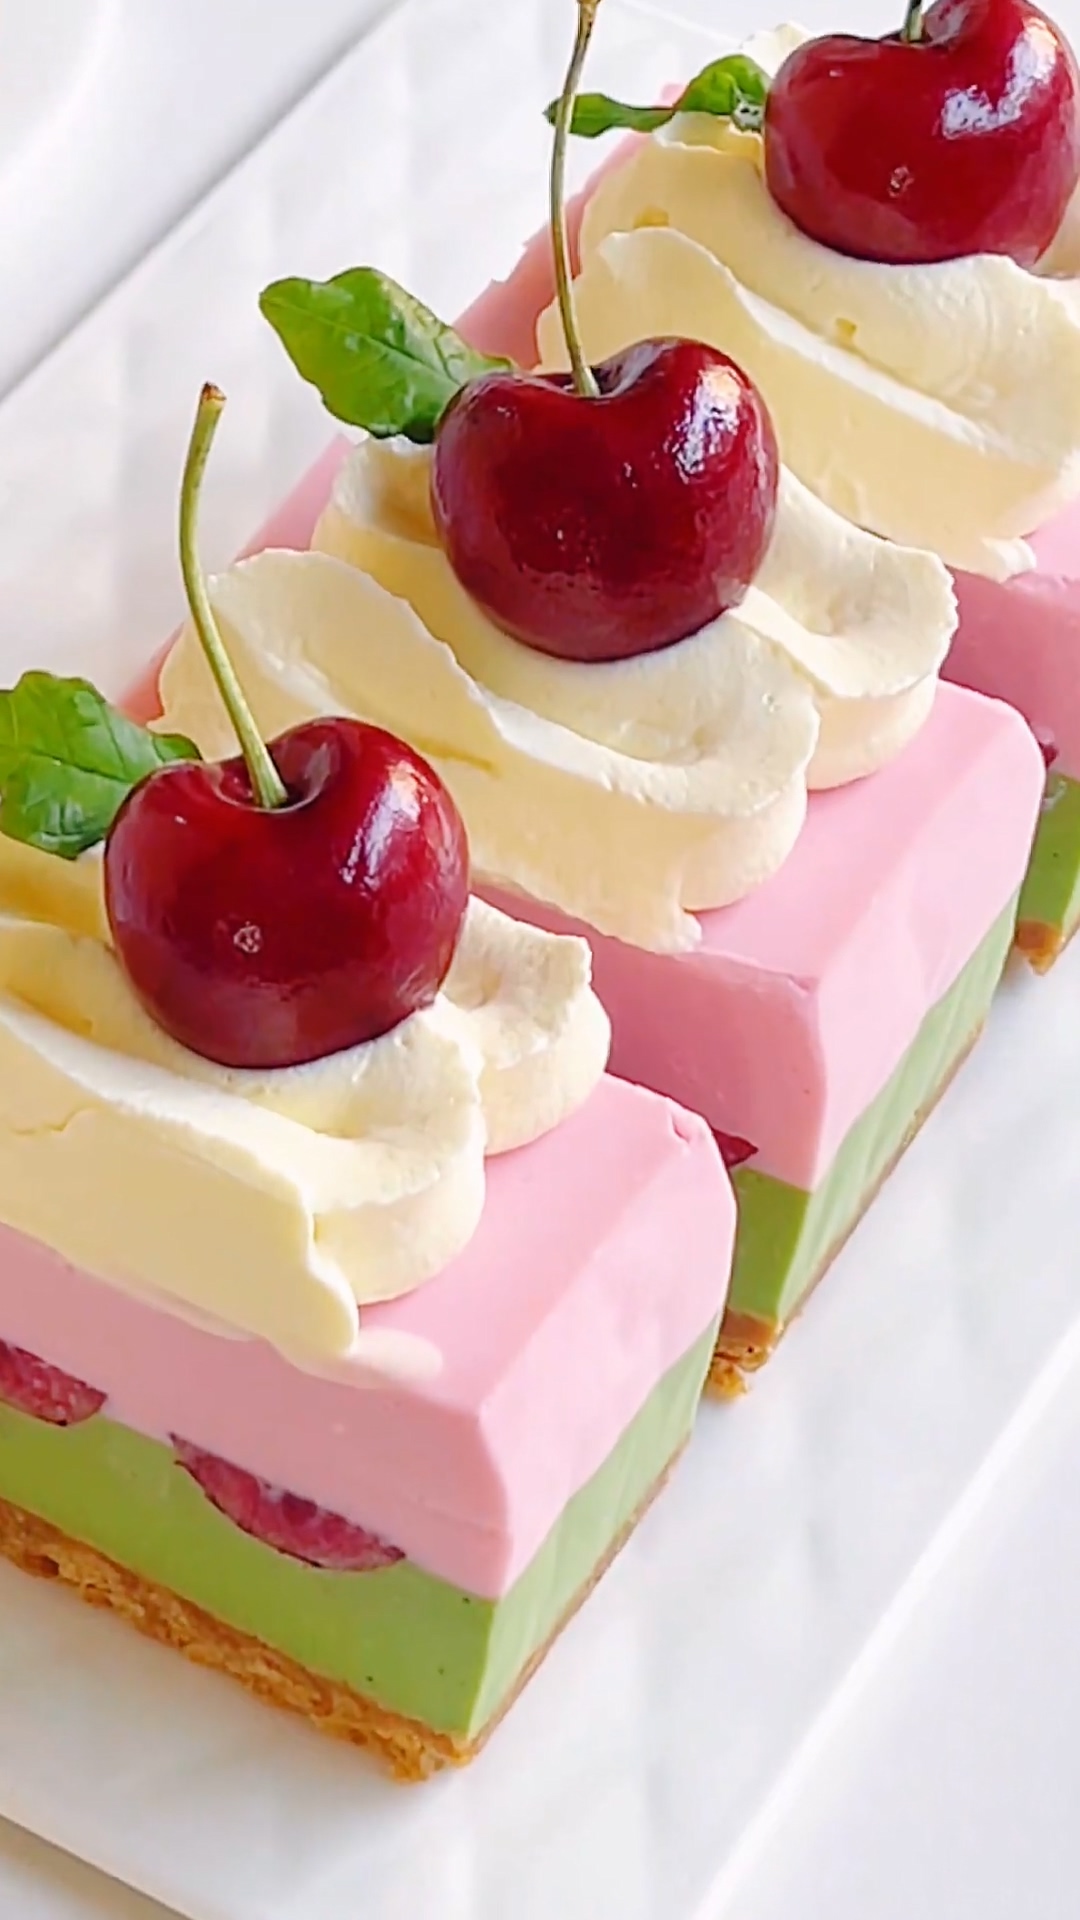
Cherries are one of my absolute favorite fruits, though they can be a bit of a splurge.
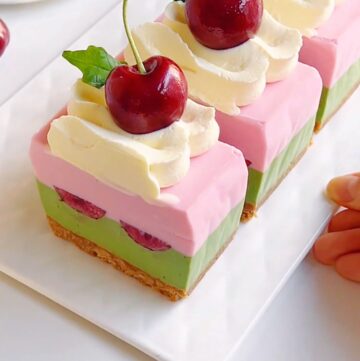
I was so excited to find some beautiful ones today, so of course I had to turn them into something special—this Cherry Matcha Cheesecake Mousse Cake.
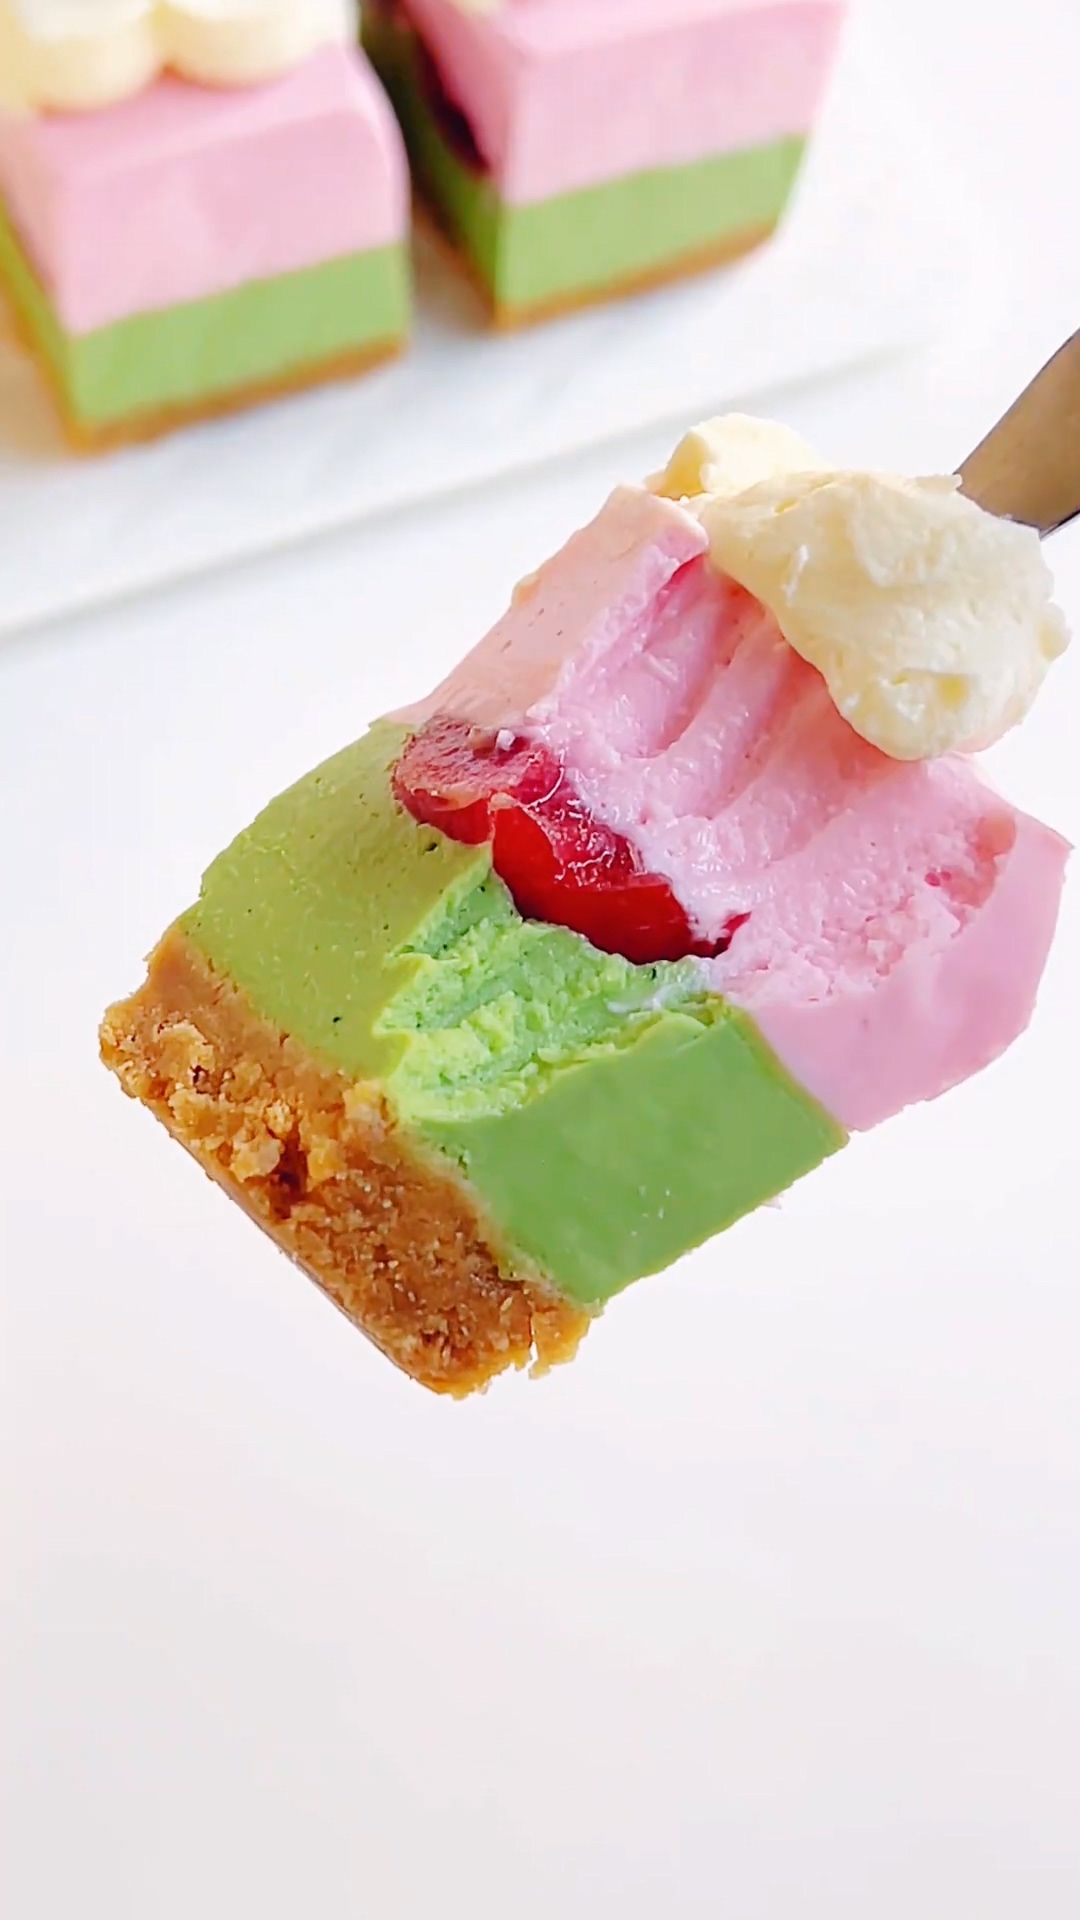
It combines my all-time favorite matcha with these gorgeous cherries, creating two beautiful layers (plus that buttery cookie crust) that taste as amazing as they look.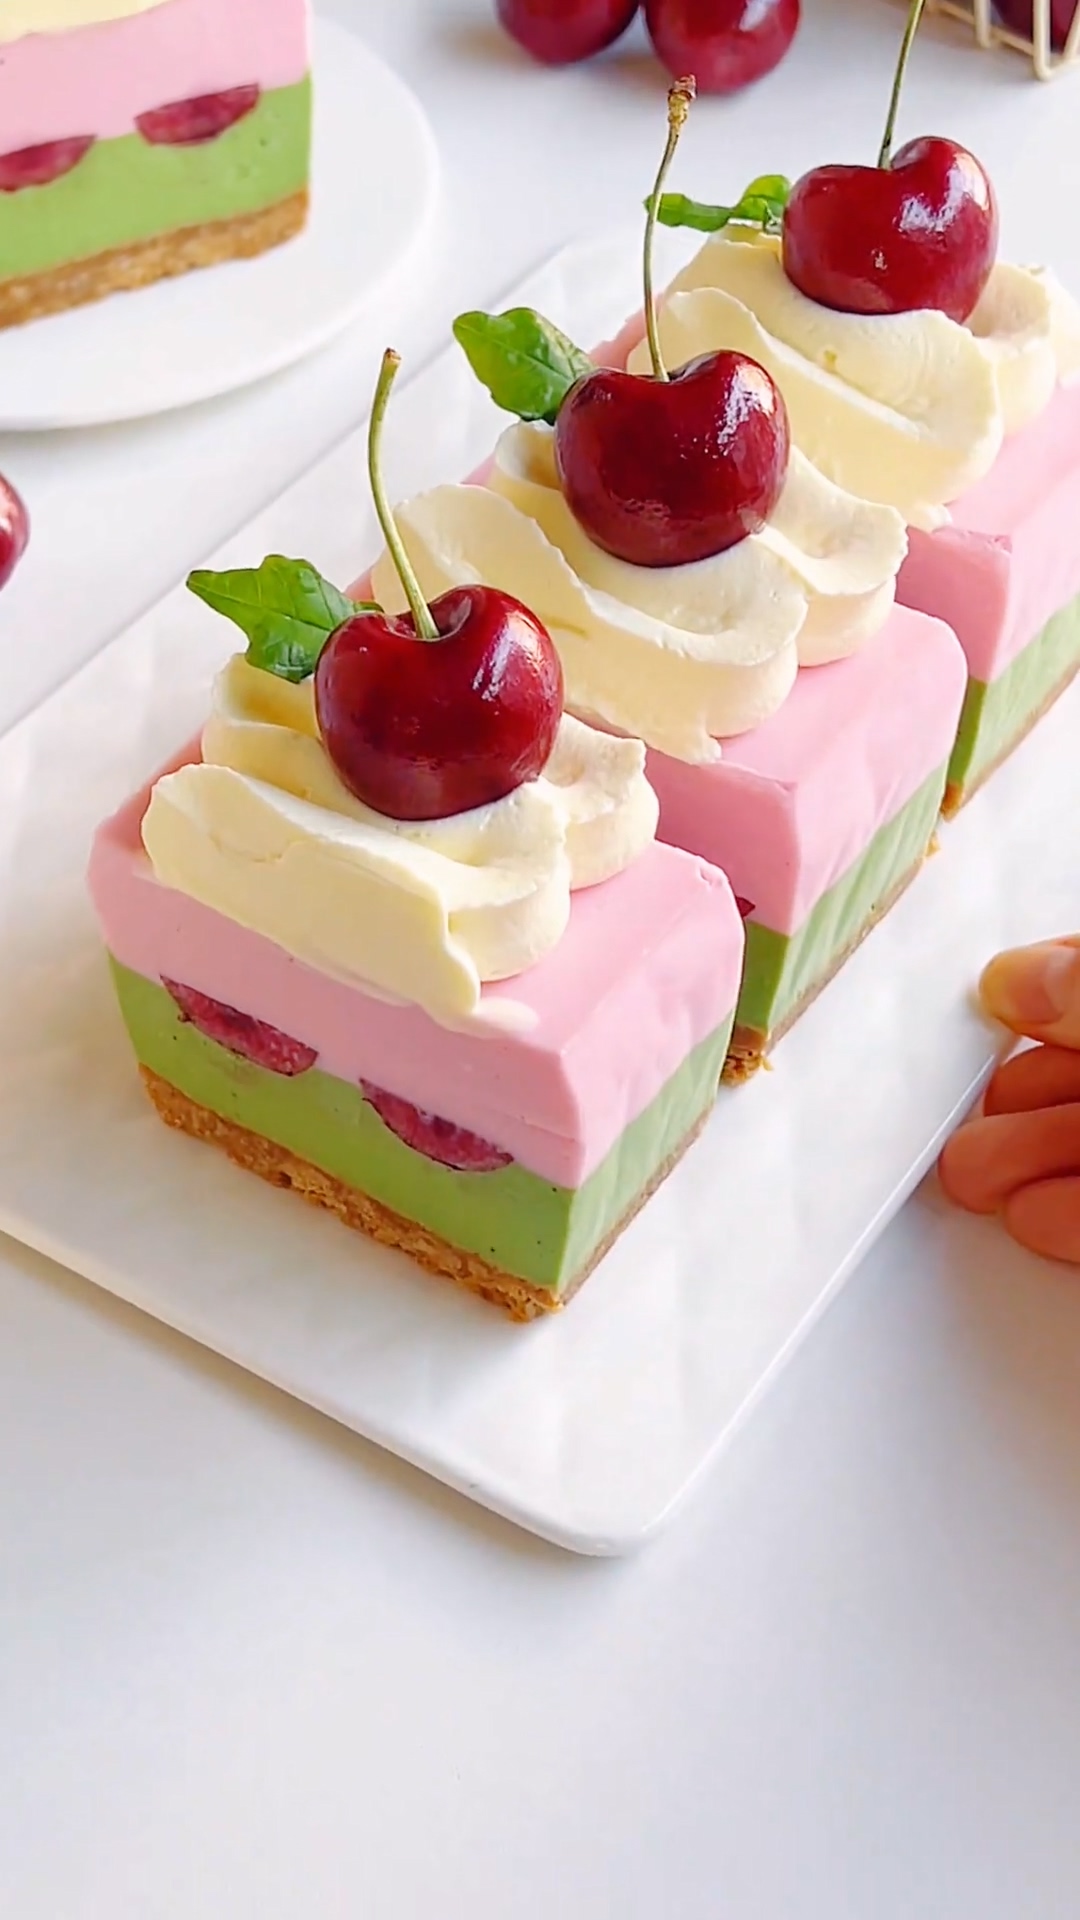
Why You’ll Love This Recipe
- No oven needed – Perfect for warm days when you don’t want to heat up your kitchen or if you don’t own an oven
- Stunning presentation – The dual layers of matcha green and soft pink from cactus fruit powder create a gorgeous marbled effect that looks incredibly impressive
- Perfect for beginners – Every step is straightforward with no complicated techniques; if you can stir, you can make this
- Make-ahead friendly – This dessert actually needs time to set in the fridge, which means you can prepare it a day before your event and simply decorate before serving
- Fresh and not too heavy – The combination of cream cheese, yogurt, and fresh cherries creates a mousse that’s rich and creamy but still feels light and refreshing
- Customizable – The cactus fruit powder adds a beautiful natural pink color, but you can experiment with other natural food colorings or simply leave it plain
Ingredients and Substitutions
- Cookie crumbs – The base of our crust uses simple cookie crumbs. I recommend using digestive biscuits, graham crackers, or any plain sweet cookie you enjoy.
- Unsalted butter – We use unsalted butter to control the salt level in our dessert.
- Cream cheese – This is the heart of our mousse, providing that classic cheesecake tang and creamy texture. Make sure it’s fully softened to room temperature before starting.
- Granulated sugar – Just enough to sweeten the cream cheese without overpowering the other flavors.
- Thick Greek yogurt – This adds a lovely tanginess and helps lighten the mousse while maintaining richness. I recommend using full-fat Greek yogurt for the creamiest result, but any thick yogurt will work. Avoid watery yogurts as they can affect the set.
- Whipping cream – Creates that light, airy mousse texture. You want whipping cream with about 30-36% fat content.
- Warm milk – Used to dissolve the gelatin and help it incorporate smoothly into the mixture. Any milk works here—dairy or plant-based, though keep in mind that plant-based milks may slightly alter the final texture.
- Gelatin sheets – These are what set our mousse into that perfect sliceable texture. I recommend using gelatin sheets (about 3 sheets for 15g) as they dissolve more evenly and create a smoother texture than powder. Always soak them in ice-cold water to prevent them from dissolving too early.
- Matcha powder – I always, always suggest using good quality matcha for this recipe. Since this dessert isn’t baked, what your matcha tastes like is exactly how it will taste in the finished product. Ceremonial grade gives you that vibrant green color and sweet, aromatic flavor without bitterness. Culinary grade can work but the color may be duller and the flavor less refined.
- Cactus fruit powder – This natural pink powder comes from prickly pear cactus and gives us that beautiful pink layer without artificial coloring. You can substitute with a few drops of natural pink food coloring or even beetroot powder, though the flavor will differ slightly.
- Fresh cherries – We use these both inside the mousse and for decoration. Sweet, ripe cherries work best. If cherries aren’t in season, you can use frozen (thawed and patted dry) or even high-quality jarred cherries, though fresh really shine here.
- Whipped cream for decoration – Optional but beautiful for that finished look. A simple dollop of lightly sweetened whipped cream adds elegance and a lovely contrast to the mousse.
How to Make Cherry Matcha Mousse Cake
Make the biscuit base
Melt the butter over a hot water bath or in the microwave and let it cool slightly.
Crush the biscuits into fine crumbs using a rolling pin.
Pour the melted butter over the crumbs and mix until evenly coated and the mixture holds together when pressed.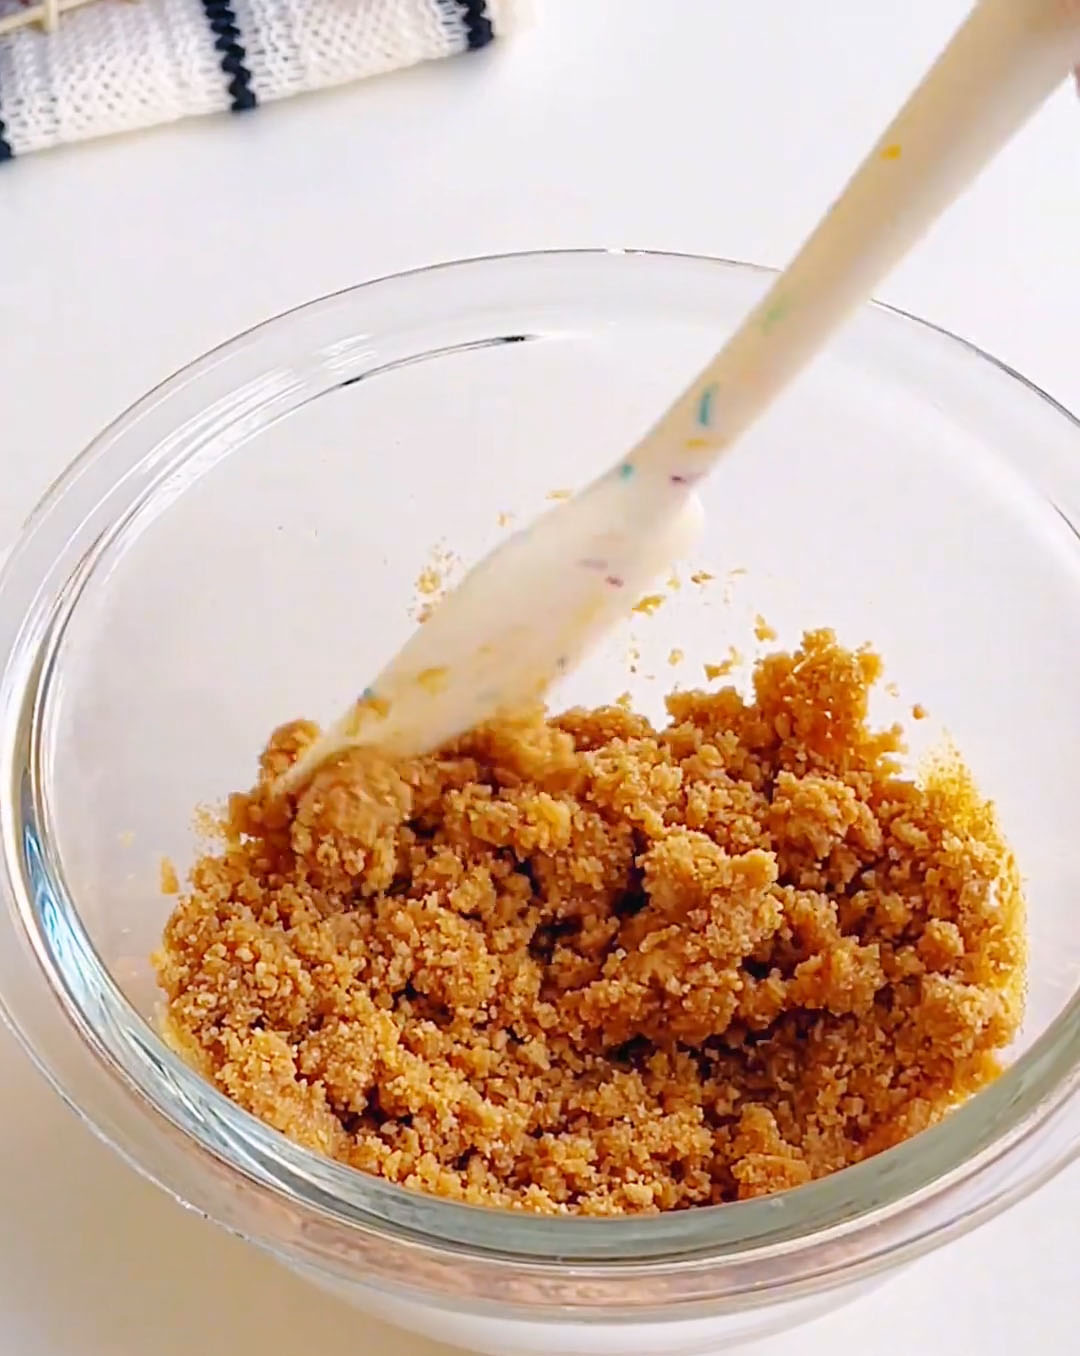
Press the mixture firmly into a parchment-lined mold, making sure the edges are compact and even. Chill in the refrigerator for 10 minutes until set.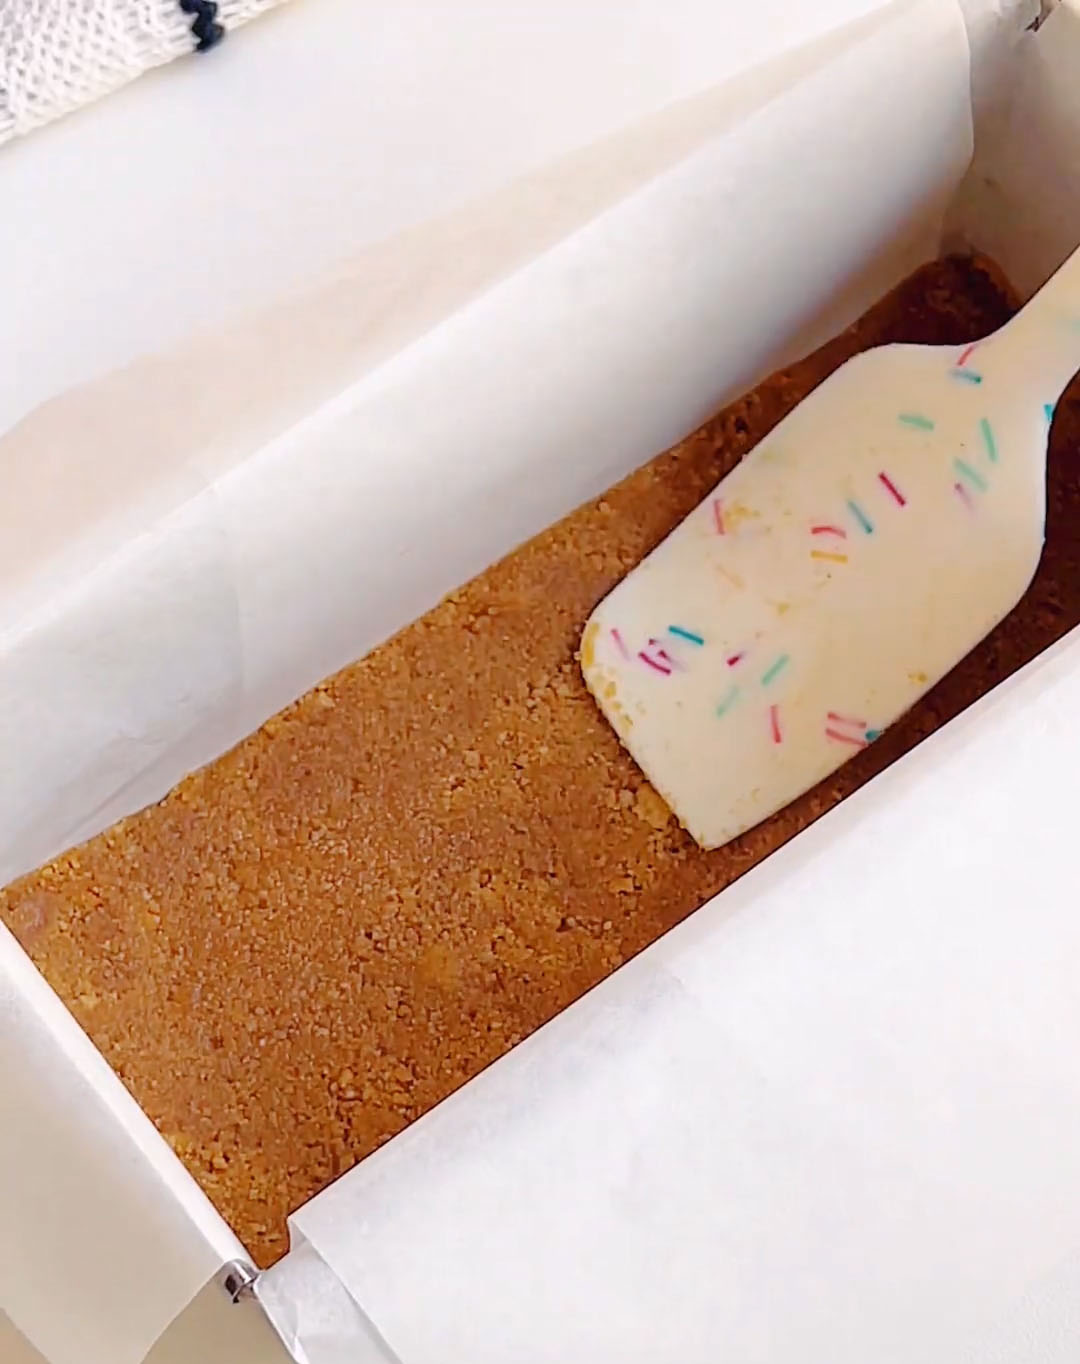
Prepare the gelatin
Soak the gelatin sheets in ice water for 5–10 minutes until fully softened. Remove and squeeze out excess water. Set aside.
Make the cheese yogurt base
Soften the cream cheese at room temperature until smooth and easily spreadable.
Add granulated sugar and mix until the cream cheese becomes smooth and lump-free.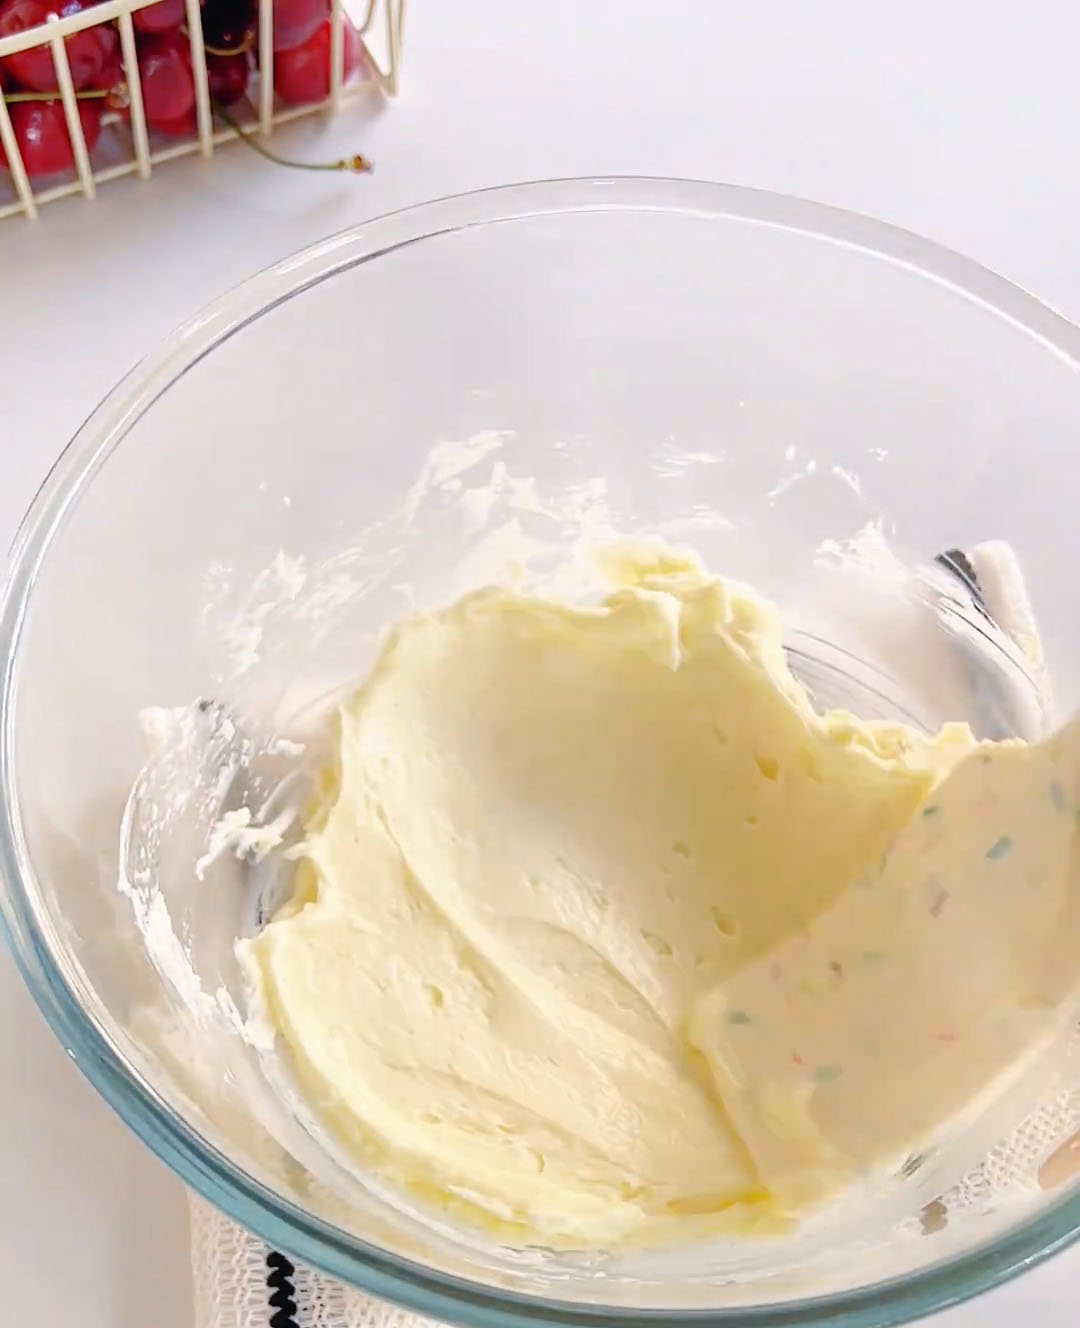
Add the yogurt and heavy cream, mixing until smooth and fully combined.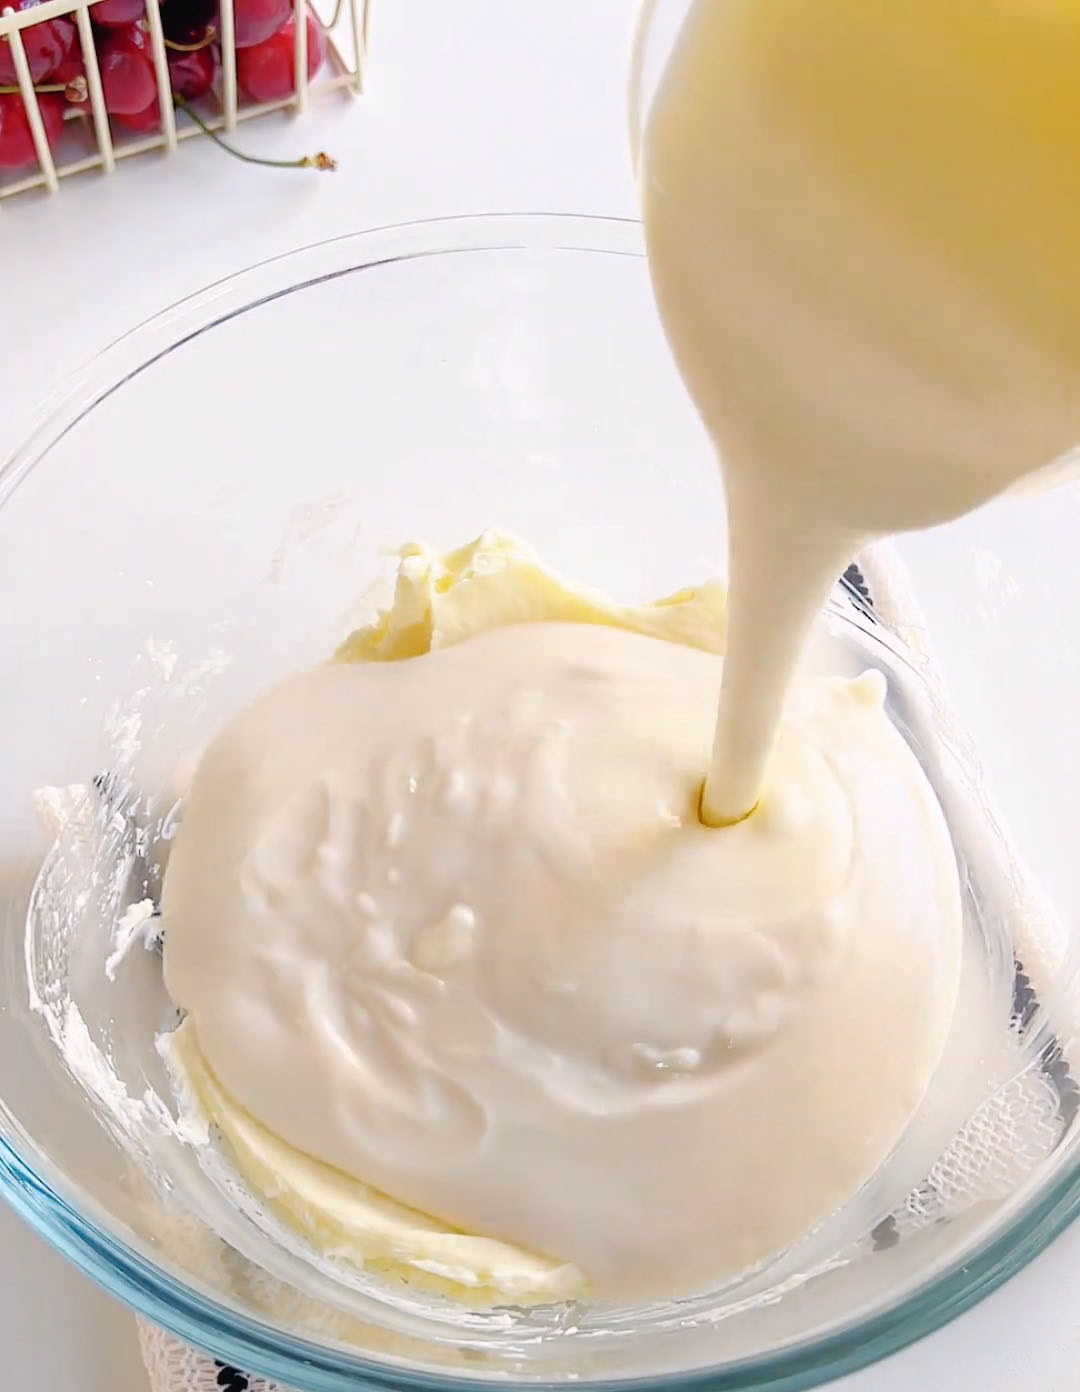
Dissolve the softened gelatin sheets in the hot milk, stirring until completely melted.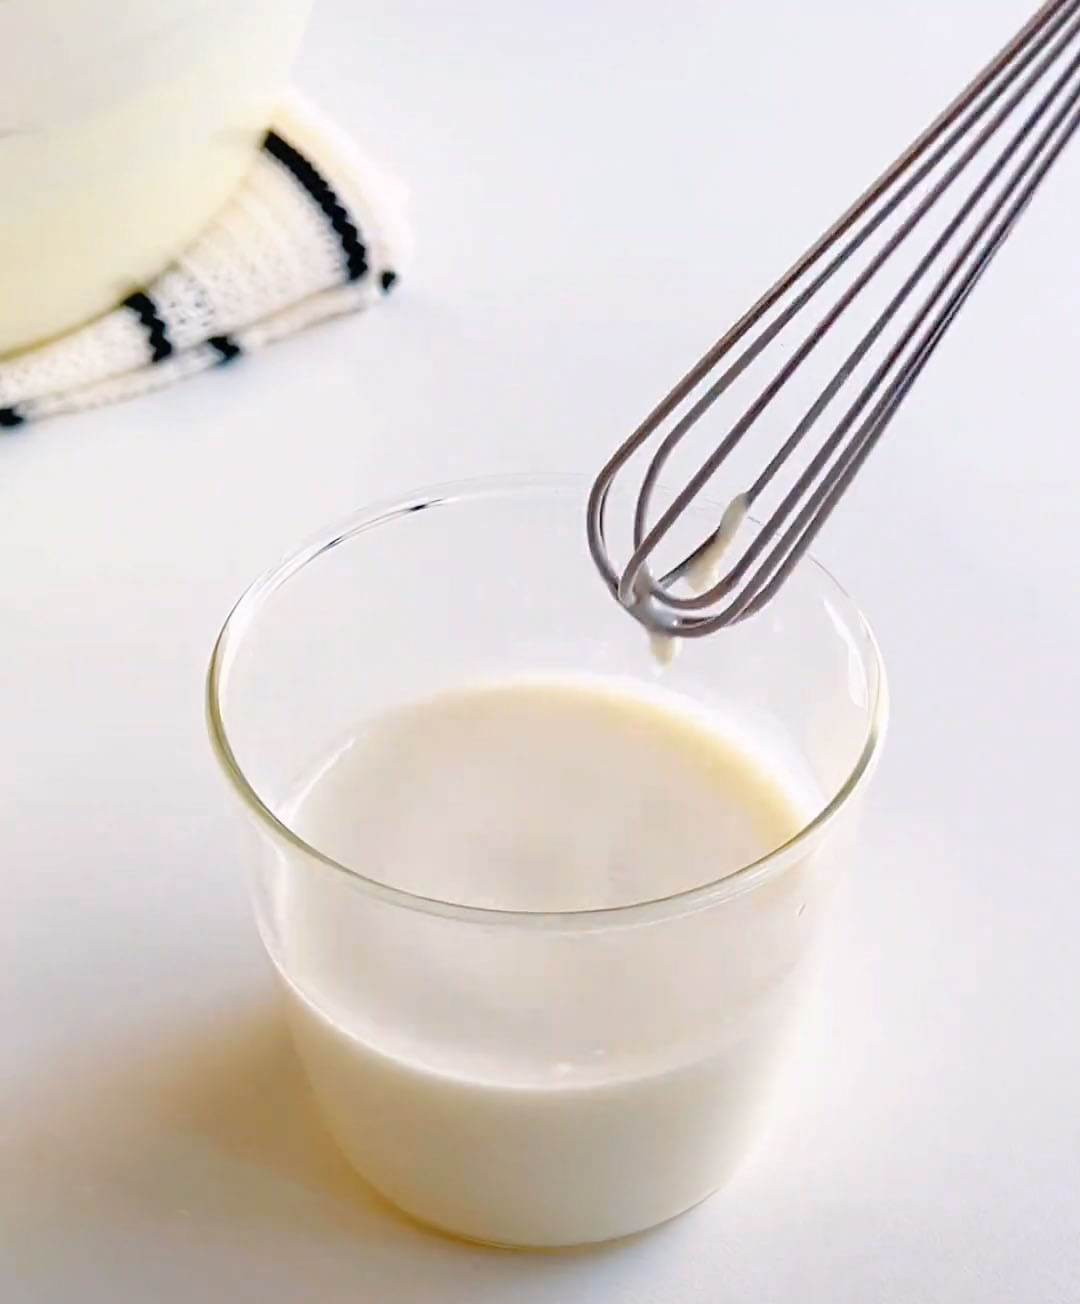
Slowly pour this mixture into the cheese mixture and stir until smooth and emulsified.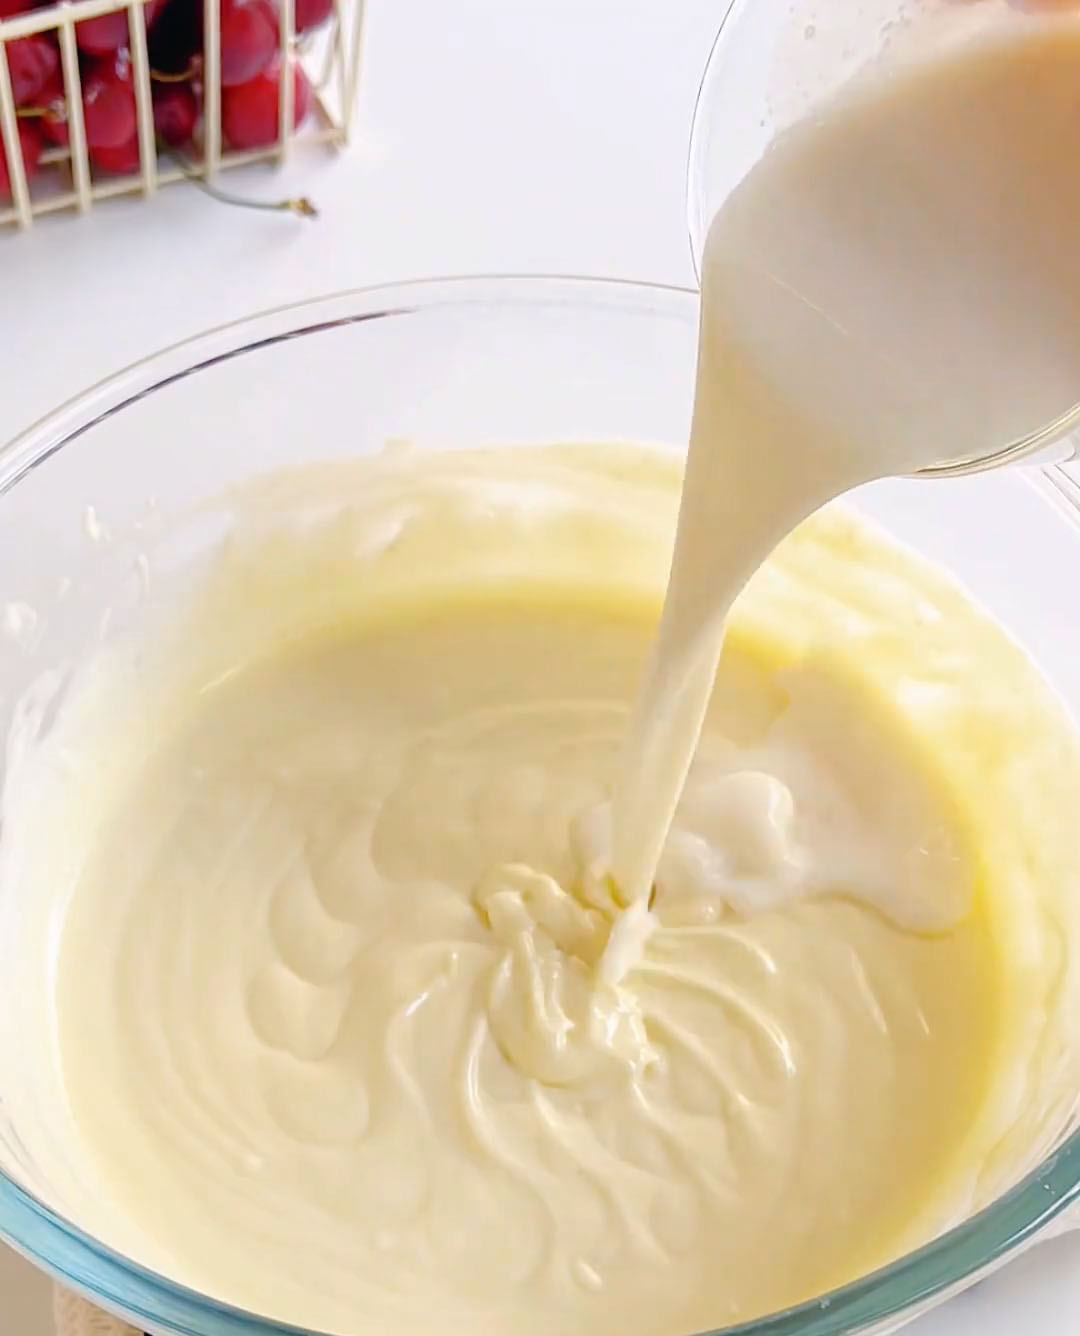
Divide the mixture evenly into two bowls.
Make the matcha layer
Sift the matcha powder into one portion of the mousse base and mix until smooth and evenly coloured.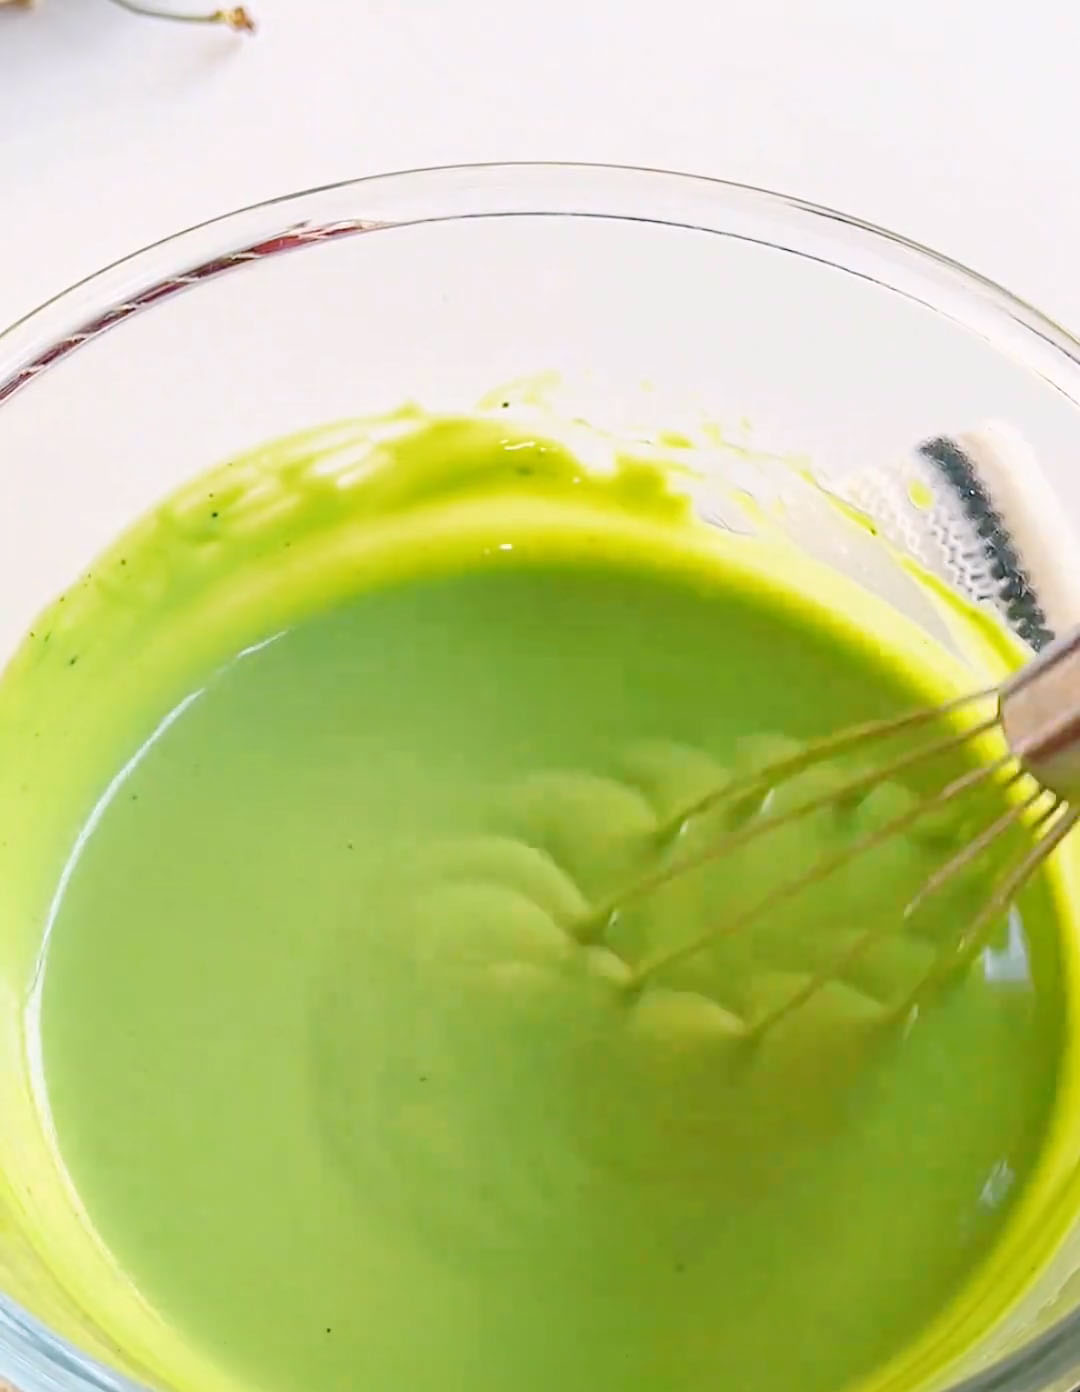
Pour the matcha mousse over the chilled biscuit base. Gently tap the mold to release air bubbles.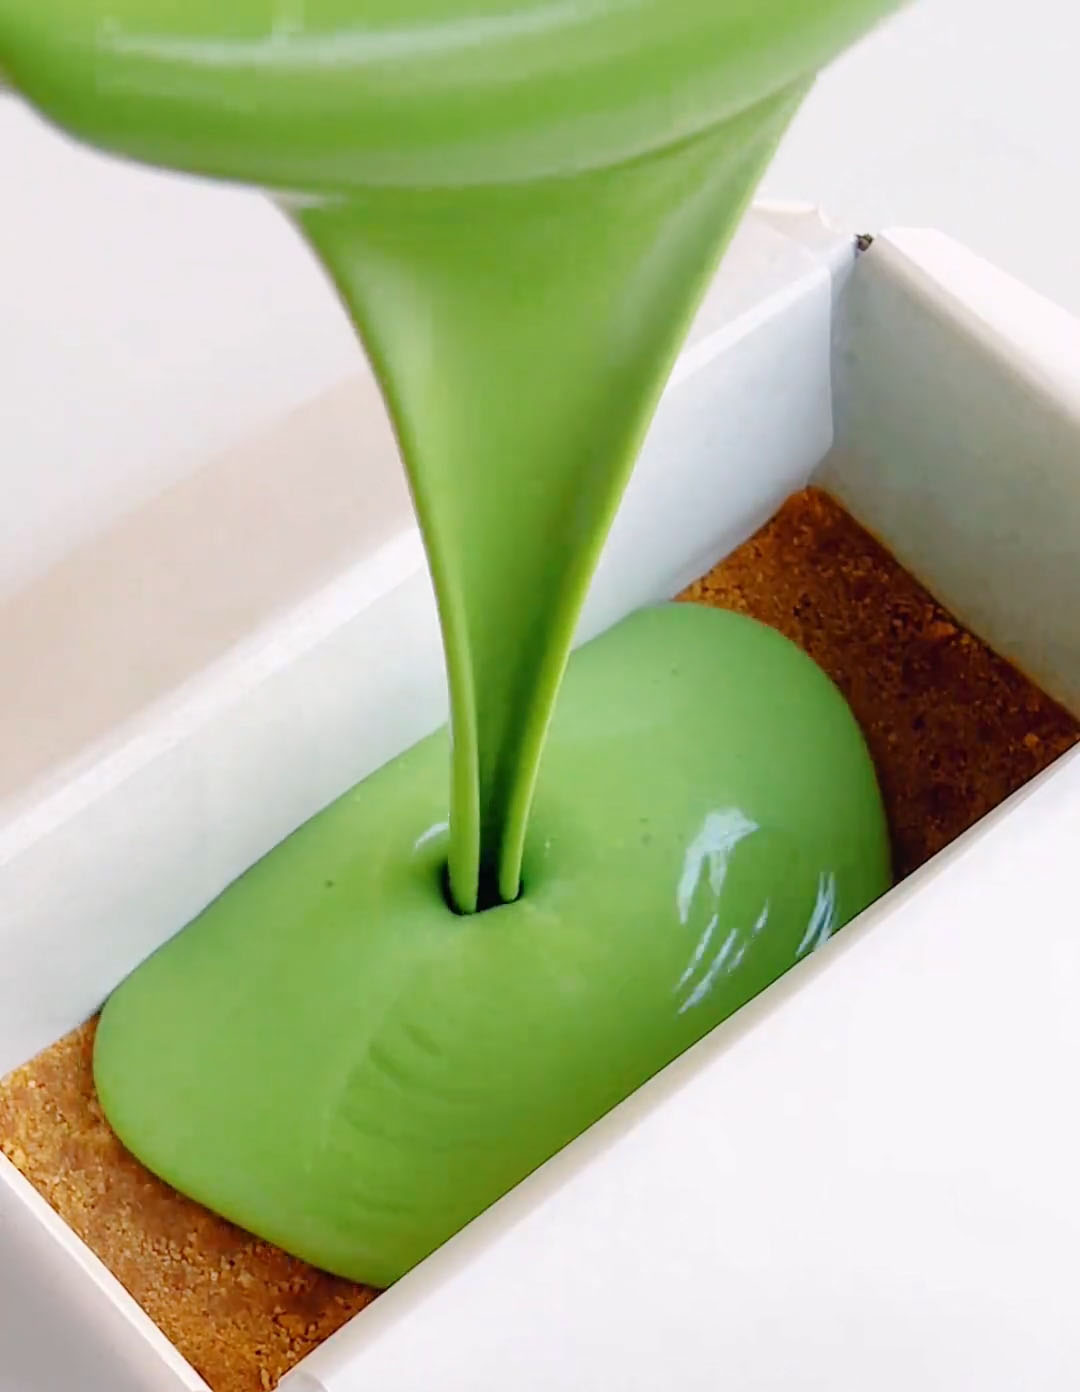
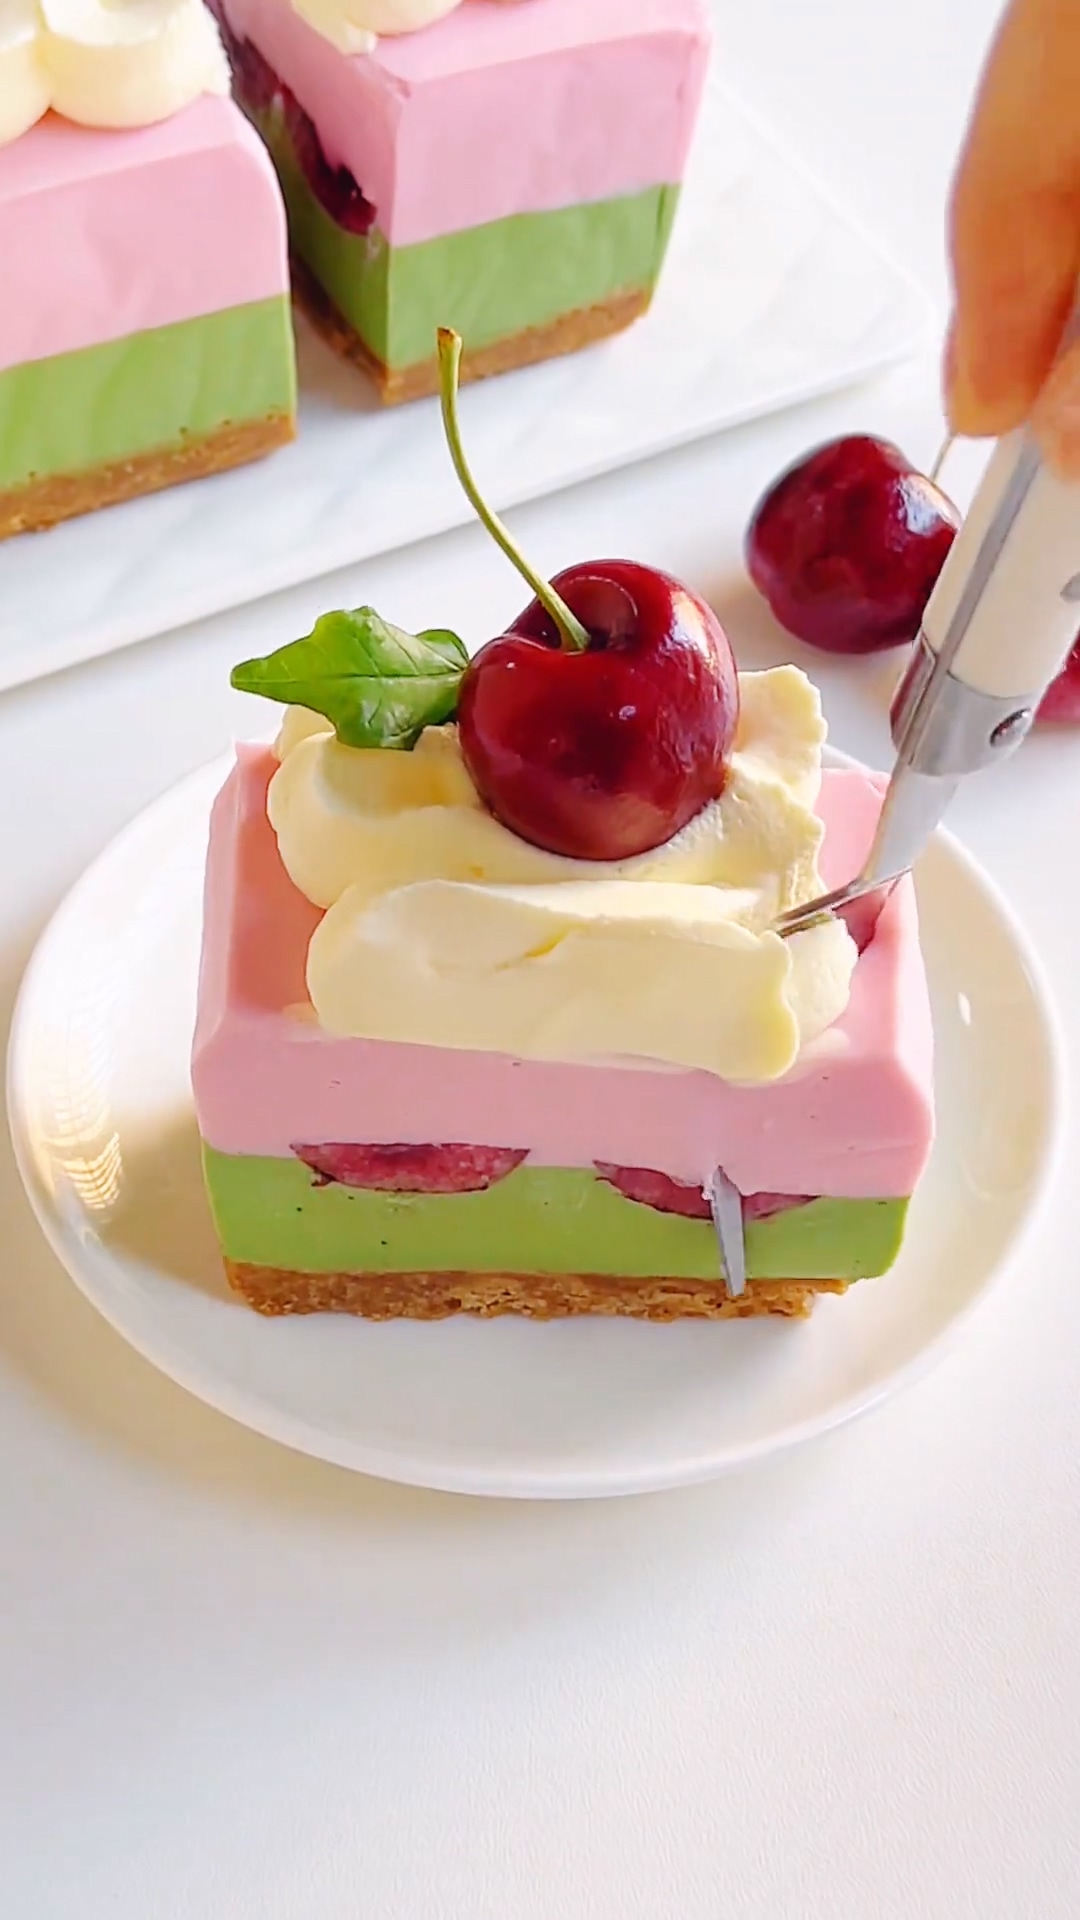
Slice the cherries in half and remove the pits, then arrange them evenly over the matcha mousse layer.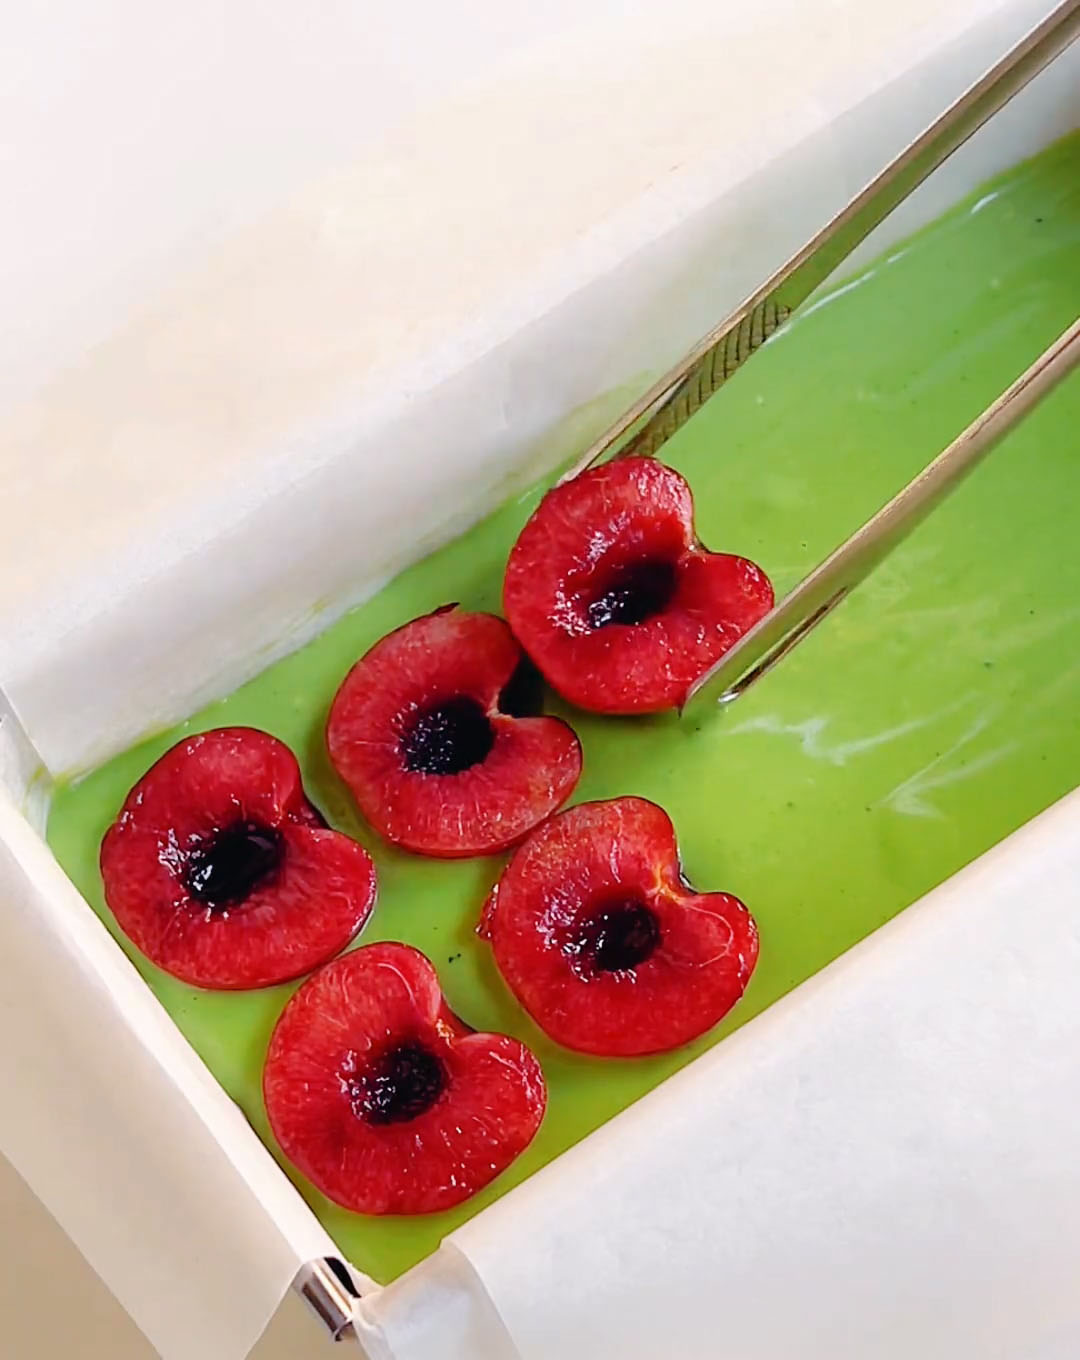
Freeze for 10 minutes to allow the layer to set quickly.
Make the cactus fruit layer
Add the cactus fruit powder to the remaining mousse mixture and stir until smooth and evenly coloured.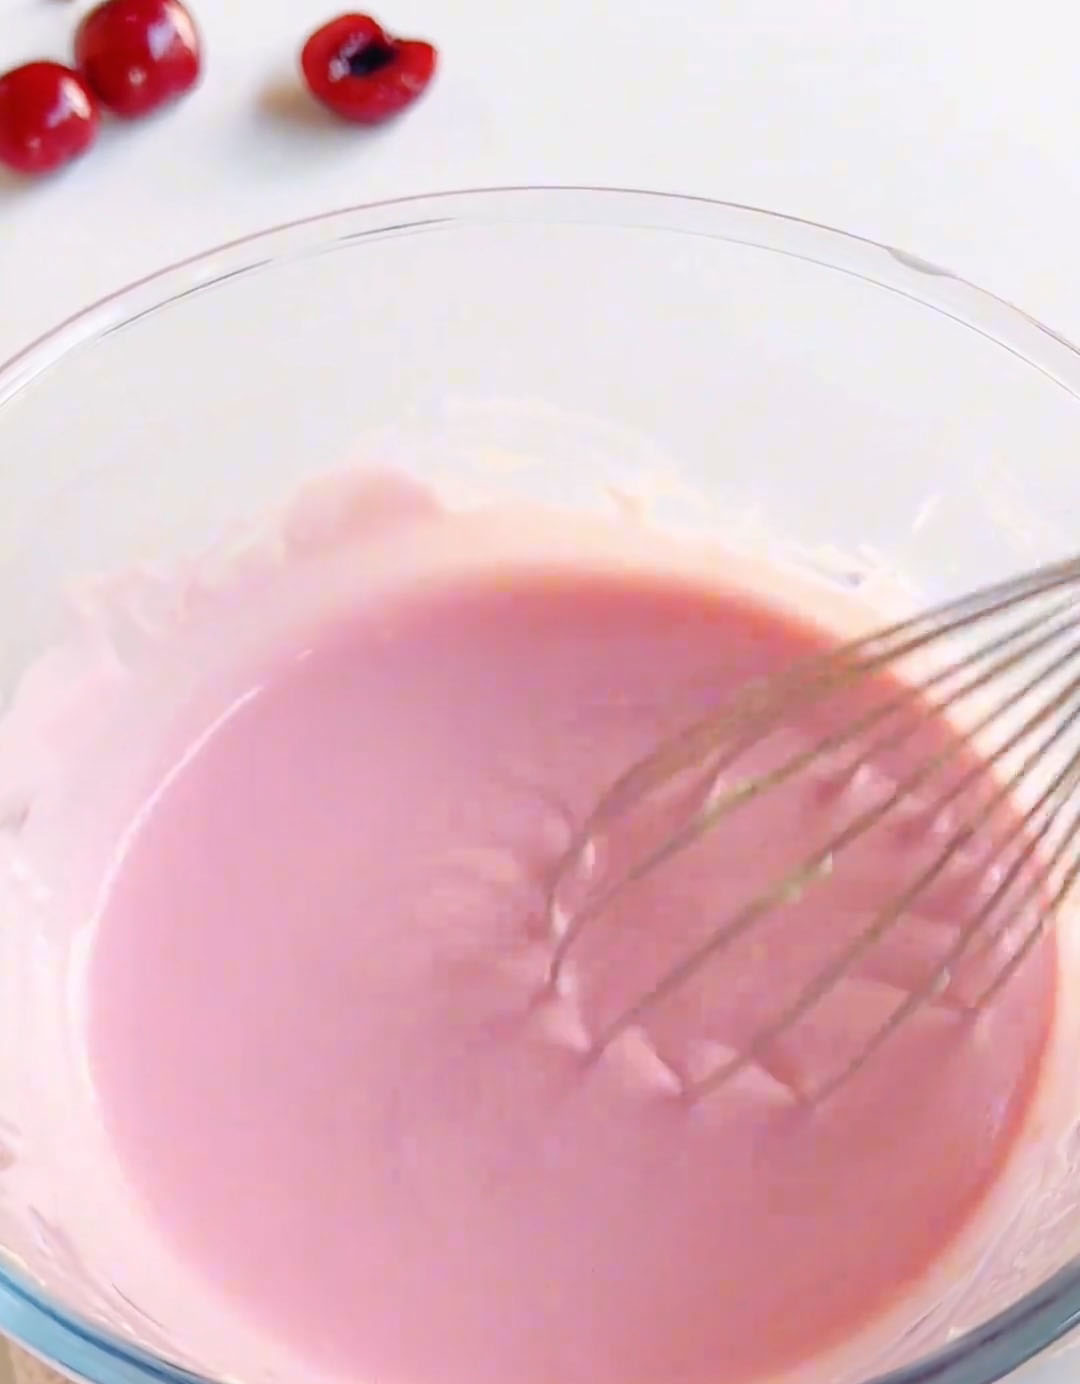
Remove the mold from the freezer and gently pour the second mousse layer over the matcha layer.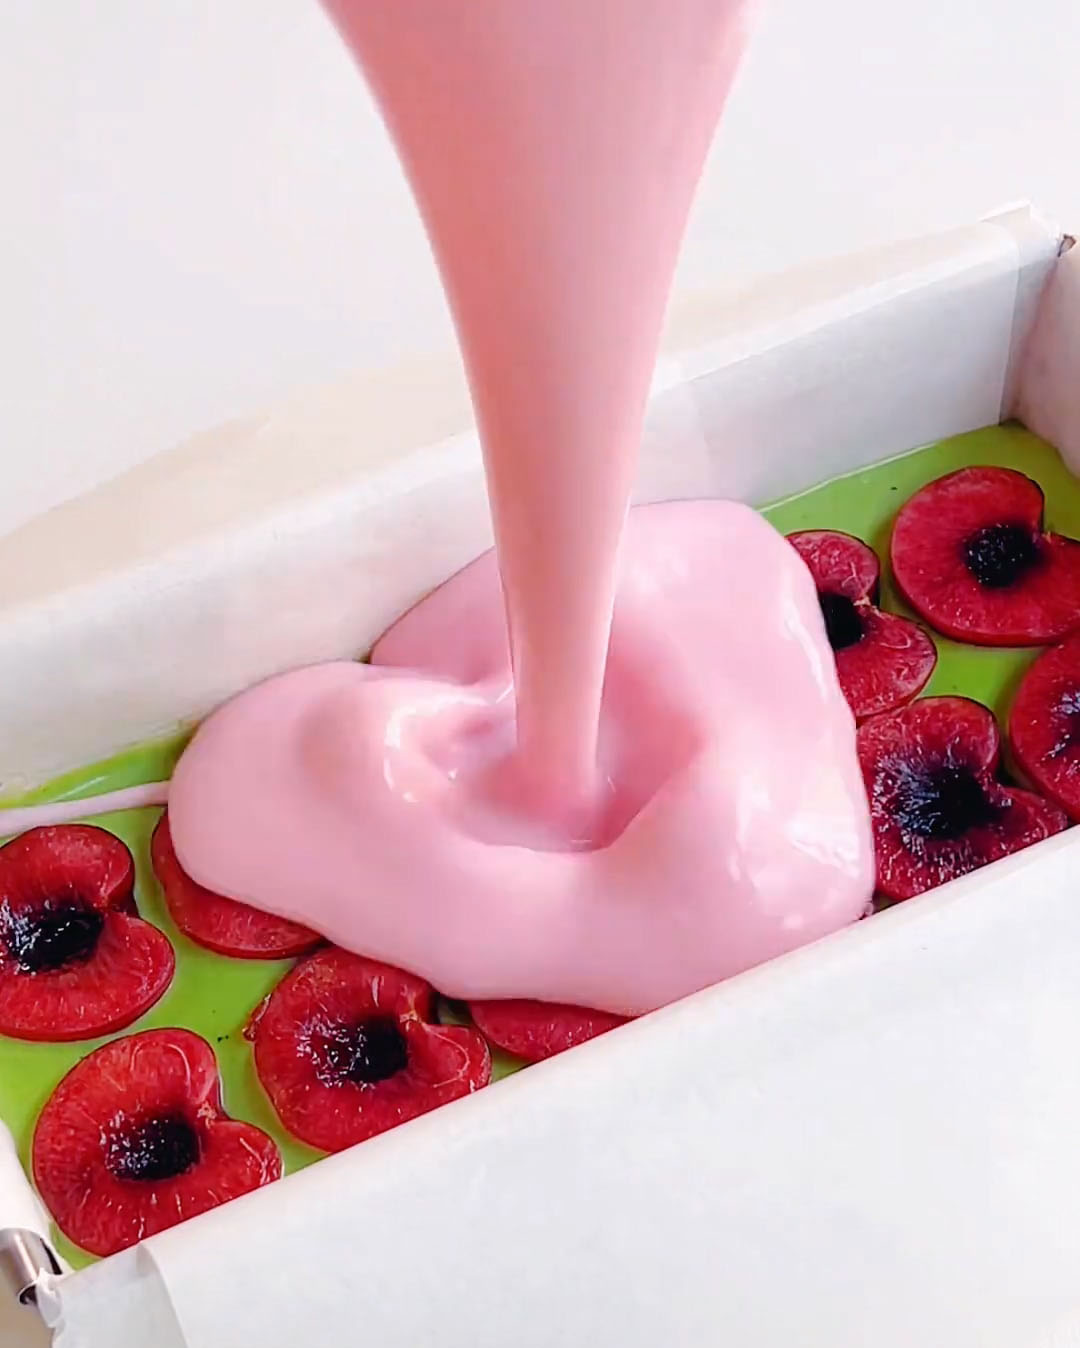
Tap the mold again lightly to remove air bubbles and smooth the surface.
Chill to set
Cover the mold with plastic wrap and refrigerate for at least 4 hours, preferably overnight, until fully set and firm.
Decorate and serve
Once set, carefully unmold the cake.
Pipe a little whipped cream on top if desired and decorate with fresh cherries. Slice and enjoy!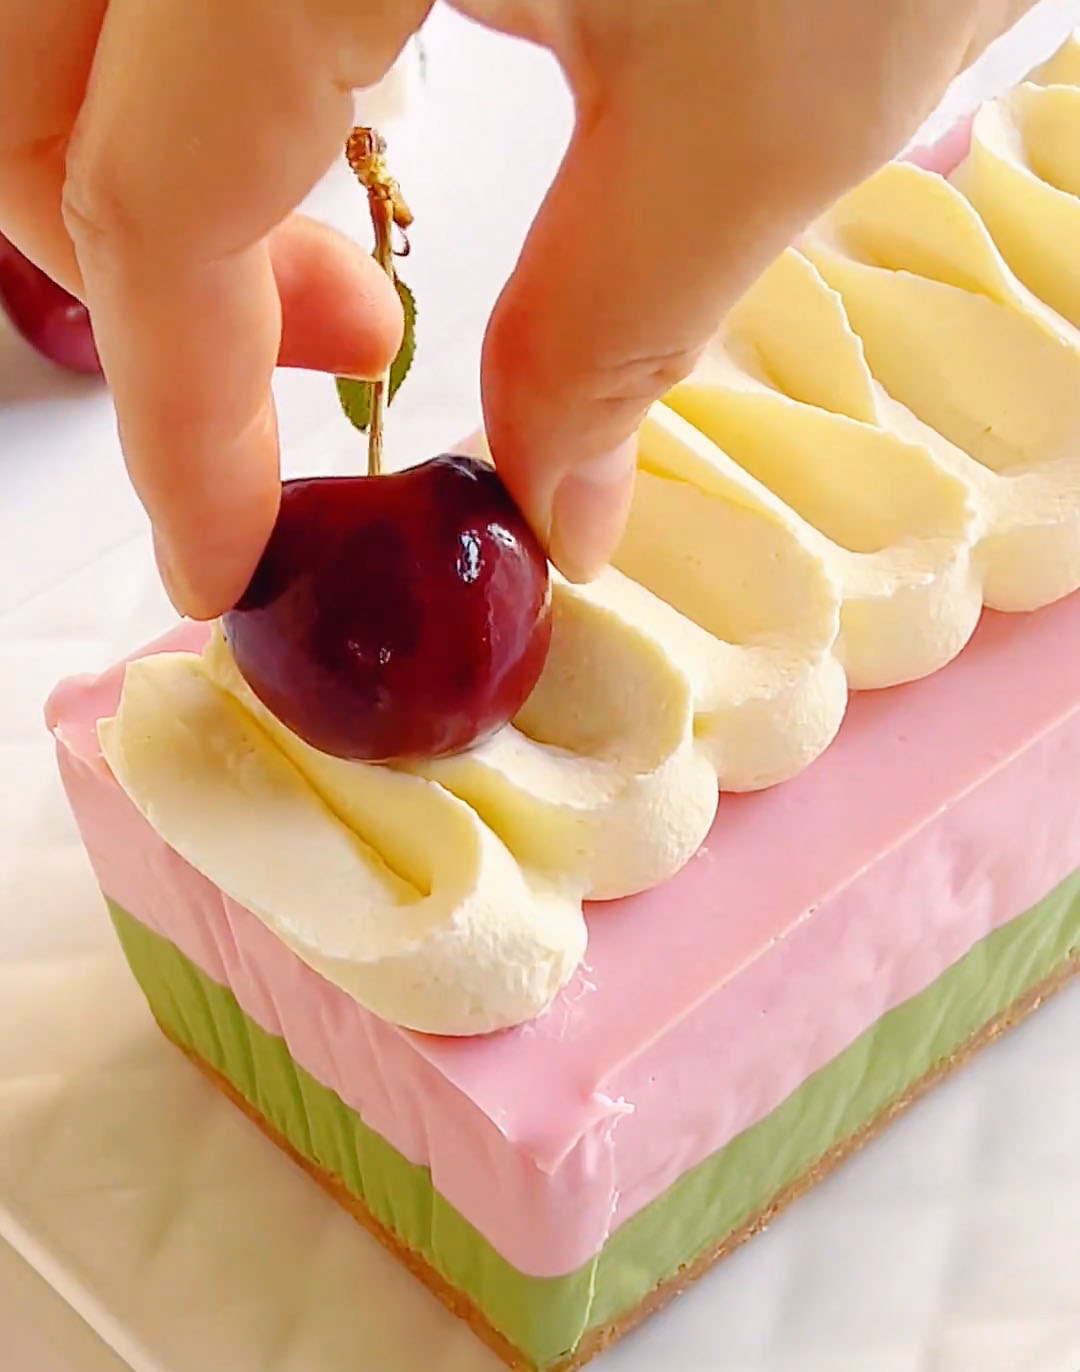
Storage
Store the mousse cake covered in the refrigerator for up to 3–4 days.
For best texture and flavour, serve chilled.
Storage
Your cherry matcha cheesecake mousse can be stored covered in the refrigerator for up to 3-4 days. It’s actually perfect for making ahead—prepare it a day before you need it, and simply add the fresh cherry decoration right before serving for the brightest presentation.
Freezing
This mousse freezes surprisingly well! Wrap the unmolded cake (without fresh cherry decoration) tightly in plastic wrap, then in foil, and freeze for up to 1 month. Thaw overnight in the refrigerator before decorating and serving. The texture will be slightly different but still delicious.
Tips and Tricks for Perfect Mousse
- Use room temperature cream cheese. This cannot be overstated—cold cream cheese will give you lumpy mousse no matter how hard you mix. Leave it out on the counter for at least 1-2 hours before starting. It should be soft enough that your finger leaves an indentation when pressed.
- Soak gelatin in ice-cold water. Regular cold water might seem fine, but ice water ensures the gelatin softens without any risk of dissolving. Squeeze out the excess water well before adding to warm milk—too much water can affect the set.
- Press your crust firmly. A loose crust will crumble when you try to slice and serve. Take your time pressing it down, especially around the edges. The bottom of a measuring cup works wonderfully for this.
- Tap out those air bubbles. After pouring each layer, give your pan a few gentle taps on the counter. This brings hidden air bubbles to the surface where they can pop, giving you a smooth, professional-looking finish.
- Be patient with chilling. The freezer step for the first layer is important—it creates a clean separation between your two colors. But the final overnight chill is what transforms this from a soft mixture into a sliceable mousse with perfect texture.
- Clean cuts for serving. Use a sharp knife and wipe it clean between each slice. This gives you those beautiful, Instagram-worthy pieces where each layer is distinct and gorgeous.
Frequently Asked Questions
Why did my mousse not set properly?
The most common reason is insufficient gelatin or gelatin that wasn’t properly activated. Make sure your gelatin sheets are fully softened in ice water, then completely dissolved in warm milk. Also, ensure your mousse chills for the full recommended time—at least 4 hours, preferably overnight.
Can I use gelatin powder instead of sheets?
Absolutely! Use 15g of gelatin powder. Sprinkle it over cold water (about 4-5 tablespoons) and let it bloom for 5-10 minutes. Then gently warm the mixture until the gelatin dissolves completely before adding to your warm milk and proceeding with the recipe.
My matcha layer has lumps—what happened?
This usually means the matcha wasn’t sifted properly or wasn’t mixed thoroughly. Matcha clumps easily. Always sift it into your mixture and take your time folding it in. If you see lumps, keep mixing—they will eventually break down with patience.
Can I use frozen cherries?
Yes, you can! Just make sure they’re fully thawed and patted very dry before using. Excess moisture from frozen fruit can affect how the mousse sets and may create icy spots.
What if I can’t find cactus fruit powder?
No problem at all! You can skip it and have a beautiful single-color matcha mousse with cherry topping. Or you can use a tiny drop of natural pink food coloring. A little goes a long way—you only want a soft pink color.
Can I make this in individual serving glasses instead of one big cake?
Absolutely! This recipe works beautifully in small glasses or jars. Simply layer the crust, then matcha mousse, then cherries, then pink mousse in each glass. They’ll set faster (about 2-3 hours) and make for adorable individual servings.
Is it possible to make this dairy-free?
You can experiment with dairy-free alternatives, but the texture will change. Use dairy-free cream cheese, coconut cream instead of whipping cream, and plant-based yogurt. The gelatin will still work, but the final texture may be less firm. Choose a rich coconut cream for best results.
How do I know when the mousse is fully set?
Gently jiggle the pan—the center should be firm with just a slight wobble, not liquid. If it’s still liquidy, it needs more time. When in doubt, give it the full overnight chill for guaranteed results.
Cherry Matcha Mousse Cake (No-Bake & Creamy Cheesecake Dessert)
Ingredients
For the Crust
- 90 g cookie crumbs
- 35 g unsalted butter melted
- For the Mousse Base
- 200 g cream cheese softened to room temperature
- 40 g granulated sugar
- 200 g thick Greek yogurt
- 180 g whipping cream
- 100 g warm milk
- 15 g gelatin sheets about 3 sheets
For the Matcha Layer
- 4 g matcha powder sifted
- Fresh cherries halved and pitted
For the Pink Layer
- 1 g cactus fruit powder
- Fresh cherries for decoration
- Whipped cream optional for decoration
Instructions
Make the biscuit base
- Melt the butter over a hot water bath or in the microwave and let it cool slightly.
- Crush the biscuits into fine crumbs using a rolling pin.
- Pour the melted butter over the crumbs and mix until evenly coated and the mixture holds together when pressed.
- Press the mixture firmly into a parchment-lined mold, making sure the edges are compact and even. Chill in the refrigerator for 10 minutes until set.
Prepare the gelatin
- Soak the gelatin sheets in ice water for 5–10 minutes until fully softened. Remove and squeeze out excess water. Set aside.
Make the cheese yogurt base
- Soften the cream cheese at room temperature until smooth and easily spreadable.
- Add granulated sugar and mix until the cream cheese becomes smooth and lump-free.
- Add the yogurt and heavy cream, mixing until smooth and fully combined.
- Dissolve the softened gelatin sheets in the hot milk, stirring until completely melted.
- Slowly pour this mixture into the cheese mixture and stir until smooth and emulsified.
- Divide the mixture evenly into two bowls.
Make the matcha layer
- Sift the matcha powder into one portion of the mousse base and mix until smooth and evenly coloured.
- Pour the matcha mousse over the chilled biscuit base. Gently tap the mold to release air bubbles.
- Slice the cherries in half and remove the pits, then arrange them evenly over the matcha mousse layer.
- Freeze for 10 minutes to allow the layer to set quickly.
Make the cactus fruit layer
- Add the cactus fruit powder to the remaining mousse mixture and stir until smooth and evenly coloured.
- Remove the mold from the freezer and gently pour the second mousse layer over the matcha layer.
- Tap the mold again lightly to remove air bubbles and smooth the surface.
Chill to set
- Cover the mold with plastic wrap and refrigerate for at least 4 hours, preferably overnight, until fully set and firm.
Decorate and serve
- Once set, carefully unmold the cake.
- Pipe a little whipped cream on top if desired and decorate with fresh cherries. Slice and enjoy!
Leave a Reply