
Mochi has always been one of the desserts my family and I adore the most. If you’ve been following me for a while, you already know this obsession runs deep—there are so many mochi recipes on my blog that it’s practically its own category at this point. I just can’t help it! Mochi is soft, chewy, comforting, and incredibly fun to customize.
Some of my all-time favorites include:
- Osmanthus Mochi
- Matcha Mochi Bites
- Brown Sugar Pearl Mochi
- Sweet Potato Mochi with Cheese
- Watermelon Mochi Bites
- Passionfruit Mochi
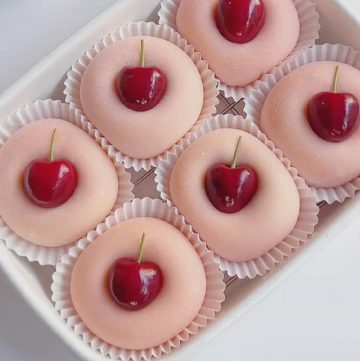
Today, I’m adding a brand-new one to the collection: Cherry Mochi. Juicy, sweet cherries wrapped inside a tender, chewy mochi skin—simple, beautiful, and absolutely delicious.
And like I’ve said many, many times: once you master the mochi dough, the world of fillings becomes endless. Fruits, pastes, custards, cheese—you can mix and match however you like.

Believe me, I’ve made and tested this recipe so many times that it has become completely foolproof. Just follow my steps, and you’ll be amazed at how easy it is to create perfect mochi at home.
Ingredients and substitutions
- Cherries – Using fresh, ripe cherries provides the best flavor for the lava filling. Look for cherries that are plump and deep in color. Frozen and thawed cherries can work in a pinch, but they may release more water.
- Fine Granulated Sugar – This sweetens both the cherry filling and the mochi skin. The amount can be adjusted based on the natural sweetness of your cherries and your personal preference.
- Lemon Juice – A touch of acid is crucial in the cherry filling. It brightens the flavor, balances the sweetness, and helps prevent the cherries from oxidizing and losing their vibrant color.
- Glutinous Rice Flour – This is the essential ingredient for the characteristic chewy texture of mochi. I recommend using water-milled flour for the finest, smoothest texture, though standard glutinous rice flour will also work.
- Cooked glutinous rice flour (roasted flour) – Used for dusting to prevent sticking when shaping and assembling the mochi. Tips: Add raw glutinous rice flour to a dry nonstick pan. Toast over low heat, stirring constantly for 3–5 minutes until it turns light ivory and smells slightly nutty.
Let it cool completely before using or storing in an airtight container. - Cornstarch – This is added to the mochi dough to reduce its inherent stickiness and add a little structural integrity, making the mochi easier to handle and shape.
- Strawberry Powder – This is used primarily for natural color and a subtle fruity flavor. If you don’t have it, you can omit it or use a tiny amount of beet powder or red yeast rice powder for a pink hue.
- Whole Milk – Milk creates a richer and softer mochi skin compared to water. For a dairy-free version, you can substitute with a plant-based milk like almond or oat milk.
- Butter – Kneading softened butter into the hot mochi dough is a crucial step. It makes the dough incredibly smooth, pliable, and glossy, while also adding a lovely rich flavor.
- Cream Cheese – This forms the base of the creamy interior. Ensure it is fully softened at room temperature to avoid lumps in your filling. Mascarpone can be used for a slightly less tangy, richer flavor.
- Whipping Cream – Whipping cream is folded into the cream cheese to lighten the filling, making it airy and pipeable. Be sure it has a fat content of at least 30% for best results.

How to make Cherry Lava Mochi
1. Make the Cherry Lava Filling
Wash cherries, remove stems, cut in half, and remove the pits.
Add the cherries and sugar to a small pot. Heat over medium-low heat while stirring.
Cook for about 5 minutes until the cherries soften and release plenty of juice.
Add the lemon juice and continue cooking for about 3 minutes until the mixture thickens and becomes glossy.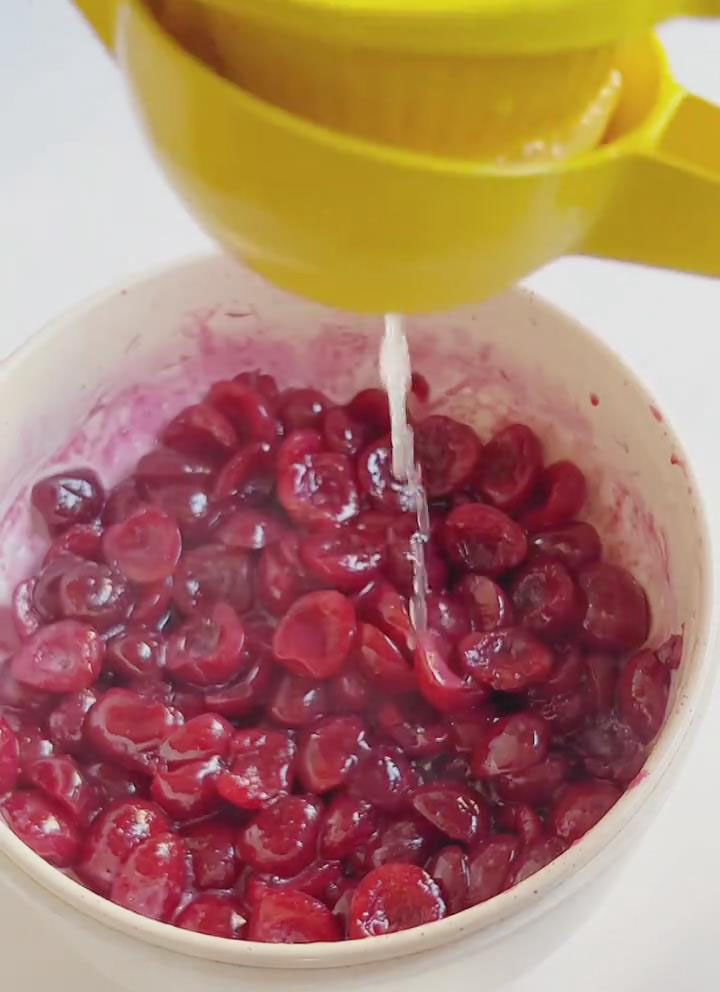

Remove from the heat and let cool completely — the filling thickens more as it cools, giving a perfect “lava” texture.
2. Make the Mochi Skin
In a large bowl, combine glutinous rice flour, cornstarch, strawberry powder, and sugar.
Slowly pour in the milk while stirring until a smooth batter forms with no lumps.
Strain the batter to remove any remaining clumps.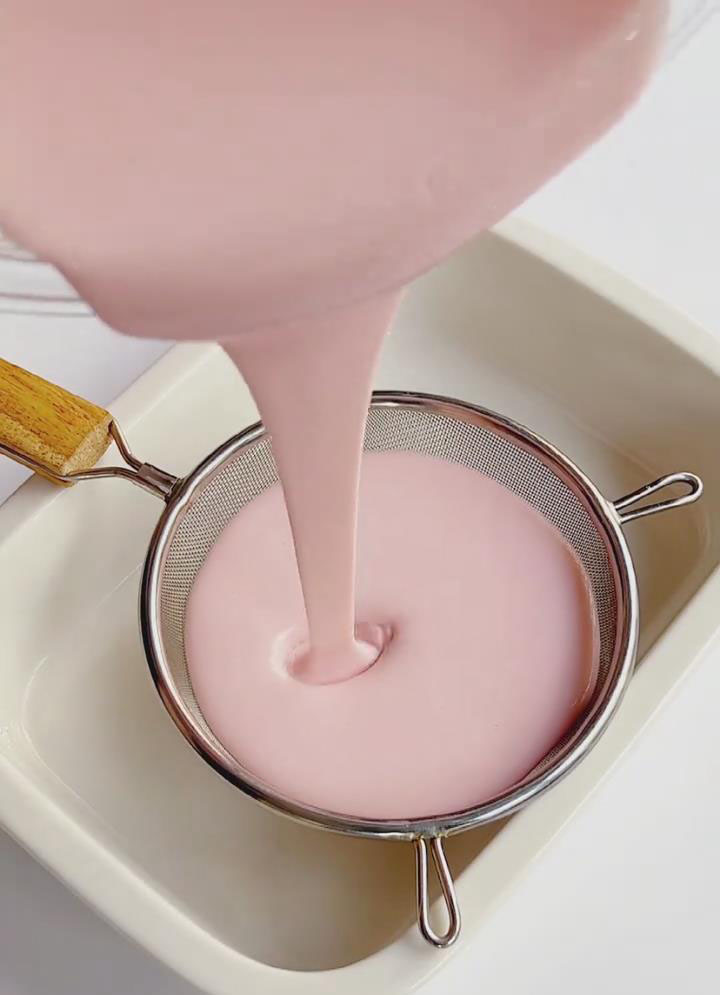
Cover the bowl with plastic wrap and poke a few holes to prevent condensation.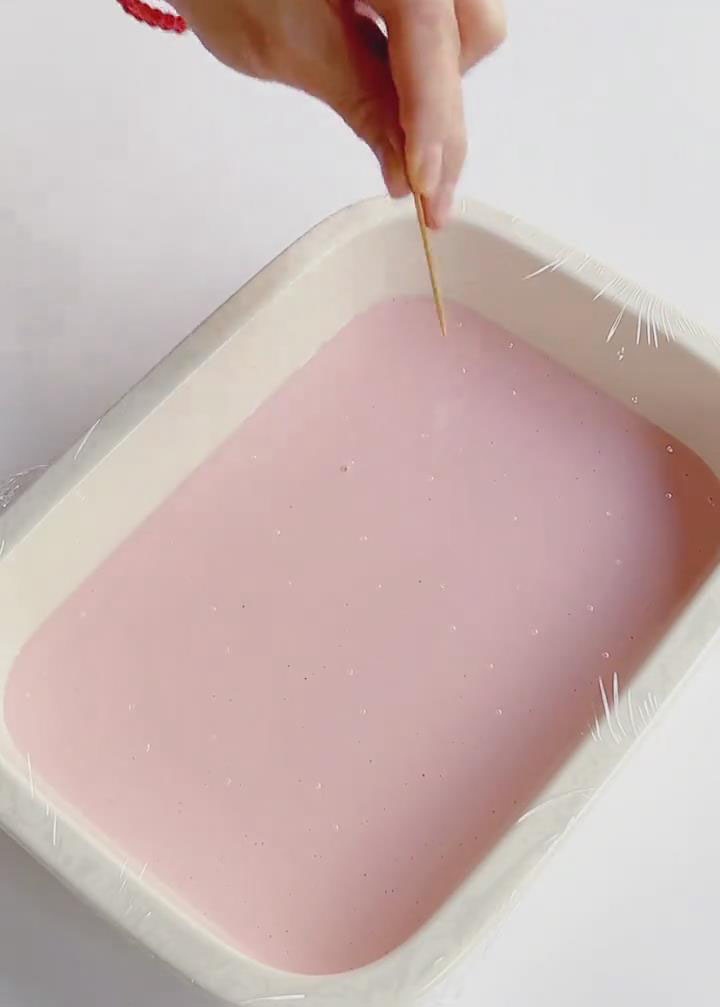
Steam on high heat for 30 minutes until fully set and no wet batter remains.
While still hot, add softened butter and mix until completely incorporated.
Once warm, knead the dough by stretching and folding until smooth, elastic, and no longer sticky.
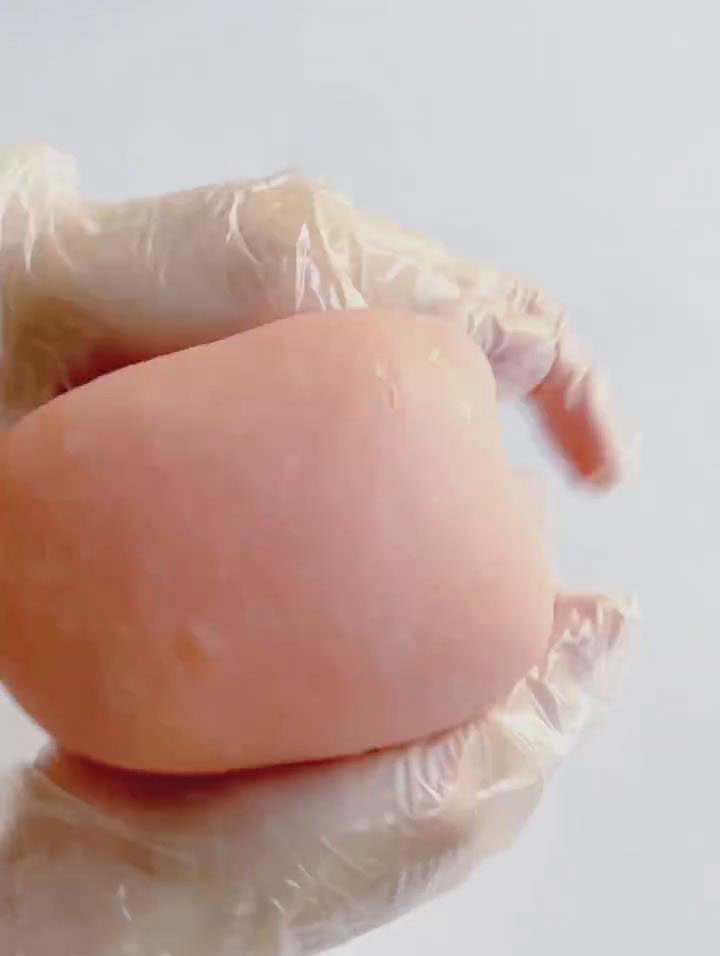
Dust a surface with cooked glutinous rice flour and divide the dough into 9 equal pieces.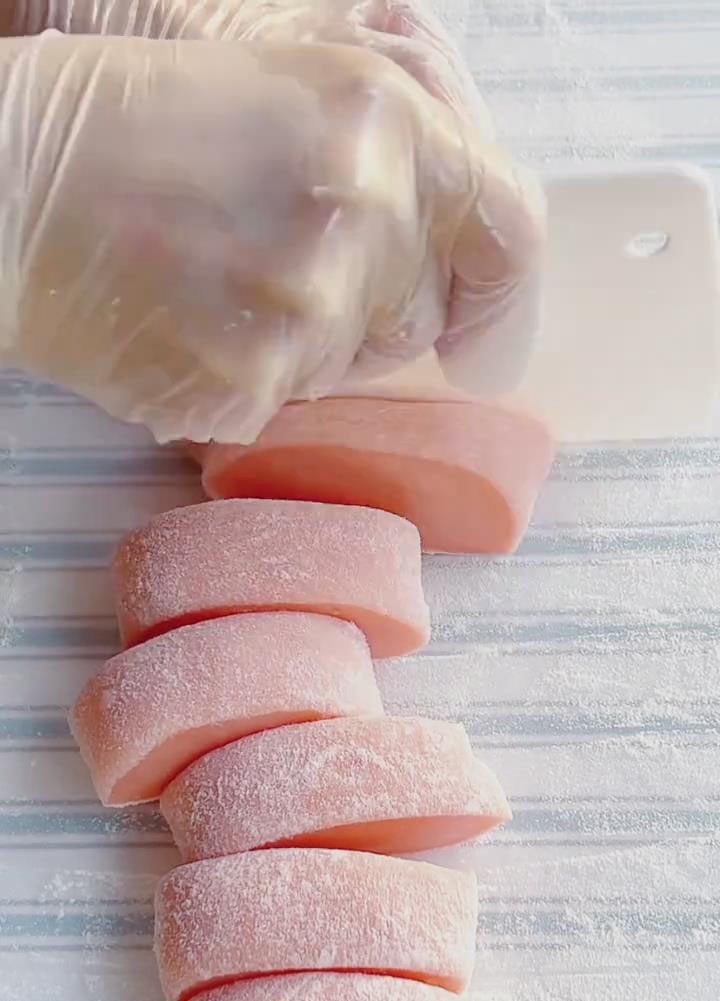
Flatten each piece with your hands, then use a rolling pin to roll it out into a circle about 10cm (4 inches) in diameter, keeping the edges slightly thinner than the center.
3. Make the Cream Filling
Beat softened cream cheese with a hand mixer until smooth.
Add whipping cream and sugar.
Beat on medium speed until thick, smooth, and holds soft ridges.
Transfer to a piping bag and chill for 10 minutes.
4. Assemble the Mochi
Place a mochi disc into a small bowl to help shape it.
Pipe a layer of cream filling into the center.
Add 1 teaspoon of cooled cherry lava filling.
Pipe another small layer of cream on top.
Gather the edges of the mochi and pinch tightly to seal.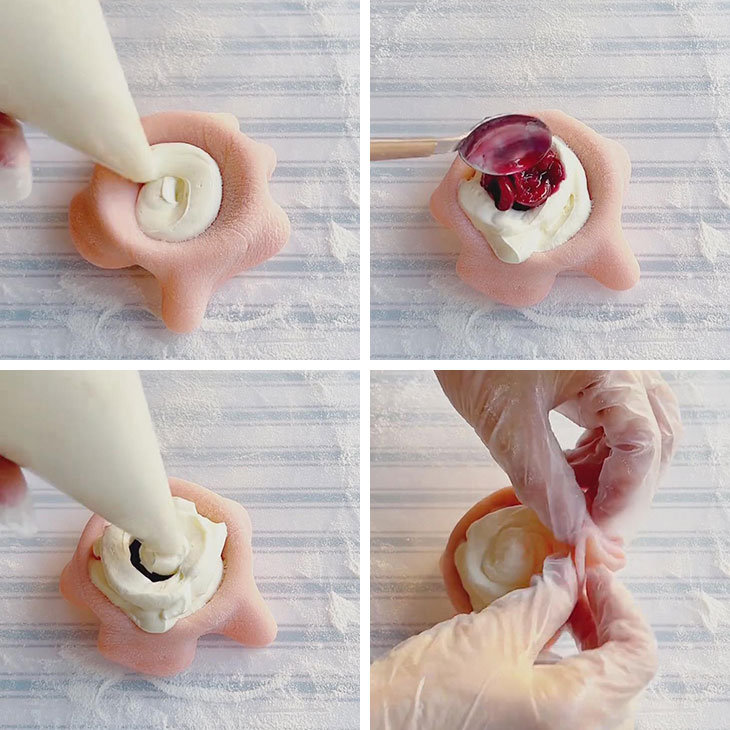
Trim excess dough if needed and dust with cooked glutinous rice flour.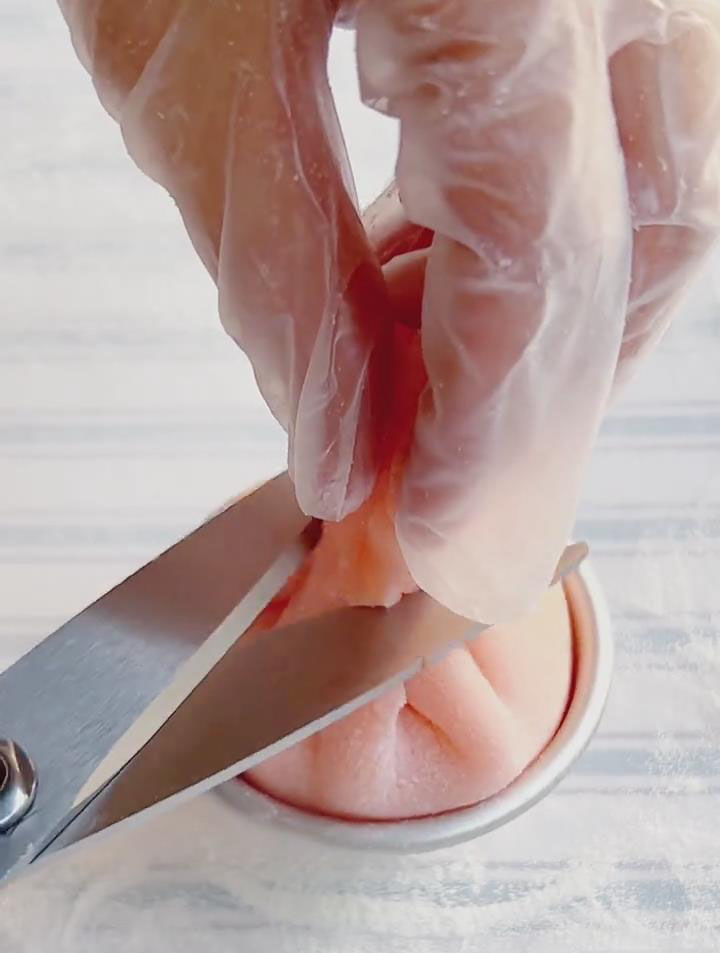

Place seam-side down and top with a whole cherry for decoration.
Tips & Tricks
- Cook the cherry filling only until thick enough to coat a spoon. Too runny = leaking; too thick = no lava effect.
- Add butter to the mochi dough while it‘s hot so it blends smoothly.
- Always dust your hands and work surface with cooked glutinous rice flour to prevent sticking.
- Keep the cream filling cold — it pipes cleaner and holds shape better.
- Chill the assembled mochi for 10–15 minutes before serving for a cleaner bite.
Storage
Store in an airtight container in the refrigerator for 2–3 days.
Before eating, rest at room temperature for 5 minutes for the mochi to soften.
If the mochi becomes firm, microwave for 8–10 seconds on low heat to soften (do not overheat).
Easy Cherry Mochi – Soft, Chewy & So Delicious
Ingredients
Cherry Lava Filling
- 500 g fresh cherries pitted and halved
- 30 g fine granulated sugar
- 15 ml fresh lemon juice
Mochi Skin
- 120 g glutinous rice flour
- 30 g cornstarch
- 12 g strawberry powder
- 20 g fine granulated sugar
- 180 g whole milk
- 20 g butter softened
- Cream Cheese Filling
- 100 g cream cheese softened
- 200 g whipping cream
- 15 g fine granulated sugar
For Assembly
- Cooked glutinous rice flour for dusting
- 9 whole cherries for decoration
- Toasted glutinous rice flour for dusting
Instructions
Make the Cherry Lava Filling
- Wash cherries, remove stems, cut in half, and remove the pits.
- Add the cherries and sugar to a small pot. Heat over medium-low heat while stirring.
- Cook for about 5 minutes until the cherries soften and release plenty of juice.
- Add the lemon juice and continue cooking for about 3 minutes until the mixture thickens and becomes glossy.
- Remove from the heat and let cool completely — the filling thickens more as it cools, giving a perfect “lava” texture.
Make the Mochi Skin
- In a large bowl, combine glutinous rice flour, cornstarch, strawberry powder, and sugar.
- Slowly pour in the milk while stirring until a smooth batter forms with no lumps.
- Strain the batter to remove any remaining clumps.
- Cover the bowl with plastic wrap and poke a few holes to prevent condensation.
- Steam on high heat for 30 minutes until fully set and no wet batter remains.
- While still hot, add softened butter and mix until completely incorporated.
- Once warm, knead the dough by stretching and folding until smooth, elastic, and no longer sticky.
- Dust a surface with cooked glutinous rice flour and divide the dough into 9 equal pieces.
- Flatten each piece with your hands, then use a rolling pin to roll it out into a circle about 10cm (4 inches) in diameter, keeping the edges slightly thinner than the center.
Make the Cream Filling
- Beat softened cream cheese with a hand mixer until smooth.
- Add whipping cream and sugar.
- Beat on medium speed until thick, smooth, and holds soft ridges.
- Transfer to a piping bag and chill for 10 minutes.
Assemble the Mochi
- Place a mochi disc into a small bowl to help shape it.
- Pipe a layer of cream filling into the center.
- Add 1 teaspoon of cooled cherry lava filling.
- Pipe another small layer of cream on top.
- Gather the edges of the mochi and pinch tightly to seal.
- Trim excess dough if needed and dust with cooked glutinous rice flour.
- Place seam-side down and top with a whole cherry for decoration.
Leave a Reply