
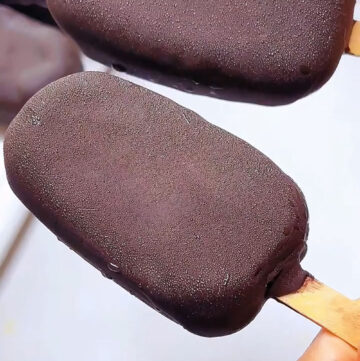
These chocolate dipped mango popsicles are creamy, refreshing, and made with just 5 ingredients! No ice crystals, no oven, and so easy to make. Perfect summer dessert idea.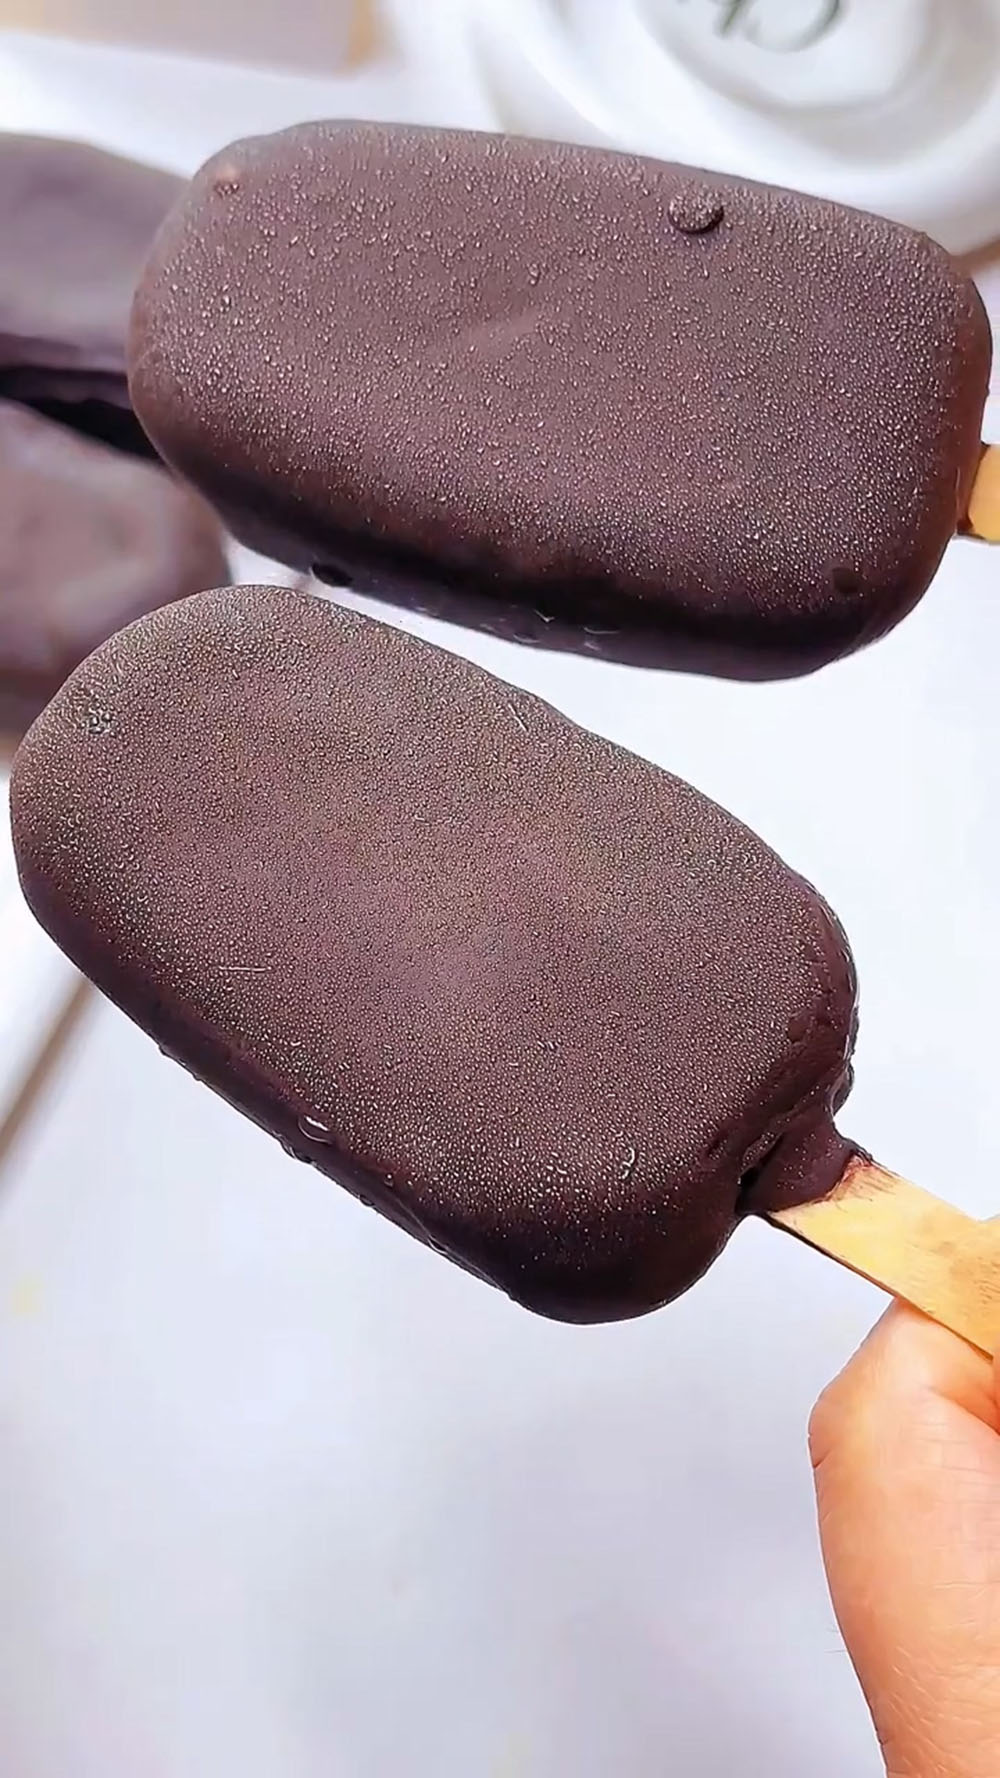
As soon as the weather starts to heat up, I find myself constantly making all kinds of popsicles.
From strawberry popsicles to mango popsicles, easy matcha popsicles, and even blueberry cheesecake crispy popsicles, we’ve tried so many fun flavours.
Honestly, I can’t help it… the kids love them, and they’re not big fans of store-bought ones.
This Chocolate Dipped Popsicles recipe is adapted from my previous mango popsicles—it’s an upgraded version with a chocolate shell.
If you love chocolate, you can easily add a layer of chocolate coating to almost any popsicle for that extra crunch.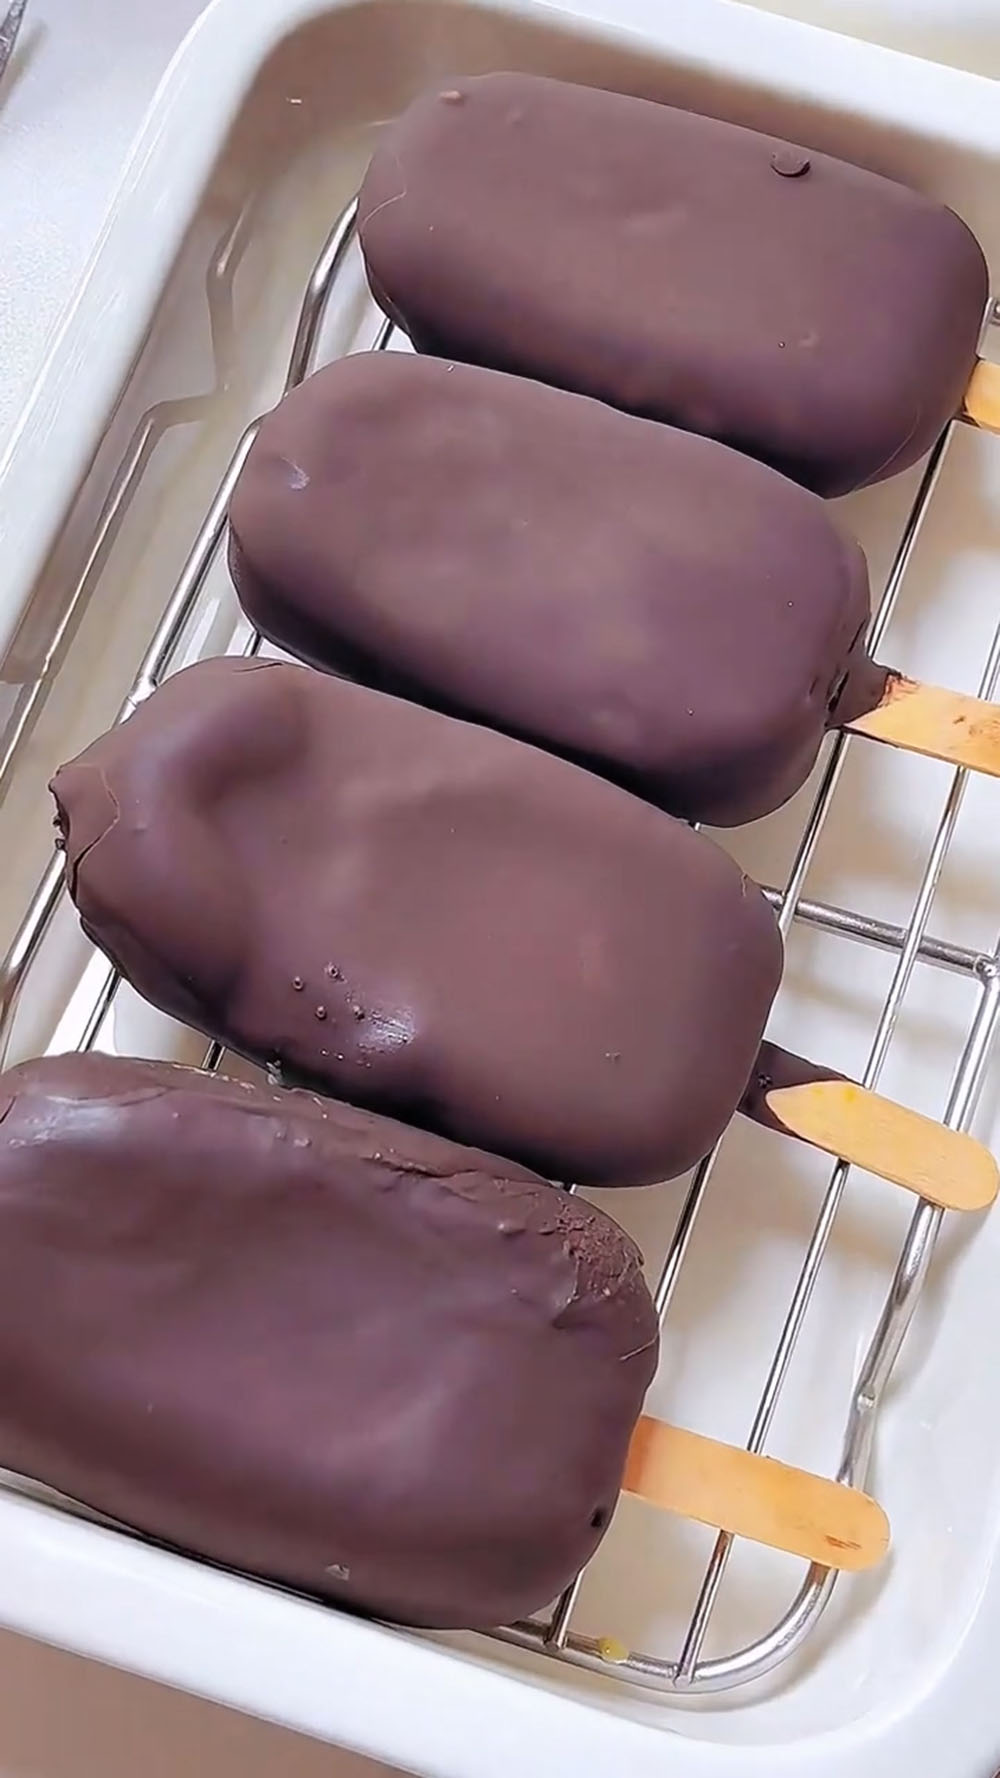
Ingredients & Substitutions
- Mango flesh – Use ripe, sweet mangoes. The riper the mango, the more intense the flavor and the less sugar you’ll need. Fresh mango is ideal, but frozen thawed mango works in a pinch (just drain any excess liquid).
- Heavy cream – This is what gives the popsicles their creamy, scoopable texture without ice crystals.
- White sugar – Just enough to enhance the mango’s natural sweetness without making things cloying. If your mangoes are perfectly ripe, you can reduce this slightly. If they’re on the tart side, keep it as written.
- Dark chocolate – Use real chocolate, not chocolate chips with stabilizers (though chips work in a pinch). The better your chocolate, the better the shell. Semi-sweet, bittersweet, or dark – choose what you like to eat plain.
- Coconut oil – Do not skip this. Coconut oil is what makes the chocolate shell thin, snappy, and crack-resistant.
Ingredients for Recipe
Mango Popsicle Base
- 250 g mango flesh (from about 2 medium mangoes)
- 150 g heavy cream
- 12 g white sugar
Chocolate Shell
- 160 g dark chocolate
- 40 g coconut oil
How to Make Mango Chocolate-Dipped Popsicles
Step 1: Make the Mango Purée
Place the mango flesh in a food processor or blender. Blend until completely smooth, scraping down the sides as needed. You want a silky, lump-free purée – no fibrous strings allowed. Set aside.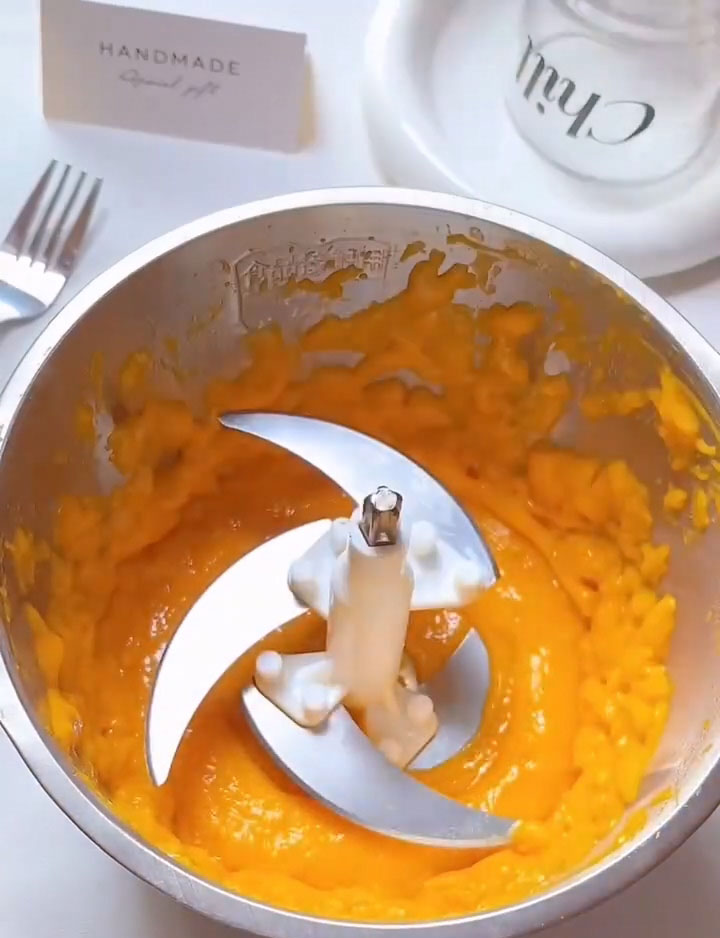
Step 2: Whip the Cream
In a medium mixing bowl, combine the heavy cream and white sugar. Using an electric hand mixer or a whisk and some arm strength, whip until the mixture reaches a thick, yogurt-like consistency. Do not whip to stiff peaks – you want it to be thick but still fluid, like drinkable yogurt or melted ice cream. Over-whipped cream will make the popsicles dense and greasy.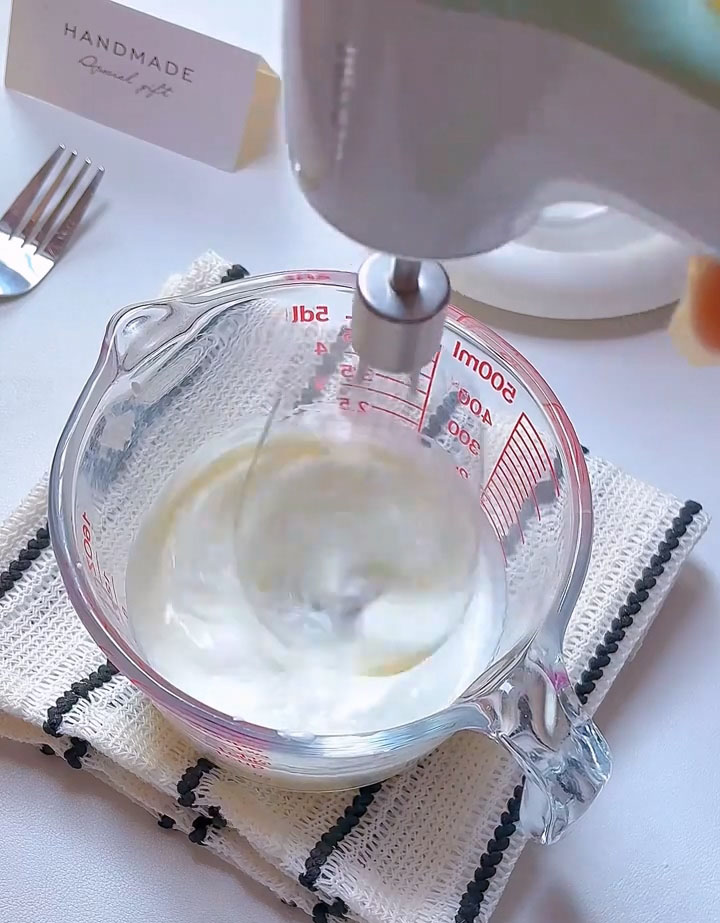
Step 3: Combine the Popsicle Mixture
Pour the mango purée into the whipped cream. Use a spatula to fold everything together gently until no white streaks remain and the mixture is uniformly orange. Don’t stir aggressively – you want to keep the air you whipped into the cream. Transfer the mixture to a piping bag (or a zip-top bag with the corner snipped off).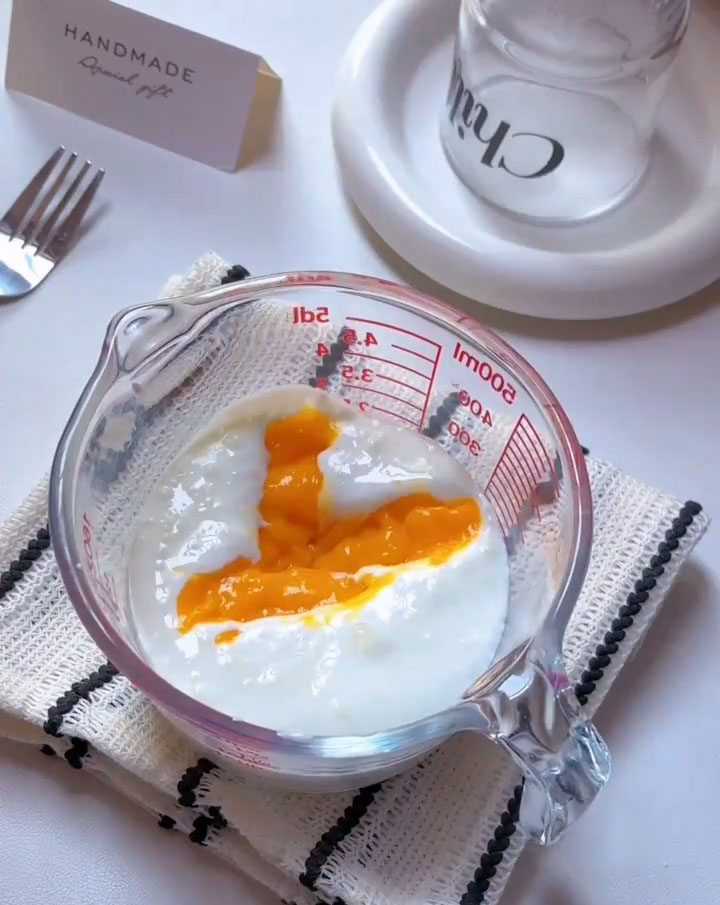
Step 4: Fill and Freeze
Pipe the mixture into popsicle molds. Fill each mold to the top, then gently tap the mold against the counter a few times to release any air bubbles. Insert the popsicle sticks, add the lids (if your mold has them), and freeze for at least 4 hours, or until completely solid. Overnight is better.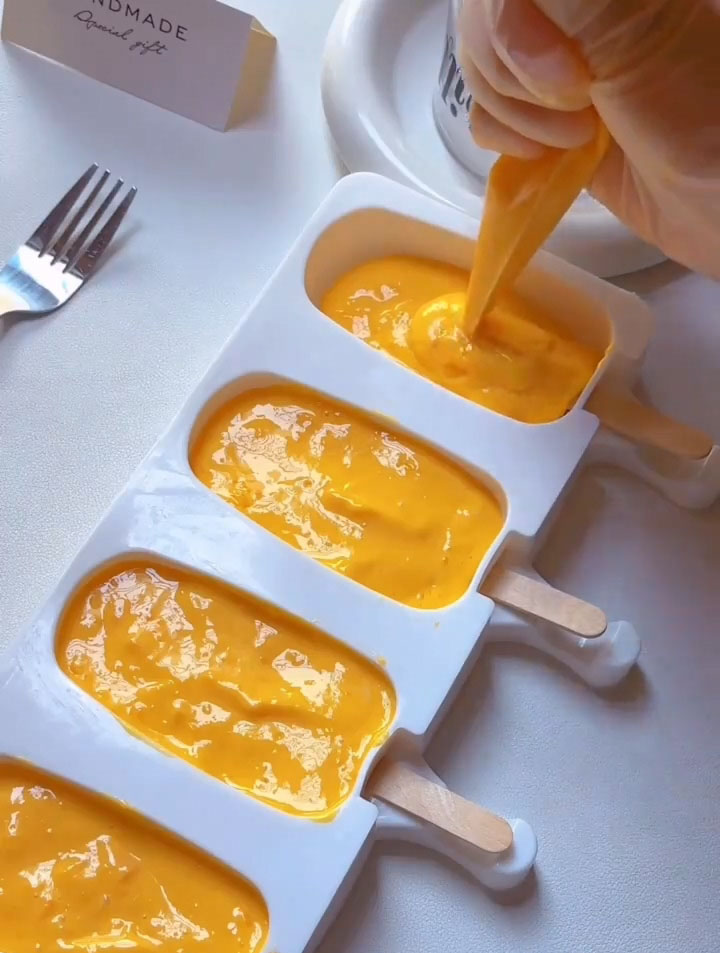
Step 5: Make the Chocolate Shell
When the popsicles are fully frozen, make the coating. Combine the dark chocolate and coconut oil in a microwave-safe bowl or in a bowl set over a pot of simmering water (double boiler method). Heat in 20-second bursts in the microwave, stirring between each, or stir constantly over the double boiler until the chocolate is completely melted and smooth. Do not overheat – chocolate seizes if it gets too hot. Let the mixture cool slightly for 2-3 minutes so it’s warm but not hot.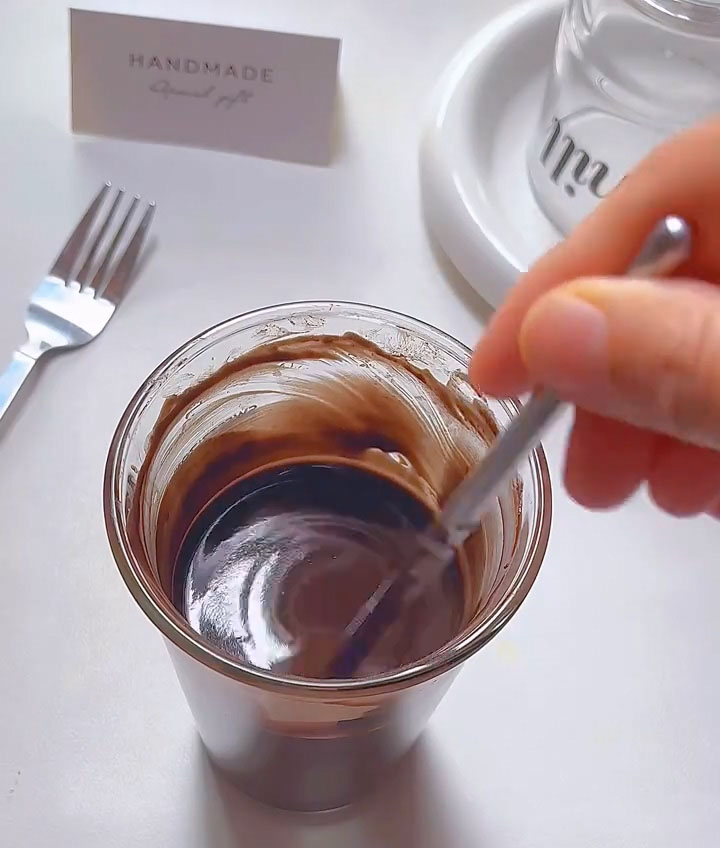
Step 6: Dip the Popsicles
Remove the popsicles from the freezer. Unmold them one at a time – if they’re stuck, run the mold under warm water for a few seconds. Working quickly (the popsicles will start melting the moment they hit room temperature), hold a popsicle over the bowl of chocolate and spoon the chocolate over it, or dip it straight in if your bowl is deep enough. Let the excess drip off for a few seconds, then place the dipped popsicle on a parchment-lined tray or plate.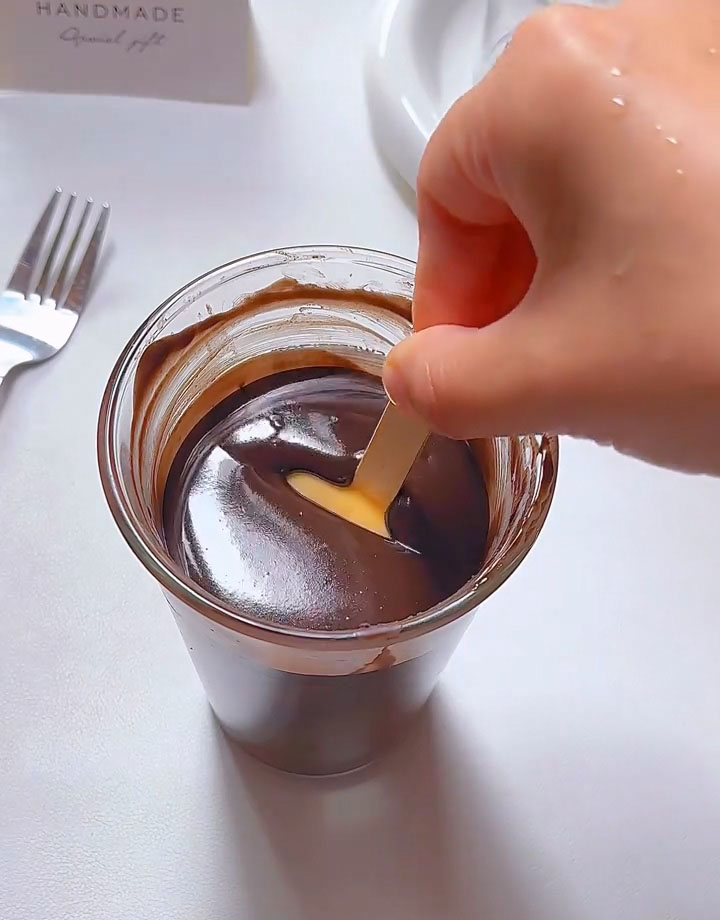
The chocolate will set in about one minute. Repeat with the remaining popsicles. If the chocolate starts to thicken as you work, reheat it gently for a few seconds.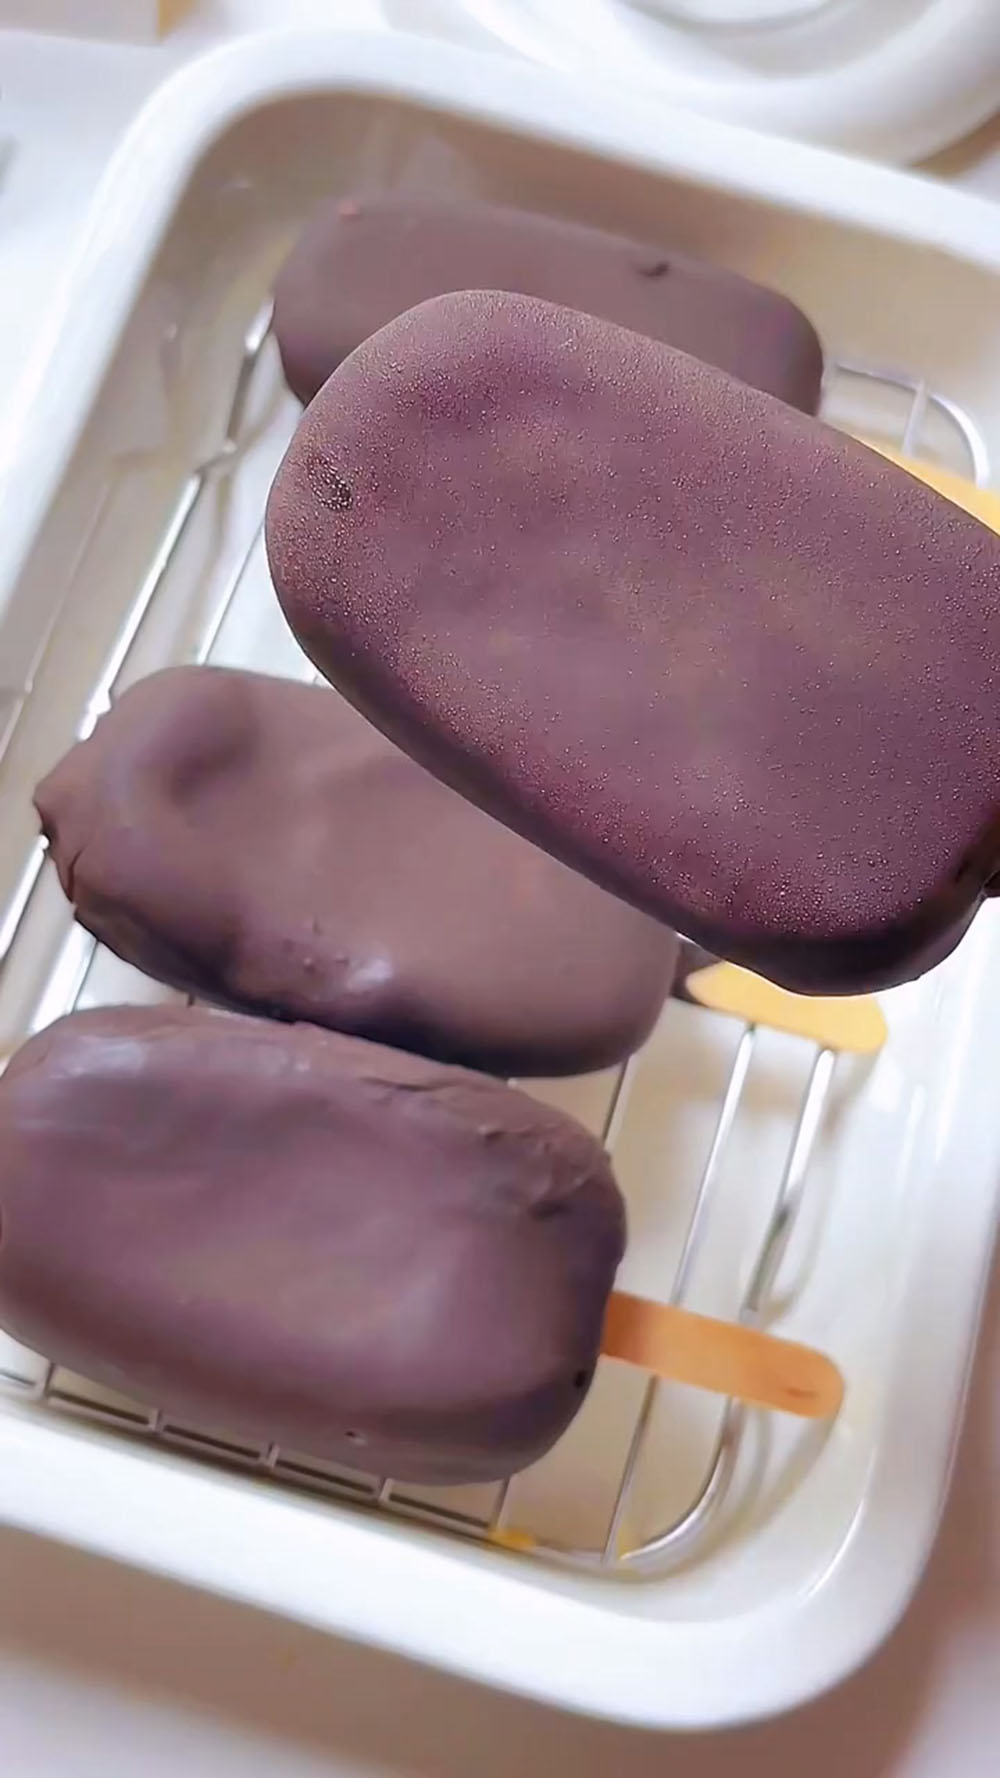
Storage
Store the finished popsicles in an airtight container or wrapped individually in parchment paper in the freezer. Consume within 1 week for the best texture – the chocolate shell stays snappiest in the first week, and the mango interior is at its creamiest. After that, the popsicles are still safe to eat but the quality gradually declines.
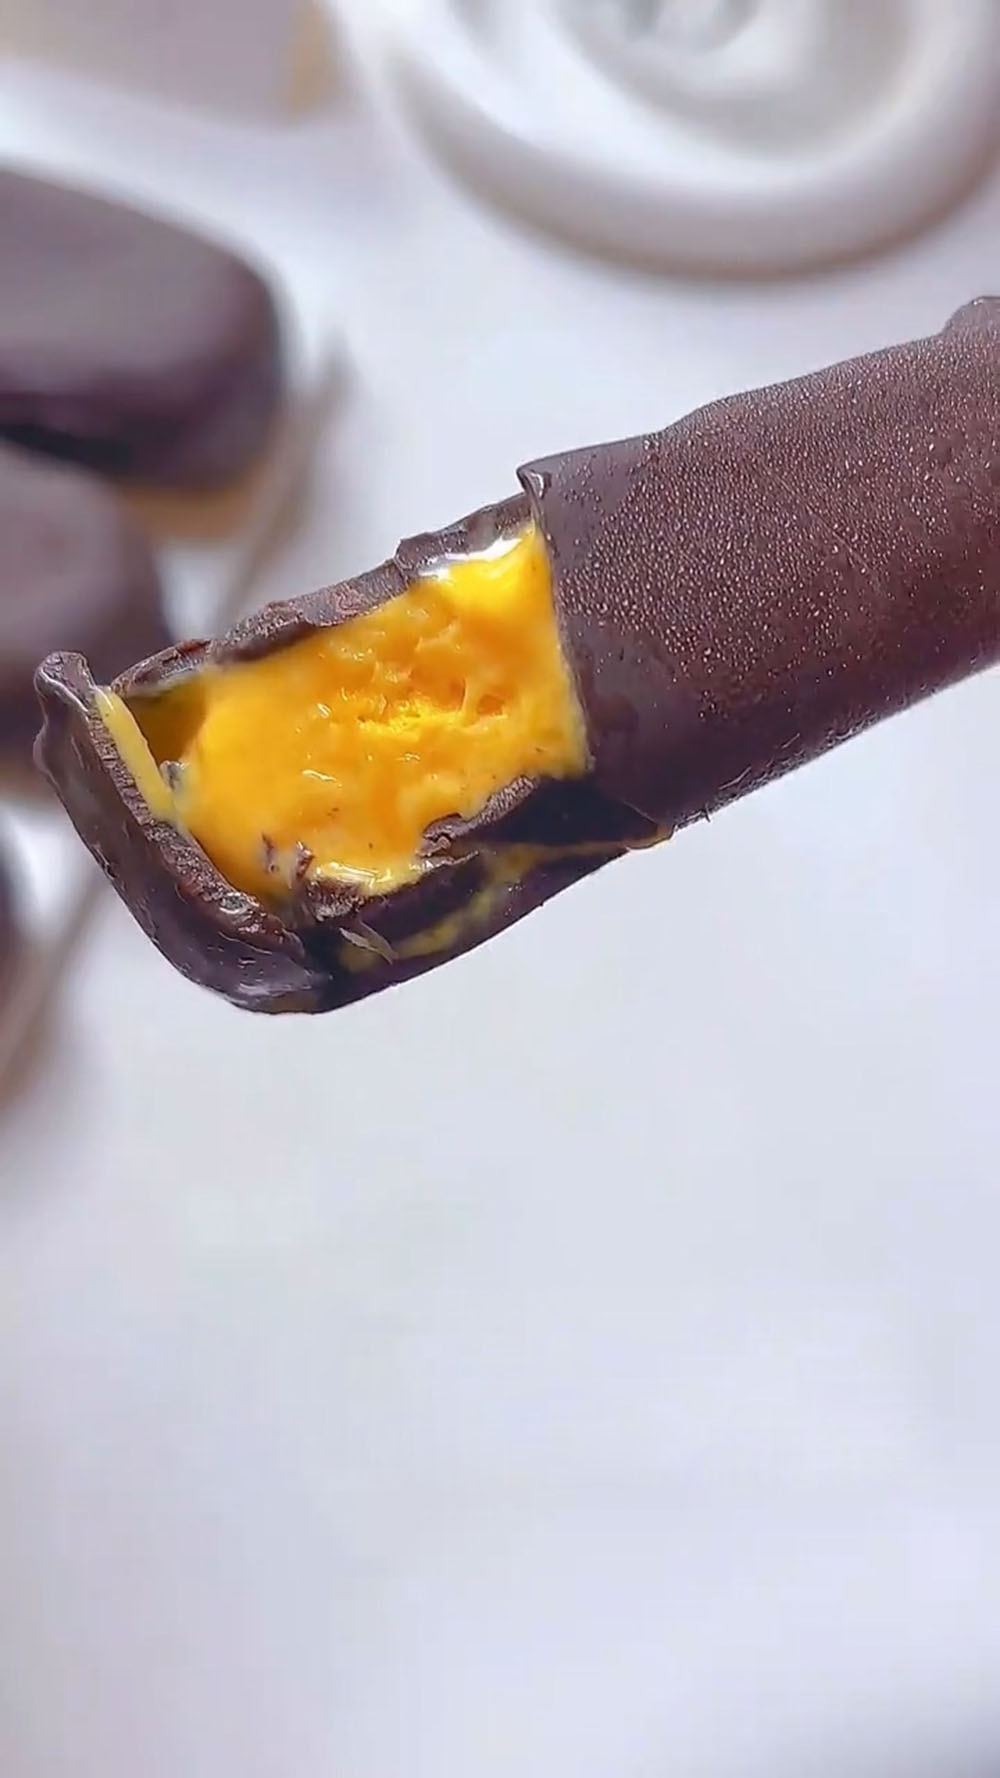
These are meant to be eaten straight from the freezer. No thawing required – just grab and enjoy the contrast of the crunchy shell and the creamy, cold mango center.
Tips & Tricks
- Pick your mangoes wisely – The best popsicles come from the ripest mangoes. Look for mangoes that give slightly when squeezed and smell fragrant at the stem. If your mangoes are underripe, the popsicles will be tangy and less sweet – still good, but you might want to add a couple extra grams of sugar.
- Don’t overwhip the cream – Yogurt consistency is the magic phrase. If you whip to stiff peaks, the mixture becomes too thick to pipe smoothly and the frozen popsicles will have a greasy, almost buttery texture instead of a light, creamy one. Stop when the cream holds soft trails.
- Do not skip the coconut oil – I know it’s tempting. I know you might think, “it’s just chocolate, how different can it be?” Very different. Without coconut oil, the chocolate sets into a thick, hard shell that cracks violently when you bite it and often falls off the popsicle in one piece. The coconut oil makes it thin, flexible, and snappy – exactly what you want.
- Work fast when dipping – The popsicles are frozen, but they’re not immune to your warm kitchen. Have everything set up before you take them out of the freezer: chocolate melted and cooled slightly, parchment ready, space in your freezer cleared for the finished popsicles. Dip and return to the freezer quickly. If the popsicles start to soften, the chocolate won’t adhere properly.
- Save leftover chocolate – You’ll likely have extra chocolate shell mixture. Pour it onto parchment paper, let it set, and break it into chocolate shards. Or reheat it and dip something else – banana slices, pretzels, your spoon.
Frequently Asked Questions
Can I use white chocolate instead of dark?
Absolutely. Use the same quantity (160g white chocolate + 40g coconut oil). White chocolate is sweeter, so the popsicles will taste more like a mango creamsicle. Milk chocolate also works beautifully.
My chocolate shell is cracking and falling off. What went wrong?
You almost certainly skipped or reduced the coconut oil. The coconut oil keeps the chocolate flexible and thin. Without enough oil, the chocolate sets too hard and rigid. When you bite into a rigid shell on a soft interior, it cracks and separates. Next time, don’t skip it.
Can I use frozen mango?
Yes. Thaw the mango completely and drain off any excess liquid before blending. Frozen mango is often picked and frozen at peak ripeness, so the flavor can be excellent – just make sure it’s not swimming in water when you puree it.
Why do I need to whip the cream? Can’t I just mix everything together?
If you skip whipping, the popsicles will freeze into solid blocks of mango-flavored ice with a dense, icy texture. Whipping the cream incorporates air, which stays in the mixture during freezing and creates that creamy, scoopable texture with no ice crystals. It’s the most important step after the coconut oil.
Do I need a popsicle mold?
Yes, or something that approximates one. Silicone molds are ideal because they’re easy to unmold. You can also use small paper cups, freeze them, and peel the cup off. Or use an ice cube tray with toothpicks for mini bites. But a proper popsicle mold makes your life much easier.
My popsicles are stuck in the mold. Help.
Run the outside of the mold under warm running water for 10-15 seconds. Don’t let water get inside the mold. The warmth will release the popsicles without melting them. If they’re still stuck, wait another 10 seconds and try again. Silicone molds rarely have this problem – yet another reason to use them.
Can I make these dairy-free?
Yes, with adjustments. Replace the heavy cream with full-fat coconut cream (the thick part from a can of coconut milk, chilled overnight). Whip it the same way – it won’t get as fluffy as dairy cream, but it will work. Keep everything else the same, including the coconut oil in the shell (use refined coconut oil for no coconut taste, or unrefined if you want more coconut flavor).
How long do the popsicles last?
Best within 1 week. After that, the chocolate shell can develop a white bloom (still safe to eat, just less pretty) and the mango interior may start to develop ice crystals. You can freeze them for up to a month, but the quality declines after week one.
Chocolate Dipped Mango Popsicles (5 Ingredients, No-Bake!)
Ingredients
Mango Popsicle Base
- 250 g mango flesh from about 2 medium mangoes
- 150 g heavy cream
- 12 g white sugar
Chocolate Shell
- 160 g dark chocolate
- 40 g coconut oil
Instructions
Step 1: Make the Mango Purée
- Place the mango flesh in a food processor or blender. Blend until completely smooth, scraping down the sides as needed. You want a silky, lump-free purée – no fibrous strings allowed. Set aside.
Step 2: Whip the Cream
- In a medium mixing bowl, combine the heavy cream and white sugar. Using an electric hand mixer or a whisk and some arm strength, whip until the mixture reaches a thick, yogurt-like consistency. Do not whip to stiff peaks – you want it to be thick but still fluid, like drinkable yogurt or melted ice cream. Over-whipped cream will make the popsicles dense and greasy.
Step 3: Combine the Popsicle Mixture
- Pour the mango purée into the whipped cream. Use a spatula to fold everything together gently until no white streaks remain and the mixture is uniformly orange. Don't stir aggressively – you want to keep the air you whipped into the cream. Transfer the mixture to a piping bag (or a zip-top bag with the corner snipped off).
Step 4: Fill and Freeze
- Pipe the mixture into popsicle molds. Fill each mold to the top, then gently tap the mold against the counter a few times to release any air bubbles. Insert the popsicle sticks, add the lids (if your mold has them), and freeze for at least 4 hours, or until completely solid. Overnight is better.
Step 5: Make the Chocolate Shell
- When the popsicles are fully frozen, make the coating. Combine the dark chocolate and coconut oil in a microwave-safe bowl or in a bowl set over a pot of simmering water (double boiler method). Heat in 20-second bursts in the microwave, stirring between each, or stir constantly over the double boiler until the chocolate is completely melted and smooth. Do not overheat – chocolate seizes if it gets too hot. Let the mixture cool slightly for 2-3 minutes so it's warm but not hot.
Step 6: Dip the Popsicles
- Remove the popsicles from the freezer. Unmold them one at a time – if they're stuck, run the mold under warm water for a few seconds. Working quickly (the popsicles will start melting the moment they hit room temperature), hold a popsicle over the bowl of chocolate and spoon the chocolate over it, or dip it straight in if your bowl is deep enough. Let the excess drip off for a few seconds, then place the dipped popsicle on a parchment-lined tray or plate.
- The chocolate will set in about one minute. Repeat with the remaining popsicles. If the chocolate starts to thicken as you work, reheat it gently for a few seconds.
Leave a Reply