
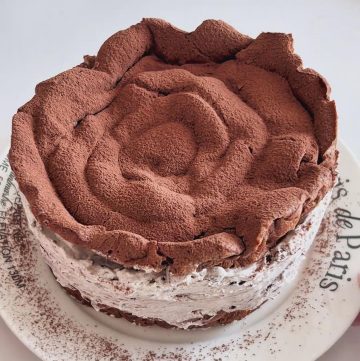
Make this stunning two-layer Oreo puff cake using just two 6-inch pans! Crispy choux pastry on the outside, silky Oreo cream inside — and after freezing, it tastes just like an Oreo ice cream cake. Surprisingly easy and so impressive.
Oreo Cream Puff Cake with Ice Cream Filling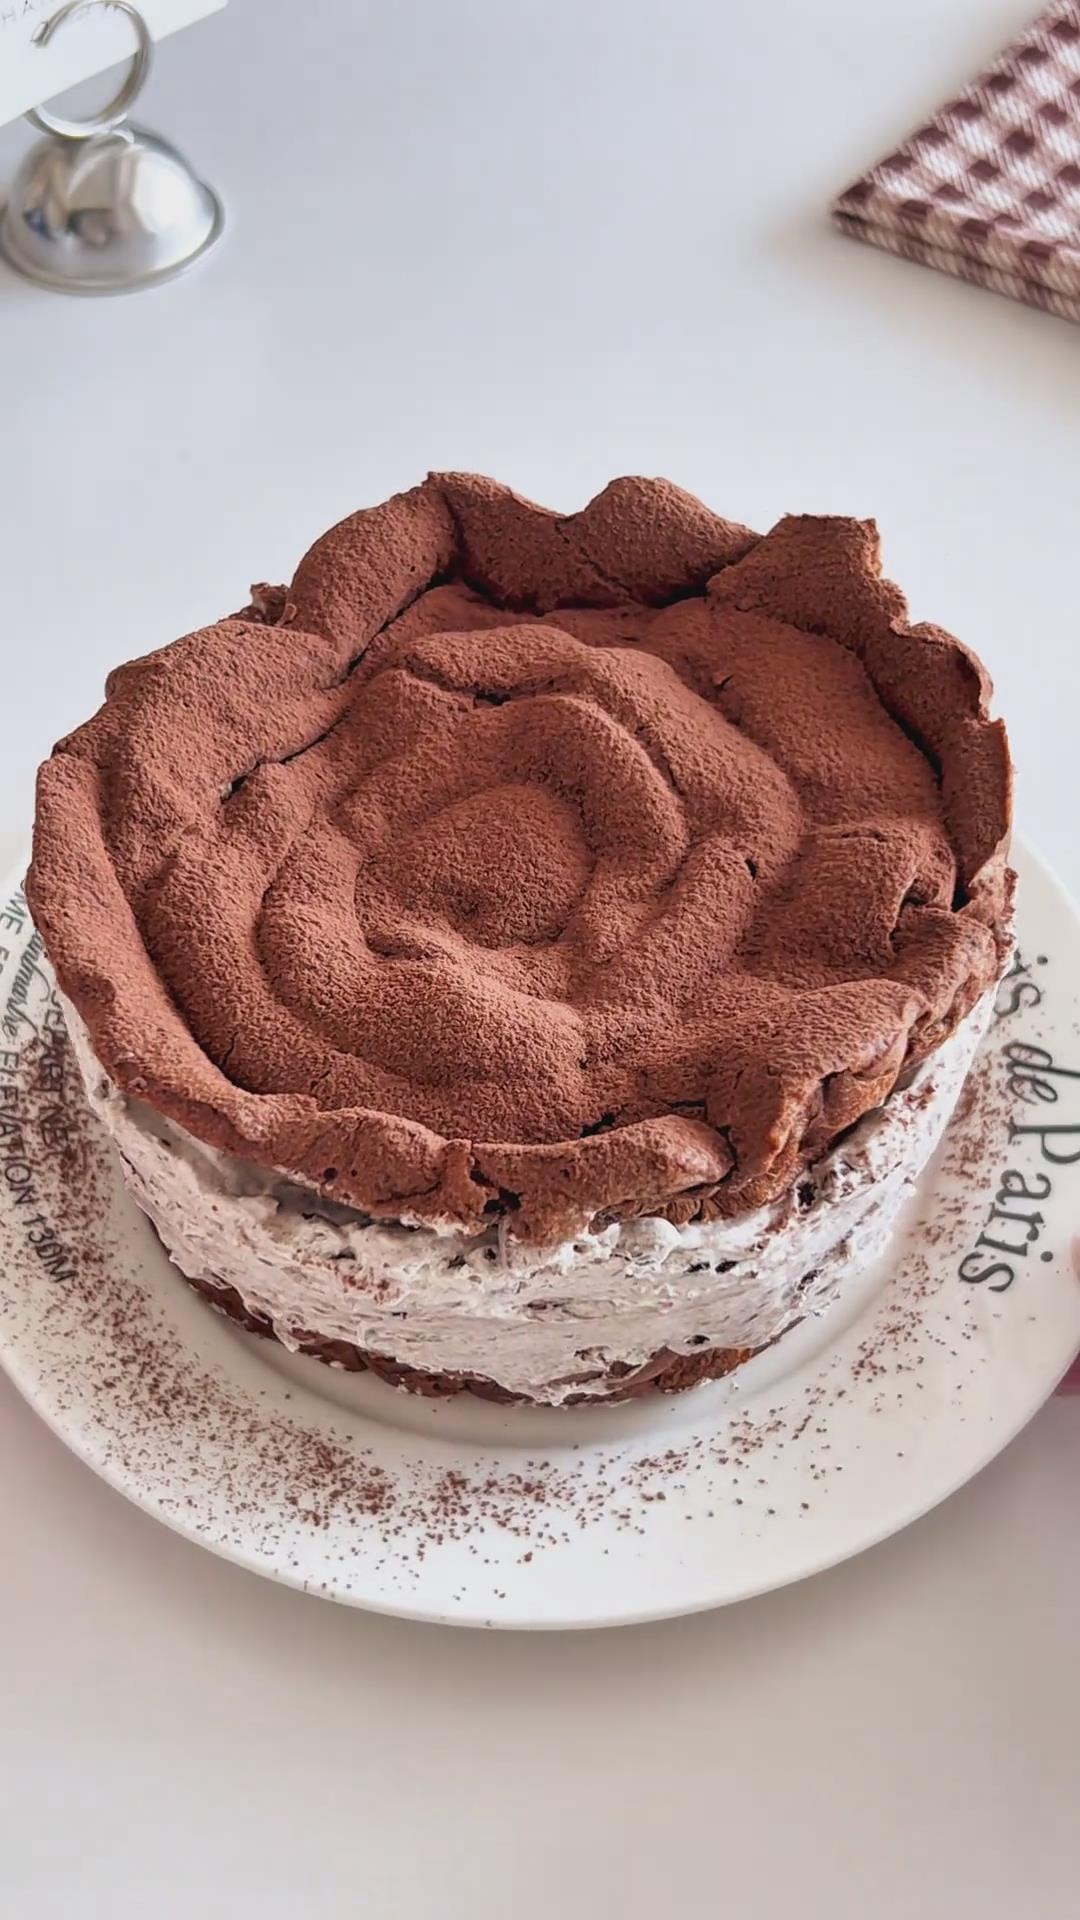
 I make this dessert using two full layers of puff pastry — one for the base and one for the top “lid.” To keep the shapes even,
I pipe the batter into two separate 6-inch pans. Then I bake both pans at the same time, so they rise together and finish evenly. Just make sure your oven can fit both pans side by side without touching.
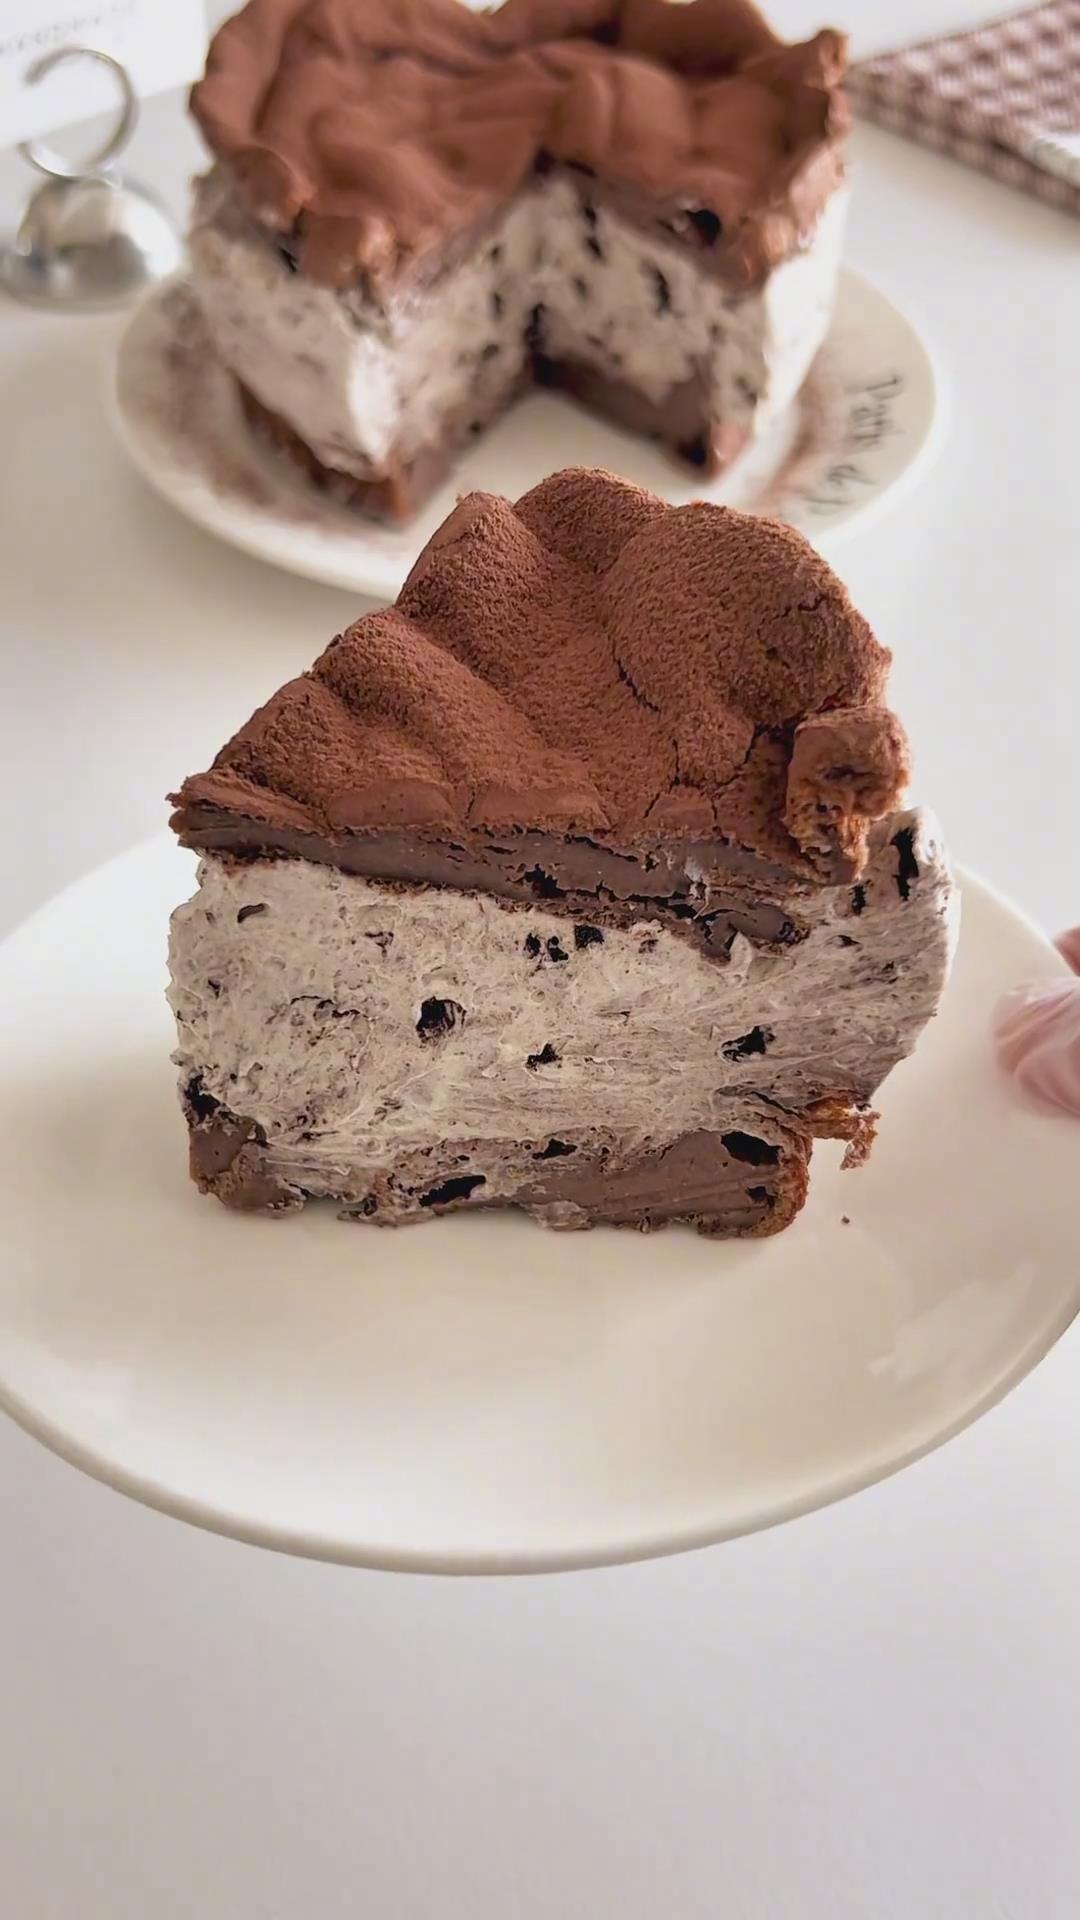
For the filling, I can never resist adding Oreo. It’s one of my all-time favorite dessert ingredients, and I use it so often that my kids joke it’s basically my “signature flavor.”
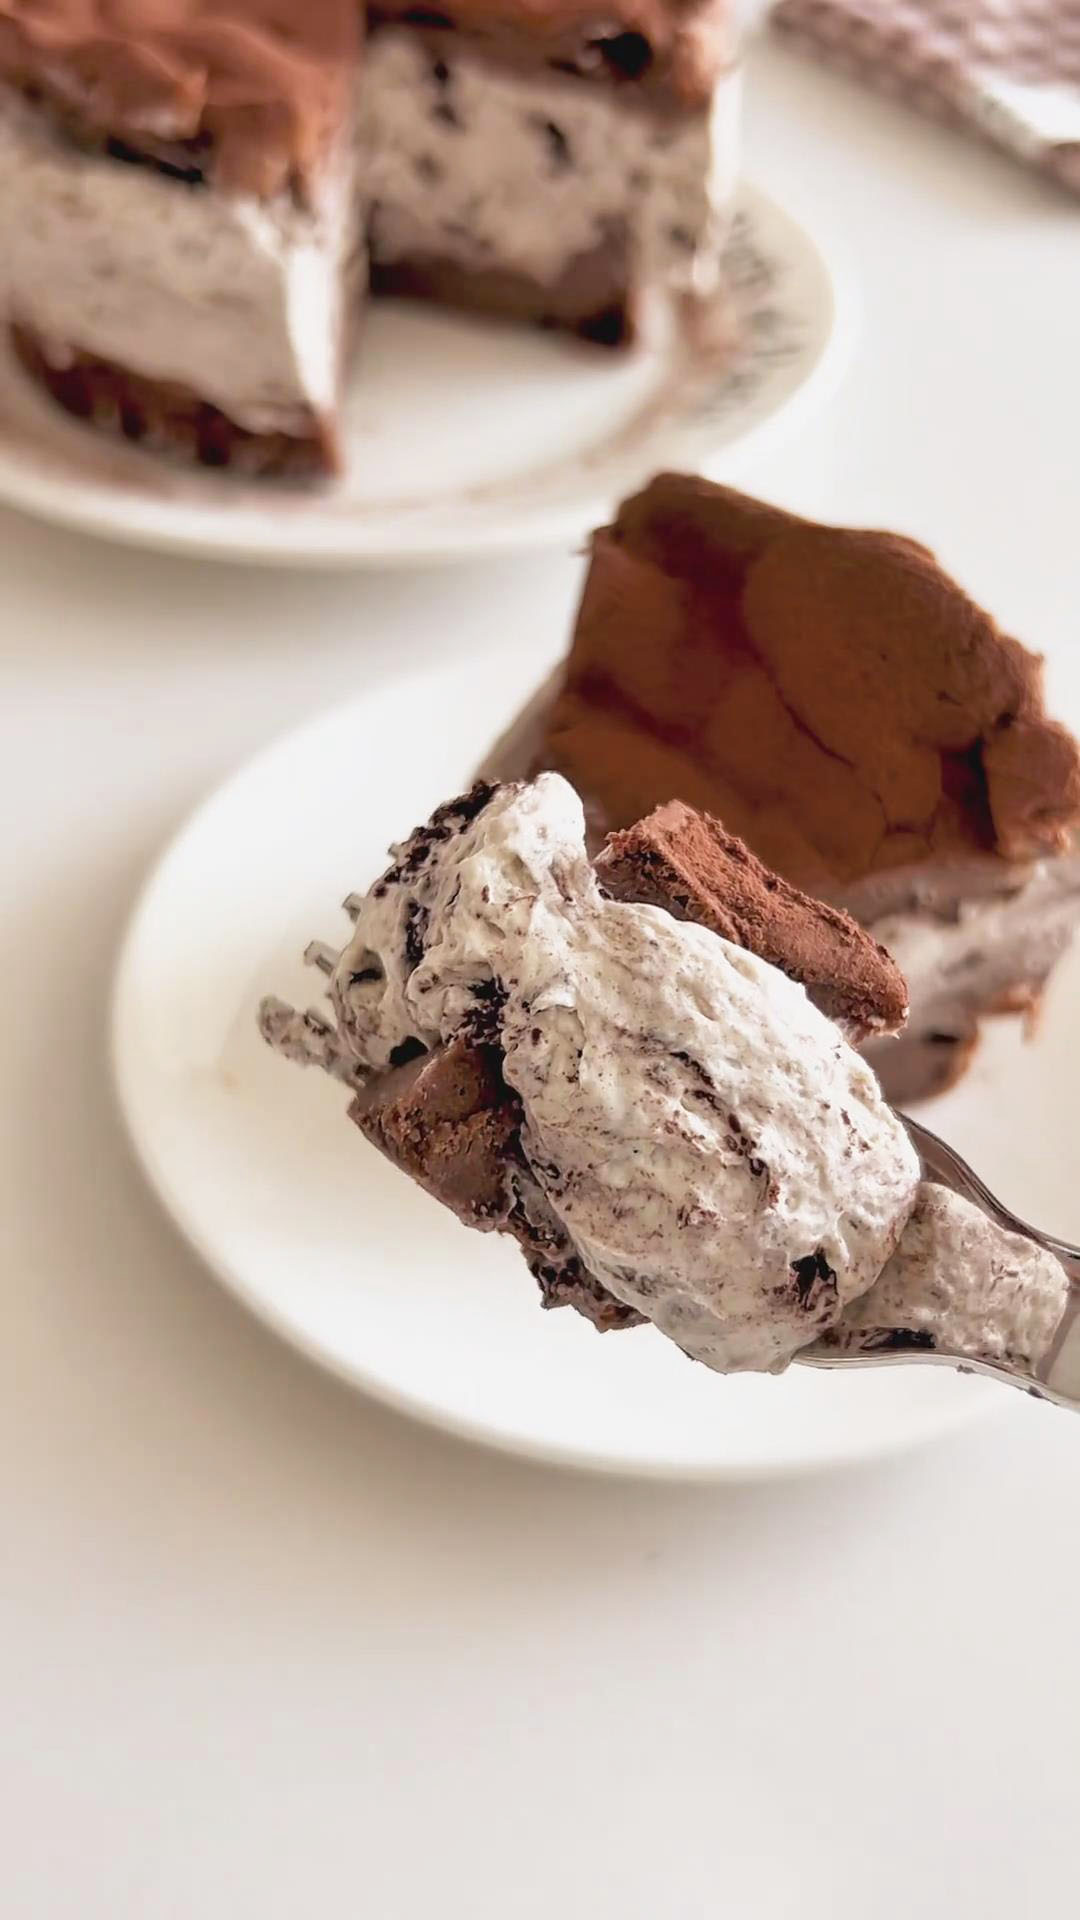
After chilling or freezing, the filling becomes almost like Oreo ice cream — smooth, cold, and absolutely irresistible.
Even though this cake looks like a bakery-level puff creation, I promise it’s much easier than it looks. Once you’ve tried it, you’ll want to make it again and again.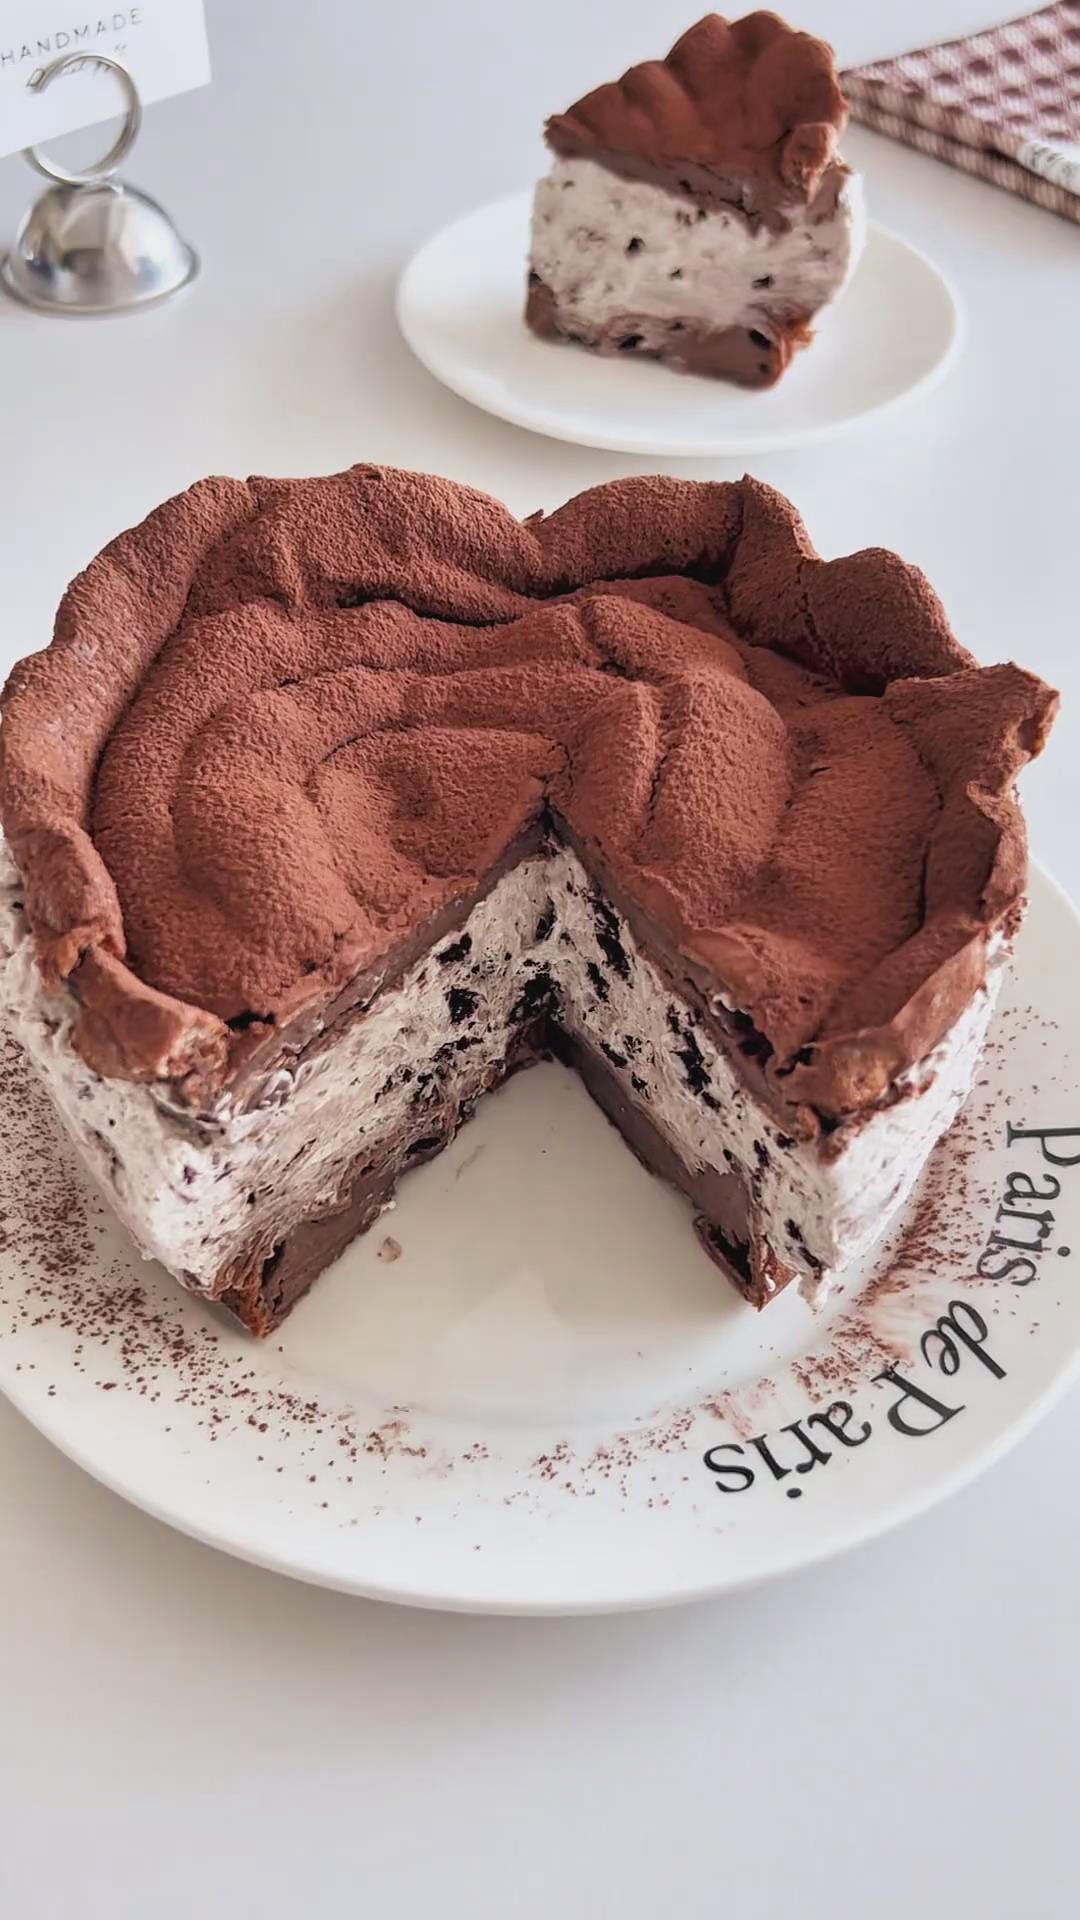
Ingredients and substitutions
- Butter – I recommend using unsalted butter to have complete control over the dessert’s saltiness. It’s melted and combined with the liquid ingredients to form the base of the puff pastry.
- Fine Granulated Sugar – A small amount of sugar is added to the puff dough to balance the natural bitterness of the cocoa powder and enhance the overall flavor.
- Salt – A tiny pinch of salt is a crucial flavor enhancer that makes the chocolate taste richer and more complex without making the dessert taste salty.
- Milk – Using milk instead of water creates a richer, more tender puff pastry. For a dairy-free version, you can substitute with water or a plant-based milk, though the flavor will be slightly less rich.
- Cake Flour / Low-Protein Flour – This is essential for achieving a light and airy puff structure.
- Cocoa Powder – Use a good-quality, unsweetened cocoa powder for the best chocolate flavor. This is what gives the puff layers their distinct chocolate taste and color.
- Eggs – Room-temperature eggs incorporate more smoothly into the warm dough. The consistency of the batter after adding the eggs is the key to successful puffing.
- Cream Cheese – Softened cream cheese creates a creamy, smooth filling that gives the cake its richness and body. It must be fully softened to avoid lumps.
- Whipping Cream – Choose heavy cream with 30%–36% fat for a smooth, airy texture. It adds lightness to the filling without using non-dairy alternatives.
- Oreo Crumbs – Use Oreo crumbs without the cream filling. These crumbs add texture, crunch, and a nostalgic chocolate-cookie flavour to the creamy base.
How to make Chocolate Oreo Cream Puff Cake
I’ll show you each step here, and the full ingredient list and instructions are available in the printable recipe card below.
Step 1: Prepare and preheat
Begin by taking your eggs and cream cheese out of the refrigerator to bring them to room temperature.
Preheat your oven to 190°C (374°F) with both top and bottom heat.
Line the bottoms of two 6-inch round cake pans with parchment paper.
Step 2: Make the cocoa puff dough
In a small saucepan, add the butter, sugar, salt, and milk. Heat on low, stirring until everything melts, then bring to a boil.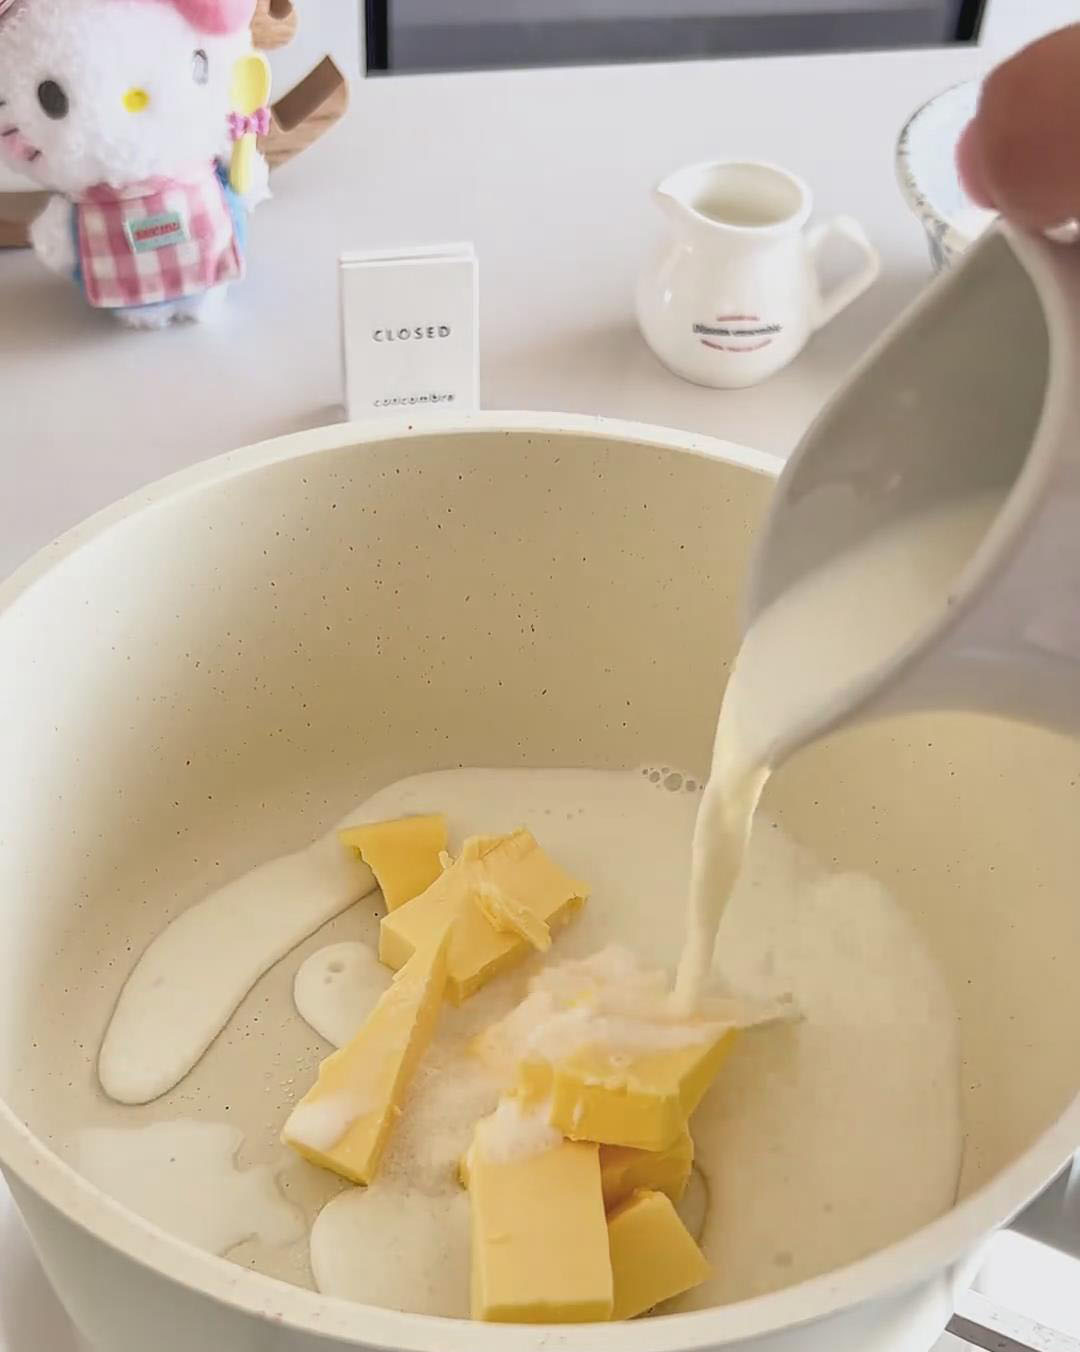
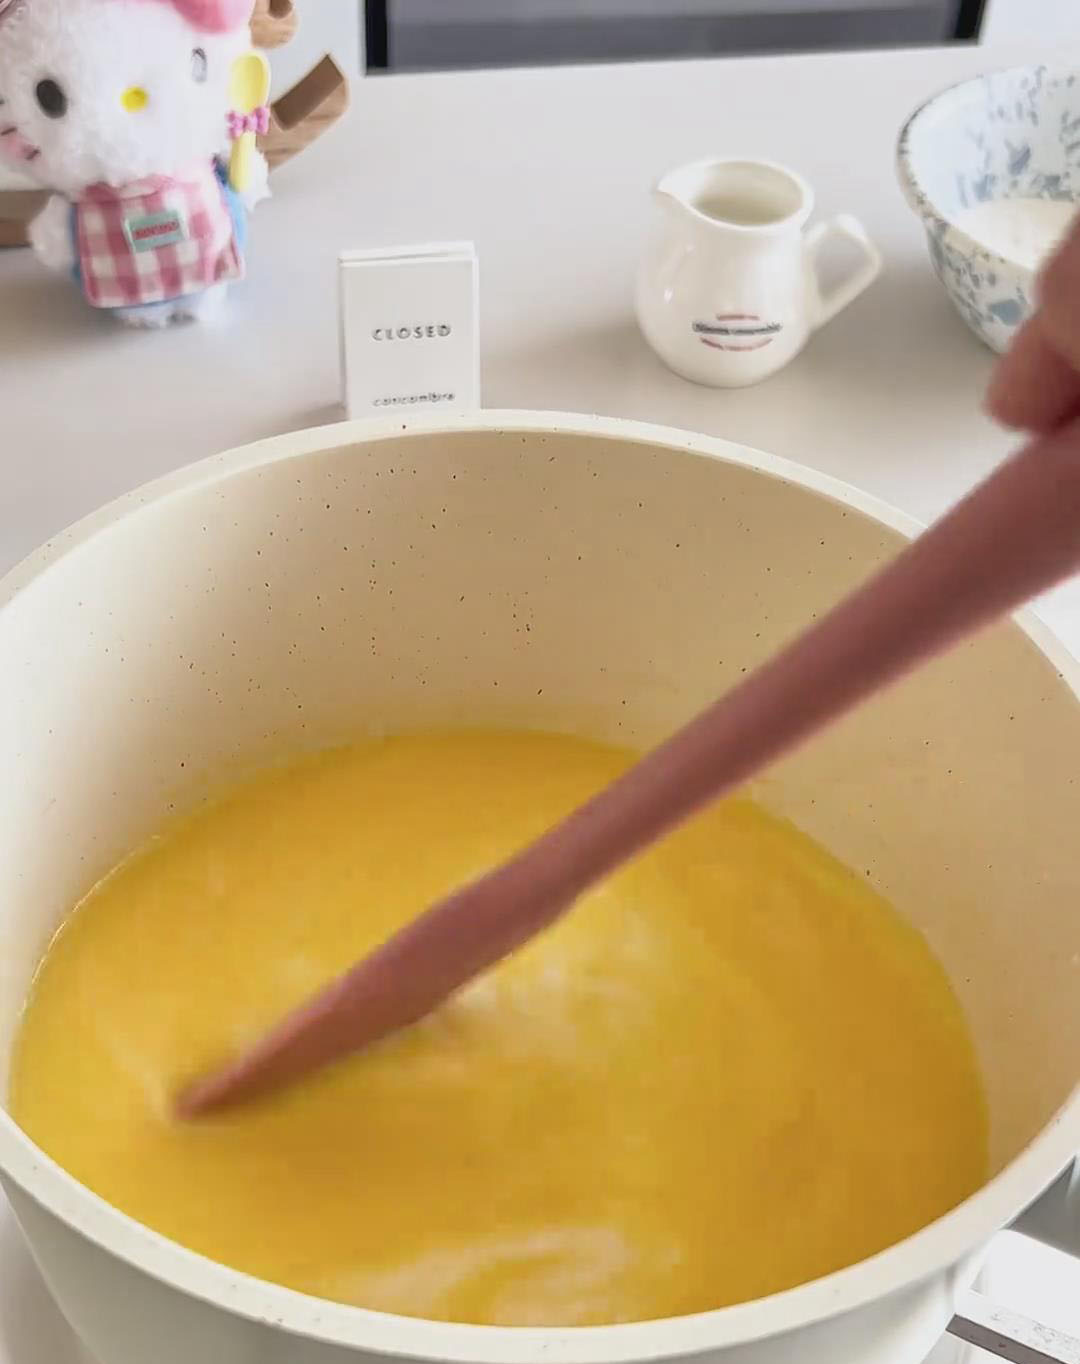
Turn off the heat.
Mix the cake flour and cocoa powder together and sift.
Immediately pour the dry mixture into the hot milk mixture.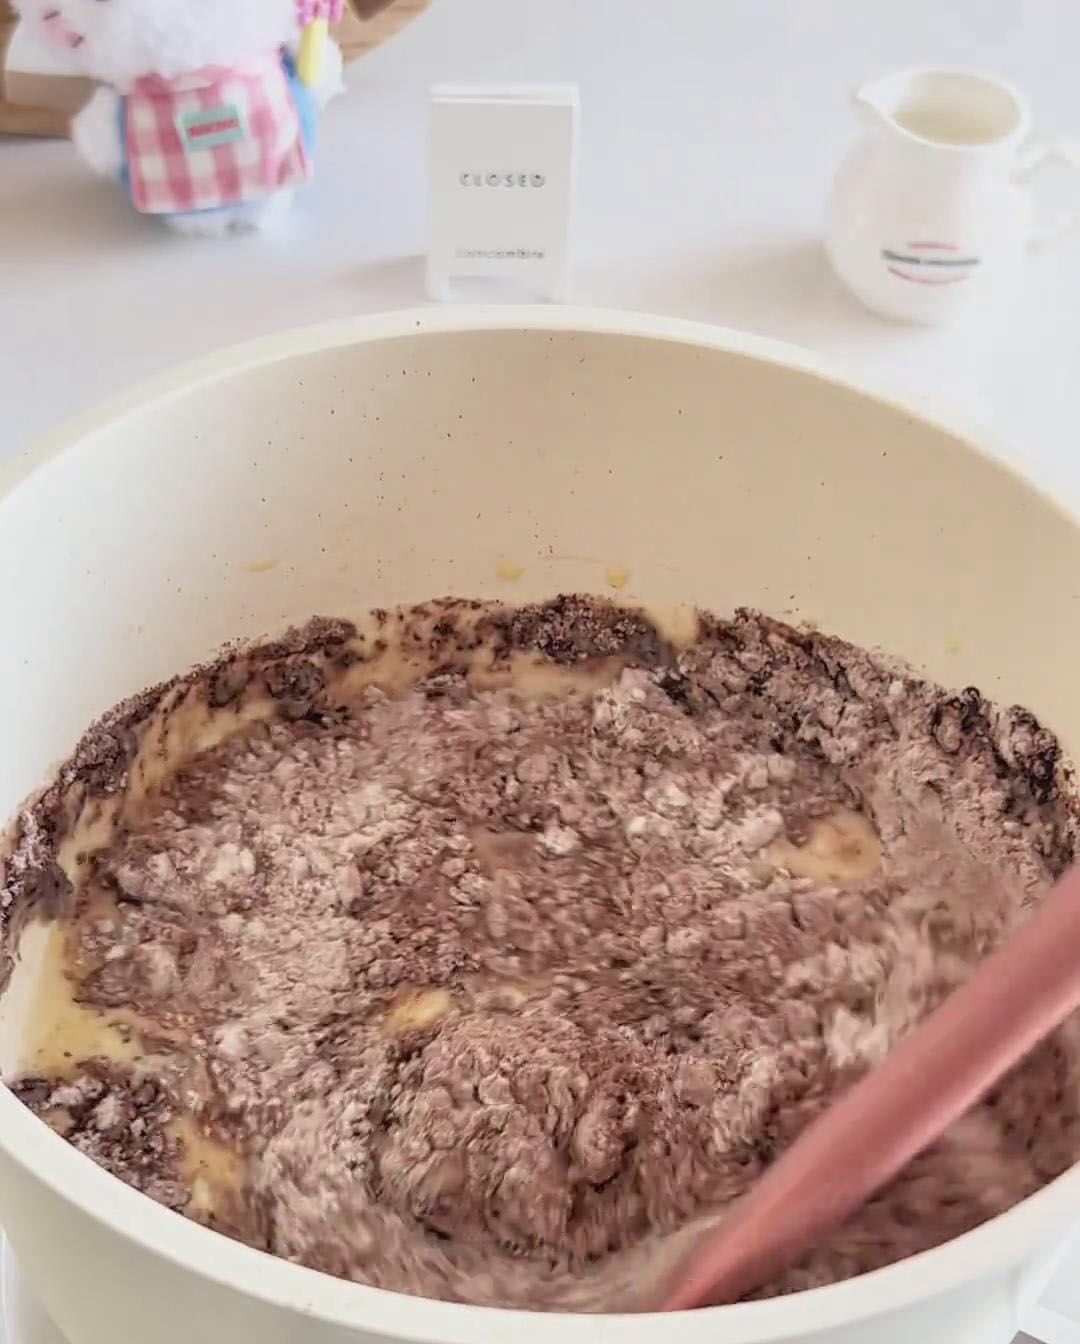
Use a spatula to mix quickly until a smooth dough forms and no dry flour remains.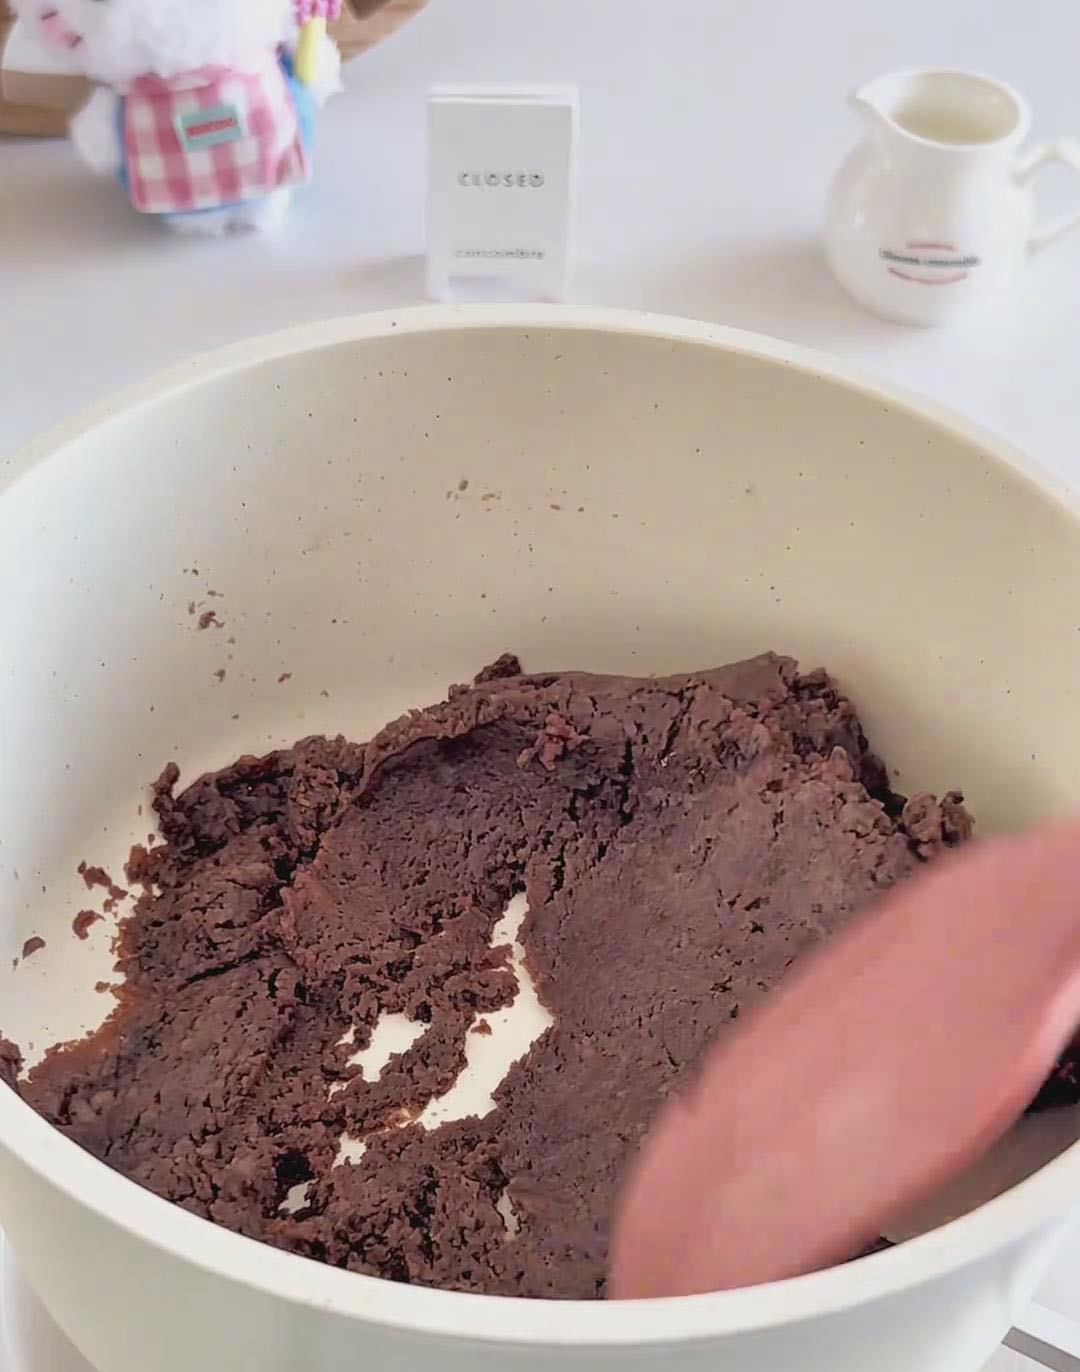
Return the saucepan to low heat and cook the dough for 1 minute, stirring constantly to remove excess moisture.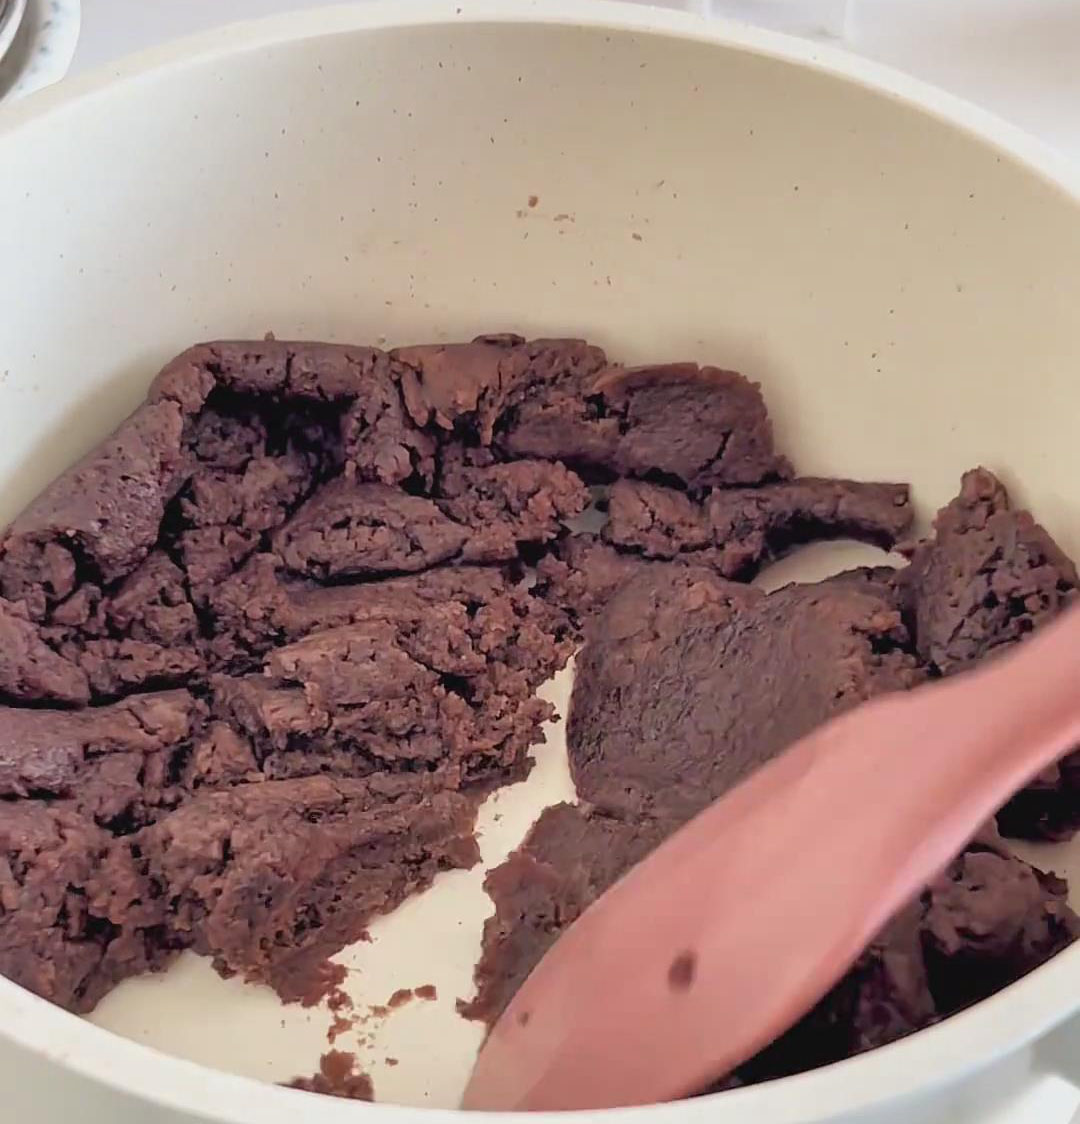
Transfer the dough to a bowl and allow it to cool until warm to the touch.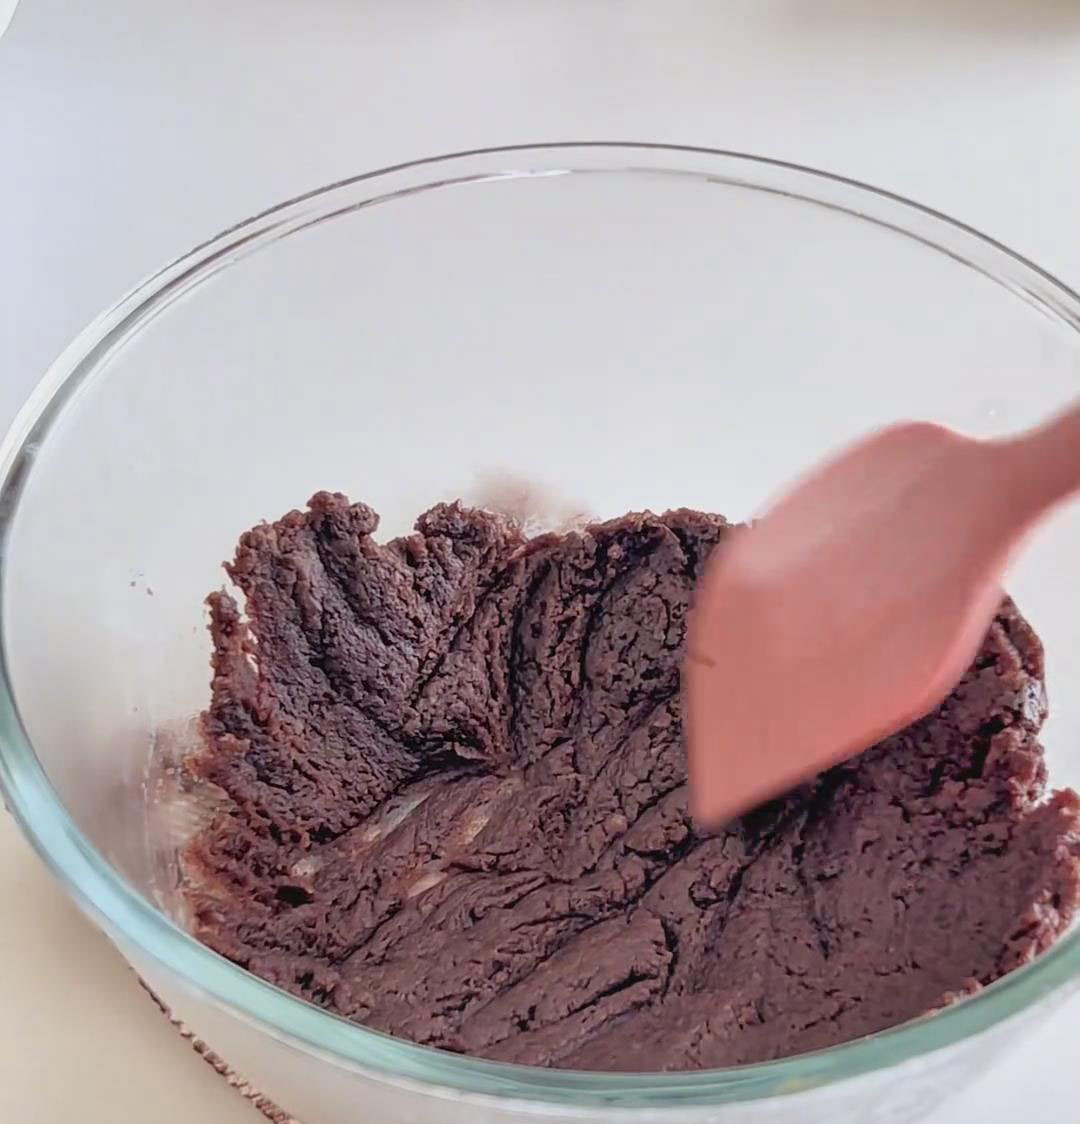
Step 3: Incorporate the eggs
Beat the eggs and add them in 3–4 additions, mixing thoroughly each time.
After all the eggs are added, the batter should be thick, smooth, and shiny. When you lift the whisk, the batter should fall slowly and form a “V” shape or a thick ribbon that holds its shape for a few seconds.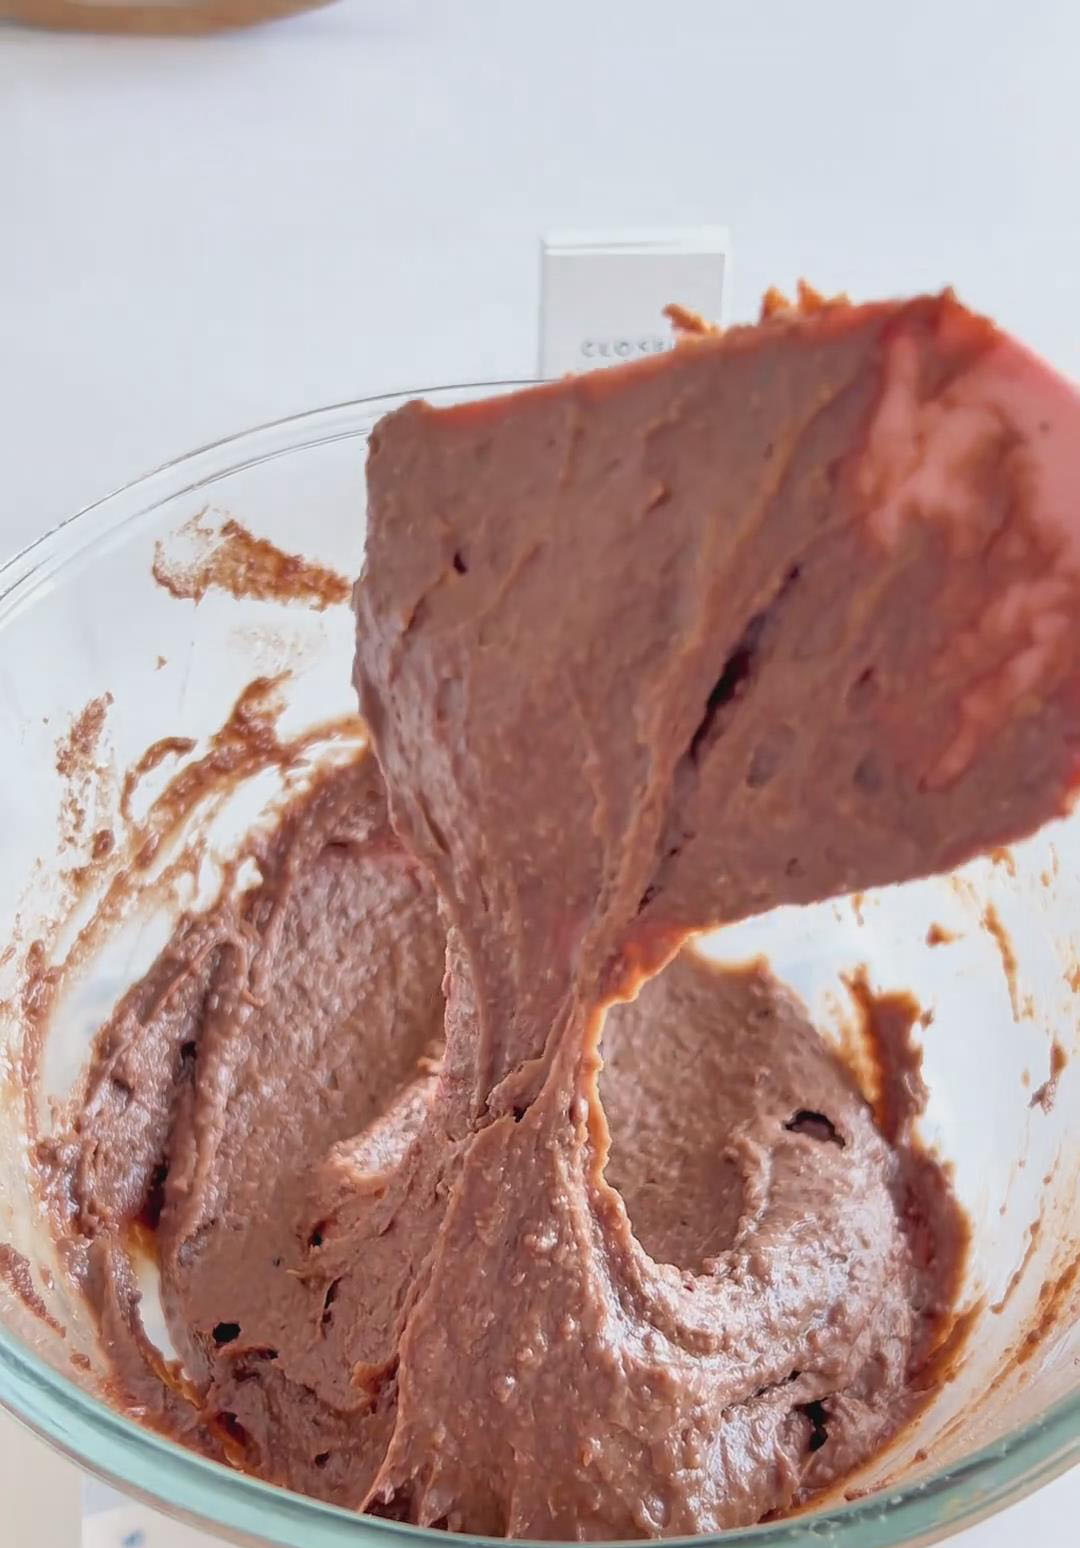
Step 4: Bake the puff layers
Divide the batter into two equal portions and pipe each into the bottom of a lined 6-inch pan, about 1 cm thick.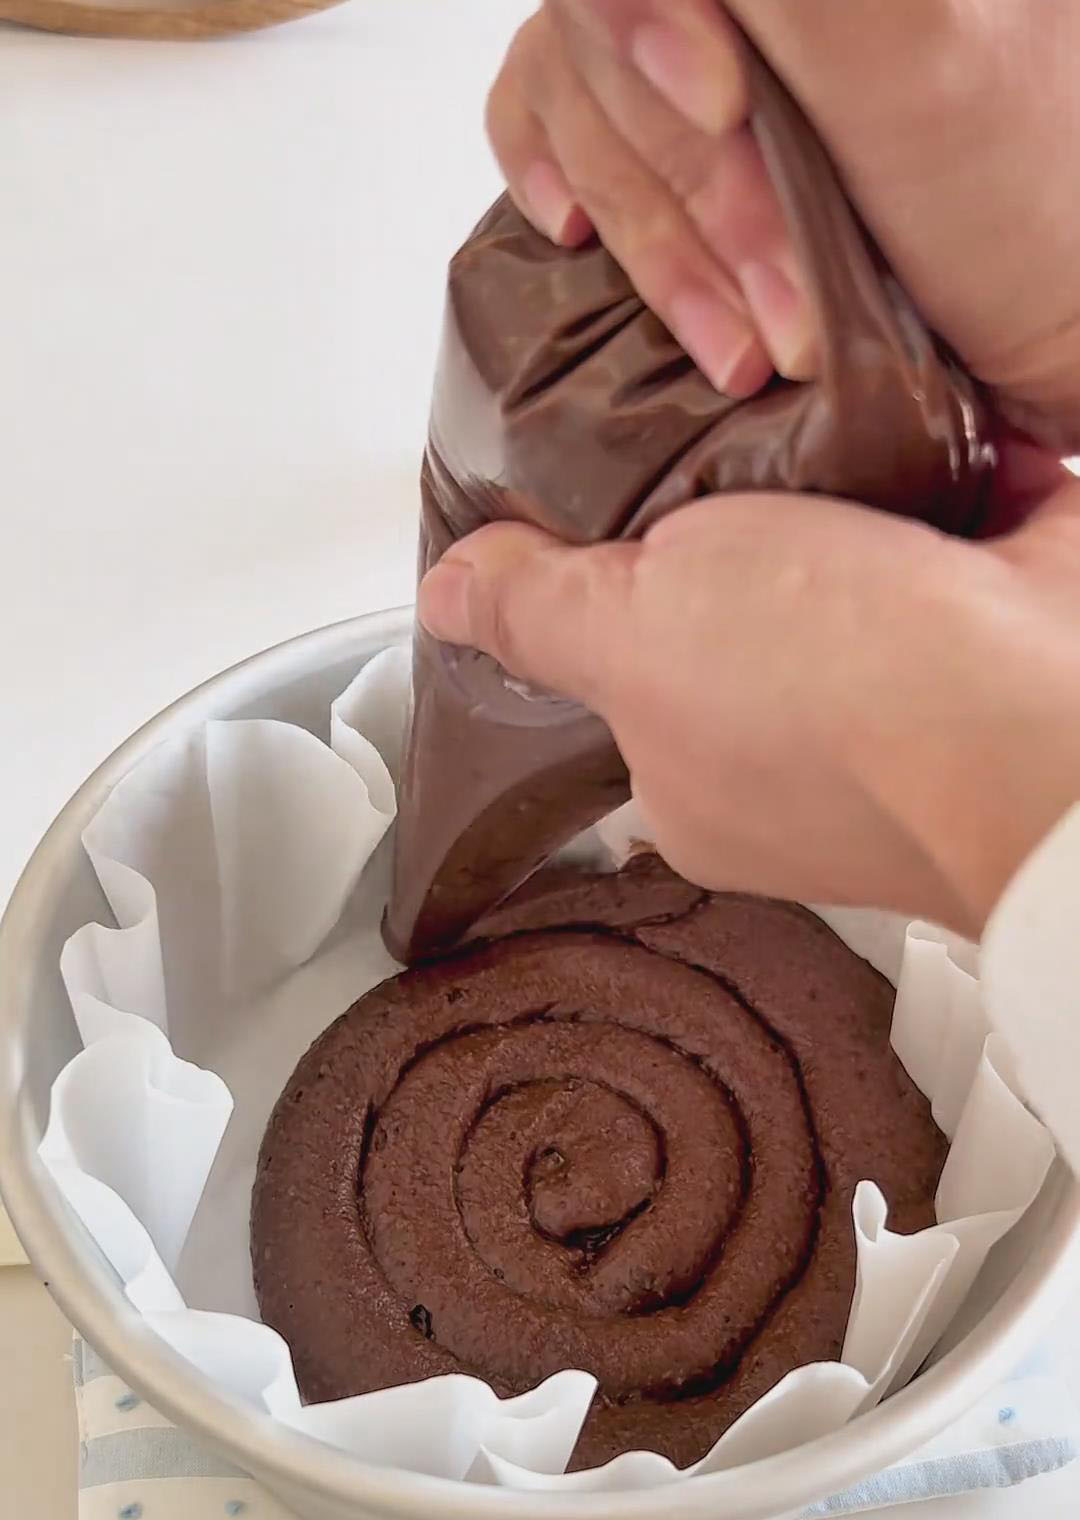
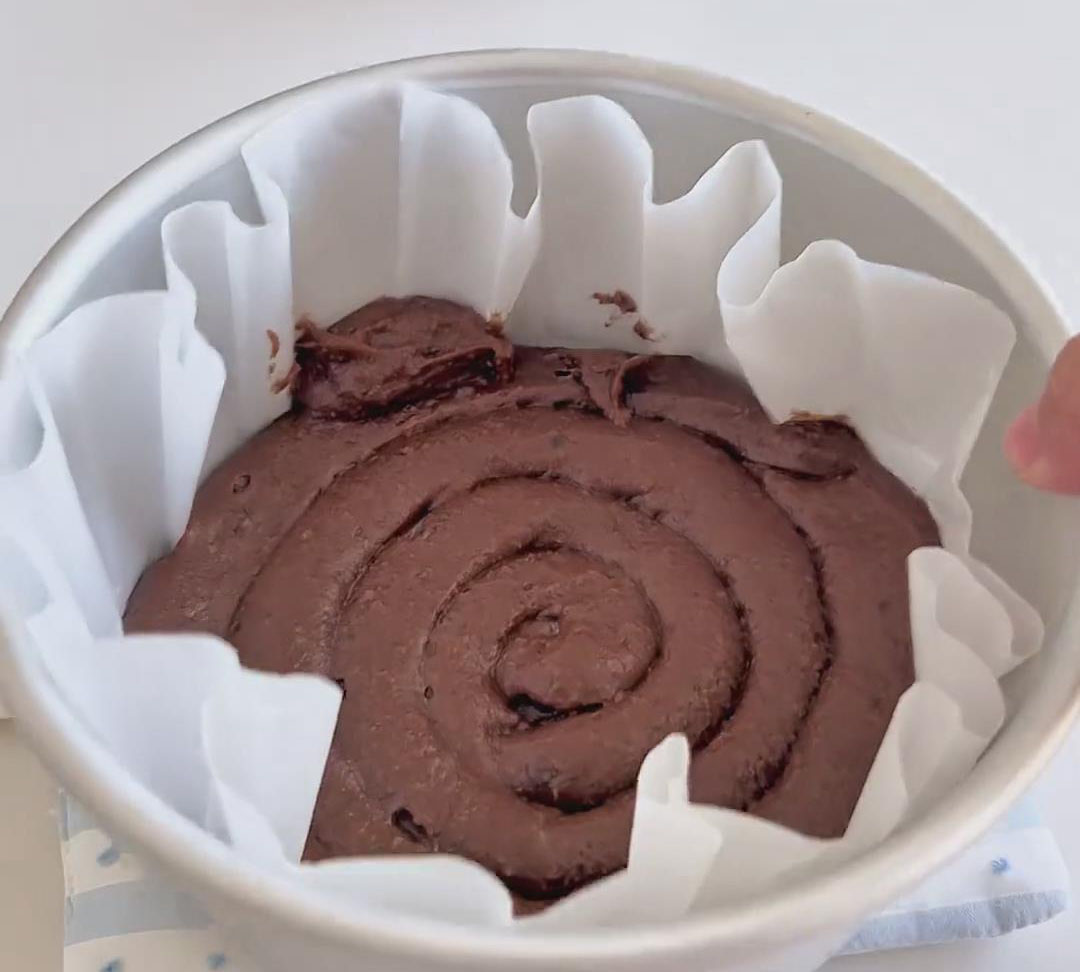
Bake at 190°C for 25 minutes until puffed, dry, and lightly golden.
Do not open the oven during baking.
Cool completely on a wire rack for about 30 minutes.
Step 5: Make the Oreo cream filling
While the shells are cooling, prepare the filling.
In a bowl, mix softened cream cheese and sugar until smooth and lump-free.
Add the heavy cream and whip until thick but still slightly flowing.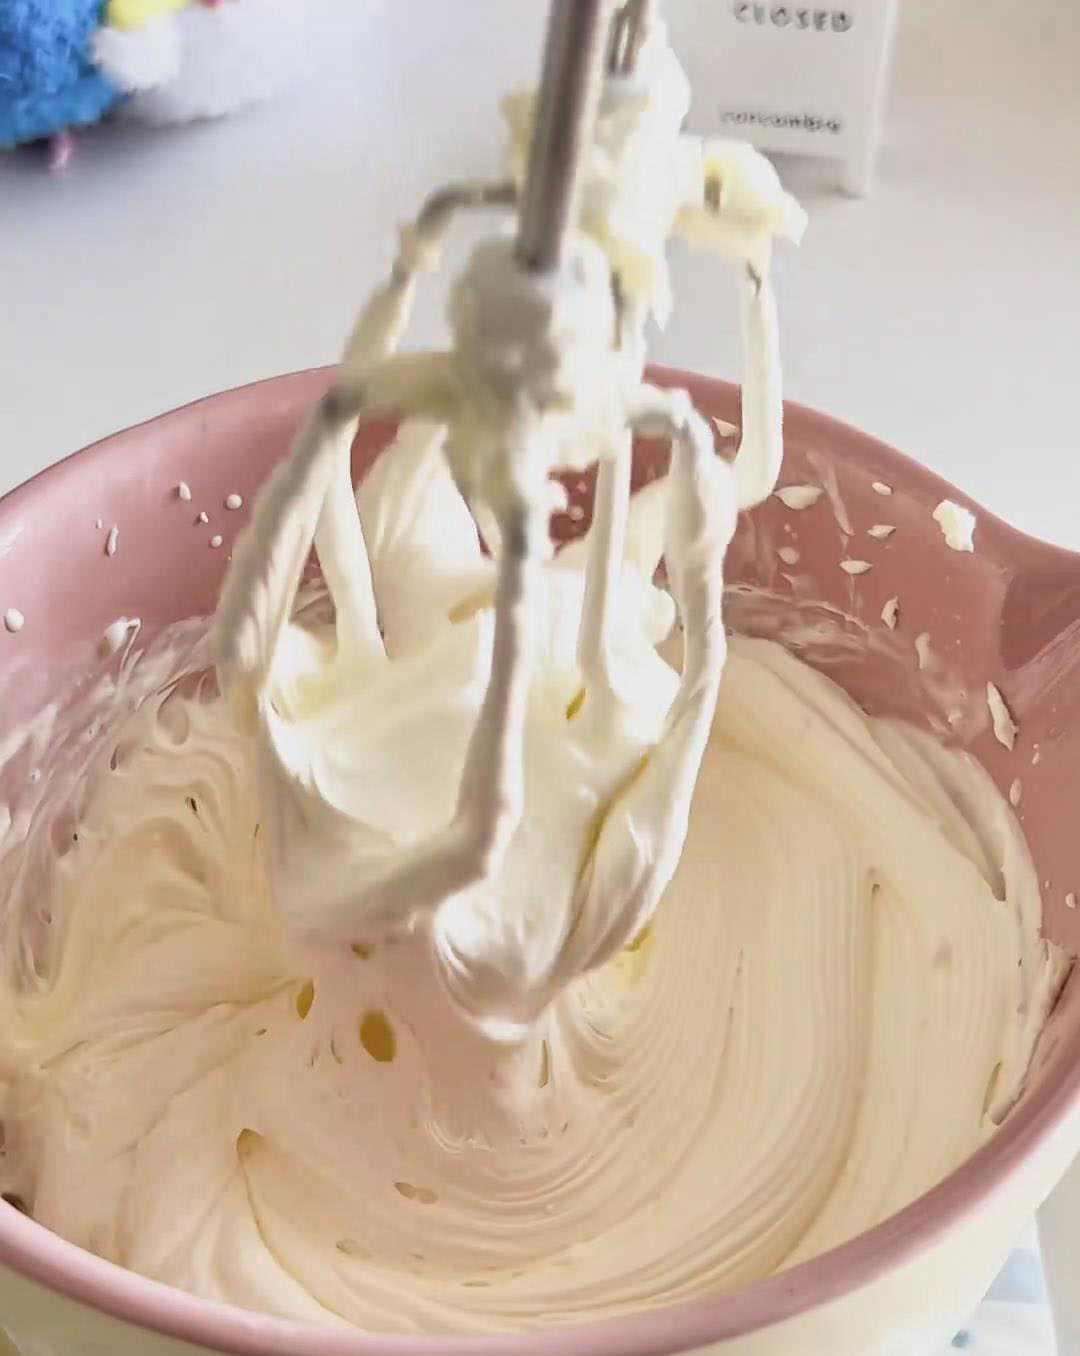
Do not whip to stiff peaks.
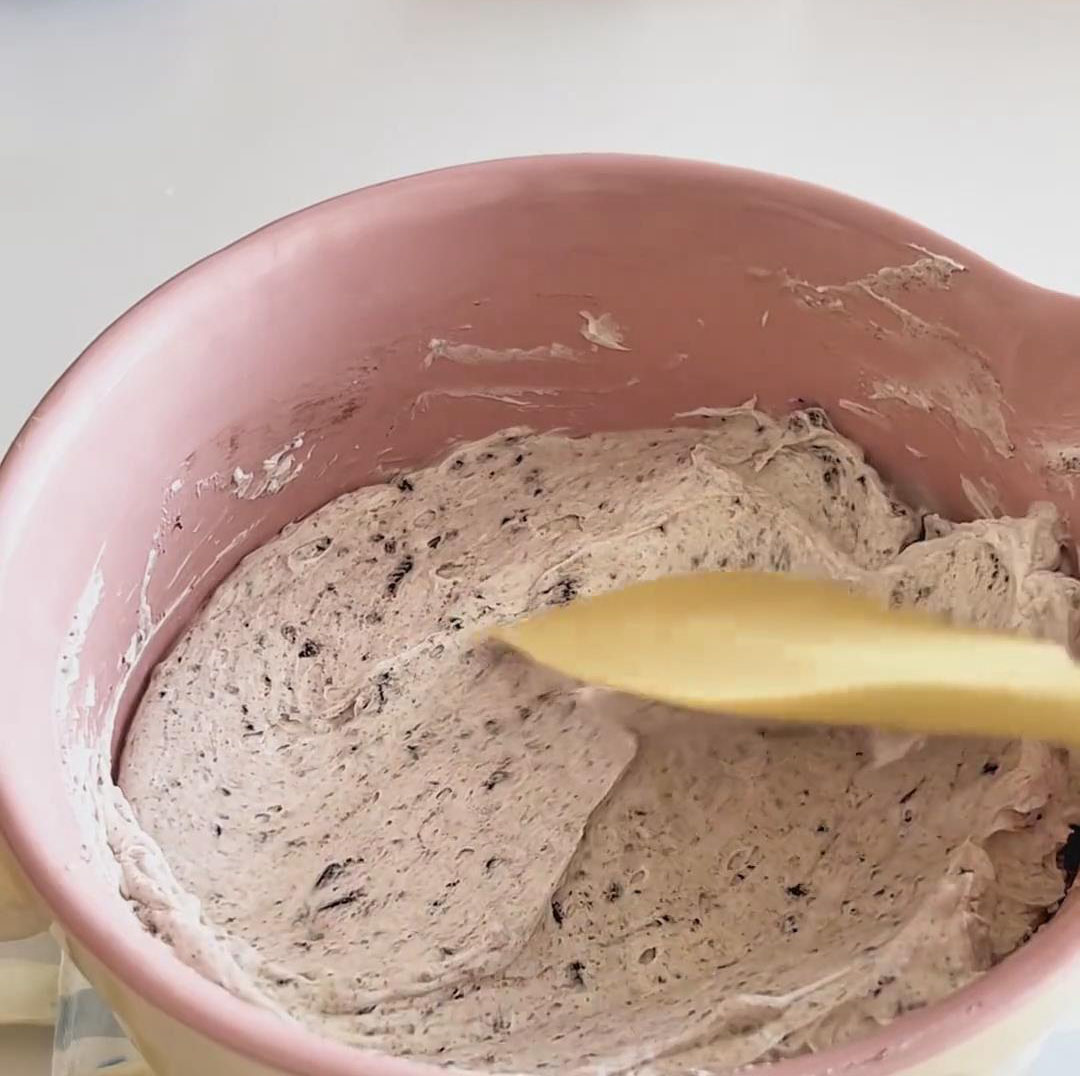
Fold in the Oreo crumbs gently until evenly distributed.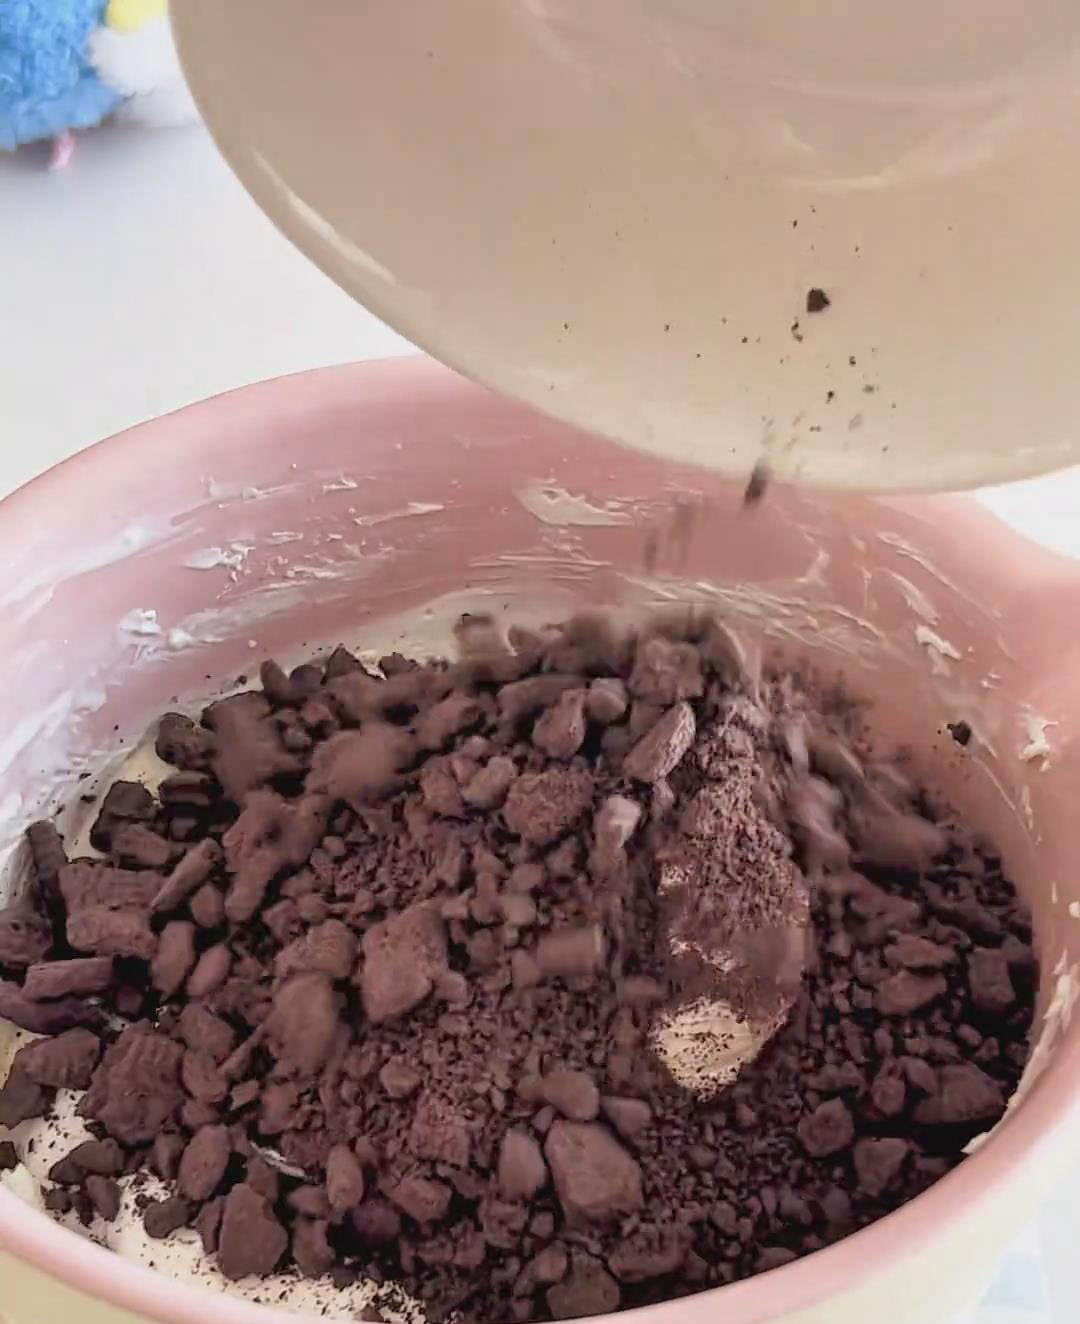
Transfer to a piping bag.
Step 6: Assemble and freeze the cake
Keep one puff layer in the same pan it was baked in.
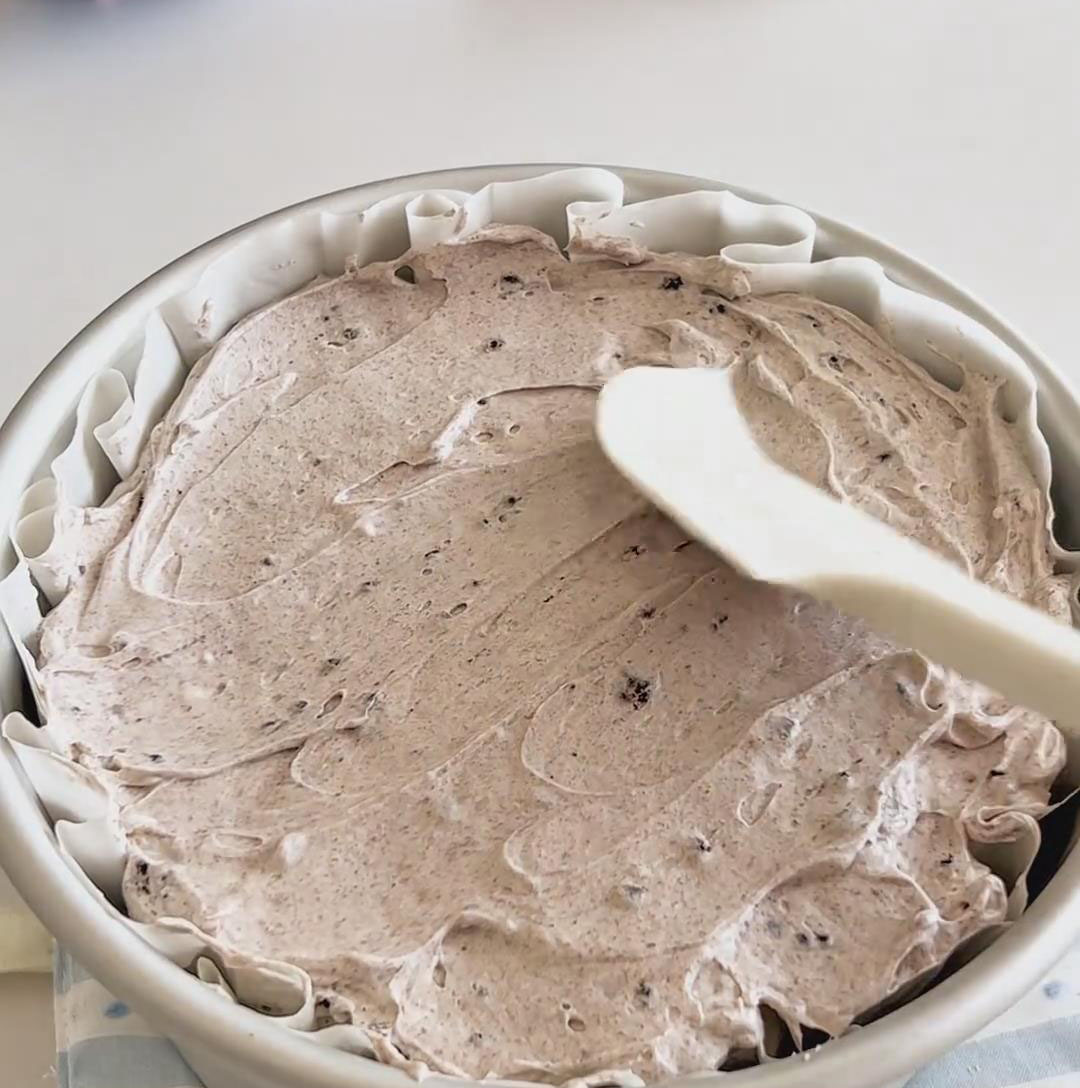
Pipe the Oreo cream generously over the top, spreading it into a smooth, even layer.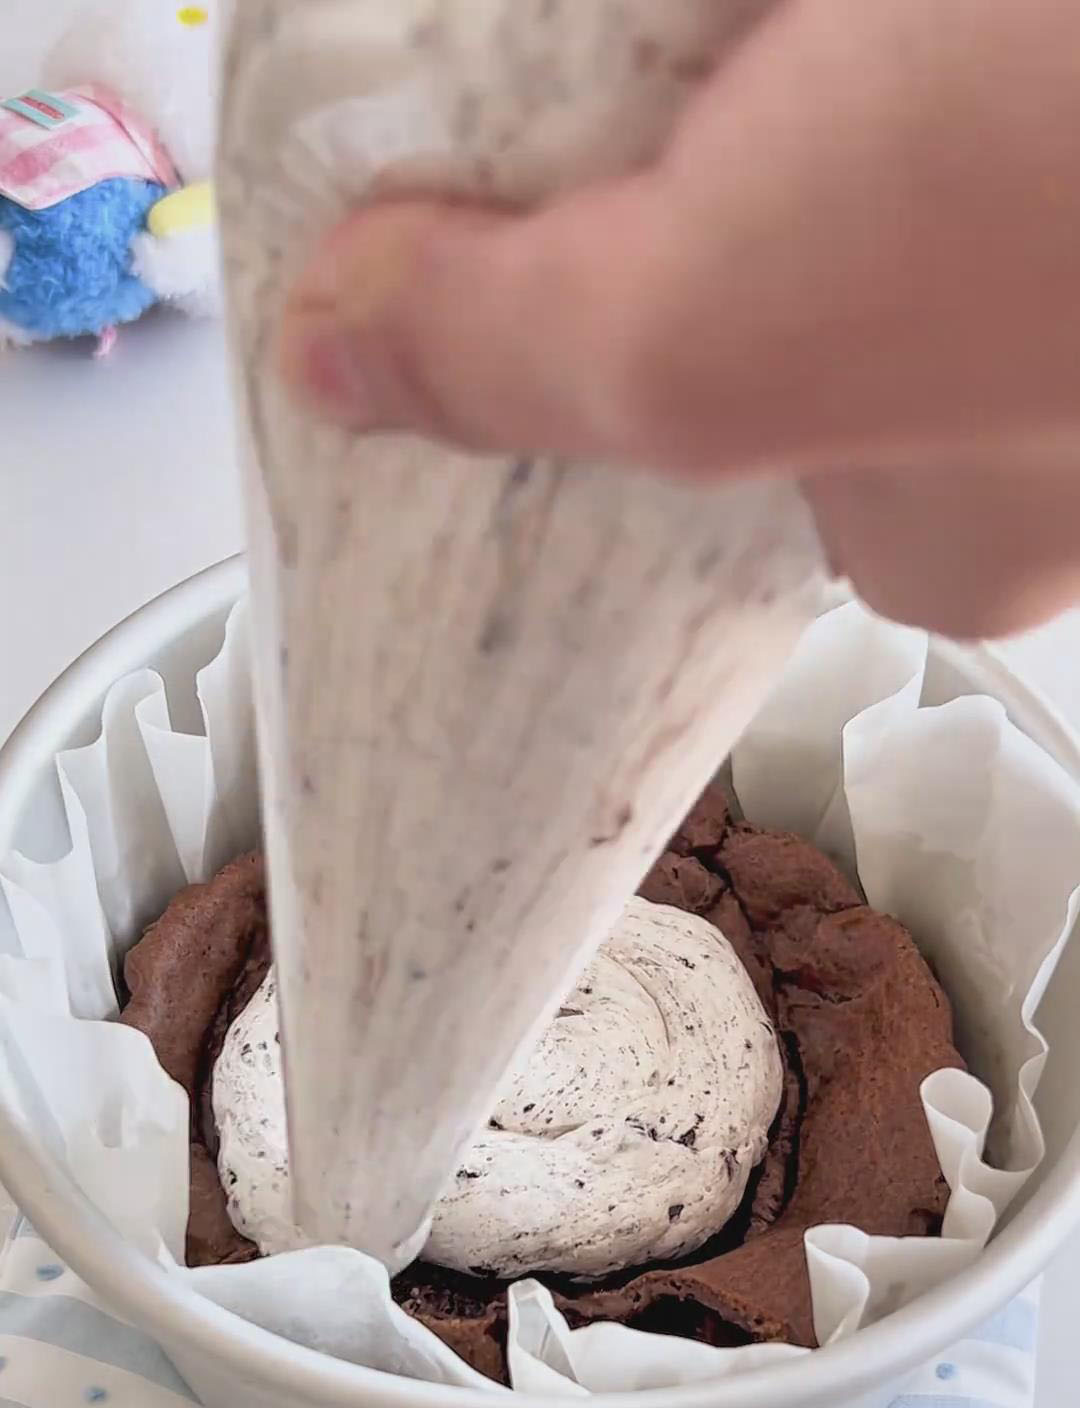
 Carefully place the second puff shell on top of the filling, pressing down gently.
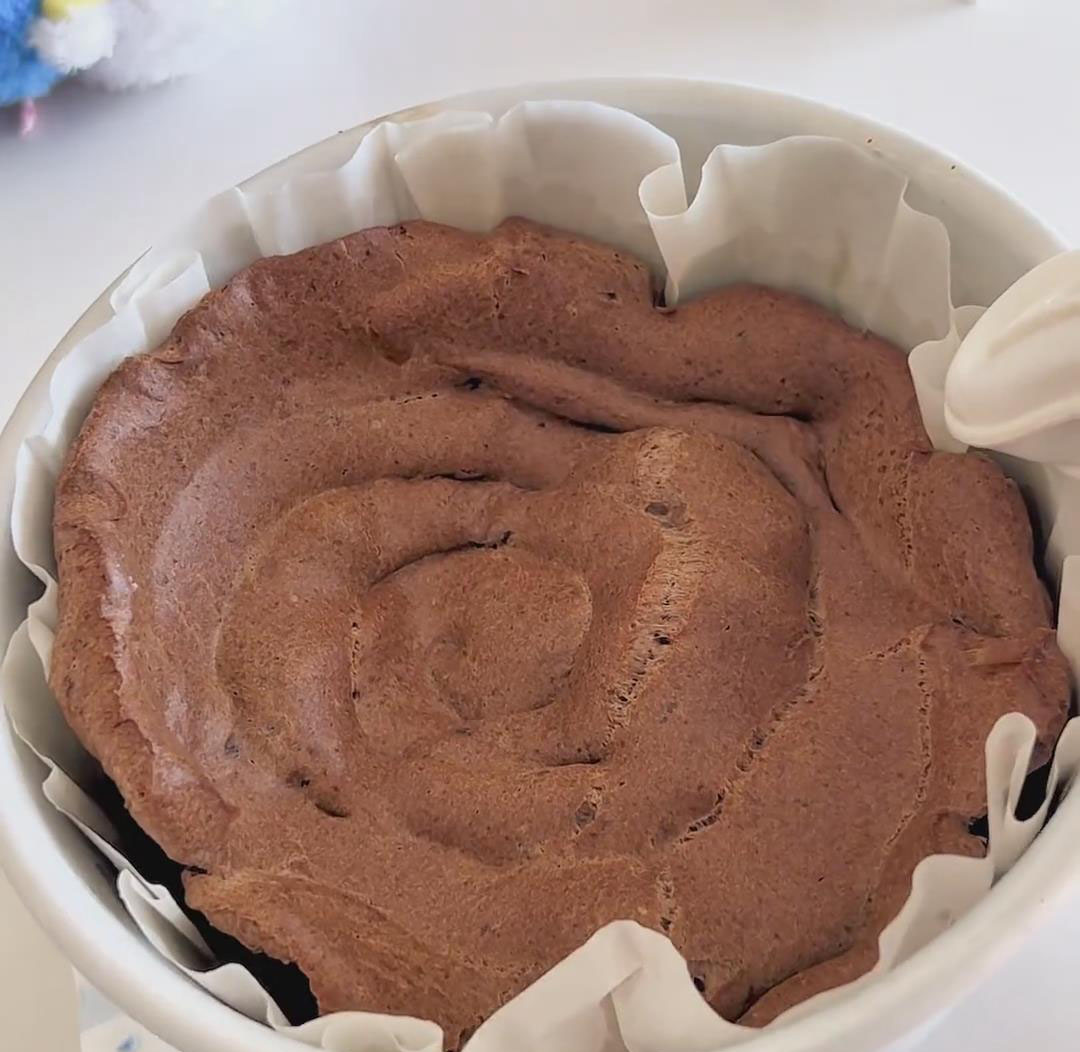
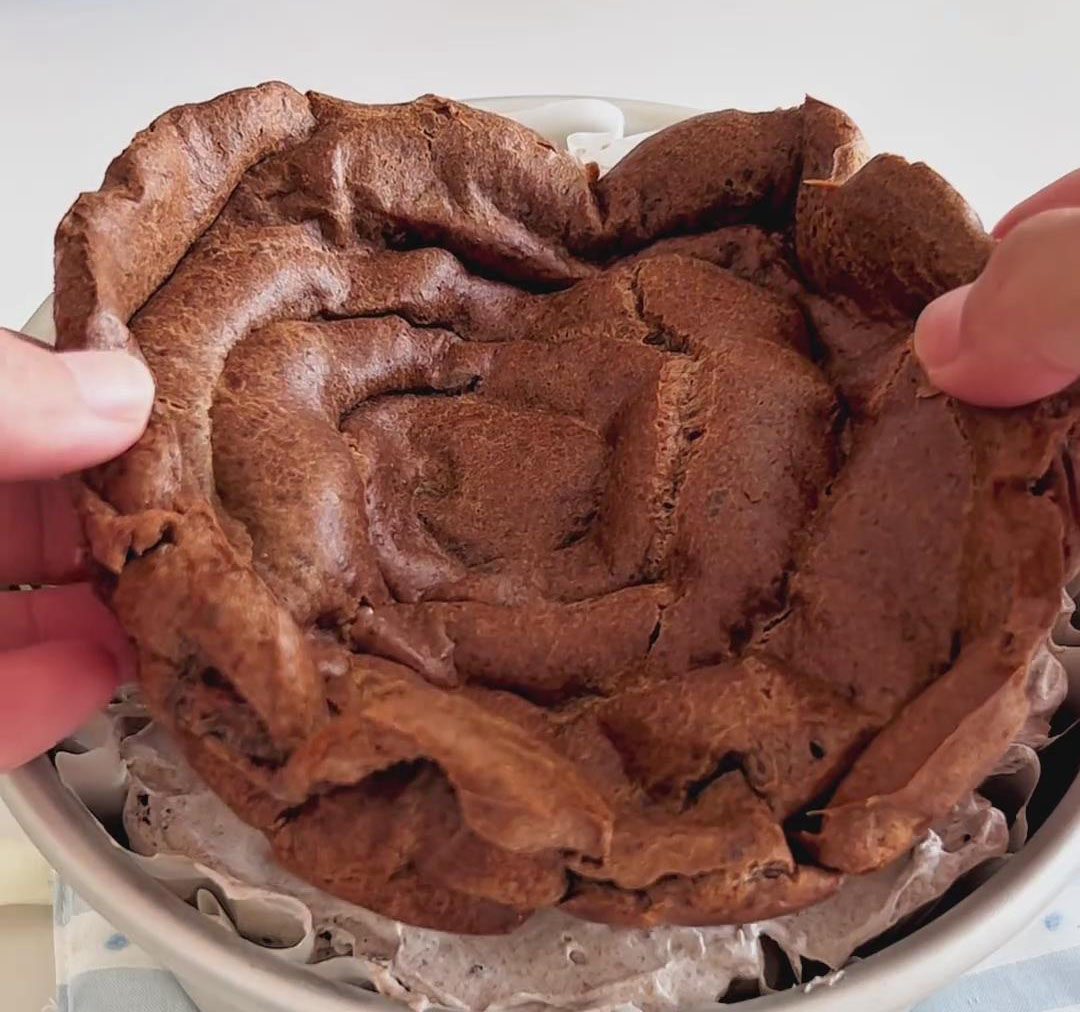
Transfer the assembled cake to the freezer and let it set for at least 1 hour. Before serving, dust the top generously with cocoa powder.
Tips & Tricks
Bring the milk mixture fully to a boil before adding the flour—this helps the dough gelatinize properly.
Add eggs gradually and watch the texture, not the quantity.
Don’t open the oven during baking.
For a crispier shell, increase the oven to 200°C for the last 5 minutes.
Cream cheese must be completely softened or the cream will be grainy.
Only whip the cream to a thick, flowy consistency for that ice-cream-like texture.
Fold in Oreo crumbs gently to keep their crunch.
Frequently Asked Questions
Why did my choux pastry collapse?
Most likely the oven door was opened too early or the batter was too runny. Make sure the batter forms an inverted triangle and never open the oven during baking.
Why is my filling too firm or too soft?
If it’s firm, the cream was over-whipped.
If it’s too soft, the cream cheese may not have been softened enough.
How should I store this cake?
Freeze for 3–5 days for an ice-cream-like texture or refrigerate for 2–3 days for a softer, creamy bite.
Can I make this ahead of time?
Yes! This cake holds up beautifully after chilling, making it perfect for advance preparation.
Easy Oreo Puff Pastry Cake — Bakery Style at Home
Ingredients
For the Cocoa Puff Shells
- 60 g unsalted butter
- 10 g fine granulated sugar
- 1 g salt
- 150 g milk
- 80 g cake flour / low-protein flour
- 10 g cocoa powder
- 3 eggs room temperature
For the Oreo Cream Filling
- 200 g cream cheese softened
- 30 g fine granulated sugar
- 200 g whipping cream
- 50 g Oreo cookie crumbs filling removed
For Decoration
- Cocoa powder for dusting
Instructions
Step 1: Prepare and preheat
- Begin by taking your eggs and cream cheese out of the refrigerator to bring them to room temperature.
- Preheat your oven to 190°C (374°F) with both top and bottom heat.
- Line the bottoms of two 6-inch round cake pans with parchment paper.
Step 2: Make the cocoa puff dough
- In a small saucepan, add the butter, sugar, salt, and milk. Heat on low, stirring until everything melts, then bring to a boil.
- Turn off the heat.
- Mix the cake flour and cocoa powder together and sift.
- Immediately pour the dry mixture into the hot milk mixture.
- Use a spatula to mix quickly until a smooth dough forms and no dry flour remains.
- Return the saucepan to low heat and cook the dough for 1 minute, stirring constantly to remove excess moisture.
- Transfer the dough to a bowl and allow it to cool until warm to the touch.
Step 3: Incorporate the eggs
- Beat the eggs and add them in 3–4 additions, mixing thoroughly each time.
- After all the eggs are added, the batter should be thick, smooth, and shiny. When you lift the whisk, the batter should fall slowly and form a "V" shape or a thick ribbon that holds its shape for a few seconds.
Step 4: Bake the puff layers
- Divide the batter into two equal portions and pipe each into the bottom of a lined 6-inch pan, about 1 cm thick.
- Bake at 190°C for 25 minutes until puffed, dry, and lightly golden.
- Do not open the oven during baking.
- Cool completely on a wire rack for about 30 minutes.
Step 5: Make the Oreo cream filling
- While the shells are cooling, prepare the filling.
- In a bowl, mix softened cream cheese and sugar until smooth and lump-free.
- Add the heavy cream and whip until thick but still slightly flowing.
- Do not whip to stiff peaks.
- Fold in the Oreo crumbs gently until evenly distributed.
- Transfer to a piping bag.
Step 6: Assemble and freeze the cake
- Keep one puff layer in the same pan it was baked in.
- Pipe the Oreo cream generously over the top, spreading it into a smooth, even layer.
- Carefully place the second puff shell on top of the filling, pressing down gently.
- Transfer the assembled cake to the freezer and let it set for at least 1 hour. Before serving, dust the top generously with cocoa powder.
Leave a Reply