
Looking for the best homemade ladyfingers for tiramisu? These crispy, airy savoiardi are oil-free, low sugar, and super easy to make. This 2-egg recipe creates perfectly light biscuits that soak beautifully for tiramisu or taste amazing on their own.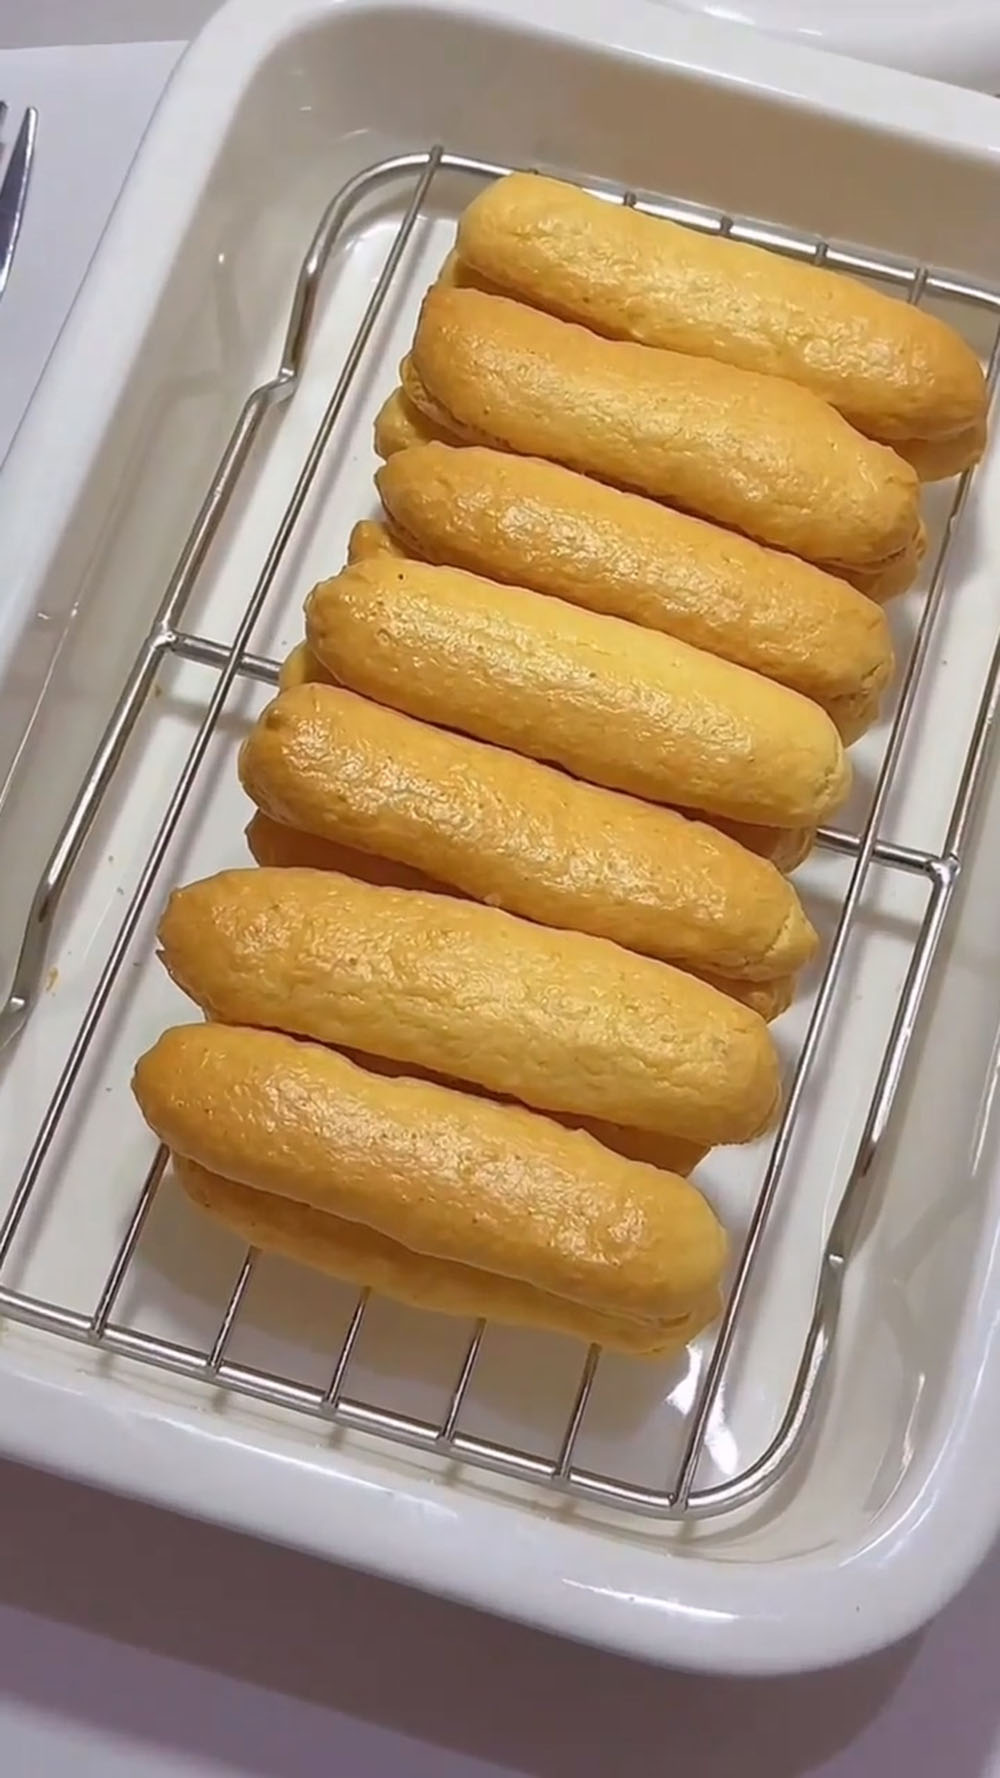
If you love tiramisu, you definitely know about ladyfingers—they’re the classic biscuits that give this dessert its signature light and sponge-like layers.
What surprised me the most is how easy they are to make at home. I used to think ladyfingers were something you had to buy, but once I tried, I realized the ingredients are incredibly simple and the process is very straightforward.
This version is even better—it’s oil-free and lower in sugar, so it feels lighter while still being crisp, airy, and delicious.
So next time you’re planning to make tiramisu, and you have a little extra time, I really recommend giving these homemade ladyfingers a try. Once you make them from scratch, it’s hard to go back to store-bought!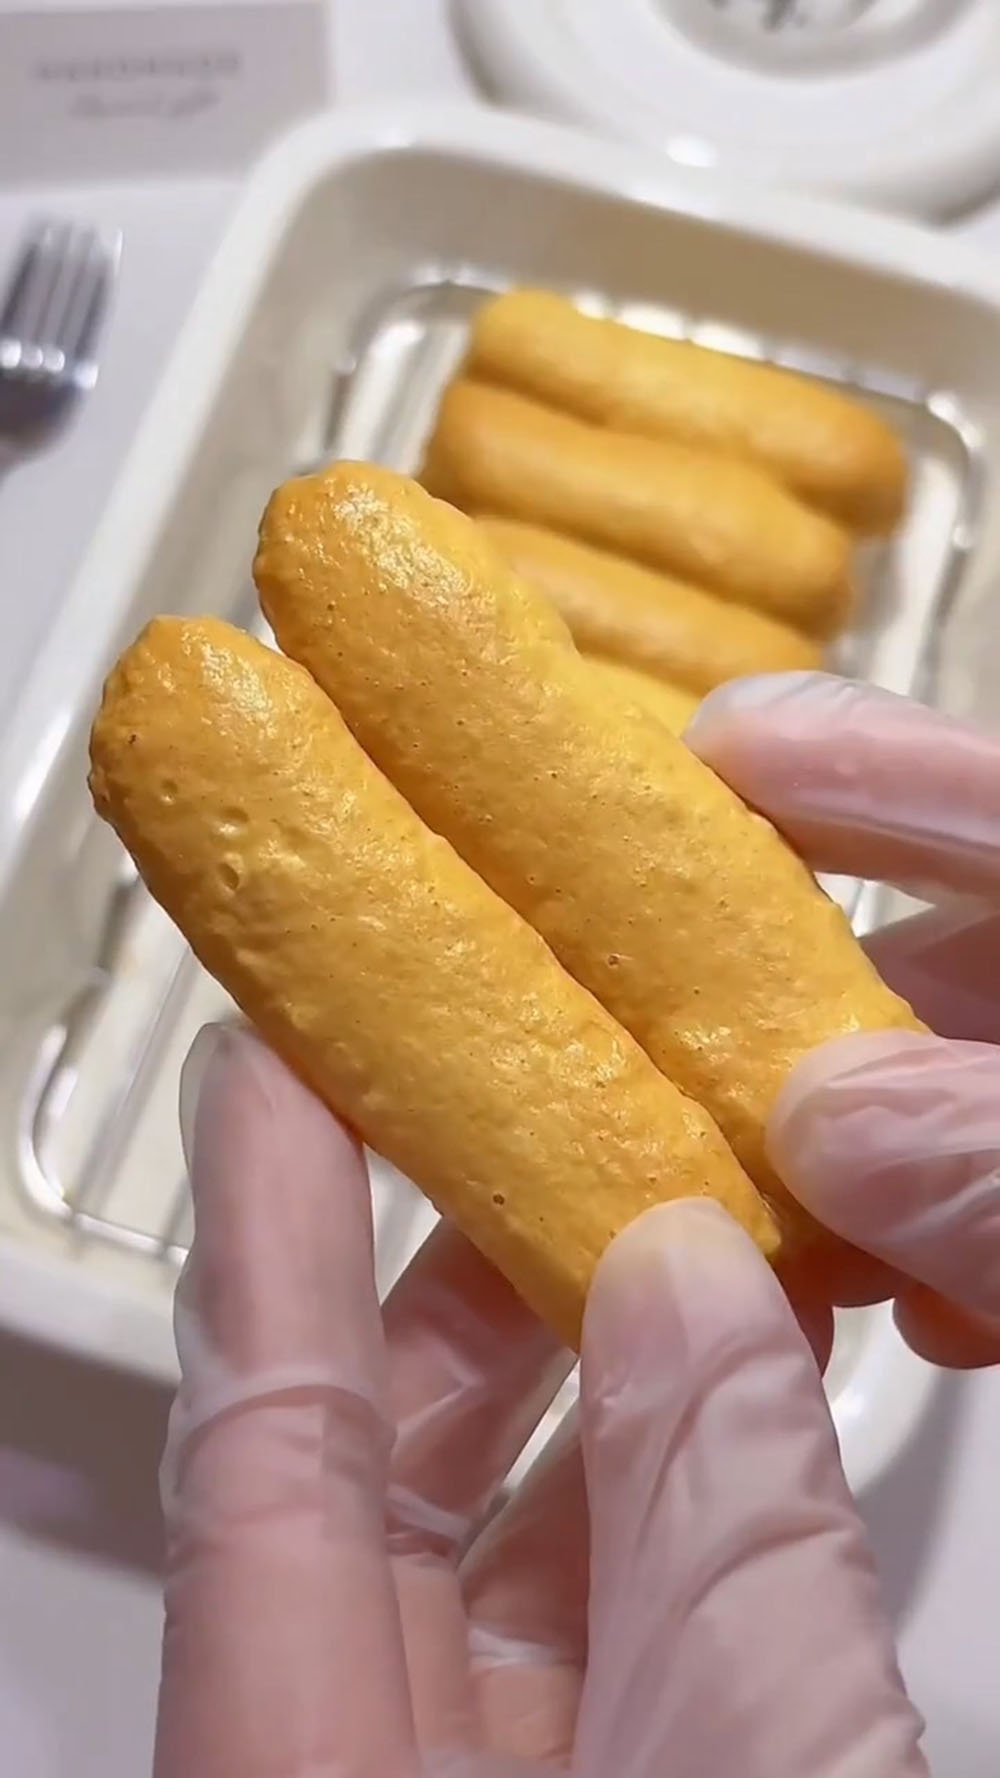
Why You’ll Love This Recipe
- Oil-free and low in sugar. A lighter, healthier take on classic ladyfingers without sacrificing texture or flavour.
- Made with just 2 eggs. No complicated ingredient list—just eggs, sugar, flour, and a touch of cornstarch.
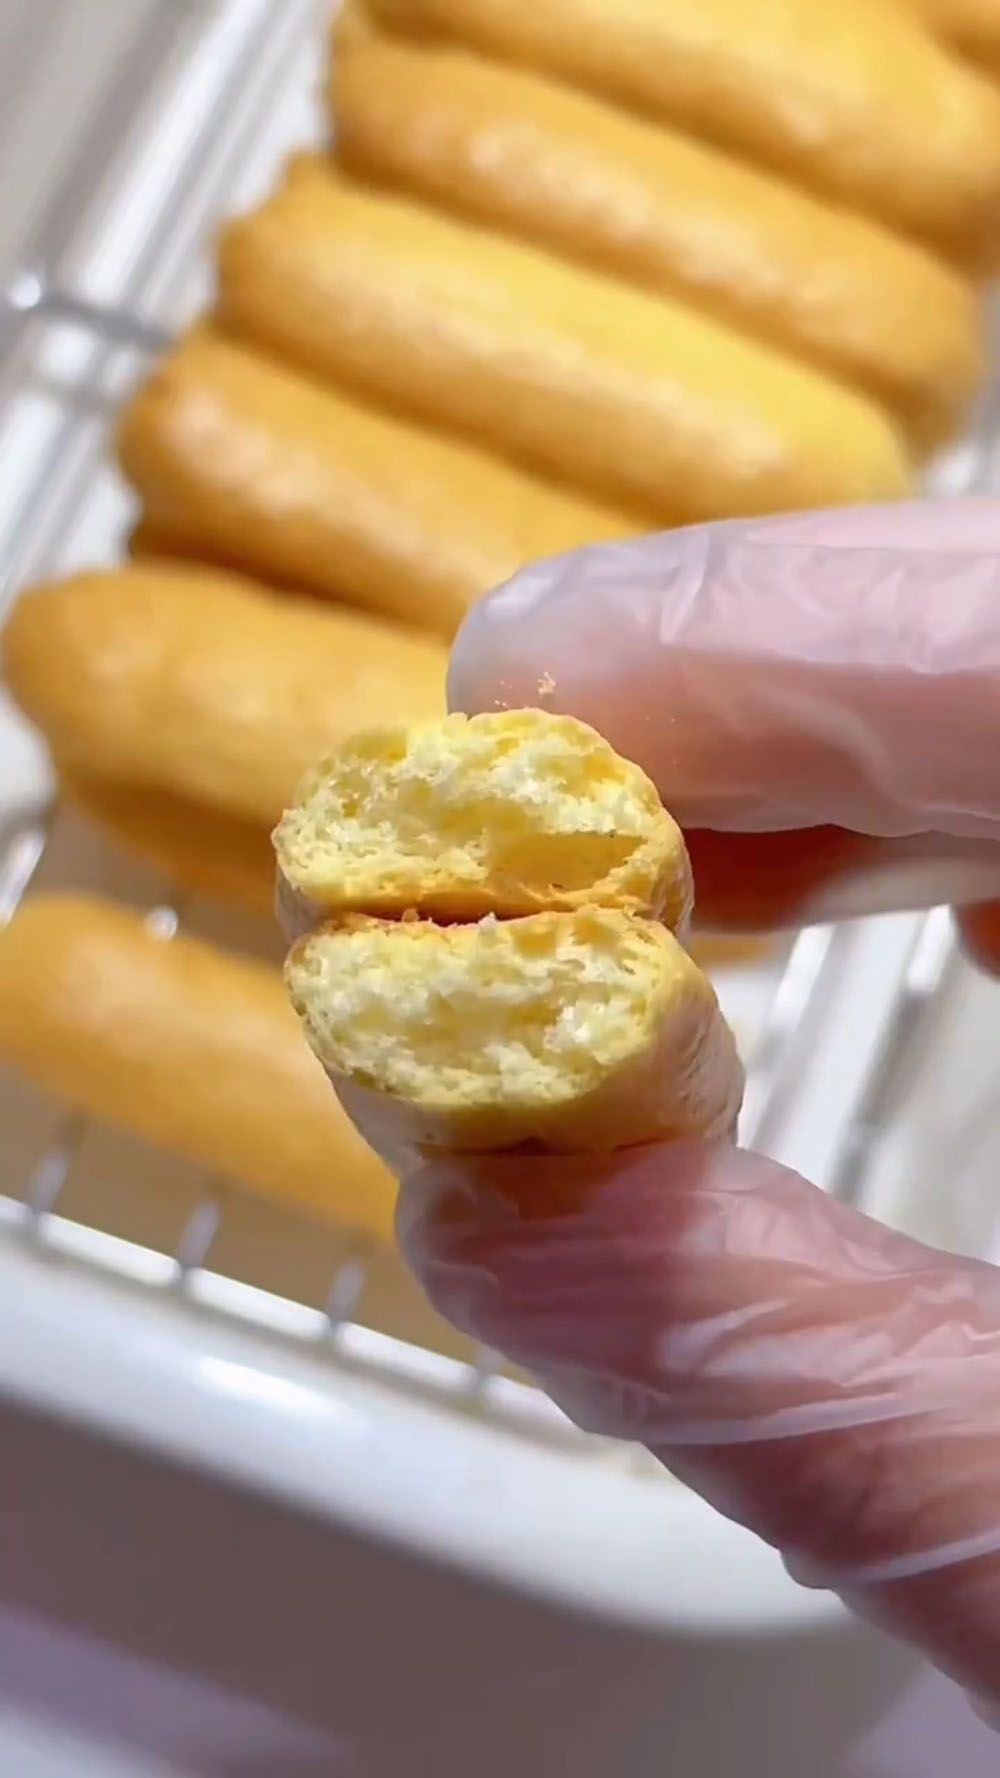
- Perfectly crisp and light. These ladyfingers have that signature airy crunch that makes them ideal for tiramisu or snacking on their own.
- Beginner-friendly. With simple steps and no tricky techniques, this is a fail-proof recipe for first-timers.
- Versatile. Use them in tiramisu, trifles, or as a delicate cookie to enjoy with tea or coffee.
Ingredients and Substitutions
- Eggs – This recipe uses both the whites and yolks, separated. The whipped egg whites provide structure and lift, while the yolks add richness and a tender crumb. I recommend using large eggs at room temperature for the most stable meringue.
- Granulated sugar – We’re keeping the sugar low in this recipe, using just 25g to sweeten the ladyfingers without making them cloying.
- Cornstarch – Just 5g of cornstarch adds a little extra stability to the whipped egg whites and contributes to the delicate, crisp texture of the finished ladyfingers.
- Cake flour – Cake flour has a lower protein content than all-purpose flour, which keeps these ladyfingers tender and light. If you only have all-purpose flour, you can substitute by replacing 2 tablespoons of the flour with cornstarch per cup—but for this small quantity, I do recommend seeking out cake flour for the best results.
- Lemon juice – A few drops of lemon juice help stabilize the egg whites as they whip.
Ingredients
Ladyfingers
2 large eggs (separated)
25 g granulated sugar
5 g cornstarch
60 g cake flour
4 drops lemon juice
How to Make Oil-Free Low-Sugar Ladyfingers
Prepare the egg whites
Separate the egg whites from the yolks carefully, making sure no yolk gets into the whites. Place the egg whites in a clean, dry mixing bowl and transfer to the freezer for exactly 10 minutes. This brief chill makes the whites more stable and easier to whip into a fine, glossy meringue.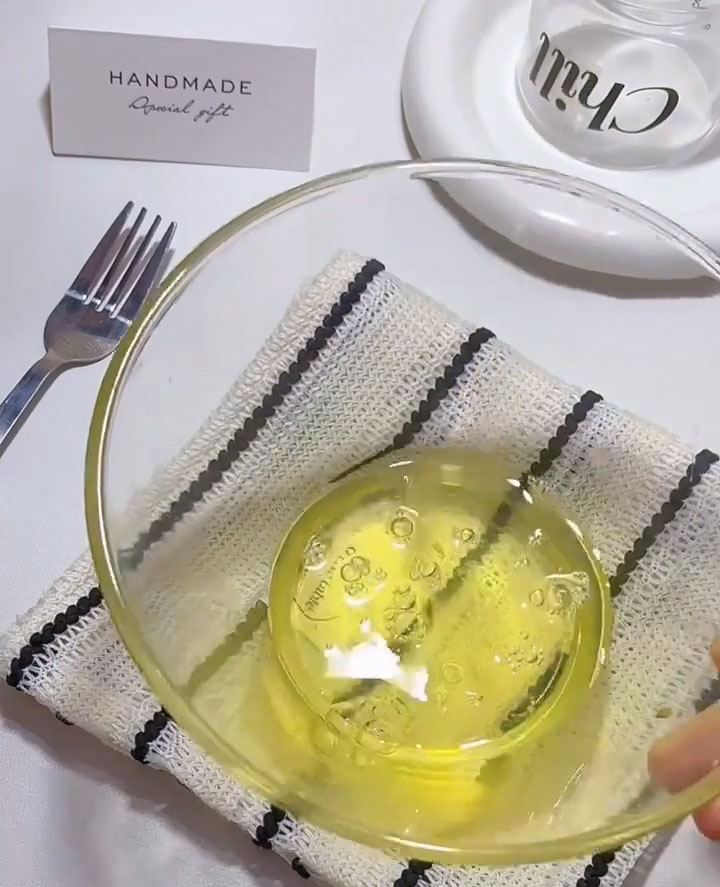
Whip the meringue
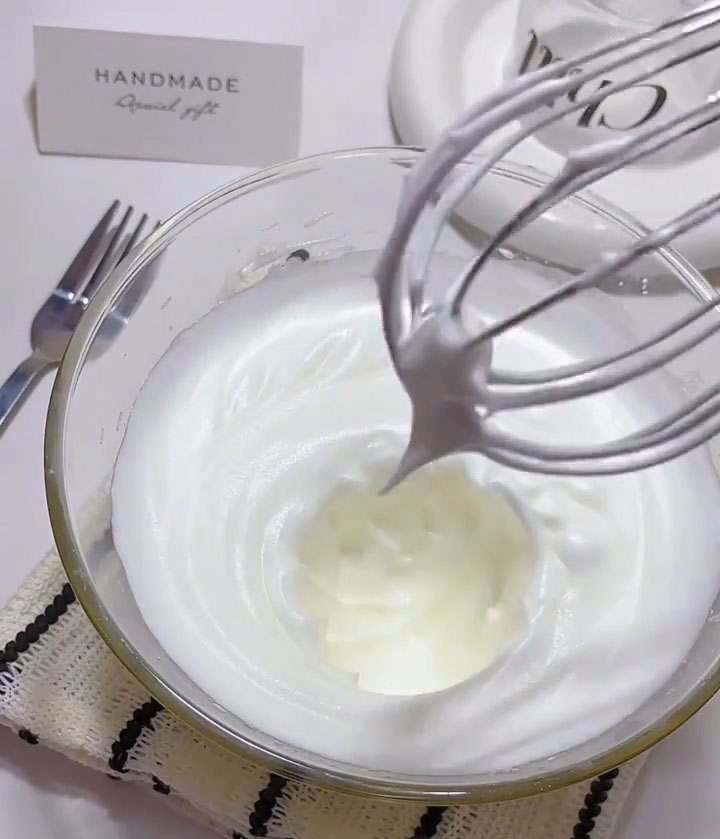
Remove the chilled egg whites from the freezer. Add 4 drops of lemon juice, 25g granulated sugar, and 5g cornstarch. Using an electric hand mixer, whip the egg whites until they reach stiff peaks. You’ll know they’re ready when you lift the beaters and the meringue stands up straight with a firm, sharp tip that doesn’t droop.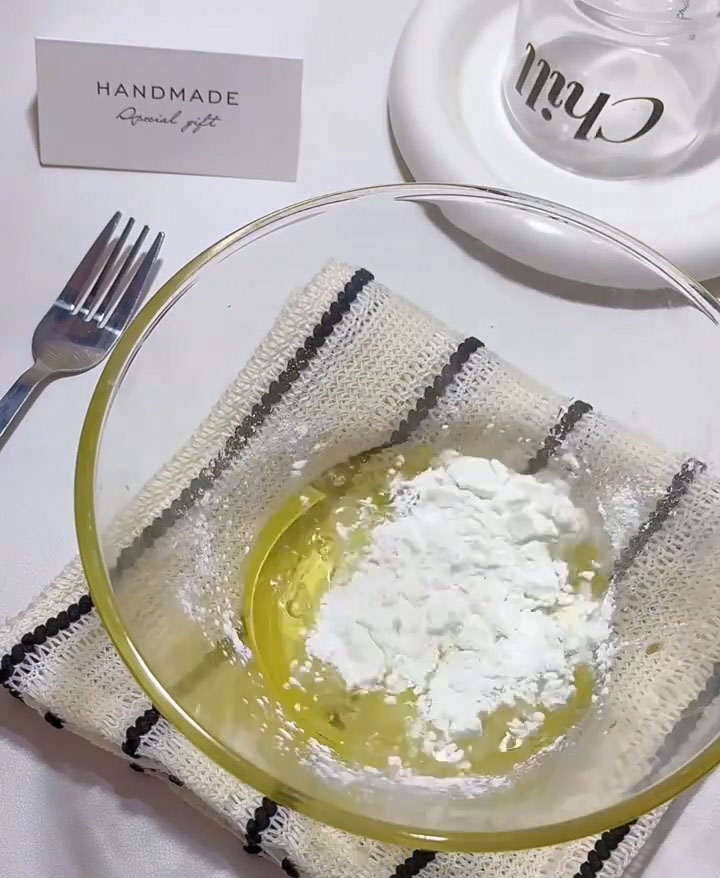
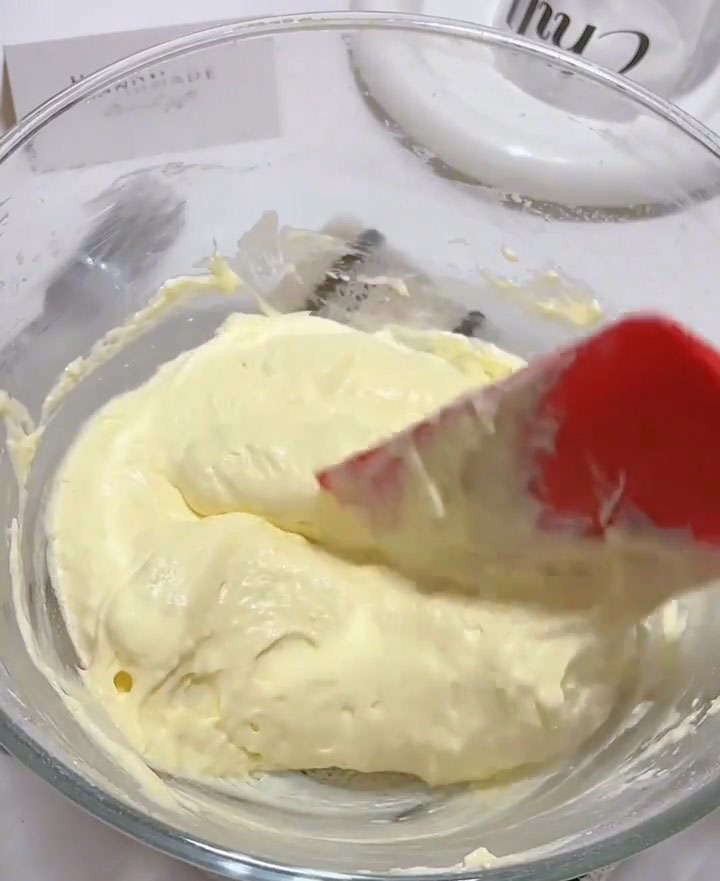
Add the egg yolks
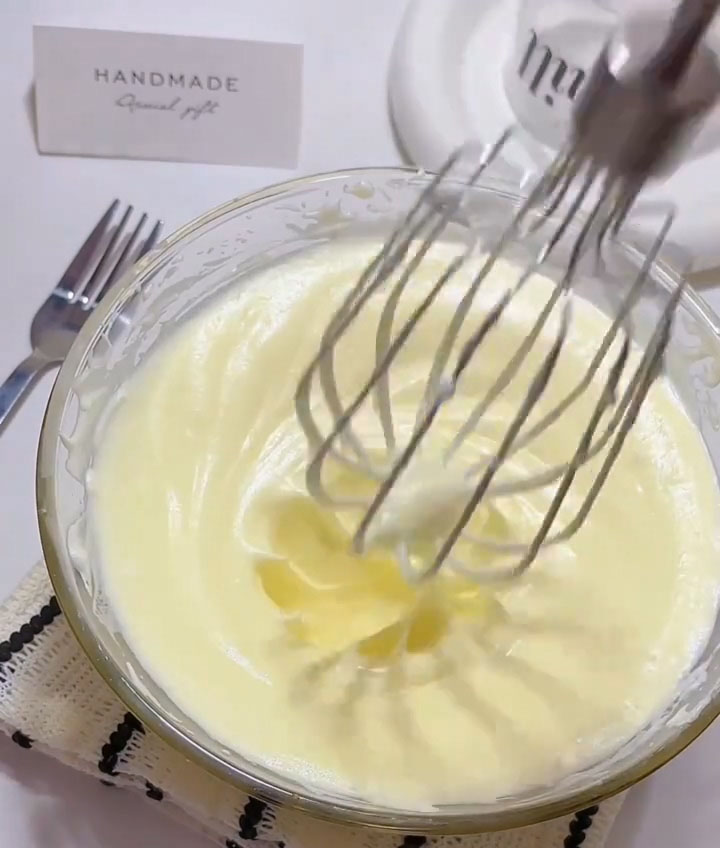
Add the egg yolks to the whipped meringue. Mix on low speed just until the yolks are roughly incorporated. Don’t overmix here—you want the mixture to remain light and airy, with a pale yellow colour throughout.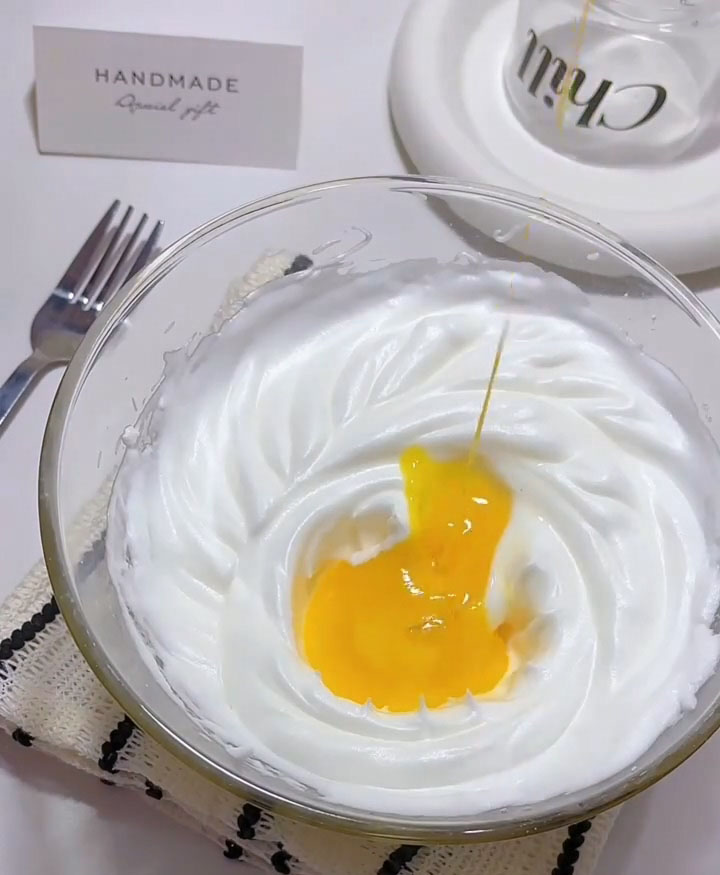
Fold in the flour
Sift 60g of cake flour directly over the egg mixture. Using a spatula, fold gently until just combined. Use a cutting motion through the center, scrape along the bottom, and turn the bowl as you go. Stop as soon as the flour disappears—overmixing will deflate the batter and result in dense, flat ladyfingers.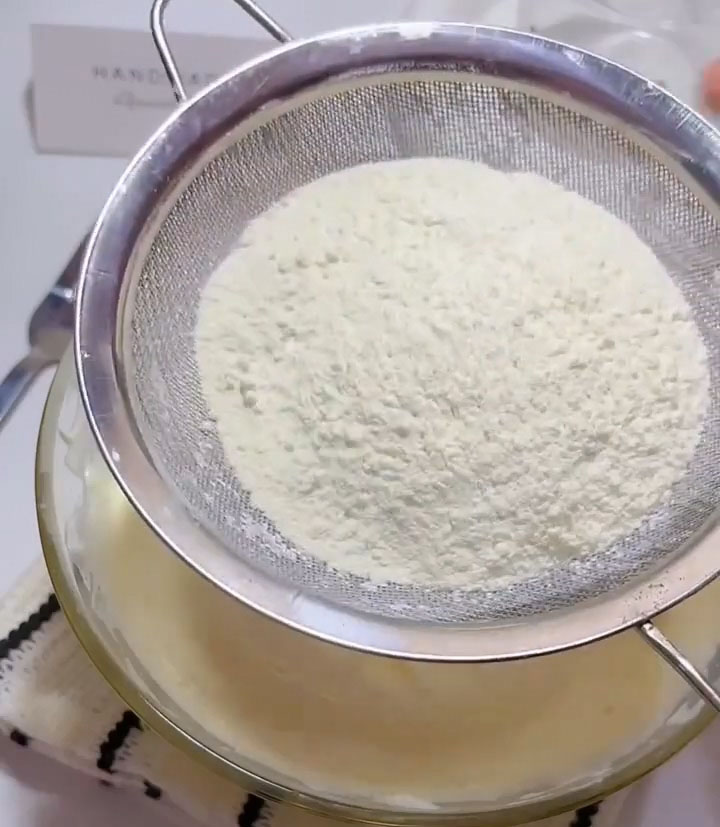
Pipe the ladyfingers
Transfer the batter to a piping bag fitted with a round tip (or simply snip the end off a disposable piping bag). Line a baking tray with parchment paper and pipe the batter into finger-length strips, about 8-10cm long. Leave a little space between each one, as they’ll spread slightly during baking.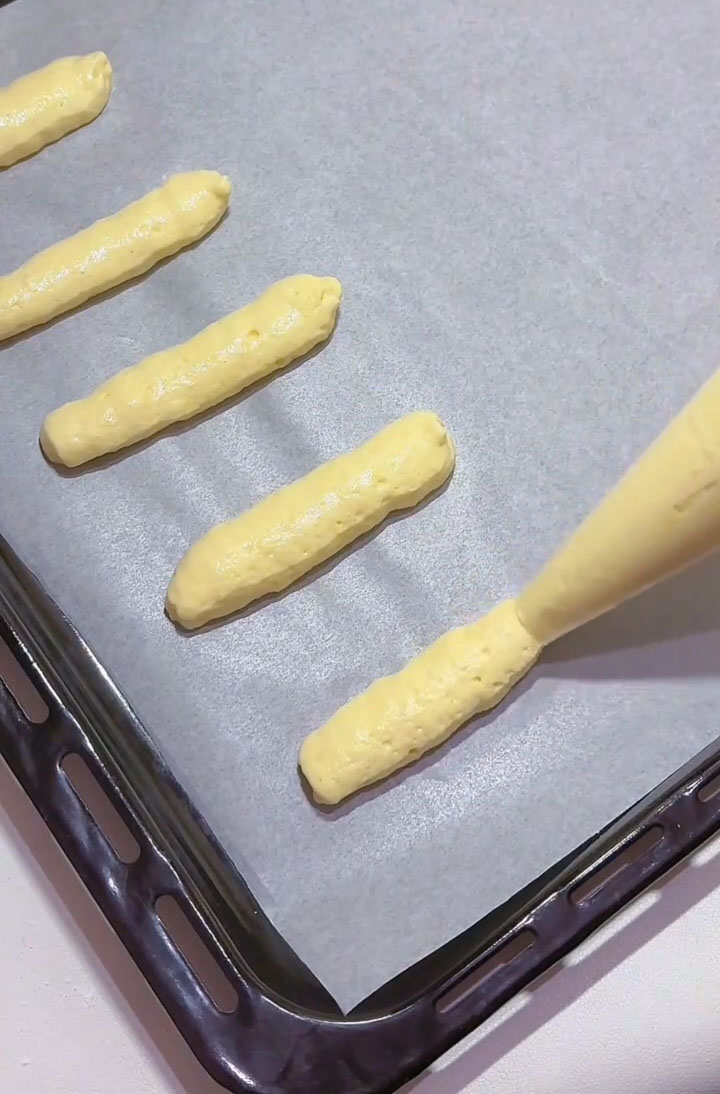
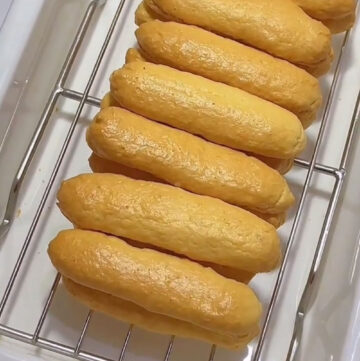
Bake to crisp perfection
Preheat your oven according to your oven type. For a convection (fan-forced) oven, bake at 150℃ for 25 minutes. For a conventional (standard) oven, bake at 170℃ for 25 minutes. The ladyfingers are ready when they’re golden around the edges, crisp to the touch, and lift easily off the parchment paper.
Cool completely
Let the ladyfingers cool on the baking tray for 5 minutes, then transfer them to a wire rack to cool completely. They will continue to crisp up as they cool.
Tips & tricks
- Chill your egg whites before whipping. This helps them whip up faster and more stable, giving you better volume.
- Don’t overmix the batter after adding flour. Overmixing will deflate the air and result in dense ladyfingers.
- Aim for stiff peaks. The meringue should hold its shape firmly—this is key to achieving that signature airy texture.
- Pipe evenly. Try to keep your ladyfingers similar in size so they bake evenly.
- Bake until fully crisp. They should feel dry and light—this ensures they hold up well in tiramisu.
Frequently asked questions
Why are my ladyfingers flat?
Your egg whites may not have been whipped to stiff peaks, or the batter may have been overmixed, causing it to deflate.
Why are my ladyfingers not crispy?
They may need more baking time. Bake until they are fully dry and crisp to the touch.
Can I use all-purpose flour instead of cake flour?
Yes, but the texture may be slightly less delicate. Cake flour gives the best light and airy result.
Can I use these for tiramisu?
Absolutely! These are perfect for tiramisu—they absorb liquid beautifully while maintaining structure.
How should I store them?
Store in an airtight container at room temperature for a few days. Keep them dry so they stay crisp.
Easy Ladyfingers from Scratch (Crispy & Low Sugar)
Ingredients
- 2 large eggs separated
- 25 g granulated sugar
- 5 g cornstarch
- 60 g cake flour
- 4 drops lemon juice
Instructions
Prepare the egg whites
- Separate the egg whites from the yolks carefully, making sure no yolk gets into the whites. Place the egg whites in a clean, dry mixing bowl and transfer to the freezer for exactly 10 minutes. This brief chill makes the whites more stable and easier to whip into a fine, glossy meringue.
Whip the meringue
- Remove the chilled egg whites from the freezer. Add 4 drops of lemon juice, 25g granulated sugar, and 5g cornstarch. Using an electric hand mixer, whip the egg whites until they reach stiff peaks. You'll know they're ready when you lift the beaters and the meringue stands up straight with a firm, sharp tip that doesn't droop.
Add the egg yolks
- Add the egg yolks to the whipped meringue. Mix on low speed just until the yolks are roughly incorporated. Don't overmix here—you want the mixture to remain light and airy, with a pale yellow colour throughout.
Fold in the flour
- Sift 60g of cake flour directly over the egg mixture. Using a spatula, fold gently until just combined. Use a cutting motion through the center, scrape along the bottom, and turn the bowl as you go. Stop as soon as the flour disappears—overmixing will deflate the batter and result in dense, flat ladyfingers.
Pipe the ladyfingers
- Transfer the batter to a piping bag fitted with a round tip (or simply snip the end off a disposable piping bag). Line a baking tray with parchment paper and pipe the batter into finger-length strips, about 8-10cm long. Leave a little space between each one, as they'll spread slightly during baking.
Bake to crisp perfection
- Preheat your oven according to your oven type. For a convection (fan-forced) oven, bake at 150℃ for 25 minutes. For a conventional (standard) oven, bake at 170℃ for 25 minutes. The ladyfingers are ready when they're golden around the edges, crisp to the touch, and lift easily off the parchment paper.
Cool completely
- Let the ladyfingers cool on the baking tray for 5 minutes, then transfer them to a wire rack to cool completely. They will continue to crisp up as they cool.
Leave a Reply