
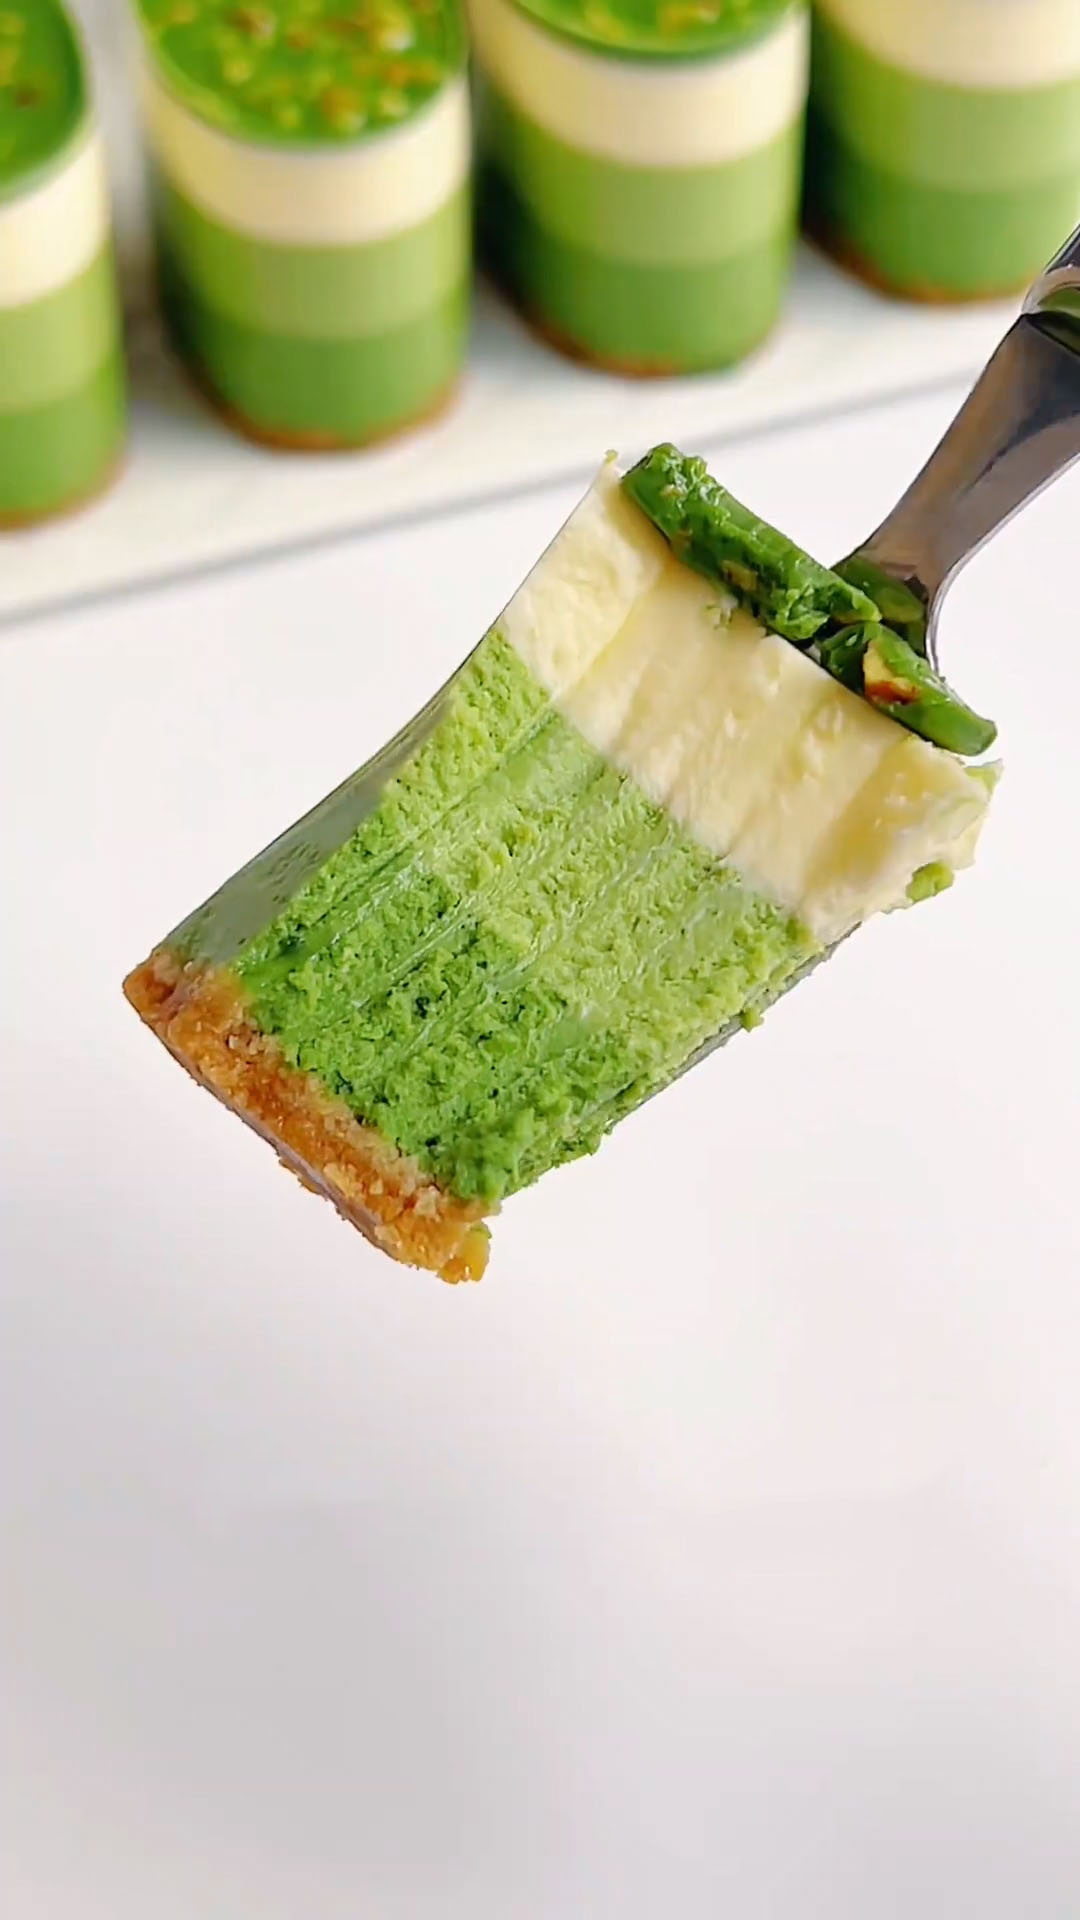
This no-bake matcha crunch cheesecake is a dessert that combines three delightful textures in every bite: a crisp biscuit base, a creamy matcha cheesecake layer, and a rich chocolate-nut crunch topping.
The best part? No oven is needed! Just mix, layer, and chill, and you’ll have a cake that looks as beautiful as it tastes.
Even beginners can make this recipe with confidence. Each bite brings together crispy, creamy, and crunchy textures with the perfect balance of matcha bitterness and creamy cheese.
It’s perfect for afternoon tea, holiday treats, or any occasion when you want a dessert that impresses both the eyes and the taste buds.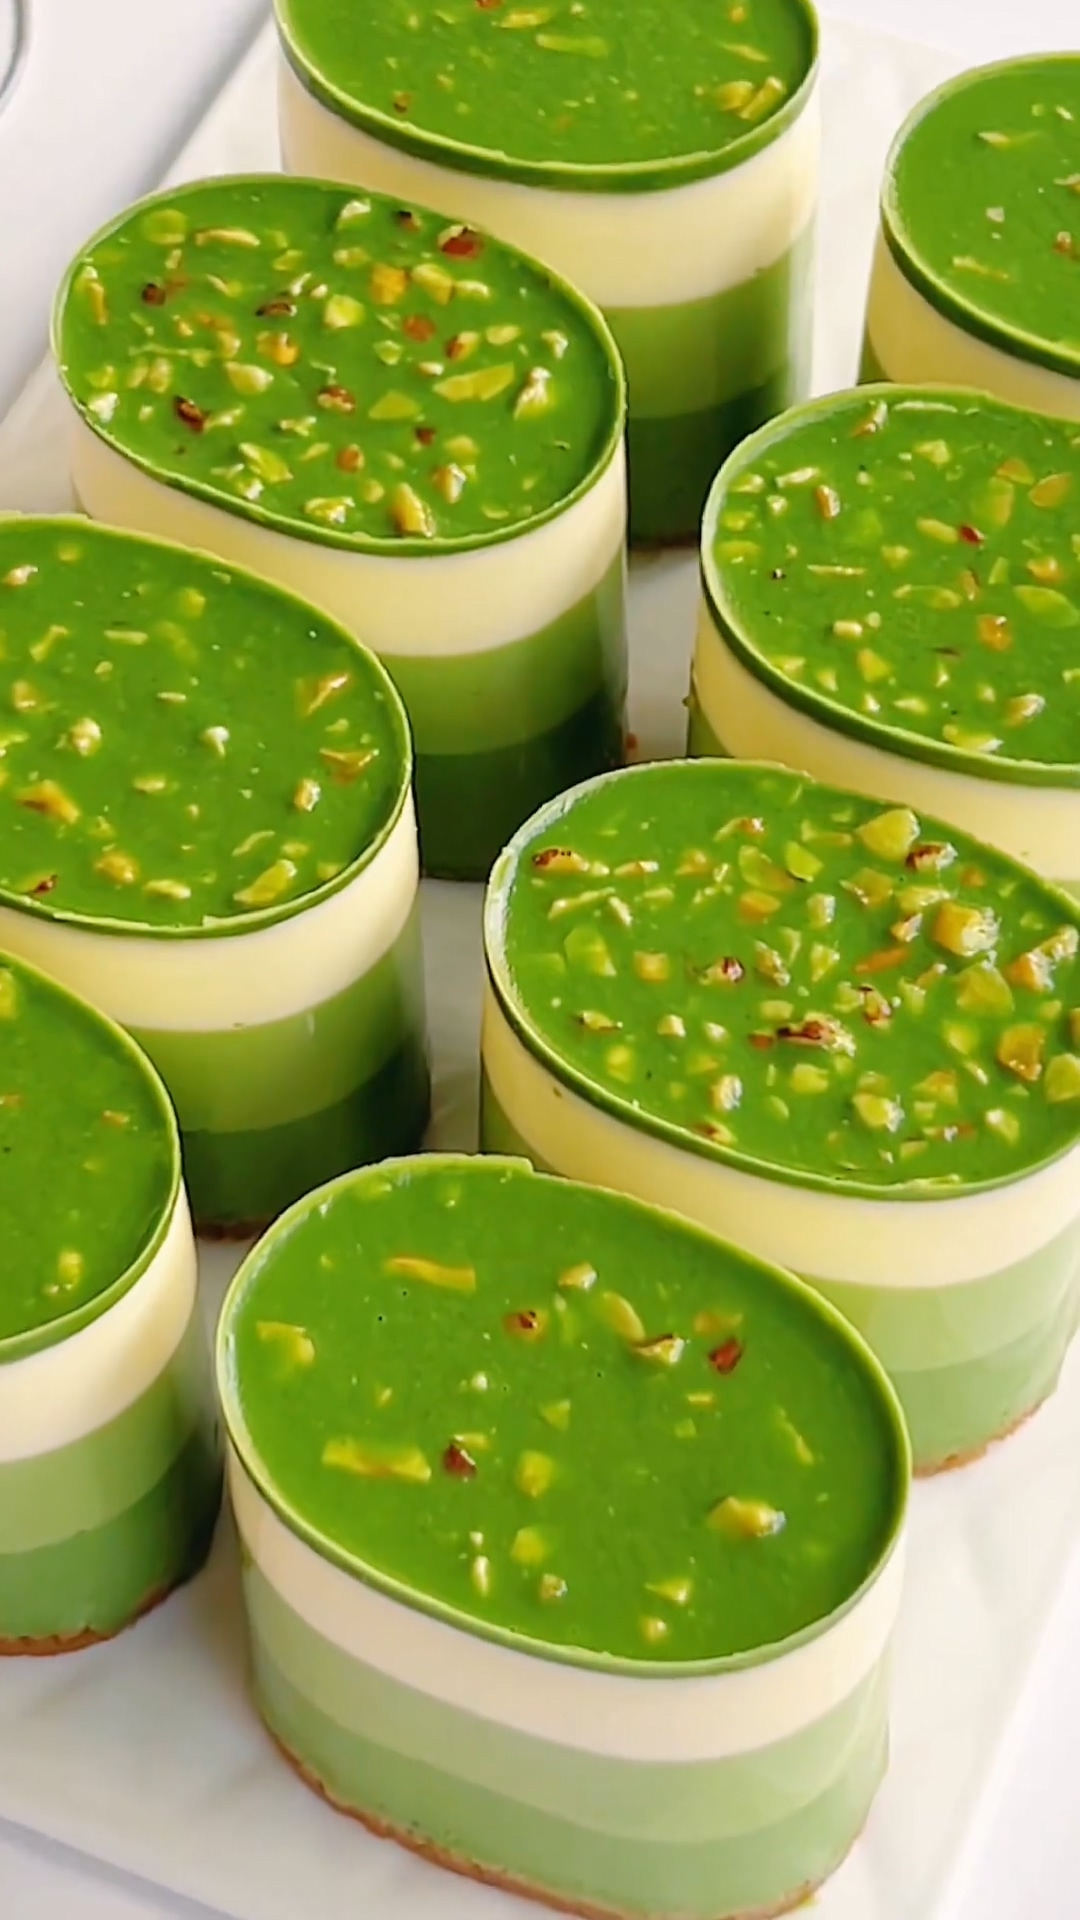
Why You‘ll Love This Recipe
- No baking required – easy for beginners or hot weather.
- Triple textures – crunchy biscuit base, smooth matcha cheesecake, and a nutty chocolate crunch on top.
- Rich yet refreshing – matcha pairs perfectly with creamy cheese.
- Flexible serving – serve as a full cake, in slices, or individual portions.
- Make-ahead friendly – chill overnight for a perfect set.

Ingredients and Substitutions
Here’s what you’ll need and why each ingredient is important. For the best results, I recommend using the suggested ingredients, but I’ve included helpful substitutions where possible.
For the Crust:
- Cookie Crumbs – I recommend using digestive biscuits or plain Oreo crumbs (filling scraped out) for a classic, neutral, and sturdy base that’s easy to press down. Other dry, crispy biscuits will work in a pinch.
- Butter – Unsalted, melted butter is key here to bind the crumbs together into a solid base. While you can use a neutral oil like corn oil, the crust won’t have the same rich flavor or firm hold.
For the Matcha Cheesecake Layer:
- Cream Cheese – This is the star of the show, providing the signature tangy, rich, and creamy body of the cheesecake. It must be fully softened to room temperature for a perfectly smooth, lump-free filling.
- Granulated Sugar – We use just enough to balance the tang of the cream cheese and the bitterness of the matcha without overpowering them. You can adjust this to your taste.
- Whipping Cream – Use full-fat, heavy whipping cream (preferably cold) for the best texture and stability. It adds lightness and helps the filling set beautifully.
- Milk – A little hot milk is used to dissolve the gelatin smoothly. Whole milk will give you the creamiest result.
- Gelatin Sheets – This is our setting agent, essential for giving the no-bake cheesecake its firm yet tender sliceable texture. Always soak them in ice-cold water first to bloom them properly.
- Matcha Powder – I always, always suggest using a good quality ceremonial or premium culinary grade matcha for this recipe. Since it’s not baked, the flavor and vibrant green color will be front and center. Lower quality matcha can taste bitter and look dull.
For the Matcha Crunch Topping:
- White Chocolate – When melted, it creates a sweet, firm shell that contrasts wonderfully with the creamy filling. A good quality chocolate will yield the best results.
- Coconut Oil – This is my secret for getting a perfectly thin, crisp, and glossy chocolate shell that cracks beautifully when you slice into it. Butter can be used, but the texture will be softer.
- Matcha Powder – A little more matcha is sifted into the topping to intensify the flavor and add a gorgeous green hue.
- Chopped Nuts – This adds the “crunch” and a lovely toasty flavor. I love using almonds or pistachios, but feel free to use your favorite nut or even a sprinkle of toasted coconut or extra cookie crumbs.
How to Make No-Bake Matcha Crunch Cheesecake
1. Prepare the Biscuit Base (20 minutes)
Melt butter in a small bowl over a water bath.
Mix melted butter with the crushed biscuits until all crumbs are coated.
Press the mixture firmly into the bottom of molds.
Chill in the fridge for 10 minutes to set.
2. Prepare the Matcha Cheesecake Layer (40 minutes)
Soften cream cheese until easily pressed by hand. Mix with sugar using a spatula until smooth and lump-free.
Add heavy cream and mix with an electric hand mixer until fully combined into a smooth cheesecake mixture.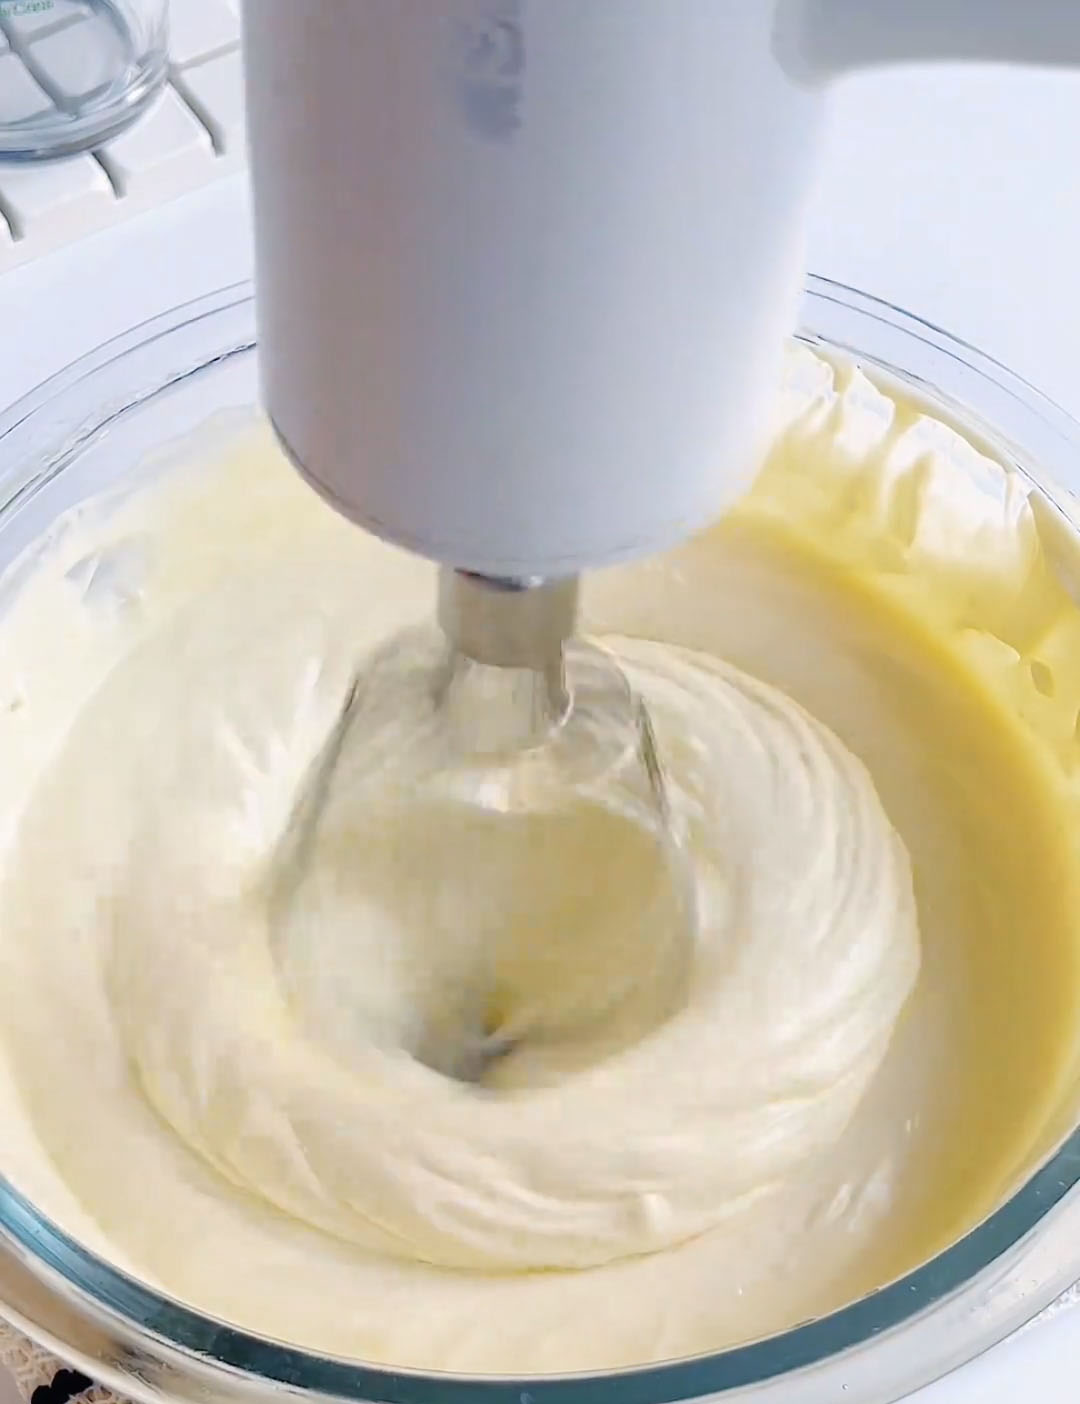
Soak gelatin sheets in cold water for 5–10 minutes, then squeeze out excess water. Melt in hot milk, let cool to room temperature.
Gradually pour the gelatin milk into the cheesecake mixture while stirring. Divide the mixture into three equal portions.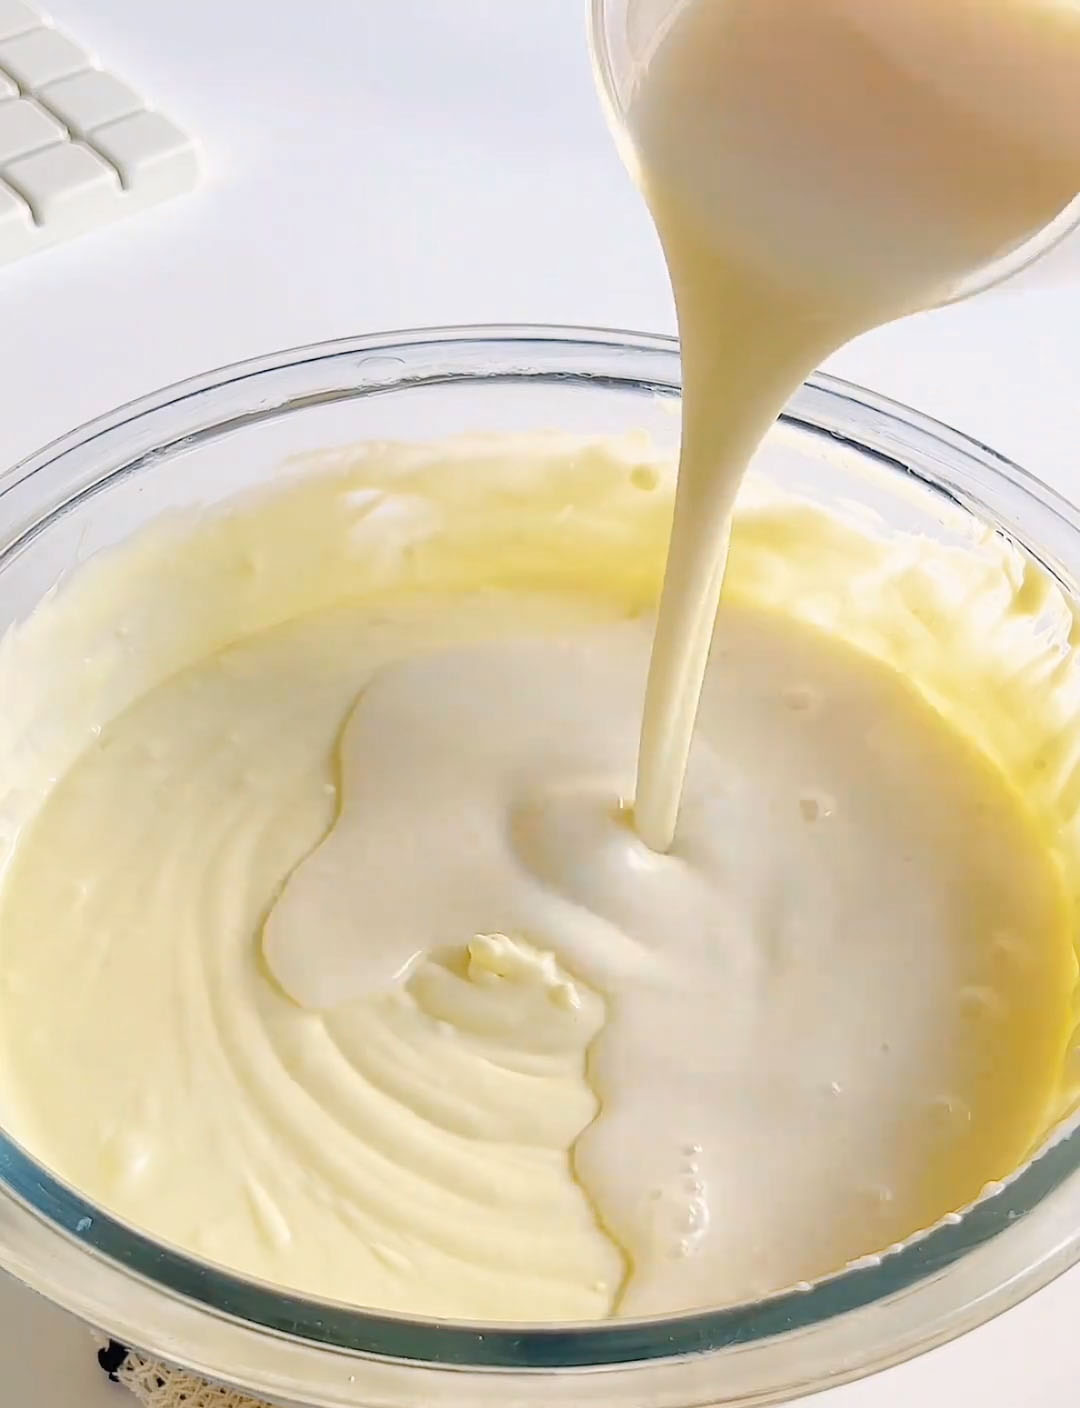
Add matcha liquids to two portions to create two shades of green; leave the third portion plain.
3. Layering & Chilling (4.5 hours)
Pour the lighter matcha cheesecake layer over the chilled biscuit base. Gently tap the pan to remove air bubbles. Chill for 10 minutes until firm.
Pour the second matcha layer over the first, tap lightly, and chill another 10 minutes.
Pour the plain cheesecake layer on top, tap again, and chill for at least 4 hours or overnight for a firmer set.
4. Make the Matcha Crunch Topping & Unmold (30 minutes)
Melt white chocolate and coconut oil over a water bath (temperature ≤60°C). Let cool to room temperature.
Sift in matcha powder and stir until smooth. Fold in chopped nuts to create the crunchy topping mixture.
Pour the topping evenly over the set cheesecake and gently tap the pan to smooth the surface. Chill for 10 minutes until the crunch sets.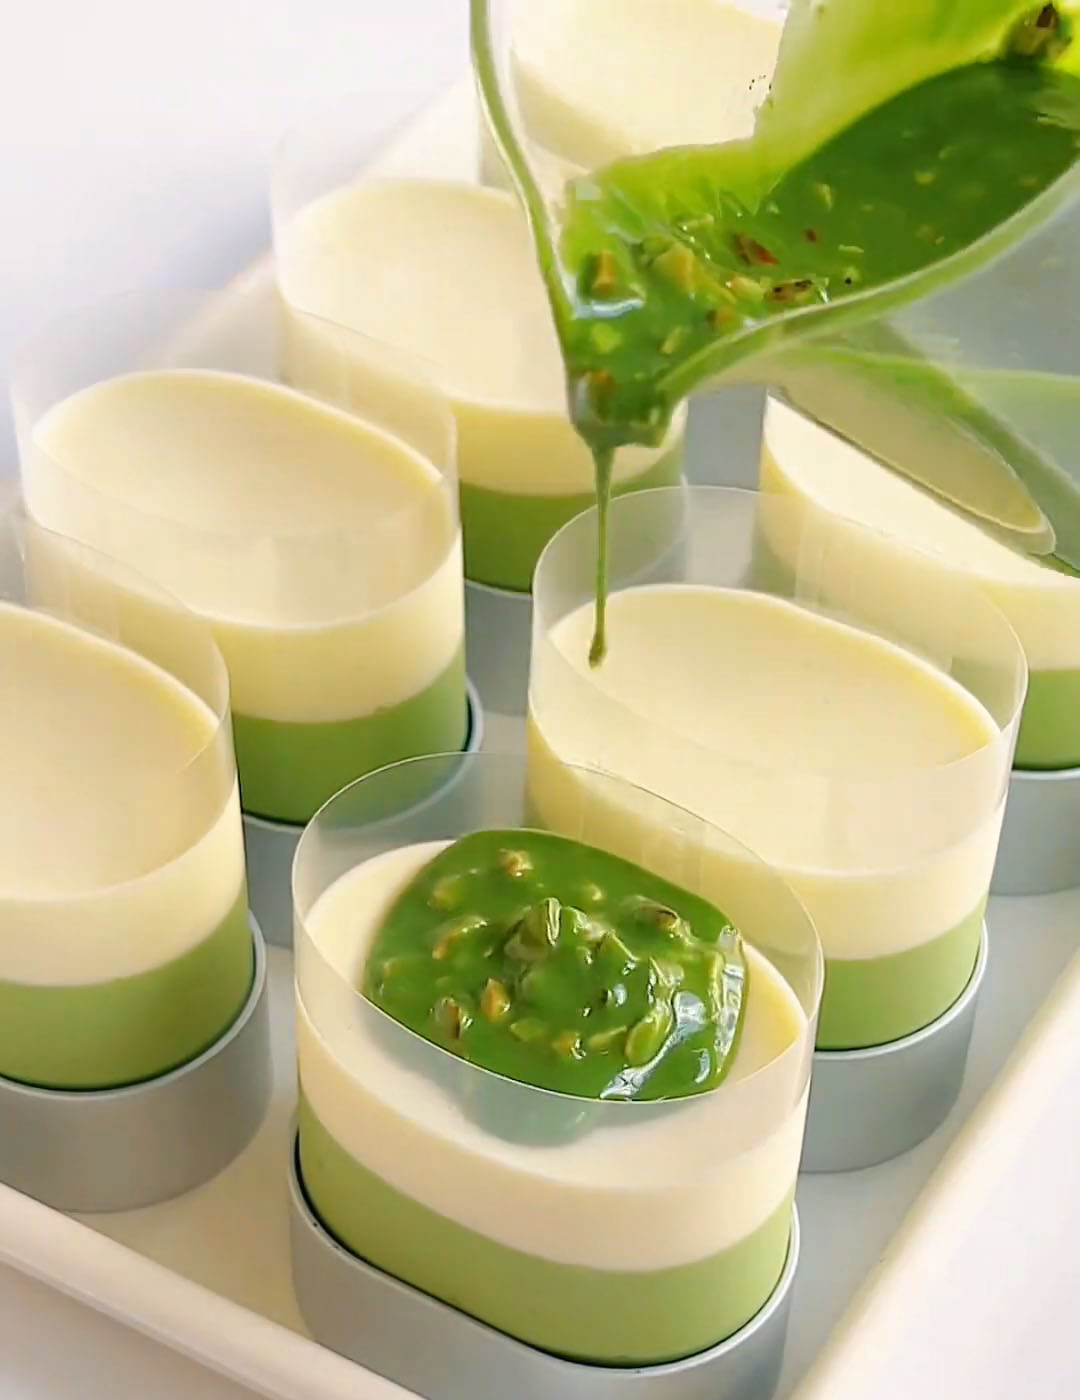
Unmold the cheesecake: carefully run a warm towel around the pan or use a hairdryer to loosen the edges. Remove the pan and slice to serve.
Tips & Tricks
- Room Temperature is Key: Your cream cheese must be very soft. Leave it out for 2-3 hours, or microwave it in 5-second bursts (with the foil off) until it yields easily to pressure.
- Avoid Gelatin Lumps: Never use hot water to bloom gelatin sheets, as it will dissolve their setting power. Always use ice water. Also, make sure the dissolved gelatin-milk mixture has cooled slightly before adding it to the cream cheese mix to prevent curdling.
- Perfect Layers for a Clean Look: Patience is vital for distinct layers. Ensure each cheesecake layer is completely set (not sticky) before adding the next. The brief 15-minute chills are essential.
- Sift Your Matcha: Matcha powder is notoriously clumpy. Always sift it directly into your milk or over melted chocolate to ensure a perfectly smooth, vibrant green mixture without any bitter lumps.
- Tempering the Chocolate: When melting the white chocolate for the topping, keep the heat low and slow. Overheating can cause it to seize or become grainy. Letting it cool slightly before adding the matcha also helps prevent the heat from damaging the matcha’s color and flavor.
Frequently Asked Questions
Can I use gelatin powder instead of sheets?
Yes. Use an equivalent amount (20g of sheets is roughly equal to 3 packets or about 15g of powdered gelatin). Bloom the powder in 3-4 tablespoons of cold water, then dissolve it in the hot milk as directed.
My cheesecake filling seems runny. What happened?
This usually means the gelatin wasn’t fully dissolved, the cream cheese was too cold when mixed (causing lumps that thin out the batter), or it simply needs more time to set. Ensure your fridge is cold enough (0-4°C) and give it the full overnight chill.
How do I store leftovers?
Store the cheesecake, covered, in the refrigerator for up to 4 days. The crust may soften slightly over time but it will still be delicious.
Can I freeze this cheesecake?
Yes, for longer storage. Wrap the fully set cheesecake (without the topping if you prefer) tightly in plastic wrap and freeze for up to 1 month. Thaw overnight in the refrigerator before adding the crunch topping (make it fresh) and serving.
The chocolate topping cracked when I sliced it. Is that normal?
Yes, absolutely! The coconut oil makes the topping set into a thin, crisp shell that is meant to crackle when cut—that’s part of its delightful texture.

Easy No-Bake Matcha Cheesecake with Crispy Biscuit & Crunchy Topping
Ingredients
Cookie Crust
- 40 g cookie crumbs digestive or Oreo without filling
- 25 g unsalted butter melted
Matcha Cheesecake Filling
- 240 g full-fat cream cheese room temperature
- 30 g granulated sugar
- 350 g cold whipping cream heavy cream
- 100 g hot whole milk
- 20 g gelatin sheets
- 30 g milk for Matcha Liquid A
- 5 g matcha powder for Matcha Liquid A
- 30 g milk for Matcha Liquid B
- 10 g matcha powder for Matcha Liquid B
Matcha Chocolate Crunch Topping
- 50 g white chocolate chopped
- 12 g refined coconut oil
- 2 g matcha powder sifted
- 15 g toasted nuts finely chopped
Instructions
Prepare the Biscuit Base (20 minutes)
- Melt butter in a small bowl over a water bath.
- Mix melted butter with the crushed biscuits until all crumbs are coated.
- Press the mixture firmly into the bottom of molds.
- Chill in the fridge for 10 minutes to set.
Prepare the Matcha Cheesecake Layer (40 minutes)
- Soften cream cheese until easily pressed by hand. Mix with sugar using a spatula until smooth and lump-free.
- Add heavy cream and mix with an electric hand mixer until fully combined into a smooth cheesecake mixture.
- Soak gelatin sheets in cold water for 5–10 minutes, then squeeze out excess water. Melt in hot milk, let cool to room temperature.
- Gradually pour the gelatin milk into the cheesecake mixture while stirring. Divide the mixture into three equal portions.
- Add matcha liquids to two portions to create two shades of green; leave the third portion plain.
Layering & Chilling (4.5 hours)
- Pour the lighter matcha cheesecake layer over the chilled biscuit base. Gently tap the pan to remove air bubbles. Chill for 10 minutes until firm.
- Pour the second matcha layer over the first, tap lightly, and chill another 10 minutes.
- Pour the plain cheesecake layer on top, tap again, and chill for at least 4 hours or overnight for a firmer set.
Make the Matcha Crunch Topping & Unmold (30 minutes)
- Melt white chocolate and coconut oil over a water bath (temperature ≤60°C). Let cool to room temperature.
- Sift in matcha powder and stir until smooth. Fold in chopped nuts to create the crunchy topping mixture.
- Pour the topping evenly over the set cheesecake and gently tap the pan to smooth the surface. Chill for 10 minutes until the crunch sets.
- Unmold the cheesecake: carefully run a warm towel around the pan or use a hairdryer to loosen the edges. Remove the pan and slice to serve.
Leave a Reply