
Skip store-bought ice pops and make these homemade matcha popsicles instead! They’re creamy, refreshing, and made with simple ingredients—no additives, just pure matcha goodness.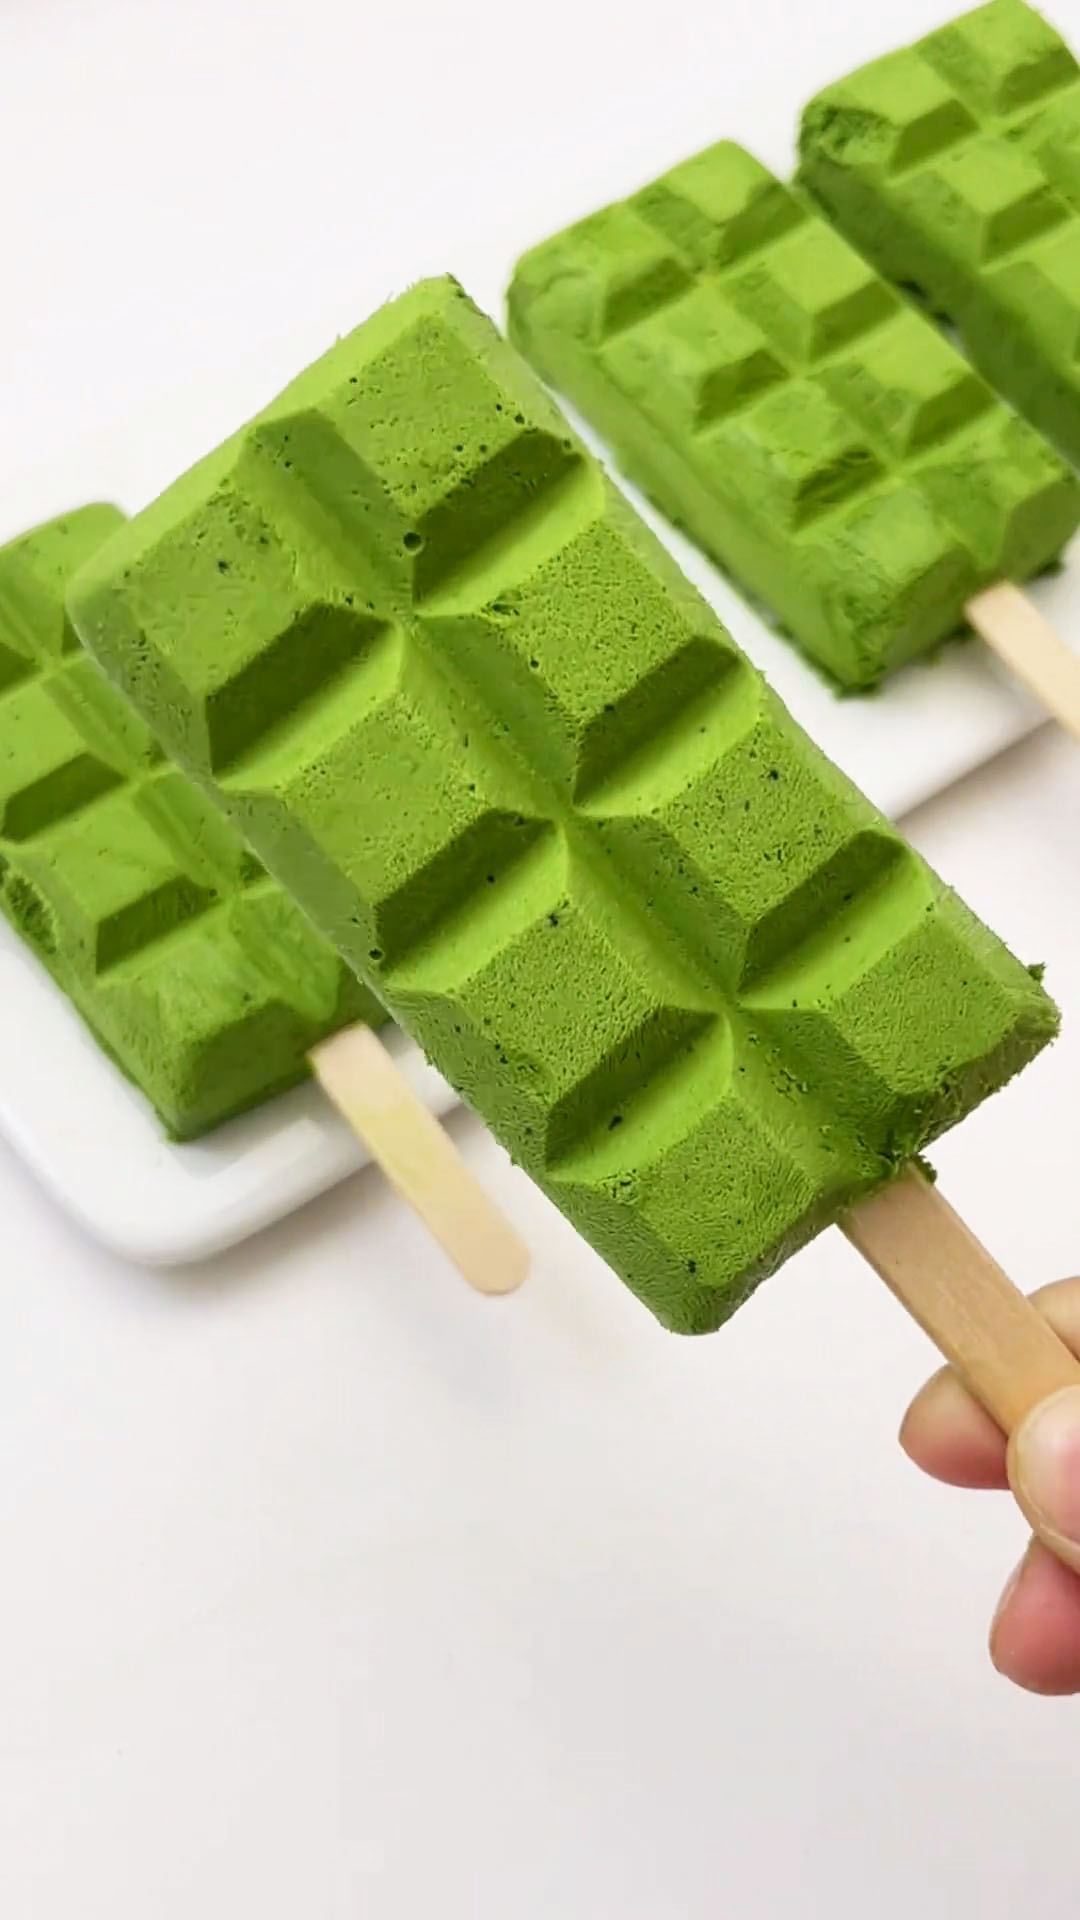
Summer is here, which means it’s officially time to start making popsicles again.
My kids have asked me so many times for ice pops, but I’m not a big fan of store-bought ones—you never really know how many additives or unknown ingredients are inside.
So of course, I prefer making them myself, and honestly, they’re so simple to make at home.
I previously shared my Blueberry Cheese Filling Crispy Popsicles, and they were such a hit.
If you know me, you’ll know I’m a huge fan of matcha—especially when it comes to desserts.
So this time, there was no way I wasn’t turning it into popsicles!
Why You’ll Love This Recipe
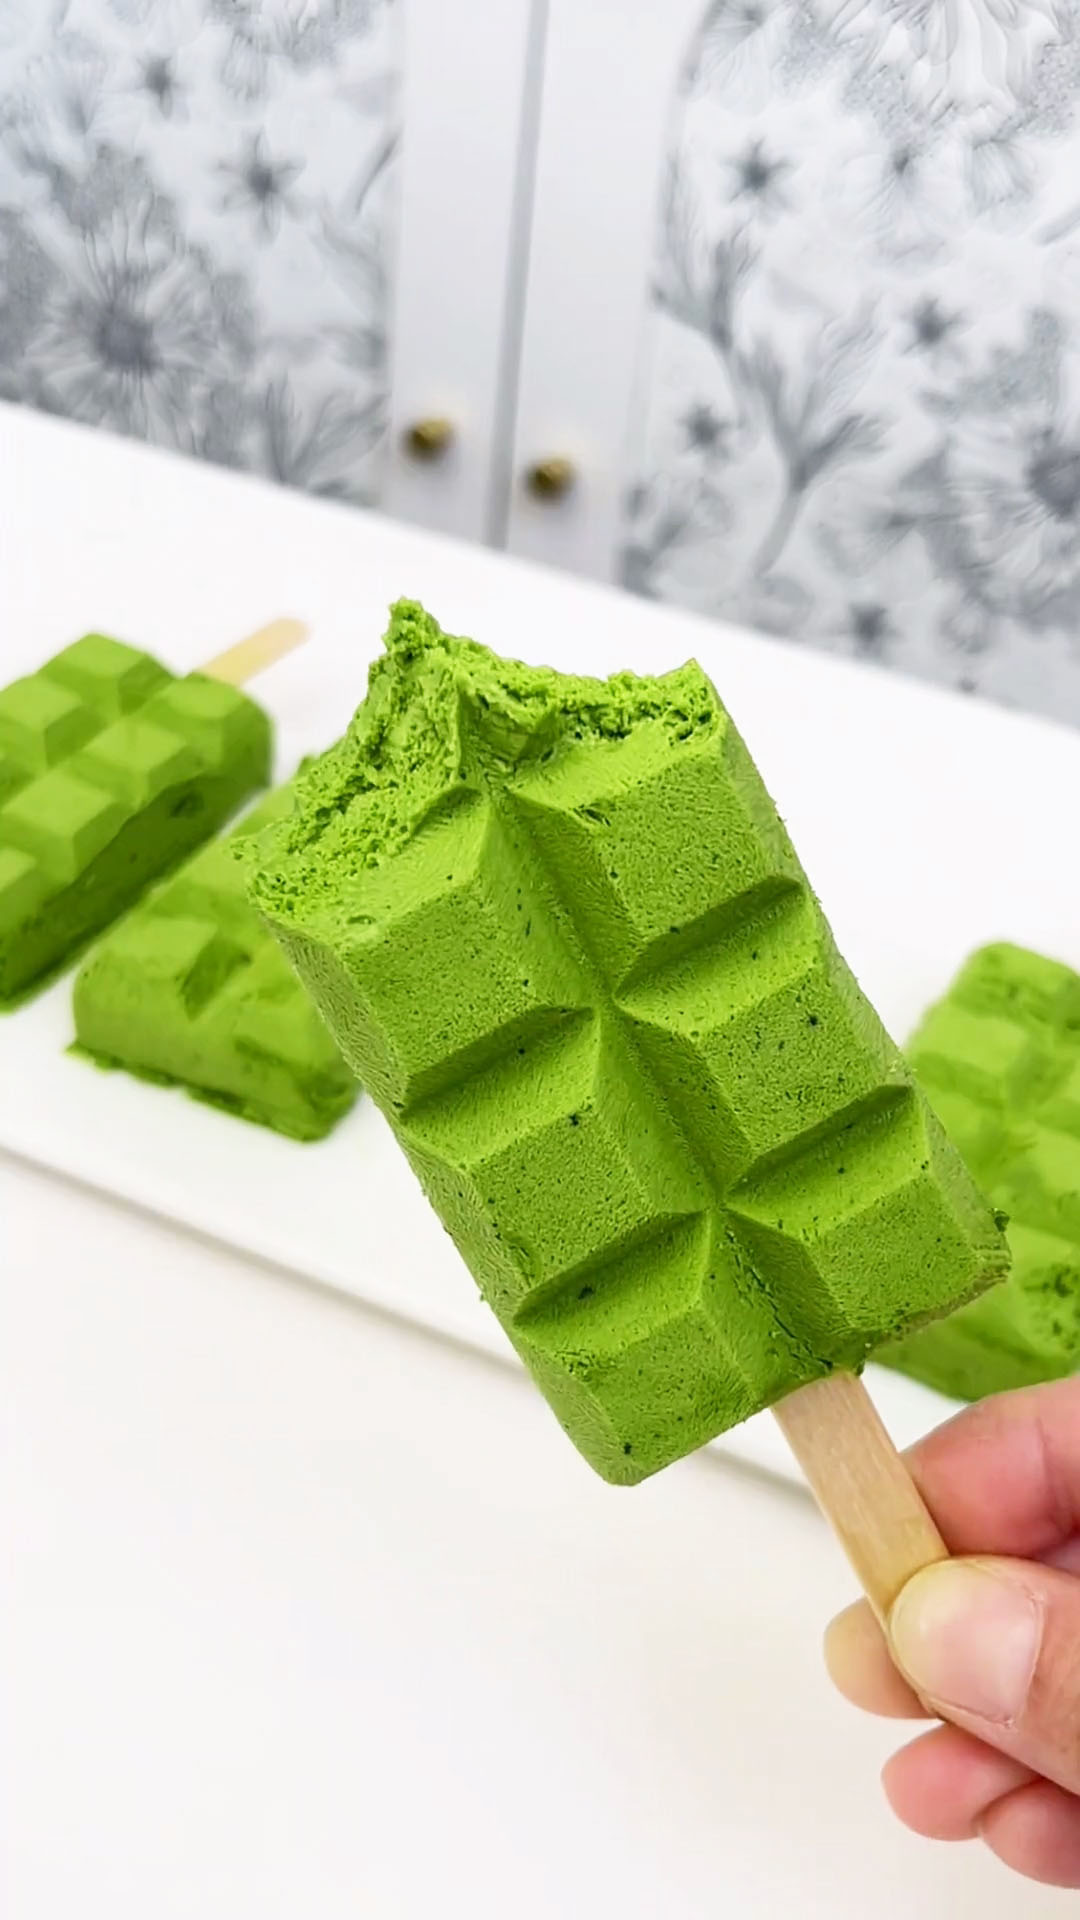
- Incredibly Smooth, No Ice Crystals: The combination of white chocolate and heavy cream ensures a luxuriously creamy texture that melts in your mouth, just like a high-end ice cream bar.
- Rich, Authentic Matcha Flavor: This recipe uses a generous amount of matcha powder, delivering a deep, aromatic tea flavor that’s beautifully balanced by the sweetness of white chocolate.
- Effortless to Make: With no oven, no egg tempering, and only 15 minutes of active prep, this is a truly accessible recipe for beginners and a quick win for experienced bakers.
Ingredients
- White Chocolate – This is the secret to the ice pop’s silky, no-ice-crystal texture. It also does a wonderful job of mellowing out the matcha’s natural bitterness. I recommend using a high-quality brand made with pure cocoa butter for the best, smoothest melt.
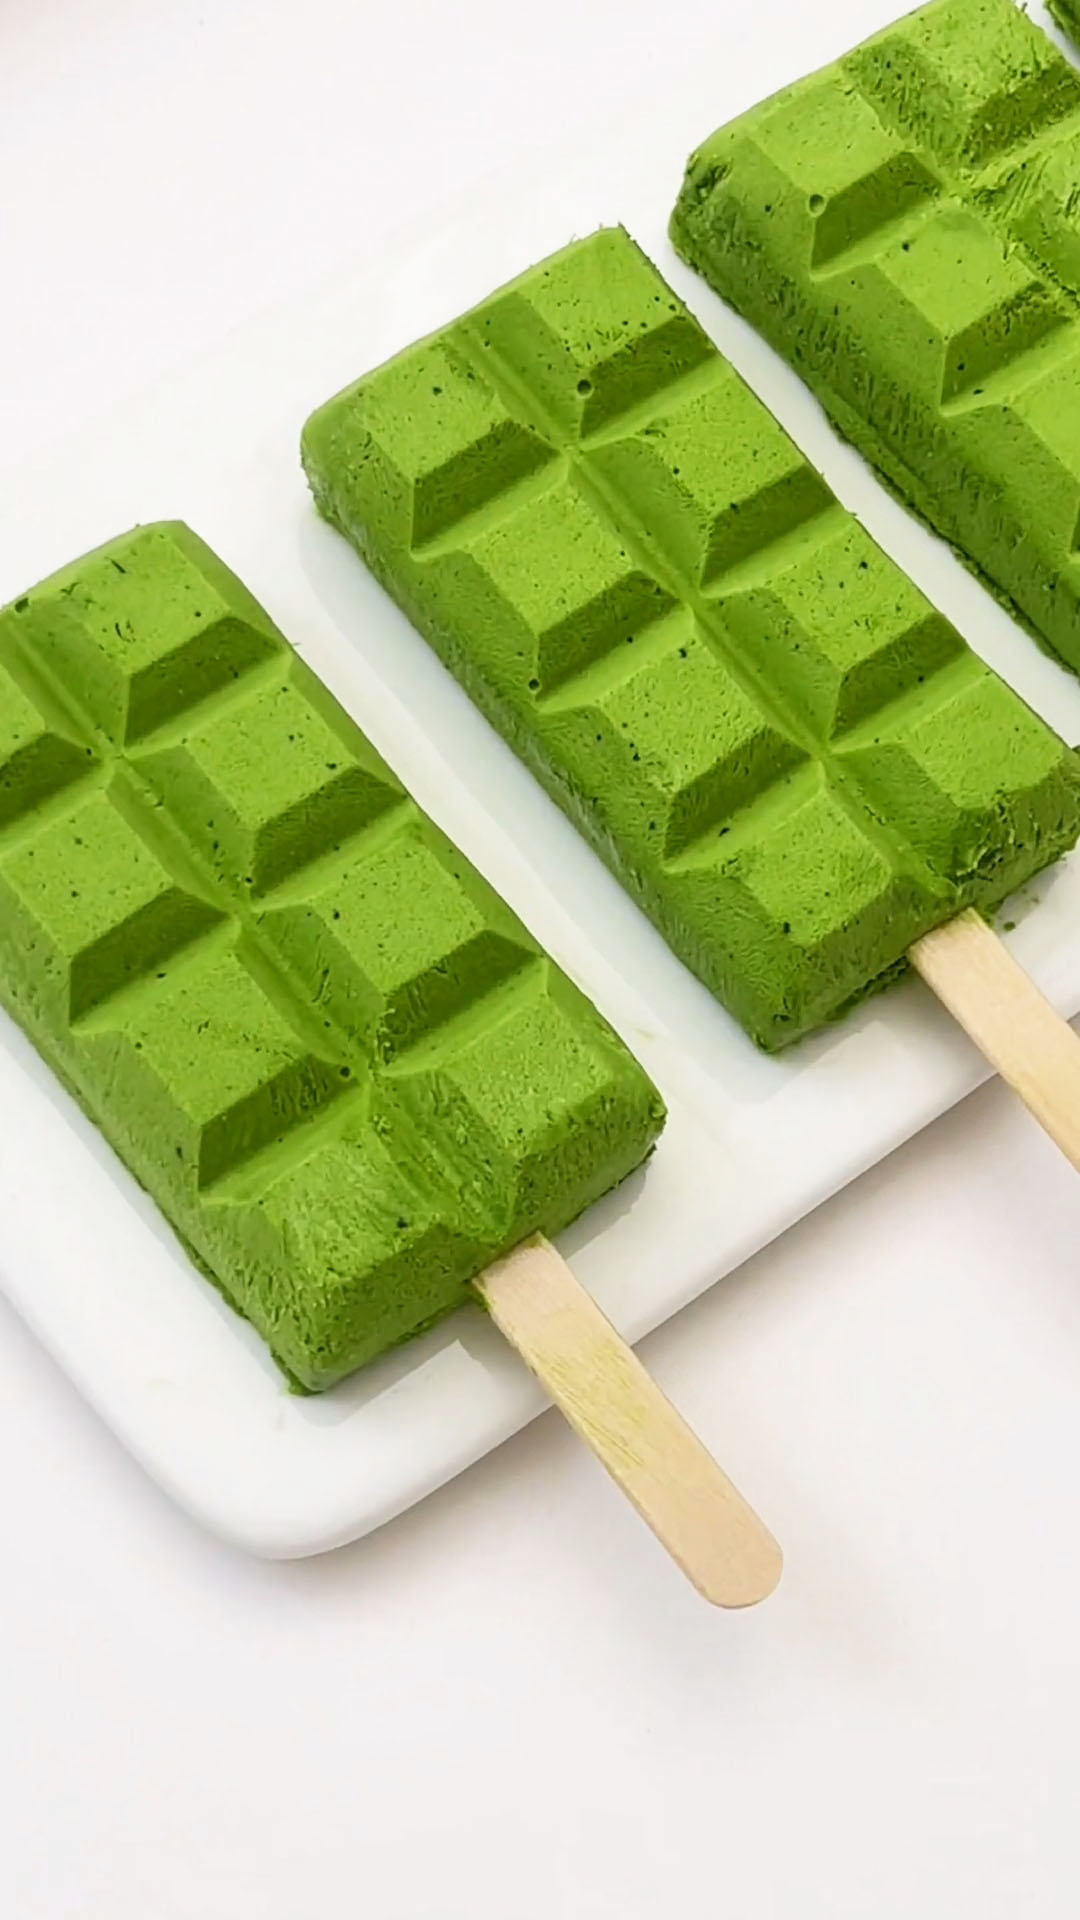
- Matcha Powder – This is the star of the show, providing the beautiful green color and the signature earthy, slightly sweet flavor. For the most vibrant color and aromatic taste, using a high-quality pure matcha powder makes a noticeable difference.
- Milk – Whole milk is used here for its rich flavor. It acts as a gentle medium to help the matcha and white chocolate meld together into a smooth, cohesive base.
- Heavy Cream – This is what gives our ice pops their signature creamy, dense texture. Using an animal-based heavy cream with a high-fat content is key to preventing those unwanted ice crystals from forming.
- Granulated Sugar – A small amount of sugar enhances the natural sweetness of the white chocolate and rounds out the matcha’s flavor profile. It’s easily adjustable to suit your taste.
Ingredients for Recipe
Matcha Ice Pop Base
- 100 g white chocolate
- 10 g matcha powder
- 70 g milk
- 150 g heavy cream
- 20 g granulated sugar
How to Make Matcha Popsicles
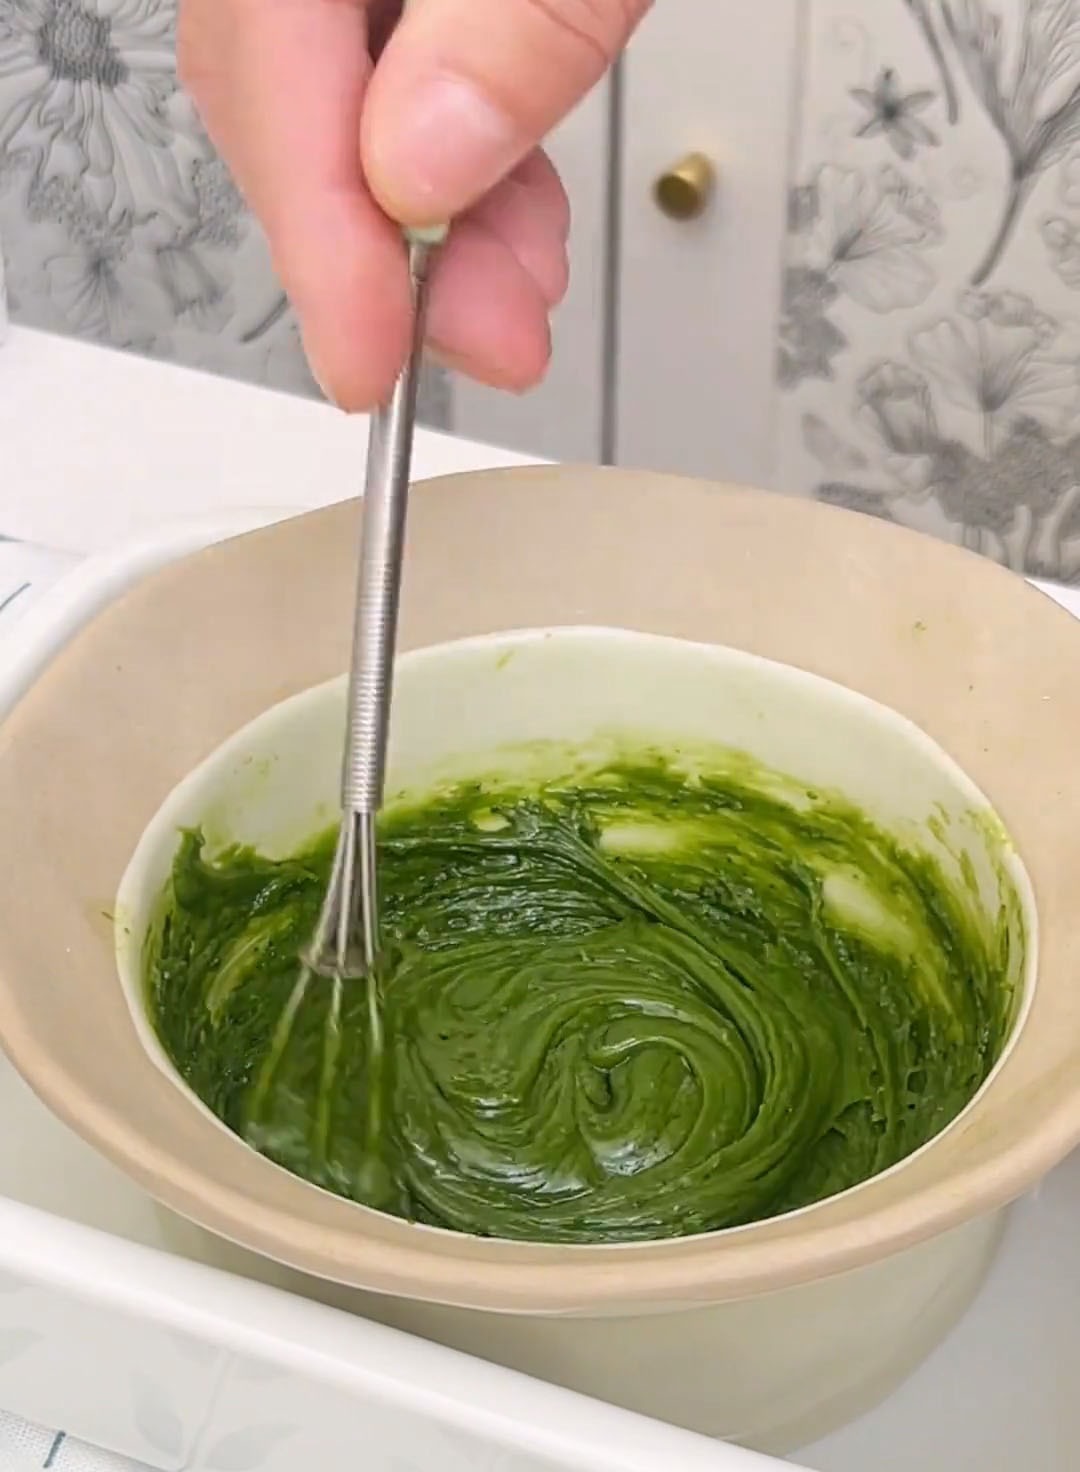
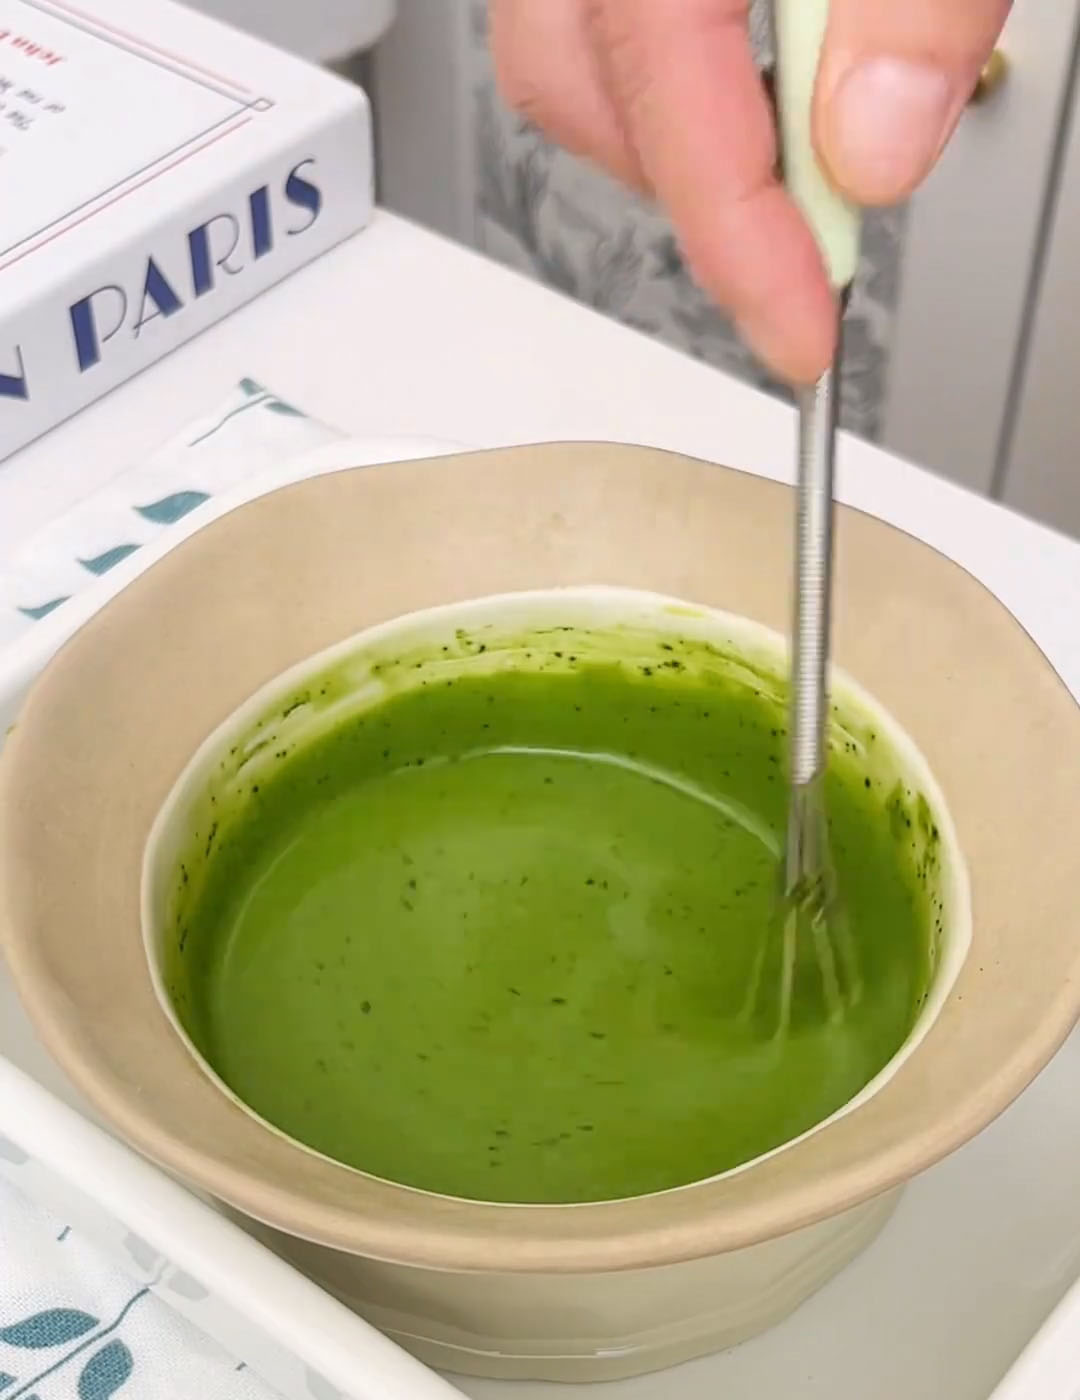
- Create the Matcha Chocolate Paste: In a medium bowl, combine 100 g of white chocolate and 10 g of matcha powder. Place the bowl over a pot of gently simmering water (a double boiler). Stir constantly until the white chocolate is completely melted and the matcha powder is fully incorporated, with no lumps. Remove from heat.
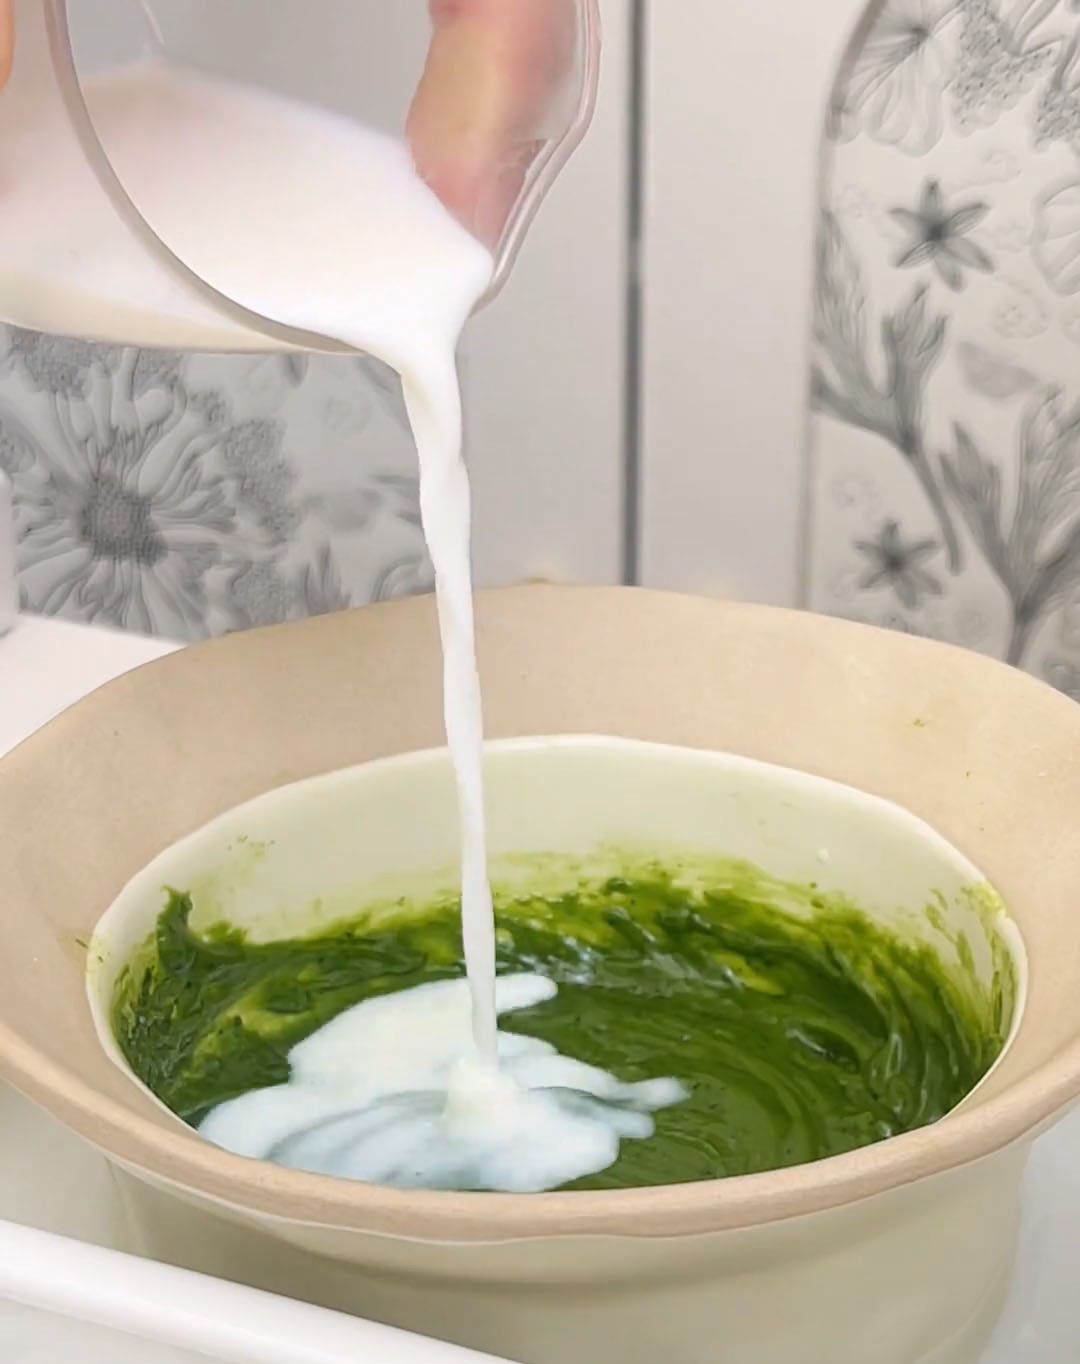
- Temper the Mixture: Slowly pour 70 g of milk into the matcha chocolate paste, stirring continuously until the mixture is smooth and uniform. Set this mixture aside to cool to room temperature.
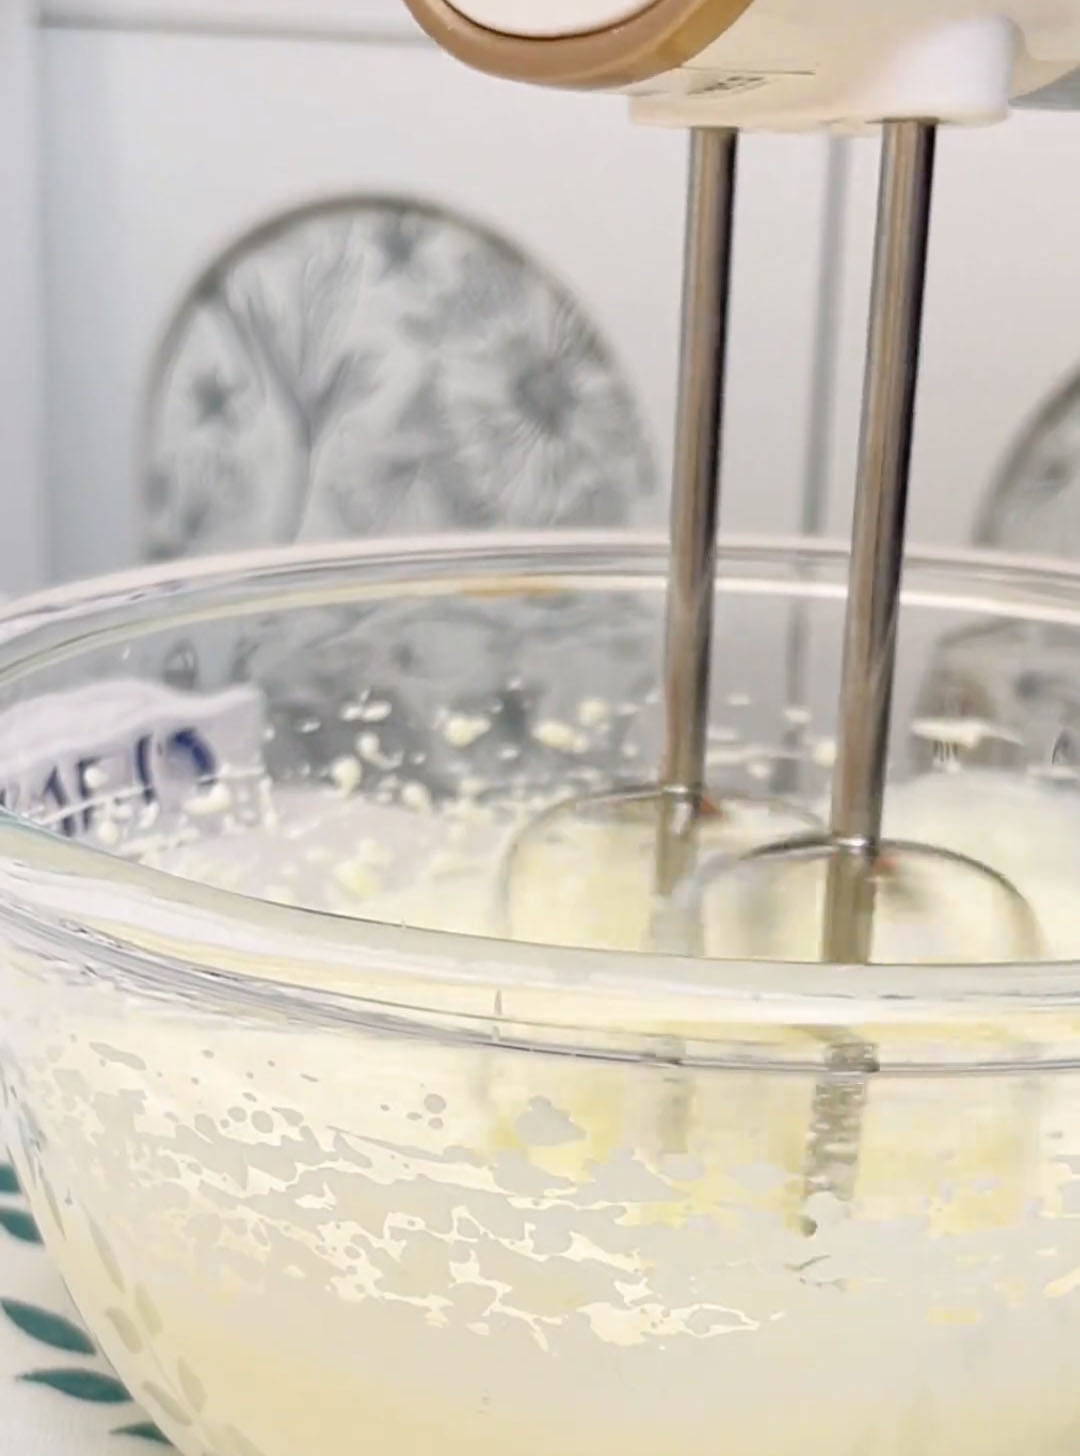
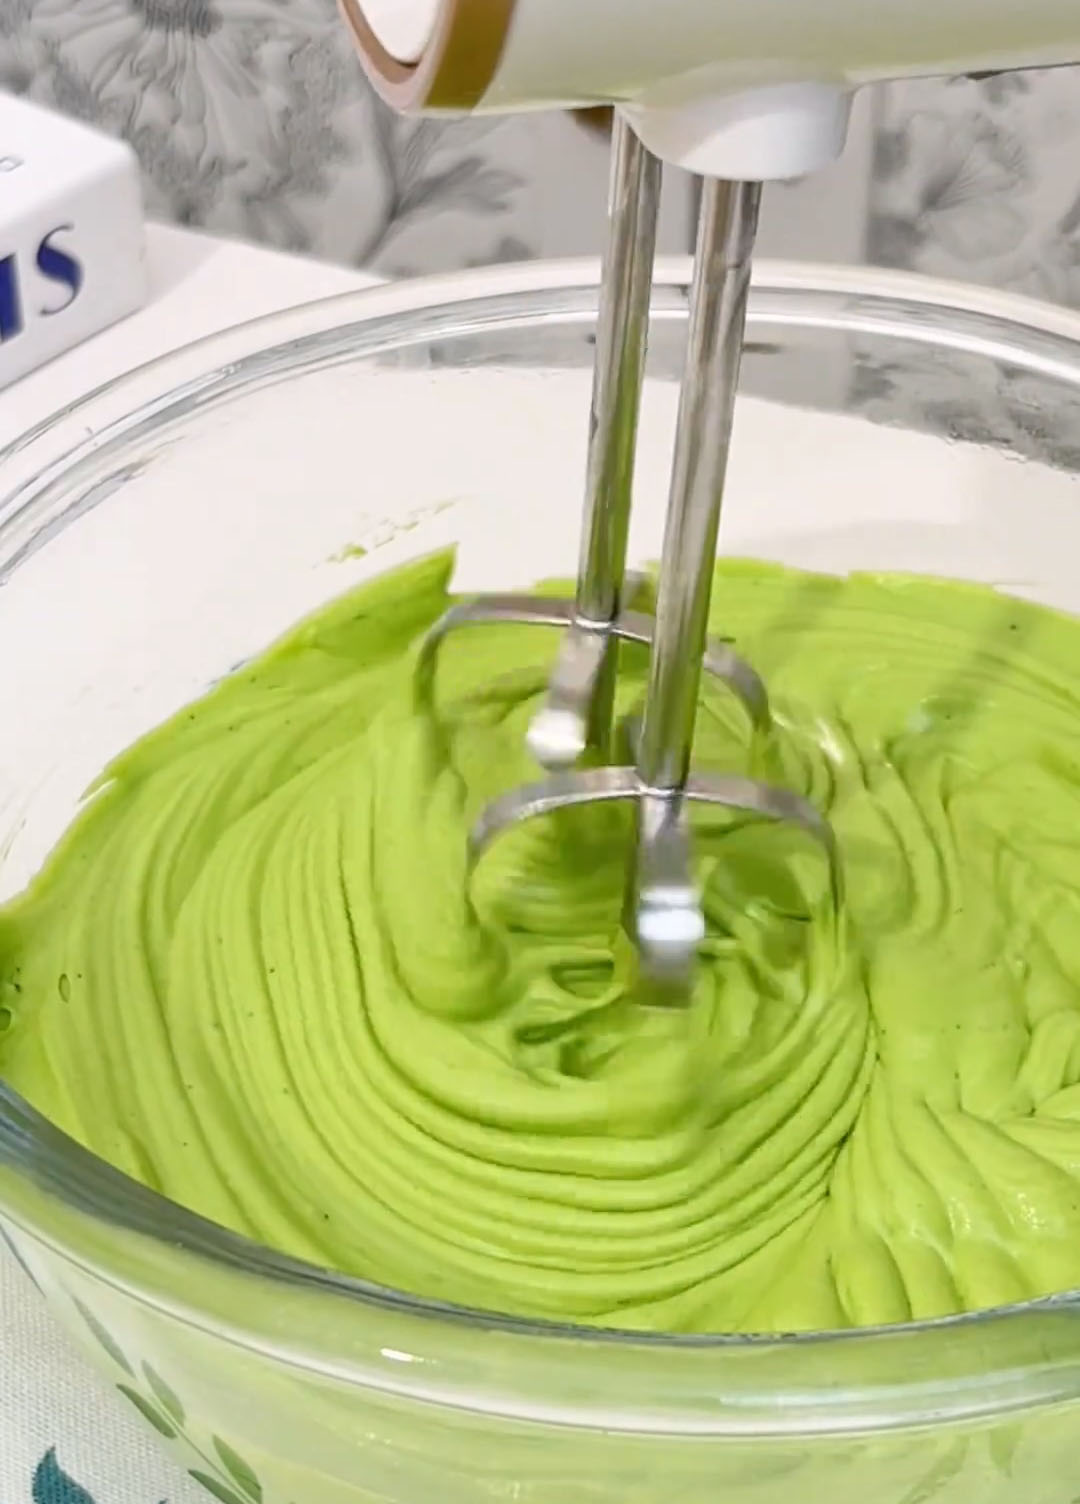
- Whip the Cream: In a separate, clean, large bowl, combine 150 g of heavy cream and 20 g of granulated sugar. Using an electric hand mixer, whip the cream until it reaches a flowing, pourable consistency. It should be thickened but not stiff.
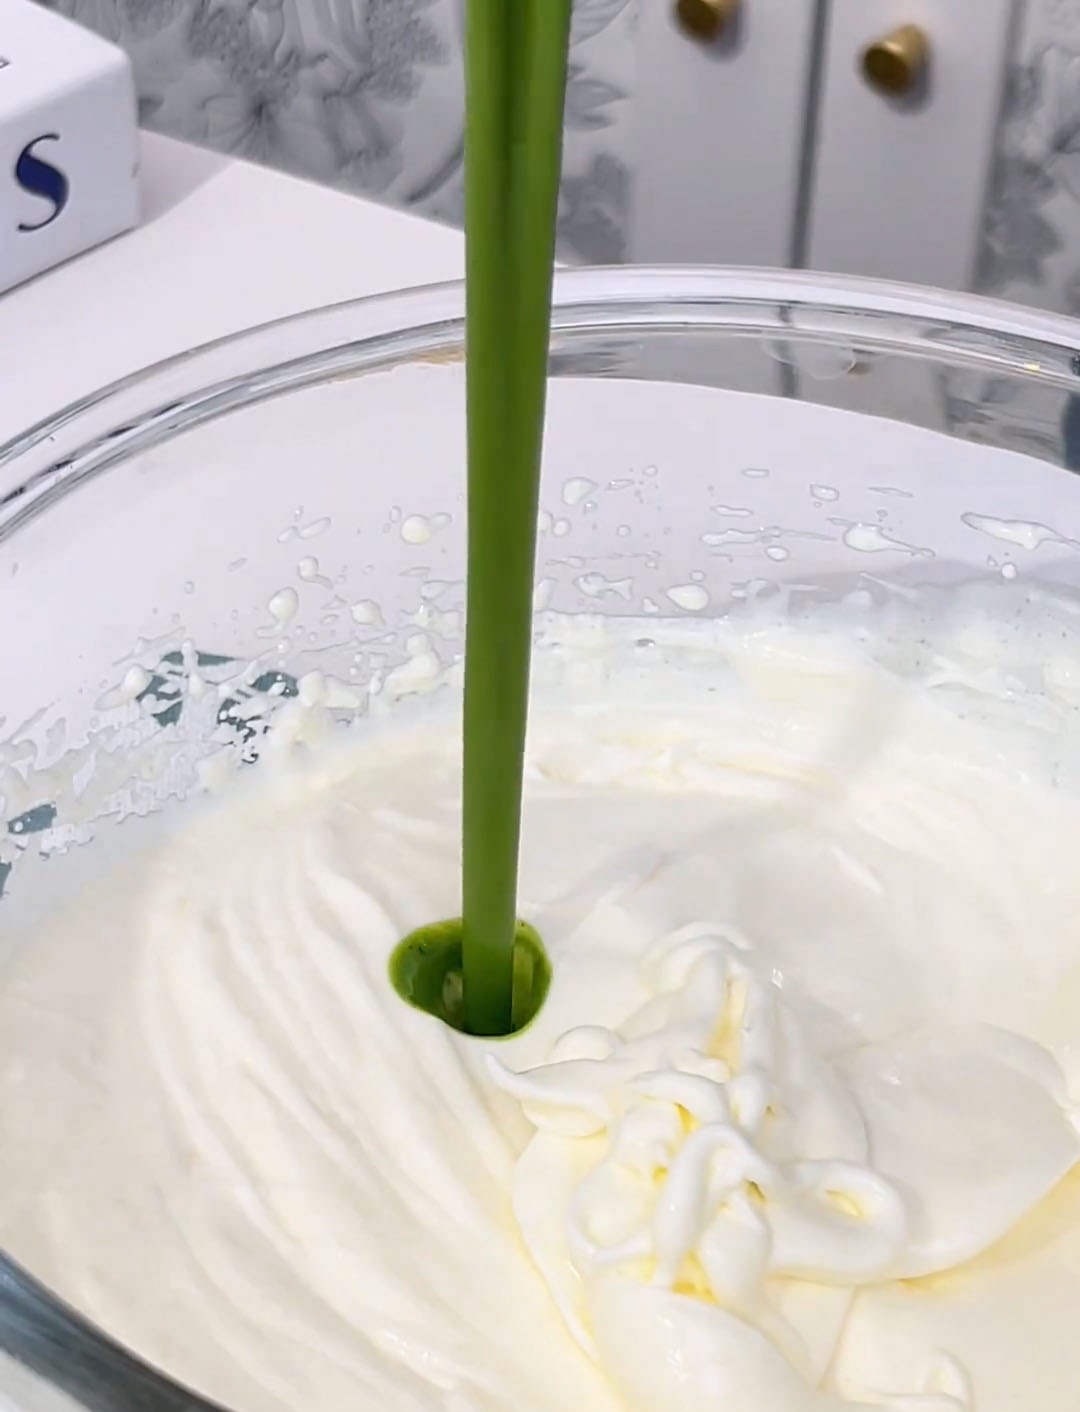
- Combine the Base: Once the matcha milk mixture has cooled completely, pour it into the bowl of whipped cream. Use the electric mixer to blend everything together until you have a smooth, uniform, and creamy liquid.
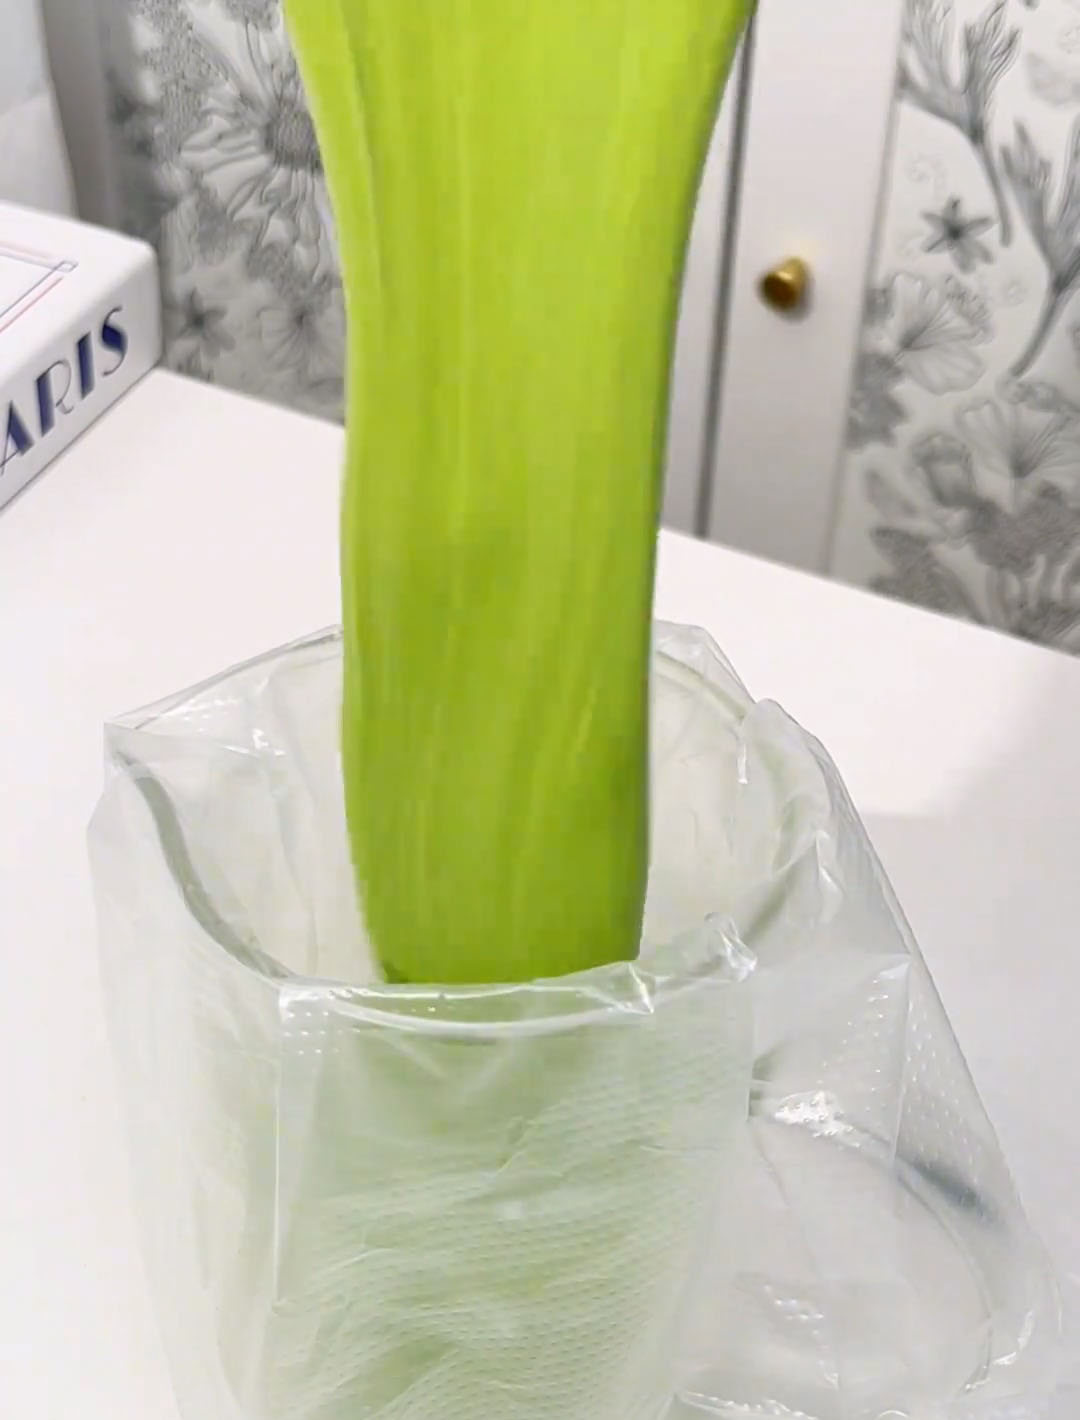
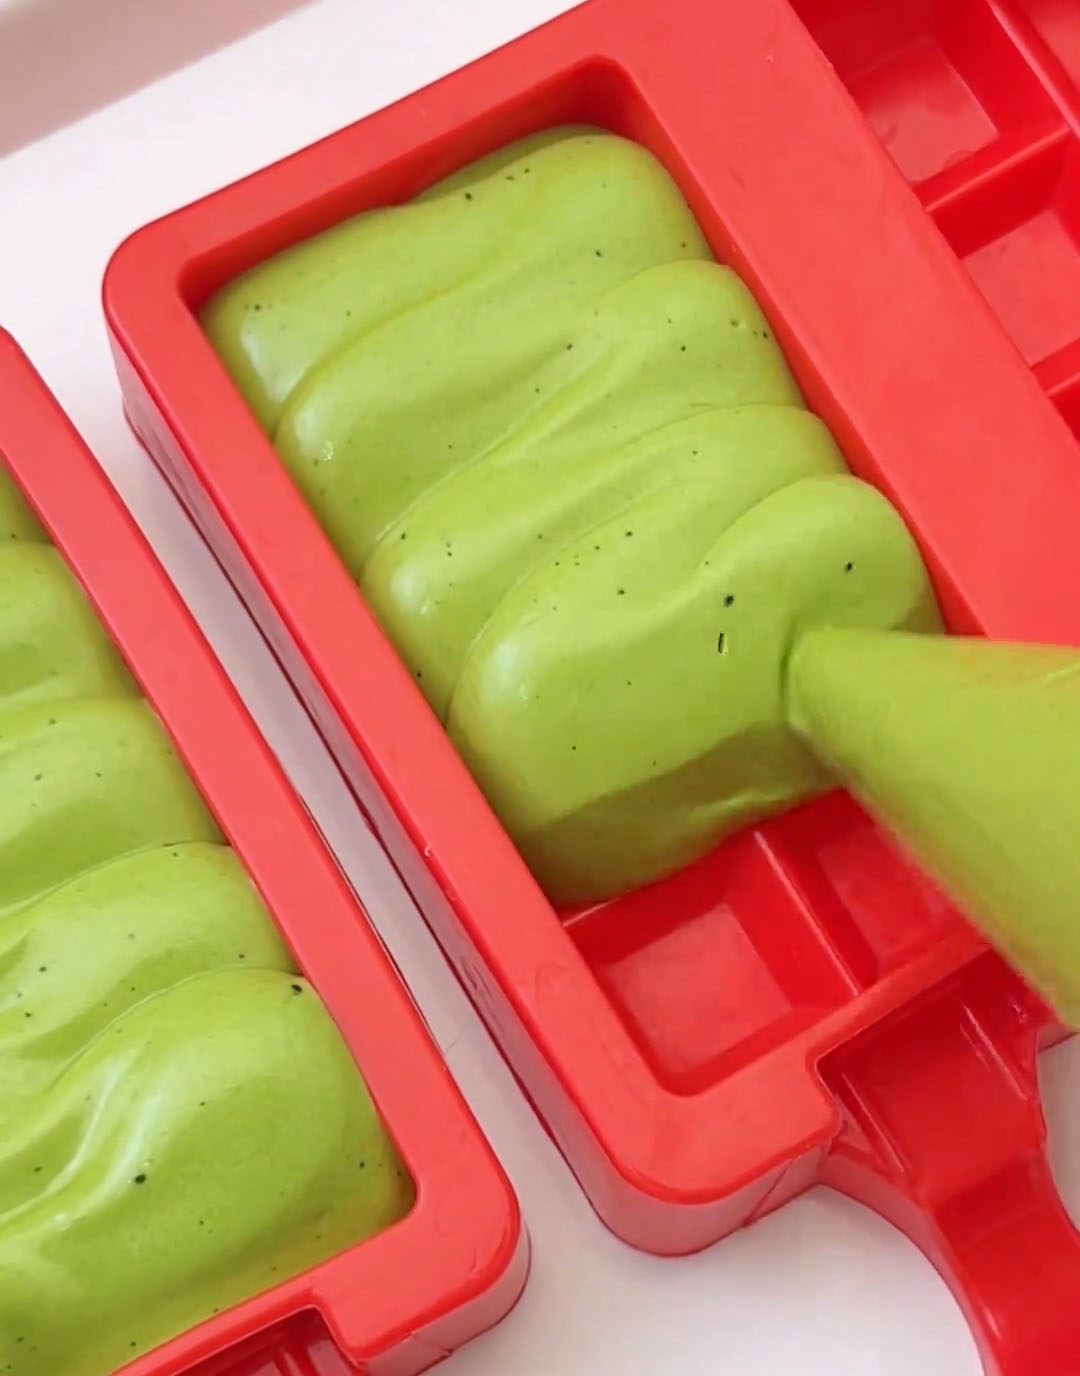
- Fill the Molds: Transfer the ice pop liquid into a piping bag. Snip a small corner off the tip and carefully pipe the mixture into your ice pop molds. Once filled, gently tap the molds on the counter to release any trapped air bubbles.
- Freeze to Set: Secure the lids on the molds or cover them with plastic wrap. Place them in the freezer for at least 4 hours, or until completely solid. For the best results, I recommend freezing them overnight.
Tips & Tricks
- Gentle Heat for White Chocolate: When melting the white chocolate, keep the water temperature low (around 40-50°C). High heat can cause the chocolate to become grainy and can make the matcha taste bitter.
- The Perfect Cream Consistency: The key to a silky texture is whipping the cream to a flowing stage, not to stiff peaks. Over-whipped cream will result in a denser, less smooth ice pop.
- Patience with Freezing: Don’t rush the freezing time. A full 4 hours is the minimum; letting them freeze overnight ensures they are completely set and will release from the molds perfectly.
- Easy Demolding: If your popsicles are stuck, dip the mold in a cup of warm water for 10-20 seconds. You can also gently squeeze the sides of the mold to loosen them before pulling on the stick.
Frequently Asked Questions
Why are my ice pops icy or grainy?
The most common reason for ice crystals is not using a high-fat heavy cream. The fat content is crucial for a smooth texture. Additionally, if the white chocolate was overheated and seized, it can create a grainy texture.
Can I use a different kind of chocolate?
Yes, you can experiment, but it will change the flavor profile. White chocolate is key to this recipe’s signature mild sweetness and silky texture. Using milk or dark chocolate will result in a much richer, more intense chocolate flavor and a different color.
How long do these popsicles last in the freezer?
When stored properly in an airtight container or tightly wrapped, these matcha popsicles will maintain their best flavor and texture for 7 to 10 days. Keeping them sealed prevents them from absorbing other freezer odors or developing ice crystals.
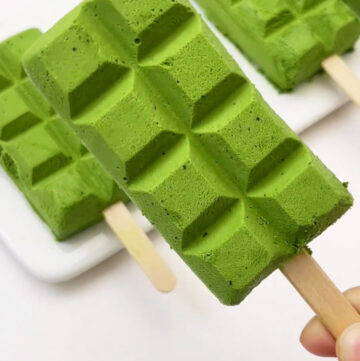
Creamy Matcha Ice Pops with White Chocolate (So Smooth!)
Ingredients
- 100 g white chocolate
- 10 g matcha powder
- 70 g milk
- 150 g heavy cream
- 20 g granulated sugar
Instructions
- Create the Matcha Chocolate Paste: In a medium bowl, combine 100 g of white chocolate and 10 g of matcha powder. Place the bowl over a pot of gently simmering water (a double boiler). Stir constantly until the white chocolate is completely melted and the matcha powder is fully incorporated, with no lumps. Remove from heat.
- Temper the Mixture: Slowly pour 70 g of milk into the matcha chocolate paste, stirring continuously until the mixture is smooth and uniform. Set this mixture aside to cool to room temperature.
- Whip the Cream: In a separate, clean, large bowl, combine 150 g of heavy cream and 20 g of granulated sugar. Using an electric hand mixer, whip the cream until it reaches a flowing, pourable consistency. It should be thickened but not stiff.
- Combine the Base: Once the matcha milk mixture has cooled completely, pour it into the bowl of whipped cream. Use the electric mixer to blend everything together until you have a smooth, uniform, and creamy liquid.
- Fill the Molds: Transfer the ice pop liquid into a piping bag. Snip a small corner off the tip and carefully pipe the mixture into your ice pop molds. Once filled, gently tap the molds on the counter to release any trapped air bubbles.
- Freeze to Set: Secure the lids on the molds or cover them with plastic wrap. Place them in the freezer for at least 4 hours, or until completely solid. For the best results, I recommend freezing them overnight.
Leave a Reply