
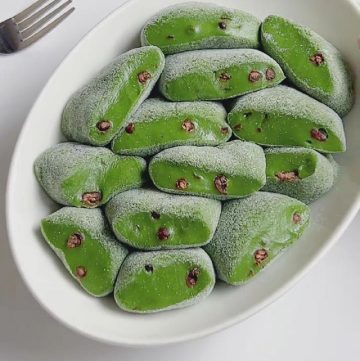
Learn how to make Matcha Mochi with Red Beans using my quick pan-cooked method. The dough turns out perfectly chewy every time, and the sweet red beans pair beautifully with the earthy matcha flavor.
My New Mochi Obsession: Matcha Red Bean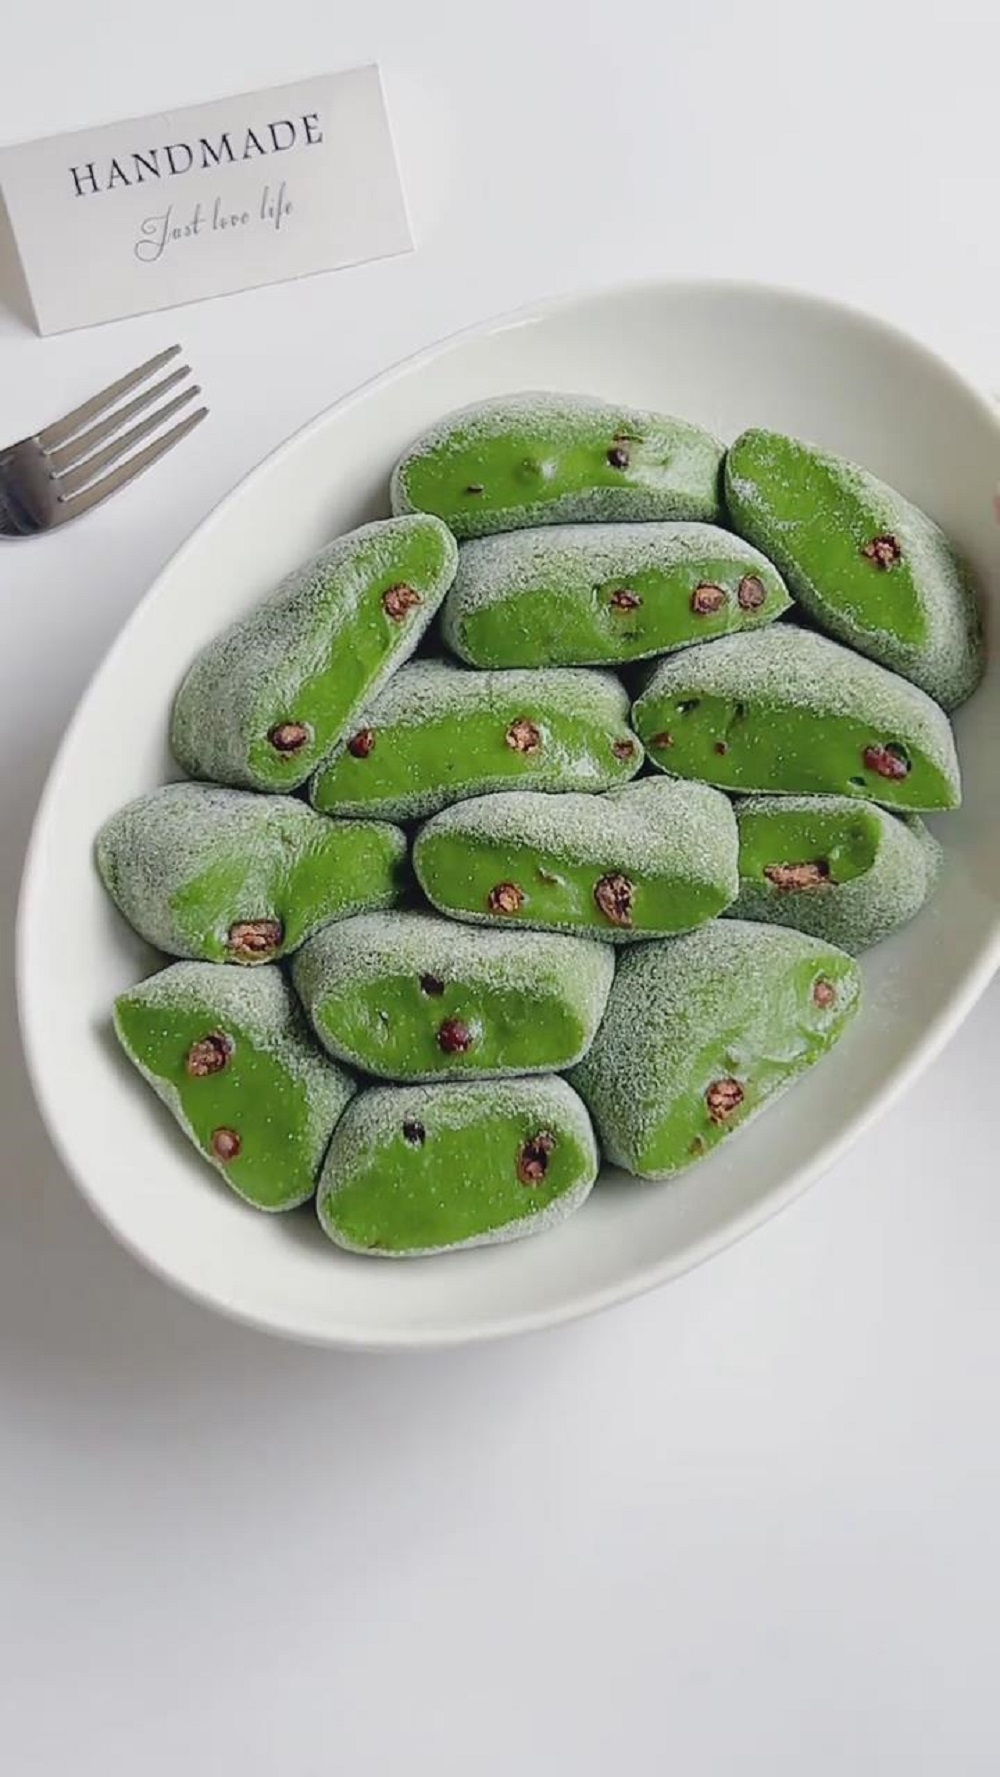
I’ll admit it—I’m completely addicted to making mochi.
But can you blame me when my family adores it so much?
Ever since I made mochi for the first time, I just couldn’t stop. My blog is now filled with all kinds of mochi recipes, each one a new exploration of flavor and texture. It’s become a delicious obsession!
Here are some of the classic favorites you can find:
- Osmanthus Mochi
- Matcha Mochi Bites
- Brown Sugar Pearl Mochi
- Sweet Potato Mochi with Cheese
- Watermelon Mochi Bites
- Passionfruit Mochi
- Cherry Mochi
For this Matcha Red Bean Mochi recipe, I’m using a slightly different technique when cooking the dough.
Instead of the steaming method used in many other recipes, I cook the dough directly in a non-stick pan. This method gives me better control over the texture and moisture content.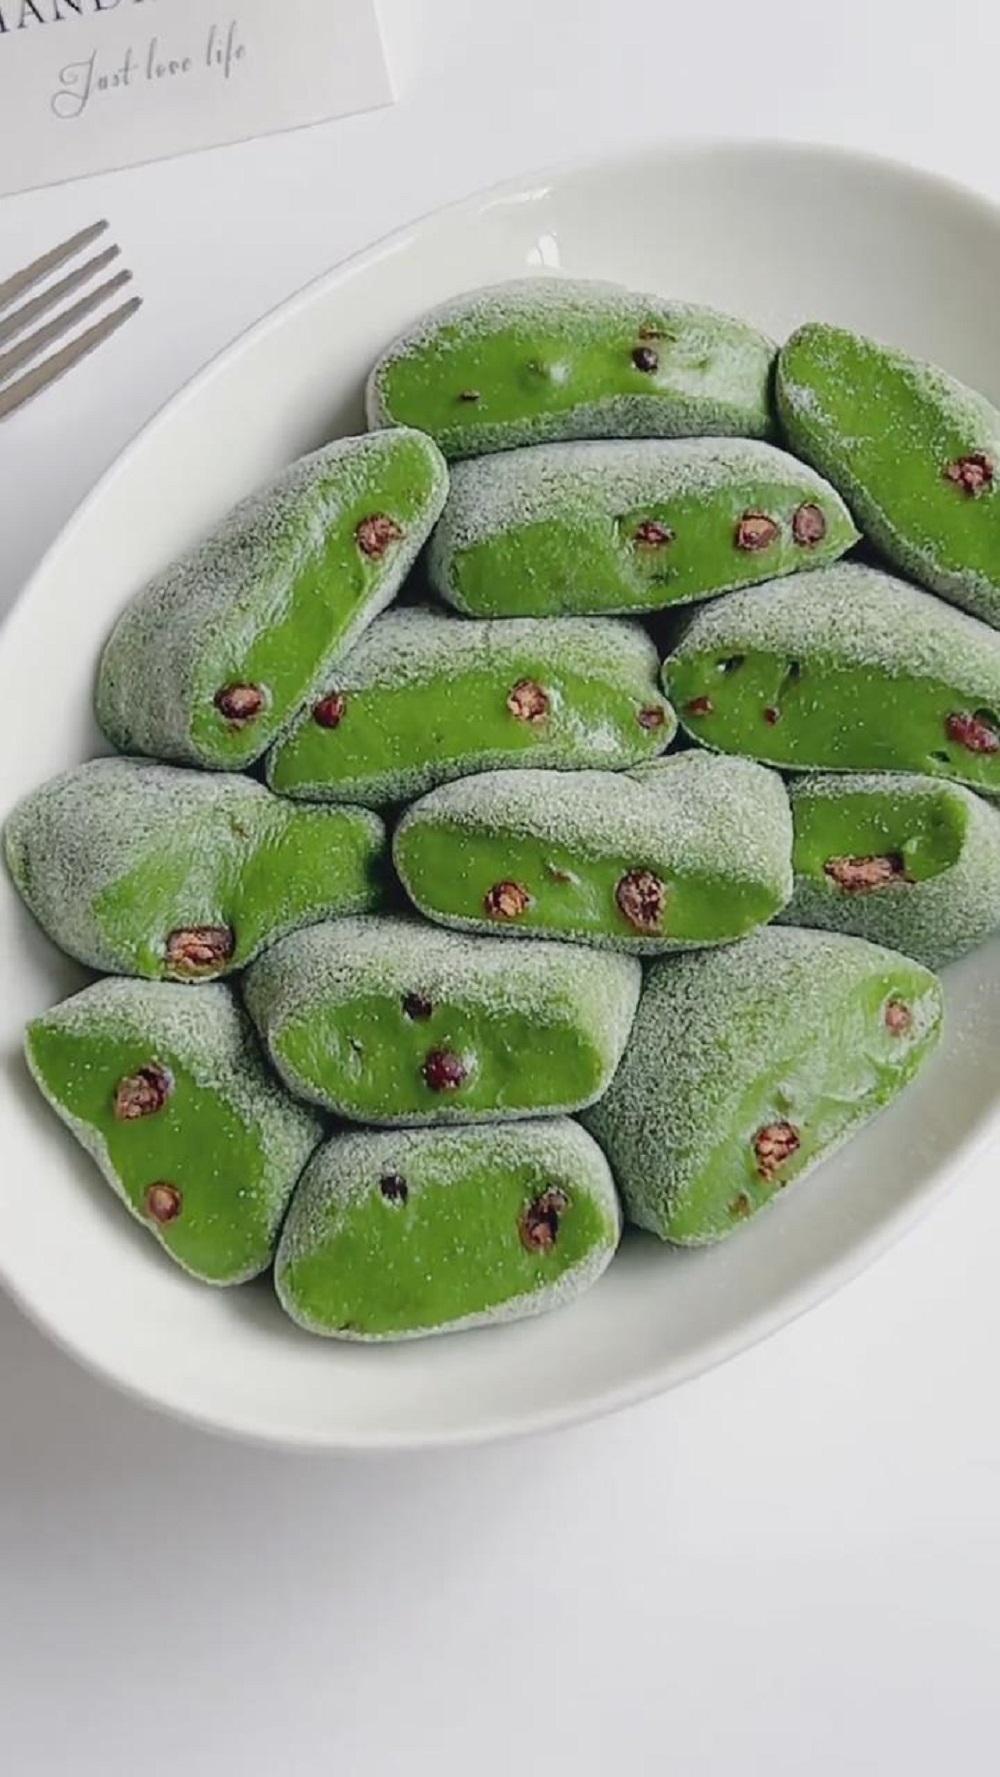
Red Bean Filling Options for Matcha Mochi
Regarding the filling – I’ve noticed many people use smooth red bean paste as a filling, which is definitely a great option.
You could absolutely use this same mochi skin recipe and then follow the wrapping technique from my Cherry Mochi recipe to encase the red bean paste.
However, for this particular version, I’m using sweetened cooked red beans (whole beans) and mixing them directly into the dough itself. This creates lovely little bursts of sweetness throughout every bite, rather than a centralized filling.
Trust me — after making mochi dozens (maybe hundreds!) of times, I’ve tested every trick, tweak, and shortcut. Just follow my steps, and you won’t fail.
Mochi truly becomes easy once you master the dough, and after that… the fillings are endless.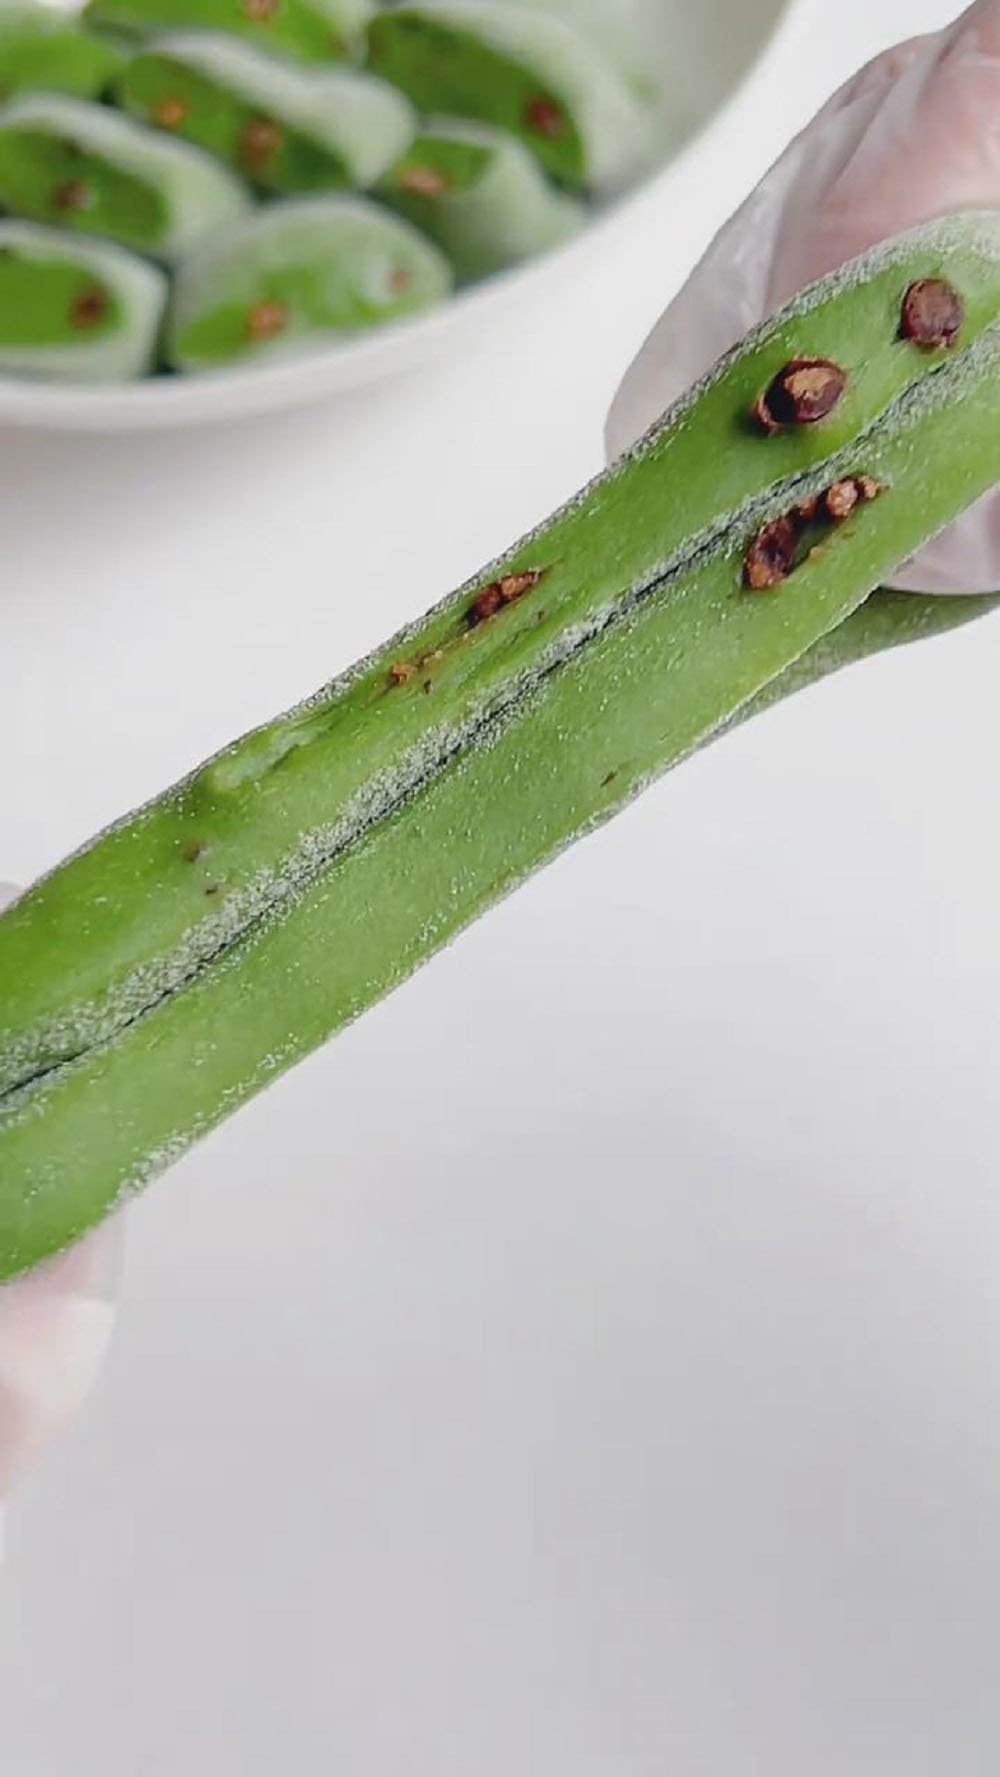
Why You‘ll Love This Recipe
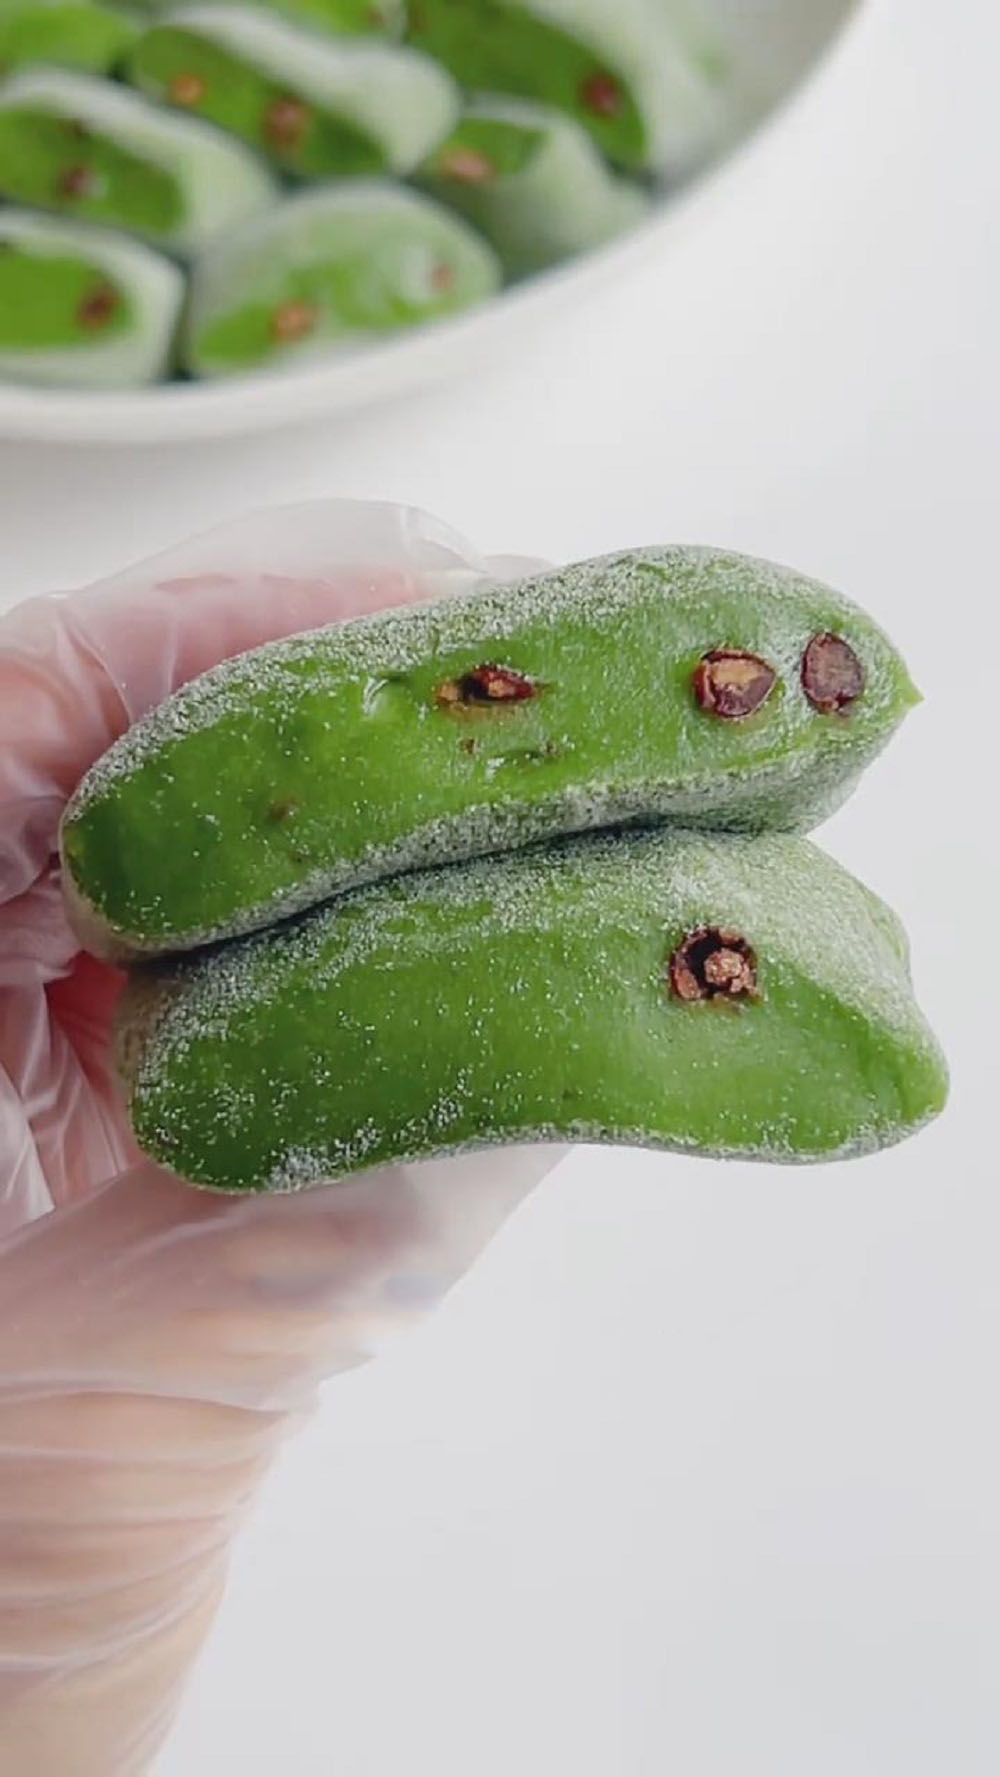
- Soft, stretchy, perfectly chewy texture thanks to a balanced mix of glutinous rice flour and cornstarch.
- Smooth matcha flavor without bitterness when using high-quality matcha powder.
- Sweet and creamy pops of red bean that add texture without overwhelming the mochi.
- Only 30 minutes to make — surprisingly quick for a dessert this delicious.
- Beginner-friendly: with filtering, stirring, and kneading steps you can follow easily for guaranteed success.
- Customizable: once you master the dough, you can swap the filling for any fruit or sweet mix you like.
Ingredients and Substitutions
Glutinous rice flour
This is the essential base that gives mochi its soft, bouncy chew. It cannot be replaced with rice flour, which behaves completely differently. Always use pure glutinous rice flour for authentic mochi texture.
Cornstarch
This helps add the signature Q-elasticity and prevents the dough from sticking to your hands. It keeps the mochi easy to handle and should not be omitted.
Matcha powder
Use a high-quality matcha powder to get that vivid green color and rich, clean flavor. Low-quality matcha can taste bitter and dull in color.
Granulated sugar
Adjusts the sweetness without overpowering the matcha. You can reduce it slightly if you prefer a lighter sweetness.
Milk
Milk creates a softer, smoother batter with a richer mouthfeel. Water can be used if needed, but the flavor will be milder.
Cooked sweetened red beans
These add sweetness and a lovely grainy texture. If you don’t have red beans, dried fruits like raisins or cranberries make good substitutes.
Butter
Adds smoothness, aroma, and helps the mochi dough cook into a glossy, elastic mass.
Cooked glutinous rice flour
This is used for dusting and is essential to prevent sticking. To make it, simply toast raw glutinous rice flour in a dry pan over low heat until it turns a very light yellow and smells fragrant.
How to Make Matcha Red Bean Mochi
Mix the dry and wet ingredients
In a large mixing bowl, whisk together the glutinous rice flour, cornstarch, matcha powder, and sugar until everything is evenly combined with no lumps. Slowly pour in the milk while whisking continuously until you have a smooth, lump-free batter.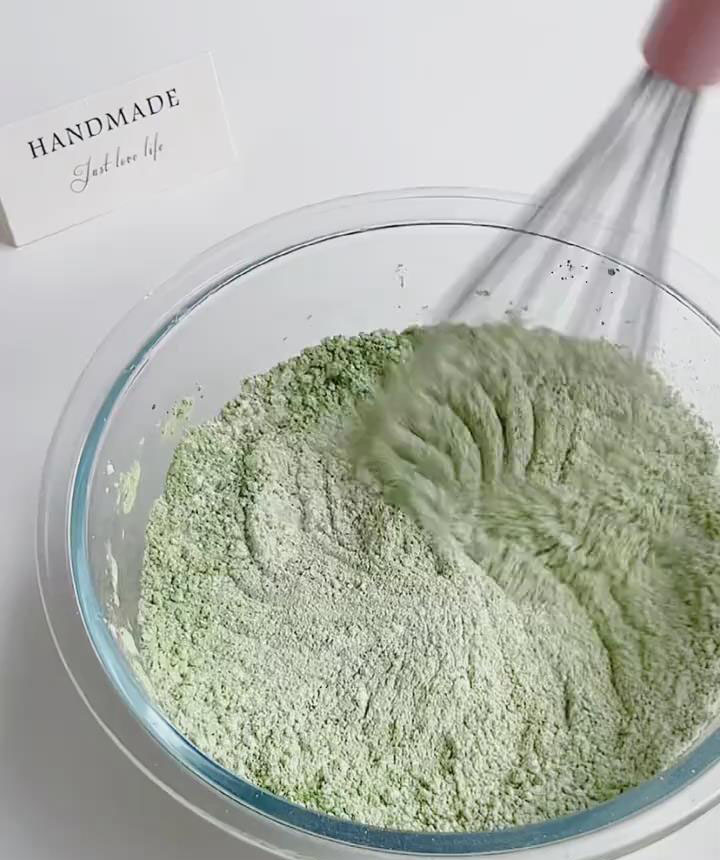


Cook the batter into a mochi dough
Strain the batter through a fine sieve into a nonstick pan — this ensures a silky, smooth texture and removes any undissolved bits.
Add the softened butter, then cook over low heat while stirring constantly with a silicone spatula. 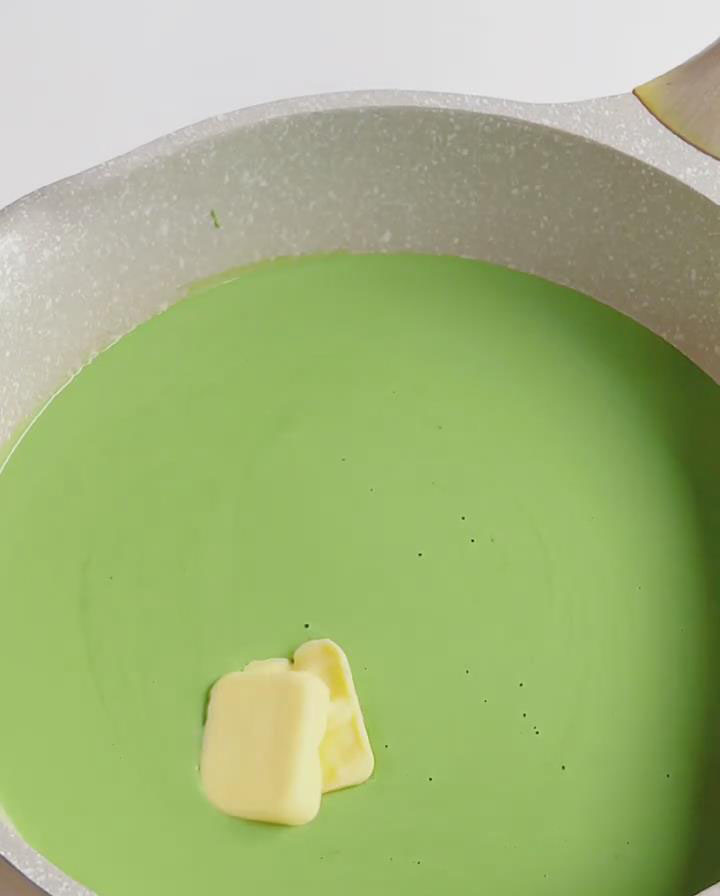
The mixture will thicken gradually, then clump into a dough. Continue stirring until the dough no longer sticks to the pan or spatula, about 5–7 minutes. Transfer to a container and let it cool until warm.
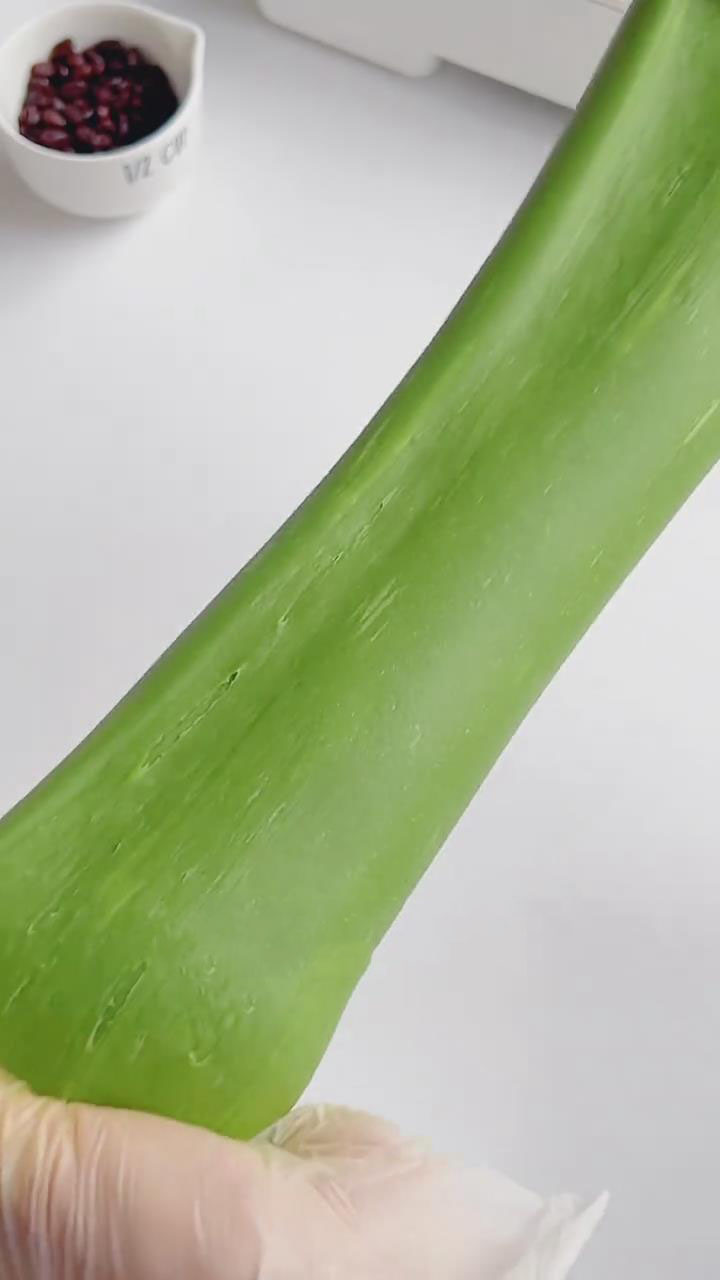
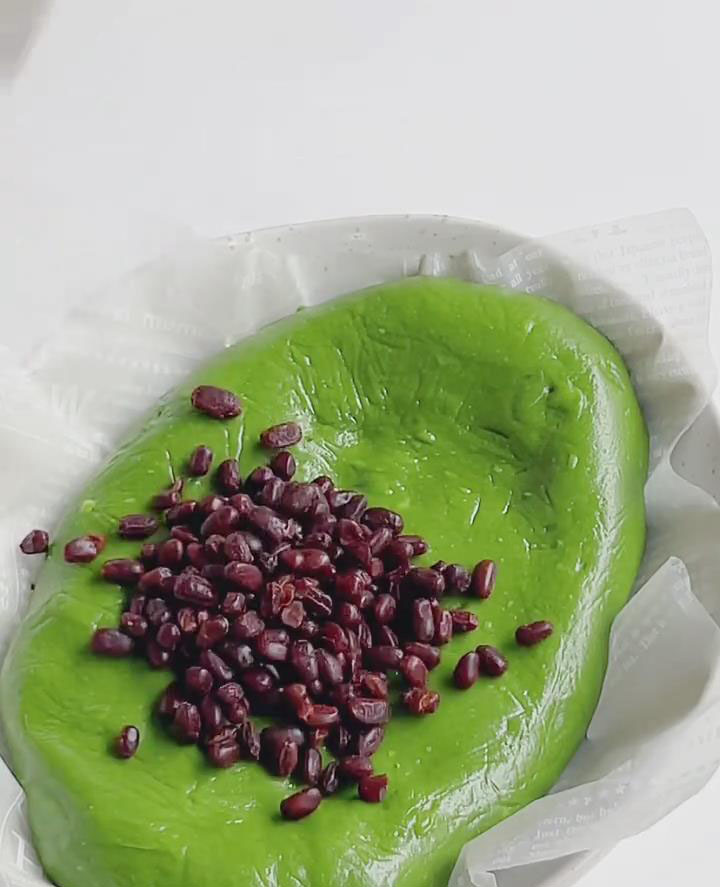
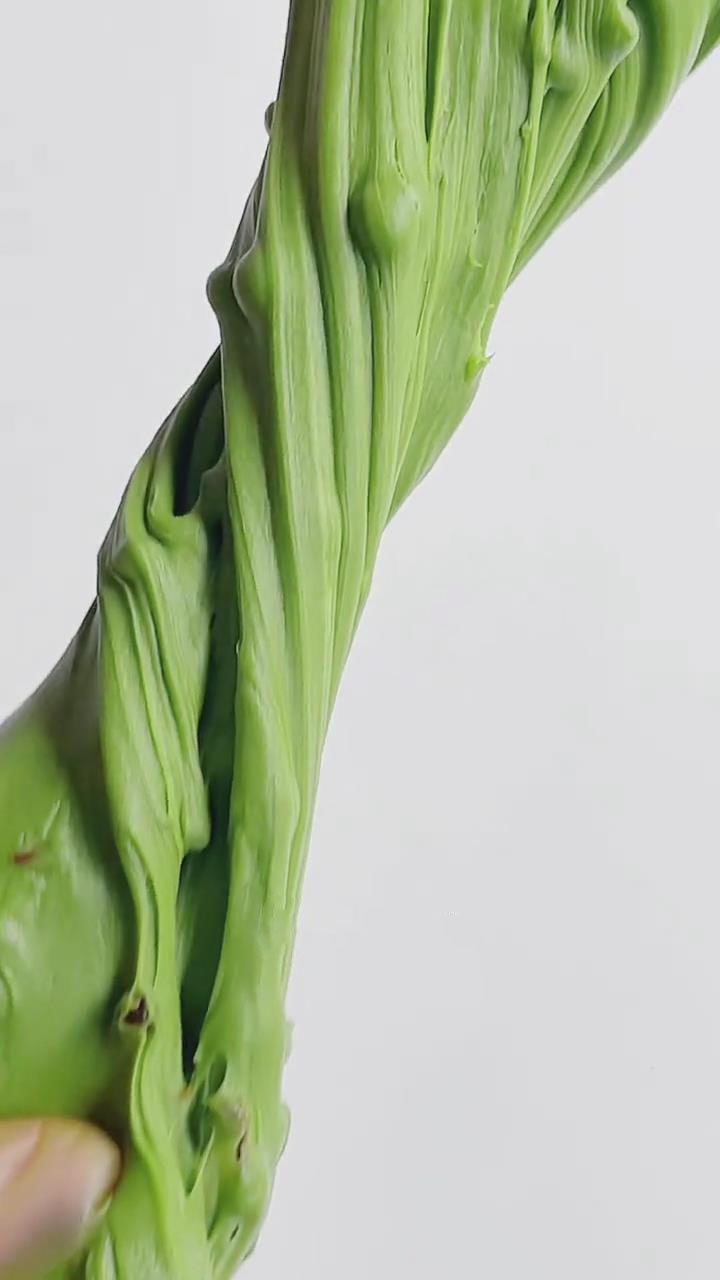
Knead and add the red beans
When the dough is warm but not hot, stretch and knead it for about 3 minutes until glossy and elastic. Add the cooked sweetened red beans and knead again to distribute them evenly throughout the dough.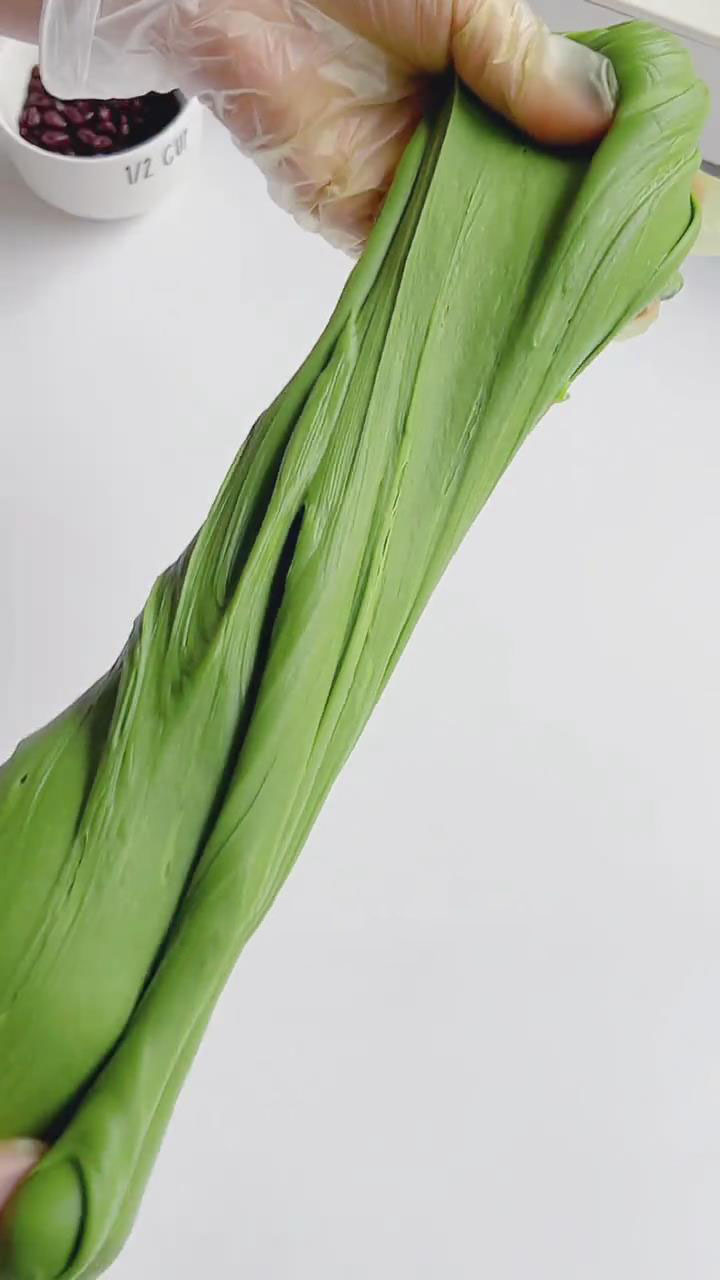
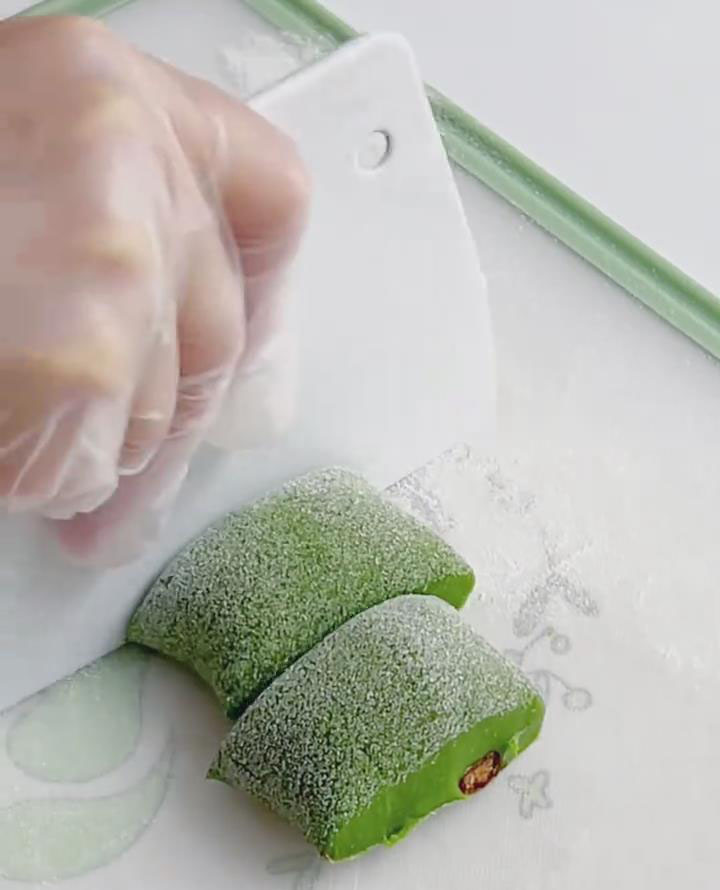
Shape and cut
Dust your work surface with cooked glutinous rice flour. Place the mochi dough on top and dust the surface lightly. Roll into a log about 3 cm thick, then slice into small pieces (around 20 g each). Serve immediately or store according to preference.
Tips & Tricks
- Strain the Batter: For the smoothest possible mochi, do not skip straining the batter into the pan. It makes a significant difference in the final texture.
- Low and Slow Cooking: Patience is key when cooking the dough. Using low heat and stirring constantly prevents the bottom from burning before the rest of the dough cooks through.
- Knead While Warm: The dough is most pliable and easiest to work with while it’s still warm. If it cools down completely, it can become firm and harder to knead.
- Dust Generously: Don’t be shy with the cooked flour when dusting your surface and hands. It is the only way to manage the mochi’s natural stickiness.
Frequently Asked Questions
Why is my mochi sticky?
It may not be cooked long enough, or you didn’t use enough dusting flour. Simply return it to the pan for another minute or add more cooked flour.
Why is my matcha bitter?
Low-quality matcha can taste harsh. Use a higher grade for a brighter color and smoother flavor.
Can I store mochi?
Yes — store at room temperature for 1–2 days or refrigerate for 3–4 days. Reheat gently before eating to soften.
Can I change the filling?
Absolutely. Once you master the dough, fillings like fruit, cream, sesame, or custard all work beautifully.
Matcha Red Bean Mochi (Easy Pan-Cooked Method!)
Ingredients
Mochi Dough
- 200 g glutinous rice flour
- 60 g cornstarch
- 10 g matcha powder
- 40 g fine granulated sugar
- 300 g whole milk
- 16 g butter softened
For Assembly
- 80 g sweetened cooked red beans
- Cooked glutinous rice flour for dusting
Instructions
Mix the dry and wet ingredients
- In a large mixing bowl, whisk together the glutinous rice flour, cornstarch, matcha powder, and sugar until everything is evenly combined with no lumps. Slowly pour in the milk while whisking continuously until you have a smooth, lump-free batter.
Cook the batter into a mochi dough
- Strain the batter through a fine sieve into a nonstick pan — this ensures a silky, smooth texture and removes any undissolved bits. Add the softened butter, then cook over low heat while stirring constantly with a silicone spatula. The mixture will thicken gradually, then clump into a dough. Continue stirring until the dough no longer sticks to the pan or spatula, about 5–7 minutes. Transfer to a container and let it cool until warm.
Knead and add the red beans
- When the dough is warm but not hot, stretch and knead it for about 3 minutes until glossy and elastic. Add the cooked sweetened red beans and knead again to distribute them evenly throughout the dough.
Shape and cut
- Dust your work surface with cooked glutinous rice flour. Place the mochi dough on top and dust the surface lightly. Roll into a log about 3 cm thick, then slice into small pieces (around 20 g each). Serve immediately or store according to preference.
Leave a Reply