
I make this stunning dessert whenever I want to impress guests without spending hours in the kitchen. It’s my favorite way to enjoy the elegant flavors of matcha and strawberry in a no-bake treat.
Strawberry Matcha Lava Cake (No-Bake)
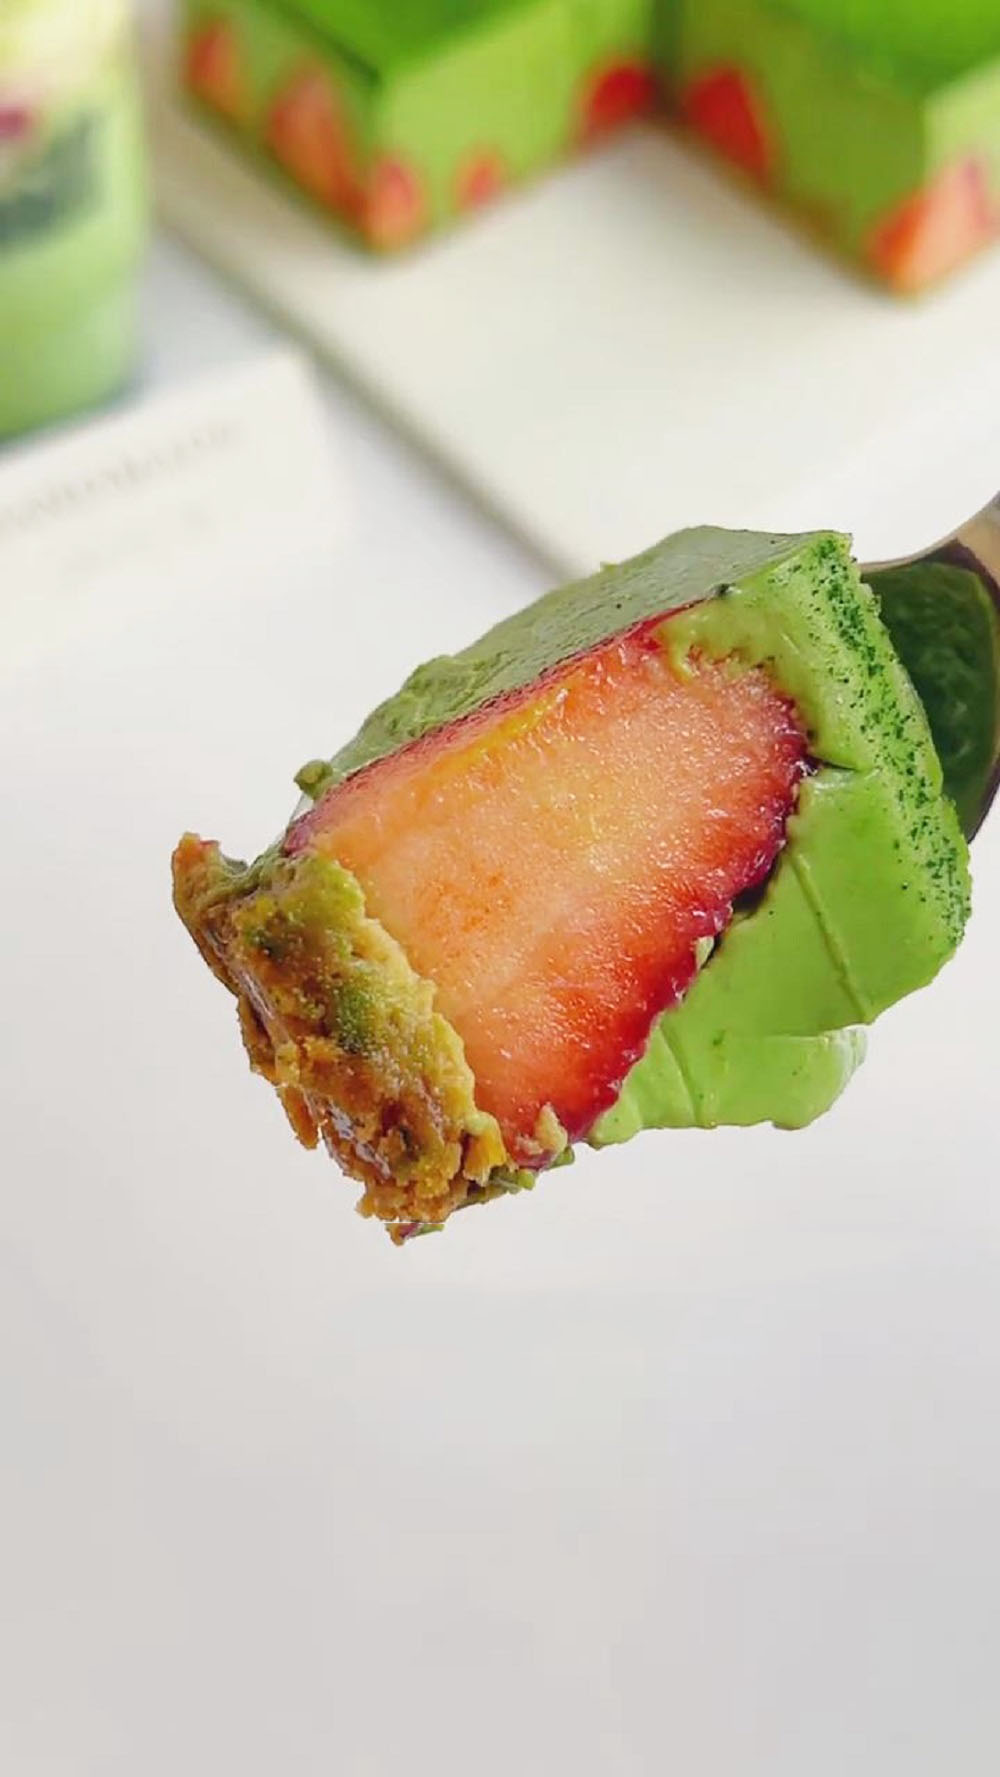
This recipe is my go-to for a show-stopping dessert that feels luxurious but is surprisingly simple to assemble. I love how the rich, creamy matcha white chocolate layer contrasts with the sweet, juicy strawberries and the crunchy biscuit base. It’s a dessert that truly has it all.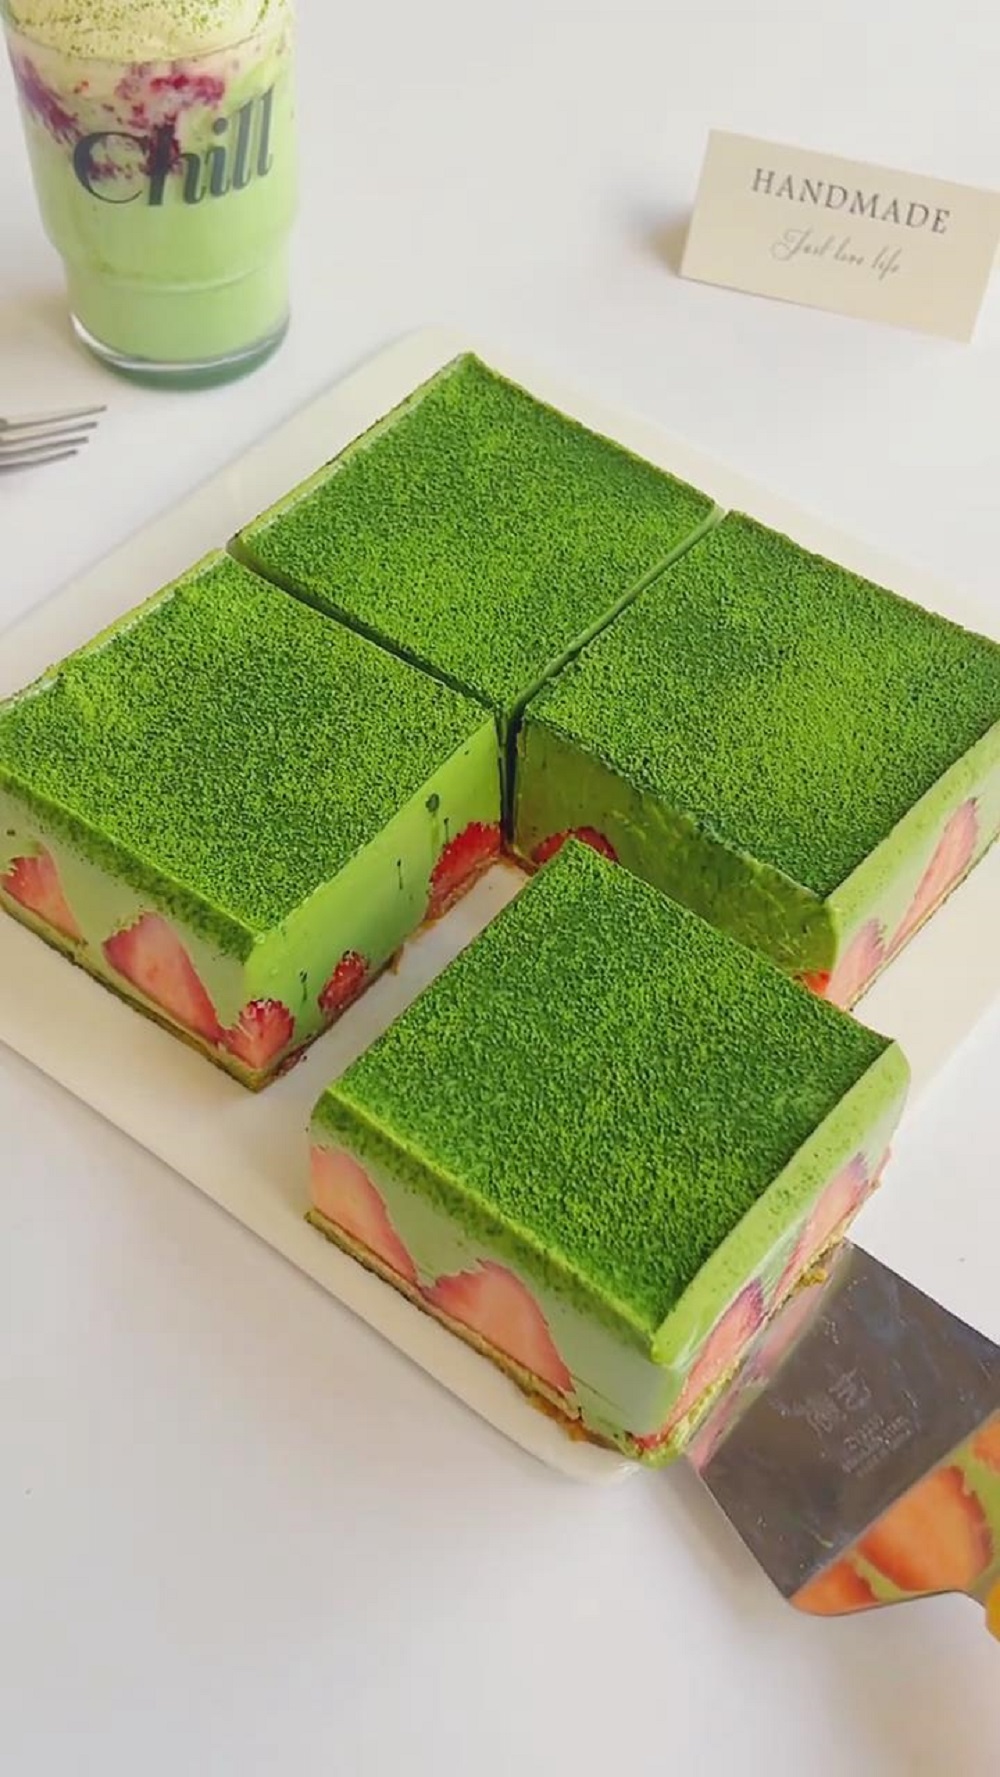
Why You’ll Love This Recipe
- No Oven Required: Perfect for warm weather or for anyone who doesn’t like to bake.
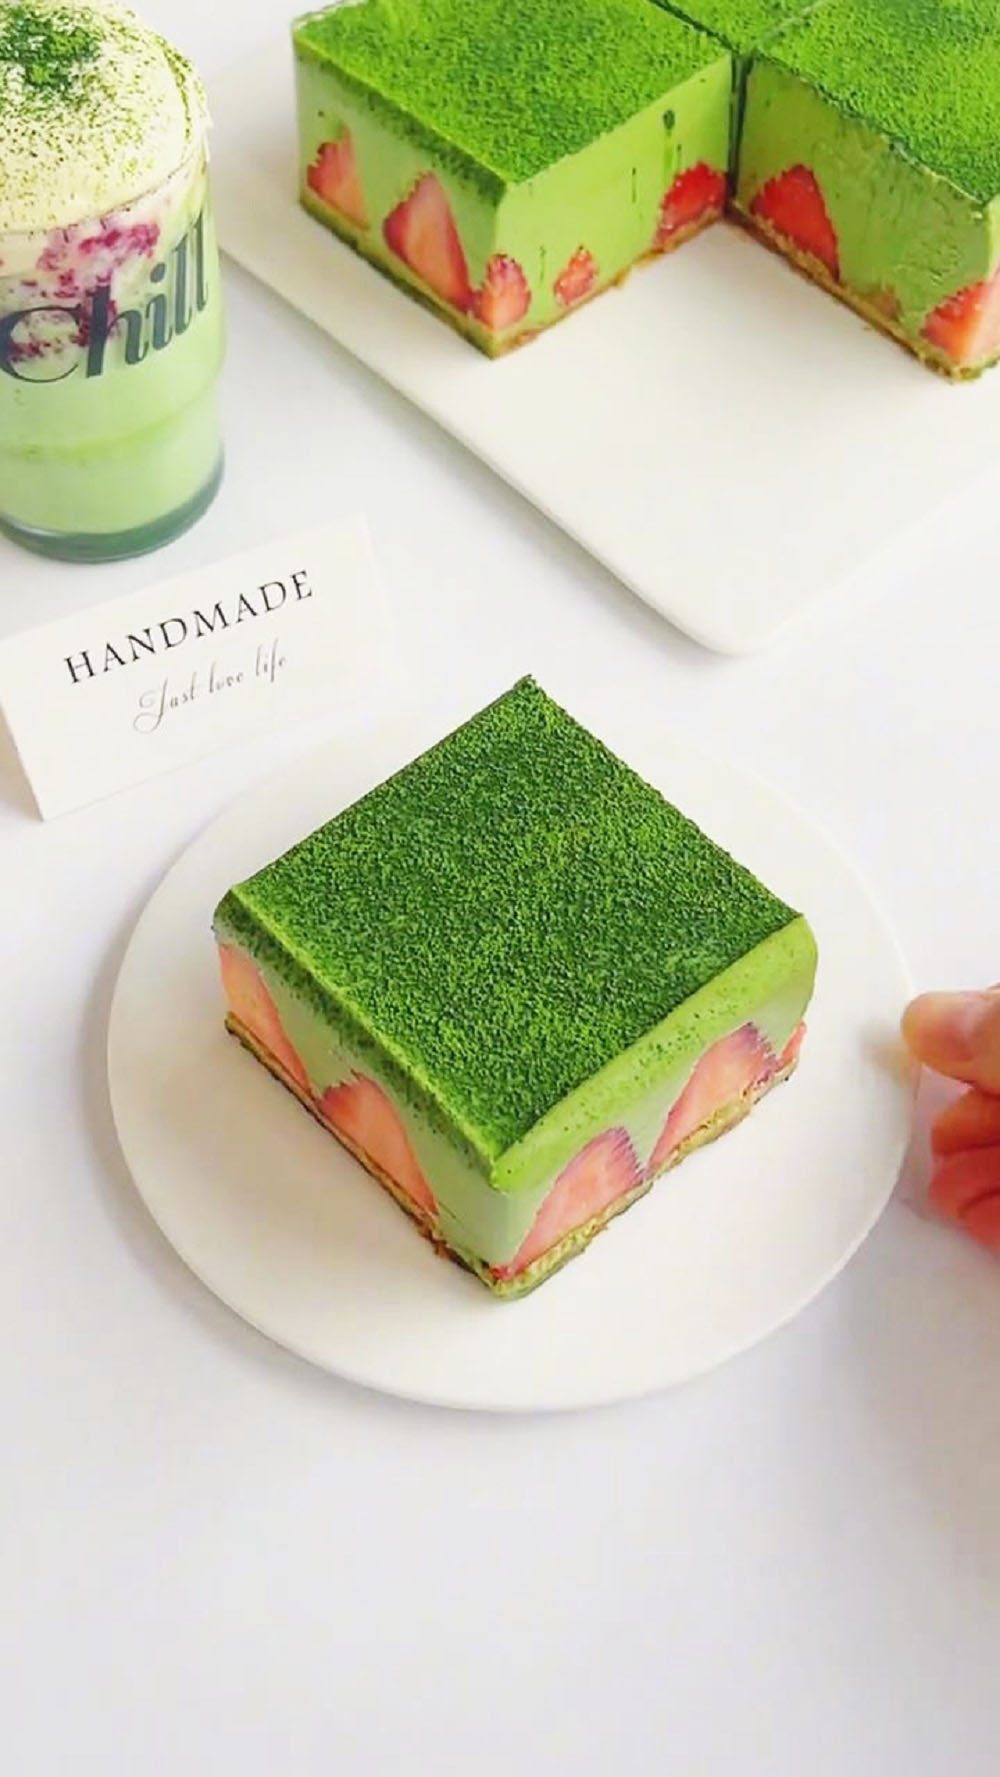
- Impressively Elegant: The layered look with fresh strawberries makes it look like it came from a professional patisserie.
- Rich Yet Refreshing: The deep, earthy flavor of matcha balanced with the sweetness of strawberry is a match made in heaven.
- Make-Ahead Magic: It needs to chill overnight, making it the perfect dessert to prepare a day before you need it.
Ingredients:
Biscuit Base
- 70g caramel biscuits (or digestive biscuits + 5g sugar)
- 25g unsalted butter (softened at room temperature)
Lava Layer
- 300g fresh strawberries (100g halved, 200g whole)
- 18g matcha powder (15g for lava mixture, 3g for dusting)
- 30ml hot water (60–70°C)
- 200g white chocolate (≥30% cocoa butter)
- 350g heavy cream (150g + 200g, ≥30% fat, dairy cream, chilled)
- 10g gelatin sheets (soaked in ice water)
- 2 egg yolks (room temperature)
Note on Ingredients: The quality of matcha is crucial for the best flavor. A high-grade, ceremonial matcha will provide a vibrant green color and a smooth, complex taste without bitterness. Using ice water to soak the gelatin sheets is essential to prevent them from dissolving prematurely.
Instructions:
- Prepare the Ingredients
Gently wash the 300g of strawberries in a saltwater bath (5g salt in 500ml water) for 5 minutes. Rinse, pat dry, and remove the stems. Slice 100g of the strawberries in half and leave the rest whole for decorating the mold.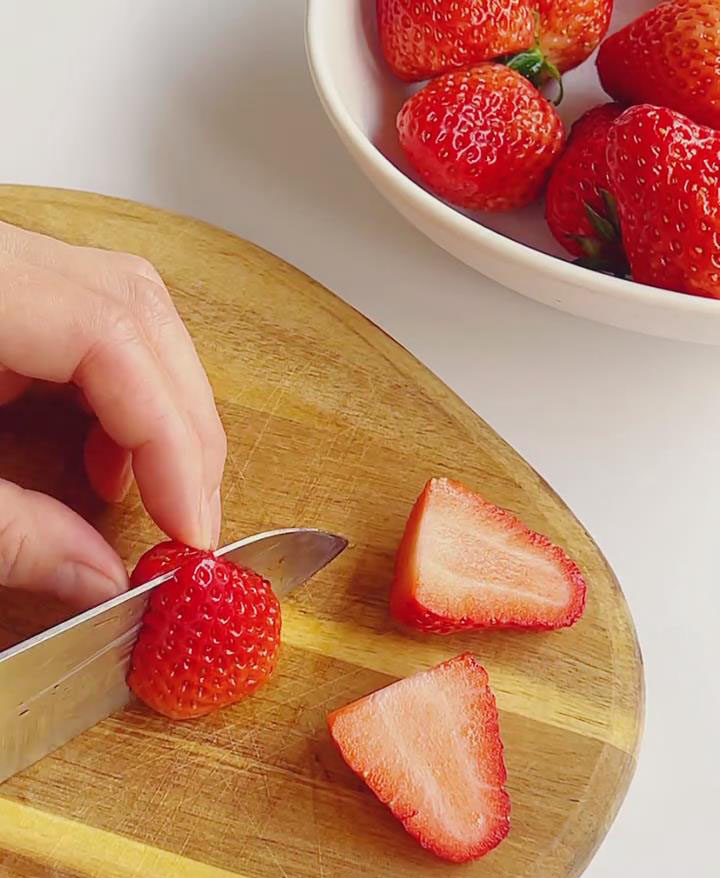
Place the 70g of caramel biscuits in a sturdy zip-top bag. Use a rolling pin to crush them into fine, even crumbs.
Place the 10g of gelatin sheets in a small bowl and cover with water. Let them soften for 5 minutes, then squeeze out any excess water.
- Make the Biscuit Base
In a small saucepan, melt the 25g of softened butter over low heat. Once melted, let it cool for 2 minutes.
Pour the melted butter over the biscuit crumbs and mix thoroughly until all the crumbs are evenly coated and the mixture resembles wet sand.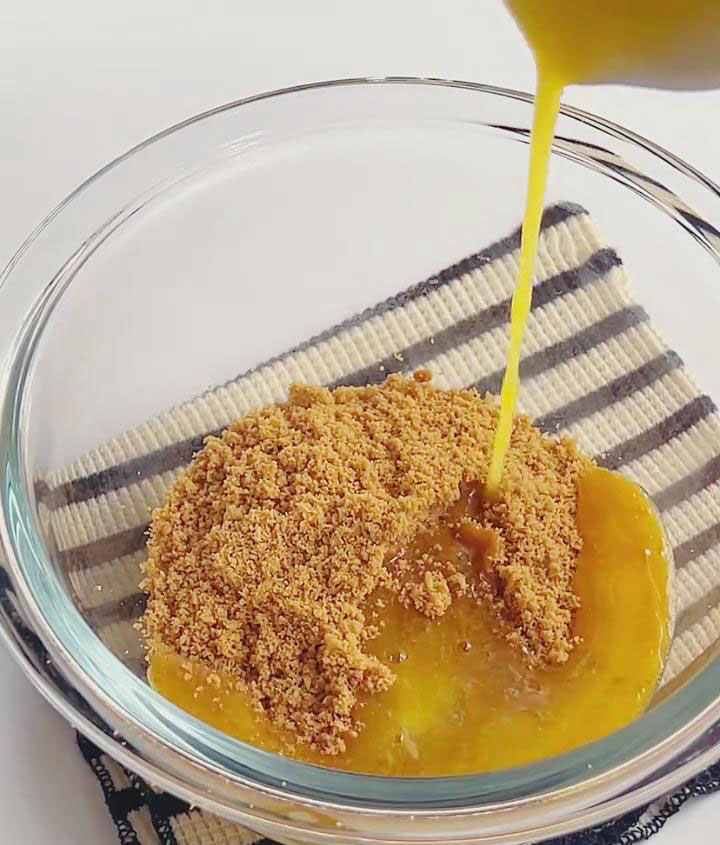
Transfer the buttery crumbs to a springform cake tin (approx. 15-18cm). Use the flat bottom of a glass or a rolling pin to press the mixture down firmly and evenly into the base. Chill in the refrigerator for 10 minutes to set.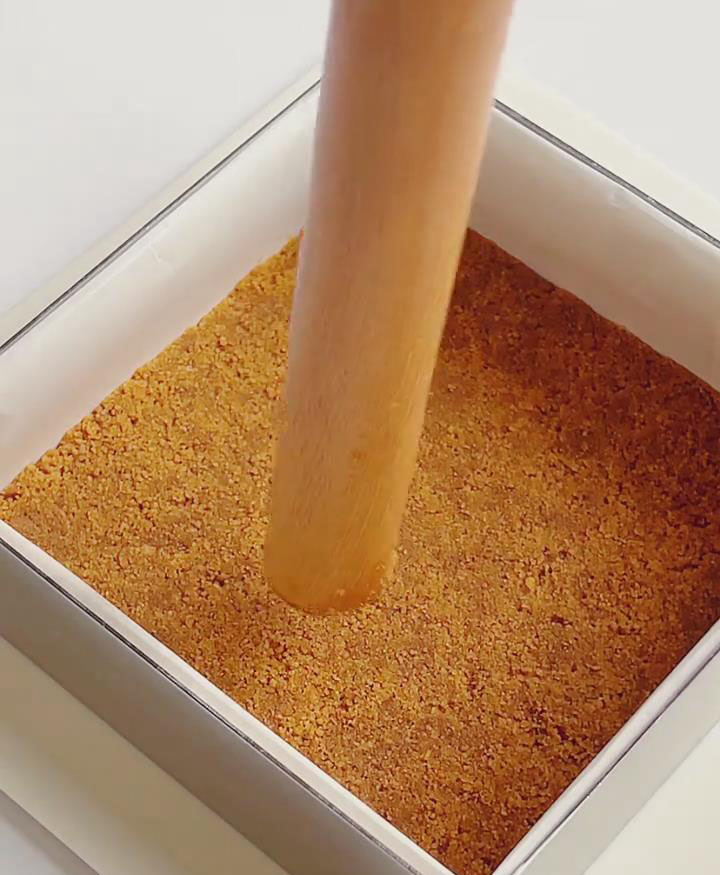
Arrange the halved strawberries, cut-side out, around the edge of the tin against the wall. Place the whole strawberries neatly on the base.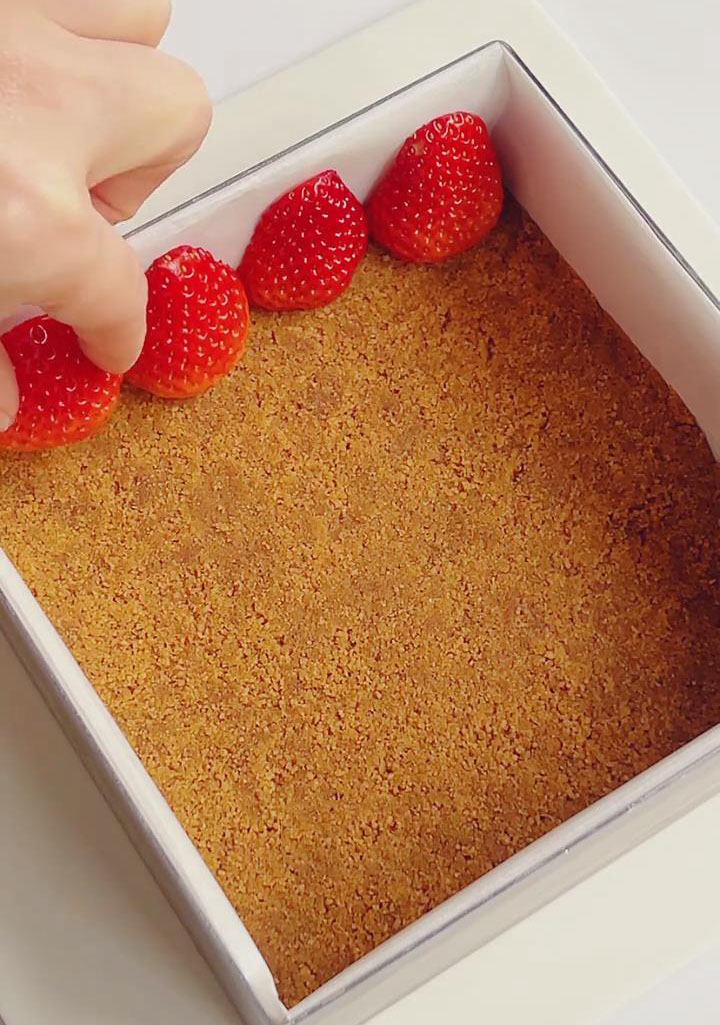

- Make the Strawberry Matcha Lava Filling
In a small bowl, whisk 15g of the matcha powder with the 30ml of hot water until it forms a completely smooth, lump-free paste. Set aside to cool slightly.
Combine the chopped 200g of white chocolate and 150g of the heavy cream in a saucepan. Melt over the lowest possible heat, stirring constantly, until the chocolate is completely smooth. Remove from the heat and let it cool until it feels just warm to the touch (around 40°C).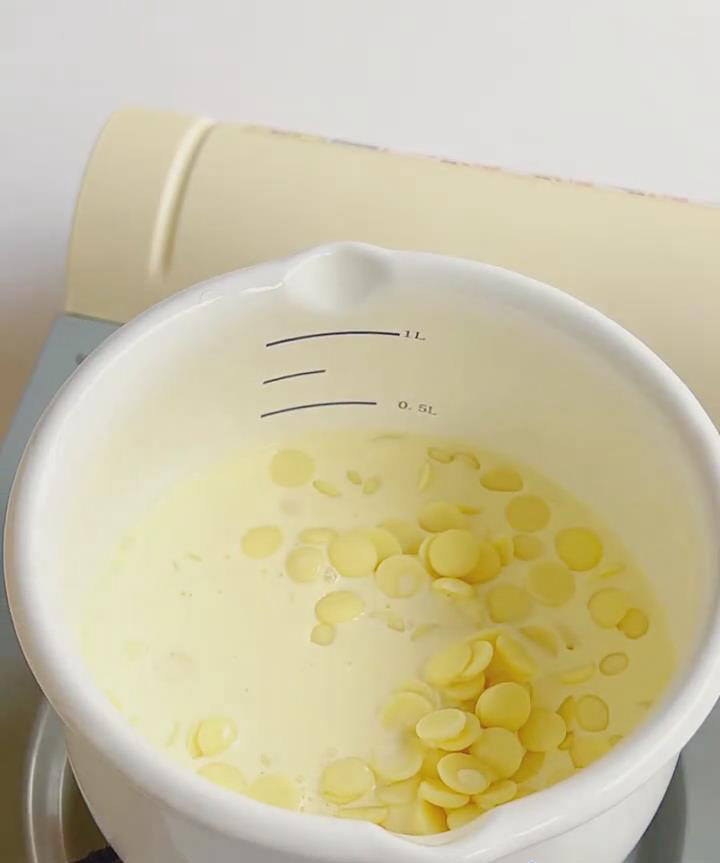
Add the softened, squeezed-out gelatin sheets to the warm chocolate mixture. Stir vigorously until the gelatin has completely dissolved.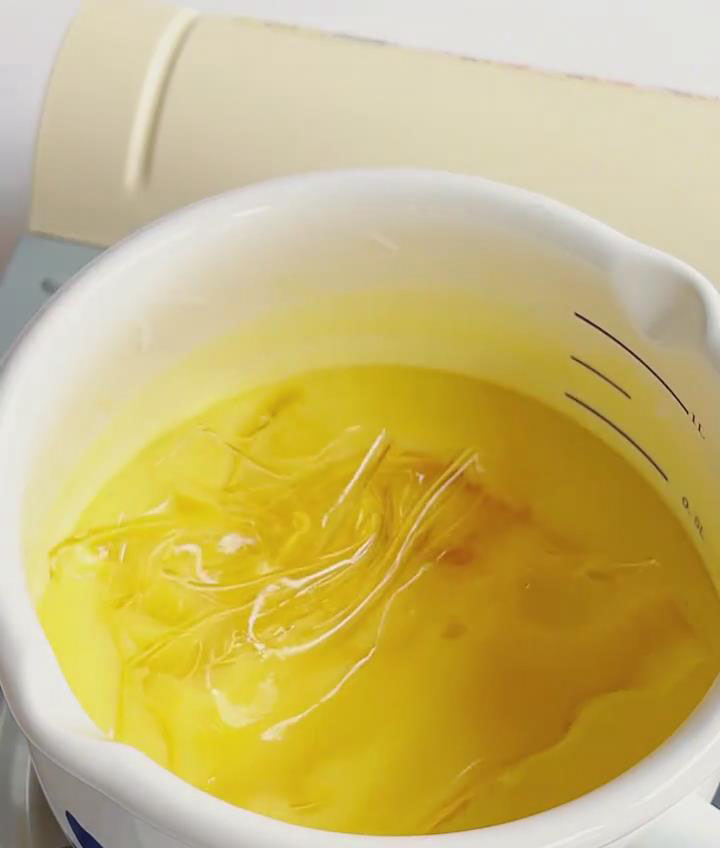
Whisk in the 2 egg yolks until fully incorporated. Then, slowly whisk in the prepared matcha paste until the mixture is uniformly green.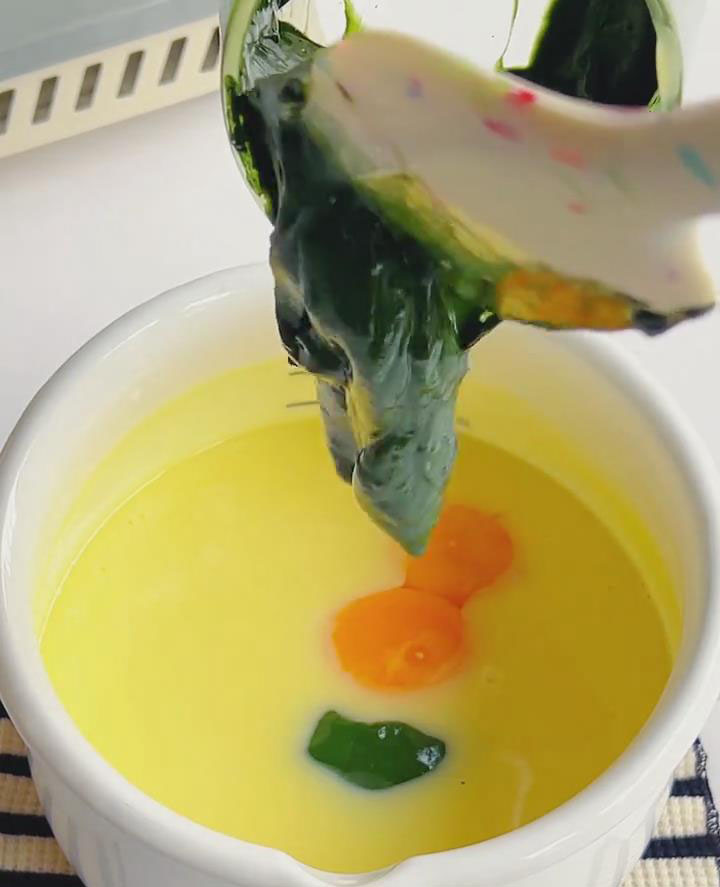
Finally, pour in the remaining 200g of heavy cream and whisk until the entire mixture is smooth, thick, and well-combined.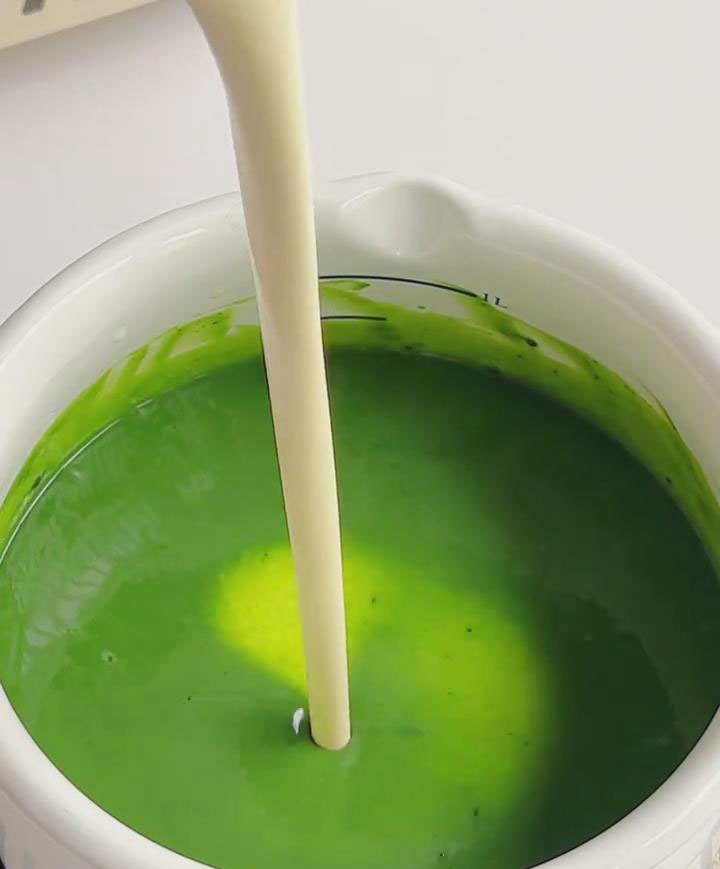
- Assemble and Set (8-10 hours, preferably overnight)
Remove the chilled biscuit base from the refrigerator. Pour the matcha filling mixture over the strawberries, filling the tin to about 90% full.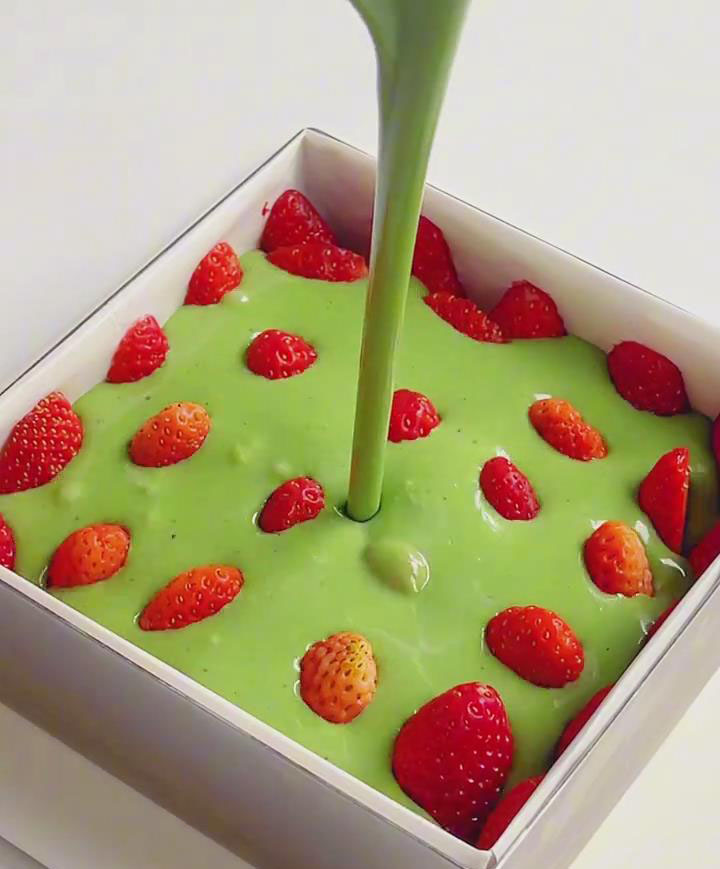
Gently tap the tin on the counter a few times to release any air bubbles trapped inside.
Carefully cover the tin with plastic wrap and place it in the refrigerator to set for a minimum of 8 hours, or ideally overnight.
- Decorate and Serve
Remove from fridge, rest 5 minutes, unmold carefully.
Place the cake on a serving plate. Use a fine-mesh sieve to dust the top with the remaining 3g of matcha powder. Slice with a knife and serve immediately.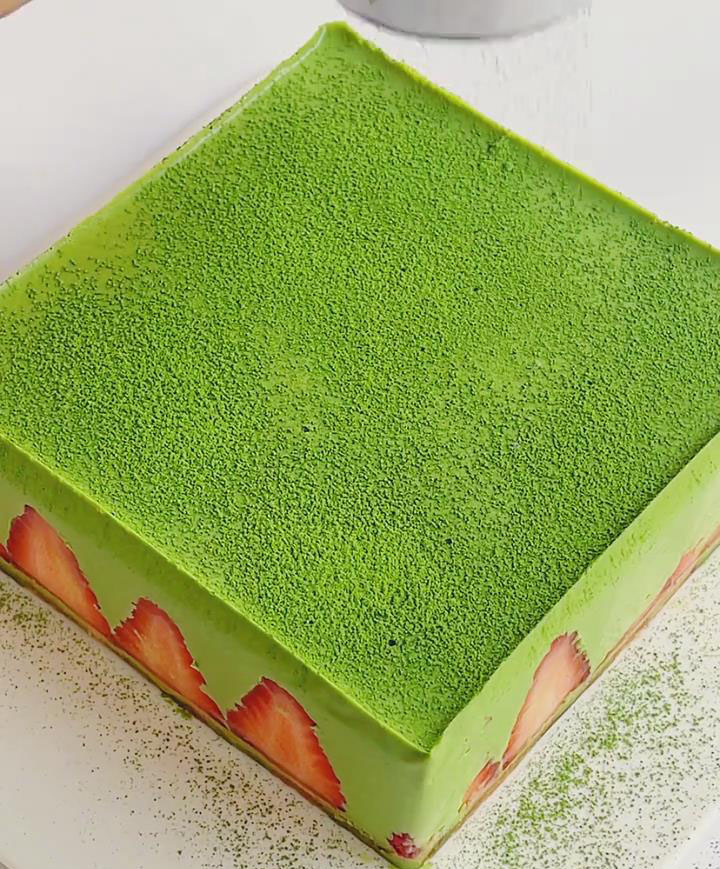
Frequently Asked Questions
Can I use gelatin powder instead of sheets?
Yes, you can. Use 2 teaspoons of powdered gelatin. Sprinkle it over 3 tablespoons of cold water in a small bowl and let it “bloom” for 5 minutes until it becomes spongy. Then, whisk it into the warm white chocolate mixture until dissolved.
My mixture split or looks grainy. What happened?
This usually occurs if the white chocolate mixture was too hot when the other ingredients were added, causing the fat to separate. Always ensure the melted chocolate has cooled to just warm (40°C) before adding the gelatin and egg yolks.
How far in advance can I make this?
This dessert is perfect for making ahead. It can be stored, covered, in the refrigerator for up to 2-3 days before serving.

Impressive No-Bake Matcha and White Chocolate Cake
Ingredients
Biscuit Base
- 70 g caramel biscuits or digestive biscuits + 5g sugar
- 25 g unsalted butter softened at room temperature
Lava Layer
- 300 g fresh strawberries 100g halved, 200g whole
- 18 g matcha powder 15g for lava mixture, 3g for dusting
- 30 ml hot water 60–70°C
- 200 g white chocolate ≥30% cocoa butter
- 350 g heavy cream 150g + 200g, ≥30% fat, dairy cream, chilled
- 10 g gelatin sheets soaked in ice water
- 2 egg yolks room temperature
Instructions
Prepare the Ingredients
- Gently wash the 300g of strawberries in a saltwater bath (5g salt in 500ml water) for 5 minutes. Rinse, pat dry, and remove the stems. Slice 100g of the strawberries in half and leave the rest whole for decorating the mold.
- Place the 70g of caramel biscuits in a sturdy zip-top bag. Use a rolling pin to crush them into fine, even crumbs.
- Place the 10g of gelatin sheets in a small bowl and cover with water. Let them soften for 5 minutes, then squeeze out any excess water.
Make the Biscuit Base
- In a small saucepan, melt the 25g of softened butter over low heat. Once melted, let it cool for 2 minutes.
- Pour the melted butter over the biscuit crumbs and mix thoroughly until all the crumbs are evenly coated and the mixture resembles wet sand.
- Transfer the buttery crumbs to a springform cake tin (approx. 15-18cm). Use the flat bottom of a glass or a rolling pin to press the mixture down firmly and evenly into the base. Chill in the refrigerator for 10 minutes to set.
- Arrange the halved strawberries, cut-side out, around the edge of the tin against the wall. Place the whole strawberries neatly on the base.
Make the Strawberry Matcha Lava Filling
- In a small bowl, whisk 15g of the matcha powder with the 30ml of hot water until it forms a completely smooth, lump-free paste. Set aside to cool slightly.
- Combine the chopped 200g of white chocolate and 150g of the heavy cream in a saucepan. Melt over the lowest possible heat, stirring constantly, until the chocolate is completely smooth. Remove from the heat and let it cool until it feels just warm to the touch (around 40°C).
- Add the softened, squeezed-out gelatin sheets to the warm chocolate mixture. Stir vigorously until the gelatin has completely dissolved.
- Whisk in the 2 egg yolks until fully incorporated. Then, slowly whisk in the prepared matcha paste until the mixture is uniformly green.
- Finally, pour in the remaining 200g of heavy cream and whisk until the entire mixture is smooth, thick, and well-combined.
Assemble and Set (8-10 hours, preferably overnight)
- Remove the chilled biscuit base from the refrigerator. Pour the matcha filling mixture over the strawberries, filling the tin to about 90% full.
- Gently tap the tin on the counter a few times to release any air bubbles trapped inside.
- Carefully cover the tin with plastic wrap and place it in the refrigerator to set for a minimum of 8 hours, or ideally overnight.
Decorate and Serve
- Remove from fridge, rest 5 minutes, unmold carefully.
- Place the cake on a serving plate. Use a fine-mesh sieve to dust the top with the remaining 3g of matcha powder. Slice with a knife and serve immediately.
Leave a Reply