
This Strawberry Mochi is soft, chewy, and filled with creamy strawberry whipped filling and fresh strawberries. A pretty and delicious Japanese-inspired treat that’s perfect for parties or gifting.
Why I Love This Recipe
If you’ve been following my blog for a while, you probably already know about my serious obsession with mochi.
I find myself making a fresh batch at least twice a week—it’s my ultimate comfort food and creative outlet!
The beautiful thing about mochi is its incredible versatility.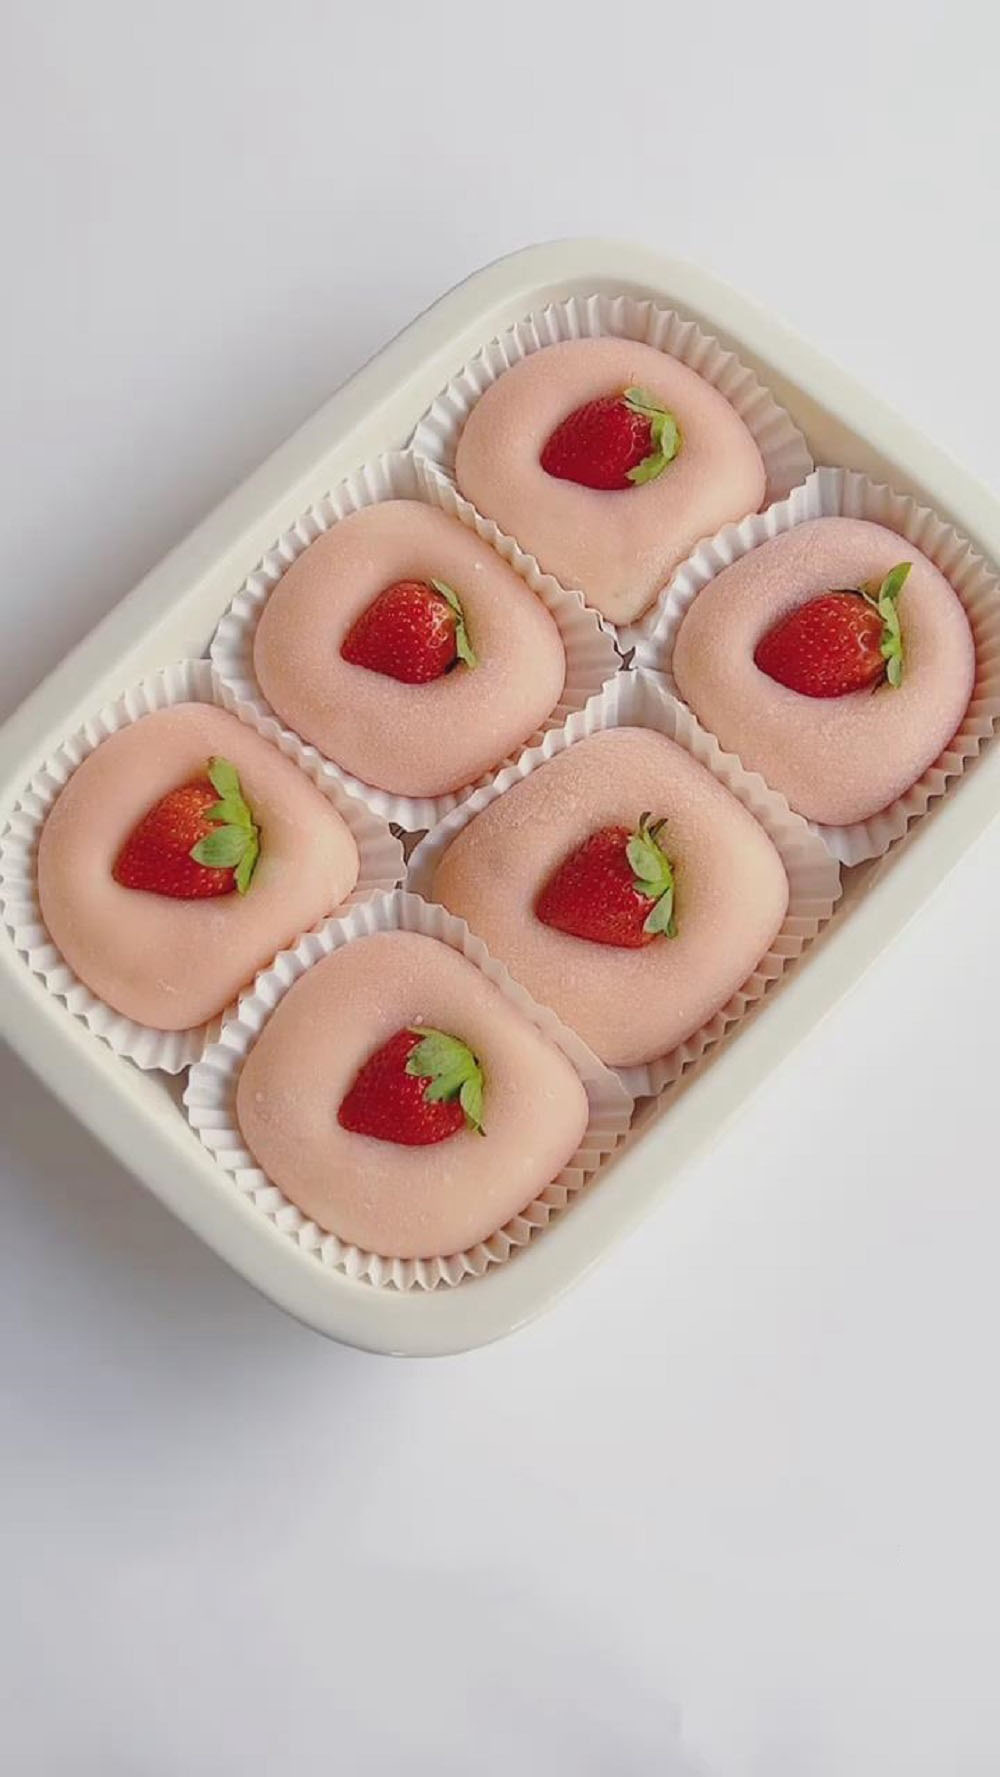
Once you master the basic technique for making that soft, chewy, and wonderfully stretchy skin, a whole world of flavors and fillings opens up.
It’s no surprise, then, that I’ve shared so many beloved mochi recipes with you all over time.
My mochi journey on the blog includes favorites like:
- Osmanthus Mochi
- Matcha Mochi Bites
- Brown Sugar Pearl Mochi
- Sweet Potato Mochi with Cheese
- Watermelon Mochi Bites
- Passionfruit Mochi
But this Strawberry Mochi might just be the most adorable one yet. They are so cute, in fact, that my daughter looked at them and said they were “too pretty to eat!”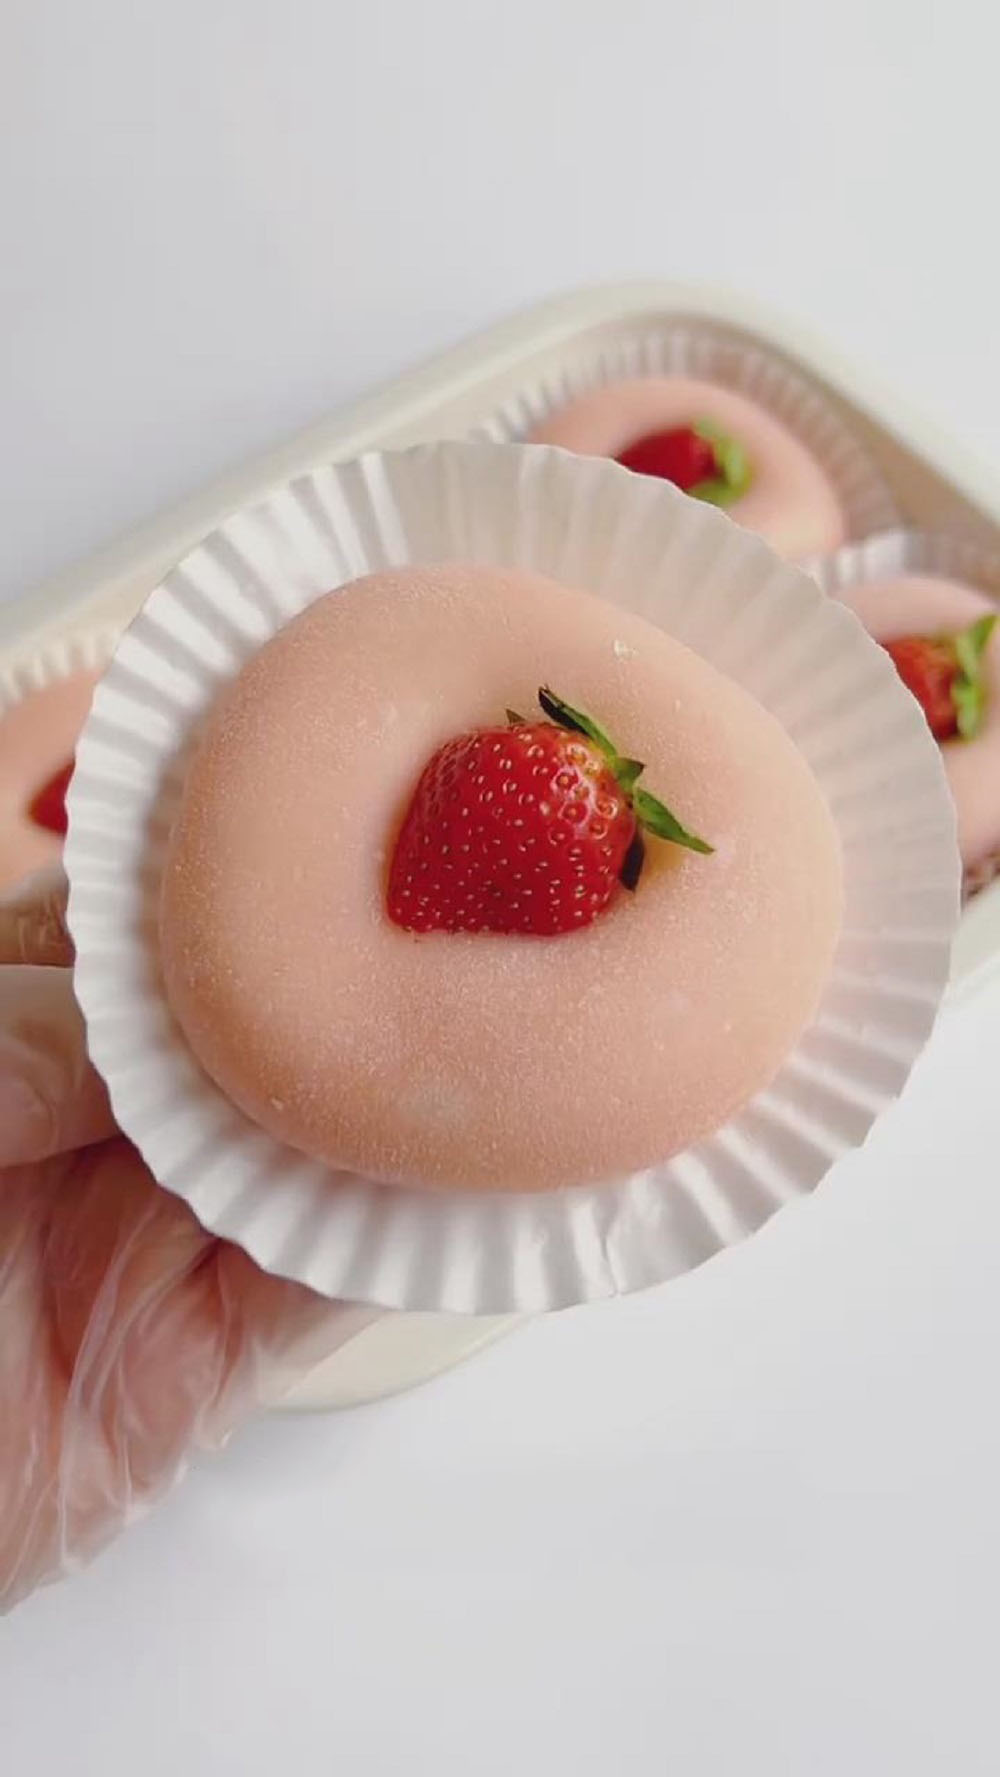
My Favorite Tip for Wrapping Mochi Perfectly:
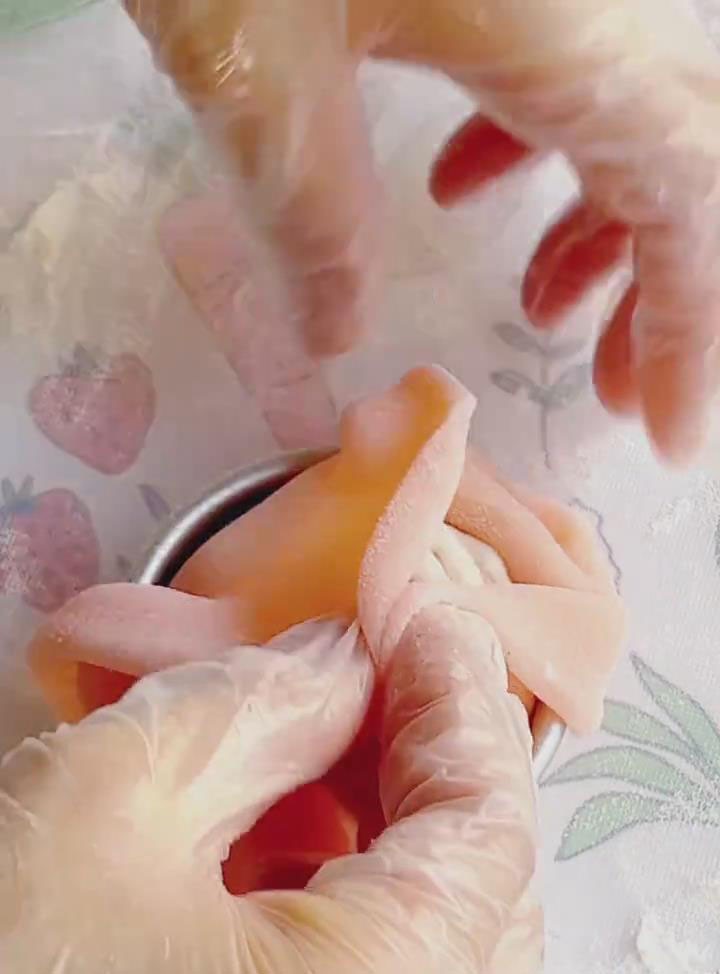
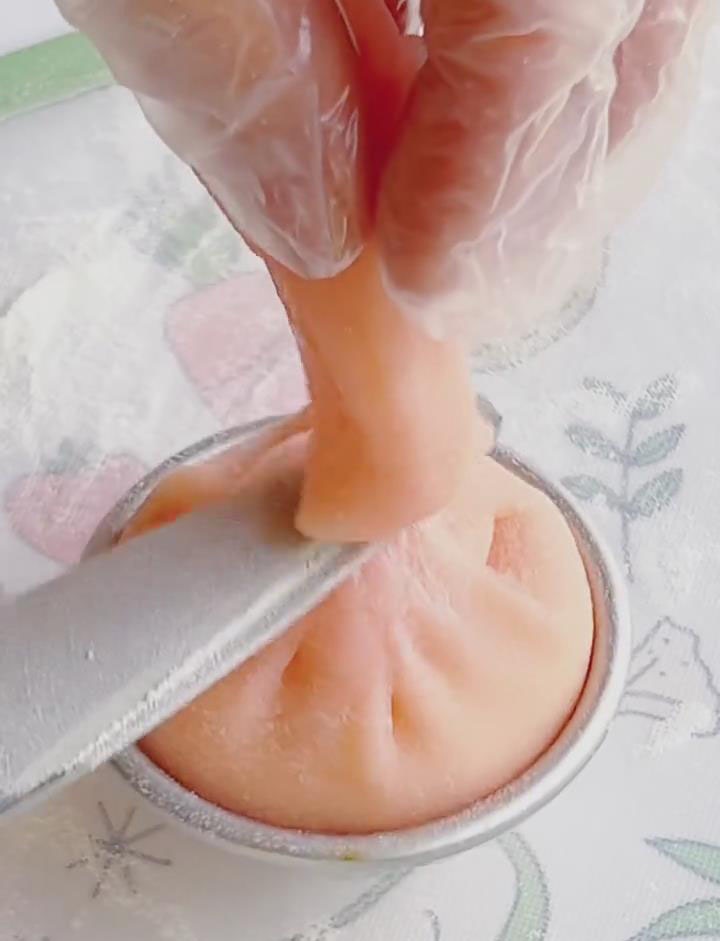
If you’ve ever struggled to get a perfect, thin, and even wrapper around your filling, I have a game-changing tip for you: use a small bowl or cup as a mold!
Here’s how I do it:
Take a portion of your mochi dough and roll it out into a circle.
Gently drape the dough over a small bowl or ramekin.
This creates a perfect little “cup” that you can easily fill with your cream, fruit, or jam.
Simply gather the edges up and over the filling and pinch to seal. It’s so much easier than trying to wrap it in your hands!
I use this method for almost all my stuffed mochi now, and it works wonders for preventing tears and ensuring a thin, uniform wrapper. I even used it for my latest experiment: Mint Chocolate Cream Cheese Mochi!
Ingredients
For the Strawberry Mochi Dough (Outer Layer):
- 120g Glutinous rice flour
- 30g Cornstarch
- 10g Strawberry powder (optional)
- 20g Fine granulated sugar
- 180g Whole milk
- 20g Unsalted butter, softened
- (As needed) Toasted glutinous rice flour, for dusting
For the Cream Filling & Decoration:
- 250g Heavy cream (chilled, min. 30% fat)
- 18g Fine granulated sugar (for cream)
- 25g Strawberry jam (seedless preferred)
- (To taste) Fresh strawberries, hulled
Instructions
Prepare the Toasted Flour: Place some raw glutinous rice flour in a dry skillet over low heat. Toast for 3-5 minutes, stirring constantly, until it turns a very light tan color and smells fragrant. Set aside in a bowl to cool completely.
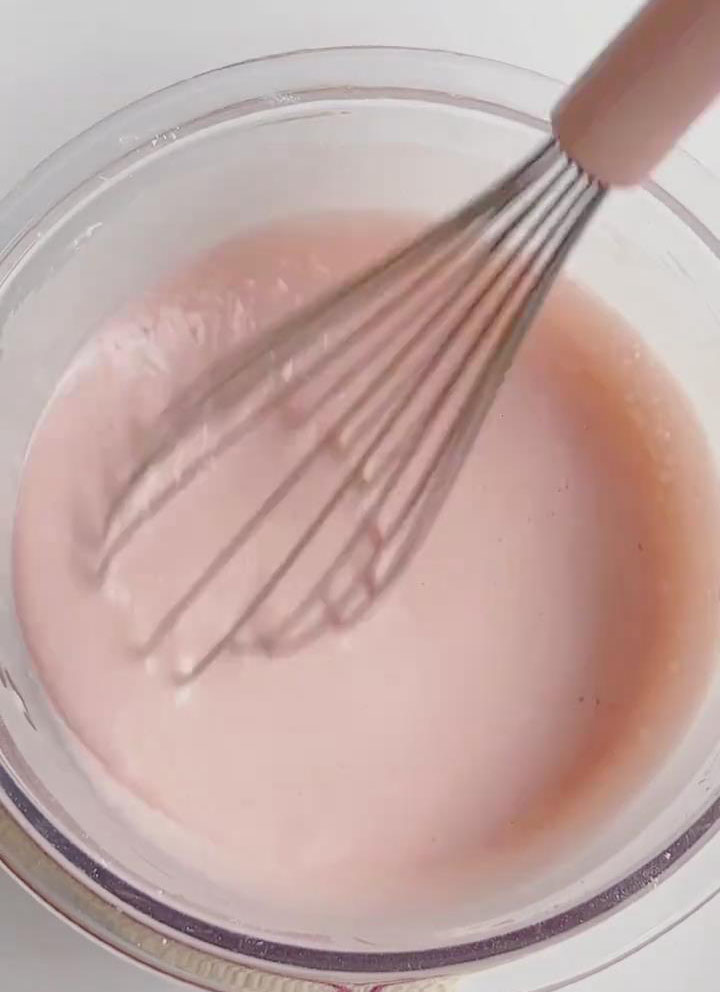
Make the Dough Batter: In a large bowl, whisk together the 120g glutinous rice flour, 30g cornstarch, 10g strawberry powder (if using), and 20g sugar. Slowly pour in the 180g of milk while whisking clockwise until you have a smooth, lump-free, pink batter.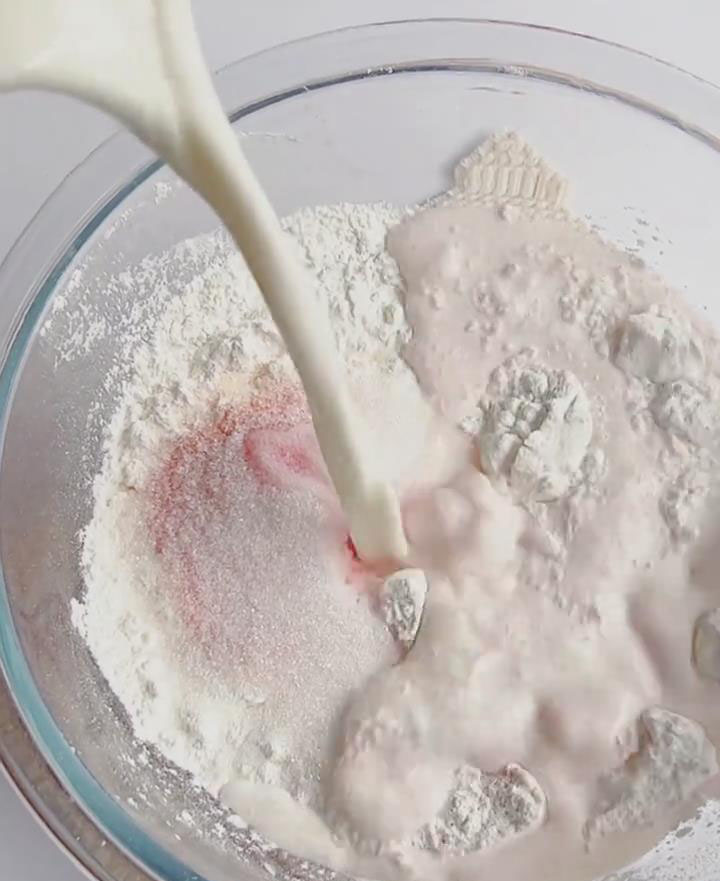
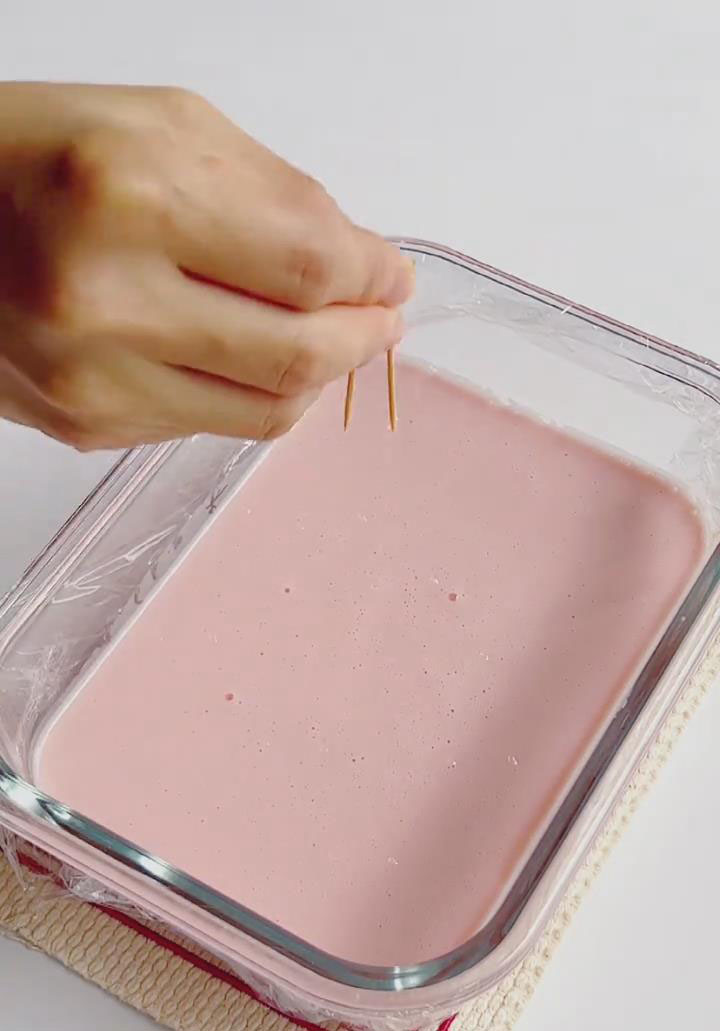
Steam the Dough: Pour the batter through a fine-mesh sieve into a heat-proof bowl. Cover the bowl tightly with plastic wrap and poke a few small holes in it with a toothpick. Place the bowl in a steamer over boiling water, cover, and steam on medium heat for 30 minutes. Do not open the lid during steaming.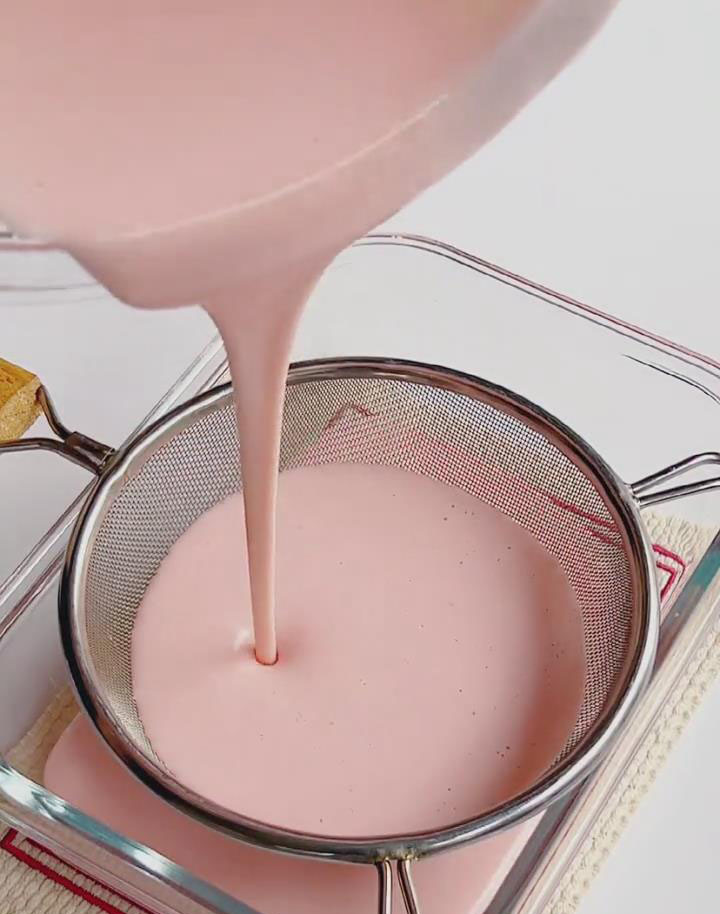
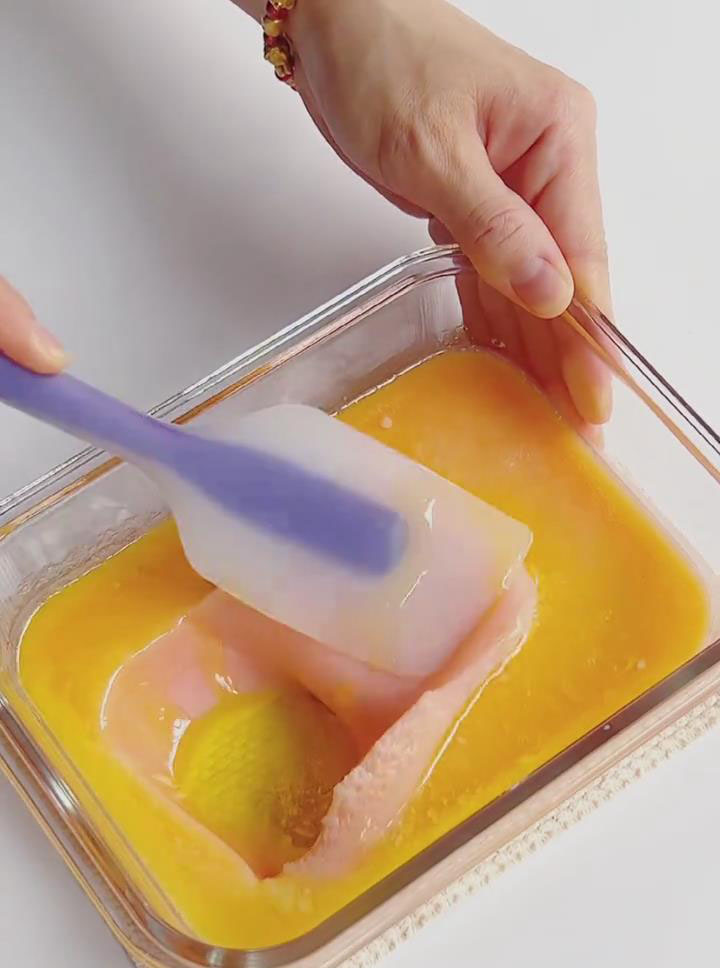
Knead the Dough: Carefully remove the hot bowl from the steamer. The dough should be fully set. Add the 20g of softened butter directly onto the hot dough. Using a silicone spatula, roughly mix it in—the residual heat will melt the butter. Once it’s cool enough to handle (around 40°C / 105°F), put on food-safe gloves (or coat your hands in the toasted flour), and transfer the dough to a surface dusted with toasted flour. Knead, pull, and stretch the dough for 5-8 minutes until the butter is fully incorporated and the dough becomes very smooth, elastic, and no longer sticky. You now have a beautiful strawberry mochi dough.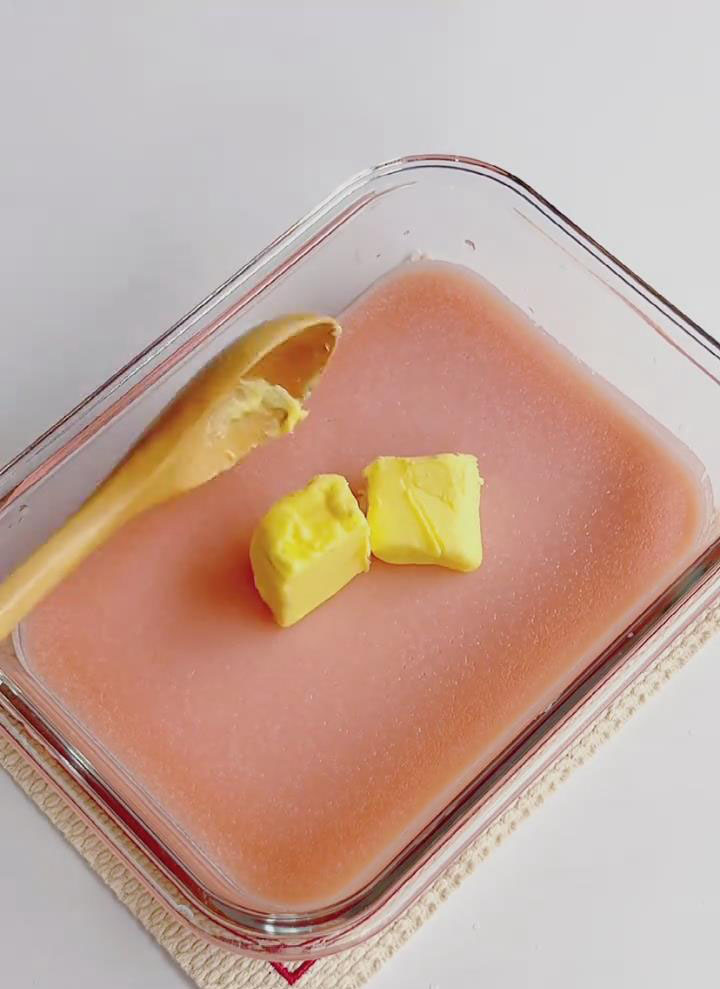

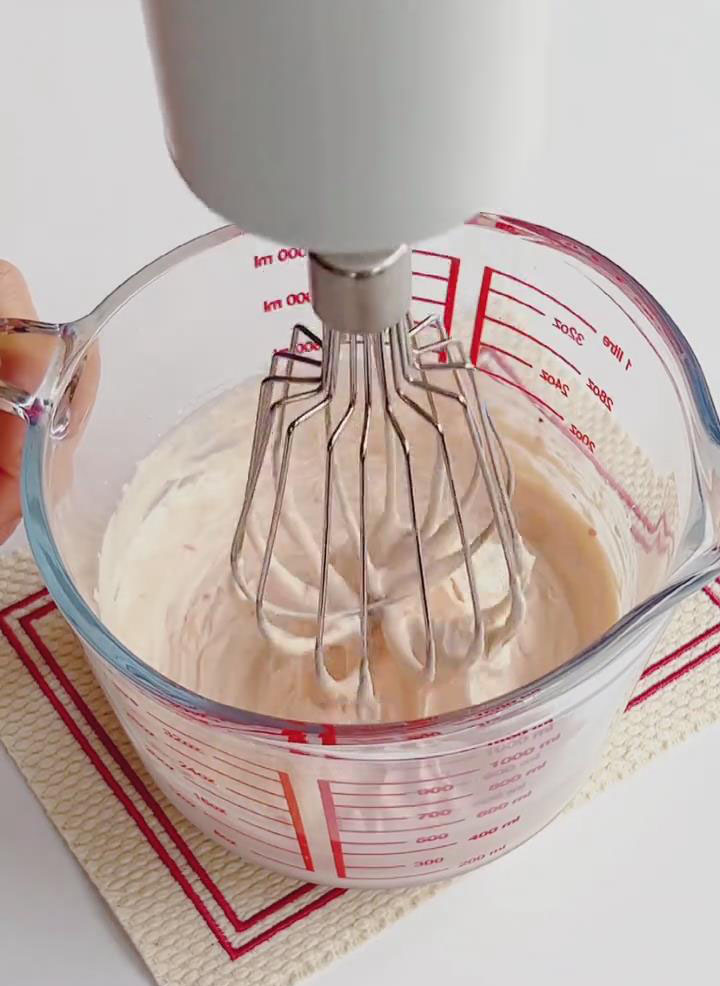
Make the Filling: While the dough cools, prepare the filling. In a clean, chilled bowl, combine the 250g of cold heavy cream, 18g of sugar, and 25g of strawberry jam. Using an electric mixer, beat on medium speed until the cream reaches stiff peaks—it should hold a firm shape when you lift the beaters.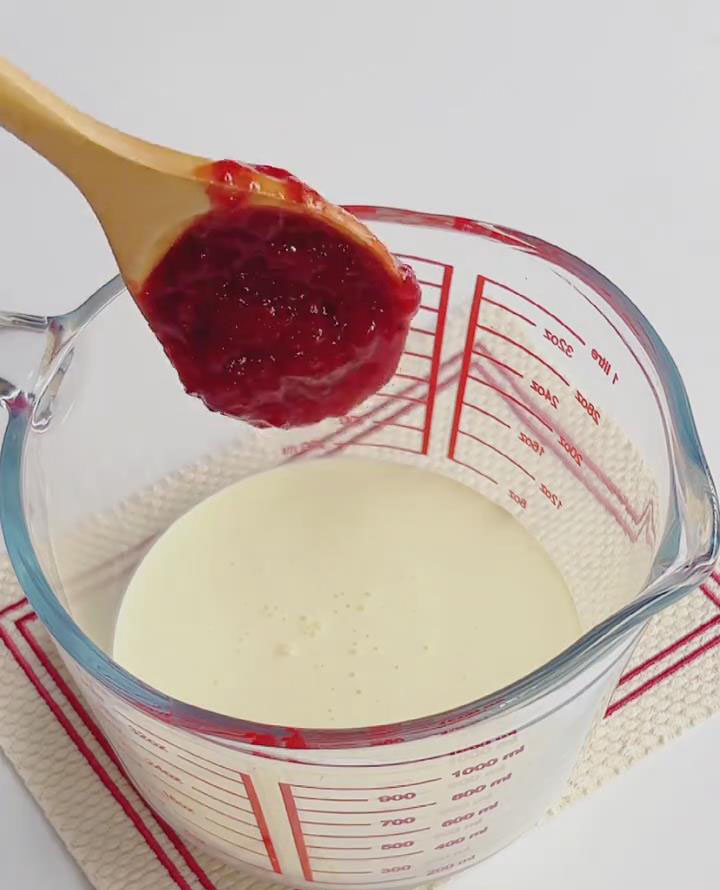
Chill the Filling: Transfer the strawberry cream filling into a piping bag. Seal the end and place it in the refrigerator to chill and firm up for at least 10-15 minutes.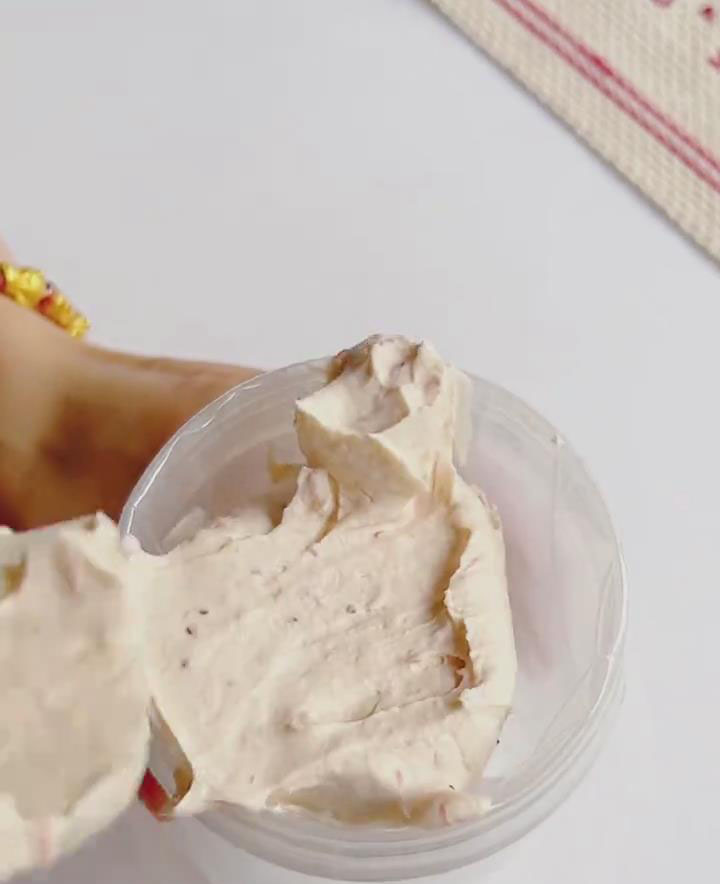
Assemble the Mochi: Dust your work surface with more toasted flour. Divide the large dough ball into 9 equal smaller pieces (about 30-35g each). Roll each piece into a ball. Keep the pieces you aren’t working with covered under plastic wrap to prevent drying.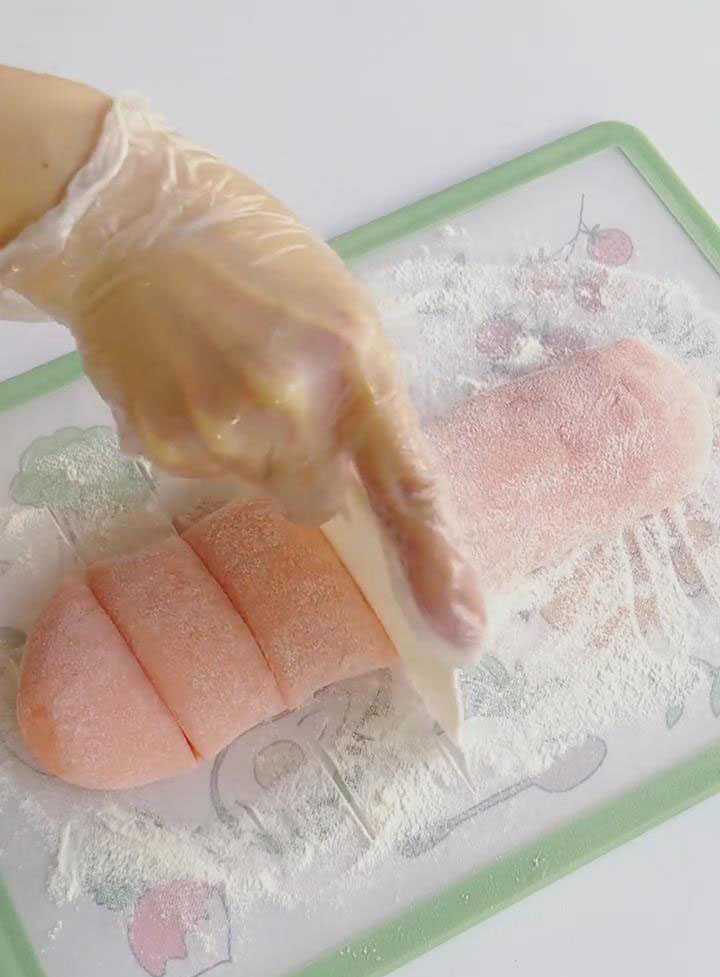
Shape the Wrappers: Take one dough ball and flatten it with a rolling pin into a circle about 10-12 cm (4-5 inches) in diameter and 0.3-0.5 cm thick. Remember to dust your rolling pin with toasted flour to prevent sticking. The dough is very forgiving; if the edges crack, you can gently pinch them back together.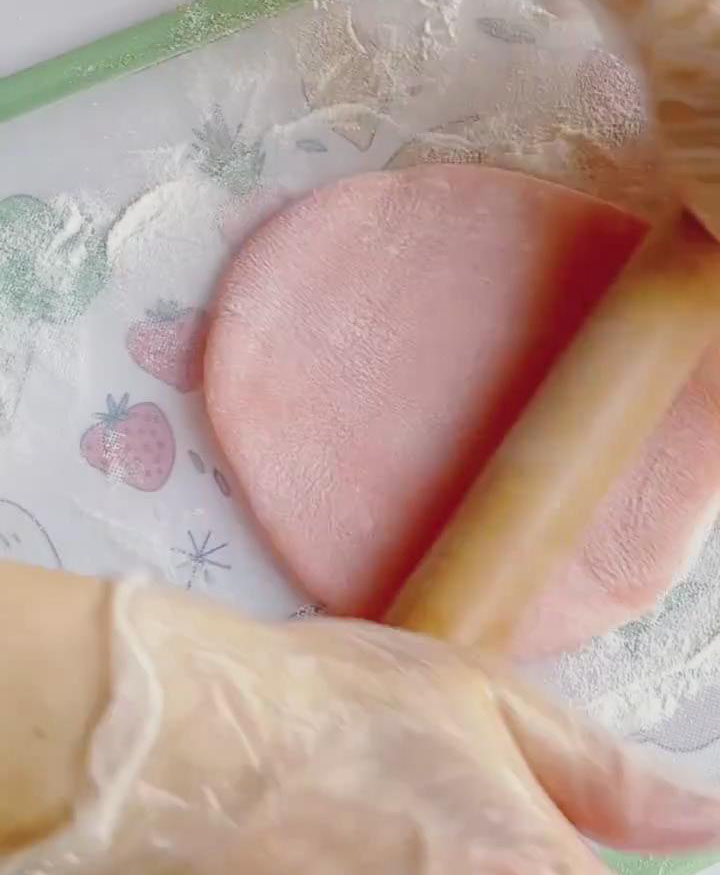
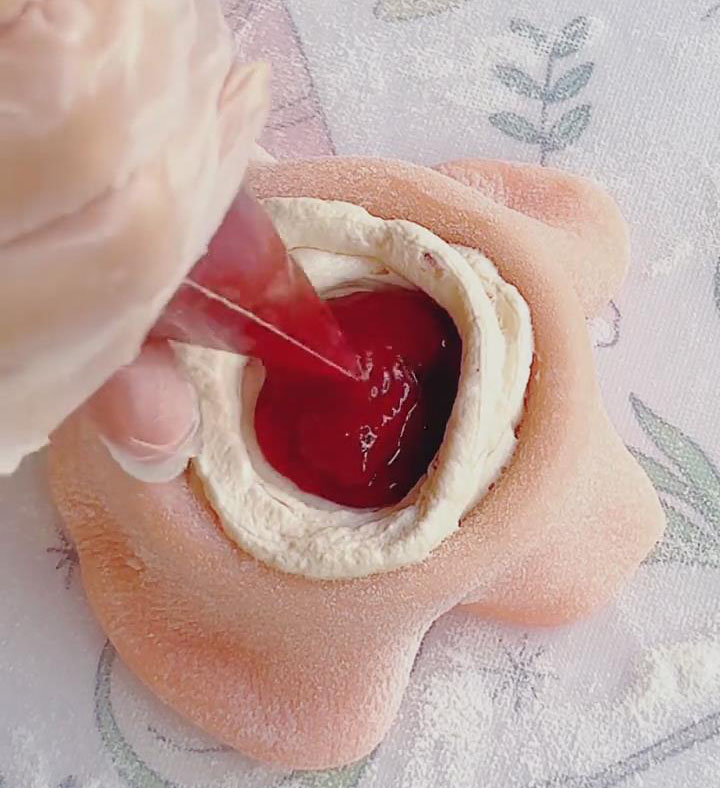
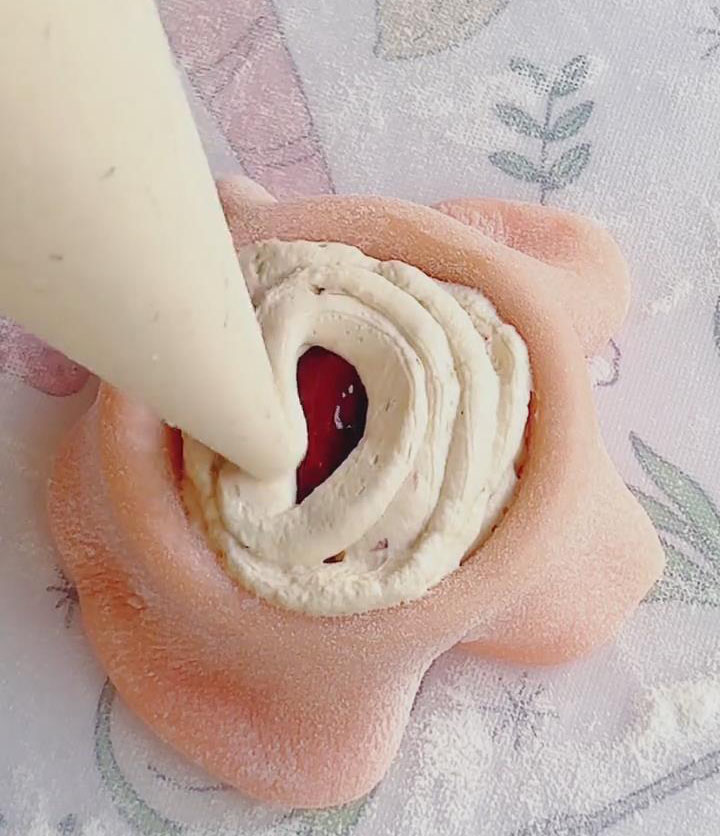
Fill and Seal: Cup a dough circle in your hand. Pipe about 20-25g of the chilled cream filling into the center. You can pipe a small dot of extra strawberry jam into the center of the cream.Pipe in another layer of cream. Gently gather the edges of the dough around the filling, pinching them firmly at the top to seal. If needed, dust the sealing area with a little toasted flour to help it close. Use scissors to trim any excess dough at the top for a neat finish.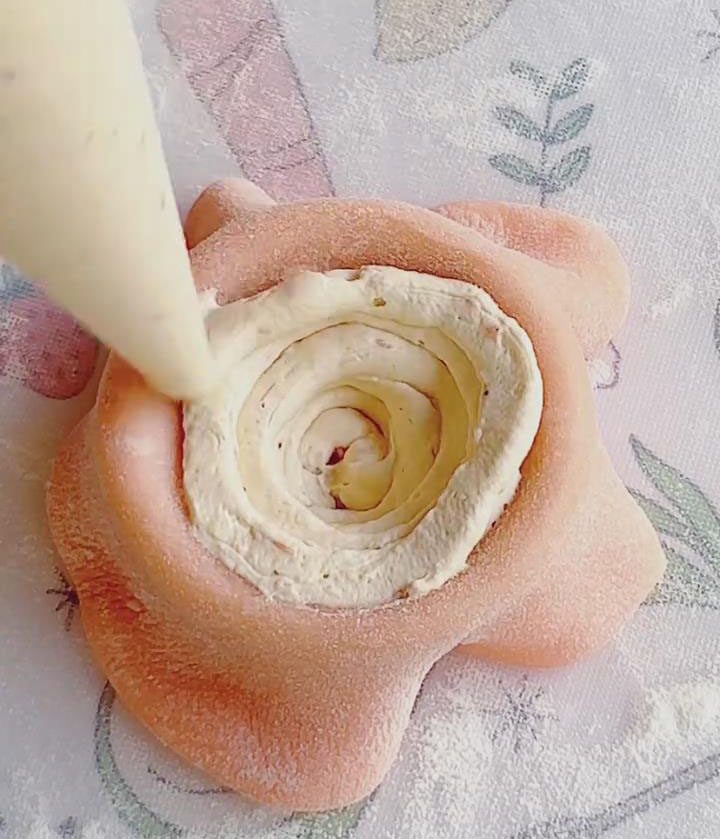
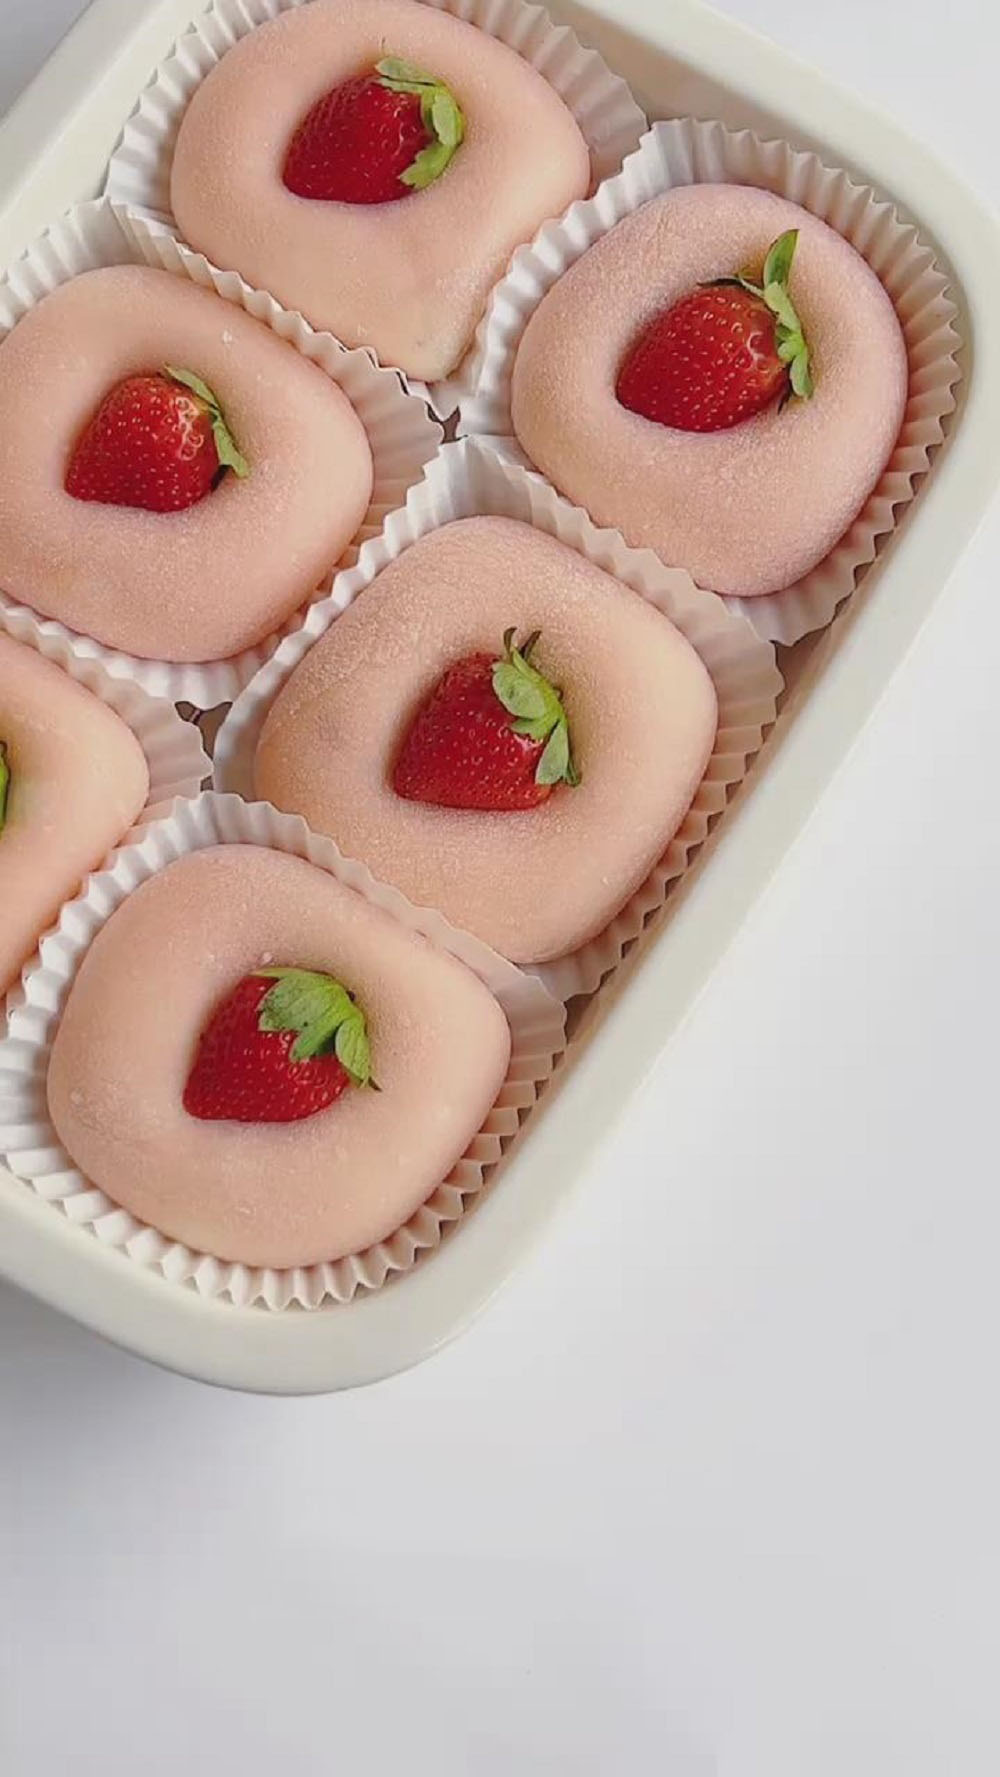
Serve: Place the finished strawberry mochi sealed-side down in a paper liner.
Garnish with a halved or whole strawberry on top. Enjoy immediately for the best texture, or store them in an airtight container in the refrigerator for up to 2 days.
Frequently Asked Questions
Q: Can I use something instead of strawberry powder?
A: Yes, you can simply omit it for a plain white mochi, or use 1-2 drops of red food coloring to achieve the pink color and stir it into the milk before mixing.
Q: Why is my dough too sticky to handle?
A: This means it needs more kneading. Keep working it on a surface well-dusted with the toasted flour. The dough will absorb the butter and become less sticky as you knead and stretch it. Wearing gloves is highly recommended.
Q: Can I make these ahead of time?
A: They are best eaten fresh on the day they are made. When refrigerated, the mochi skin will harden. You can bring them back to room temperature for 30-60 minutes before serving to soften slightly.

Easy Strawberry Mochi with Cream Filling
Ingredients
For the Strawberry Mochi Dough (Outer Layer):
- 120 g Glutinous rice flour
- 30 g Cornstarch
- 10 g Strawberry powder optional
- 20 g Fine granulated sugar
- 180 g Whole milk
- 20 g Unsalted butter softened
- As needed Toasted glutinous rice flour, for dusting
For the Cream Filling & Decoration:
- 250 g Heavy cream chilled, min. 30% fat
- 18 g Fine granulated sugar for cream
- 25 g Strawberry jam seedless preferred
- To taste Fresh strawberries, hulled
Instructions
- Prepare the Toasted Flour: Place some raw glutinous rice flour in a dry skillet over low heat. Toast for 3-5 minutes, stirring constantly, until it turns a very light tan color and smells fragrant. Set aside in a bowl to cool completely.
- Make the Dough Batter: In a large bowl, whisk together the 120g glutinous rice flour, 30g cornstarch, 10g strawberry powder (if using), and 20g sugar. Slowly pour in the 180g of milk while whisking clockwise until you have a smooth, lump-free, pink batter.
- Steam the Dough: Pour the batter through a fine-mesh sieve into a heat-proof bowl. Cover the bowl tightly with plastic wrap and poke a few small holes in it with a toothpick. Place the bowl in a steamer over boiling water, cover, and steam on medium heat for 30 minutes. Do not open the lid during steaming.
- Knead the Dough: Carefully remove the hot bowl from the steamer. The dough should be fully set. Add the 20g of softened butter directly onto the hot dough. Using a silicone spatula, roughly mix it in—the residual heat will melt the butter. Once it's cool enough to handle (around 40°C / 105°F), put on food-safe gloves (or coat your hands in the toasted flour), and transfer the dough to a surface dusted with toasted flour. Knead, pull, and stretch the dough for 5-8 minutes until the butter is fully incorporated and the dough becomes very smooth, elastic, and no longer sticky. You now have a beautiful strawberry mochi dough.
- Make the Filling: While the dough cools, prepare the filling. In a clean, chilled bowl, combine the 250g of cold heavy cream, 18g of sugar, and 25g of strawberry jam. Using an electric mixer, beat on medium speed until the cream reaches stiff peaks—it should hold a firm shape when you lift the beaters.
- Chill the Filling: Transfer the strawberry cream filling into a piping bag. Seal the end and place it in the refrigerator to chill and firm up for at least 10-15 minutes.
- Assemble the Mochi: Dust your work surface with more toasted flour. Divide the large dough ball into 9 equal smaller pieces (about 30-35g each). Roll each piece into a ball. Keep the pieces you aren't working with covered under plastic wrap to prevent drying.
- Shape the Wrappers: Take one dough ball and flatten it with a rolling pin into a circle about 10-12 cm (4-5 inches) in diameter and 0.3-0.5 cm thick. Remember to dust your rolling pin with toasted flour to prevent sticking. The dough is very forgiving; if the edges crack, you can gently pinch them back together.
- Fill and Seal: Cup a dough circle in your hand. Pipe about 20-25g of the chilled cream filling into the center. You can pipe a small dot of extra strawberry jam into the center of the cream.Pipe in another layer of cream. Gently gather the edges of the dough around the filling, pinching them firmly at the top to seal. If needed, dust the sealing area with a little toasted flour to help it close. Use scissors to trim any excess dough at the top for a neat finish.
- Serve: Place the finished strawberry mochi sealed-side down in a paper liner.
- Garnish with a halved or whole strawberry on top. Enjoy immediately for the best texture, or store them in an airtight container in the refrigerator for up to 2 days.
Leave a Reply