
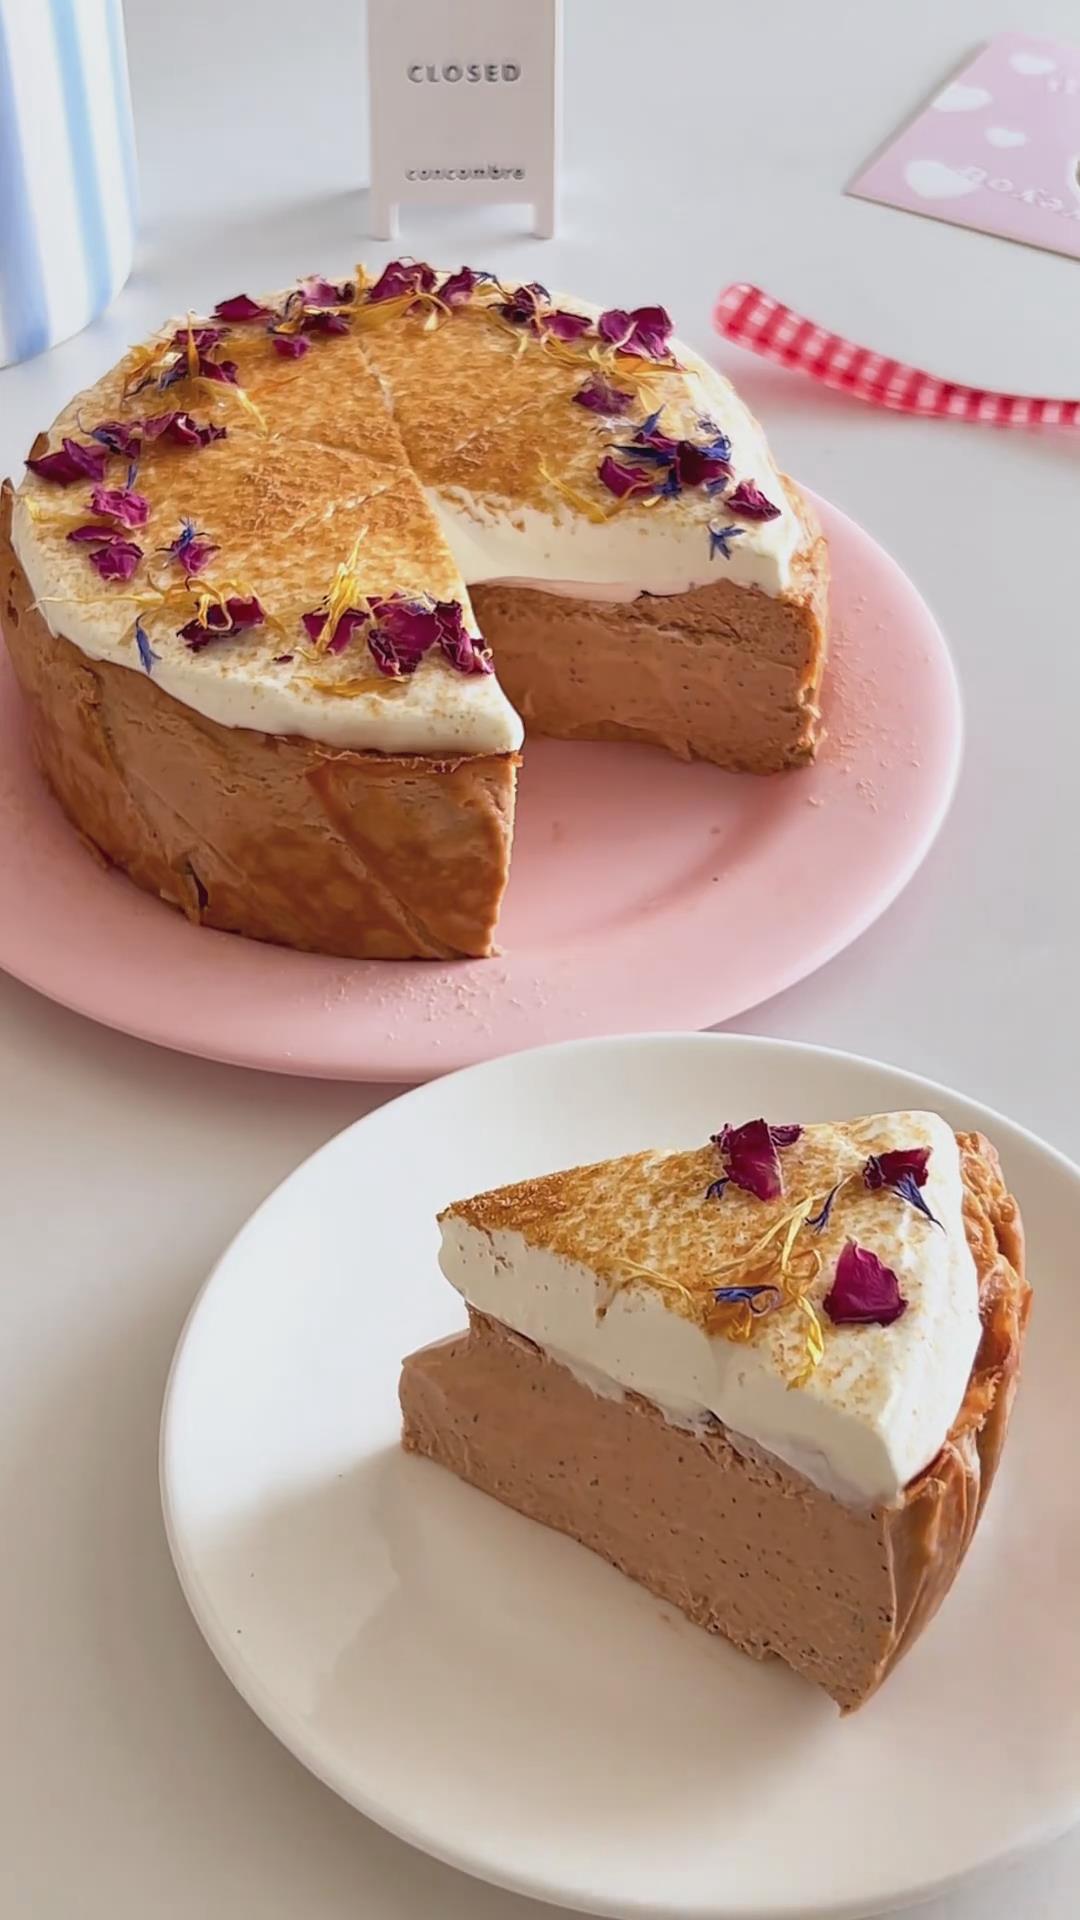
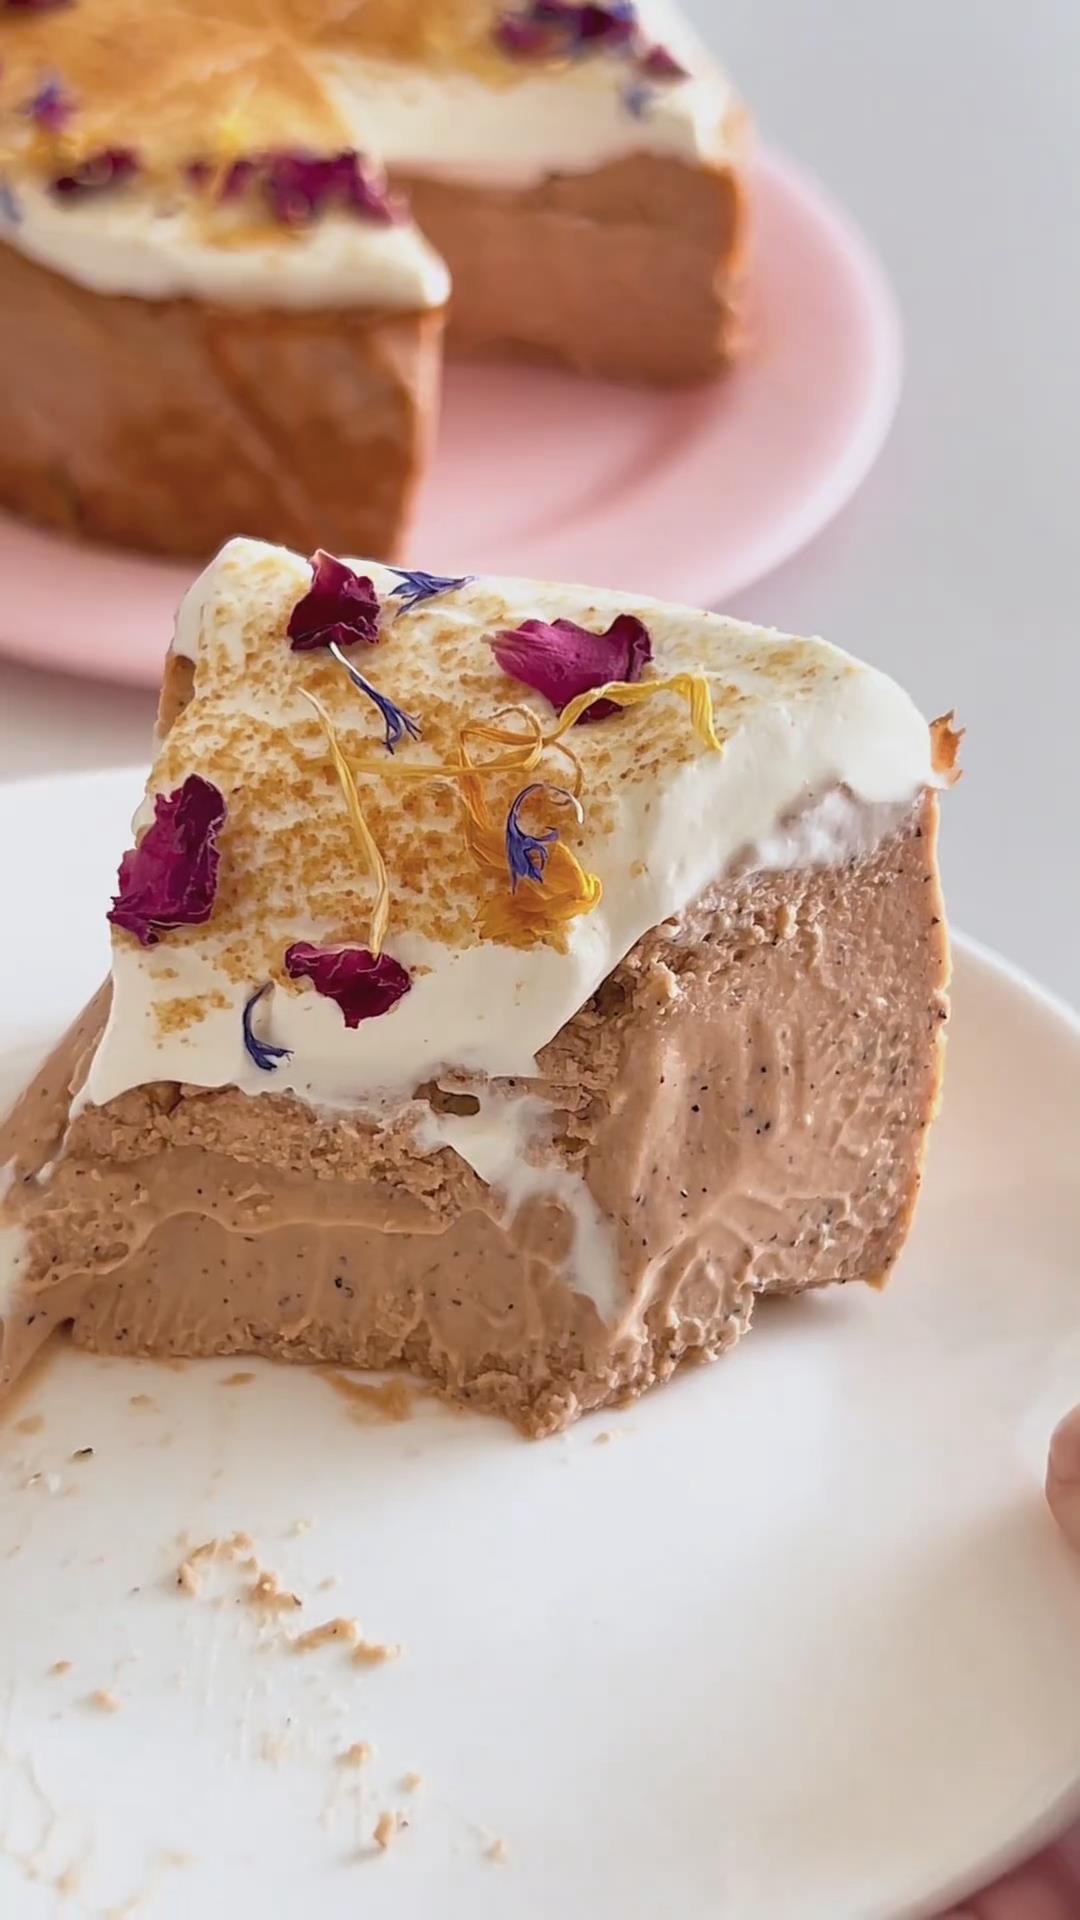
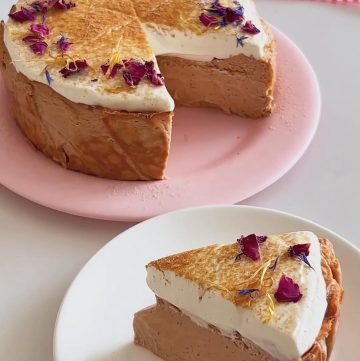
This creamy Thai Tea Basque Cheesecake has a soft lava center topped with salty whipped cream. Easy to make ahead, perfect for parties and family gatherings!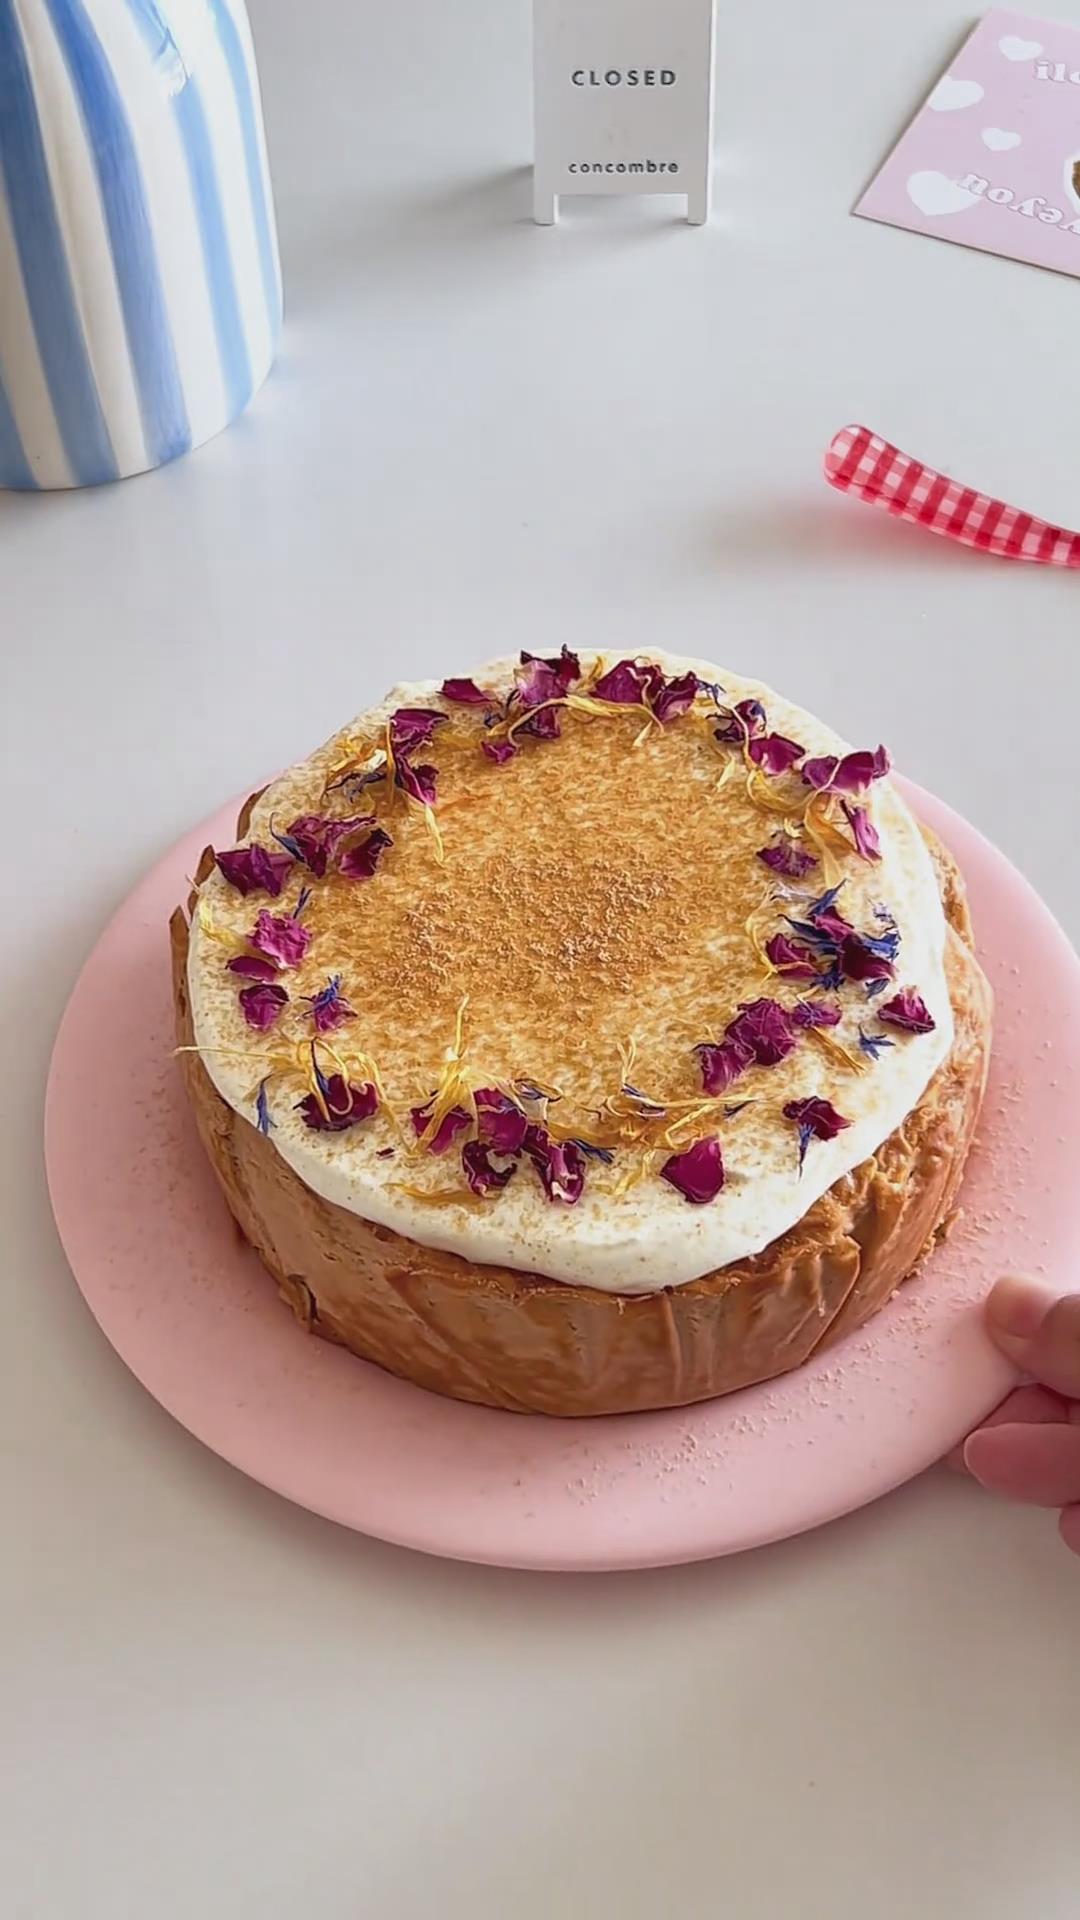
After I baked the classic Basque cheesecake for the very first time, my kids fell in love instantly.
That burnt caramelized top, the custardy center, the rich creaminess—it didn’t even last a full day.
But you know how kids are once they find something they love. The original version quickly turned into: “Mom, can you make it again… but maybe a different flavor?”
So I started experimenting. One flavor, then another, then more. Now our kitchen has basically become a little Basque cheesecake lab. We’ve enjoyed:
- Double Layer Pistachio Chocolate Basque Cheesecake
- Strawberry Matcha Basque Cheesecake
- Tiramisu Basque Cheesecake
- Matcha Mochi Basque Cheesecake Bites
- Chocolate Oreo Basque Cheesecake
And this time, I went bold: Thai Tea Basque Cheesecake.
The cheesecake itself is already rich, fragrant, and full of that classic Thai tea color. But I love adding that extra wow moment, so I top it with a velvety salted cream that literally melts on your tongue and adds a perfect salty-sweet balance.
Whenever we host family gatherings, this dessert is an instant winner. I make it ahead of time, let it chill overnight, and that’s it—effortless, elegant, and always devoured.
Honestly, I think it’s one of the simplest ways to impress a crowd without spending the whole day in the kitchen.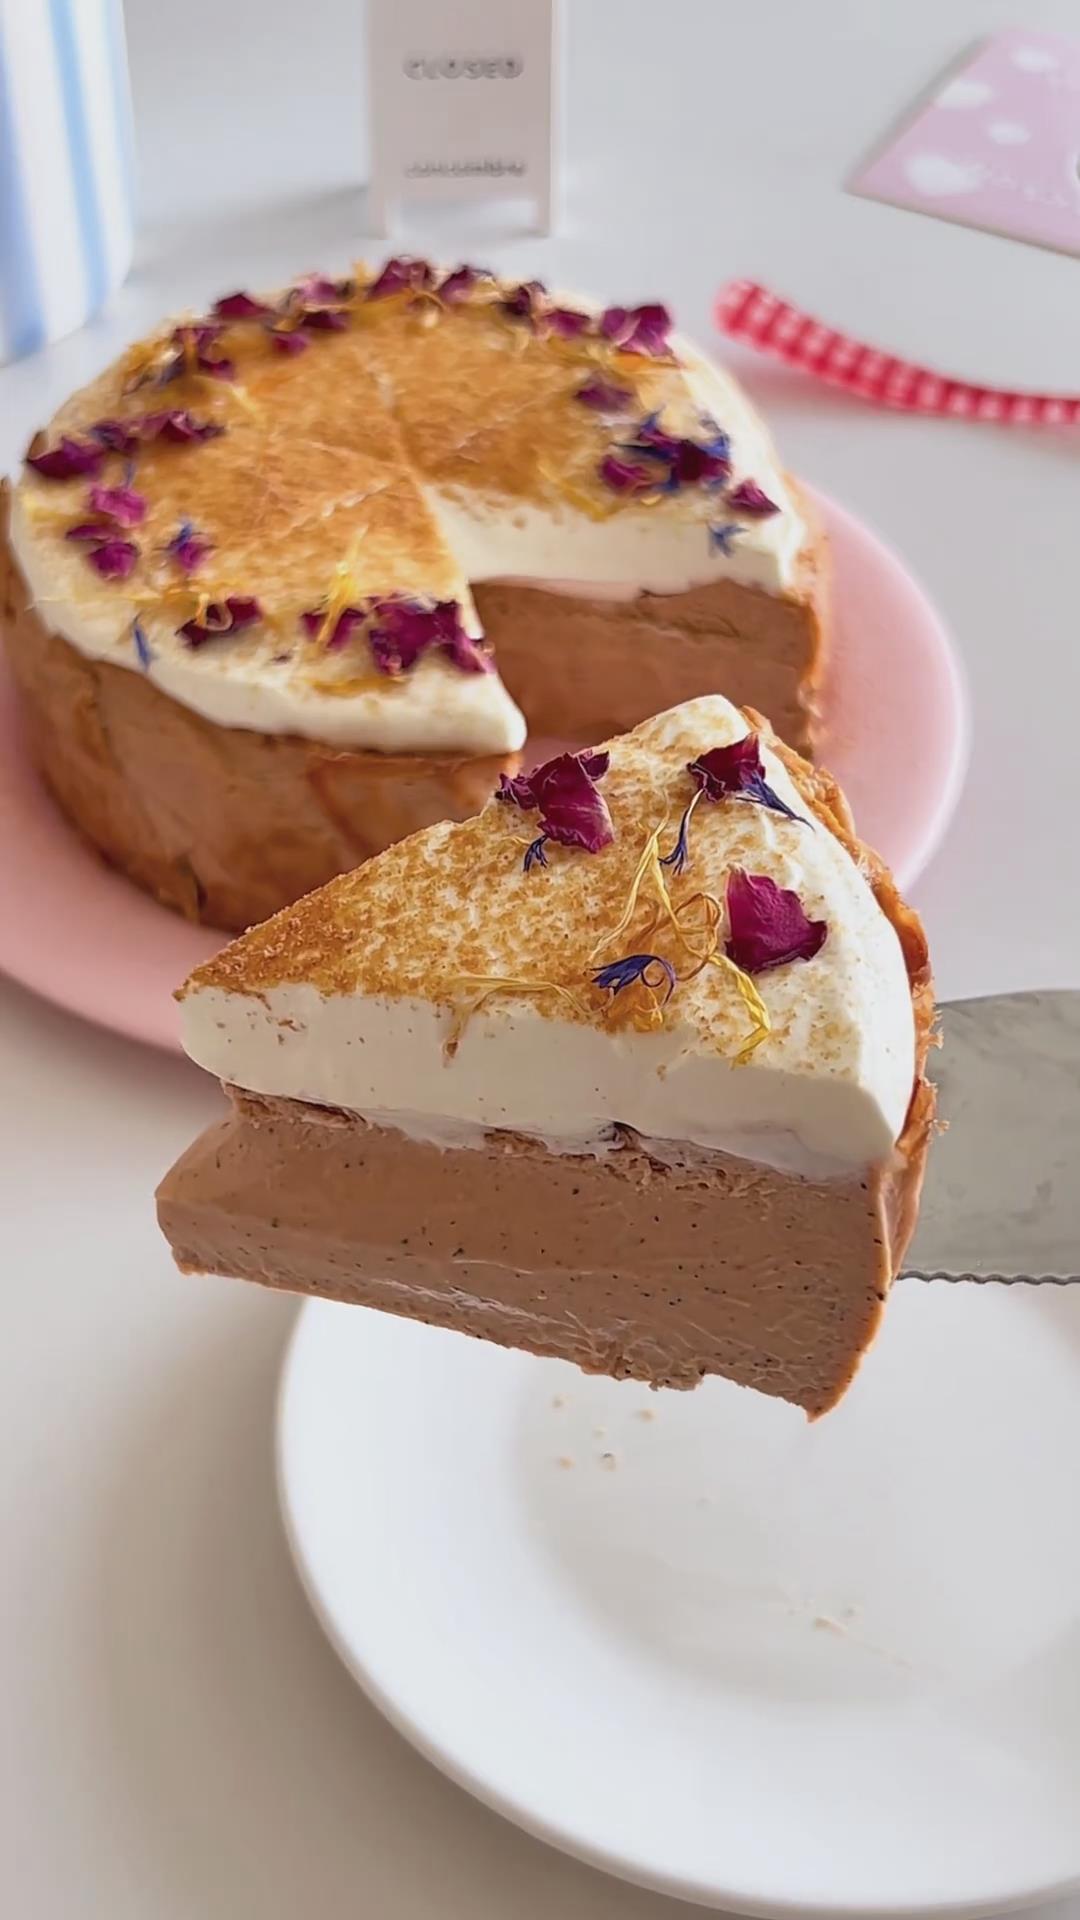
Ingredients and Substitutions
- Thai Red Tea Leaves – I recommend using a high-quality, finely ground Thai red tea for the most authentic and potent flavor. The distinctive spiced and aromatic profile is key to this recipe, and a weaker tea will result in a bland cheesecake.
- Cream Cheese – This must be thoroughly softened at room temperature until it’s easily indented with a finger to ensure a perfectly smooth, lump-free batter. If you’re in a pinch, Mascarpone cheese can be used as a substitute for a slightly different, milder tang.
- Whipping Cream – For both the cake and the frosting, use a whipping cream with a fat content between 30-36%. This guarantees the right richness and ensures the cream whips to a stable, silky consistency for the frosting.
- Eggs – I find that using room-temperature eggs, rather than cold ones straight from the fridge, incorporates much more smoothly and evenly into the cheese batter, preventing overmixing.
- Fine Granulated Sugar – We’re using just enough sugar to balance the tang of the cream cheese and the bitterness of the tea without making it overly sweet. You can adjust the amount slightly to your personal taste.
- Sea Salt – A very small amount of fine sea salt in the frosting is crucial for elevating the other flavors and cutting the sweetness. I don’t recommend using coarse salt here, as it might not dissolve fully.
How to Make Thai Tea Basque Cheesecake
1. Make the Thai Tea Cream
Pour 290g of heavy cream into a small pot, add 18g of Thai tea leaves, and heat while stirring. Bring it to a boil over high heat, then immediately turn off the heat.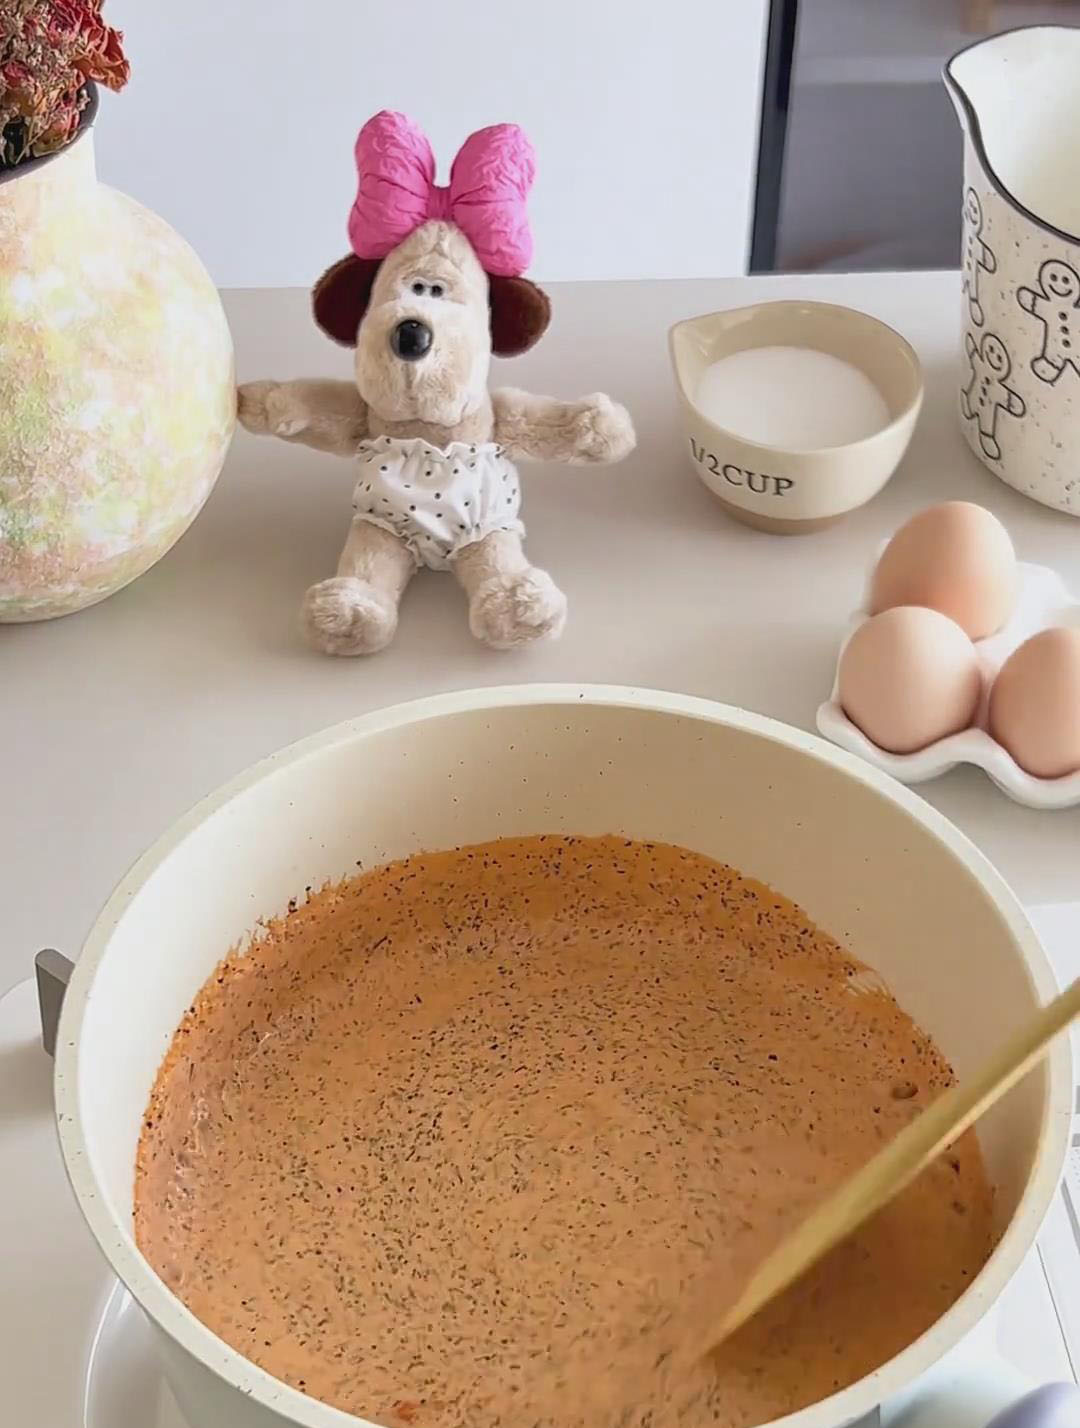
Cover the pot and let the tea steep in the hot cream for exactly 5 minutes to fully infuse its flavor and color.
Strain the infused cream through a fine-mesh sieve into a measuring cup, pressing on the tea leaves to extract all the liquid. Discard the leaves.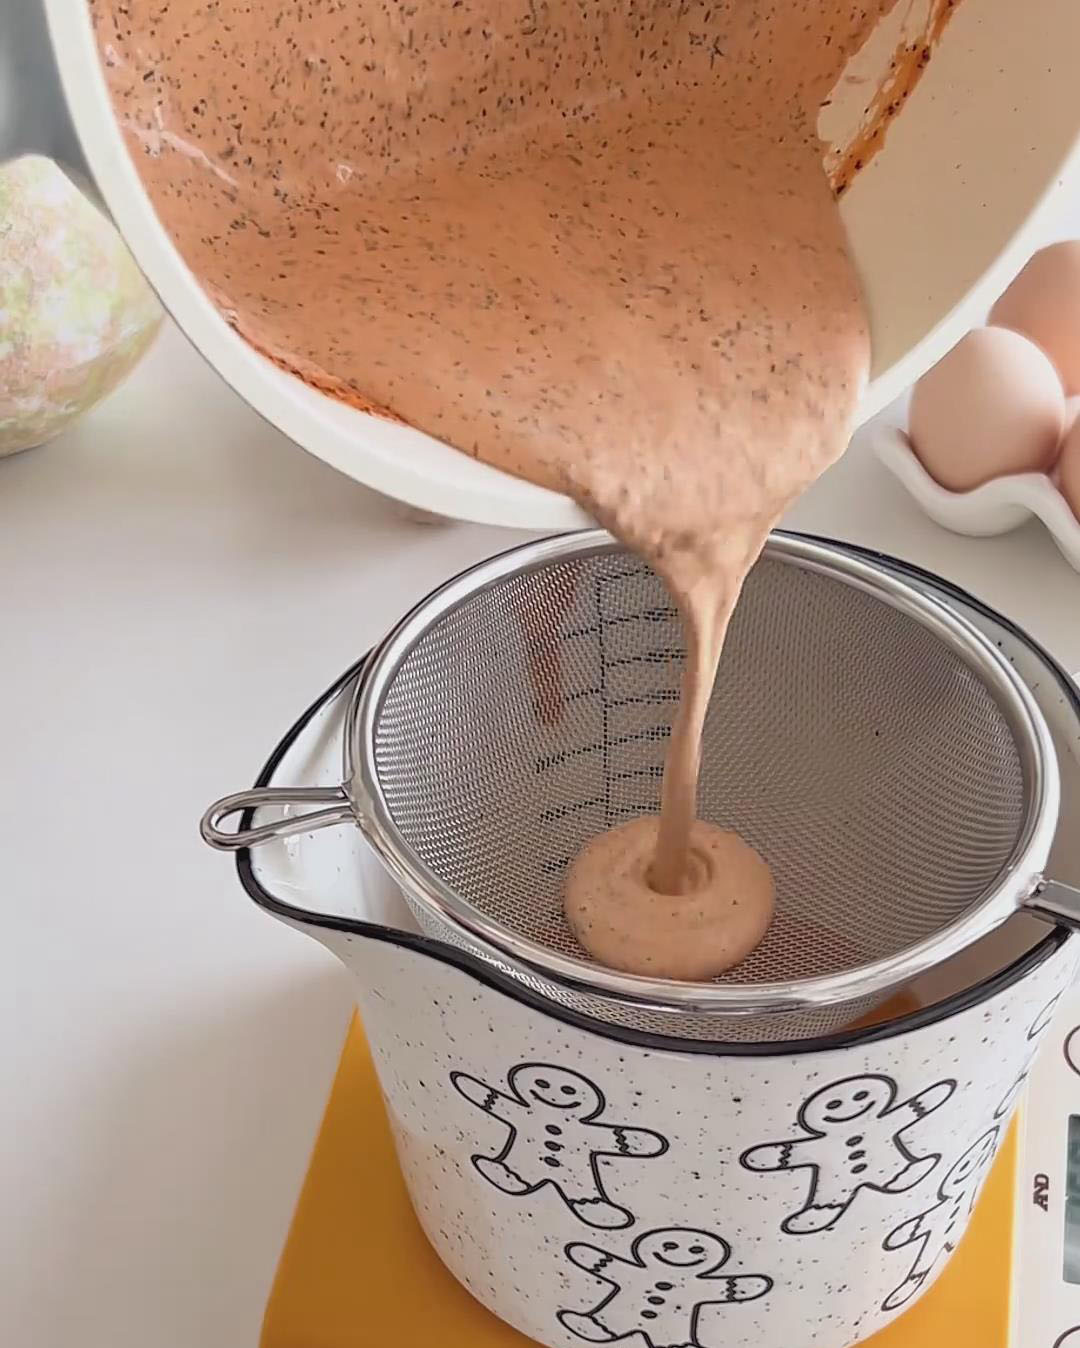
Top up the strained cream with additional fresh whipping cream until the total mixture weighs 210g. Stir well and set aside to cool completely.
2. Make the Basque Cheesecake Batter
In a large bowl, use a silicone spatula to vigorously stir the softened 300g of cream cheese until it is completely smooth and free of any lumps.
Add the 60g of fine granulated sugar and mix until the sugar is fully incorporated and the mixture is smooth.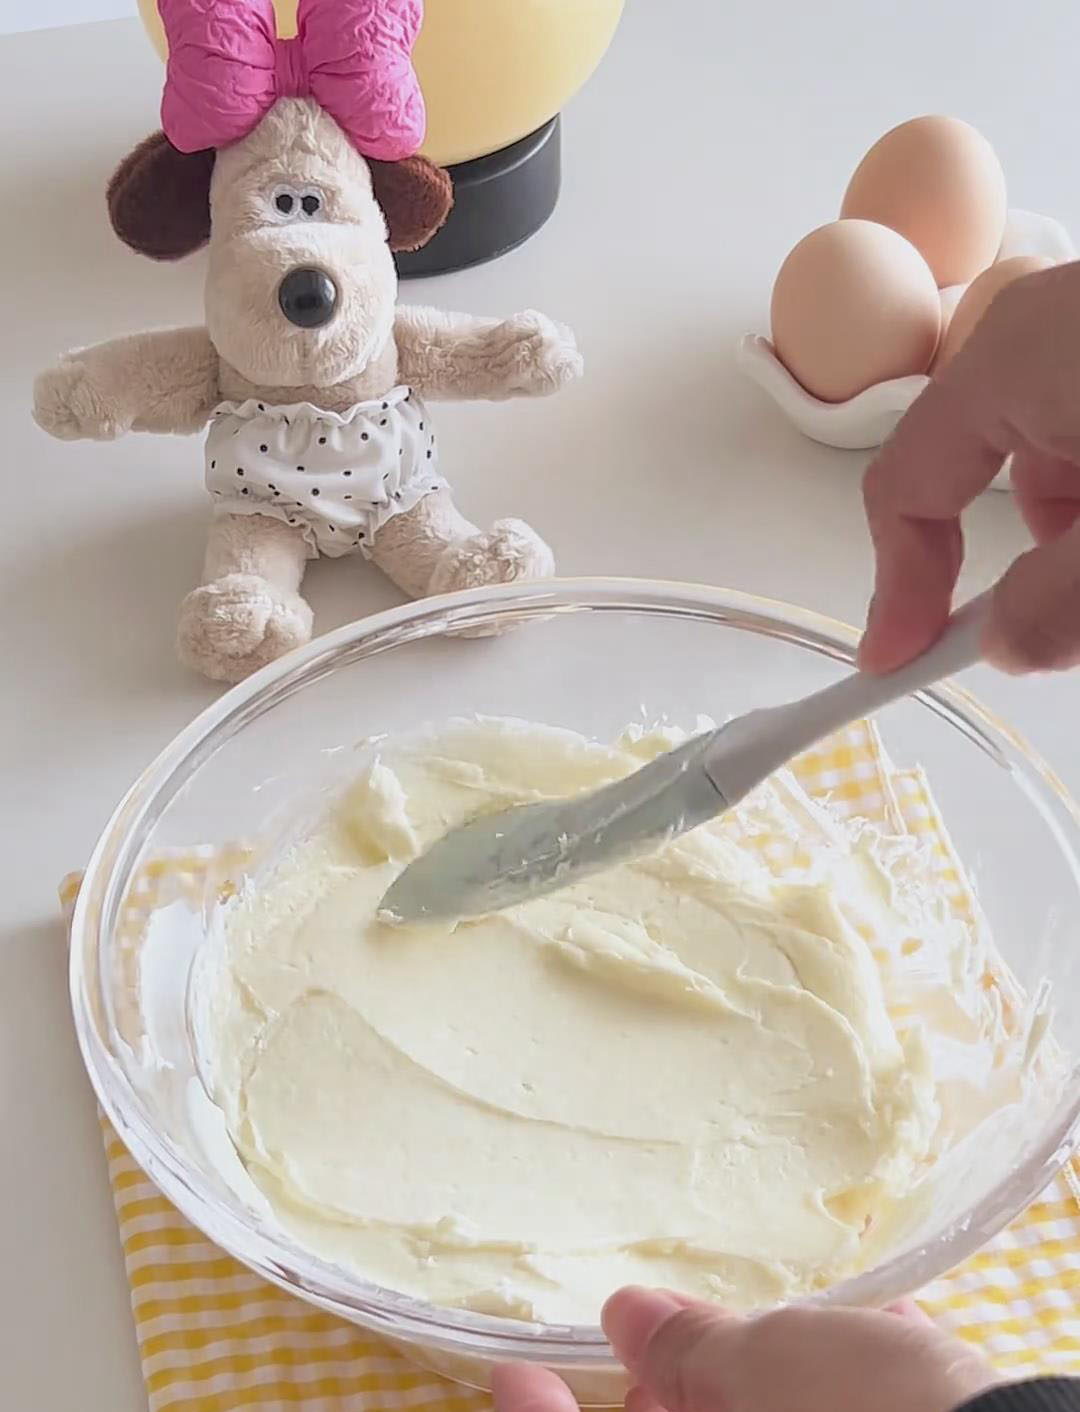
Add the three eggs one at a time, mixing thoroughly after each addition until the egg is fully emulsified into the batter before adding the next.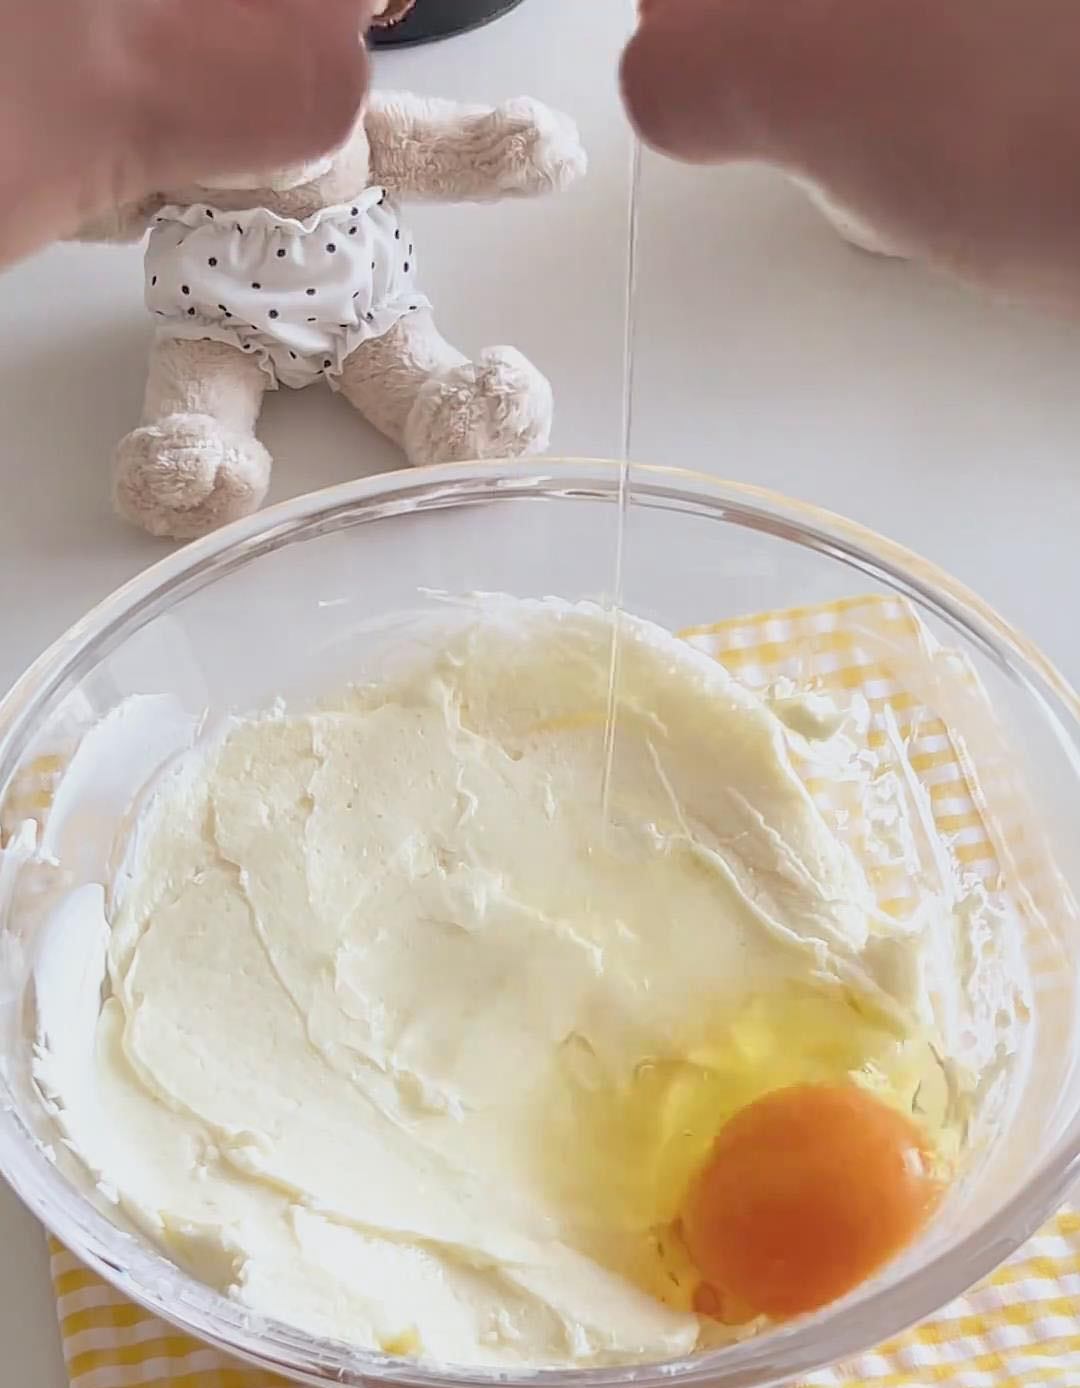
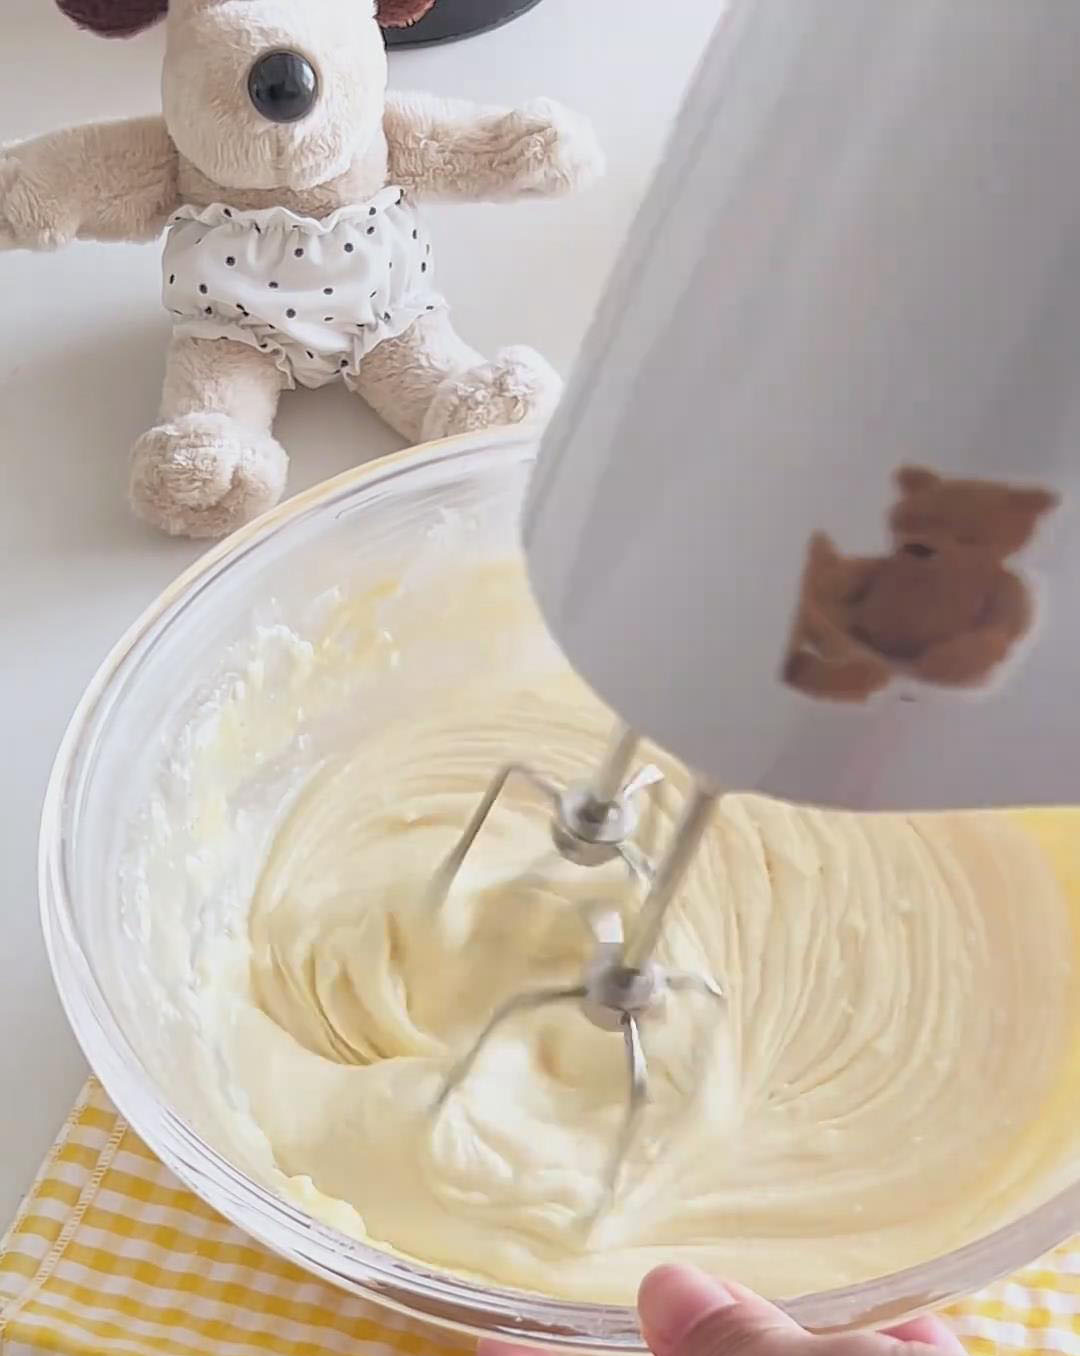
Pour in the completely cooled Thai tea cream and mix gently until the batter is uniform in color.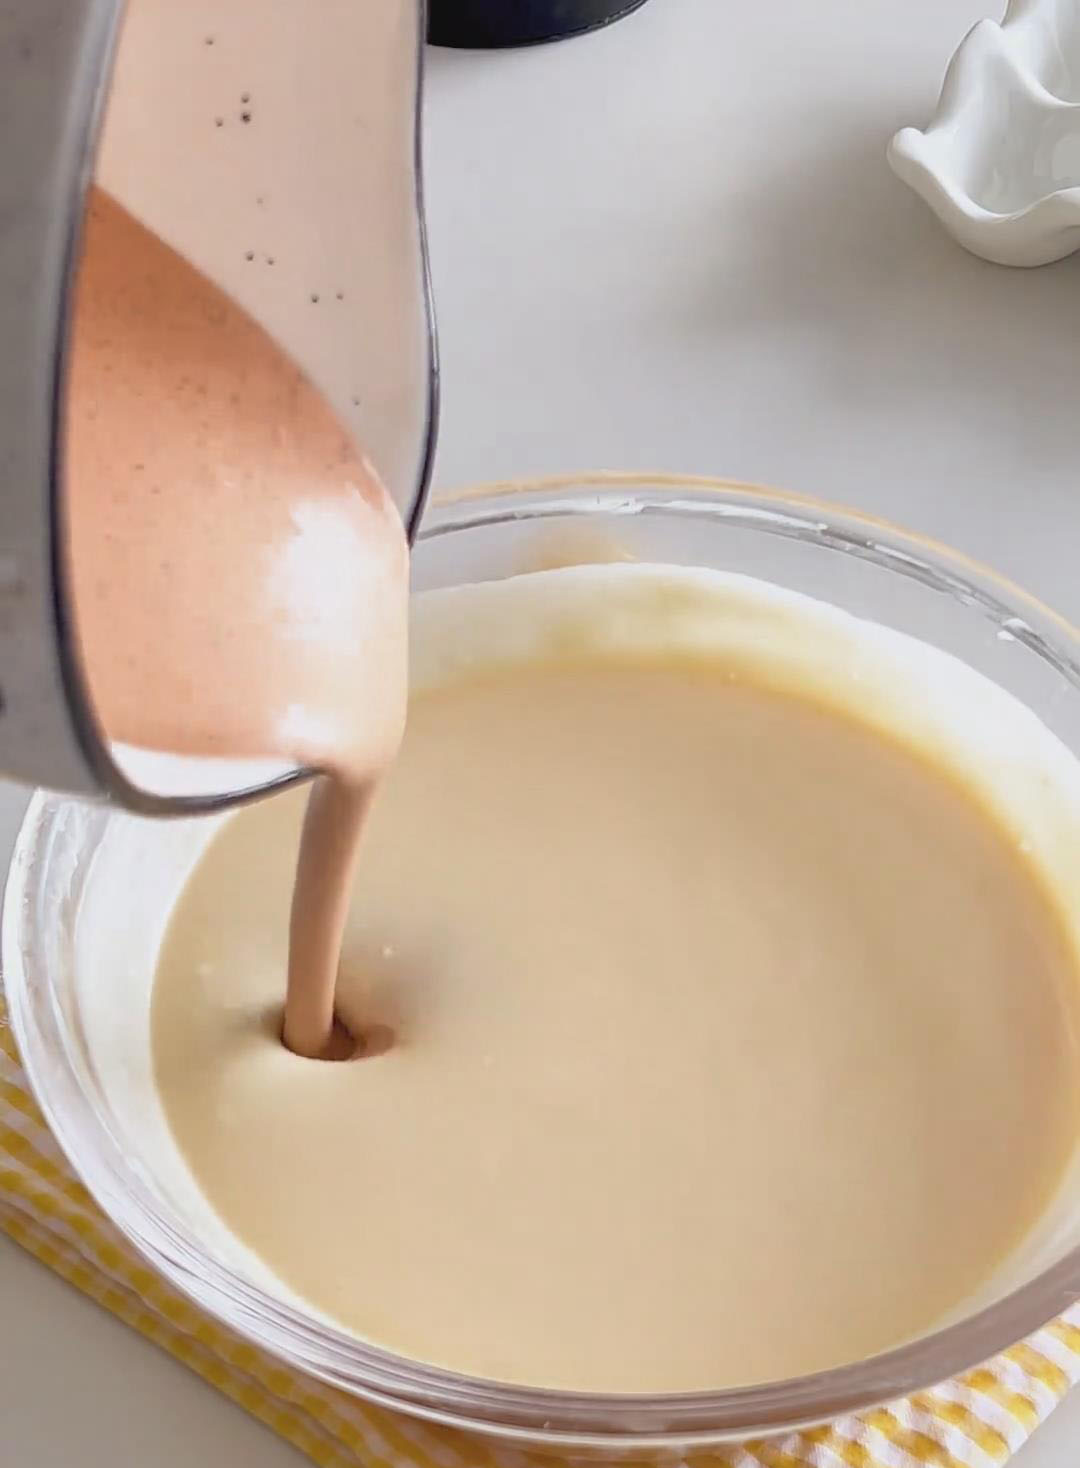
For the smoothest possible texture, strain the entire batter through a fine-mesh sieve into a clean bowl. This step is essential for removing any tiny tea particles or cheese lumps and ensures a silky final result.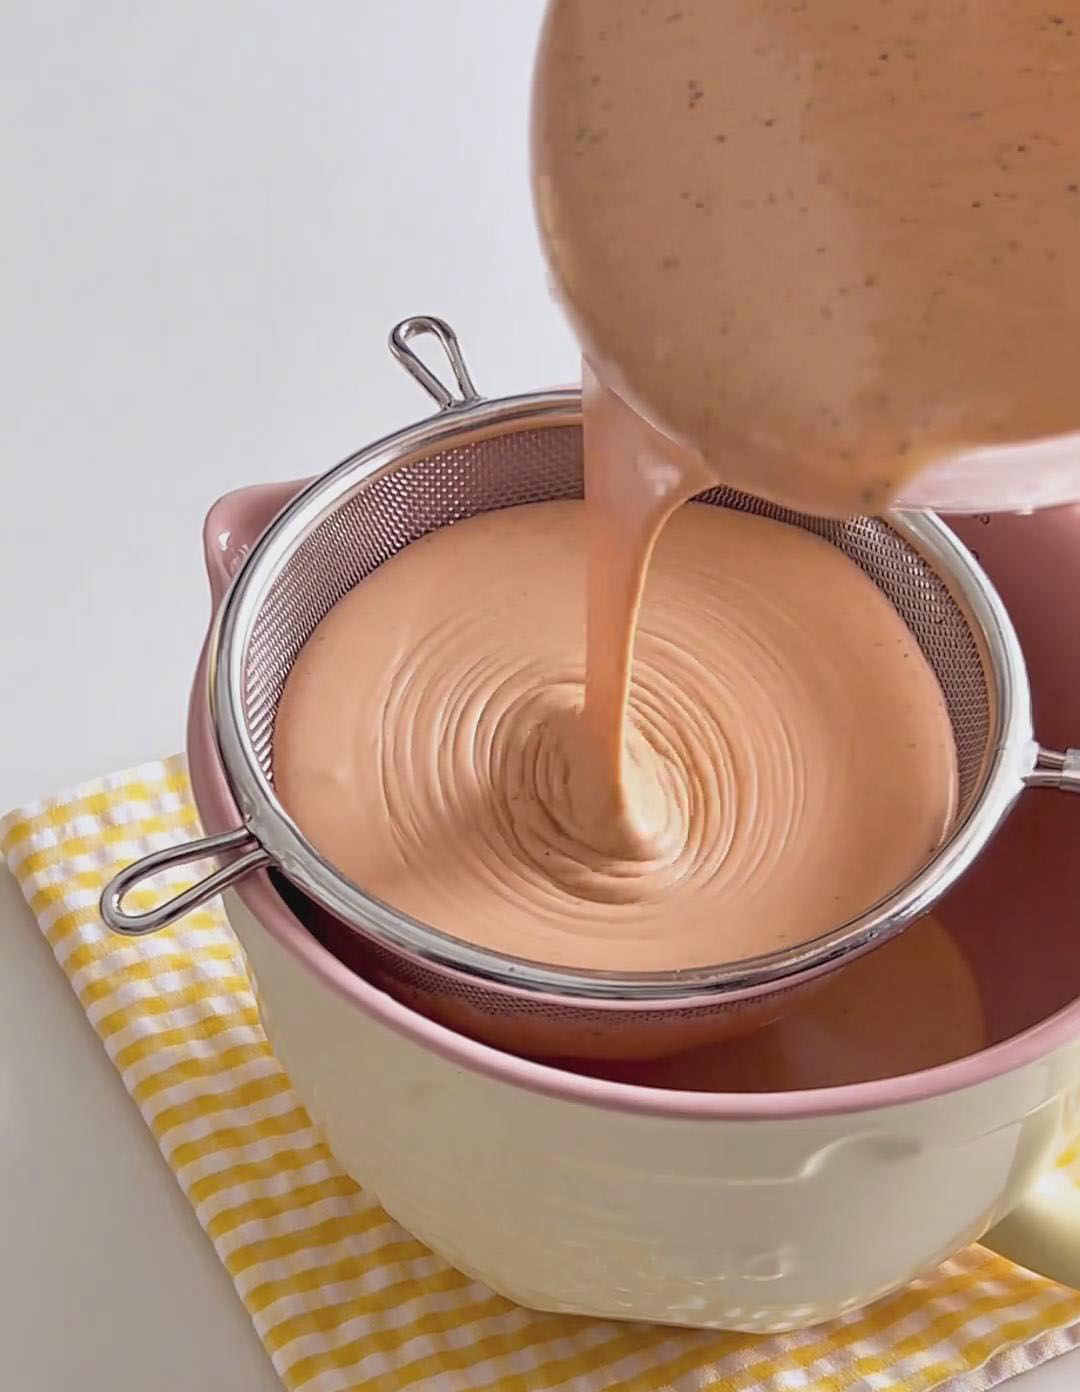
3. Bake and Chill the Cheesecake
Preheat your oven to 200°C (400°F) for at least 10 minutes.
Pour the strained batter into a 6-inch round cake pan that has been fully lined with parchment paper (the paper should come up above the sides).
Hold the pan with both hands and gently tap it on the counter 3 to 5 times to pop any large air bubbles trapped in the batter.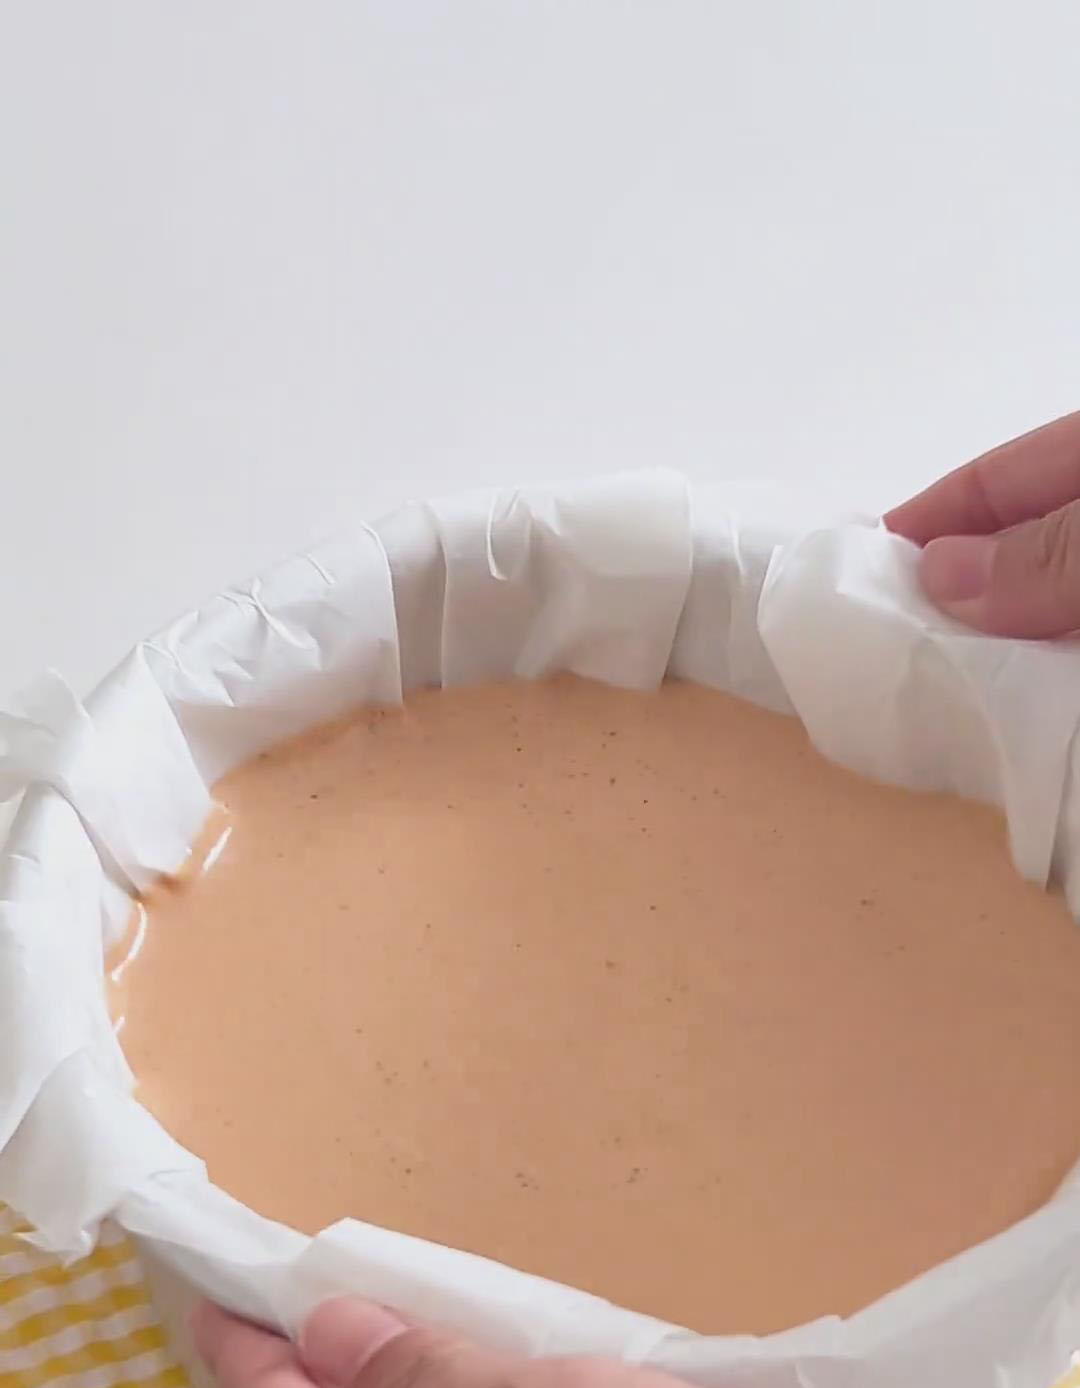
Immediately place the pan on the middle rack of the preheated oven and bake for 21 minutes. The top will be dark and caramelized, and the center will still be very jiggly—this is correct for the soft center.
Remove the cheesecake from the oven and let it cool completely to room temperature. Once cooled, cover it and refrigerate for at least 8 hours, or preferably overnight.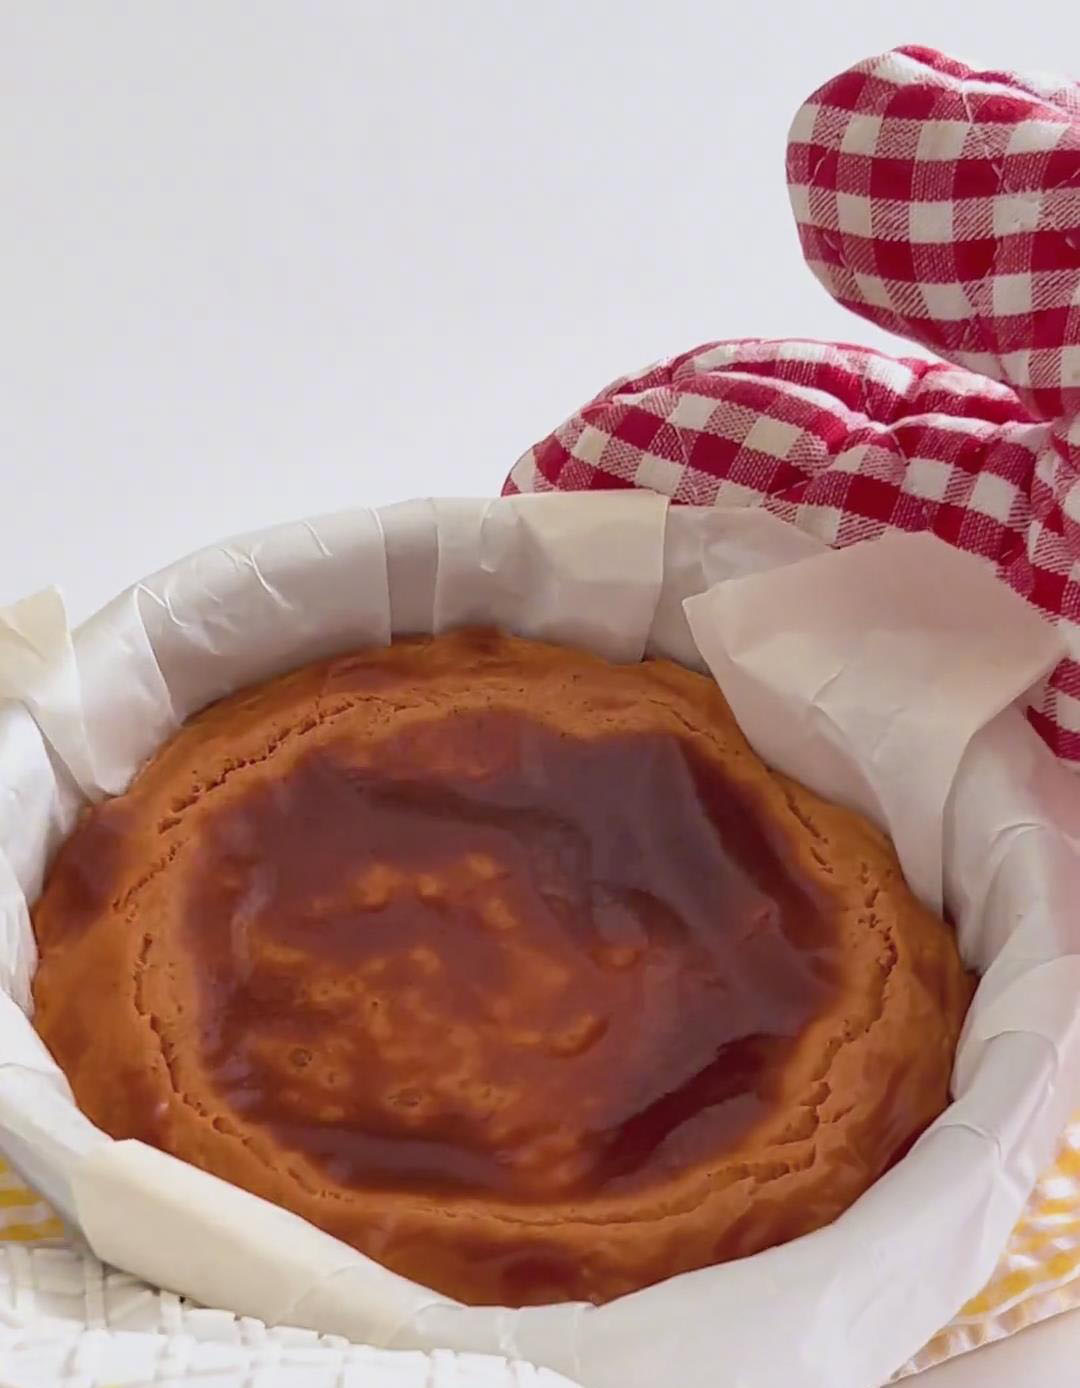
4. Make the Salty Cream Frosting
In a medium bowl, combine the softened 30g of cream cheese, 10g of sugar, and a pinch (0.3g) of sea salt. Use an electric mixer on low speed to beat until smooth and combined.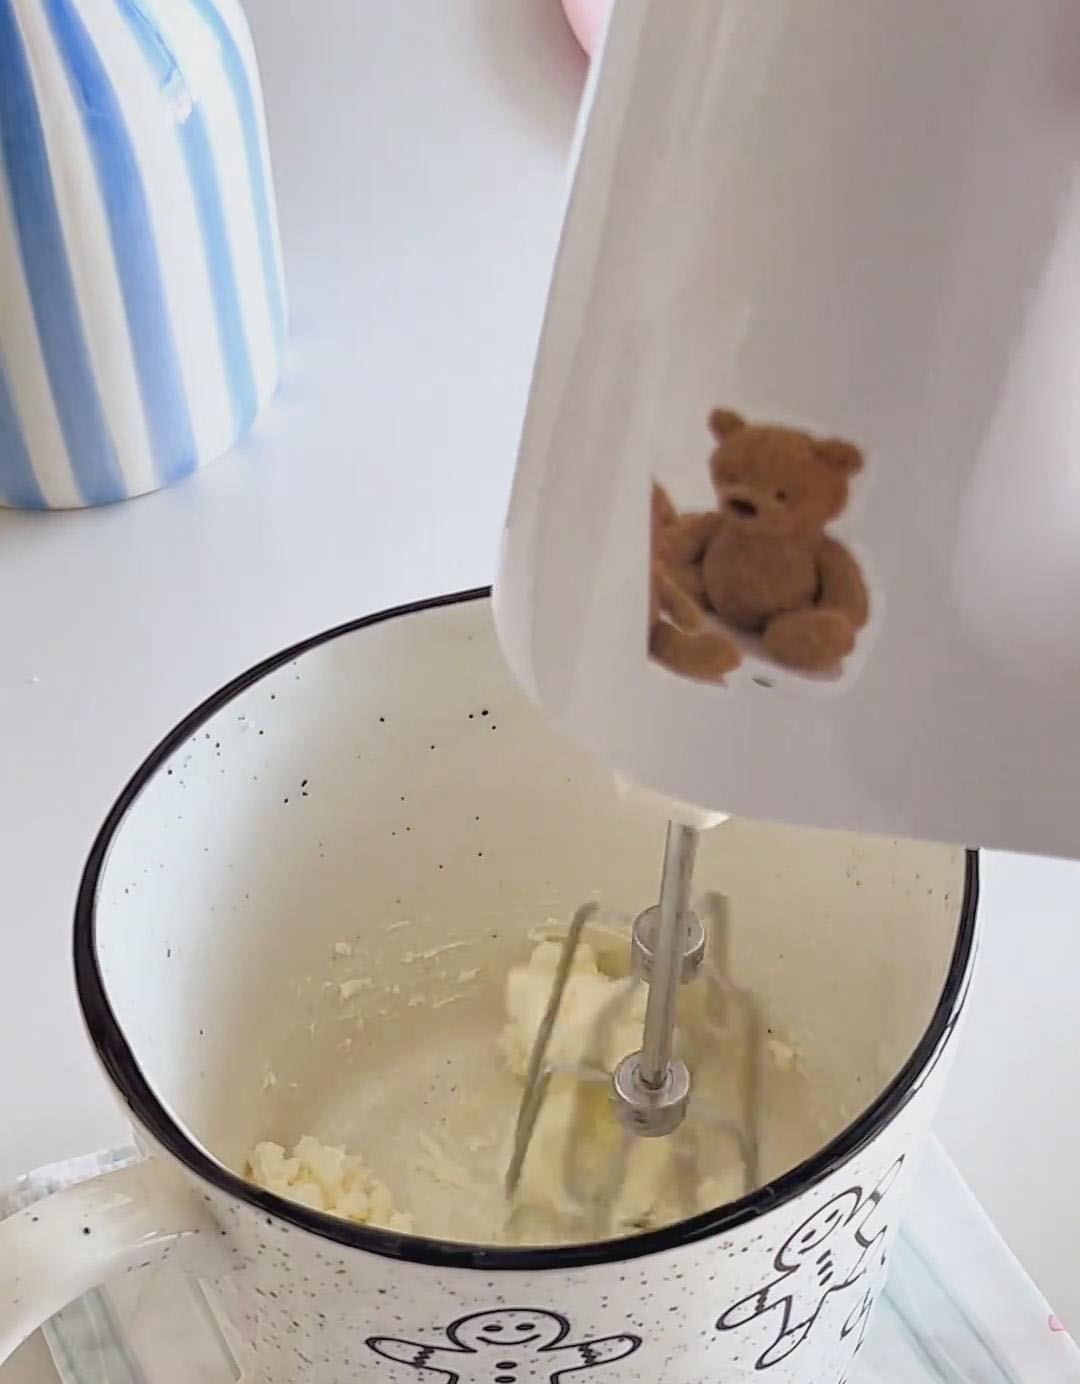
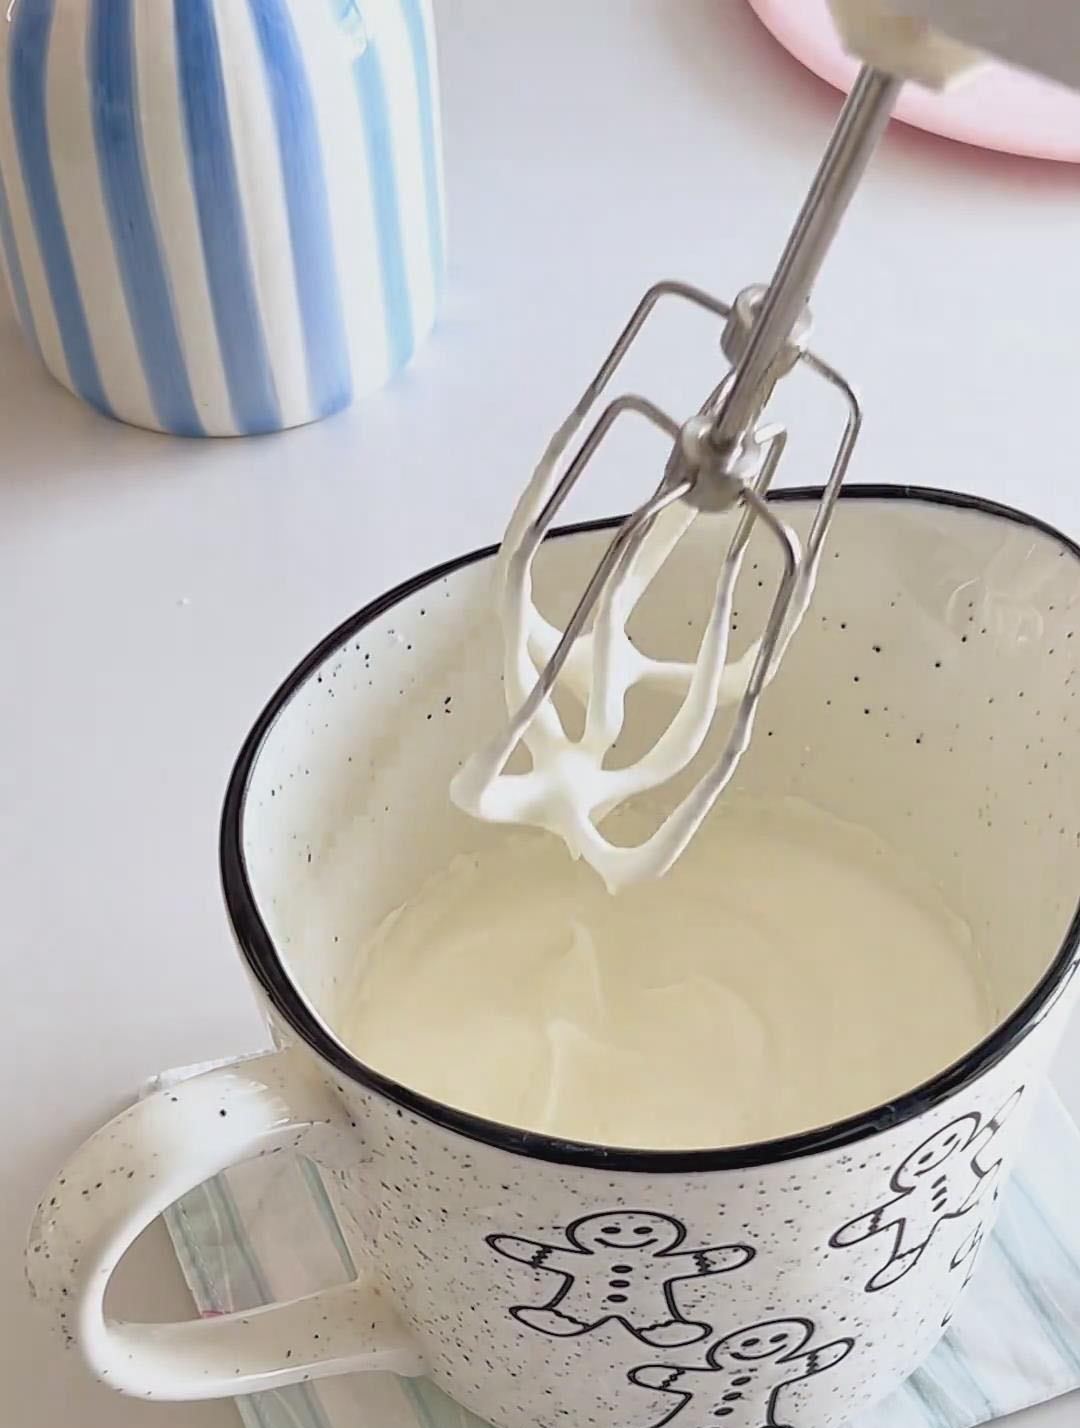
Add the milk and the 80g of whipping cream. Increase the mixer speed to medium and whip the mixture until it thickens and reaches a soft, spreadable, but still flowable consistency. Be careful not to over-whip, or it may become grainy.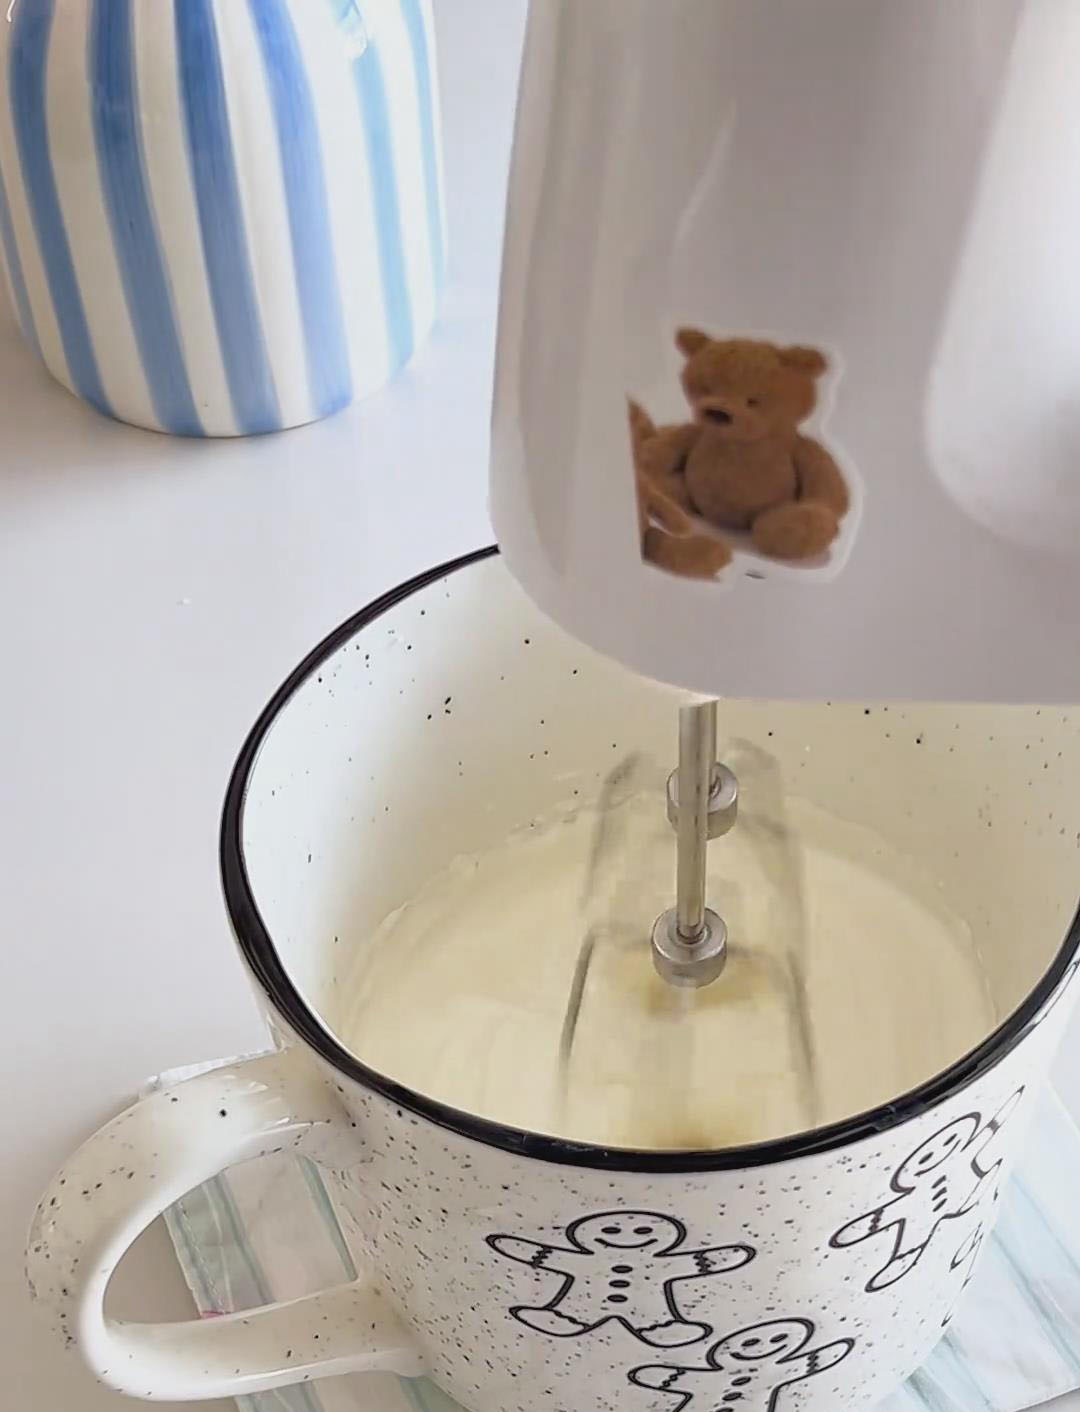
5. Assemble the Cheesecake
Remove the chilled cheesecake from the pan and peel away the parchment paper.
Spread the salty cream frosting evenly over the top of the cheesecake.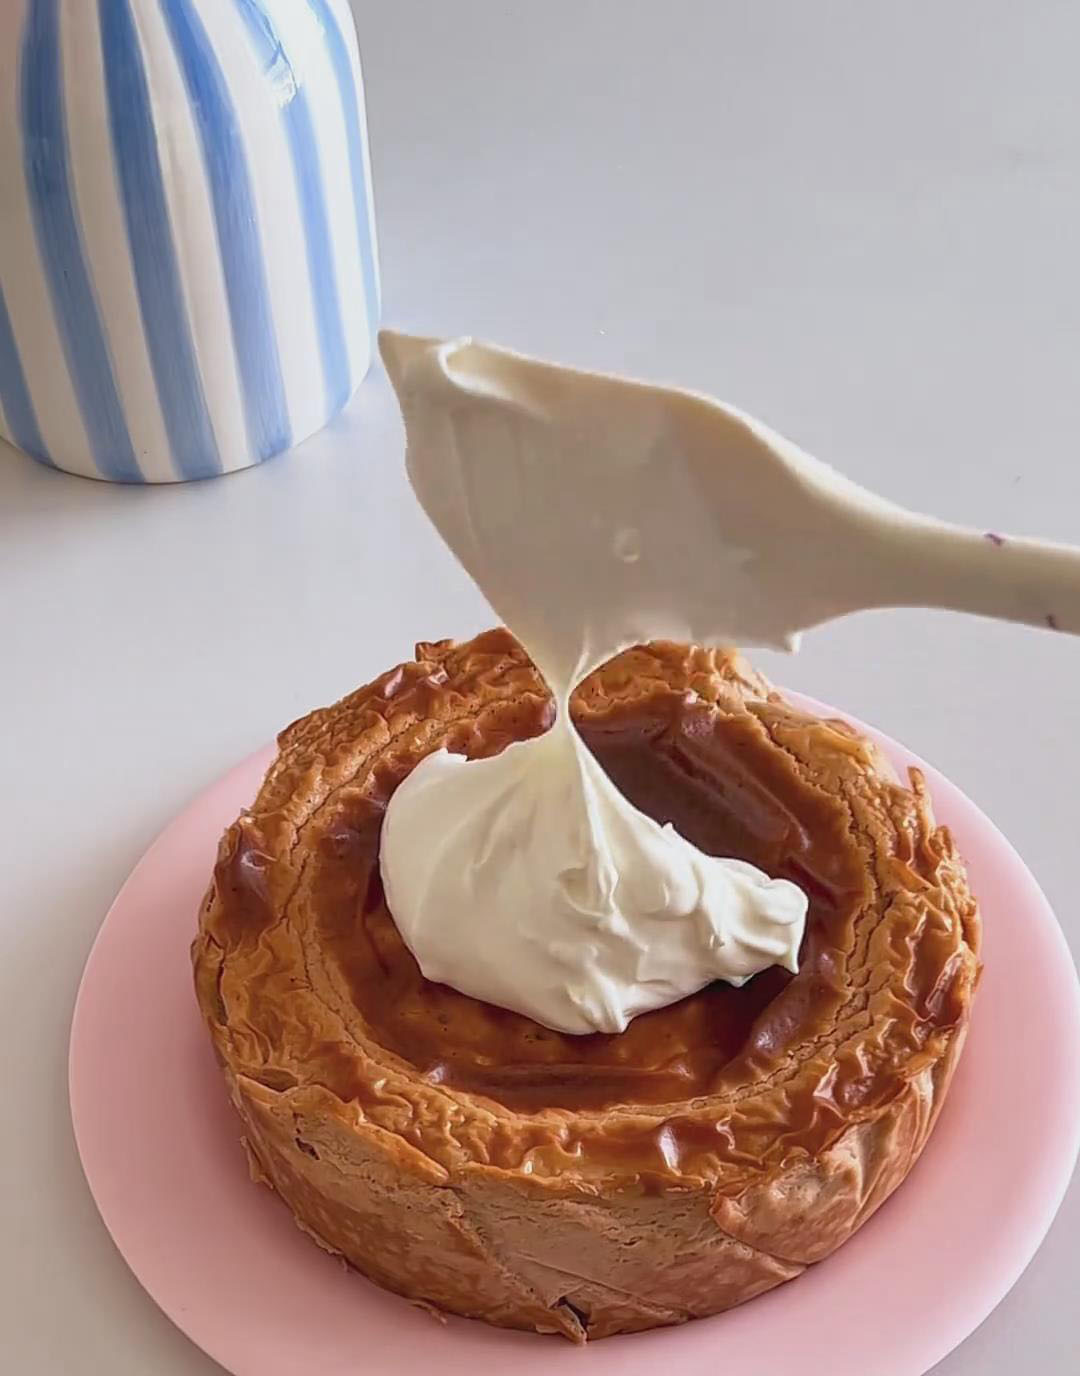
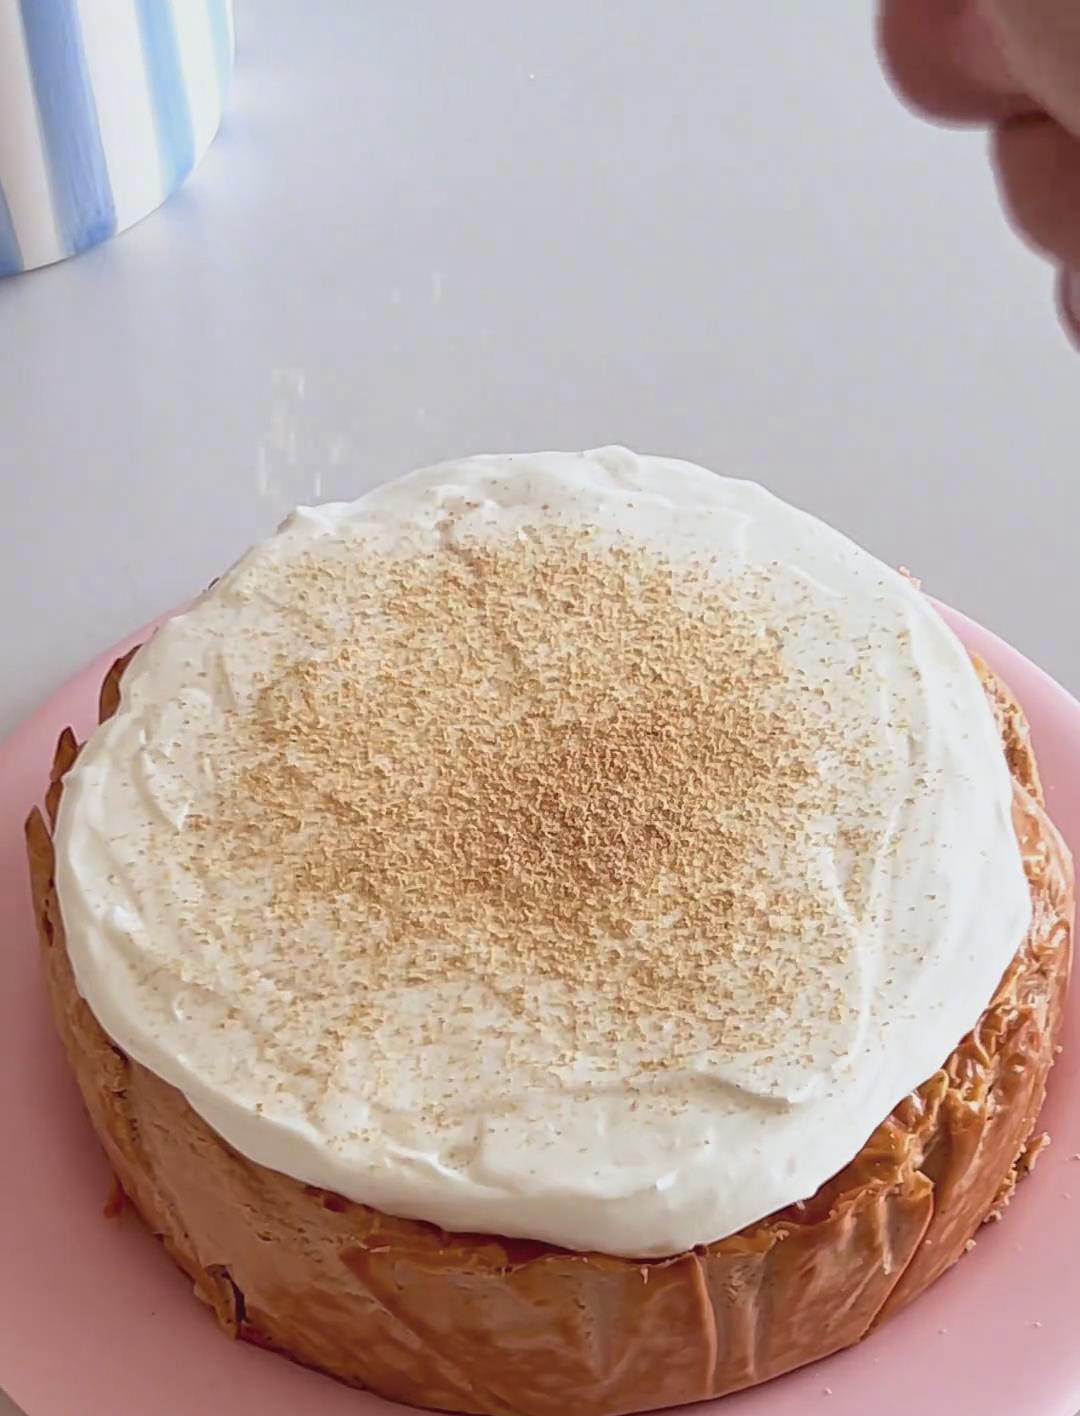
For a final touch, you can lightly dust the top with a bit of additional Thai tea powder or, as suggested, a sprinkle of soybean powder and edible flowers. Slice and serve.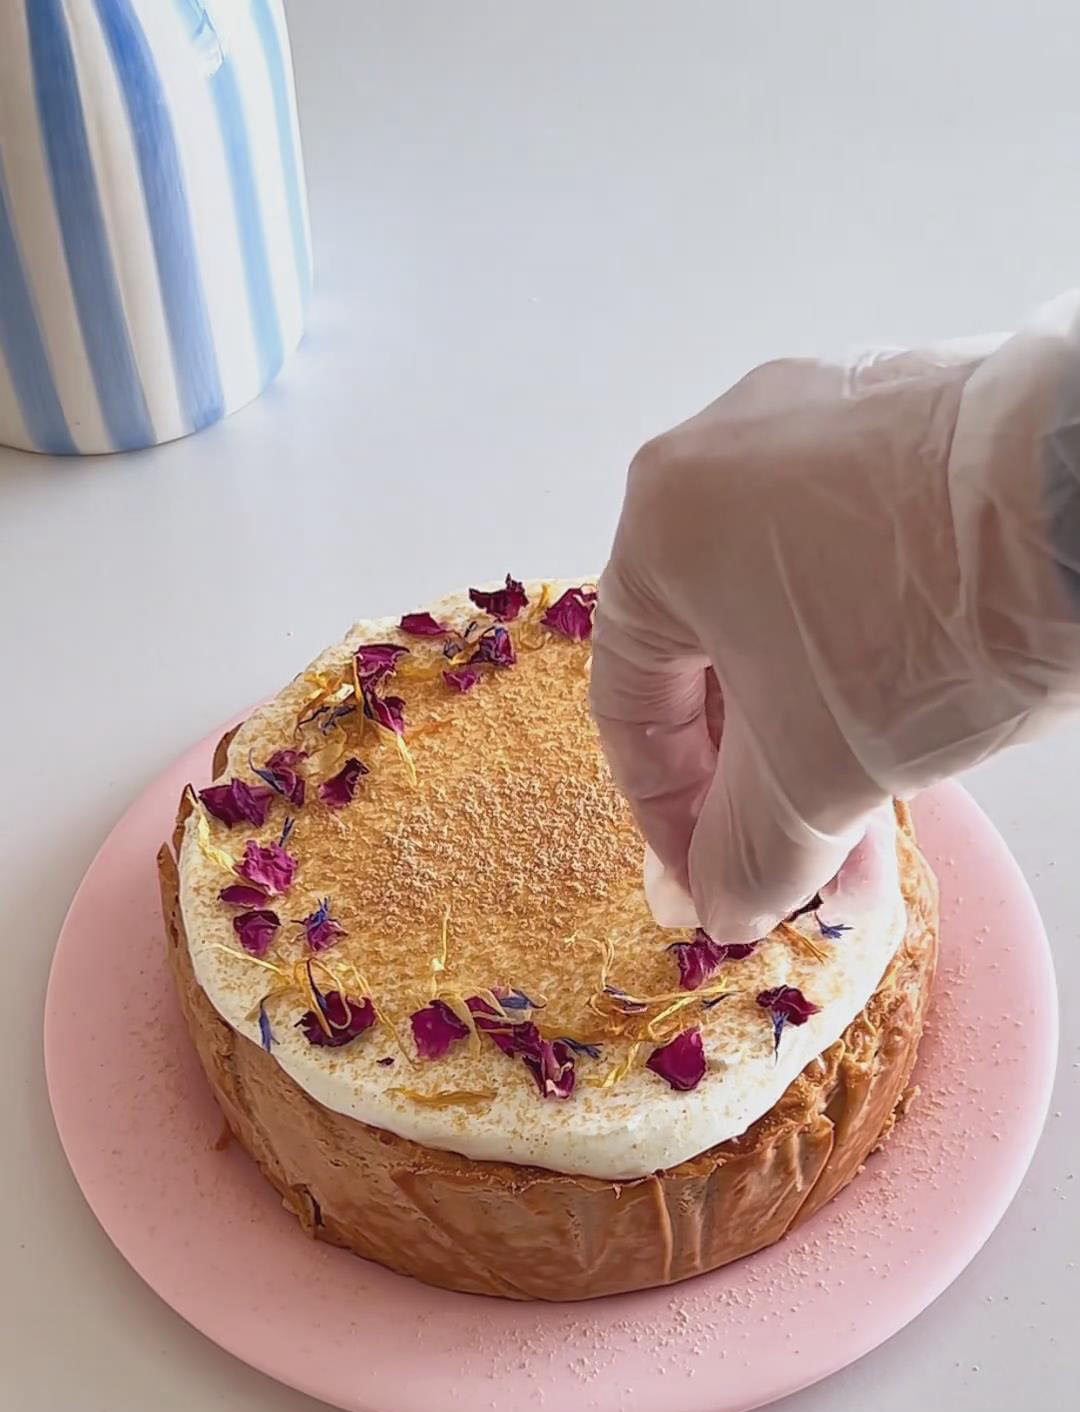

Tips & Tricks
- Do not over-bake. 21 minutes is key to a lava-style center. Longer baking will set the middle.
- Cool the tea cream before adding it. Hot cream will scramble the eggs and create lumps.
- Always strain the batter. This removes bubbles and ensures a silky, smooth final texture.
- Adjust flavor intensity. For stronger tea flavor, increase tea leaves to 20g.
- Balance the taste. If you prefer a more savory cream topping, increase the salt slightly to 0.5g.
Frequently Asked Questions
How long does this cheesecake last?
Store in the fridge for 3–4 days, sealed. The texture becomes creamier after chilling.
Why is my cheesecake not lava-like?
It was likely baked too long. Stick to 21 minutes at 200°C and refrigerate overnight.
Can I use Thai milk tea powder instead of tea leaves?
Loose tea leaves give the richest flavor. Powder can be used, but the result won’t be as aromatic.
Why is my batter lumpy?
The cream cheese wasn’t fully softened, or the tea cream was too warm when added. Make sure everything is room temperature and strain the batter.
Rich & Creamy Thai Milk Tea Basque Cheesecake
Ingredients
Thai Tea Basque Base
- 290 g whipping cream for steeping
- 18 g Thai red tea leaves
- Additional whipping cream to top up to 210g total
- 300 g cream cheese room temperature
- 60 g fine granulated sugar
- 3 medium eggs room temperature
Salty Cream Frosting
- 30 g cream cheese room temperature
- 10 g fine granulated sugar
- 0.3 g a pinch fine sea salt
- 20 g milk
- 80 g whipping cream
Optional Toppings
- Soybean Powder Kinako
- Edible Flowers
Instructions
Make the Thai Tea Cream
- Pour 290g of heavy cream into a small pot, add 18g of Thai tea leaves, and heat while stirring. Bring it to a boil over high heat, then immediately turn off the heat.
- Cover the pot and let the tea steep in the hot cream for exactly 5 minutes to fully infuse its flavor and color.
- Strain the infused cream through a fine-mesh sieve into a measuring cup, pressing on the tea leaves to extract all the liquid. Discard the leaves.
- Top up the strained cream with additional fresh whipping cream until the total mixture weighs 210g. Stir well and set aside to cool completely.
Make the Basque Cheesecake Batter
- In a large bowl, use a silicone spatula to vigorously stir the softened 300g of cream cheese until it is completely smooth and free of any lumps.
- Add the 60g of fine granulated sugar and mix until the sugar is fully incorporated and the mixture is smooth.
- Add the three eggs one at a time, mixing thoroughly after each addition until the egg is fully emulsified into the batter before adding the next.
- Pour in the completely cooled Thai tea cream and mix gently until the batter is uniform in color.
- For the smoothest possible texture, strain the entire batter through a fine-mesh sieve into a clean bowl. This step is essential for removing any tiny tea particles or cheese lumps and ensures a silky final result.
Bake and Chill the Cheesecake
- Preheat your oven to 200°C (400°F) for at least 10 minutes.
- Pour the strained batter into a 6-inch round cake pan that has been fully lined with parchment paper (the paper should come up above the sides).
- Hold the pan with both hands and gently tap it on the counter 3 to 5 times to pop any large air bubbles trapped in the batter.
- Immediately place the pan on the middle rack of the preheated oven and bake for 21 minutes. The top will be dark and caramelized, and the center will still be very jiggly—this is correct for the soft center.
- Remove the cheesecake from the oven and let it cool completely to room temperature. Once cooled, cover it and refrigerate for at least 8 hours, or preferably overnight.
Make the Salty Cream Frosting
- In a medium bowl, combine the softened 30g of cream cheese, 10g of sugar, and a pinch (0.3g) of sea salt. Use an electric mixer on low speed to beat until smooth and combined.
- Add the milk and the 80g of whipping cream. Increase the mixer speed to medium and whip the mixture until it thickens and reaches a soft, spreadable, but still flowable consistency. Be careful not to over-whip, or it may become grainy.
Assemble the Cheesecake
- Remove the chilled cheesecake from the pan and peel away the parchment paper.
- Spread the salty cream frosting evenly over the top of the cheesecake.
- For a final touch, you can lightly dust the top with a bit of additional Thai tea powder or, as suggested, a sprinkle of soybean powder and edible flowers. Slice and serve.
Leave a Reply