
If you love mochi, don’t miss this easy purple mochi recipe! Made with taro and purple sweet potato powder, it’s chewy on the outside and creamy on the inside.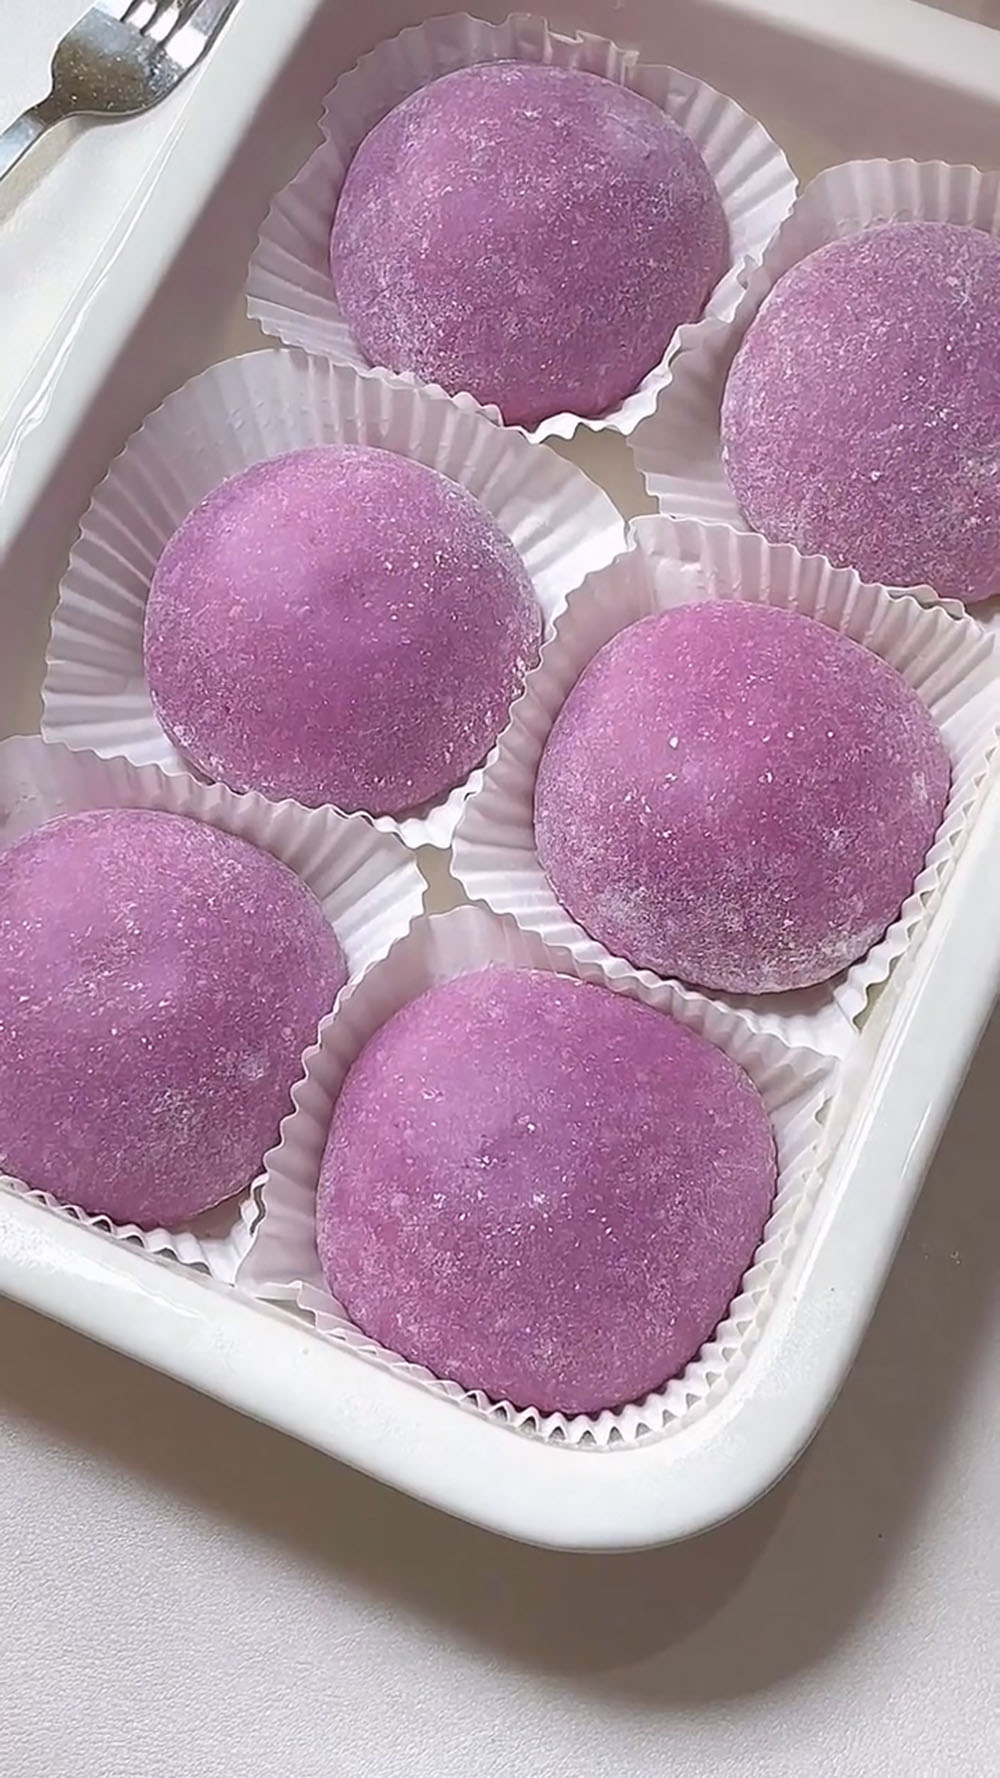
I’ve honestly lost count of how many mochi recipes I’ve shared over time—once you get the hang of it, it’s so easy to play around with different flavours and fillings.
That’s what I love most about mochi. The base is simple, but the possibilities are endless, and every version brings something new in texture and taste.
Some of my favourites that I keep going back to include:
- Osmanthus Mochi
- Matcha Mochi Bites
- Brown Sugar Pearl Mochi
- Sweet Potato Mochi with Cheese
- Watermelon Mochi Bites
- Passionfruit Mochi
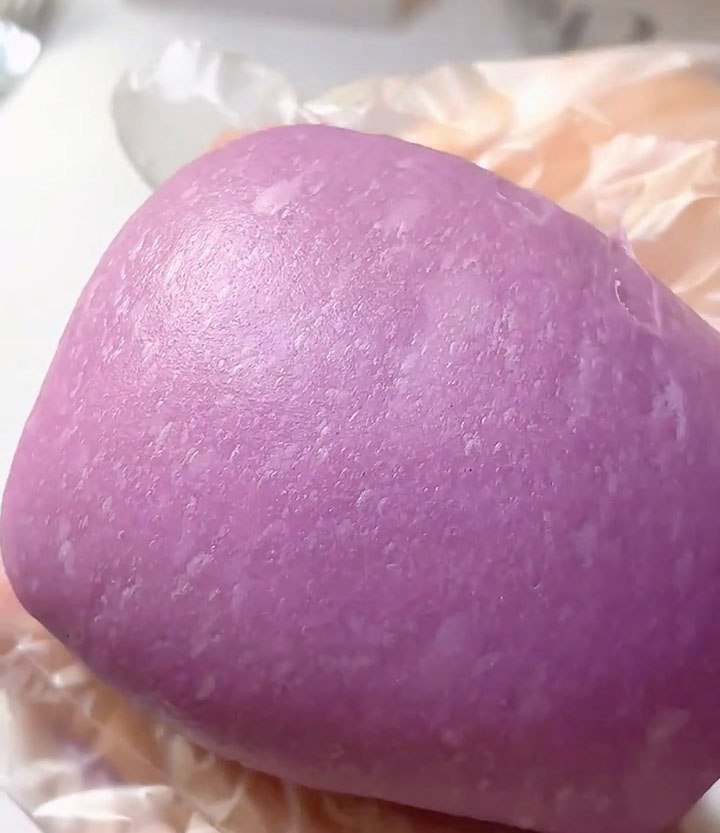
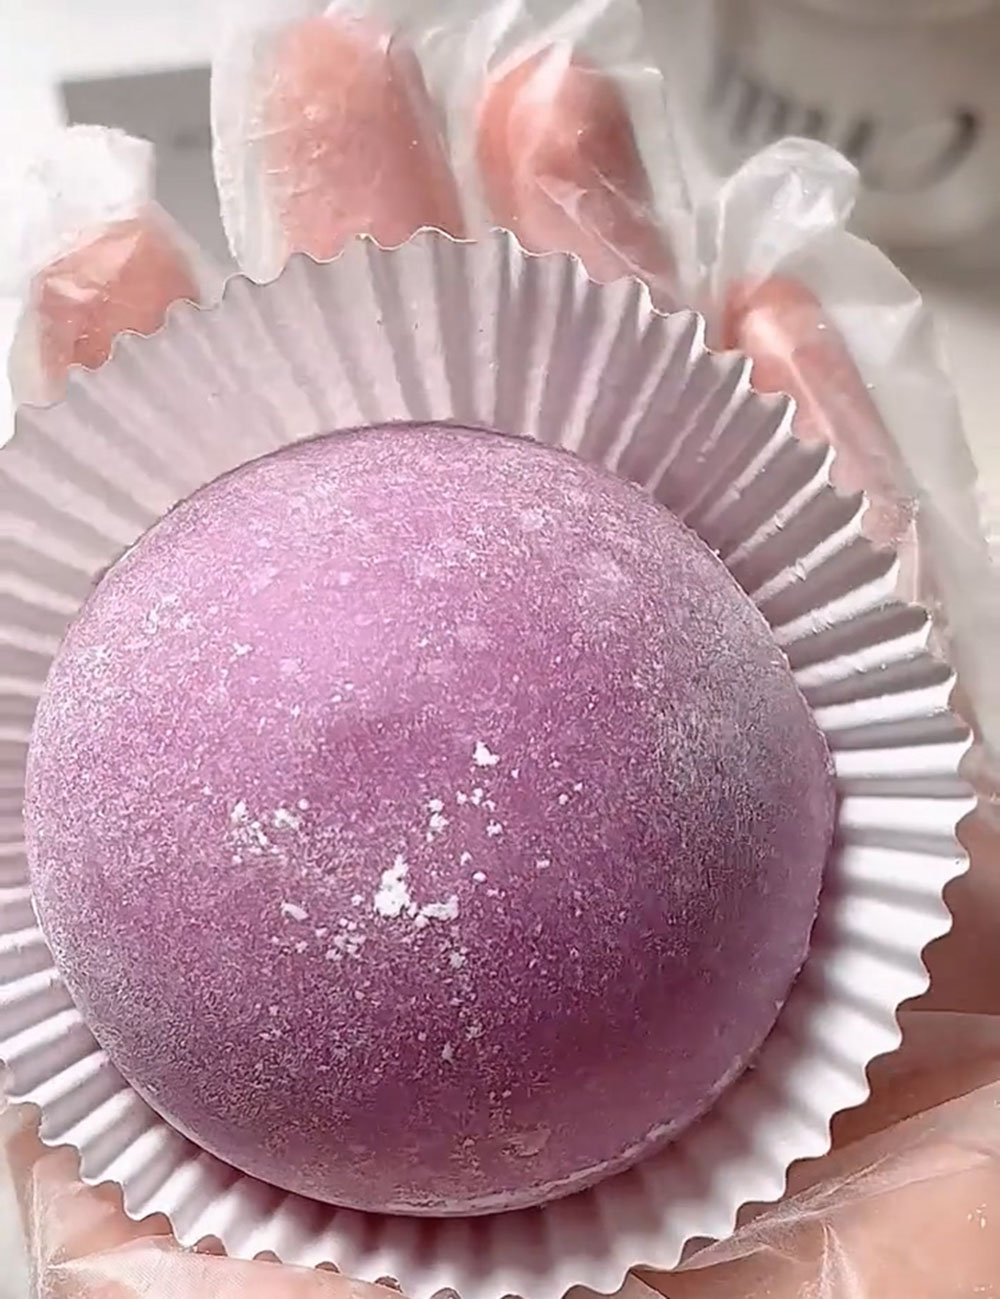
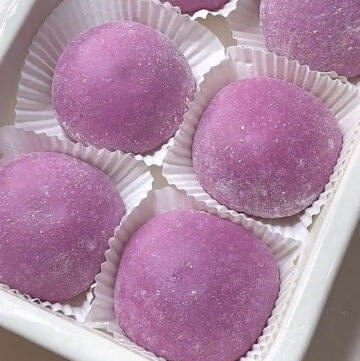
Today, I’m sharing a purple mochi that is just as beautiful as it is delicious.
The natural purple colour comes from purple sweet potato powder, which not only gives it that soft pastel tone but also adds a subtle earthy sweetness that pairs perfectly with the creamy filling inside.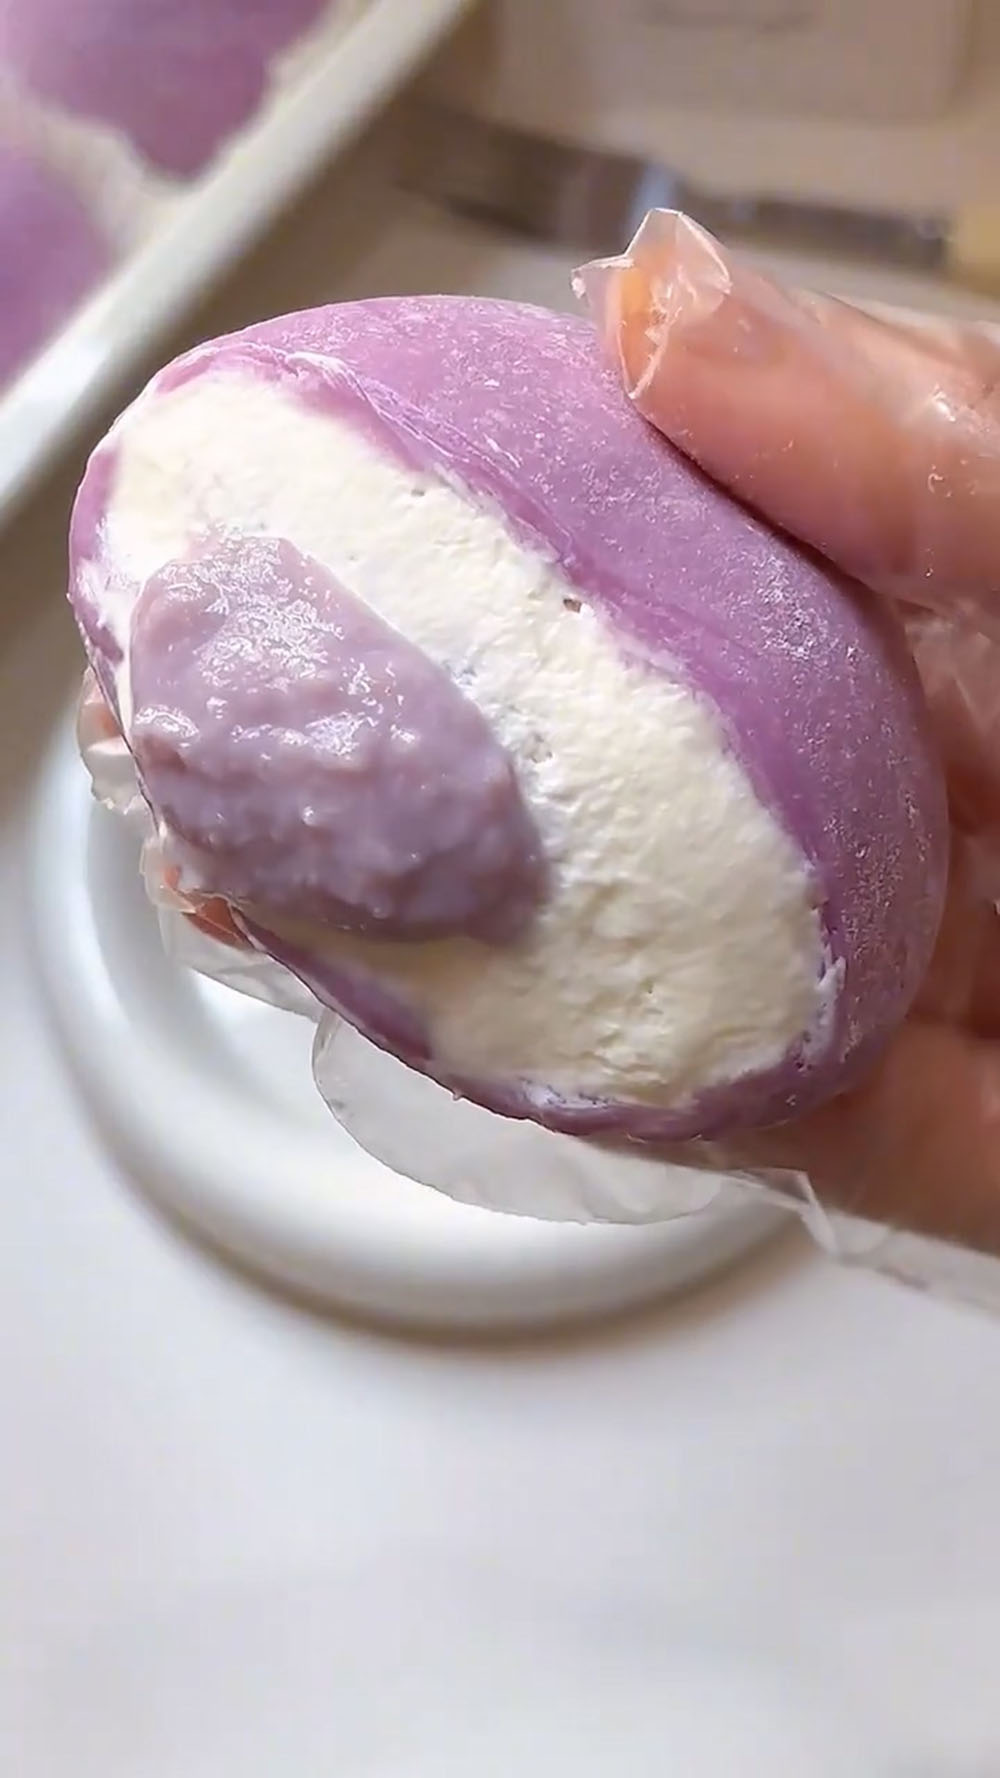
Ingredients and Substitutions
- Taro — The heart of the filling. You’ll need 250g of steamed taro, weighed after steaming and draining. Look for taro with purple specks inside — that indicates good flavor and texture. Steam until a fork slides through easily, then drain thoroughly to avoid a watery filling.
- White sugar — Divided between the taro filling, the whipped cream, and the mochi skin.
- Purple sweet potato powder — This is what gives both the mochi skin and the taro filling their beautiful purple color. Unlike artificial coloring, it adds a subtle, natural sweetness and a hint of earthy flavor. You can find it at Asian grocery stores or online. I recommend using a good quality brand for the most vibrant color.
- Milk — Used in the taro filling to create a smooth, creamy paste. Whole milk yields the richest result, but 2% or even oat milk work well. The liquid helps transform mashed taro into a spreadable, silky consistency.
- Heavy cream — Essential for the whipped cream layer inside the mochi. Use heavy cream with at least 35% fat content for stable, pipeable cream that won’t leak out of the mochi. The same cream is used for both the inner filling.
- Glutinous rice flour — Also called sweet rice flour or sticky rice flour. This is the key ingredient for mochi’s signature chewy, stretchy texture. Do not substitute regular rice flour or all-purpose flour — they will not work. Look for brands like Mochiko or Bob’s Red Mill.
- Cornstarch — Works alongside glutinous rice flour to tenderize the mochi and prevent it from becoming too dense. It helps create that perfect balance of chew and softness.
- Butter — Added to the mochi dough while cooking, butter enriches the texture and helps keep the mochi soft for days. It also adds a subtle richness and prevents the dough from sticking to the pan. Use unsalted butter for best results.
- Cooked glutinous rice flour (for dusting) — This is essential for preventing the sticky mochi dough from clinging to your hands, rolling pin, and work surface. You can buy pre-cooked glutinous rice flour or make your own by toasting raw glutinous rice flour in a dry pan over low heat until lightly golden and fragrant. Never use raw flour — it will create a pasty, unpleasant texture on your finished mochi.
Ingredients for Recipe Format
Taro Filling
- 250 g taro (steamed and drained, net weight)
- 30 g white sugar
- 4 g purple sweet potato powder
- 90 g milk
Filling Cream
- 250 g heavy cream
- 25 g white sugar
Mochi Skin
- 100 g glutinous rice flour
- 30 g cornstarch
- 8 g purple sweet potato powder
- 35 g white sugar
- 170 g whole milk
- 20 g butter
- Cooked glutinous rice flour (for dusting, as needed)
How to Make Taro Mochi (Purple Mochi)
Make the Taro Filling
- Steam the taro until completely tender. Drain off any excess water thoroughly.
- Weigh out 250g of the steamed taro and place it in a mixing bowl.
- Add 30g white sugar, 4g purple sweet potato powder, and 90g milk.
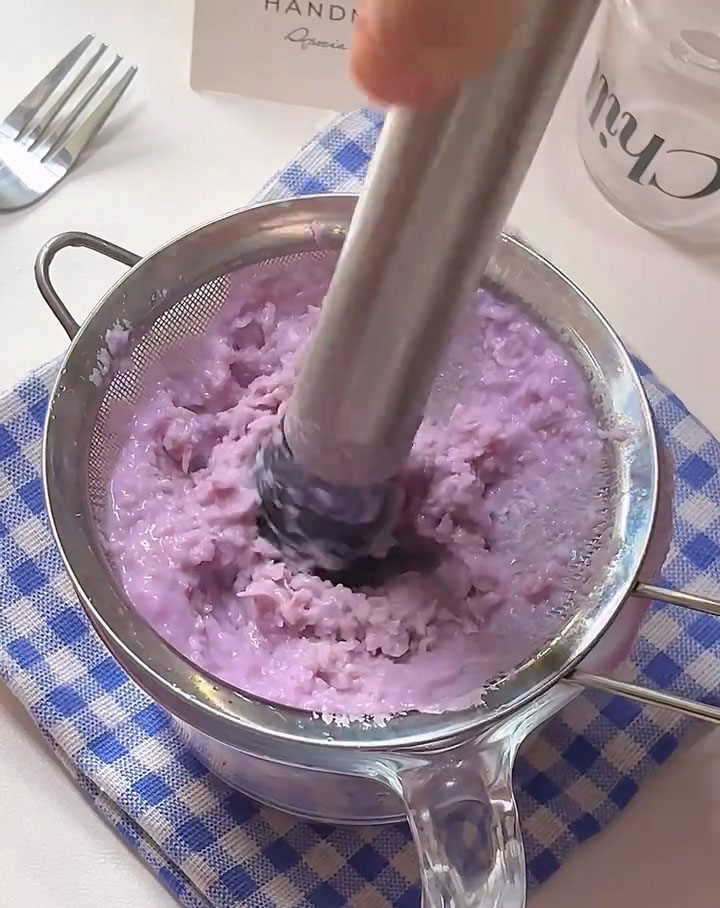
- Mash everything together into a smooth, uniform paste.
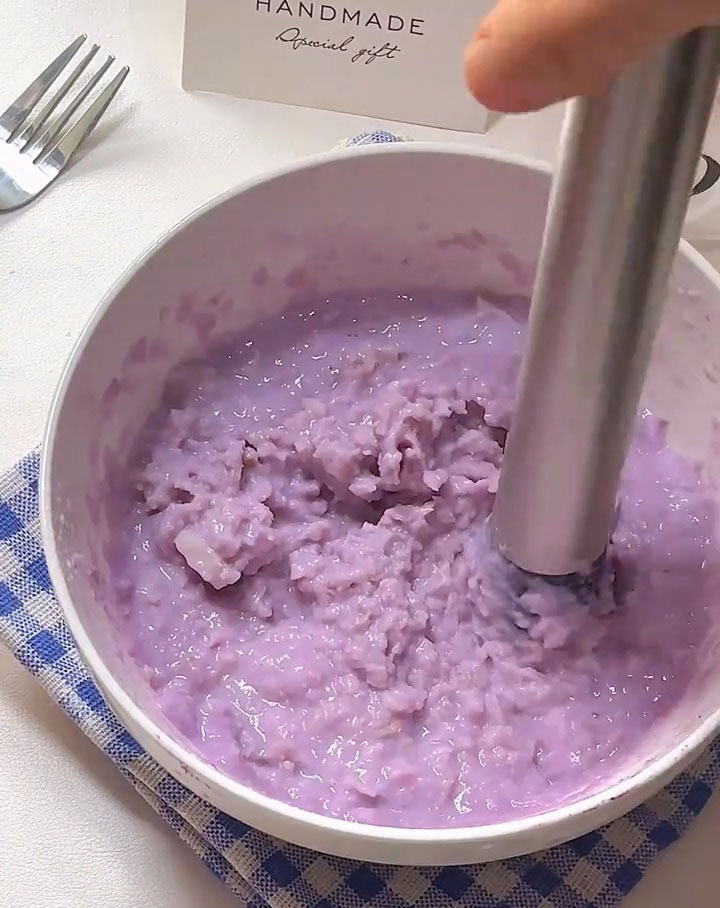
- For an ultra-smooth, luxurious texture, pass the mashed taro through a fine-mesh sieve. Set aside.
Whip the Cream
- In a chilled mixing bowl, combine 250g heavy cream and 25g white sugar.
- Whip using an electric hand mixer or stand mixer with a whisk attachment until the cream reaches a thick, yogurt-like consistency.
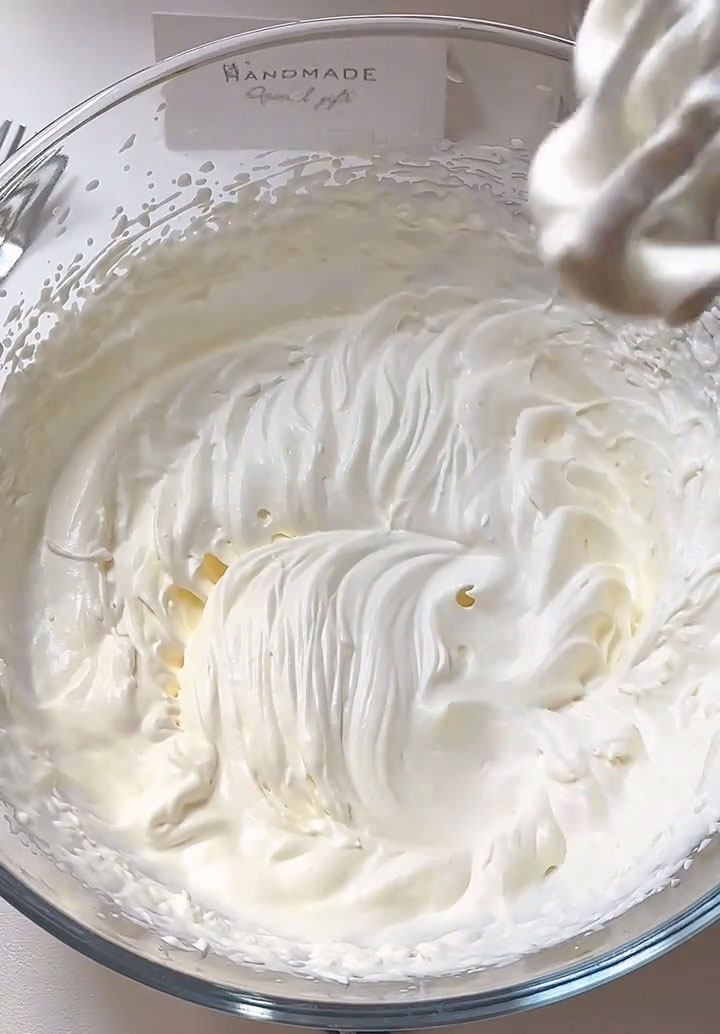
- Transfer the whipped cream to a piping bag and set aside in the refrigerator.
Make the Mochi Skin
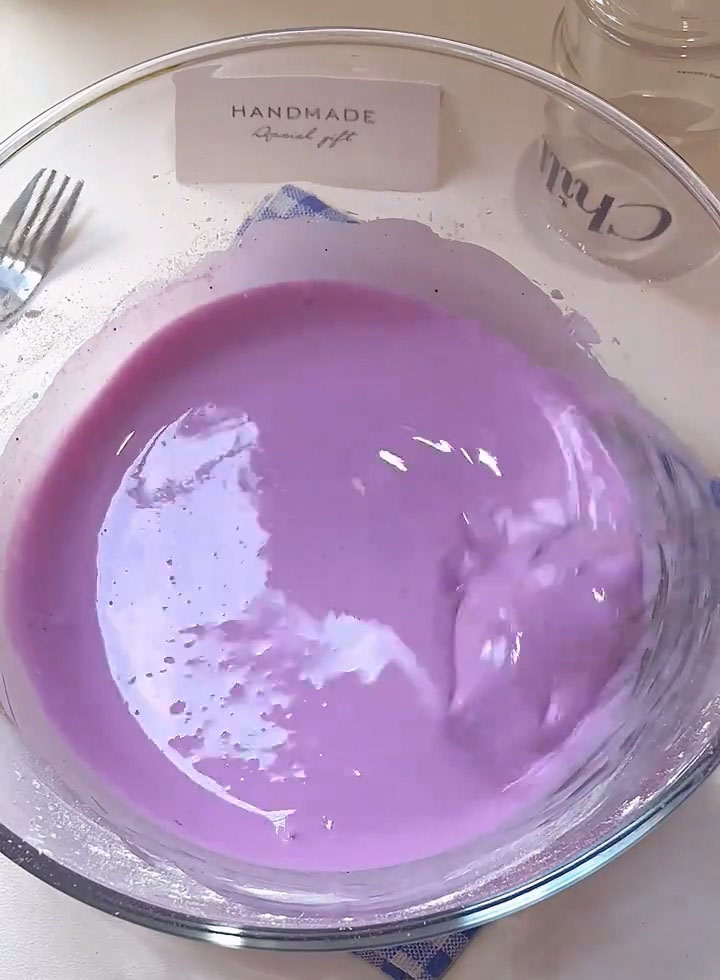
- In a mixing bowl, combine 100g glutinous rice flour, 30g cornstarch, 8g purple sweet potato powder, and 35g white sugar. Pour in 170g whole milk and stir until the batter is completely smooth and lump-free.
- Strain the batter through a fine-mesh sieve directly into a non-stick pan.
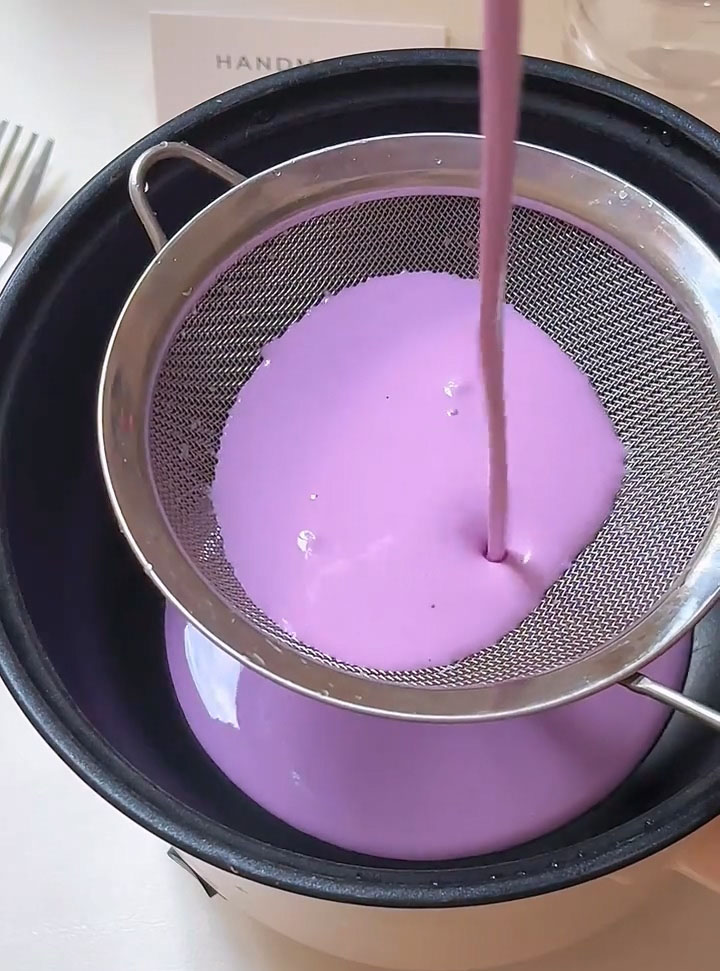
- Add 20g butter to the pan.
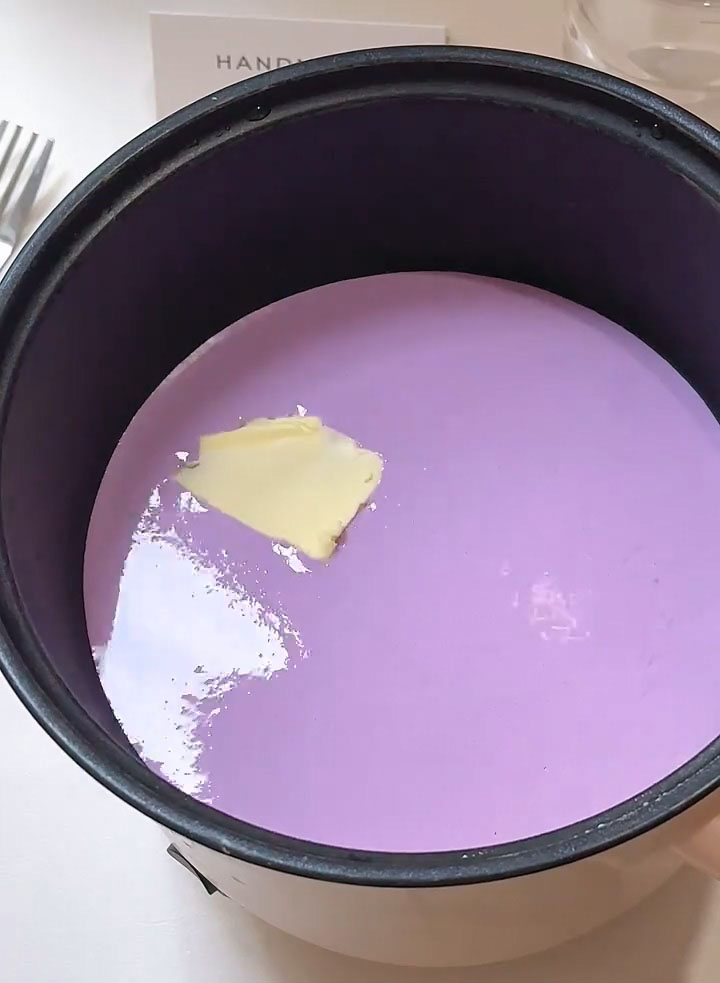
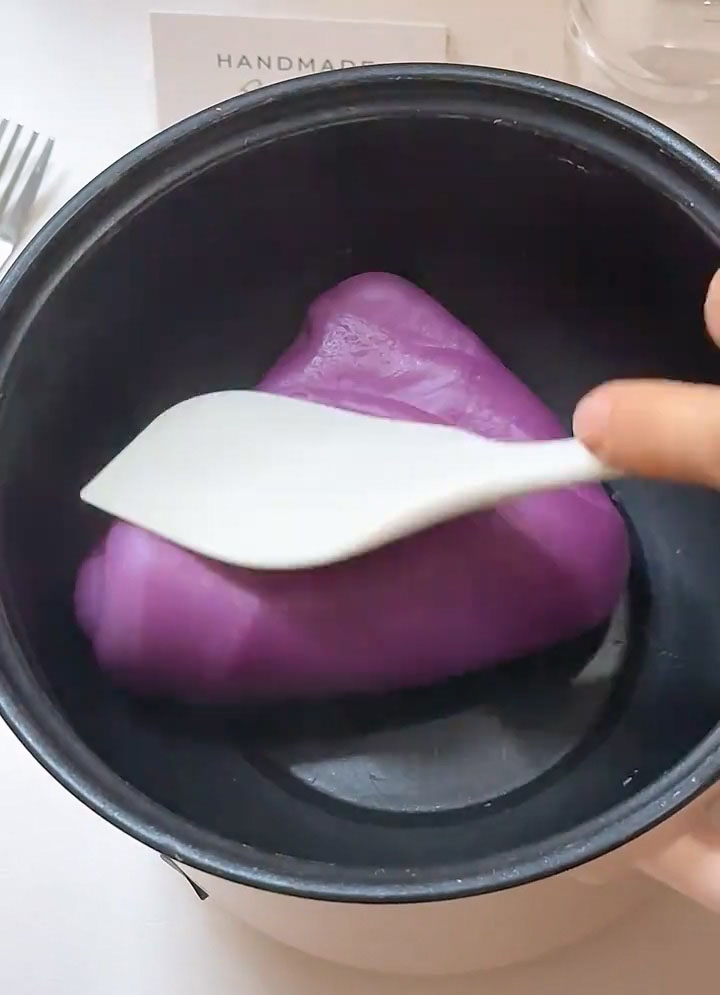
- Cook over low heat, stirring constantly with a spatula. The mixture will gradually thicken and come together.
- Continue cooking and stirring until the dough forms a solid ball that pulls away cleanly from the sides of the pan and no longer sticks to your spatula. This is crucial — undercooked dough will be sticky and will harden quickly.
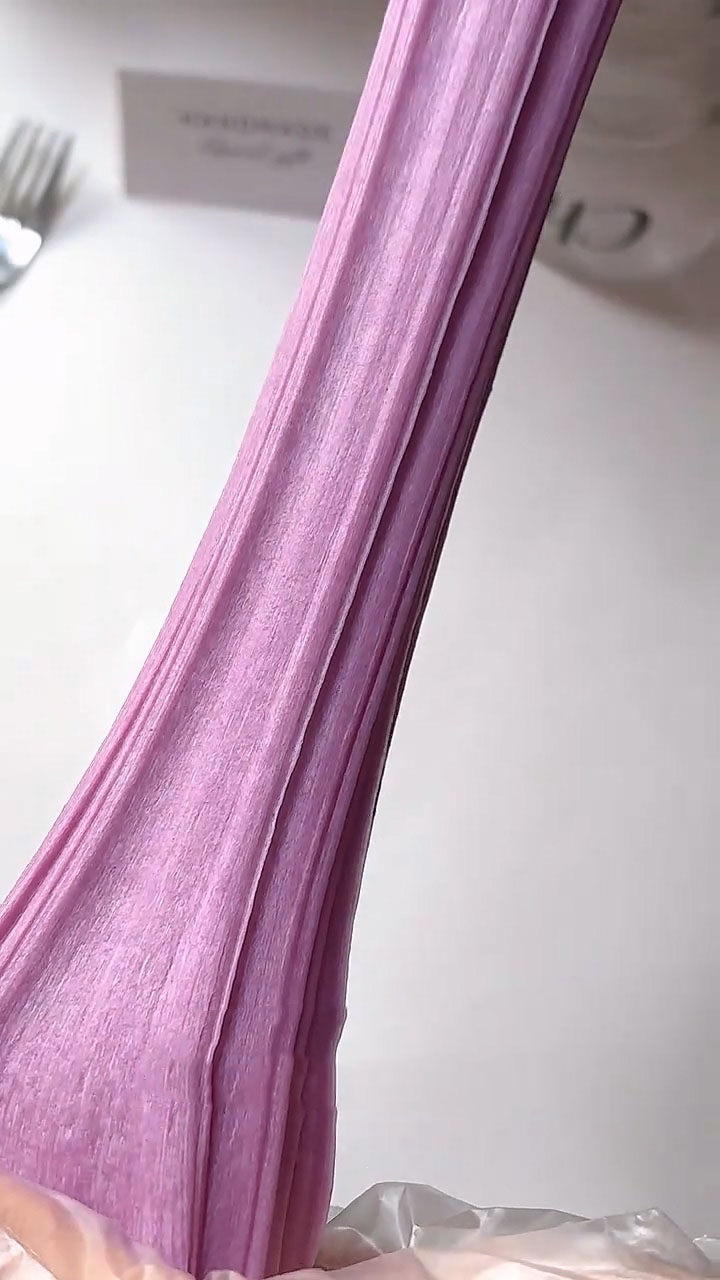
- Transfer the cooked dough to a clean surface. Allow it to cool slightly until you can handle it comfortably.
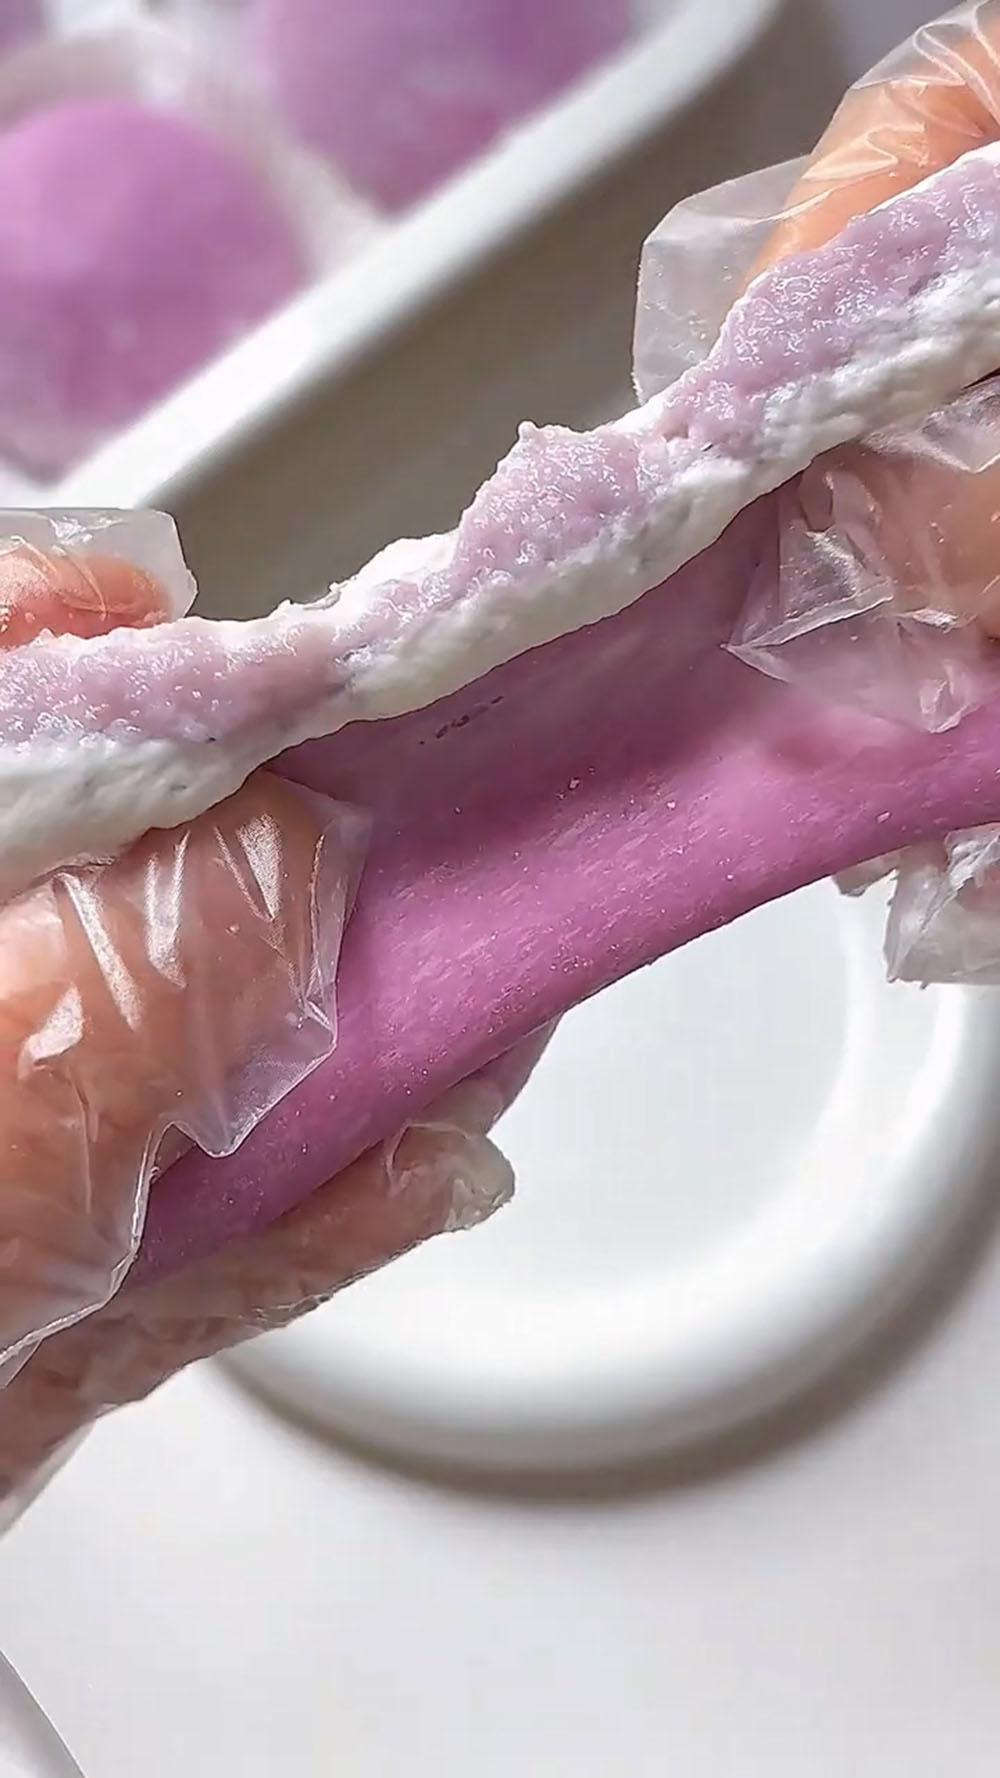
- Knead and stretch the dough repeatedly — fold it, pull it, press it — until it becomes smooth, glossy, and highly elastic. This develops the gluten-like structure that keeps mochi soft and stretchy.
Assemble the Mochi
- Lightly dust your work surface, hands, and rolling pin with cooked glutinous rice flour.
- Pinch off a piece of mochi dough (about 30-40g per mochi, depending on your desired size).
- Roll the dough into a thin, flat disc, about 3-4 inches in diameter.
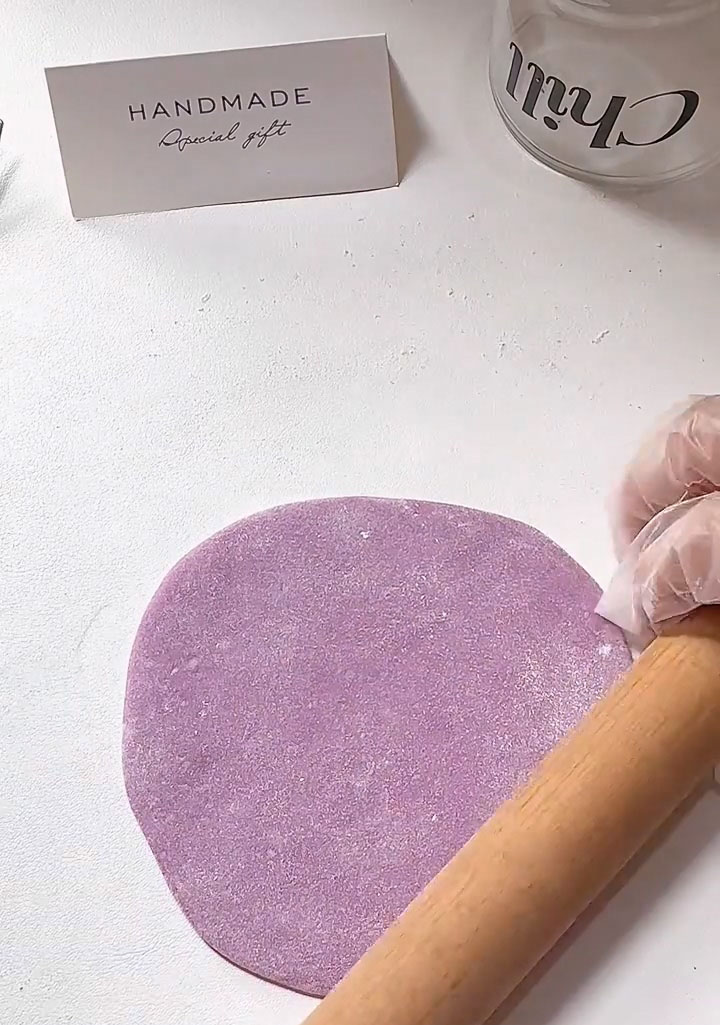
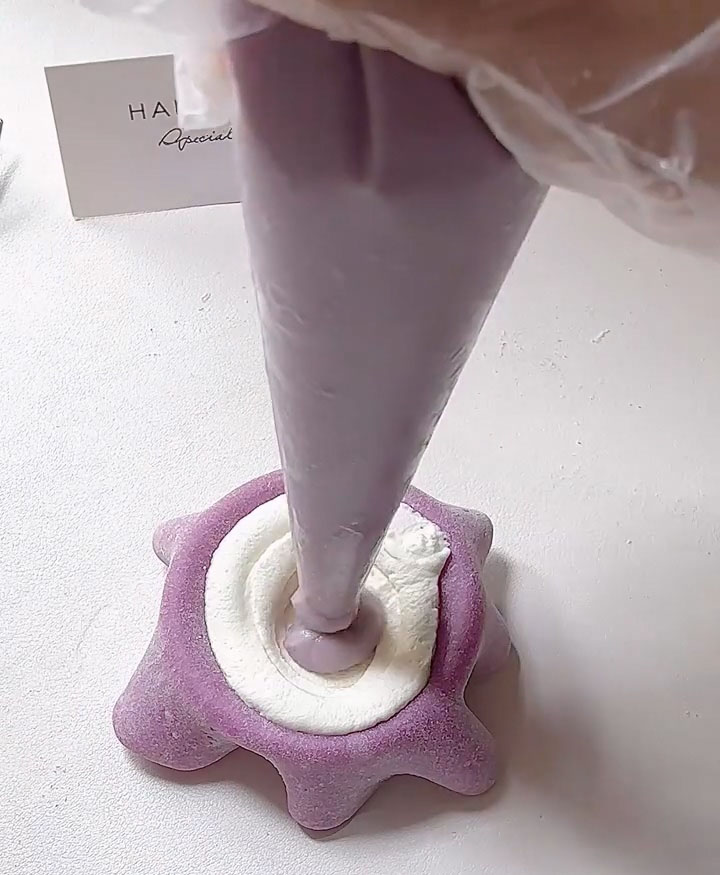
- Place the disc into a small bowl or dome-shaped mold, gently pressing it into the bottom and up the sides.
- Pipe a layer of whipped cream into the center of the mochi skin.

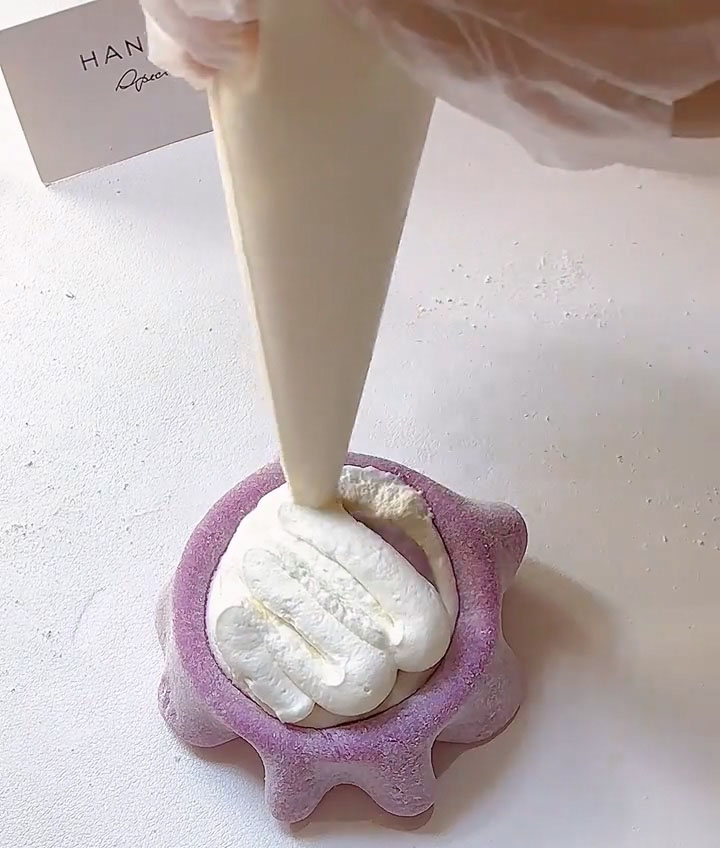
- Add a spoonful of the taro filling on top of the cream.
- Pipe another layer of whipped cream over the taro filling.
- Gather the edges of the mochi skin up and over the filling, pinching them together to seal. The bowl helps hold everything in place while you work.
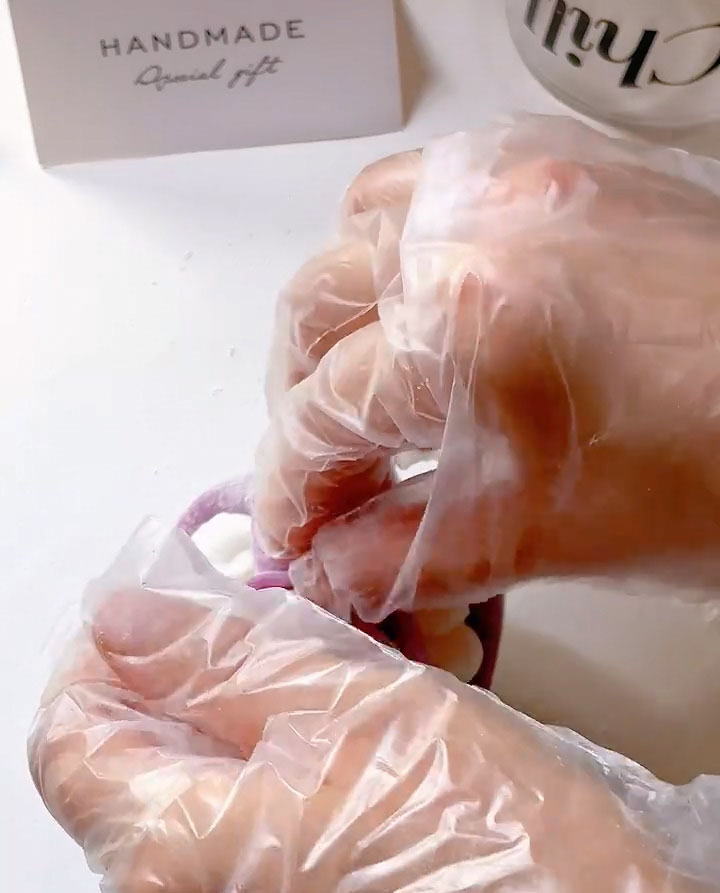
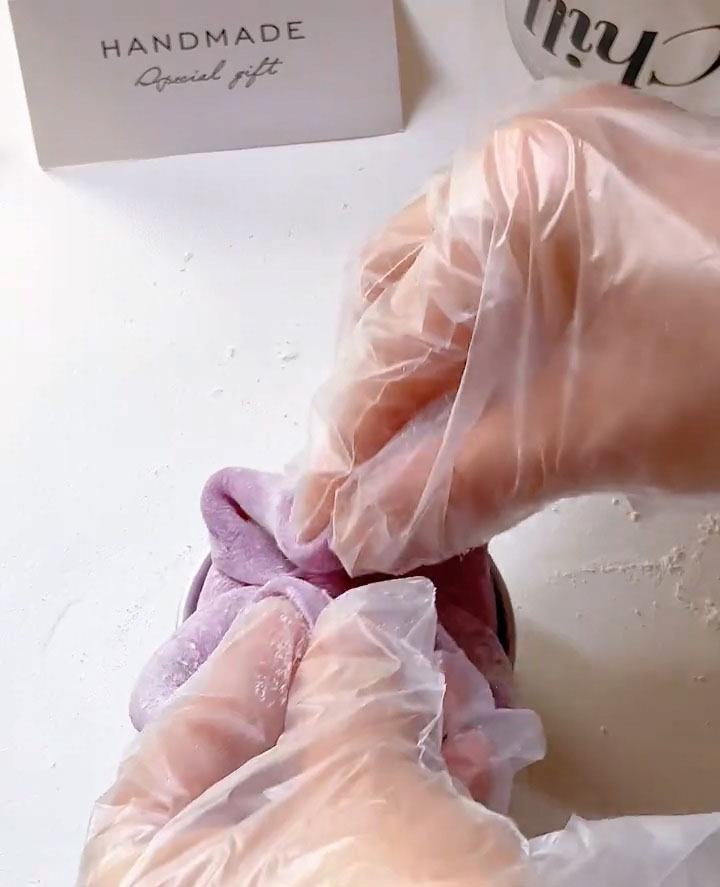
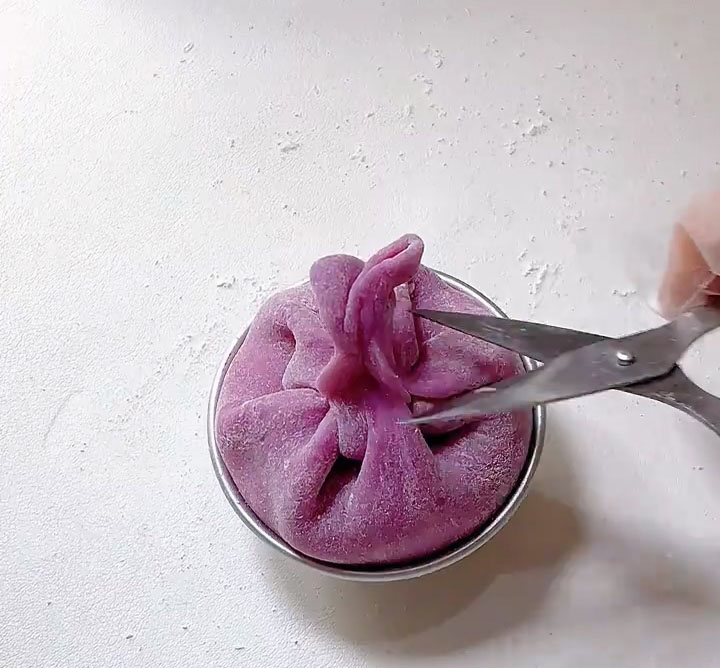
- Pinch off and trim any excess dough at the seal to keep the bottom from becoming too thick.
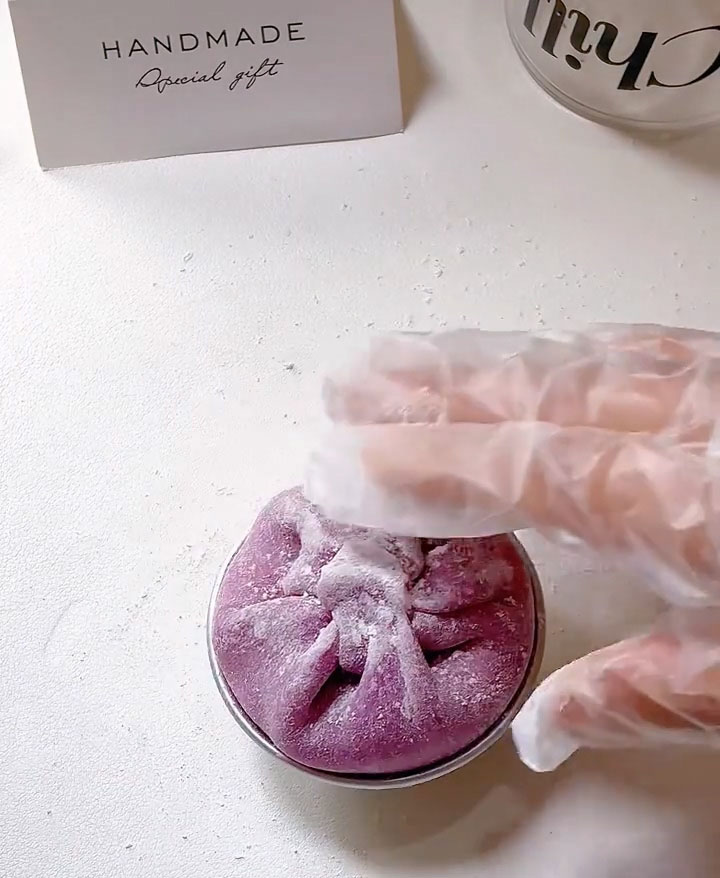
- Dust the bottom of the finished mochi with a little more cooked glutinous rice flour to prevent sticking.
- Place the finished mochi into a paper liner.
- Repeat with the remaining dough and fillings.
Storage
Store the assembled taro mochi in an airtight container in the refrigerator. They will stay soft, chewy, and delicious for 1–2 days. This recipe is specially formulated to remain soft longer than traditional mochi, but for the absolute best texture and flavor, enjoy them within the first two days.
Tips & Tricks
- Strain the taro filling. Passing the mashed taro through a sieve removes any fibrous bits and creates an incredibly smooth, silky, luxurious texture that feels like velvet on the tongue.
- Cook the mochi dough completely. The dough must form a solid, non-sticky ball that pulls away cleanly from the pan. If you stop too early, the mochi will be sticky, hard to handle, and will turn rock-hard within hours. Proper cooking is the secret to the “3 days soft” promise.
- Knead and stretch repeatedly. Don’t skip this step! The folding and stretching develops the mochi’s structure, making it soft, elastic, and resistant to hardening. A well-kneaded mochi can stretch beautifully without tearing.
- Always use cooked glutinous rice flour for dusting. Raw flour will leave a pasty, chalky, unpleasant texture on your finished mochi. Cooked flour (or store-bought “熟糯米粉”) creates a clean, non-stick surface without affecting the taste or texture.
- Whip cream to yogurt consistency only. If the cream is too soft, it will leak out of the mochi. If it’s too stiff, it will be difficult to wrap and may tear the delicate mochi skin. A thick, spreadable yogurt consistency is exactly right.
Frequently Asked Questions
Why does my mochi turn hard after one day?
This usually happens if the mochi dough wasn’t cooked enough or wasn’t kneaded sufficiently. Be sure to cook the dough until it forms a solid, non-sticky ball, and then knead and stretch it repeatedly until it becomes glossy and elastic. Under-kneaded mochi will harden much faster.
Can I make this recipe vegan?
You can try, but the texture will change significantly. Substitute the butter with coconut oil (refined for no coconut taste), the heavy cream with full-fat coconut cream (chilled and whipped), and the milk with a plant-based milk like oat or soy. The mochi skin may be slightly less tender, and the coconut cream will have a different flavor profile.
Why is my mochi dough so sticky I can’t handle it?
A few possibilities: the dough may be undercooked, you may not have kneaded it enough, or you may be using raw flour instead of cooked glutinous rice flour for dusting. Return undercooked dough to the pan and cook longer. Knead hot dough carefully (it becomes less sticky as it cools slightly). And always dust with cooked glutinous rice flour.
How do I make cooked glutinous rice flour at home?
Simply place raw glutinous rice flour in a dry, non-stick pan over low heat. Stir constantly for 5-8 minutes until the flour becomes lightly golden and smells toasty and nutty. Remove from heat and cool completely before using. Store any extra in an airtight jar.
Can I freeze the mochi dough before assembling?
I don’t recommend it. The cooked mochi dough is best used immediately, while it’s still warm and pliable. Once cooled completely, it becomes much harder to stretch and shape. Make the dough, assemble the mochi right away, then refrigerate the finished products.
Why is there purple sweet potato powder in both the skin and the filling?
This creates a beautiful, cohesive color throughout the entire mochi. The skin gets its purple hue from the powder, and the taro filling gets an extra boost of color to ensure it looks as lovely as it tastes. It also adds a subtle, natural sweetness to both components.
No-Bake Purple Mochi Recipe (Soft for Days!)
Ingredients
Taro Filling
- 250 g taro steamed and drained, net weight
- 30 g white sugar
- 4 g purple sweet potato powder
- 90 g milk
Filling Cream
- 250 g heavy cream
- 25 g white sugar
Mochi Skin
- 100 g glutinous rice flour
- 30 g cornstarch
- 8 g purple sweet potato powder
- 35 g white sugar
- 170 g whole milk
- 20 g butter
- Cooked glutinous rice flour for dusting, as needed
Instructions
Make the Taro Filling
- Steam the taro until completely tender. Drain off any excess water thoroughly.
- Weigh out 250g of the steamed taro and place it in a mixing bowl.
- Add 30g white sugar, 4g purple sweet potato powder, and 90g milk.
- Mash everything together into a smooth, uniform paste.
- For an ultra-smooth, luxurious texture, pass the mashed taro through a fine-mesh sieve. Set aside.
Whip the Cream
- In a chilled mixing bowl, combine 250g heavy cream and 25g white sugar.
- Whip using an electric hand mixer or stand mixer with a whisk attachment until the cream reaches a thick, yogurt-like consistency.
- Transfer the whipped cream to a piping bag and set aside in the refrigerator.
Make the Mochi Skin
- In a mixing bowl, combine 100g glutinous rice flour, 30g cornstarch, 8g purple sweet potato powder, and 35g white sugar. Pour in 170g whole milk and stir until the batter is completely smooth and lump-free.
- Strain the batter through a fine-mesh sieve directly into a non-stick pan.
- Add 20g butter to the pan.
- Cook over low heat, stirring constantly with a spatula. The mixture will gradually thicken and come together.
- Continue cooking and stirring until the dough forms a solid ball that pulls away cleanly from the sides of the pan and no longer sticks to your spatula. This is crucial — undercooked dough will be sticky and will harden quickly.
- Transfer the cooked dough to a clean surface. Allow it to cool slightly until you can handle it comfortably.
- Knead and stretch the dough repeatedly — fold it, pull it, press it — until it becomes smooth, glossy, and highly elastic. This develops the gluten-like structure that keeps mochi soft and stretchy.
Assemble the Mochi
- Lightly dust your work surface, hands, and rolling pin with cooked glutinous rice flour.
- Pinch off a piece of mochi dough (about 30-40g per mochi, depending on your desired size).
- Roll the dough into a thin, flat disc, about 3-4 inches in diameter.
- Place the disc into a small bowl or dome-shaped mold, gently pressing it into the bottom and up the sides.
- Pipe a layer of whipped cream into the center of the mochi skin.
- Add a spoonful of the taro filling on top of the cream.
- Pipe another layer of whipped cream over the taro filling.
- Gather the edges of the mochi skin up and over the filling, pinching them together to seal. The bowl helps hold everything in place while you work.
- Pinch off and trim any excess dough at the seal to keep the bottom from becoming too thick.
- Dust the bottom of the finished mochi with a little more cooked glutinous rice flour to prevent sticking.
- Place the finished mochi into a paper liner.
- Repeat with the remaining dough and fillings.
Leave a Reply