
I love how this rainbow mousse transforms QQ candies into cute, colorful desserts. Each little mousse is smooth, refreshing, and melt-in-the-mouth. With no oven needed, it’s one of the easiest and most eye-catching recipes I can make.
Rainbow Mousse
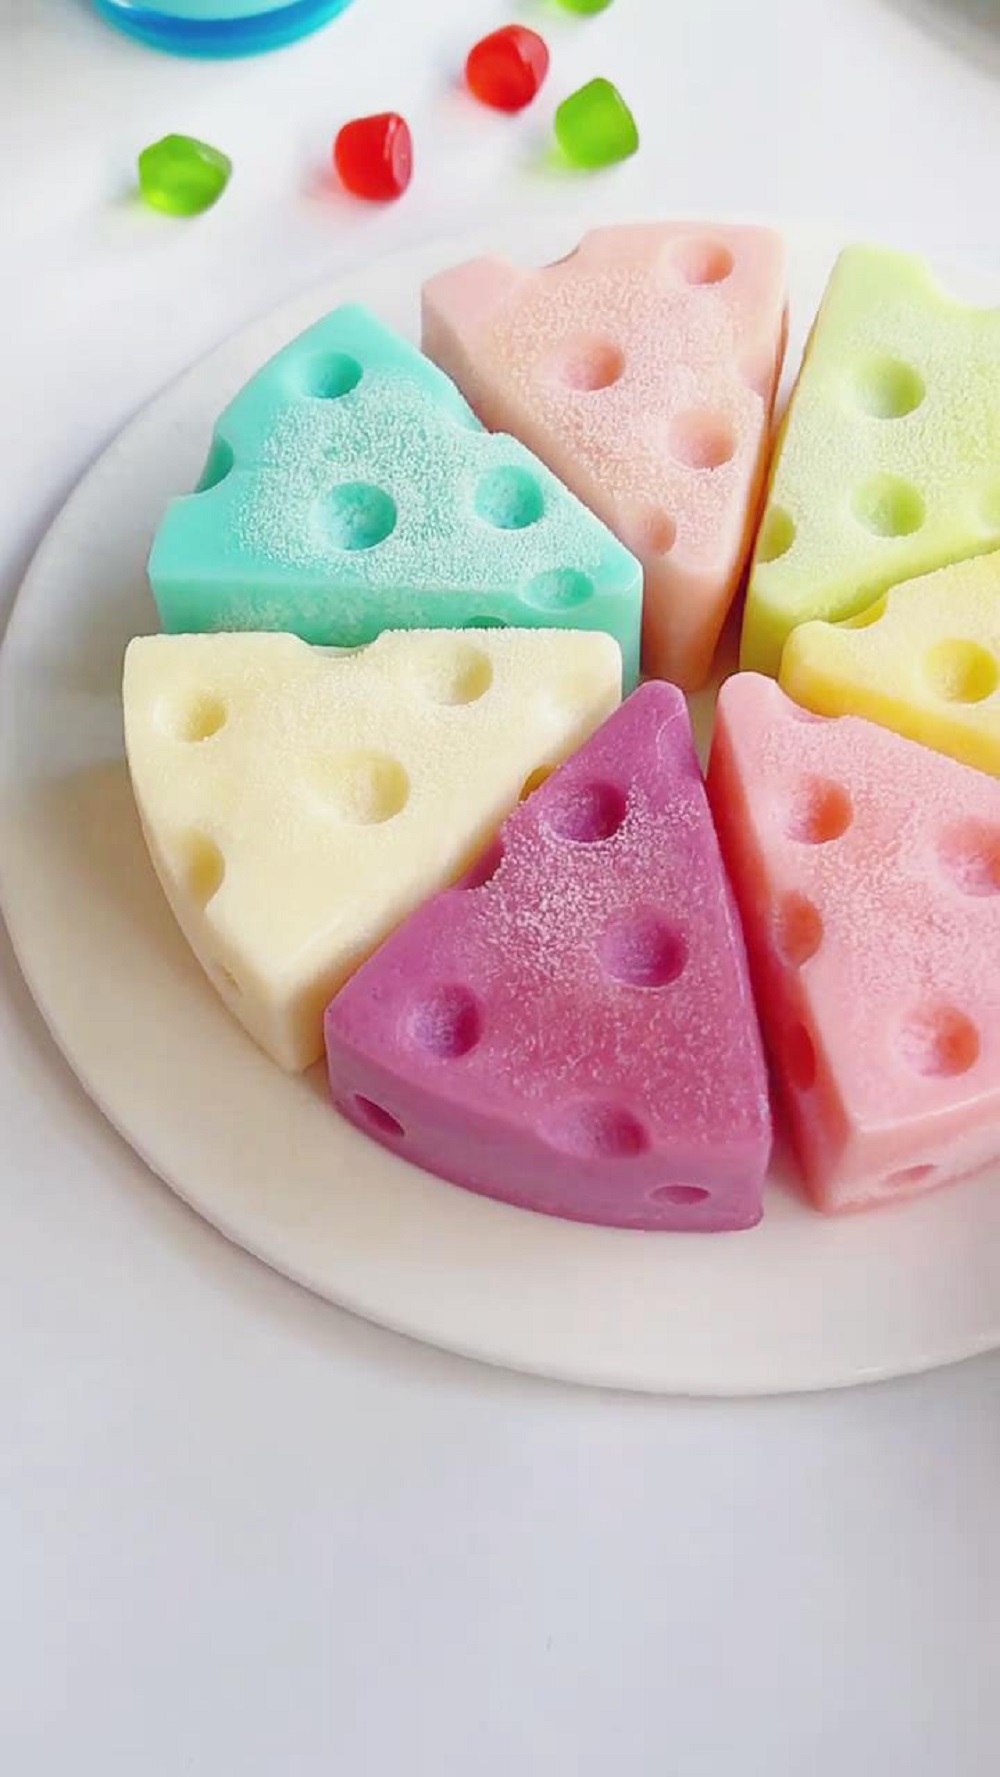
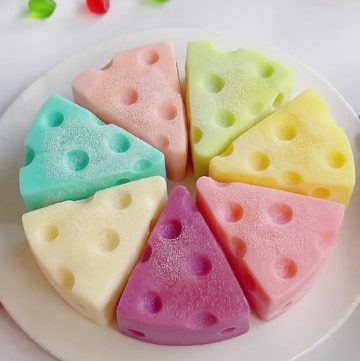
I call this recipe my “rainbow bites” because every cavity in the mold holds a different fruity mousse. Each piece is a burst of color and flavor—fun to make, beautiful to serve, and impossible not to love.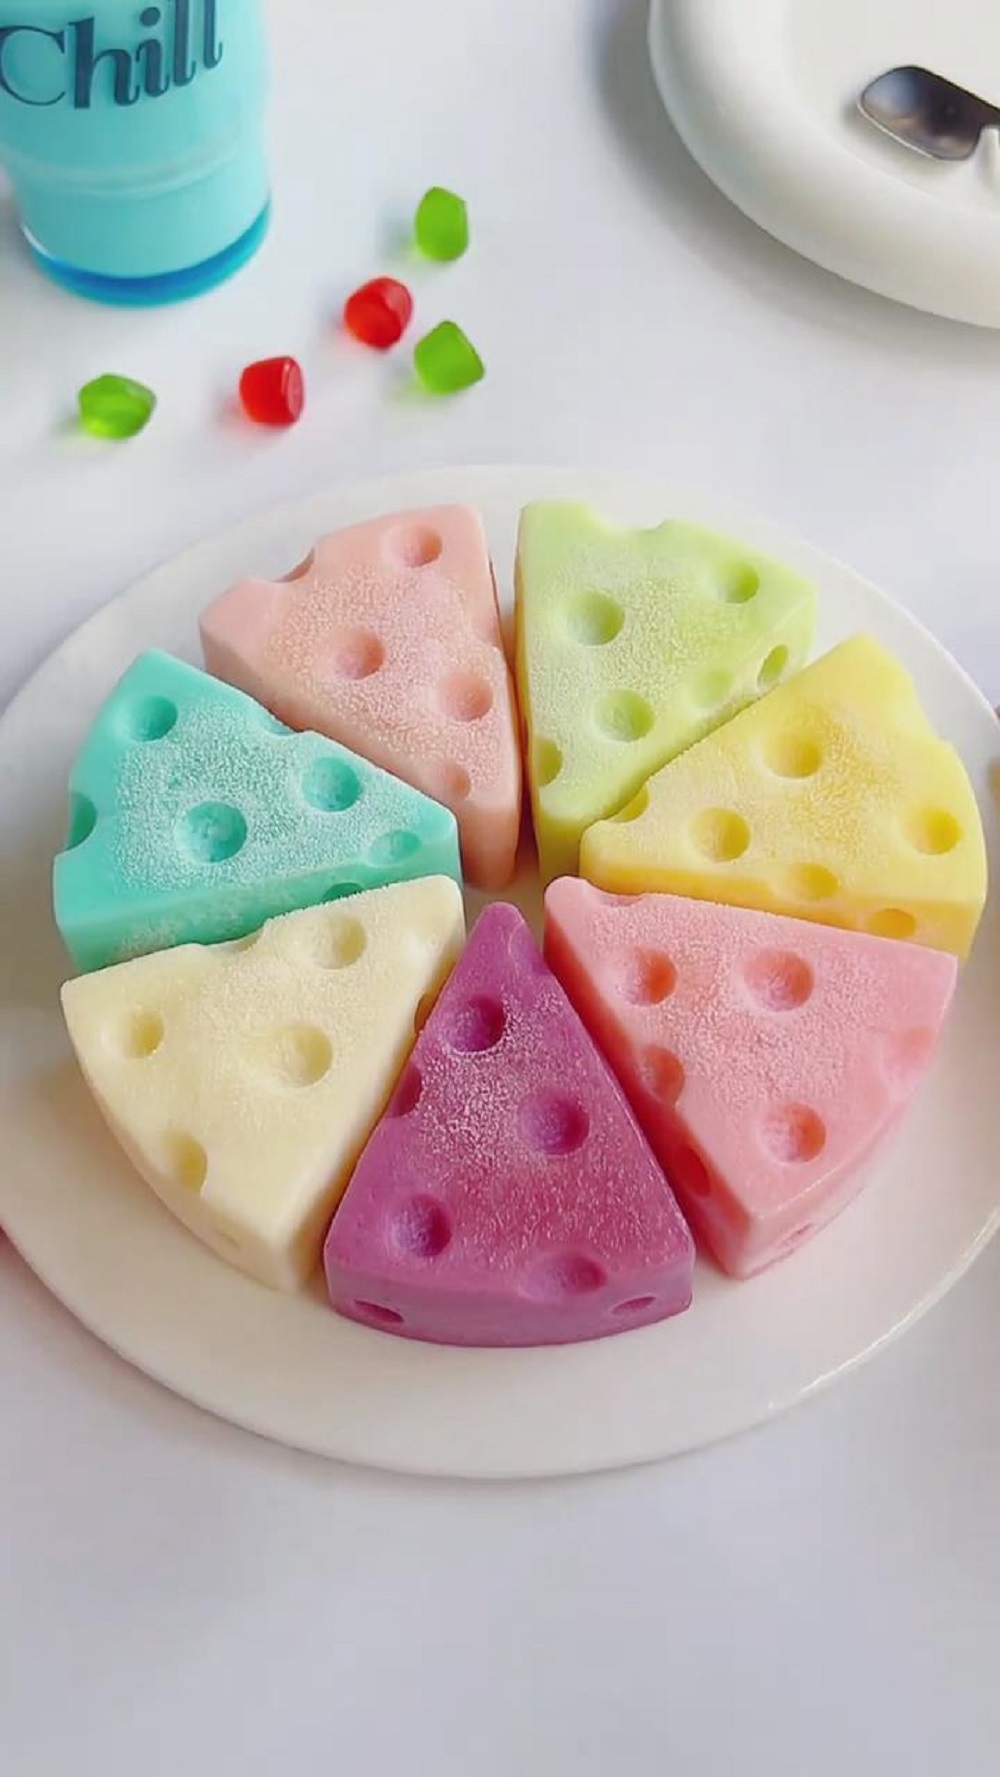
Why you‘ll love this recipe
- No oven required—only QQ candies and milk.
- Each cavity of the mold holds a different flavor, like a rainbow tray.
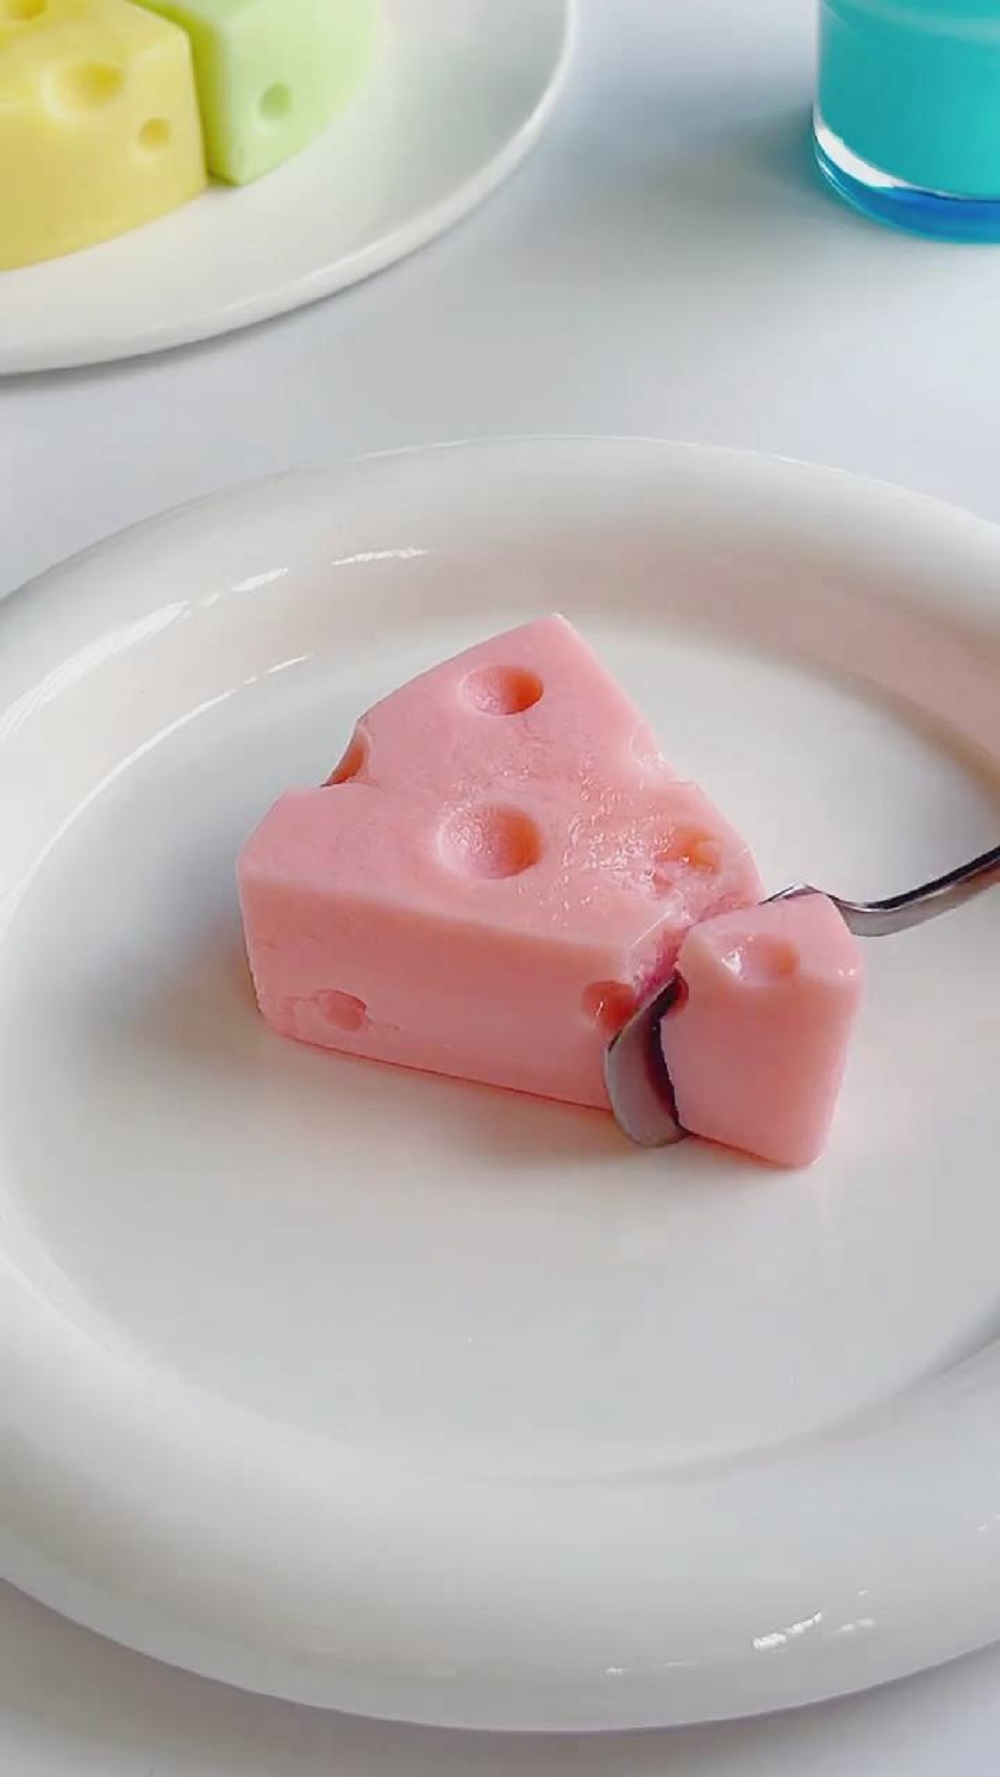
- Smooth, refreshing, and melt-in-your-mouth texture.
- Simple and fun to prepare, perfect for beginners or kids.
- Great for afternoon tea, birthday parties, or a colorful after-meal dessert.
Ingredients
Per cavity / per flavor
- 16 pieces QQ candy (choose flavors: strawberry, apple, lychee, mango, etc.)
- 100 g whole milk (substitute with coconut milk or light cream if desired)
Note: Use 16 QQ candies with 100 g milk for each flavor. Each mixture fills one or more cavities, depending on mold size. Prepare different flavors for a rainbow effect.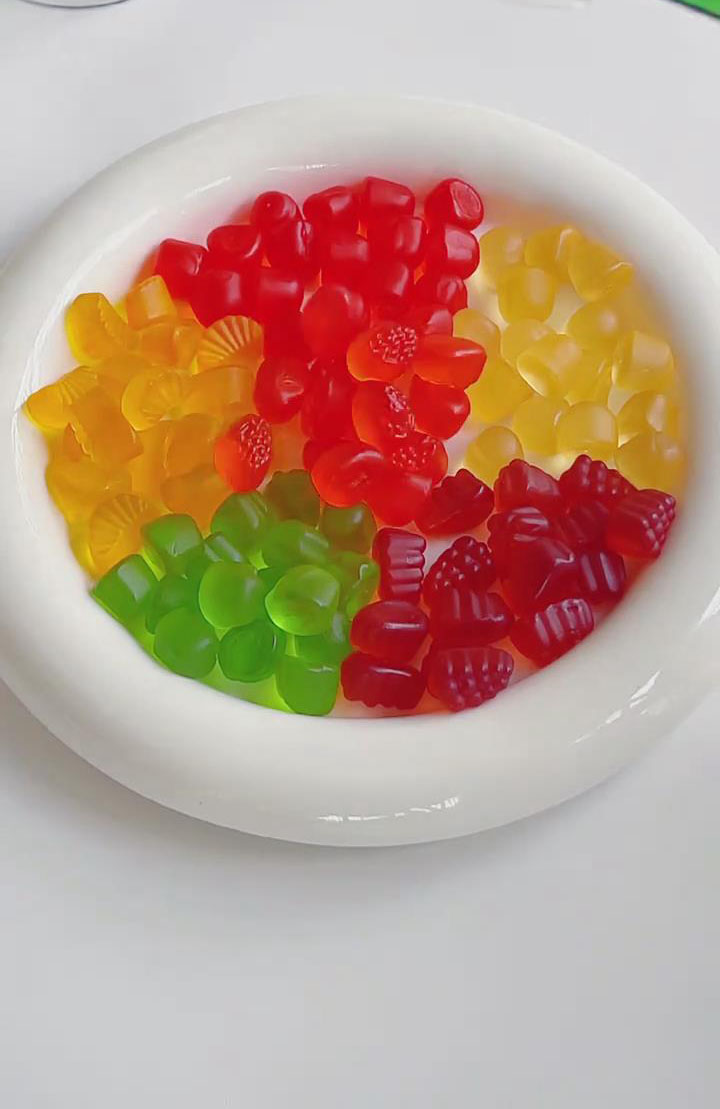
Instructions
Prepare the mold
Wash and dry the multi-hole mold thoroughly, making sure it’s oil-free.
If using a rigid glass mold, line the bottom with plastic wrap to help unmold later.
Melt the candies
Place 16 pieces of one QQ candy flavor into a small bowl.
Set the bowl in a pot of hot water (double boiler method). Stir until the candies melt completely. Avoid overheating.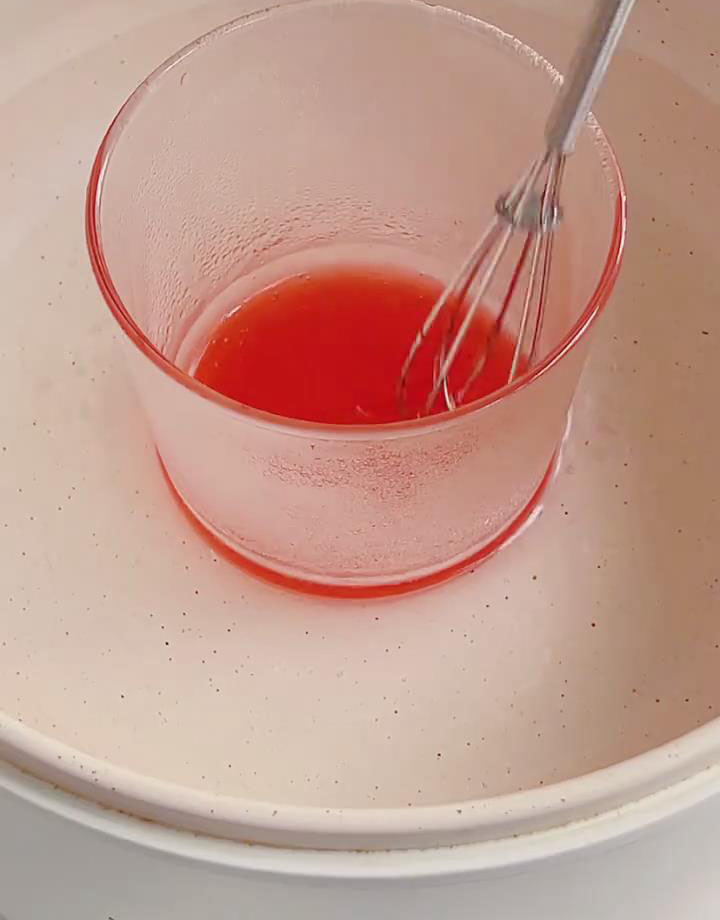
Mix with milk
Add 100 g milk to the melted candy. Stir until smooth and lump-free.
Fill the mold
Pour the candy–milk mixture into one or more holes of the mold.
Gently tap the mold to release any trapped air bubbles.
Repeat with other flavors
Prepare mixtures of other QQ candy flavors the same way.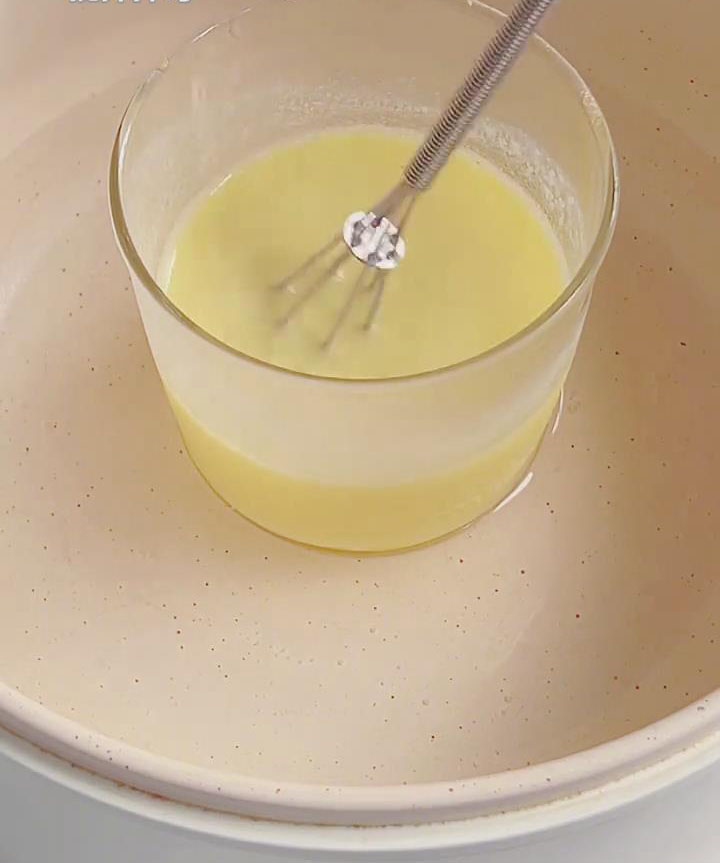
Fill the remaining holes of the mold with different colors.
Freeze
Place the filled mold in the freezer overnight (at least 8 hours) until the mousses are firm.
Unmold and serve
The next day, pop the mousses out of the mold.
For silicone molds, gently press from underneath. If stuck, briefly dip the mold in warm water to loosen.
Frequently Asked Questions
Q: Can I use one big mold instead of a multi-hole mold?
Yes! You can pour all the mixtures into a single mold. It will still set beautifully, but you’ll have one large mousse instead of many small ones.
Q: How long can I store these mousses?
Keep in the fridge and enjoy within 2–3 days. For longer storage, freeze them and thaw in the fridge before serving.
Q: What‘s the best mold shape to use?
Silicone molds with fun shapes (like hearts, flowers, or domes) make unmolding easier and add charm to the presentation.
Q: Do the flavors mix together?
No. Each cavity holds a single flavor, so every mousse piece tastes distinct—like a rainbow collection.
Rainbow Mousse Bites (No-Bake QQ Candy Dessert)
Ingredients
- 16 pieces QQ candy choose flavors: strawberry, apple, lychee, mango, etc.
- 100 g whole milk substitute with coconut milk or light cream if desired
Instructions
Prepare the mold
- Wash and dry the multi-hole mold thoroughly, making sure it's oil-free.
- If using a rigid glass mold, line the bottom with plastic wrap to help unmold later.
Melt the candies
- Place 16 pieces of one QQ candy flavor into a small bowl.
- Set the bowl in a pot of hot water (double boiler method). Stir until the candies melt completely. Avoid overheating.
Mix with milk
- Add 100 g milk to the melted candy. Stir until smooth and lump-free.
Fill the mold
- Pour the candy–milk mixture into one or more holes of the mold.
- Gently tap the mold to release any trapped air bubbles.
Repeat with other flavors
- Prepare mixtures of other QQ candy flavors the same way.
- Fill the remaining holes of the mold with different colors.
Freeze
- Place the filled mold in the freezer overnight (at least 8 hours) until the mousses are firm.
Unmold and serve
- The next day, pop the mousses out of the mold.
- For silicone molds, gently press from underneath. If stuck, briefly dip the mold in warm water to loosen.
Leave a Reply