
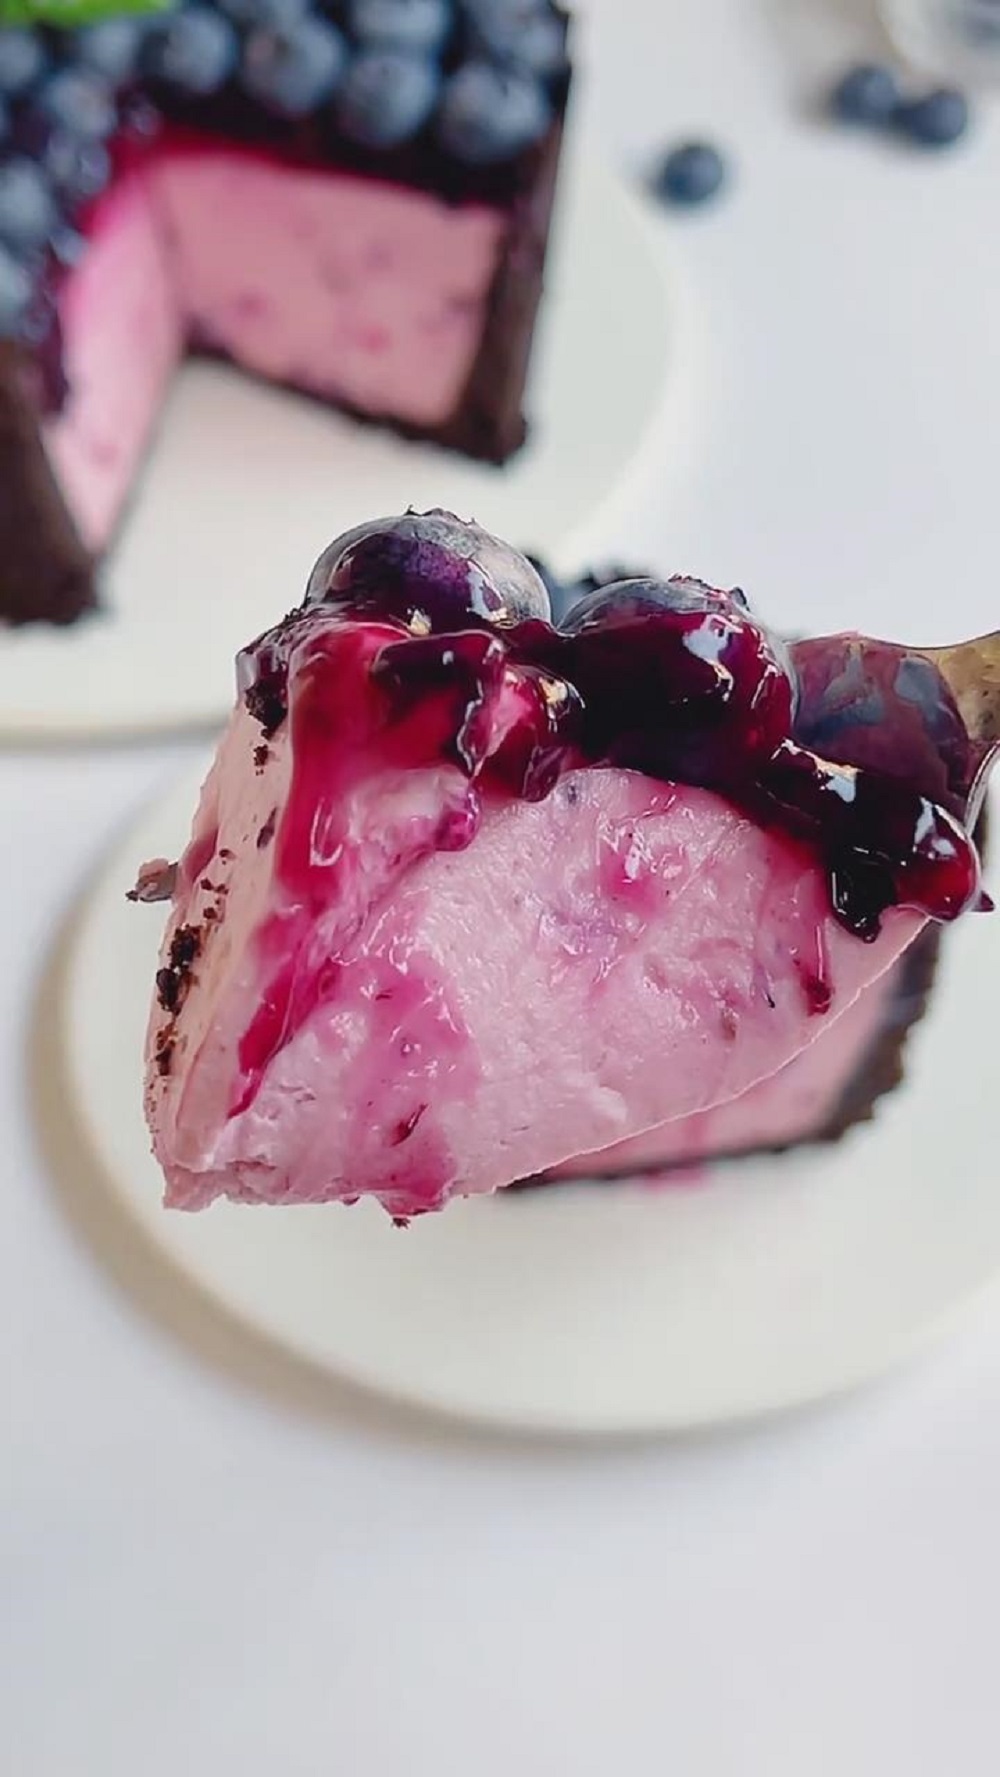
I absolutely crave this no-bake dessert! It’s incredibly easy to make, looks stunningly elegant, and delivers the most creamy, dreamy blueberry cheesecake flavor in every single bite.
My No-Bake Blueberry Cheesecake Mousse
I’ve layered a crunchy Oreo crust with a luxuriously smooth and tangy blueberry cheesecake mousse to create a dessert that feels both indulgent and refreshing. This recipe is my foolproof method for a guaranteed crowd-pleaser that requires zero oven time.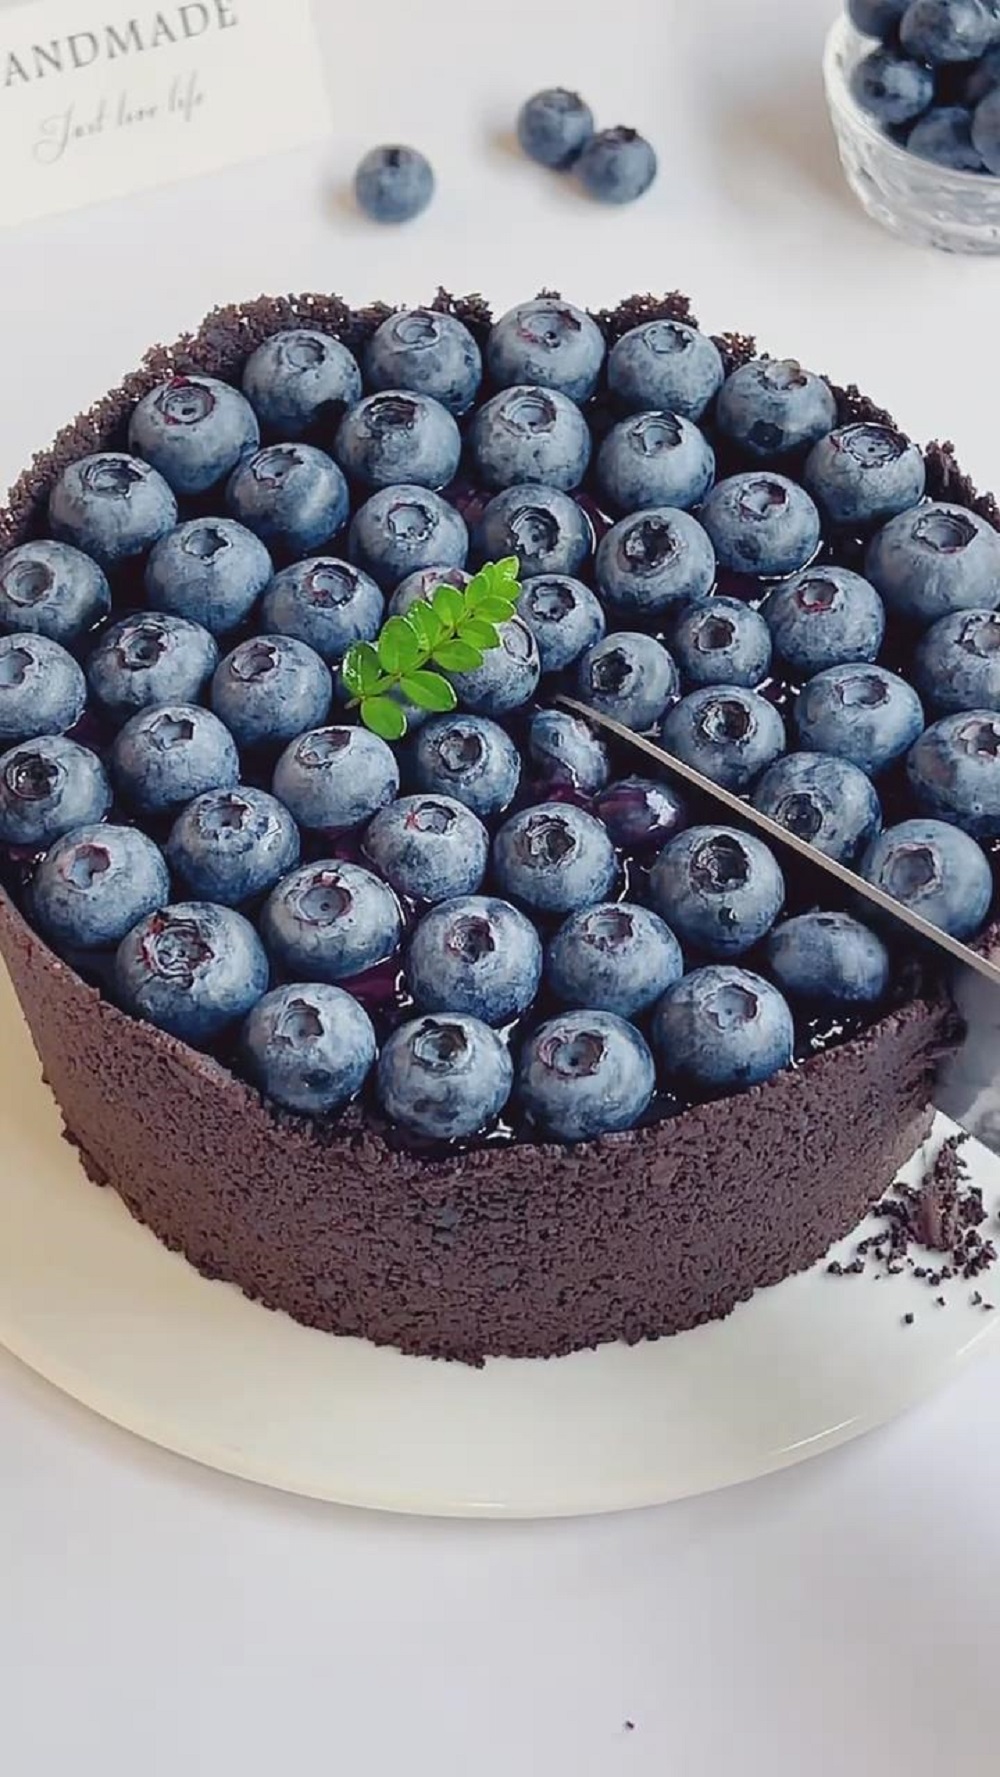

Why you’ll love this recipe:
- No Baking Required: Perfect for hot days or when you don’t want to turn on the oven. It’s all done in the fridge!
- Incredibly Smooth Texture: The key steps ensure a velvety, lump-free mousse that simply melts in your mouth.
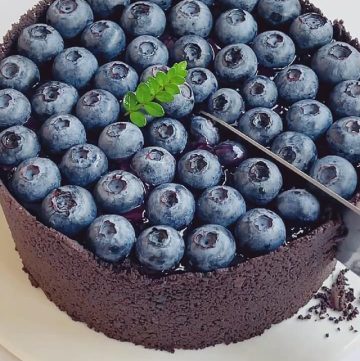
- Stunning Presentation: With its deep purple hue and fresh berry topping, this dessert looks professionally made and is perfect for special occasions.
- Make-Ahead Dream: You can (and should!) make this a day ahead, making it the ultimate stress-free dessert for entertaining.
Ingredients:
Mousse Base
- 150g Oreo cookies (remove cream filling; or use Oreo crumbs)
- 70g unsalted butter (melted, keep warm over water if it solidifies)
Mousse Layer
- 250g cream cheese (plain, softened at room temperature until easily pressed)
- 20g granulated sugar (adjust to 30g for sweeter taste)
- 150g heavy cream (preferably dairy-based, no need to whip beforehand)
- 100g blueberry jam (seedless for a smoother texture; store-bought or homemade)
- 10g gelatin sheets (soak in cold water for 5 minutes, squeeze out excess water)
- 50g hot milk (about 50–60℃, enough to dissolve gelatin, not boiling)
Decoration
- 15–20 fresh blueberries (firm, plump, and intact)
- 20–30g extra blueberry jam (for topping after unmolding)
Instructions:
Step 1: Make the Oreo Base (10 min + 10 min chill)
Prepare Oreos: If using whole Oreos, separate the cookies and scrape off the white filling with a knife or your finger (the filling can be saved for other desserts). Keep only the black cookie parts. Place the black cookies in a food processor and blend into fine crumbs. (Alternatively, place cookies in a sealed bag and crush thoroughly with a rolling pin until no large pieces remain).
Mix Butter & Crumbs: Place 70g of unsalted butter in a small bowl and melt completely by heating over a double boiler (or microwave on medium-high for 20-30 seconds). Pour the melted butter into the Oreo crumbs. Quickly mix with a silicone spatula until every crumb is evenly coated with butter (The mixture should hold together when pressed but crumble easily).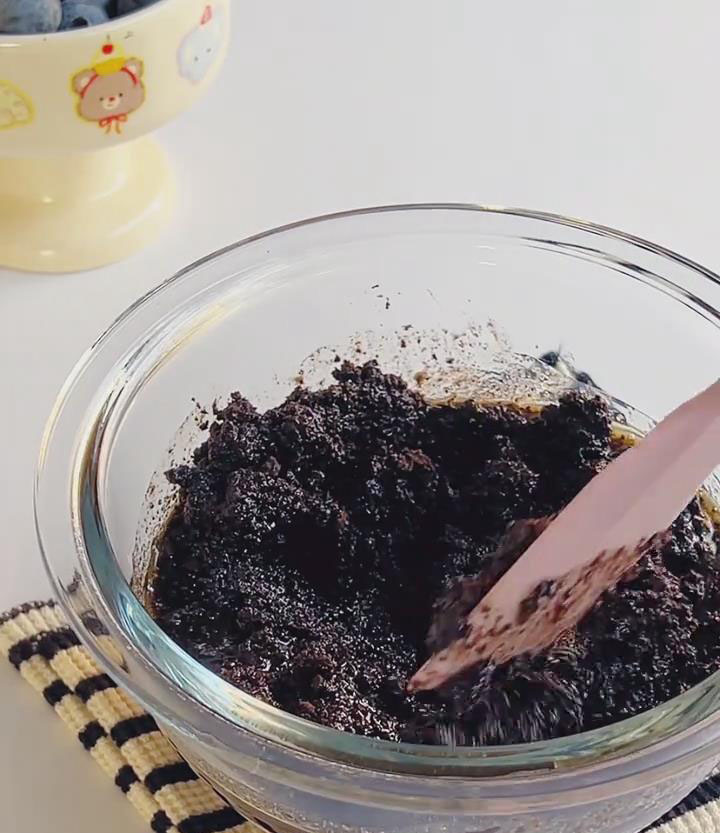
Press into Mold: Transfer the buttered crumbs into a 6-inch springform pan. Use the flat bottom of a measuring cup, glass, or spatula to press the crumbs firmly and evenly into the bottom of the pan (Pay special attention to the edges to prevent crumbling later). Place the pan in the refrigerator to chill while you prepare the mousse layer.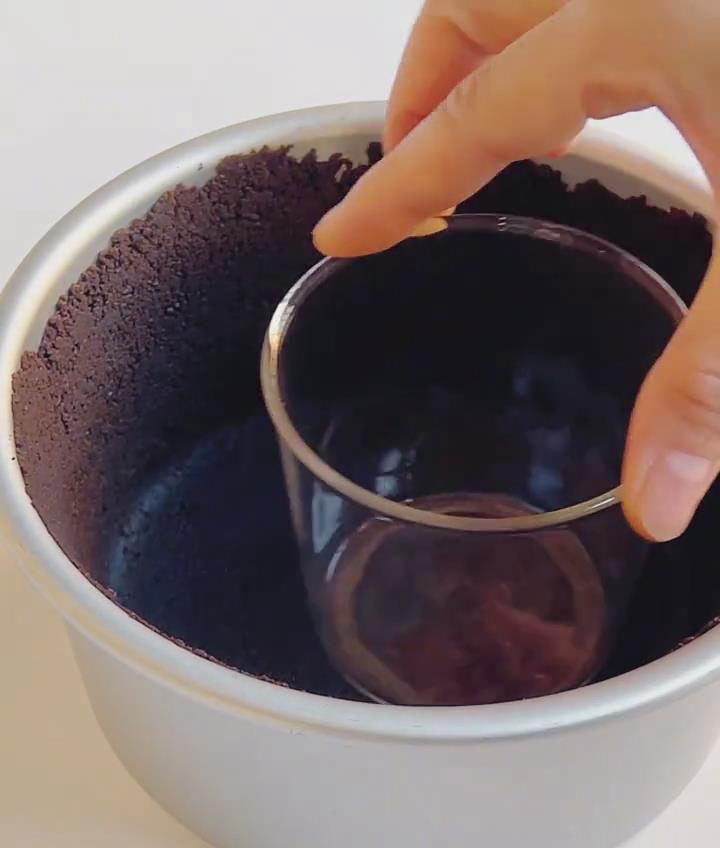
Step 2: Prepare the Blueberry Cheesecake Mousse (20 min)
Soften Cream Cheese: Place the 250g of softened cream cheese in a large bowl. Add 20g of fine sugar and mix with a spatula until the cheese is smooth and free of lumps (If small lumps remain, place the bowl over warm water ~40°C / 104°F and stir to help melt them).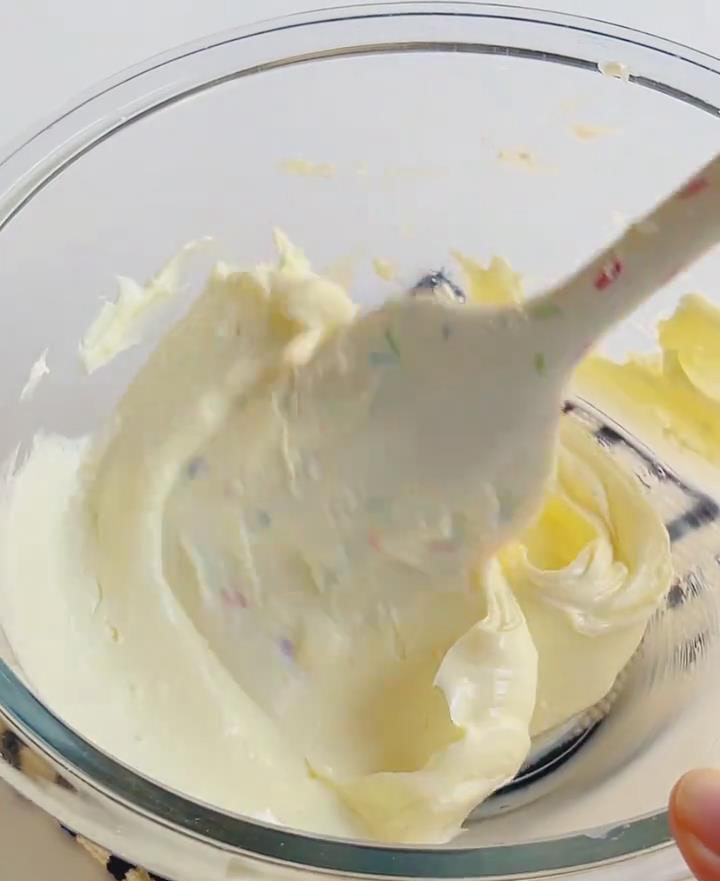
Combine Base Ingredients: Add 150g of heavy cream and 100g of blueberry jam to the cream cheese mixture. Continue stirring for about 30 seconds until the jam is evenly distributed (The mixture will turn light purple and smell like blueberries).
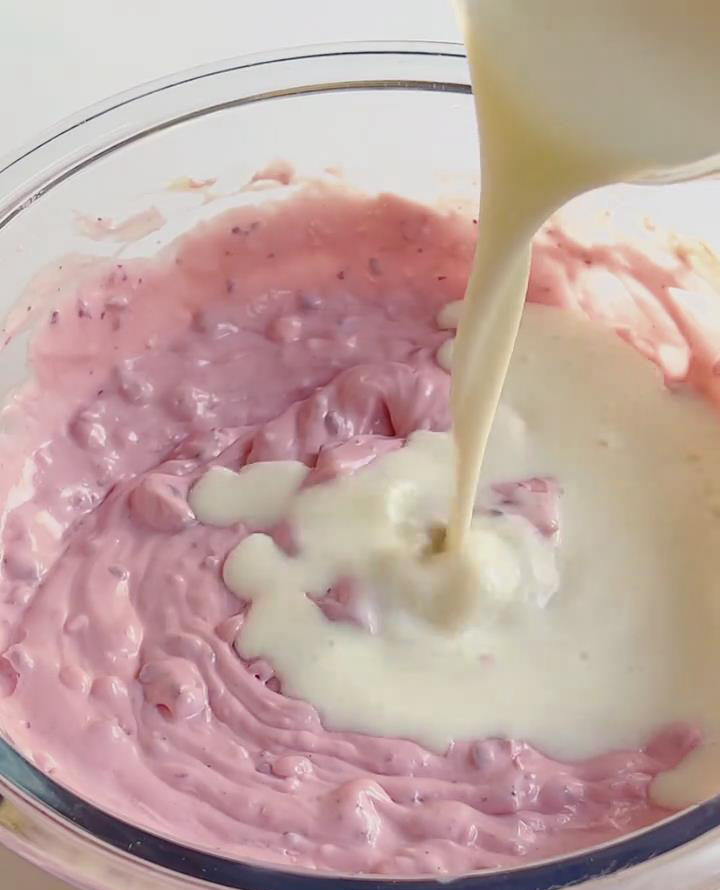
Add Gelatin: Pour 50g of milk into a small bowl. Heat in the microwave for 30 seconds (or over warm water) until warm (the bowl should feel warm, not hot, to the touch). Add the softened, squeezed-dry gelatin sheets. Stir quickly with a spoon or chopsticks until the gelatin is completely dissolved (no transparent bits remaining). Slowly pour the gelatin-milk liquid into the blueberry cheese mixture while stirring constantly. Ensure it is fully incorporated to prevent the gelatin from cooling and clumping in one spot, which would affect the texture.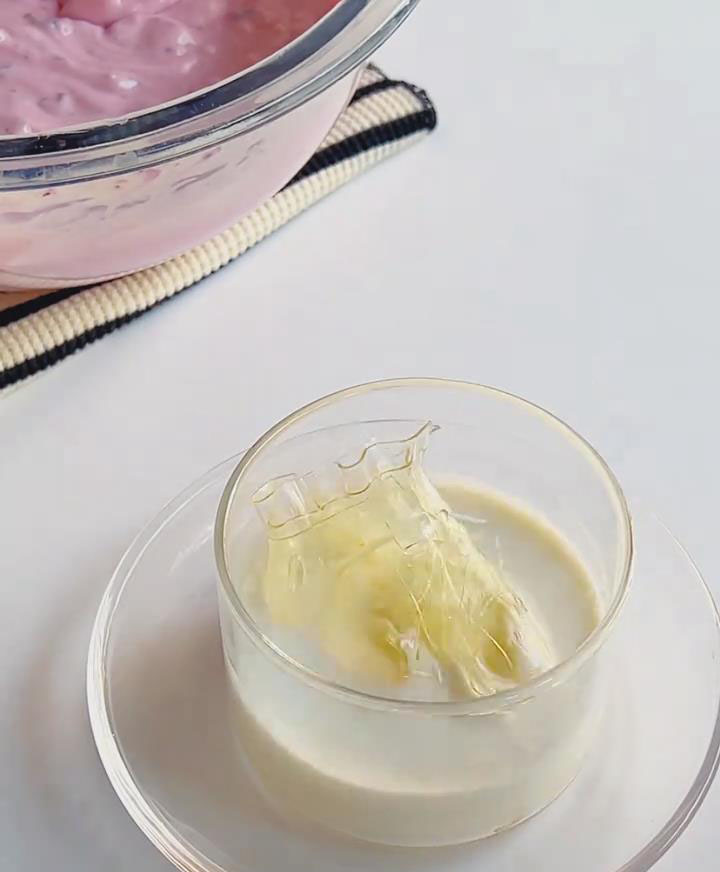
Strain for Smoothness (Optional): For an ultra-smooth mousse texture, strain the prepared mousse mixture through a fine-mesh sieve to remove any potential leftover cheese lumps or berry seeds. This step is optional and does not affect the overall flavor.
Step 3: Assemble and Chill (5 min + at least 4 hours chill)
Pour Mousse: Take the chilled Oreo base out of the refrigerator. Slowly pour the prepared (and optionally strained) mousse mixture into the pan. Lift the pan and gently tap it vertically on the counter 3-5 times to release any air bubbles trapped in the mousse (bubbles can affect the final appearance).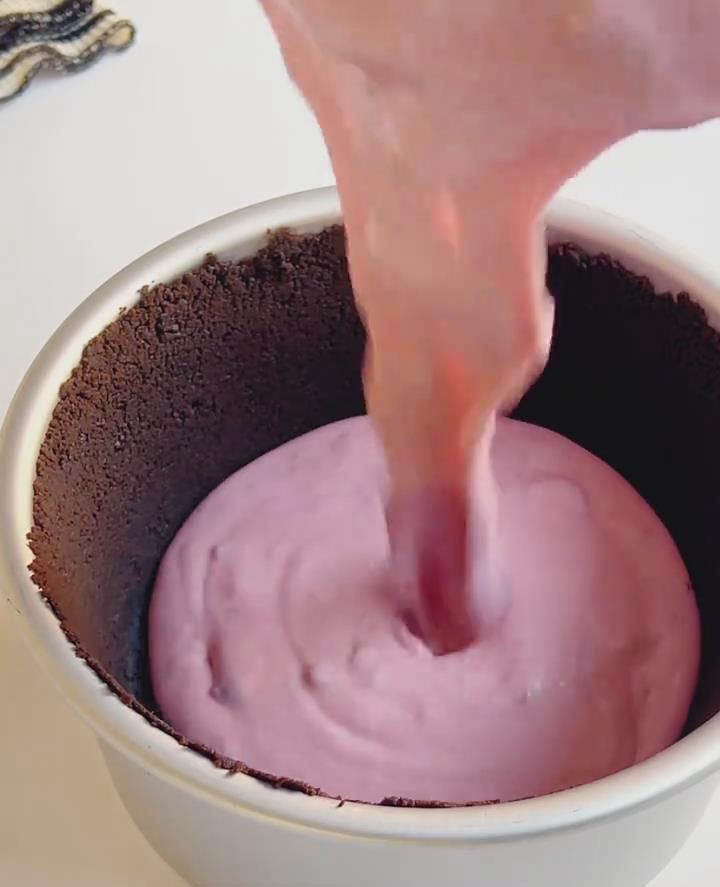
Chill to Set: Place the pan in the refrigerator (set to 2-4°C / 36-39°F). Let it chill for at least 4 hours (overnight is ideal for a firmer set and easier, cleaner unmolding). Avoid frequently opening the refrigerator door during this time to prevent temperature fluctuations that could cause uneven setting.
Step 4: Unmold and Decorate
Unmold: Once fully set, remove the pan from the refrigerator. Wrap a hot towel (wrung out well) around the outside of the pan for 10-15 seconds (the heat helps slightly expand the metal, loosening the mousse from the edges for easier release). If using a springform pan, simply release the clasp and gently lift the ring. If using a solid pan, carefully run a thin knife around the edge before inverting onto a serving plate.
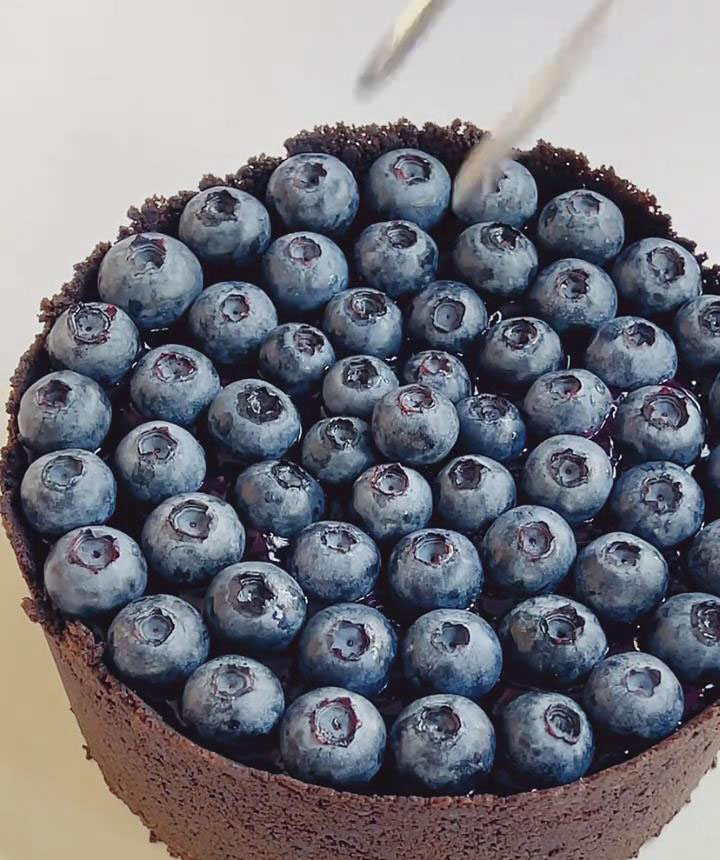
Decorate: Use a spatula to evenly spread the additional 20-30g of blueberry jam over the top surface of the mousse. Rinse the fresh blueberries and pat them completely dry. Arrange them on top of the mousse as desired (in a circle, line, or pattern). You can also add mint leaves for a fresh touch.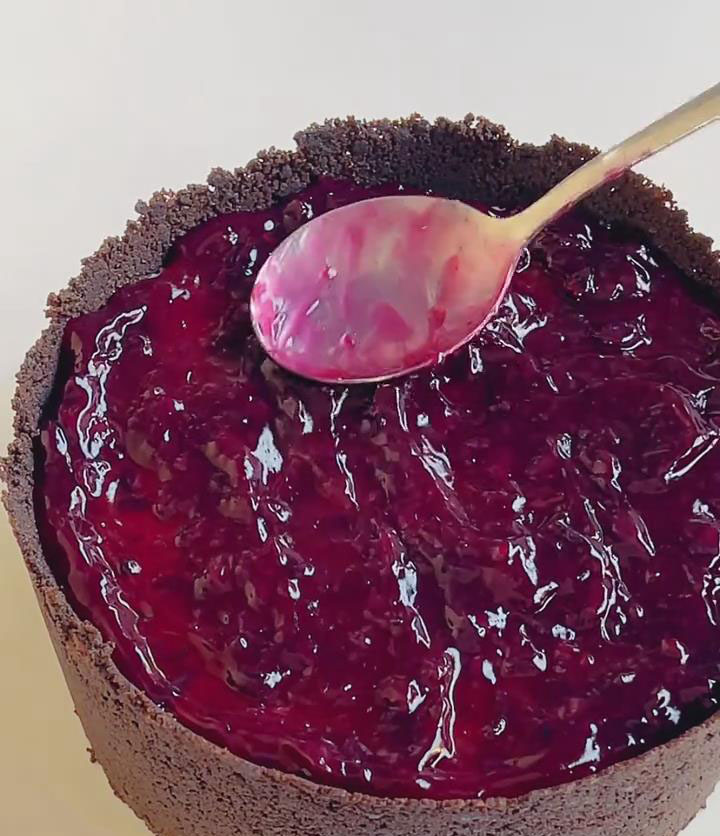
Notes:
Softened Cream Cheese is Key: If the cream cheese isn’t properly softened, it will be lumpy when mixed, ruining the mousse’s smooth texture. Plan to take it out of the fridge 1-2 hours ahead, or microwave on low power for very short bursts (10 seconds) if necessary, being careful not to melt it.
Gelatin Handling: Gelatin sheets must be softened in cold water (hot water will make them clump). After softening, squeeze them well before adding to the warm liquid. The temperature of the gelatin liquid should not be too high when added to the cheese mixture. If it’s above 70°C (158°F), it could cause the cream cheese to curdle. Let it cool to just warm before mixing in.
Unmolding Tips: Besides the hot towel method, you can also dip the bottom and sides of the pan in warm water (water level should not reach the top edge!) for 2-3 seconds to help release the mousse. Handle gently to avoid distorting the shape.
Storage: The finished mousse must be covered (e.g., with plastic wrap directly on the surface or in an airtight container) and stored in the refrigerator. It is best consumed within 2-3 days. For longer storage, freeze it (lasts about 1 week) and transfer it to the refrigerator to thaw for about 1 hour before serving.
Flavor Variations: For a stronger blueberry flavor, add 5-10g of blueberry powder to the mousse mixture. You can also mix a small amount of crushed nuts (like almonds or walnuts) into the Oreo base for added crunch. For decoration, a dusting of freeze-dried berry powder or a light sprinkle of powdered sugar can enhance the visual appeal.
Frequently Asked Questions
Q: Can I use gelatin powder instead of sheets?
A: Yes. The conversion is typically 1 sheet of gelatin = about 1 teaspoon (3g) of powdered gelatin. Bloom the powdered gelatin in 2-3 tablespoons of cold water until it becomes a solid gel, then proceed to melt it in the warm milk as directed.
Q: My mousse didn’t set firmly. What went wrong?
A: The most common reasons are: 1) The gelatin wasn’t fully dissolved before adding it. 2) The mousse wasn’t chilled long enough (4 hours is the minimum, overnight is best). 3) The gelatin measurement was inaccurate.
Q: Can I use a different type of jam?
A: Absolutely! This recipe works wonderfully with seedless raspberry, strawberry, or blackberry jam. Just ensure it’s seedless for the smoothest texture.
Easy Blueberry Cream Cheese Mousse Dessert
Ingredients
- Mousse Base
- 150 g Oreo cookies remove cream filling; or use Oreo crumbs
- 70 g unsalted butter melted, keep warm over water if it solidifies
- Mousse Layer
- 250 g cream cheese plain, softened at room temperature until easily pressed
- 20 g granulated sugar adjust to 30g for sweeter taste
- 150 g heavy cream preferably dairy-based, no need to whip beforehand
- 100 g blueberry jam seedless for a smoother texture; store-bought or homemade
- 10 g gelatin sheets soak in cold water for 5 minutes, squeeze out excess water
- 50 g hot milk about 50–60℃, enough to dissolve gelatin, not boiling
- Decoration
- 15 –20 fresh blueberries firm, plump, and intact
- 20 –30g extra blueberry jam for topping after unmolding
Instructions
Step 1: Make the Oreo Base (10 min + 10 min chill)
- Prepare Oreos: If using whole Oreos, separate the cookies and scrape off the white filling with a knife or your finger (the filling can be saved for other desserts). Keep only the black cookie parts. Place the black cookies in a food processor and blend into fine crumbs. (Alternatively, place cookies in a sealed bag and crush thoroughly with a rolling pin until no large pieces remain).
- Mix Butter & Crumbs: Place 70g of unsalted butter in a small bowl and melt completely by heating over a double boiler (or microwave on medium-high for 20-30 seconds). Pour the melted butter into the Oreo crumbs. Quickly mix with a silicone spatula until every crumb is evenly coated with butter (The mixture should hold together when pressed but crumble easily).
- Press into Mold: Transfer the buttered crumbs into a 6-inch springform pan. Use the flat bottom of a measuring cup, glass, or spatula to press the crumbs firmly and evenly into the bottom of the pan (Pay special attention to the edges to prevent crumbling later). Place the pan in the refrigerator to chill while you prepare the mousse layer.
Step 2: Prepare the Blueberry Cheesecake Mousse (20 min)
- Soften Cream Cheese: Place the 250g of softened cream cheese in a large bowl. Add 20g of fine sugar and mix with a spatula until the cheese is smooth and free of lumps (If small lumps remain, place the bowl over warm water ~40°C / 104°F and stir to help melt them).
- Combine Base Ingredients: Add 150g of heavy cream and 100g of blueberry jam to the cream cheese mixture. Continue stirring for about 30 seconds until the jam is evenly distributed (The mixture will turn light purple and smell like blueberries).
- Add Gelatin: Pour 50g of milk into a small bowl. Heat in the microwave for 30 seconds (or over warm water) until warm (the bowl should feel warm, not hot, to the touch). Add the softened, squeezed-dry gelatin sheets. Stir quickly with a spoon or chopsticks until the gelatin is completely dissolved (no transparent bits remaining). Slowly pour the gelatin-milk liquid into the blueberry cheese mixture while stirring constantly. Ensure it is fully incorporated to prevent the gelatin from cooling and clumping in one spot, which would affect the texture.
- Strain for Smoothness (Optional): For an ultra-smooth mousse texture, strain the prepared mousse mixture through a fine-mesh sieve to remove any potential leftover cheese lumps or berry seeds. This step is optional and does not affect the overall flavor.
Step 3: Assemble and Chill (5 min + at least 4 hours chill)
- Pour Mousse: Take the chilled Oreo base out of the refrigerator. Slowly pour the prepared (and optionally strained) mousse mixture into the pan. Lift the pan and gently tap it vertically on the counter 3-5 times to release any air bubbles trapped in the mousse (bubbles can affect the final appearance).
- Chill to Set: Place the pan in the refrigerator (set to 2-4°C / 36-39°F). Let it chill for at least 4 hours (overnight is ideal for a firmer set and easier, cleaner unmolding). Avoid frequently opening the refrigerator door during this time to prevent temperature fluctuations that could cause uneven setting.
Step 4: Unmold and Decorate
- Unmold: Once fully set, remove the pan from the refrigerator. Wrap a hot towel (wrung out well) around the outside of the pan for 10-15 seconds (the heat helps slightly expand the metal, loosening the mousse from the edges for easier release). If using a springform pan, simply release the clasp and gently lift the ring. If using a solid pan, carefully run a thin knife around the edge before inverting onto a serving plate.
- Decorate: Use a spatula to evenly spread the additional 20-30g of blueberry jam over the top surface of the mousse. Rinse the fresh blueberries and pat them completely dry. Arrange them on top of the mousse as desired (in a circle, line, or pattern). You can also add mint leaves for a fresh touch.
Leave a Reply