
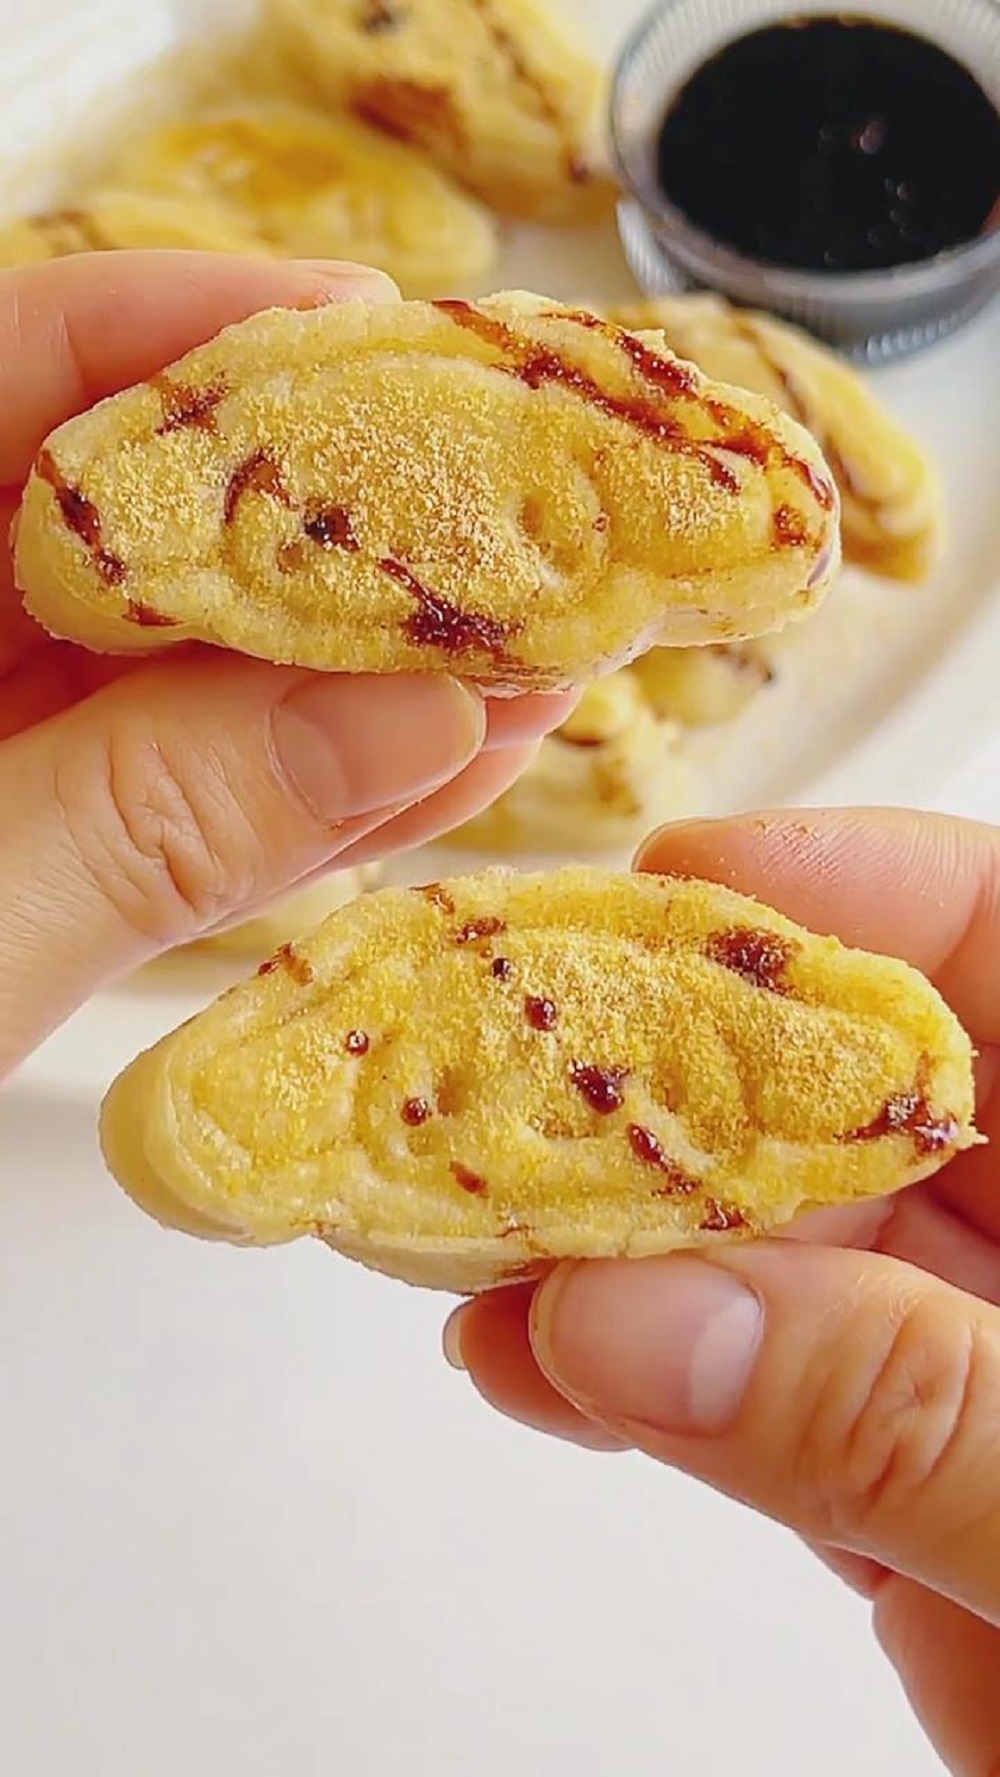
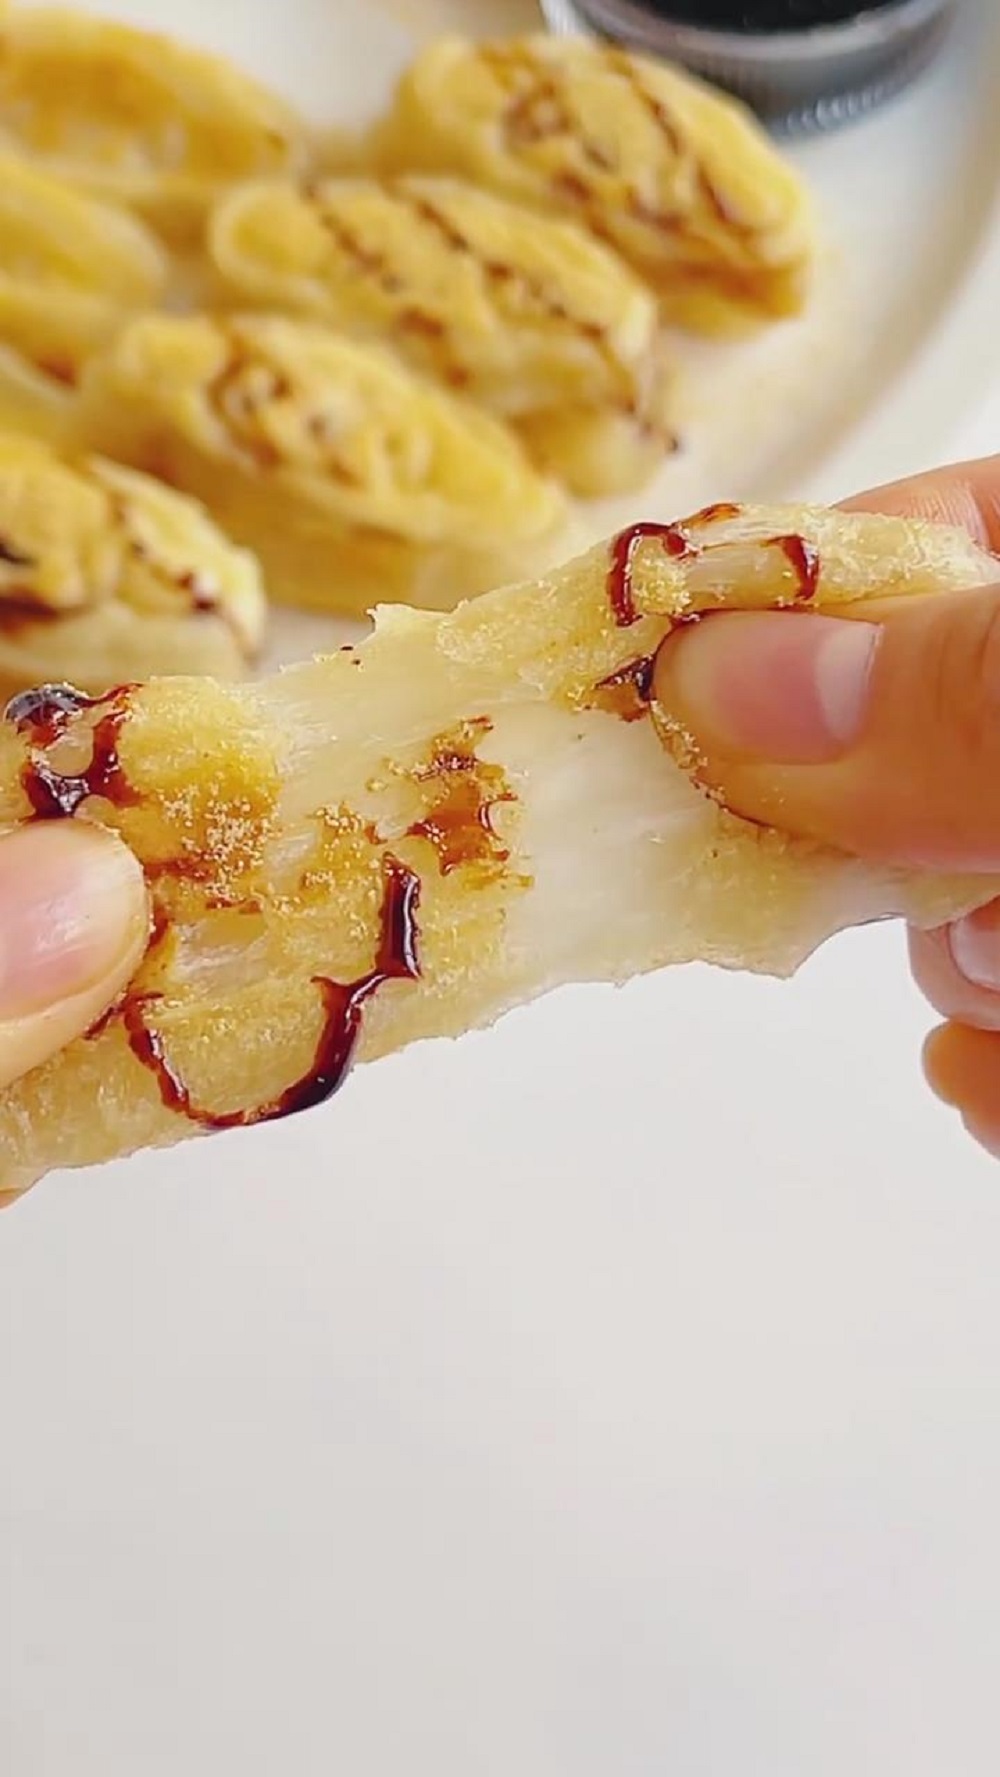
I love making this Glutinous Rice Cake because it’s soft, chewy, and perfectly sweet with a golden crispy outside. Every bite melts in my mouth, and the roasted soybean flour with rich brown sugar syrup makes it irresistible.
Homemade Glutinous Rice Cake (Cí Bā)
When I make this recipe, I always enjoy the process of kneading the dough, shaping it, and watching the cakes turn golden in the pan. The roasted soybean flour and brown sugar syrup take this traditional treat to another level of flavor.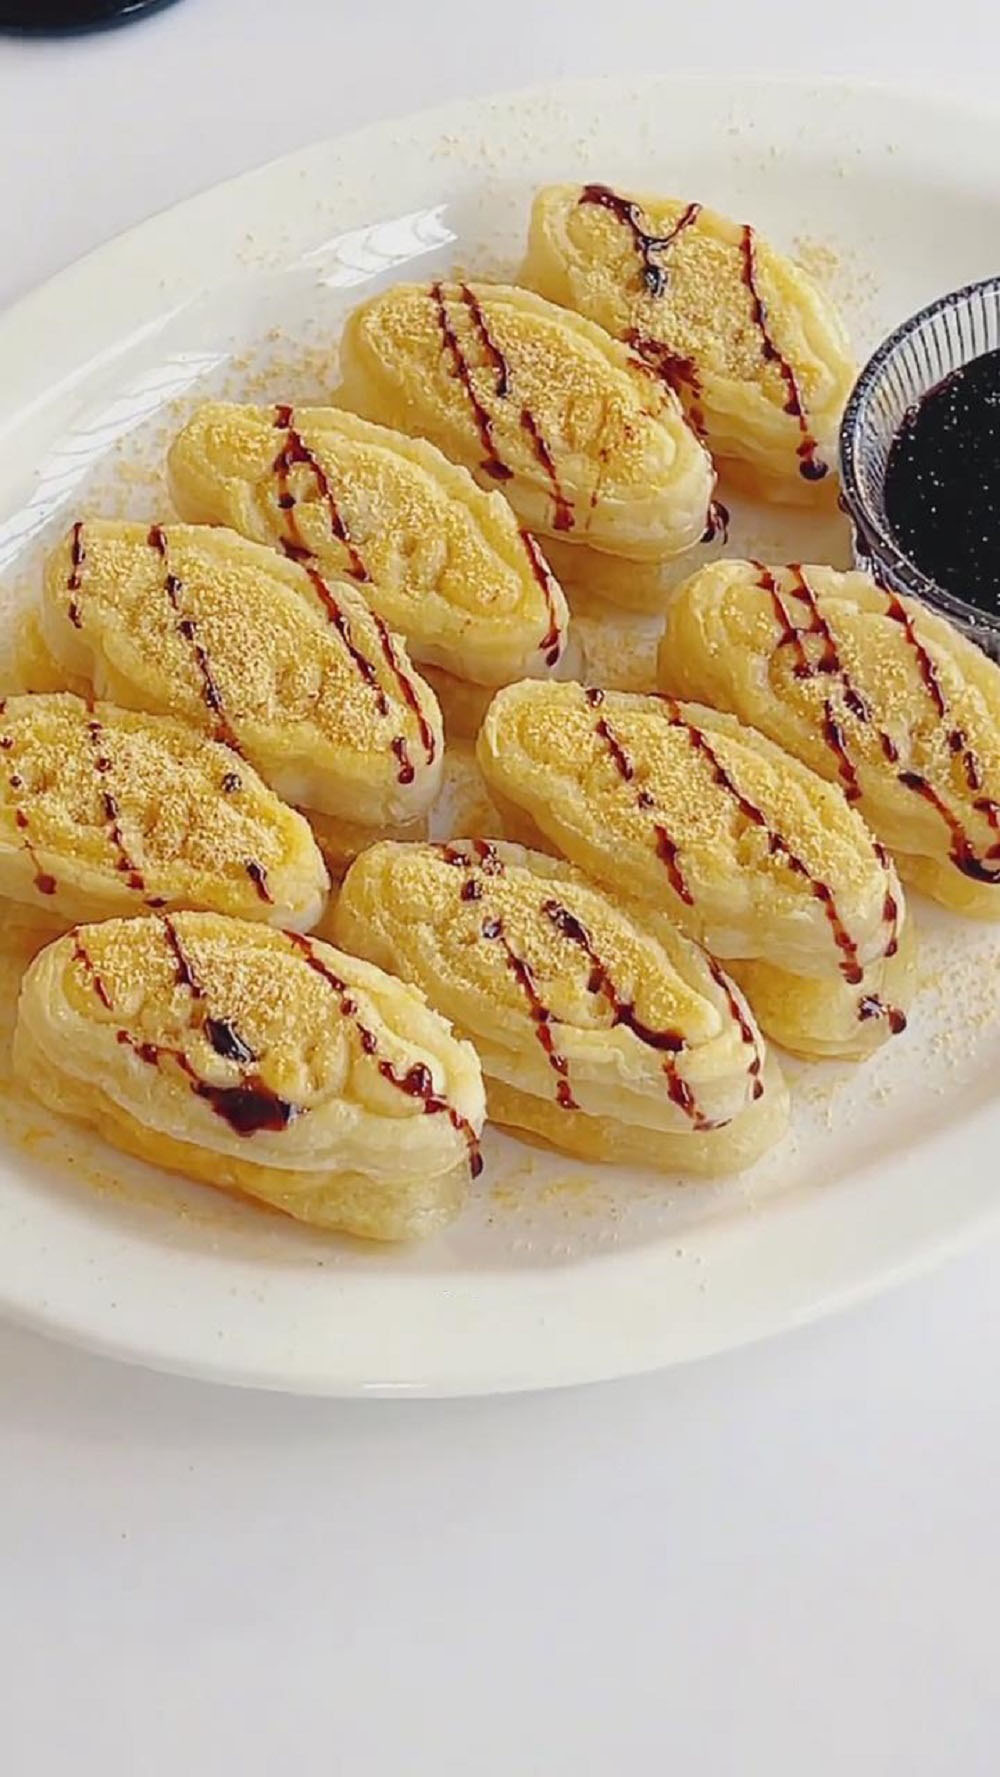
Why You’ll Love This Recipe
- Soft, chewy, and comforting texture.
- Perfect balance of sweetness from sugar and syrup.
- Easy to shape into cute molds or simple rounds.
- Crispy outside, soft inside — the best of both worlds.
- A traditional treat that feels both nostalgic and fun.
Ingredients
For the Dough
- 230g glutinous rice flour – choose pure glutinous rice flour (not mixed) for soft, chewy texture; water-milled flour is even better.
- 30g granulated sugar – adjust to taste: 40g for sweeter, 20g for less sweet.
- 160g boiling water – must be freshly boiled; helps gelatinize the flour, making dough smooth and crack-free.
For Flavor & Topping
- 50g roasted soybean flour – use pre-roasted, or dry-roast raw flour in a pan 5–8 minutes until golden and fragrant.
- 40g brown sugar – block sugar or brown sugar powder; block sugar gives richer syrup.
- 30ml water – for simmering with brown sugar to make syrup.
Instructions
Step 1: Knead the Dough (10 minutes)
Mix 230g glutinous rice flour with 30g sugar in a large bowl. Stir well.
Slowly pour in 160g boiling water while stirring quickly with chopsticks. Mix until no dry spots remain.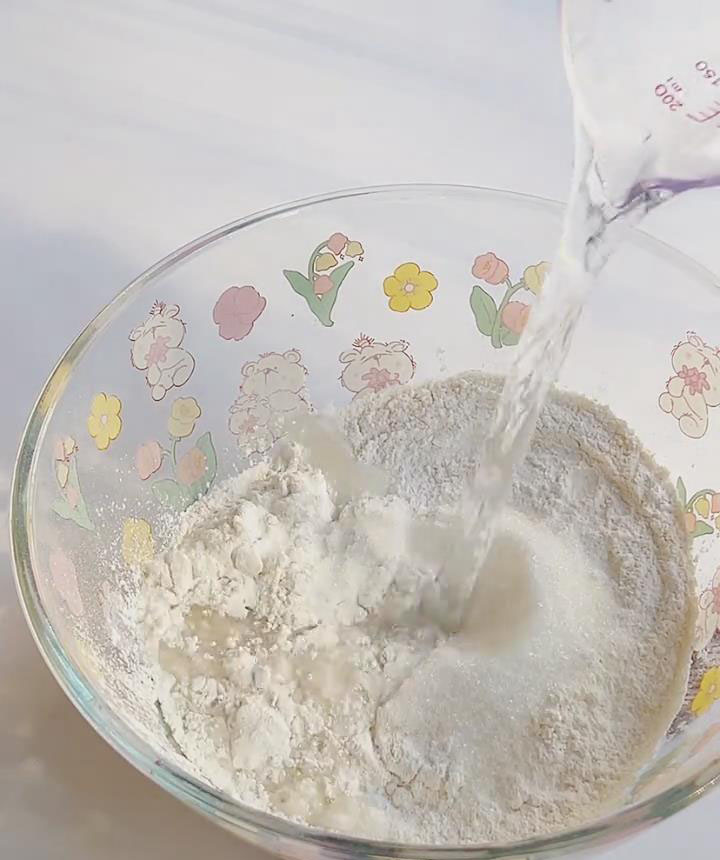
When cool enough to handle (~40℃), knead until smooth and elastic. Add 5ml warm water at a time if dry, or dust with flour if sticky. Dough should be smooth, bouncy, and not crack when pinched.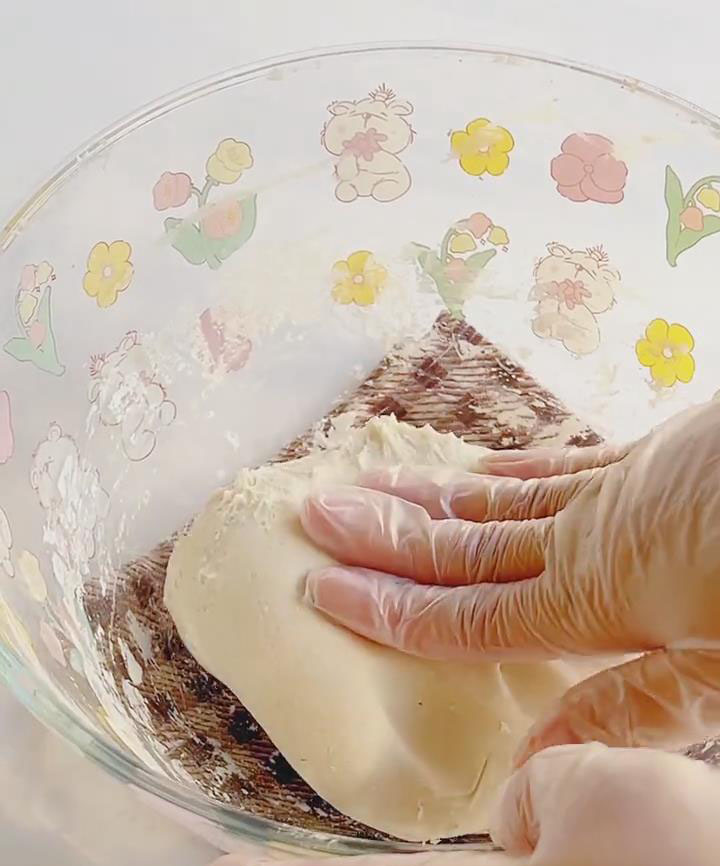
Step 2: Shape the Cakes (5 minutes)
Dust work surface with flour, roll dough to 0.8–1cm thick.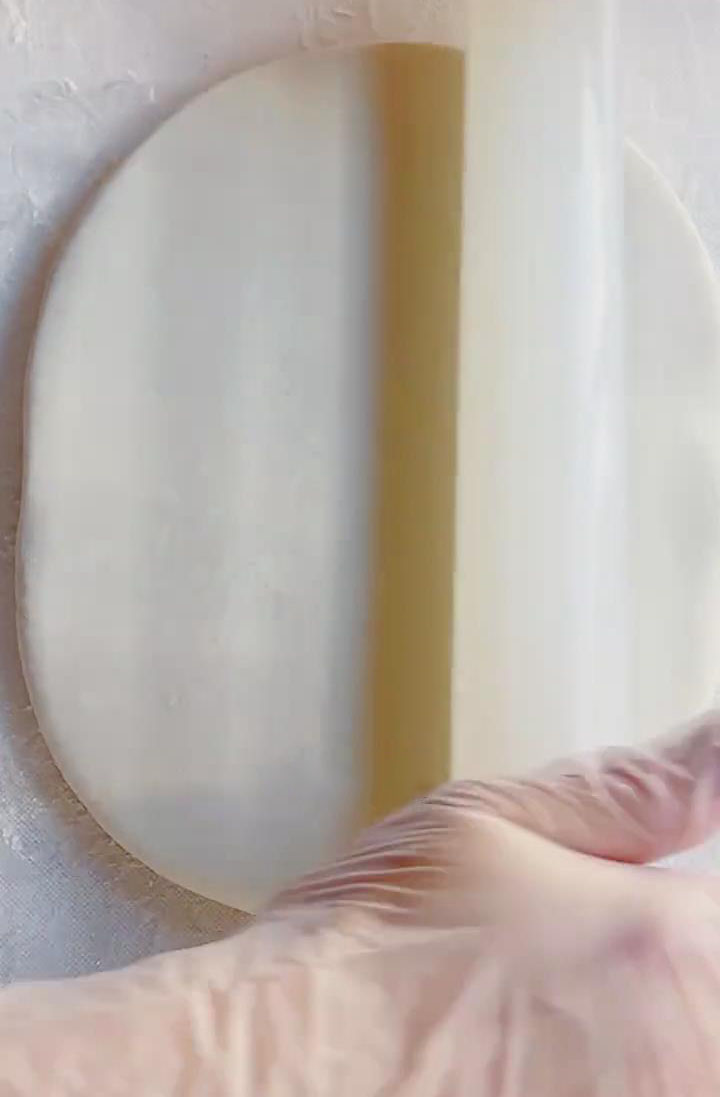
Use a mold or cutter to shape. Dust mold lightly with flour to prevent sticking. Place on a floured plate. Gather scraps, re-roll, and repeat until used.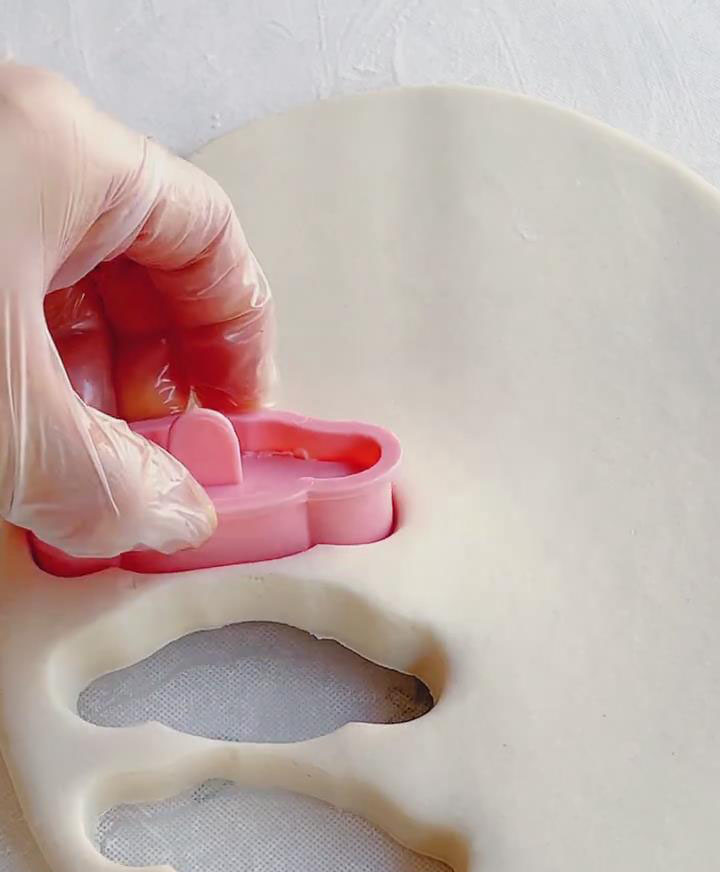

Step 3: Pan-Fry (10 minutes)
Preheat a skillet over medium-low, brush lightly with oil.
Add cakes with space between them, fry 2–3 minutes until golden. Flip and fry another 2–3 minutes.
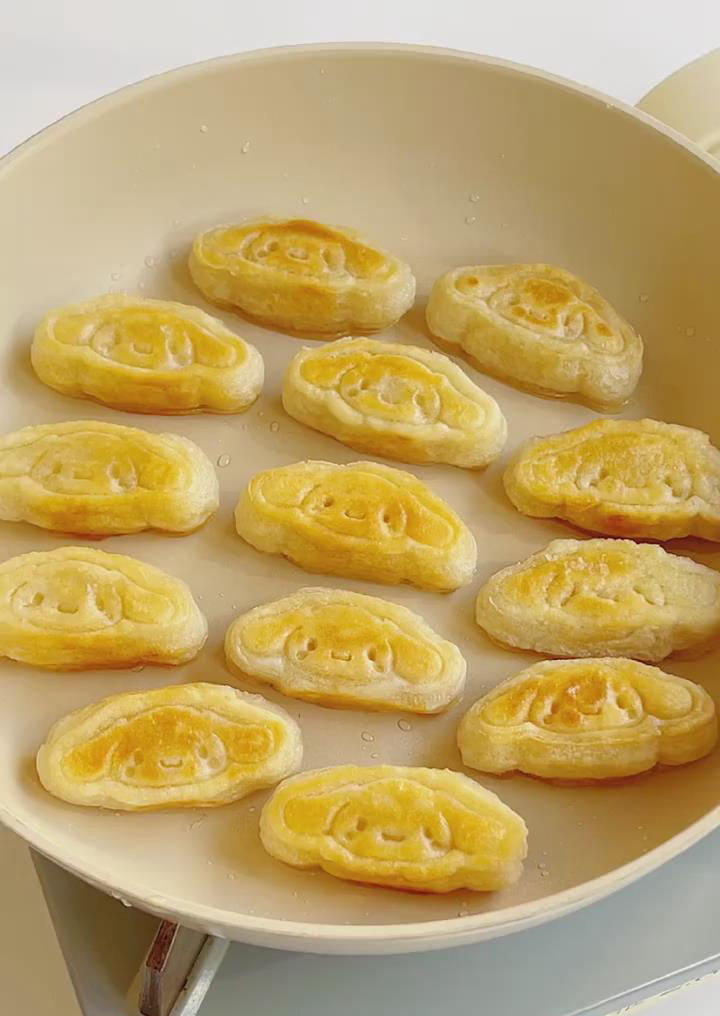 Test doneness by pressing lightly — if springy, they’re cooked through. Drain on paper towels.
Step 4: Make Syrup & Finish (5 minutes)
Heat 40g brown sugar with 30ml water in a bowl (microwave 1 minute, stirring, or simmer in pan 2–3 minutes). Syrup should drip slowly, not too thin or too thick. Adjust with water or more heat.
Place cakes on a plate, sprinkle with roasted soybean flour, drizzle syrup, and serve warm.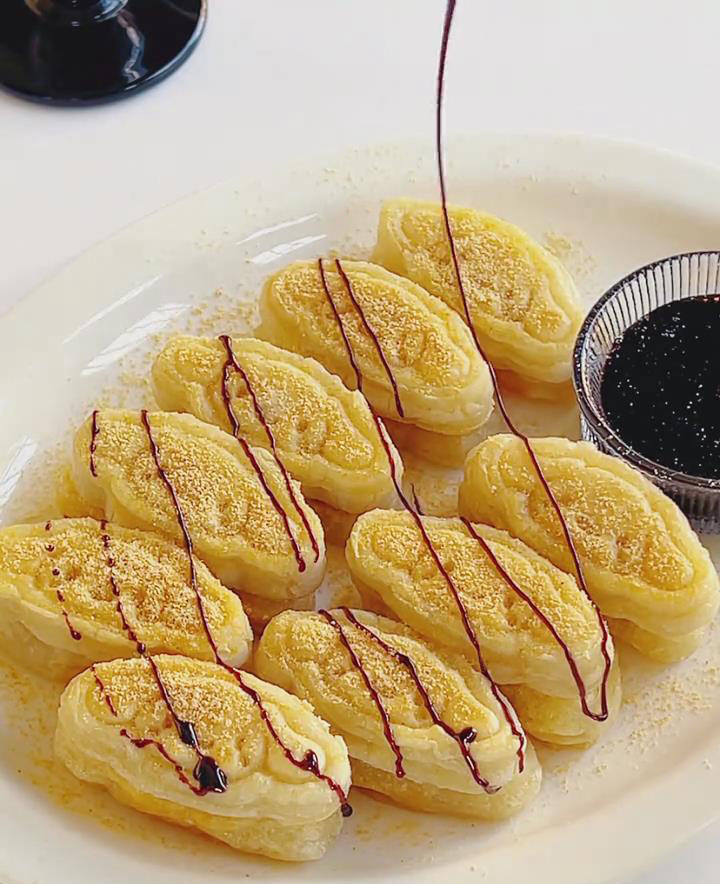
Frequently Asked Questions
Q: Why use boiling water for the dough?
A: Boiling water gelatinizes the flour, making the dough smooth, elastic, and less likely to crack.
Q: Can I prepare these ahead of time?
A: Yes! Shape and freeze uncooked cakes (wrap individually). Cook straight from frozen when ready.
Q: How can I make the syrup richer?
A: Use block brown sugar, or add a few toasted sesame seeds for extra fragrance.
Q: What if the cakes stick together while frying?
A: Lightly dust with flour before frying, or gently separate with a spatula while cooking.

Glutinous Rice Cake with Brown Sugar Syrup
Ingredients
For the Dough
- 230 g glutinous rice flour
- 30 g granulated sugar
- 160 g boiling water
For Flavor & Topping
- 50 g roasted soybean flour
- 40 g brown sugar
- 30 ml water
Instructions
Step 1: Knead the Dough (10 minutes)
- Mix 230g glutinous rice flour with 30g sugar in a large bowl. Stir well.
- Slowly pour in 160g boiling water while stirring quickly with chopsticks. Mix until no dry spots remain.
- When cool enough to handle (~40℃), knead until smooth and elastic. Add 5ml warm water at a time if dry, or dust with flour if sticky. Dough should be smooth, bouncy, and not crack when pinched.
Step 2: Shape the Cakes (5 minutes)
- Dust work surface with flour, roll dough to 0.8–1cm thick.
- Use a mold or cutter to shape. Dust mold lightly with flour to prevent sticking. Place on a floured plate. Gather scraps, re-roll, and repeat until used.
Step 3: Pan-Fry (10 minutes)
- Preheat a skillet over medium-low, brush lightly with oil.
- Add cakes with space between them, fry 2–3 minutes until golden. Flip and fry another 2–3 minutes.
- Test doneness by pressing lightly — if springy, they’re cooked through. Drain on paper towels.
Step 4: Make Syrup & Finish (5 minutes)
- Heat 40g brown sugar with 30ml water in a bowl (microwave 1 minute, stirring, or simmer in pan 2–3 minutes). Syrup should drip slowly, not too thin or too thick. Adjust with water or more heat.
- Place cakes on a plate, sprinkle with roasted soybean flour, drizzle syrup, and serve warm.
Leave a Reply