
Treat yourself to a luscious Earl Grey mousse cheesecake without turning on the oven! Light, creamy, and infused with fragrant tea—it’s a dessert everyone will love.
I made this for tea lovers like me
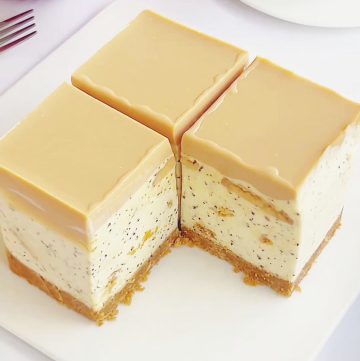
This No-Bake Earl Grey Mousse Cheesecake has quickly become one of my most beloved Pinterest recipes, and it’s easy to see why!
The delicate, fragrant aroma of Earl Grey tea blends beautifully with the creamy, melt-in-your-mouth mousse.
I recently made it again, and some people even thought the recipe might have been AI-generated—but I can honestly tell you, it’s 100% real.
This is a recipe I’ve tested, perfected, and shared from my own kitchen.
It’s also been recognized as one of the Top 10 Irresistible Earl Grey Desserts, which makes me so happy because Earl Grey desserts hold a special place in my heart.
The best part? It’s no-bake, which means it’s super easy to make.
So if you love tea-flavored desserts or want a show-stopping treat that looks as good as it tastes, this No-Bake Earl Grey Mousse Cheesecake is an absolute must-try.
I promise, it will quickly become a favorite in your dessert rotation!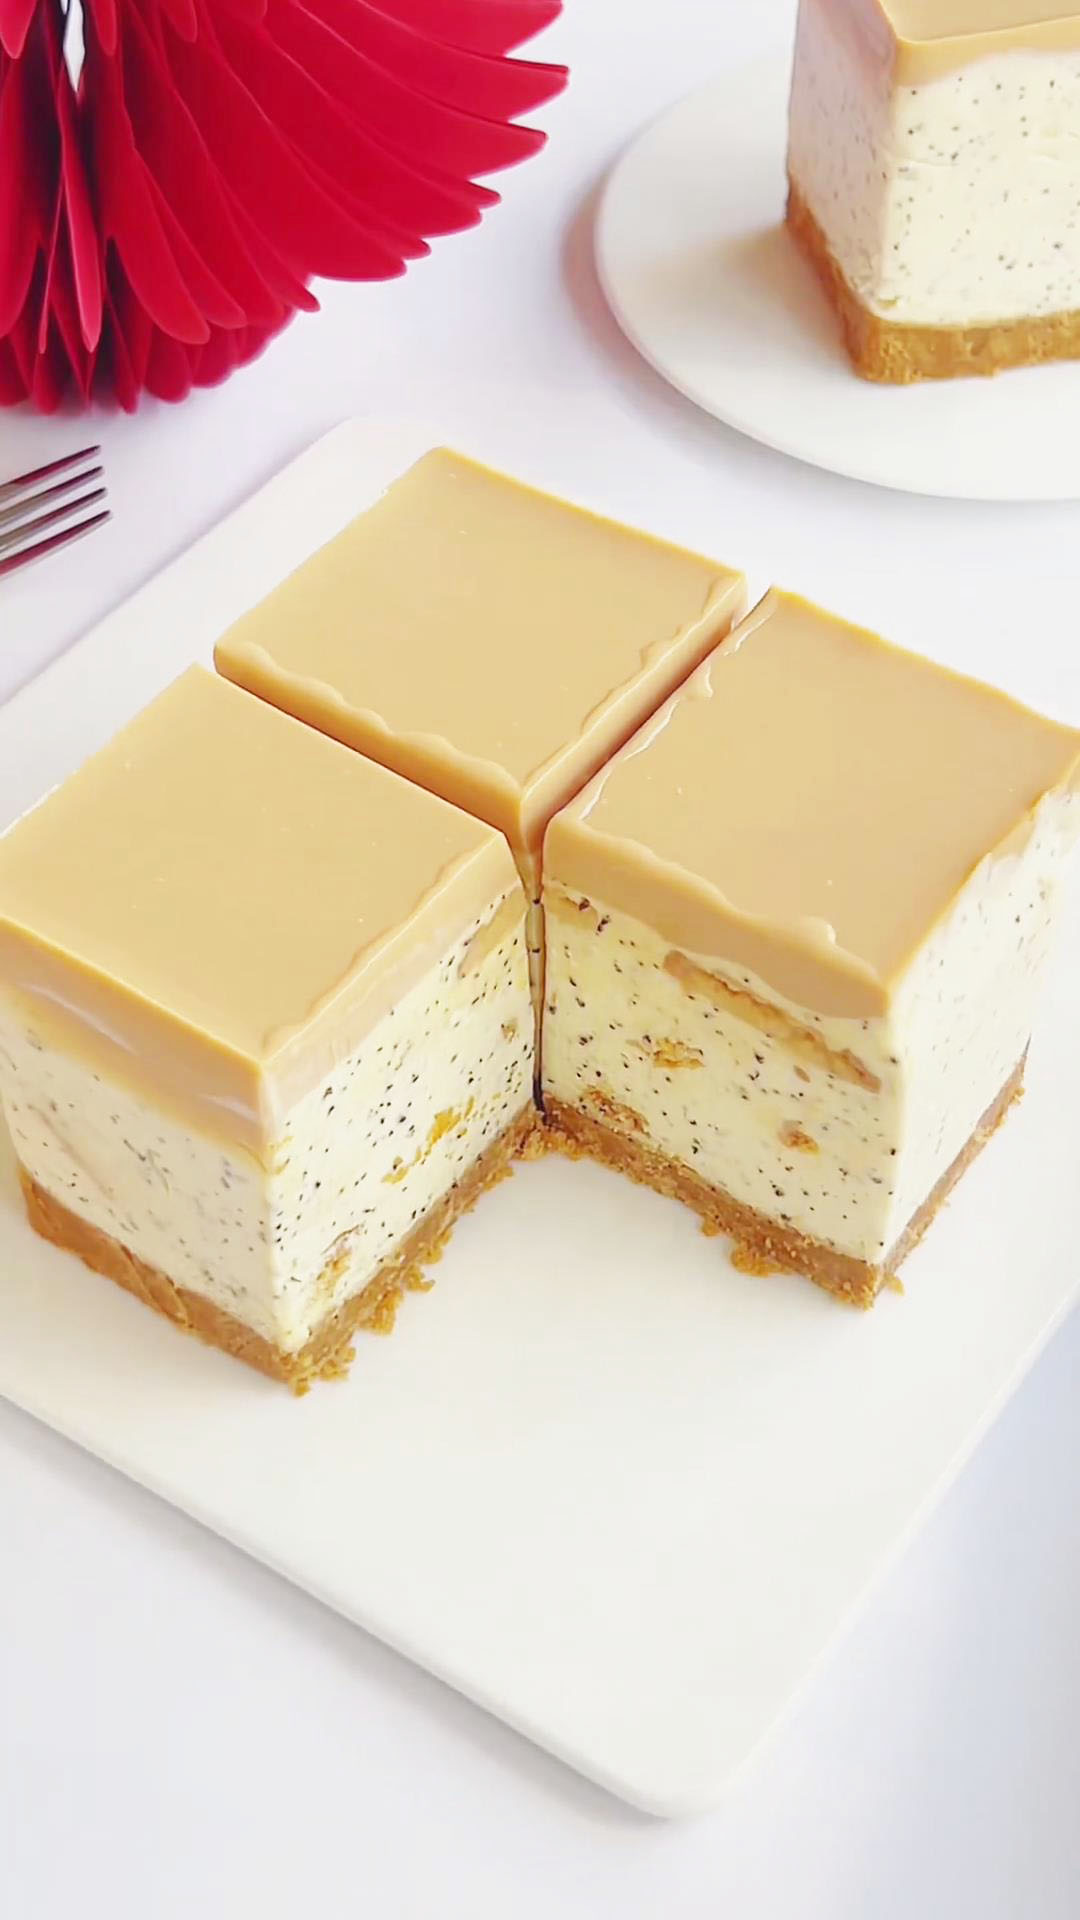
Why you’ll love this recipe
- No oven needed—completely no-bake
- Fragrant Earl Grey flavor throughout the layers
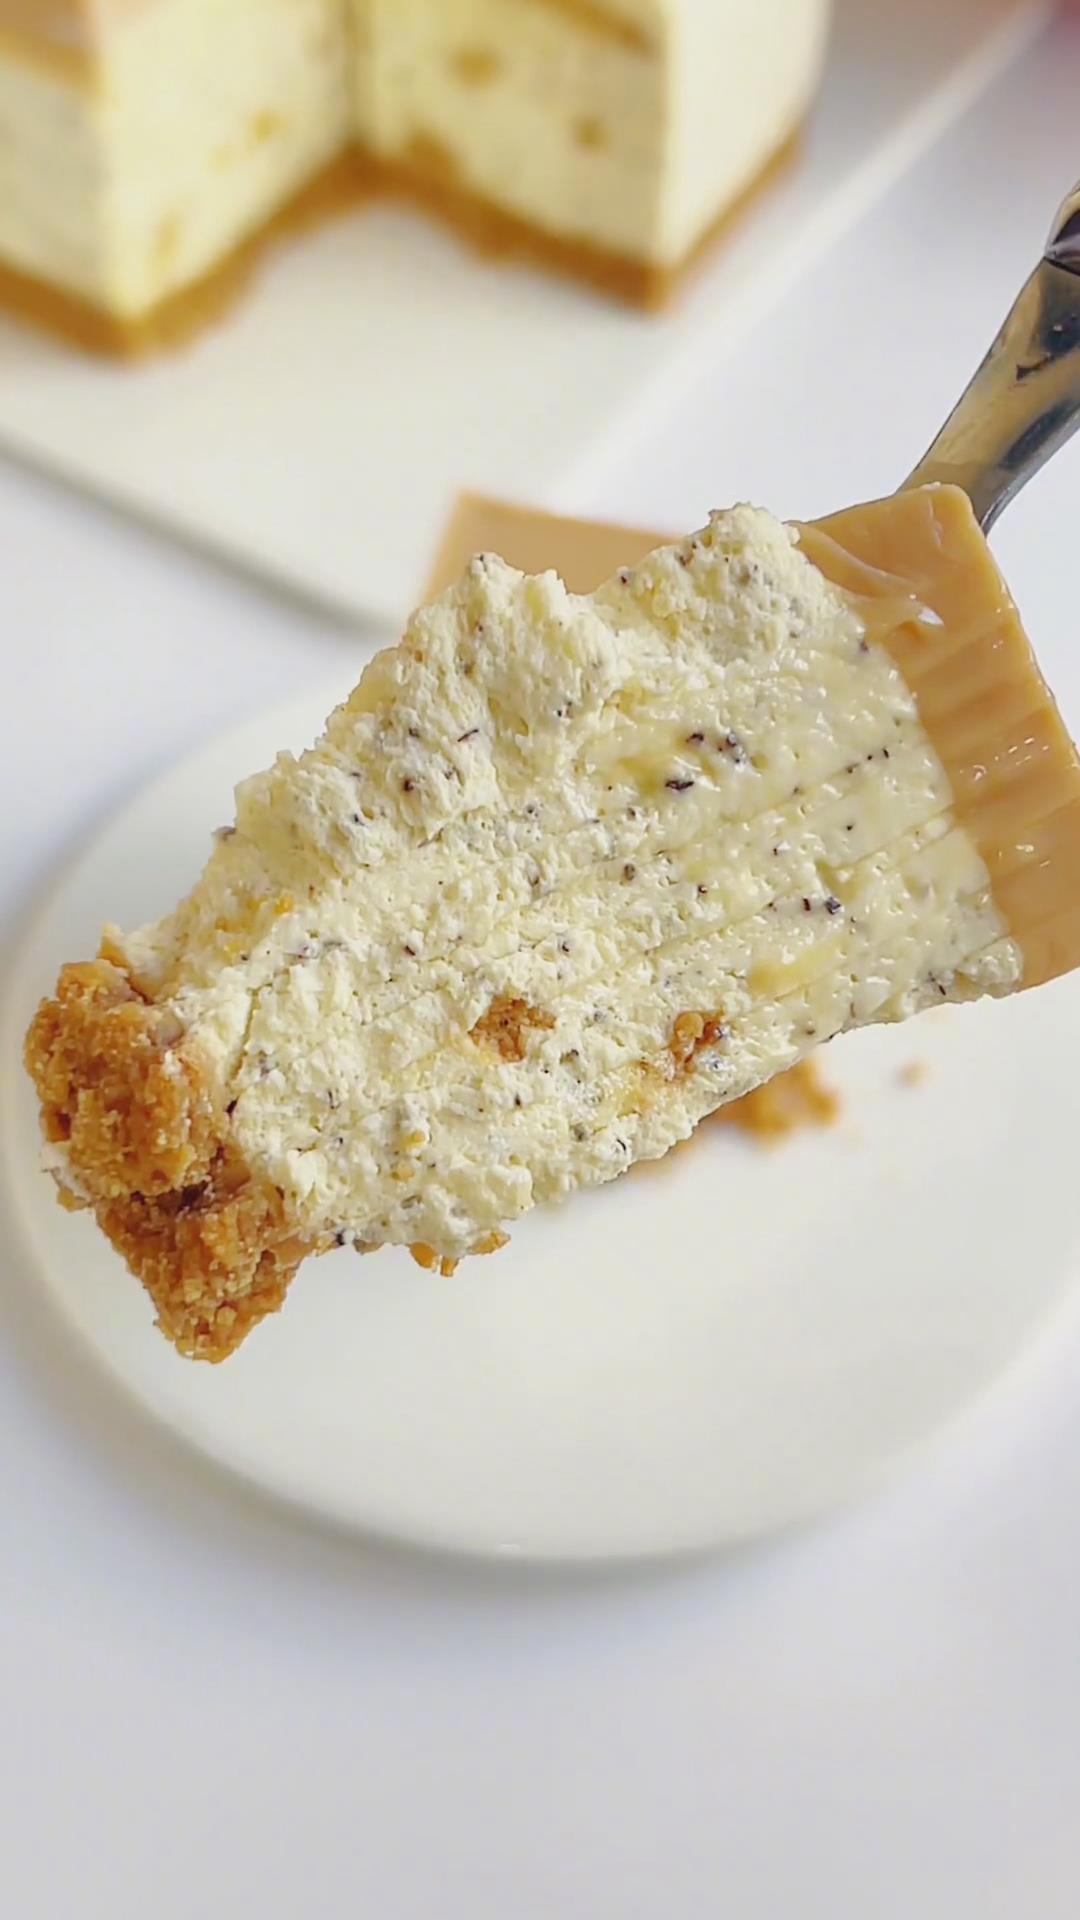
- Smooth, creamy mousse with a melt-in-your-mouth texture
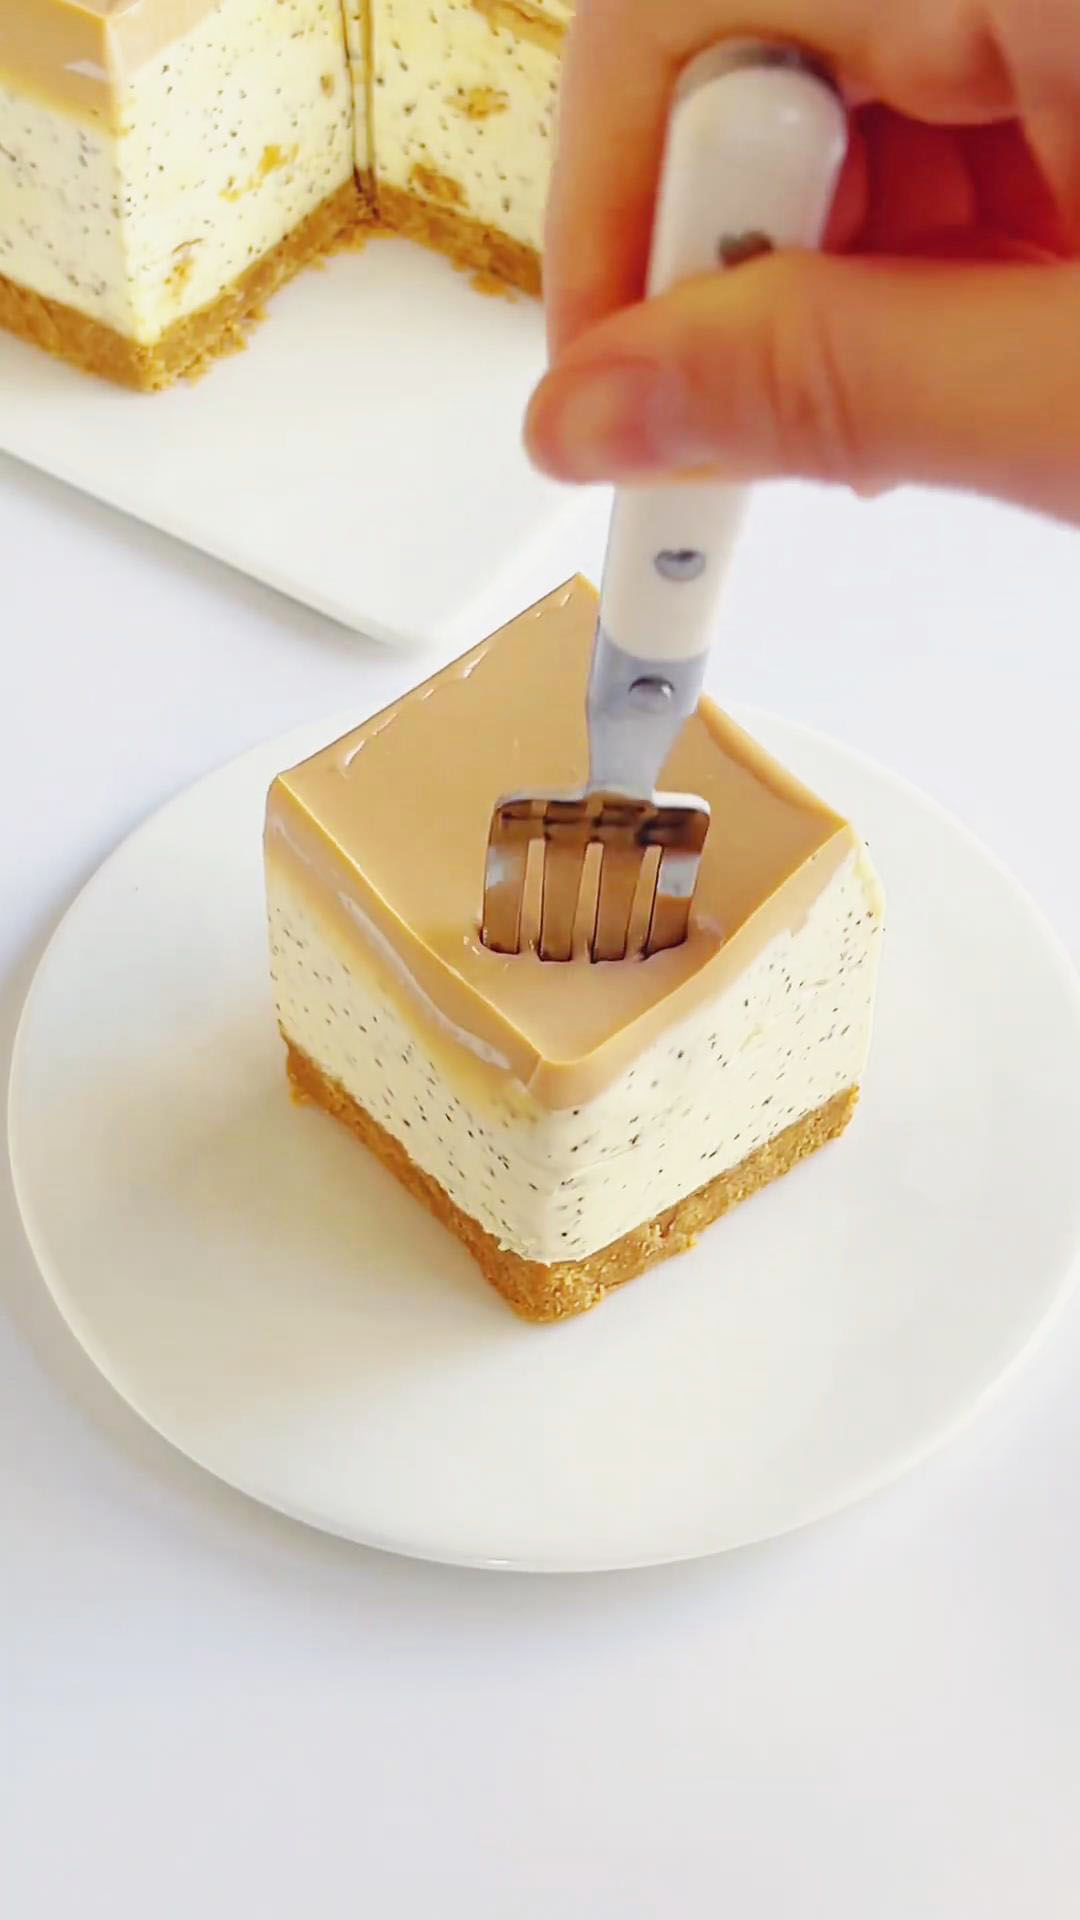
- Elegant appearance with optional glossy mirror glaze
- Perfect for parties, gifting, or afternoon tea
Ingredients
Biscuit Base
- 60 g caramel biscuits (can substitute with digestive biscuits)
- 25 g unsalted butter
Cheese Mousse Layer
- 200 g cream cheese (softened at room temperature)
- 20 g caster sugar (used in two portions)
- 80 ml hot milk (about 40°C)
- 10 g gelatin sheets (soaked in ice water for 10 minutes in advance)
- 3 g Earl Grey tea powder (or tea powder from 2 Earl Grey tea bags)
- 170 ml whipping cream
- crushed caramel biscuits, as needed (for decoration)
Earl Grey Mirror Glaze (Optional)
- 100 ml hot milk (about 40°C)
- 1 Earl Grey tea bag
- 5 g caster sugar
- 3 g gelatin sheets
Instructions
Biscuit Base
Crush the biscuits: Place caramel biscuits in a bowl and crush into a fine powder using a rolling pin. Avoid leaving large chunks.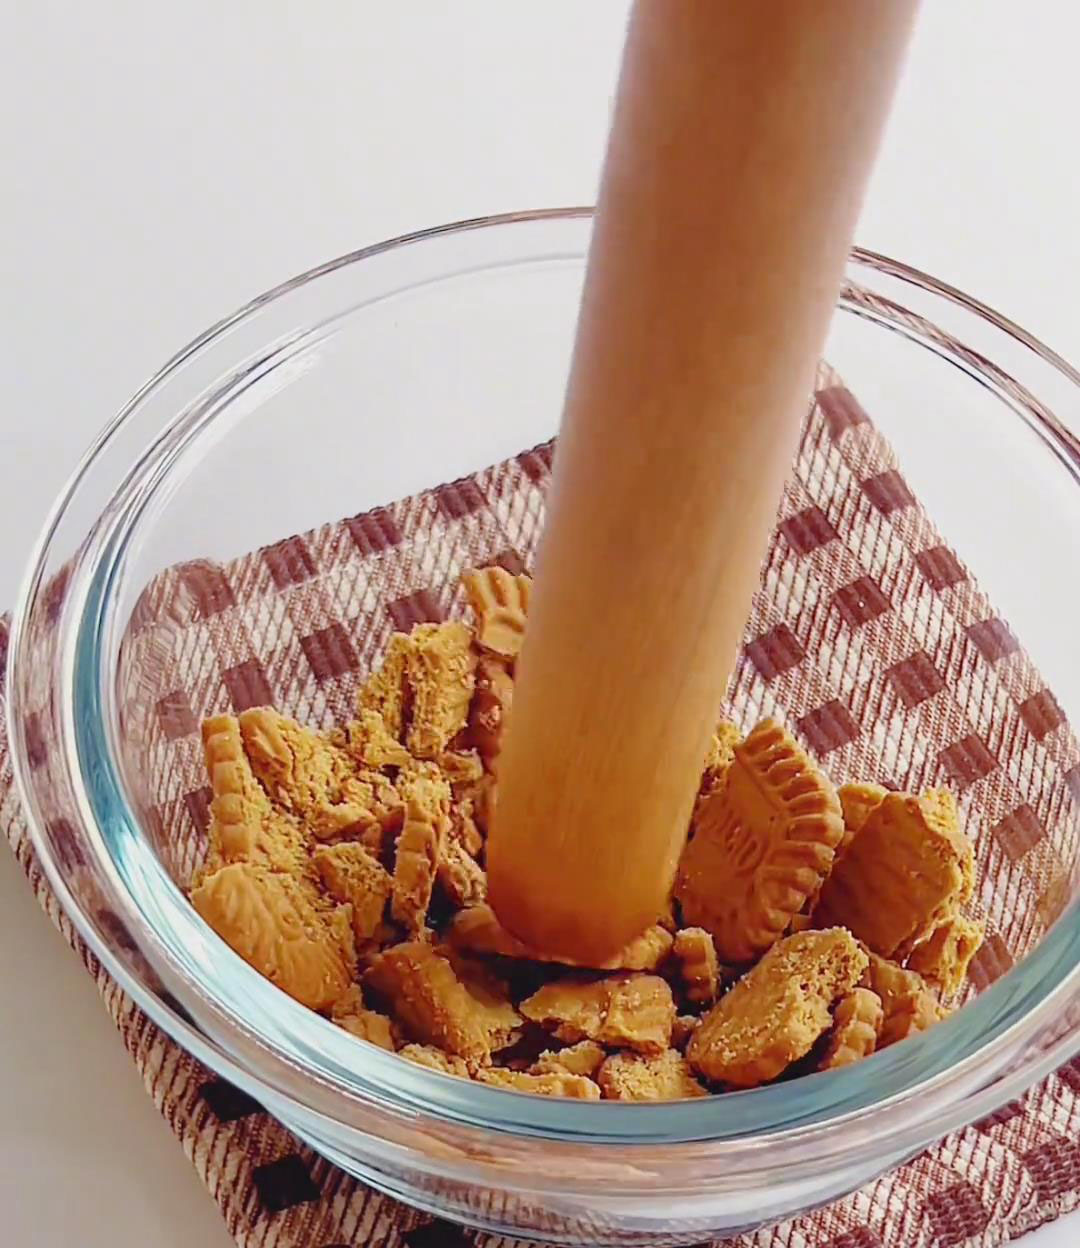
Mix and press: Pour melted butter into the biscuit crumbs and mix with a spatula until fully combined and sandy in texture.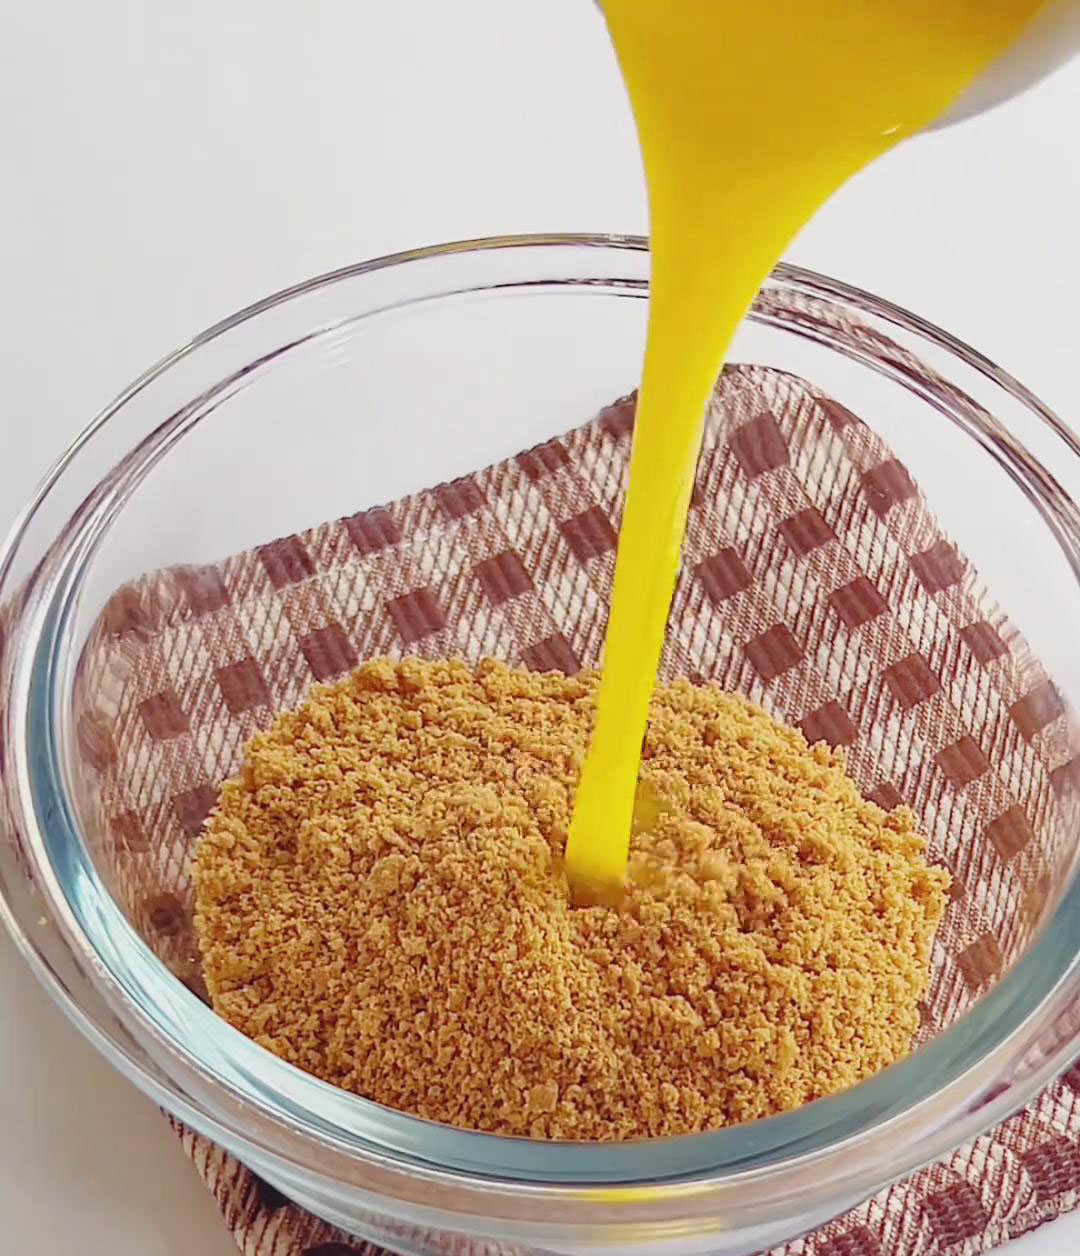
Shape and chill: Pour into a parchment-lined mold, press down firmly and evenly using a rolling pin, and refrigerate for 10 minutes to set.
Cheese Mousse Layer
Soften the cheese: Mix softened cream cheese with 10 g caster sugar using a spatula until smooth and lump-free.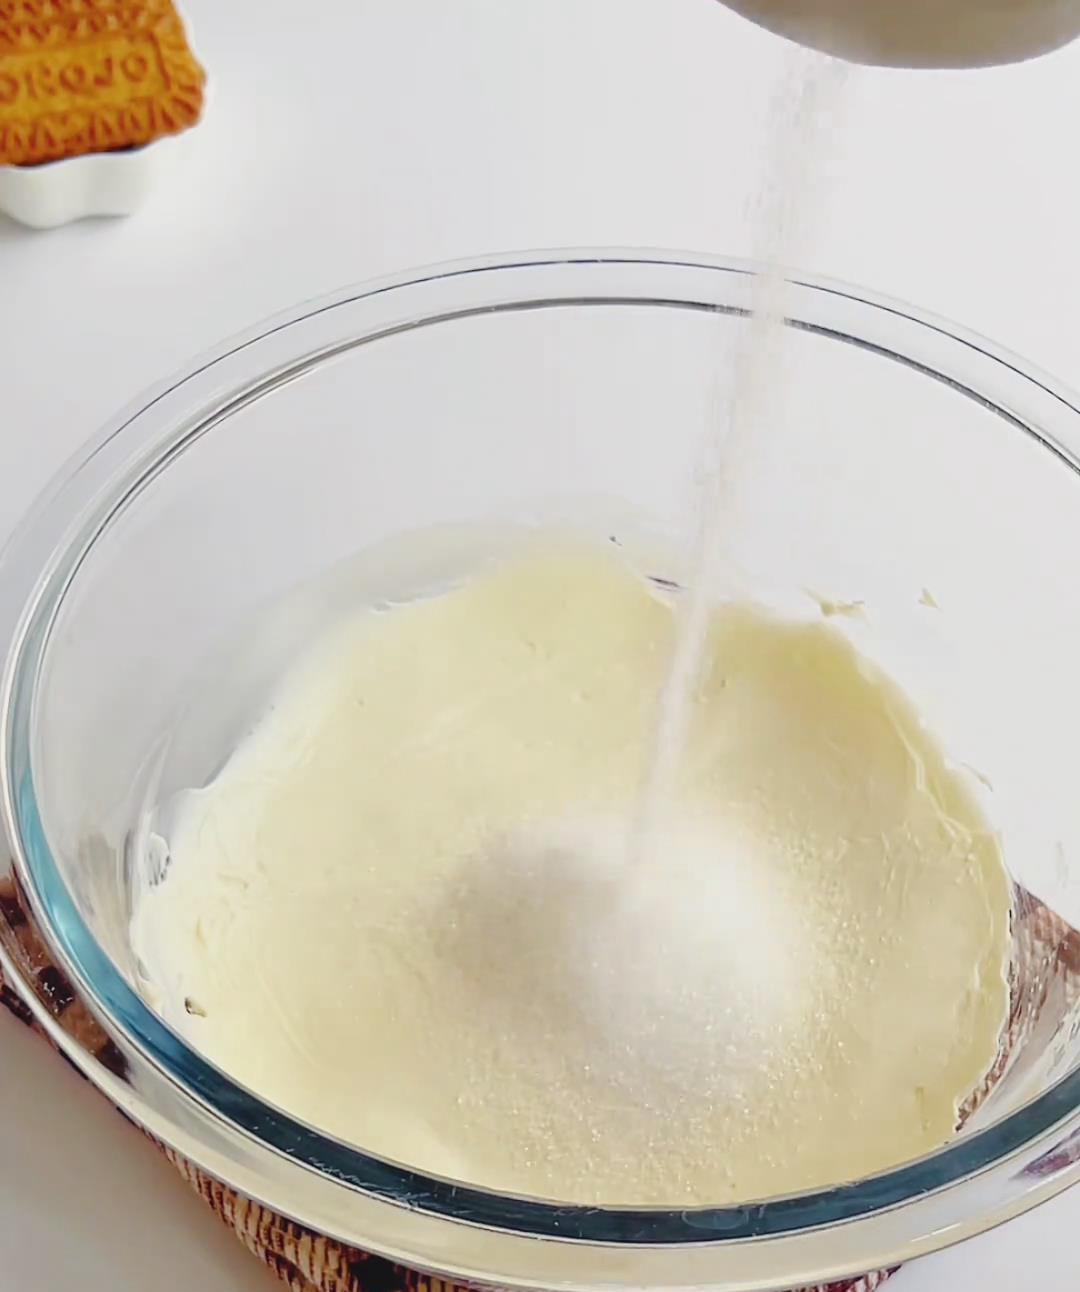
Prepare the tea milk:
Squeeze excess water from the soaked gelatin sheets and stir into 80 ml hot milk until fully dissolved.
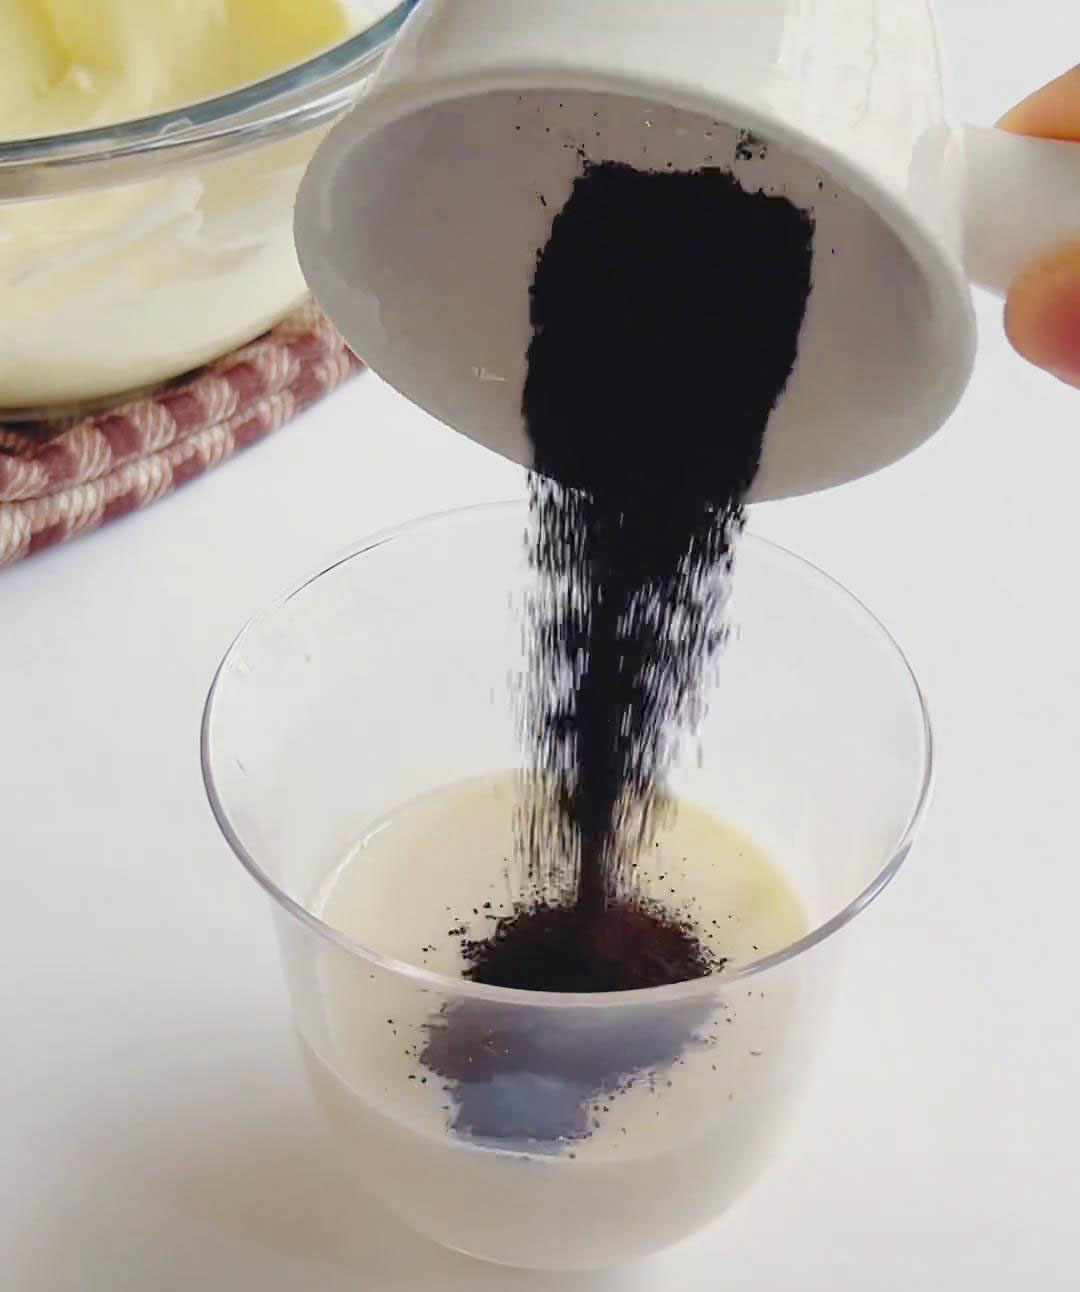
Add 3 g Earl Grey tea powder and stir well.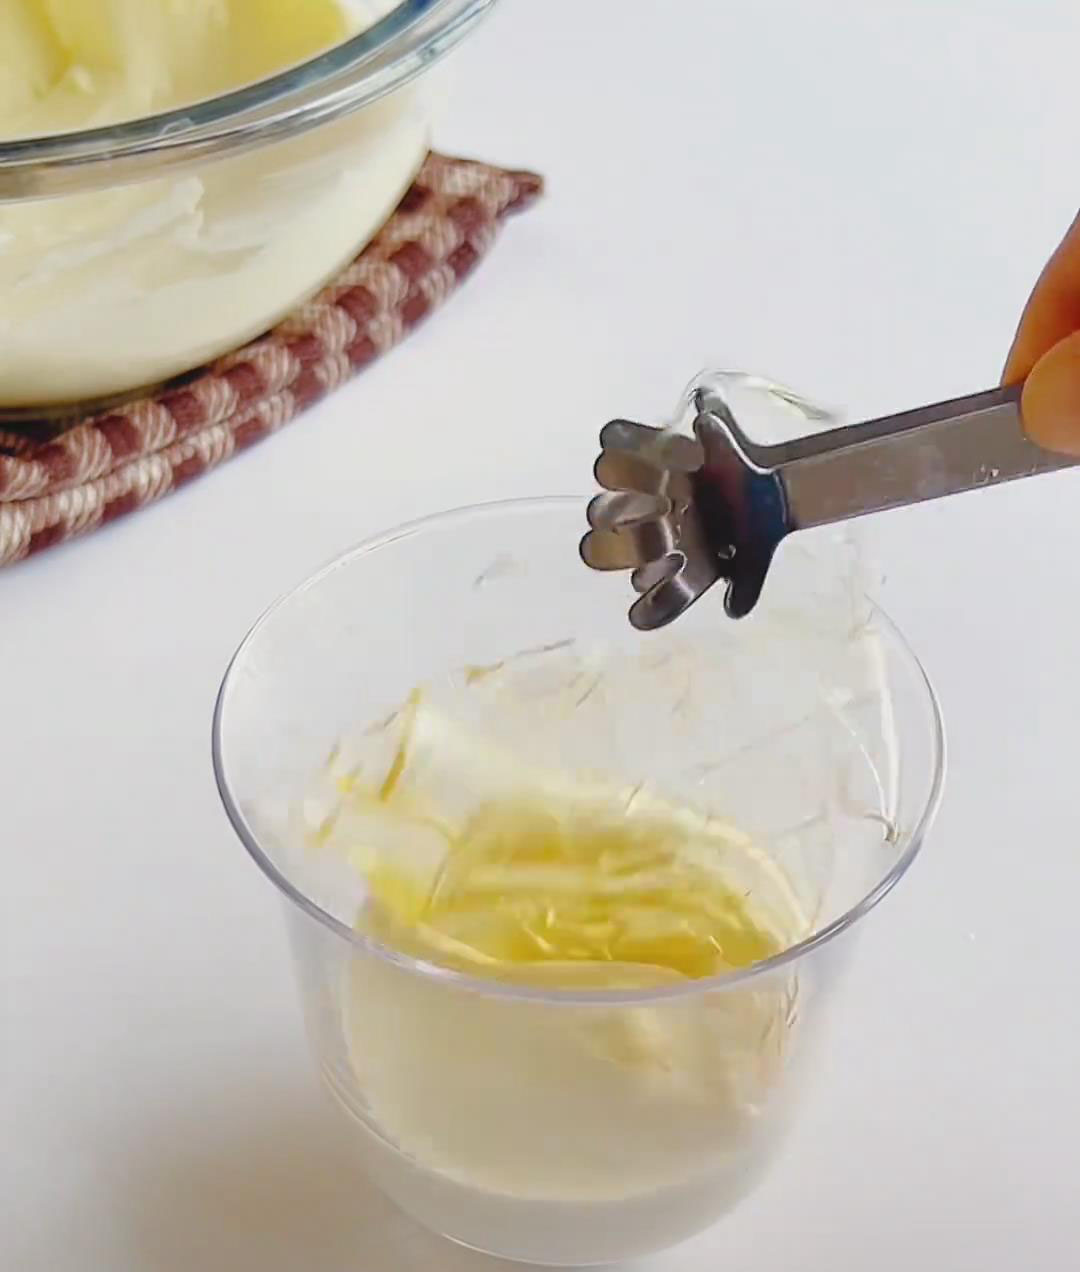
Combine with cheese: Gradually pour the Earl Grey milk mixture into the cream cheese, mixing until smooth.
Whip the cream: Using a hand mixer on medium speed, whip the cream until soft peaks form (lines visible and small hook when whisk lifted).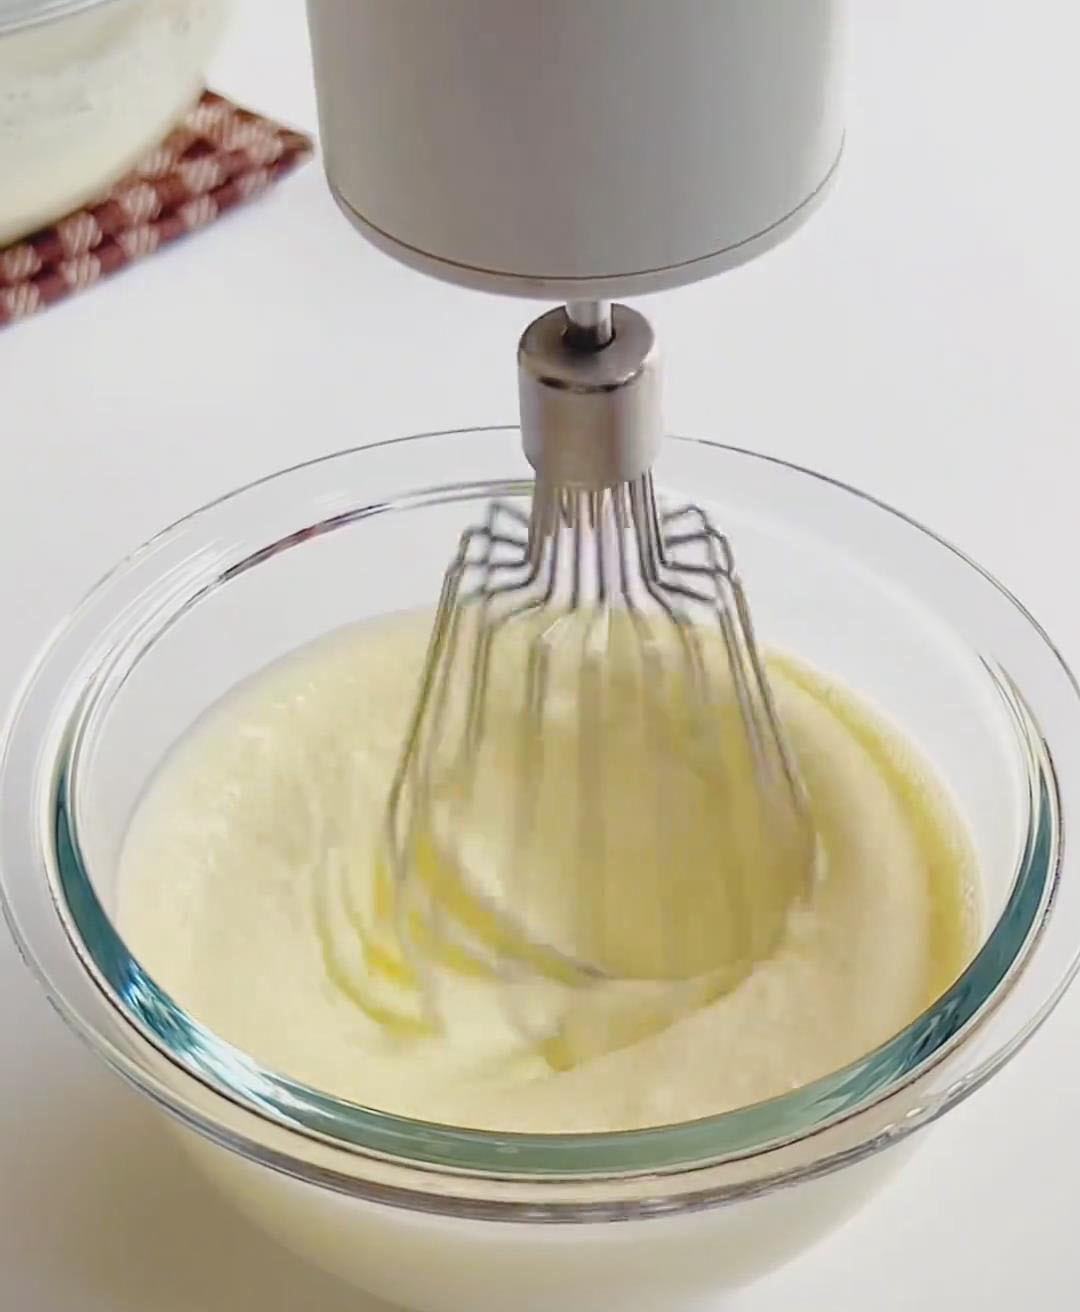
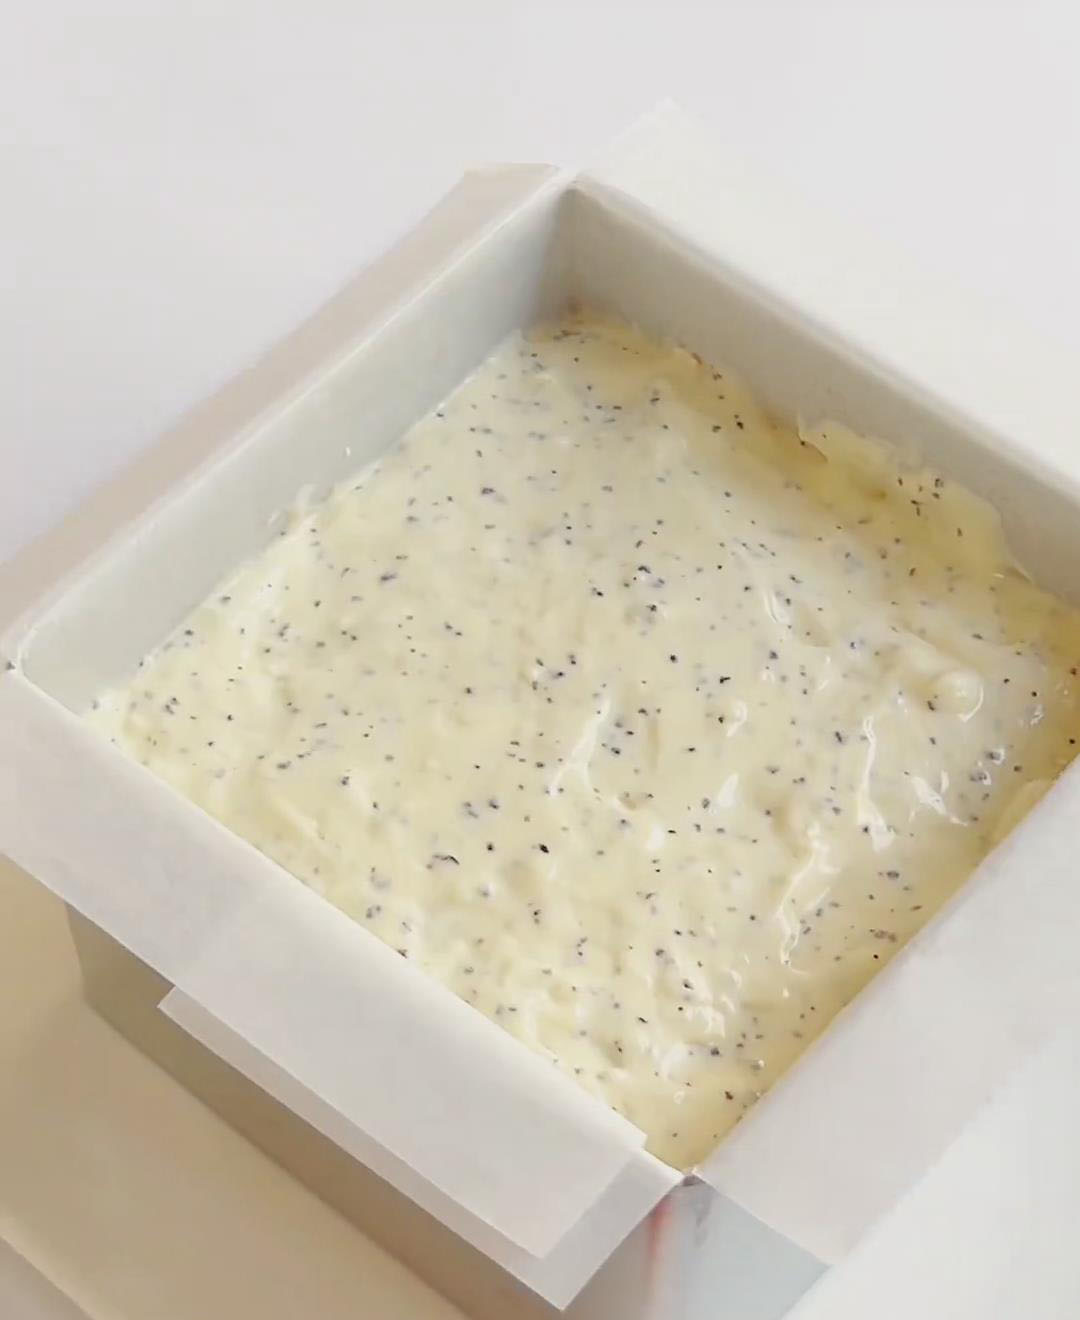
Fold into mousse: Gently fold the whipped cream into the cheese-tea mixture using a spatula or mixer. Add crushed caramel biscuit pieces (about 2 biscuits), stir to combine, then pour into the mold over the base. Lightly tap the mold to release air bubbles. Refrigerate for at least 4 hours or overnight.
Earl Grey Mirror Glaze (Optional)
Steep tea: Steep 1 Earl Grey tea bag in 100 ml hot milk for 5 minutes. Remove and squeeze the bag to extract full flavor.
Dissolve gelatin: Add caster sugar. Squeeze excess water from soaked gelatin and stir into warm tea milk until fully dissolved.
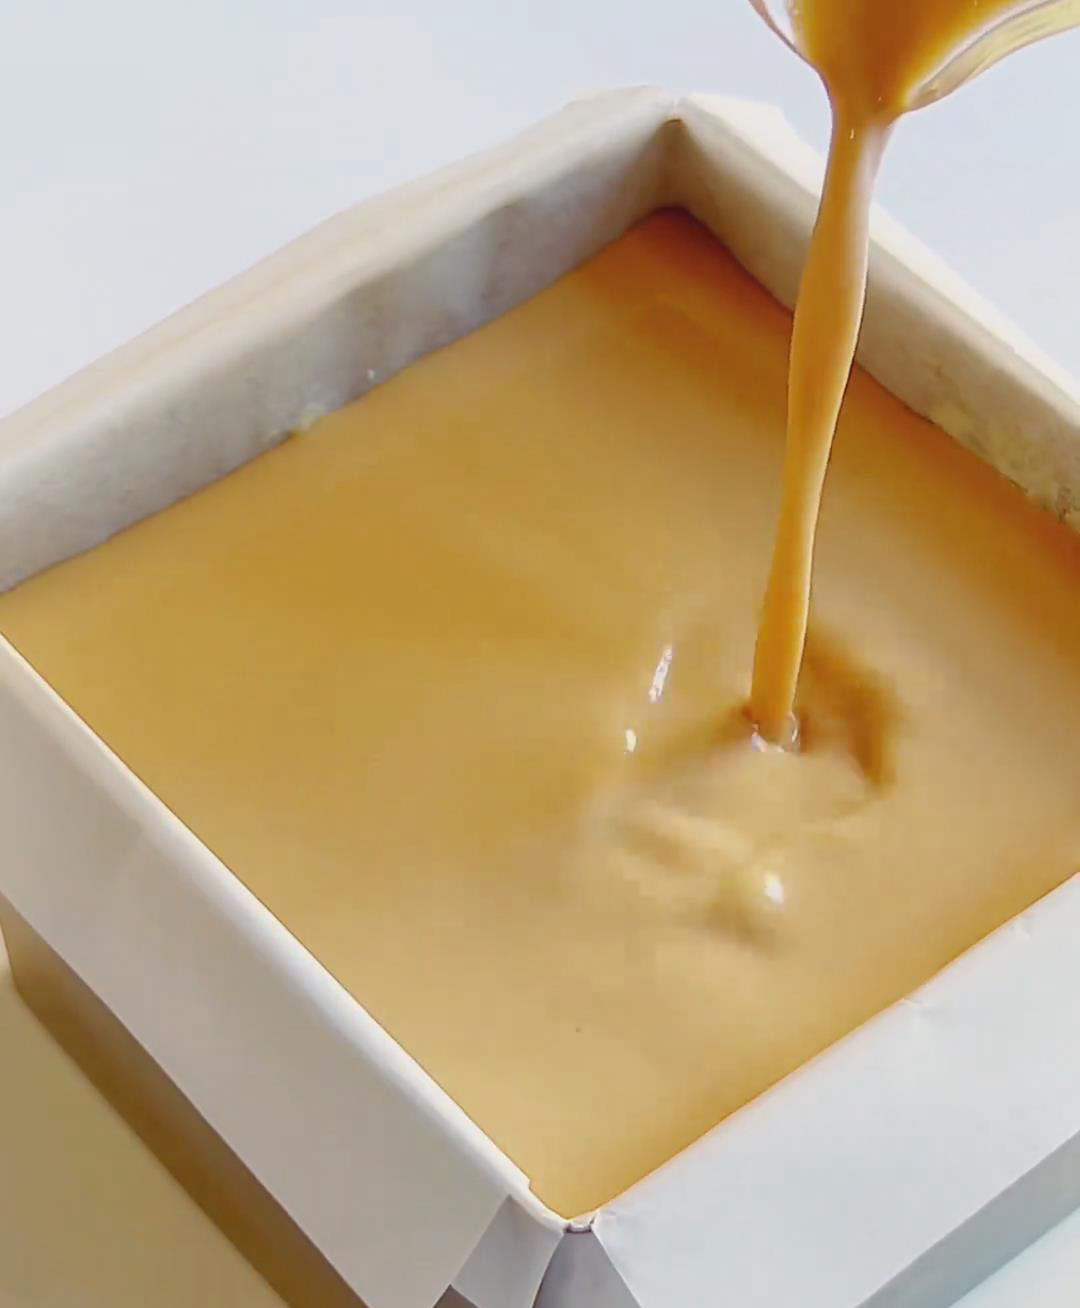
Cool and pour: Let the glaze cool to room temperature, then gently pour over the set mousse layer. Refrigerate for another 1–2 hours until firm.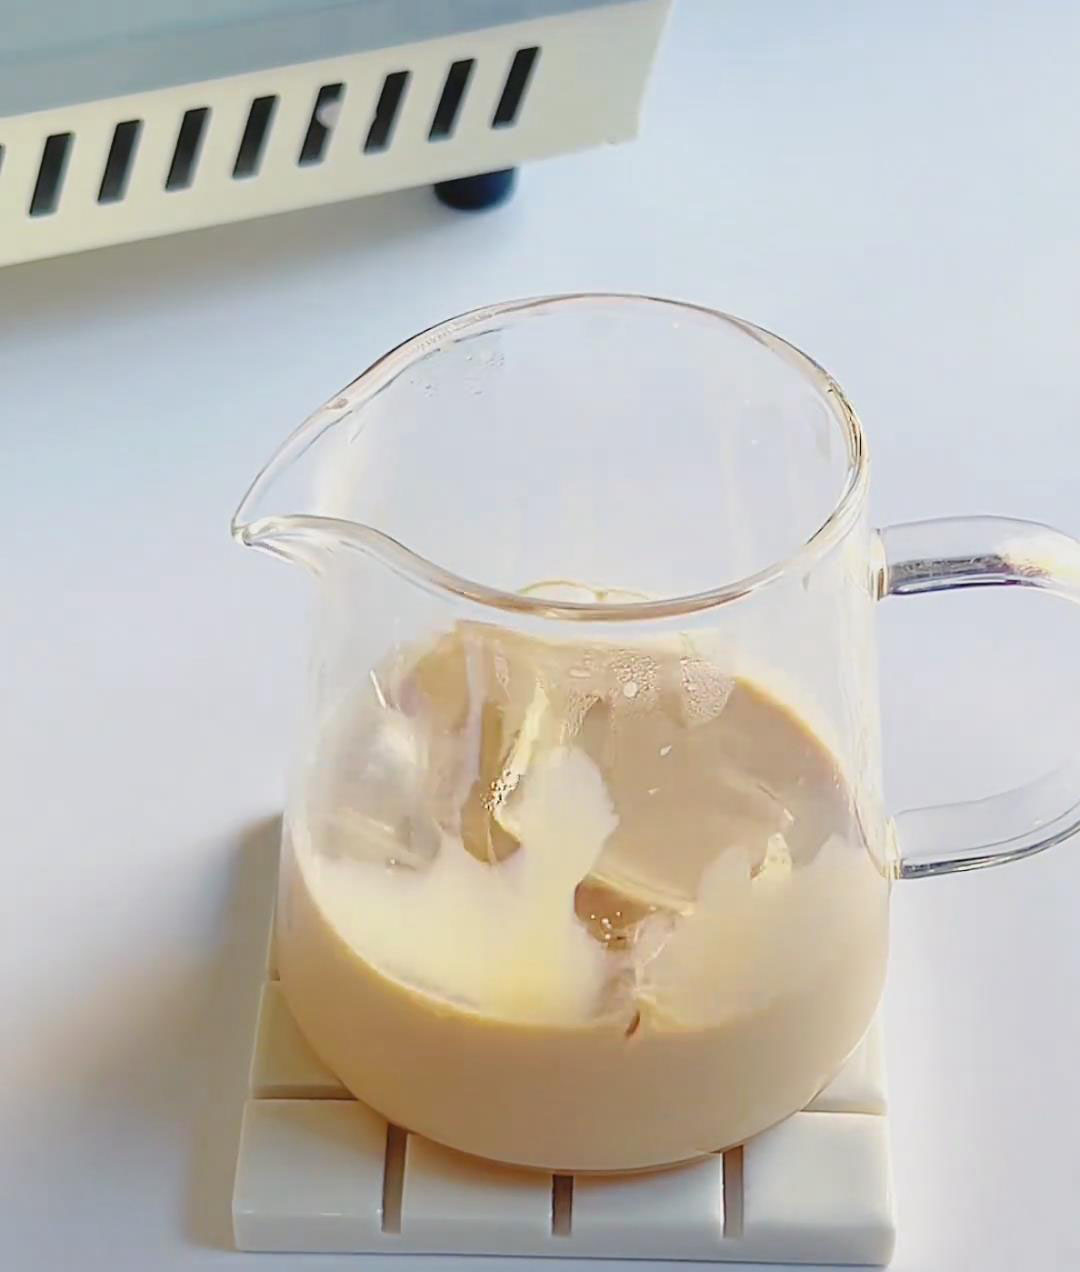
 Unmolding and Decorating
Use a hairdryer to warm the mold’s edges for easy release. Decorate with crushed biscuits and slice to serve.
Frequently Asked Questions
Can I use other tea types instead of Earl Grey?
Yes! You can substitute with matcha, jasmine, or even hojicha powder for different flavor profiles.
What can I use if I don’t have gelatin sheets?
You can replace gelatin sheets with powdered gelatin. Typically, 1 sheet = about 2 g powdered gelatin.
How should I store this cake?
Keep it in the refrigerator, covered, for up to 3 days. Do not freeze, as the texture may change.
Can I skip the mirror glaze?
Absolutely! The mirror glaze is optional and purely for appearance and a bit of shine.
More Earl Grey Desserts
If you love Earl Grey as much as I do, be sure to try these:
- Earl Grey Almond Cookies
- Earl Grey Snow Skin Mooncakes
- Soft Earl Grey Cake
- No-Bake Earl Grey Cheesecake
- Mini Earl Grey Cheesecake (No-Bake & So Creamy!)
- Easy Earl Grey Milk Pudding – No-Bake & Foolproof
- Earl Grey Vienna Cookies (Buttery & Crisp Tea Cookies)
- Easy Earl Grey Panna Cotta – Creamy, Smooth & Foolproof
- Earl Grey Basque Cheesecake
Creamy Earl Grey Tea Cheesecake
Ingredients
Biscuit Base
- 60 g caramel biscuits can substitute with digestive biscuits
- 25 g unsalted butter
Cheese Mousse Layer
- 200 g cream cheese softened at room temperature
- 20 g caster sugar used in two portions
- 80 ml hot milk about 40°C
- 10 g gelatin sheets soaked in ice water for 10 minutes in advance
- 3 g Earl Grey tea powder or tea powder from 2 Earl Grey tea bags
- 170 ml whipping cream
- crushed caramel biscuits as needed (for decoration)
Earl Grey Mirror Glaze (Optional)
- 100 ml hot milk about 40°C
- 1 Earl Grey tea bag
- 5 g caster sugar
- 3 g gelatin sheets
Instructions
- Biscuit Base
- Crush the biscuits: Place caramel biscuits in a bowl and crush into a fine powder using a rolling pin. Avoid leaving large chunks.
- Mix and press: Pour melted butter into the biscuit crumbs and mix with a spatula until fully combined and sandy in texture.
- Shape and chill: Pour into a parchment-lined mold, press down firmly and evenly using a rolling pin, and refrigerate for 10 minutes to set.
Cheese Mousse Layer
- Soften the cheese: Mix softened cream cheese with 10 g caster sugar using a spatula until smooth and lump-free.
- Prepare the tea milk:
- Squeeze excess water from the soaked gelatin sheets and stir into 80 ml hot milk until fully dissolved.
- Add 3 g Earl Grey tea powder and stir well.
- Combine with cheese: Gradually pour the Earl Grey milk mixture into the cream cheese, mixing until smooth.
- Whip the cream: Using a hand mixer on medium speed, whip the cream until soft peaks form (lines visible and small hook when whisk lifted).
- Fold into mousse: Gently fold the whipped cream into the cheese-tea mixture using a spatula or mixer. Add crushed caramel biscuit pieces (about 2 biscuits), stir to combine, then pour into the mold over the base. Lightly tap the mold to release air bubbles. Refrigerate for at least 4 hours or overnight.
Earl Grey Mirror Glaze (Optional)
- Steep tea: Steep 1 Earl Grey tea bag in 100 ml hot milk for 5 minutes. Remove and squeeze the bag to extract full flavor.
- Dissolve gelatin: Add caster sugar. Squeeze excess water from soaked gelatin and stir into warm tea milk until fully dissolved.
- Cool and pour: Let the glaze cool to room temperature, then gently pour over the set mousse layer. Refrigerate for another 1–2 hours until firm.
Unmolding and Decorating
- Use a hairdryer to warm the mold's edges for easy release. Decorate with crushed biscuits and slice to serve.
What size mold/pan did you use for this recipe?
Hi Brianna,
It is a 6 inch mold, thanks.