
These No-Bake Oreo Cheesecake Tartlets are the easiest dessert ever — creamy, chocolaty, and made in minutes. Just mix, fill, chill, and enjoy! Perfect for beginners, busy days, or last-minute treats.
My Favourite Shortcut Dessert: Easy Tartlets in Minutes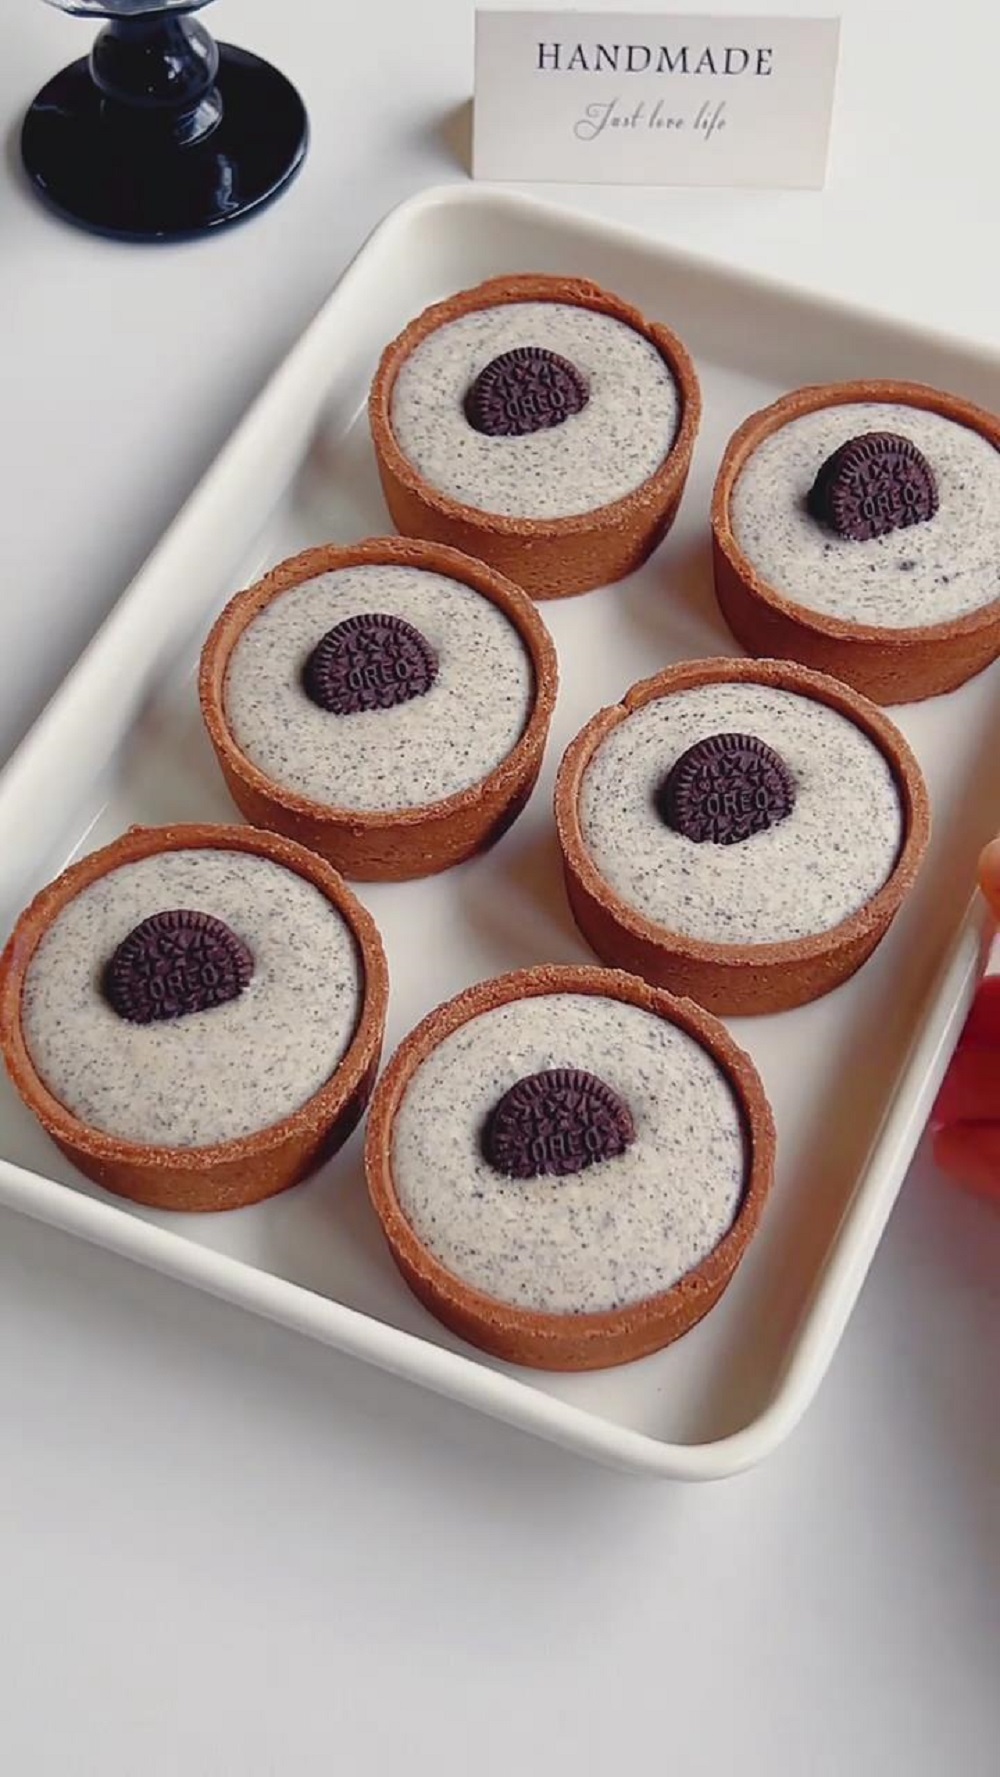
I don’t usually bother making tart shells from scratch — life is busy, and honestly, ready-made tart shells have become one of my favourite kitchen shortcuts.
I always keep a few packs in the fridge, and whenever I want a quick dessert, I simply pull them out, no thawing needed, and add whatever filling I’m in the mood for. Within minutes, I can turn them into beautiful little tartlets.
Because of this, tartlets have become one of my go-to “effortless desserts,” and I’ve played with so many variations:
- No-Bake Matcha Chocolate Tart
- Chocolate Custard Tarts
- Chocolate Tart
- Matcha Tiramisu Egg Tarts
- Lemon Curd Tartlets
These Oreo Cheesecake Tartlets follow the exact same philosophy: simple ingredients, no oven needed, and absolutely zero intimidating steps.
All you do is crush, mix, spoon, and chill. That’s it.
It’s one of those recipes that feels almost too easy for how good it tastes — perfect when you want a quick treat for yourself, a dessert for guests, or something fun to make with kids.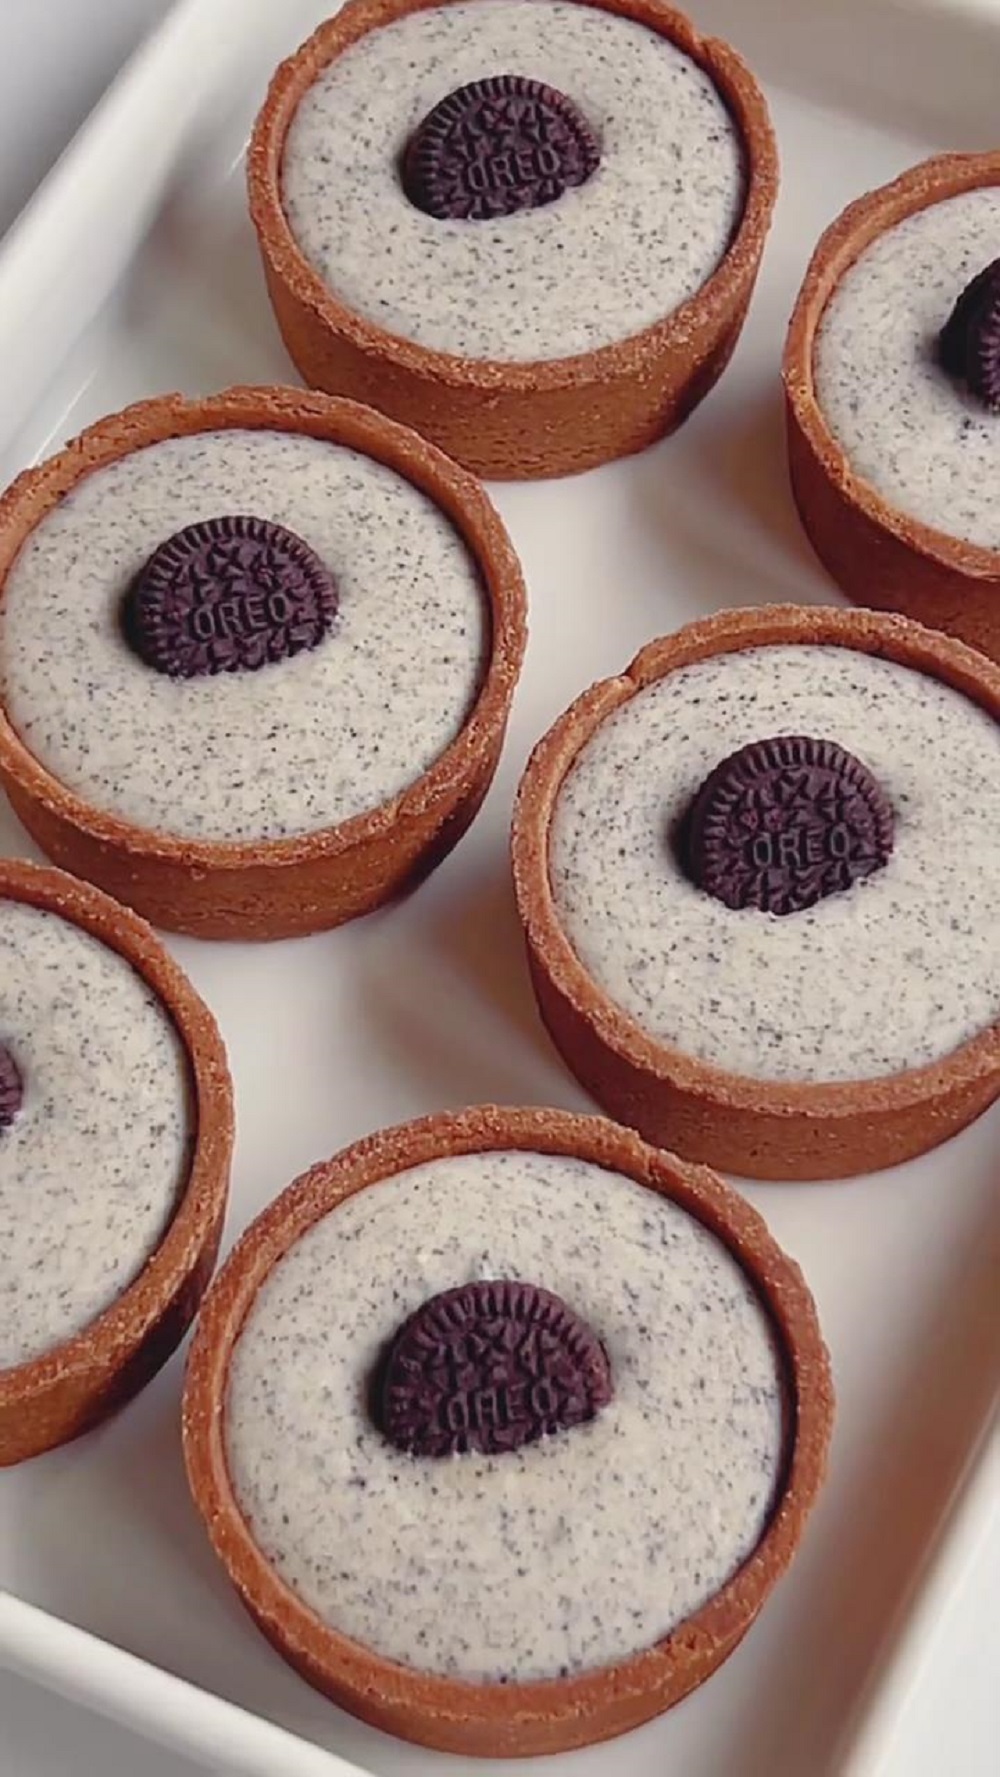
Why You‘ll Love This Recipe
- Quick to assemble — just mix, fill, and chill.
- No-bake creamy cheesecake filling that sets perfectly thanks to softened gelatin.
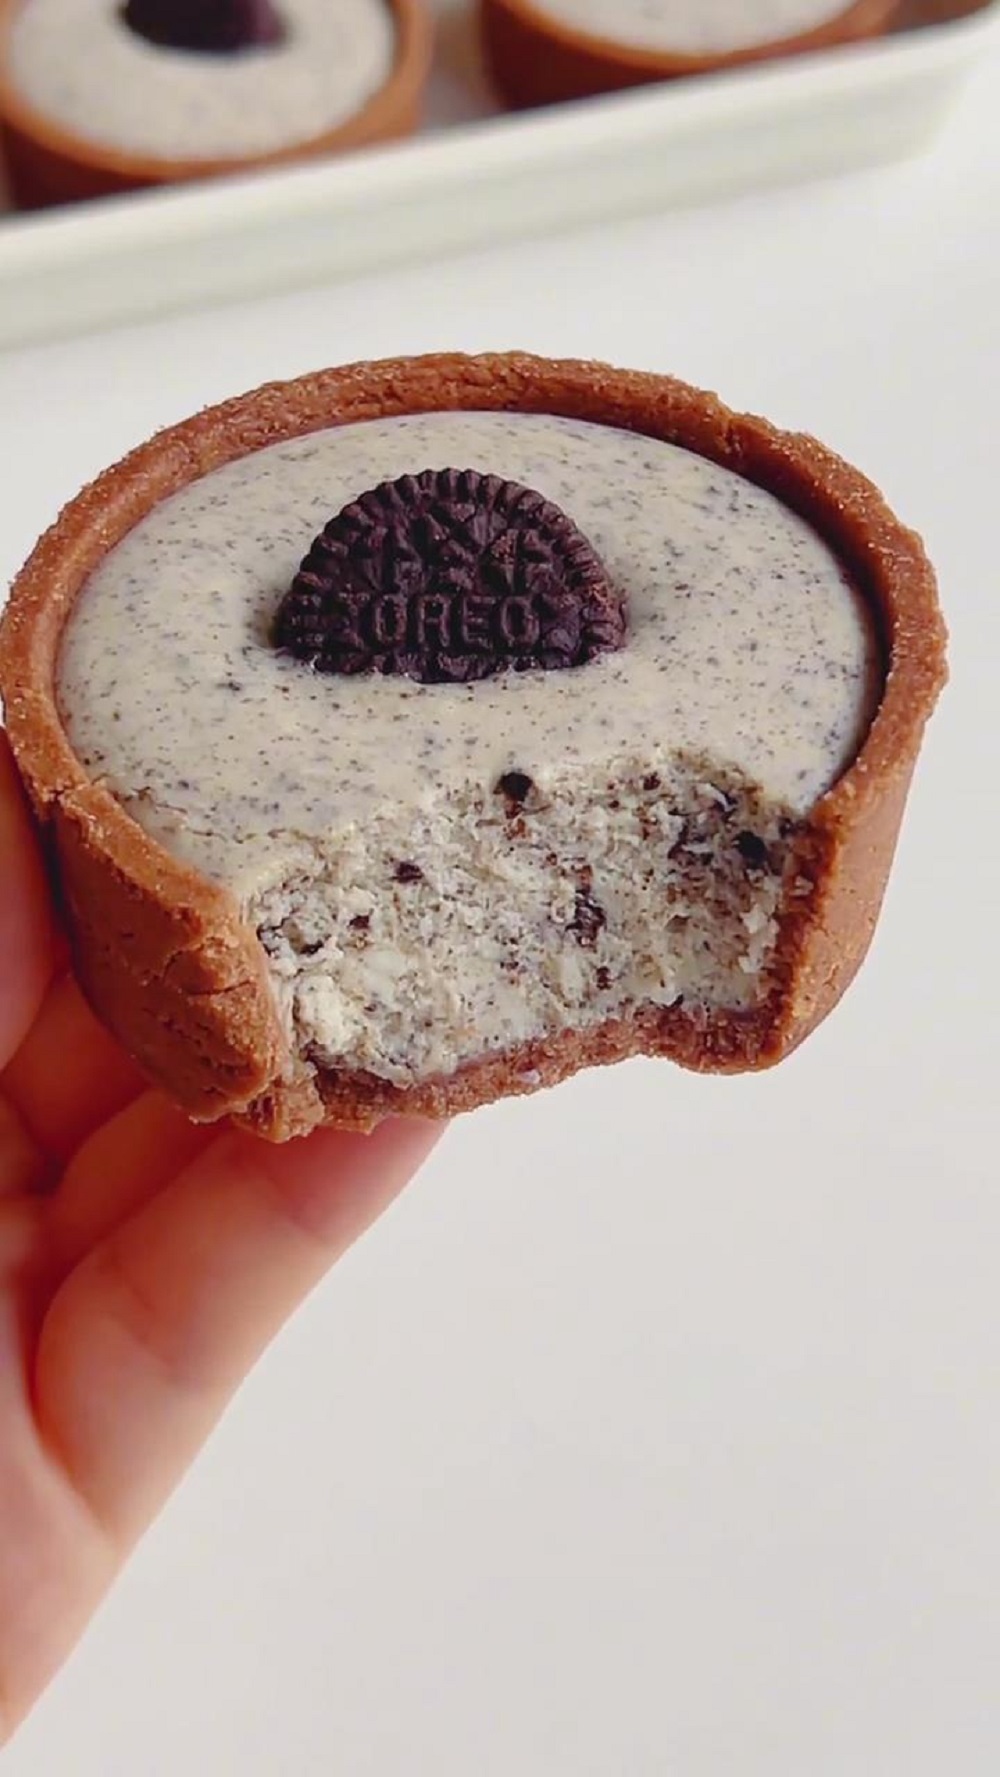
- Layers of flavor and texture from smooth cheese filling, crushed Oreo crumbs, and crispy cocoa tart shells.
- Beginner-friendly — no special skills or tools needed.
- Customizable — add vanilla, use mascarpone, or even add matcha for a fun twist.
- Perfect for gatherings — easy to transport and always a crowd-pleaser.
Ingredients and substitutions
- Chocolate Tart Shells – Using pre-made chocolate tart shells is a fantastic time-saver and provides a professional, crisp base. I always look for a brand that is nice and crispy. If you have more time, you can certainly make your own using a recipe like my German Egg Custard Tarts for a homemade touch.
- Cream Cheese – This is the star of the filling, providing that classic, tangy cheesecake flavor and a rich, creamy texture. It is crucial that it is fully softened at room temperature to ensure a perfectly smooth filling without any lumps.
- Fine Granulated Sugar – This sweetens the filling to balance the tang of the cream cheese. You can adjust the amount easily based on your personal preference or the sweetness of your tart shells.
- Hot Milk – The hot milk is used to dissolve the gelatin smoothly and evenly into the filling. It needs to be hot (but not boiling) to work effectively. While water can be used, milk gives the filling a slightly richer background flavor.
- Gelatin Sheets – I prefer using sheet gelatin for its clean taste and easy dissolution. It must be softened in cold water first. If you can only find powdered gelatin, use an equivalent amount (about 1 teaspoon) and bloom it in a few tablespoons of cold water.
- Whipping Cream – Whipping the cream before folding it in gives the filling a light and airy texture, preventing it from being too dense. Ensure it has a fat content of at least 30% for the best stability and richness.
- Oreo Cookie Crumbs – These are the “Oreo” part of the Oreo cheesecake! Using the cookies without the cream filling provides pure chocolatey crunch. You can crush them to your desired consistency, from fine dust to coarse chunks.
How to Make Oreo Cheesecake Tartlets
1. Prepare the Ingredients
Soak the gelatin sheet in cold water for 5 minutes until fully softened. Squeeze out excess water and set aside.
Soften the cream cheese at room temperature until smooth and easily pressed.
Prepare the crushed Oreo crumbs (without the cream filling).
2. Make the Cheesecake Filling
Add the softened cream cheese and granulated sugar to a mixing bowl. Stir until completely smooth and lump-free.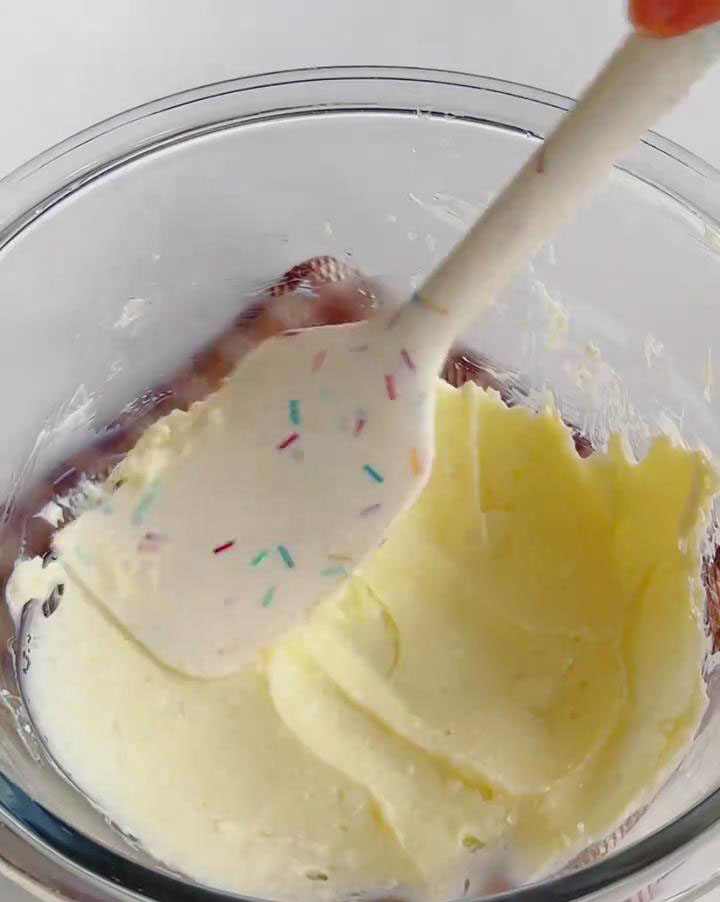
Add the softened gelatin into the hot milk (80–90°C) and stir until fully dissolved. If needed, place the bowl over warm water for 1–2 minutes to help it melt.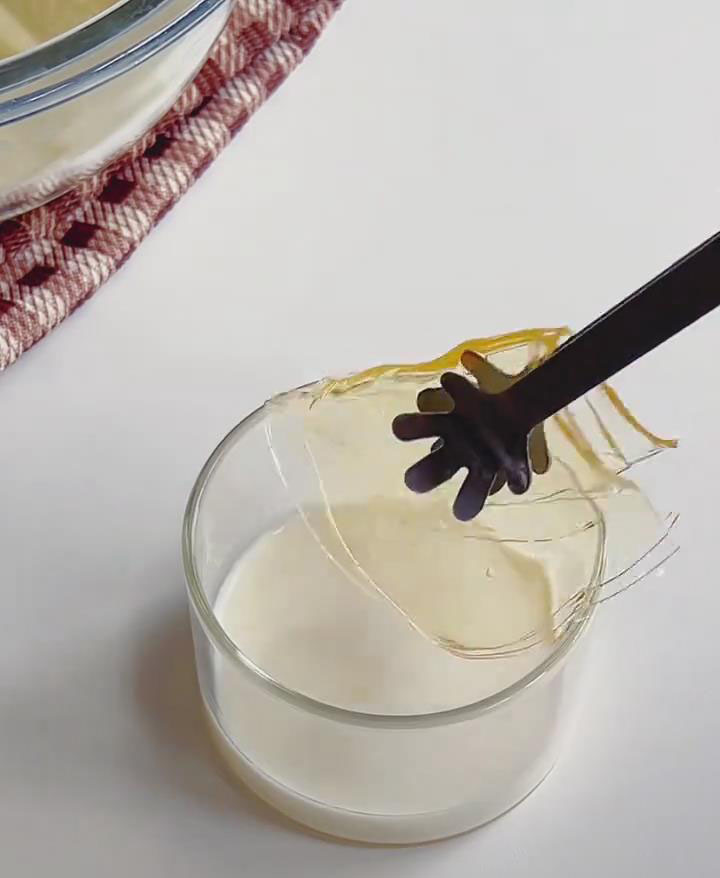
Pour the warm milk–gelatin mixture into the cream cheese and mix until smooth and fully combined.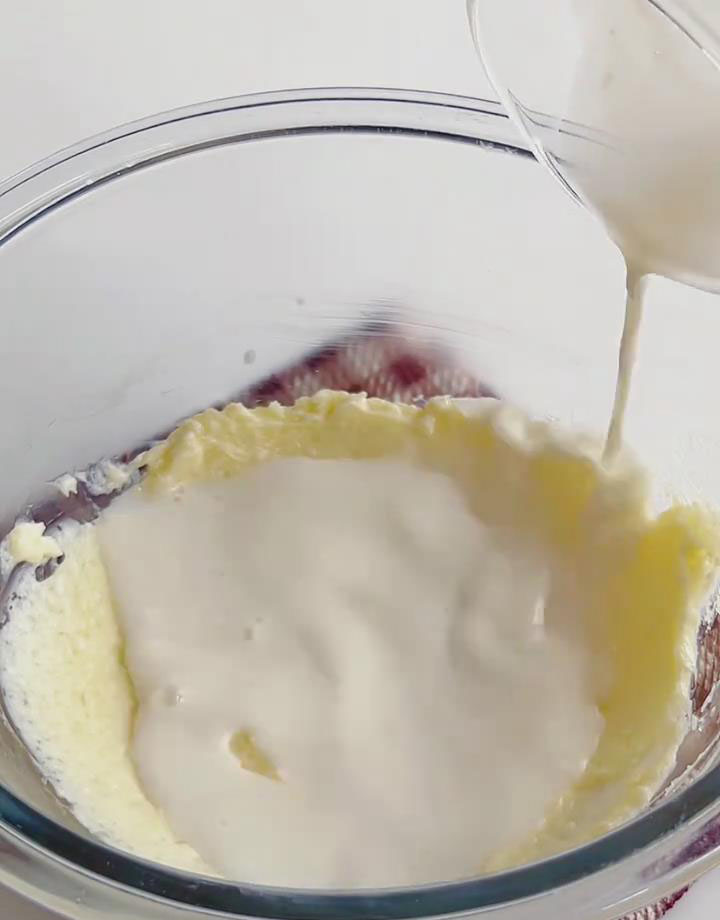
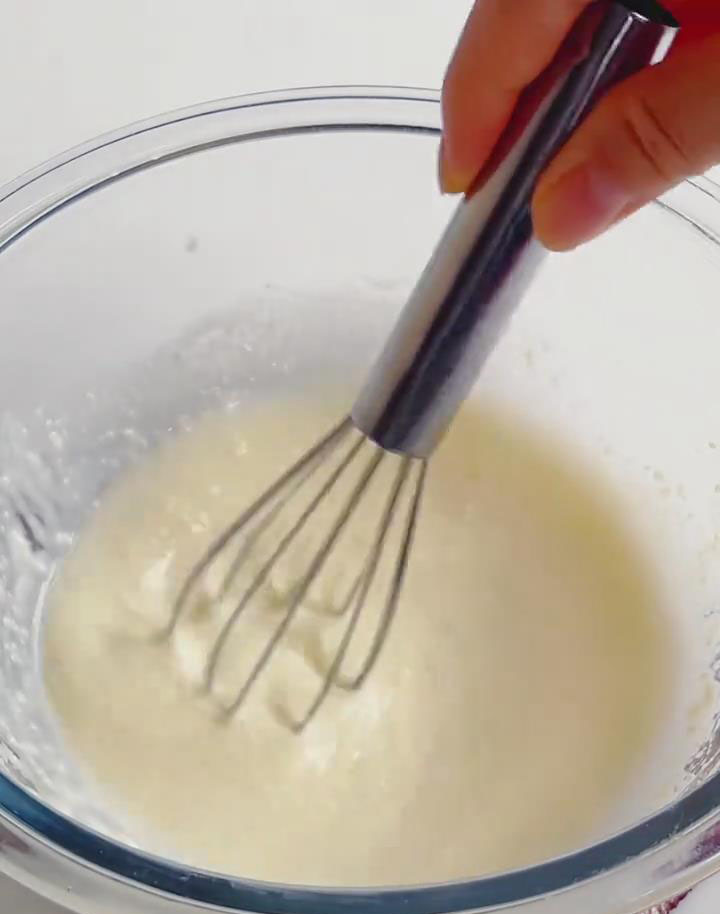 In another bowl, whip the whipping cream until thickened but not stiff.
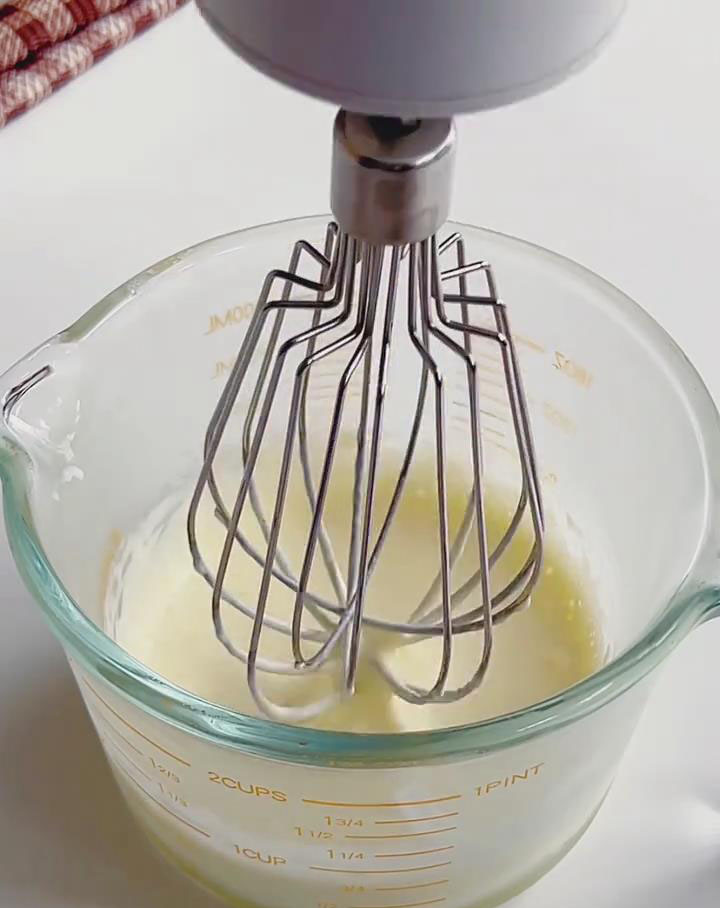
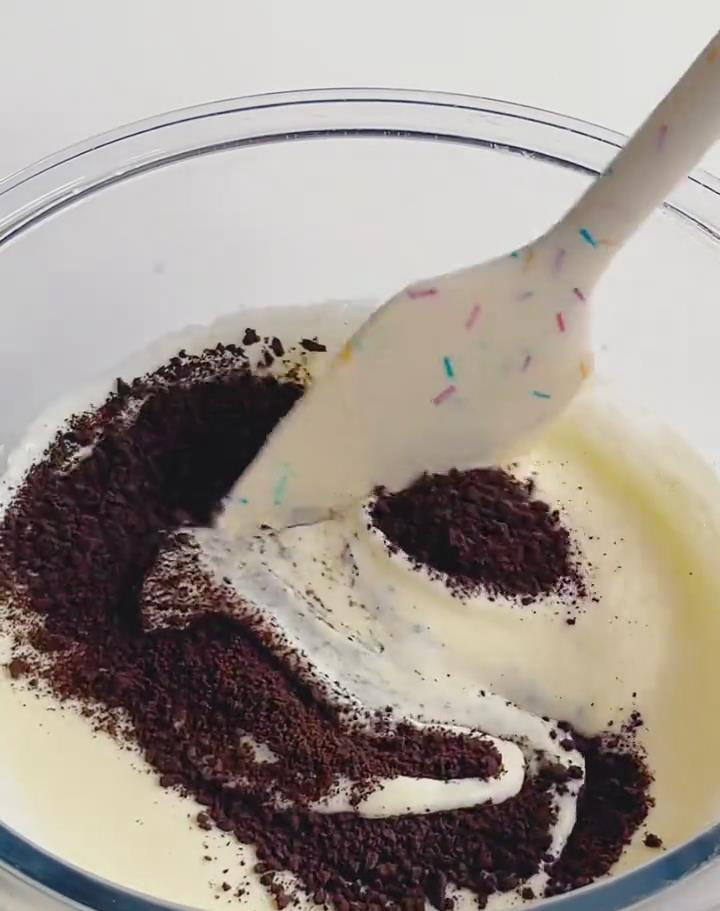
Add the whipped cream to the cheese mixture, whisk to combine, then gently fold in the crushed Oreo crumbs until evenly incorporated.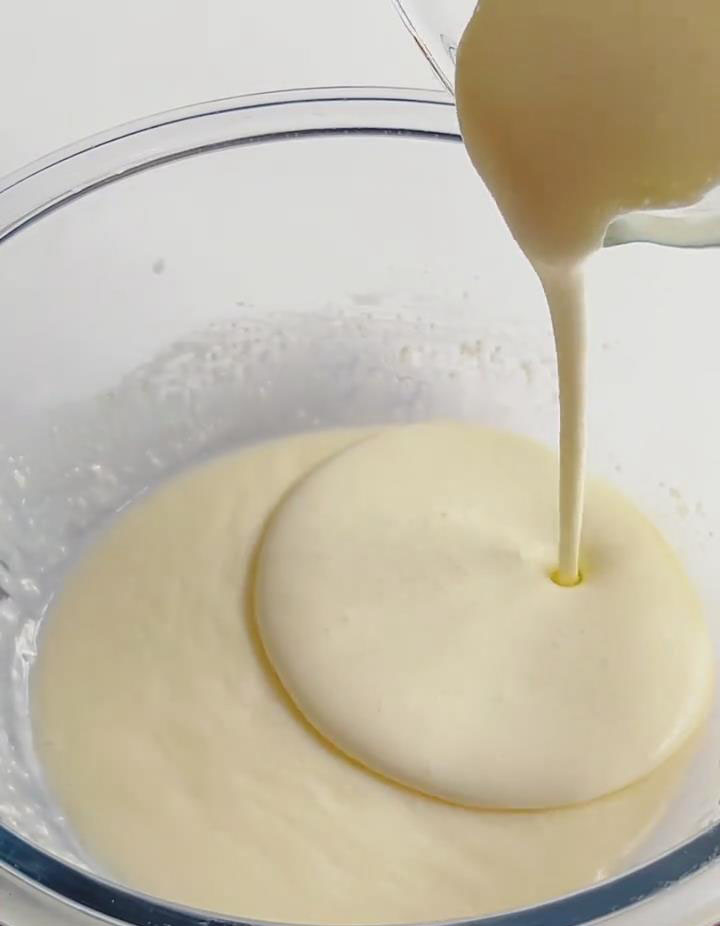
 3. Assemble & Chill
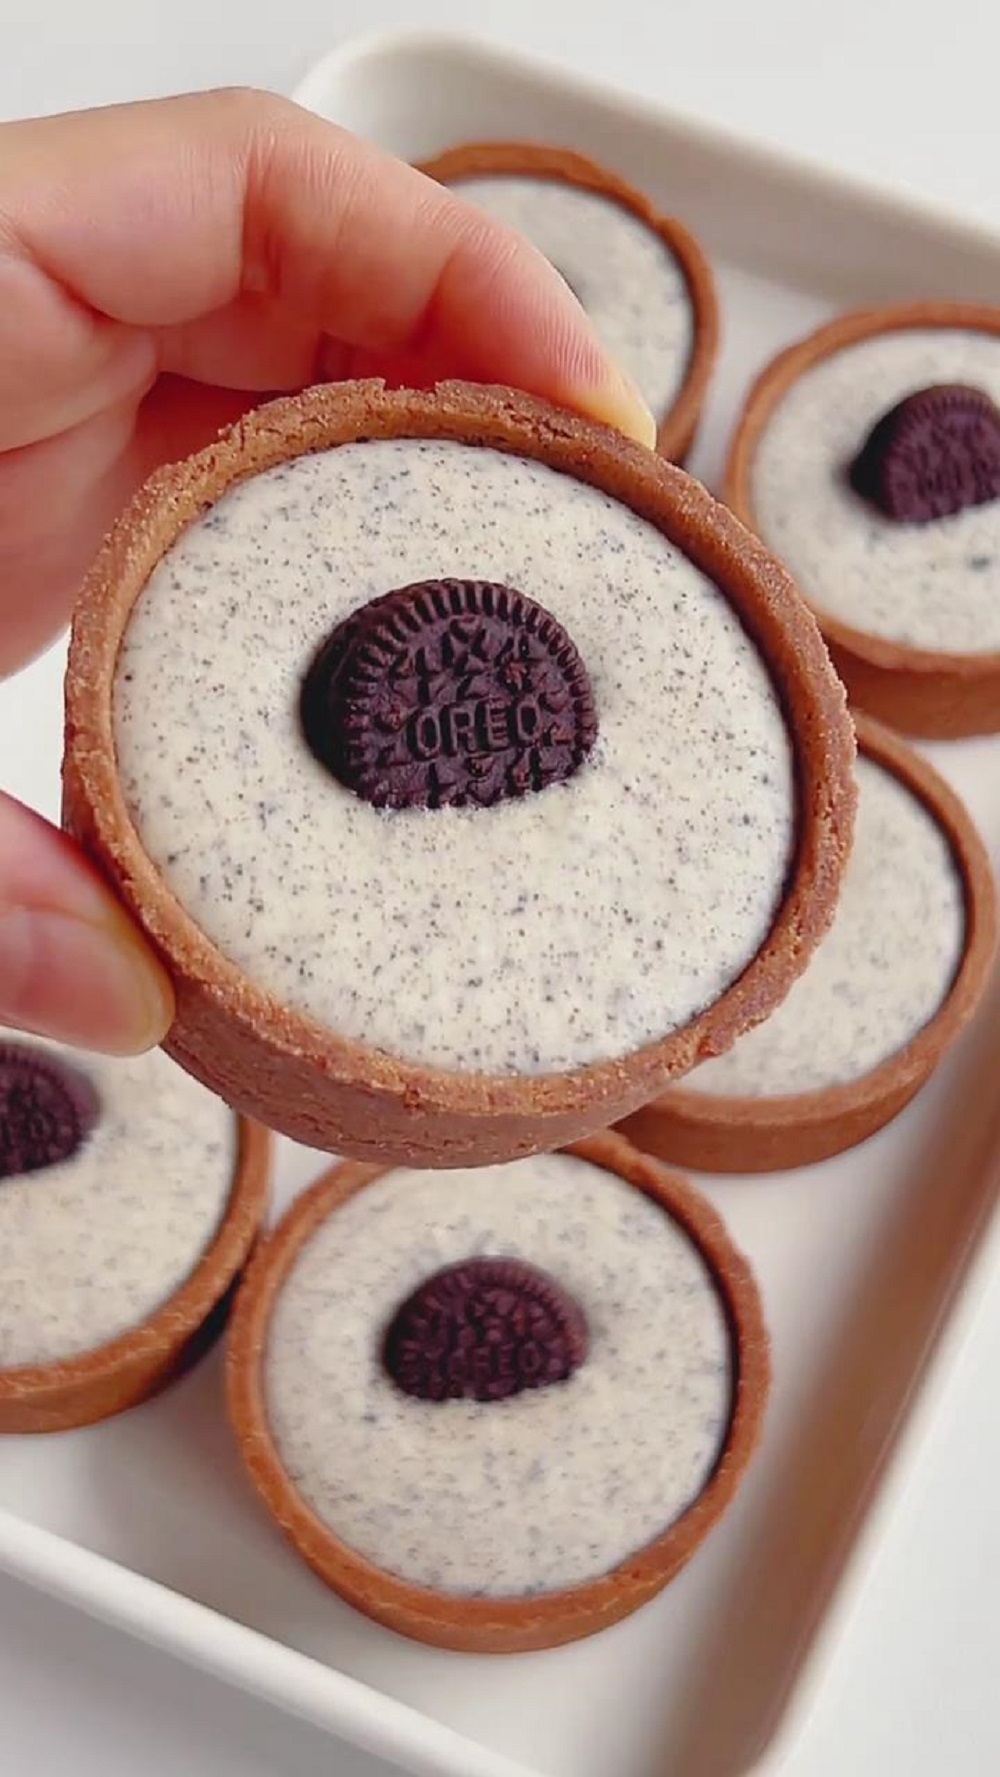
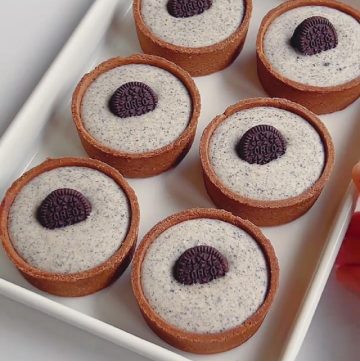
Spoon or pipe the cheesecake filling into the cocoa tart shells, filling them about 90% full.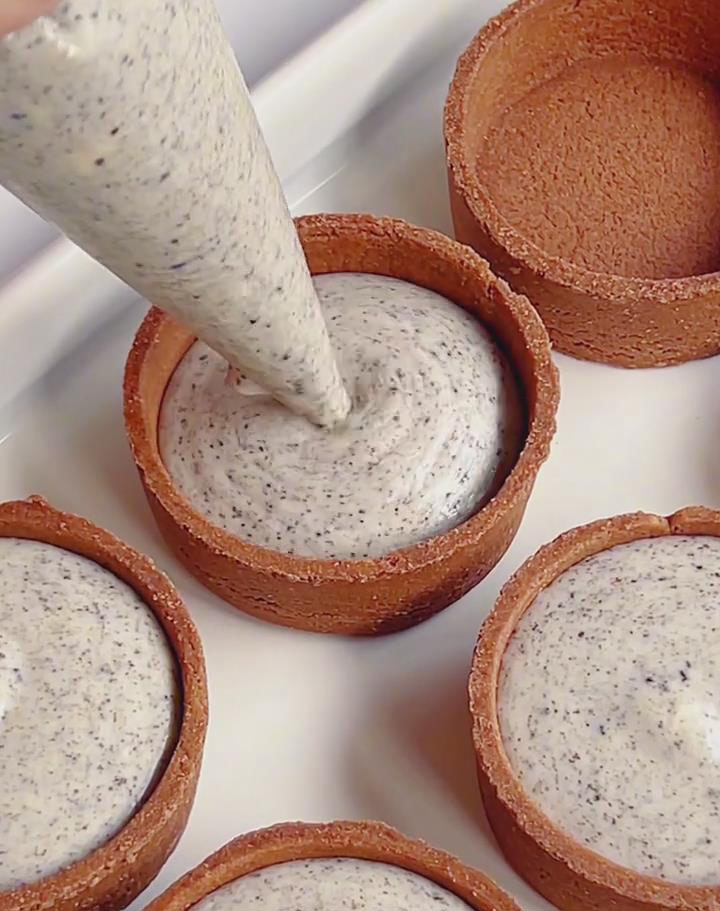
Place one Oreo cookie on top of each tartlet as decoration.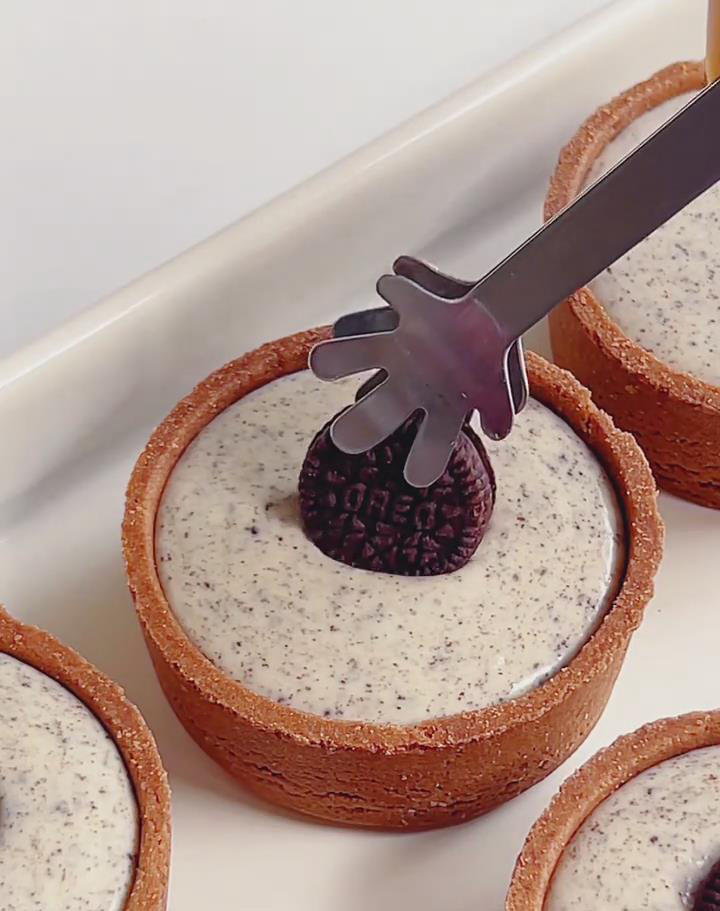
Chill in the refrigerator for 1 hour, or until completely set.
Serve cold and enjoy the creamy, chocolatey goodness!
Storage
These tartlets must be stored in the refrigerator. Keep them in a single layer in an airtight container for up to 3 days. The tart shells may gradually soften the longer they sit. For the best texture, serve them chilled.
Tips & tricks
- Ensure Cream Cheese is Soft: Truly soft cream cheese is non-negotiable for a lump-free, silky filling. Take it out of the fridge at least 1-2 hours beforehand.
- Dissolve Gelatin Completely: Make sure there are no visible specks of gelatin in the milk before adding it to the cream cheese. Incomplete dissolution can lead to a grainy texture.
- Don’t Over-whip the Cream: Whip the cream just until it holds soft peaks. Over-whipping can make it grainy and difficult to fold in smoothly.
- Chill Undisturbed: Allow the full chilling time for the gelatin to set properly. Moving the tartlets around too much can disrupt the setting process.
Frequently asked questions
My filling is still soft after an hour. What’s wrong?
This usually means the gelatin wasn’t fully dissolved or the ratio was off. Ensure you are using the correct weight of gelatin and that it melted completely in the hot milk. Your refrigerator might also be less cold; simply give it more time to set.
Can I use a different type of cookie?
Absolutely! This recipe is very versatile. You could use other sandwich cookies, graham cracker crumbs, or even crushed-up chocolate wafers for a different flavor profile.
Why did my tart shells get soggy?
Sogginess occurs over time as the moisture from the filling seeps into the shell. To minimize this, assemble the tartlets just before serving, or ensure they are stored in a very cold refrigerator and consumed within a day or two.
Oreo Cheesecake Tartlets Everyone Will Love
Ingredients
For the Tart Shells & Filling
- 6 chocolate tart shells
- 90 g cream cheese softened
- 20 g fine granulated sugar
- 50 g hot milk
- 3 g gelatin sheets
- 50 g whipping cream
- 16 g Oreo cookie crumbs
For Decoration
- 6 Oreo cookies
Instructions
Prepare the Ingredients
- Soak the gelatin sheet in cold water for 5 minutes until fully softened. Squeeze out excess water and set aside.
- Soften the cream cheese at room temperature until smooth and easily pressed.
- Prepare the crushed Oreo crumbs (without the cream filling).
Make the Cheesecake Filling
- Add the softened cream cheese and granulated sugar to a mixing bowl. Stir until completely smooth and lump-free.
- Add the softened gelatin into the hot milk (80–90°C) and stir until fully dissolved. If needed, place the bowl over warm water for 1–2 minutes to help it melt.
- Pour the warm milk–gelatin mixture into the cream cheese and mix until smooth and fully combined.
- In another bowl, whip the whipping cream until thickened but not stiff.
- Add the whipped cream to the cheese mixture, whisk to combine, then gently fold in the crushed Oreo crumbs until evenly incorporated.
Assemble & Chill
- Spoon or pipe the cheesecake filling into the cocoa tart shells, filling them about 90% full.
- Place one Oreo cookie on top of each tartlet as decoration.
- Chill in the refrigerator for 1 hour, or until completely set.
- Serve cold and enjoy the creamy, chocolatey goodness!
Leave a Reply