
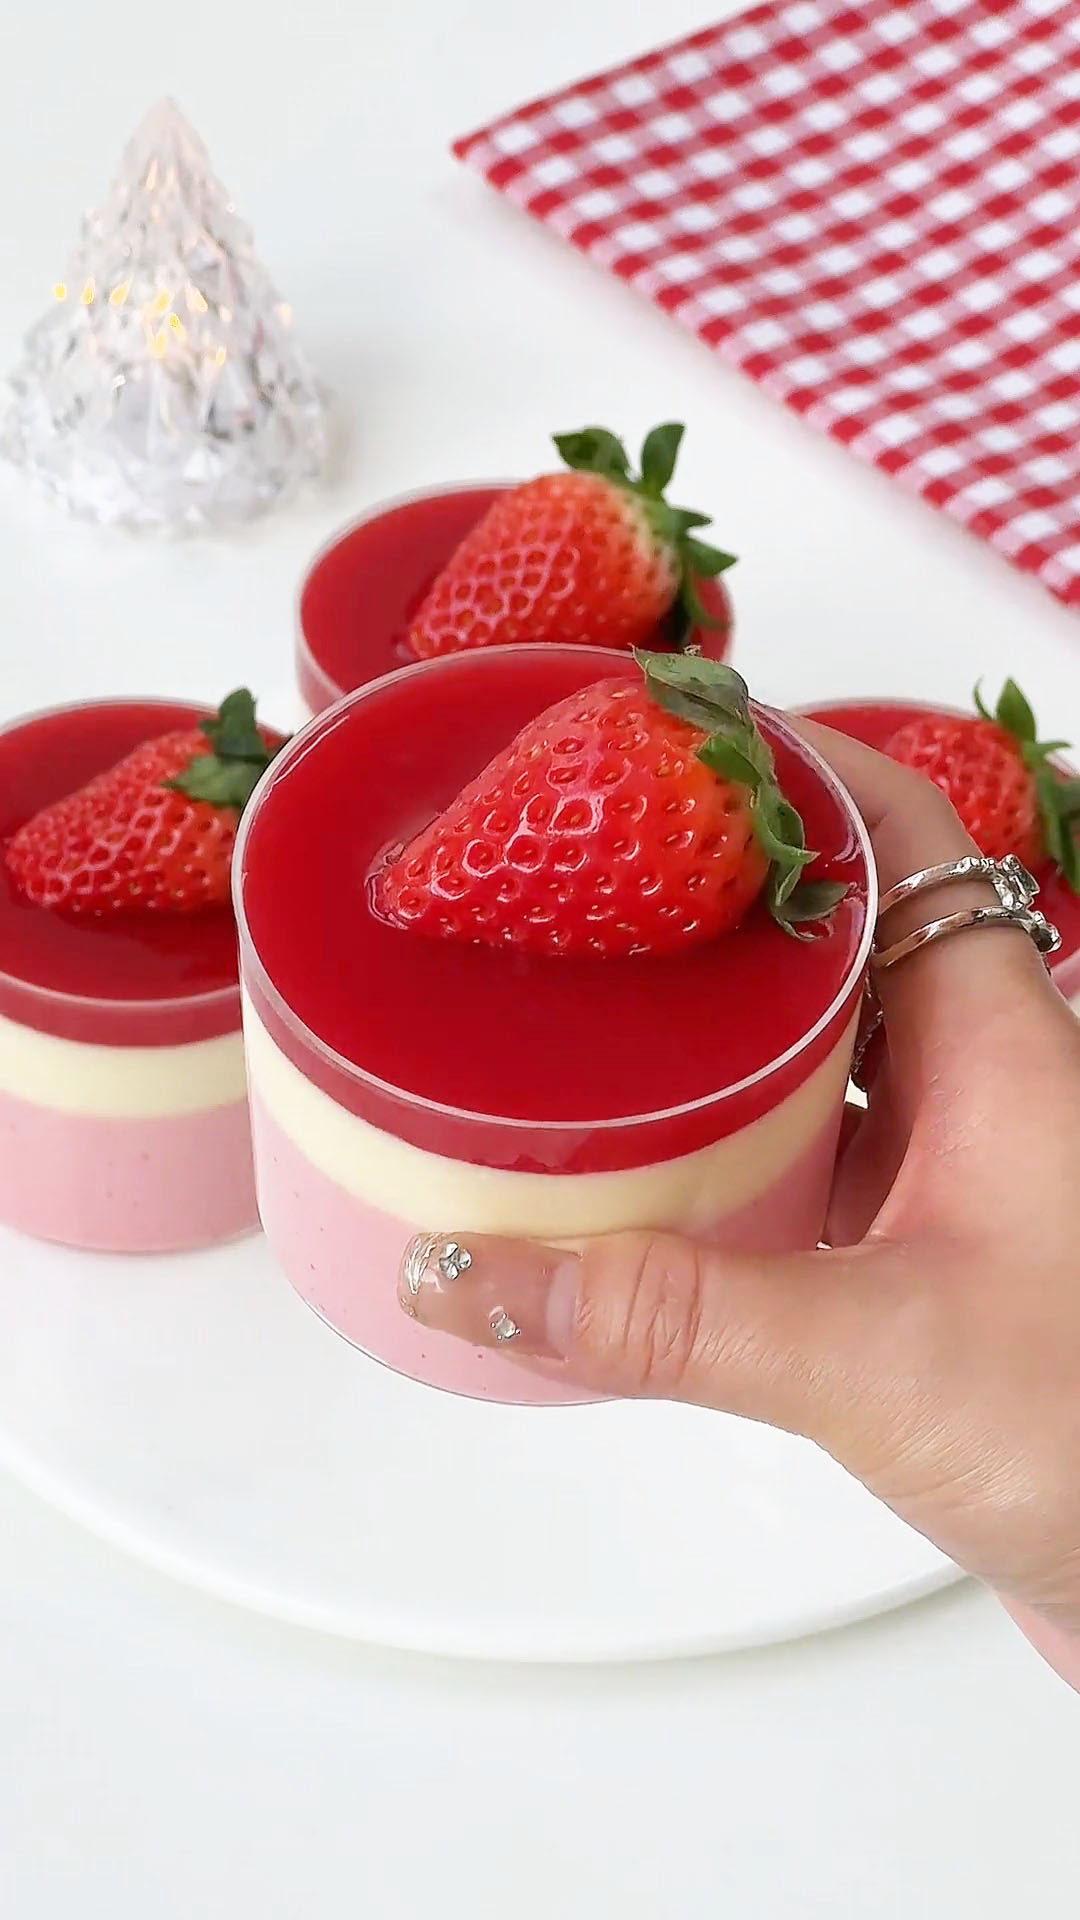
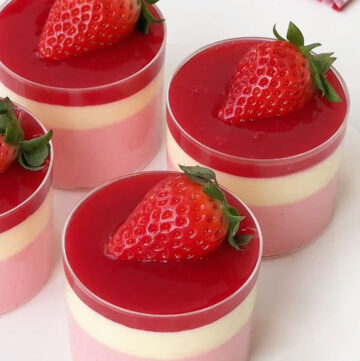
This layered strawberry yogurt mousse is one of those desserts that looks far more impressive than the effort it takes to make. I love how it comes together without an oven — just a few bowls, a whisk, and some patience while it chills.
The soft pink and creamy white layers set beautifully, and every spoonful is light, smooth, and refreshing. It’s the kind of dessert that feels gentle and comforting, perfect for slow afternoons, casual entertaining, or a little treat just for yourself.

Why You’ll Love This Recipe
- Visually Stunning & Fun to Make: The beautiful layering process is satisfying and the final product is incredibly photogenic, perfect for impressing guests or sharing online.
- Incredibly Light & Refreshing: Unlike heavier cheesecakes or mousses, this version uses yogurt and lightly whipped cream for a dessert that feels indulgent yet surprisingly airy and not overly rich.
- Foolproof No-Bake Method: With no oven required and success hinging on simple mixing and chilling, this recipe is very forgiving and perfect for beginner dessert-makers.
- Customizable Sweetness & Flavor: You have full control over the tangy-sweet balance by adjusting the sugar and strawberry sauce to your exact taste.
Ingredients and Substitutions
- Whipping cream – I recommend using dairy whipping cream for the smoothest texture and a clean, light mouthfeel. It whips beautifully and keeps the mousse airy instead of dense.
- Powdered sugar – This helps sweeten the mousse while keeping the texture extra fine and smooth. If needed, fine granulated sugar works as well and can be adjusted to taste.
- Yogurt – Thick plain yogurt is ideal here. I prefer a Greek-style yogurt for its tangy flavour and creamy consistency, which helps the mousse set nicely without feeling heavy.
- Gelatin sheets – These are essential for giving the mousse structure. I always soak them in ice water first so they soften evenly and dissolve smoothly later.
- Milk – Warm milk is used to melt the gelatin gently. Whole milk gives the best flavour, but the key is warming it just enough to dissolve the gelatin, not boiling it.
- Strawberry jam – Choose a thick, rich strawberry jam with a natural fruit flavour. This brings colour, sweetness, and that signature strawberry taste to the mousse layer and topping.
- Fresh strawberries – I recommend ripe, sweet-tart strawberries for decorating. They add freshness and make the finished dessert feel extra special.

How to Make Layered Strawberry Yogurt Mousse Cups
1. Prepare the Gelatin:
Place the gelatin sheets in a shallow bowl of ice water. Let them soften for 5-10 minutes until they become floppy and translucent.
2. Whip the Cream:
In a large mixing bowl, combine the cold whipping cream and powdered sugar. Using an electric mixer with a whisk attachment, whip on medium speed until the cream thickens and reaches soft peaks. It should be billowy and hold a gentle shape but still be slightly fluid—this is crucial for a tender mousse. Set aside.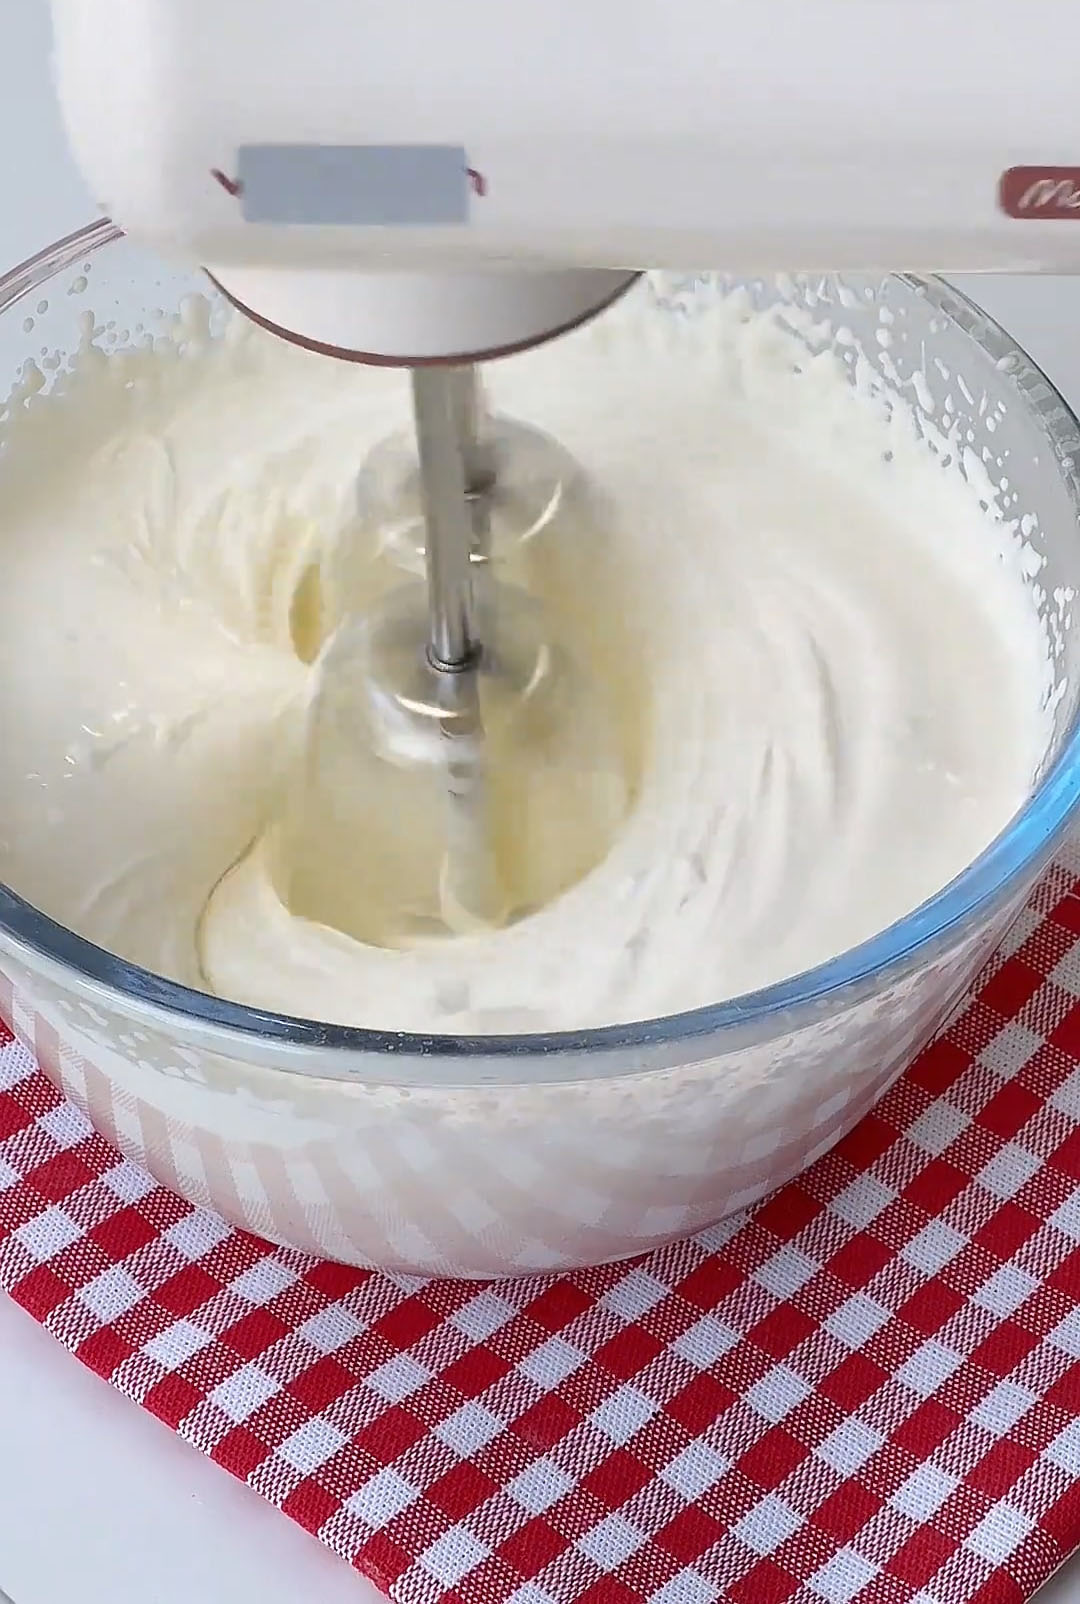
3. Make the Base Mousse Mixture:
Add the yogurt to the whipped cream. Use the electric mixer on low speed to blend them together until just smooth and no streaks remain.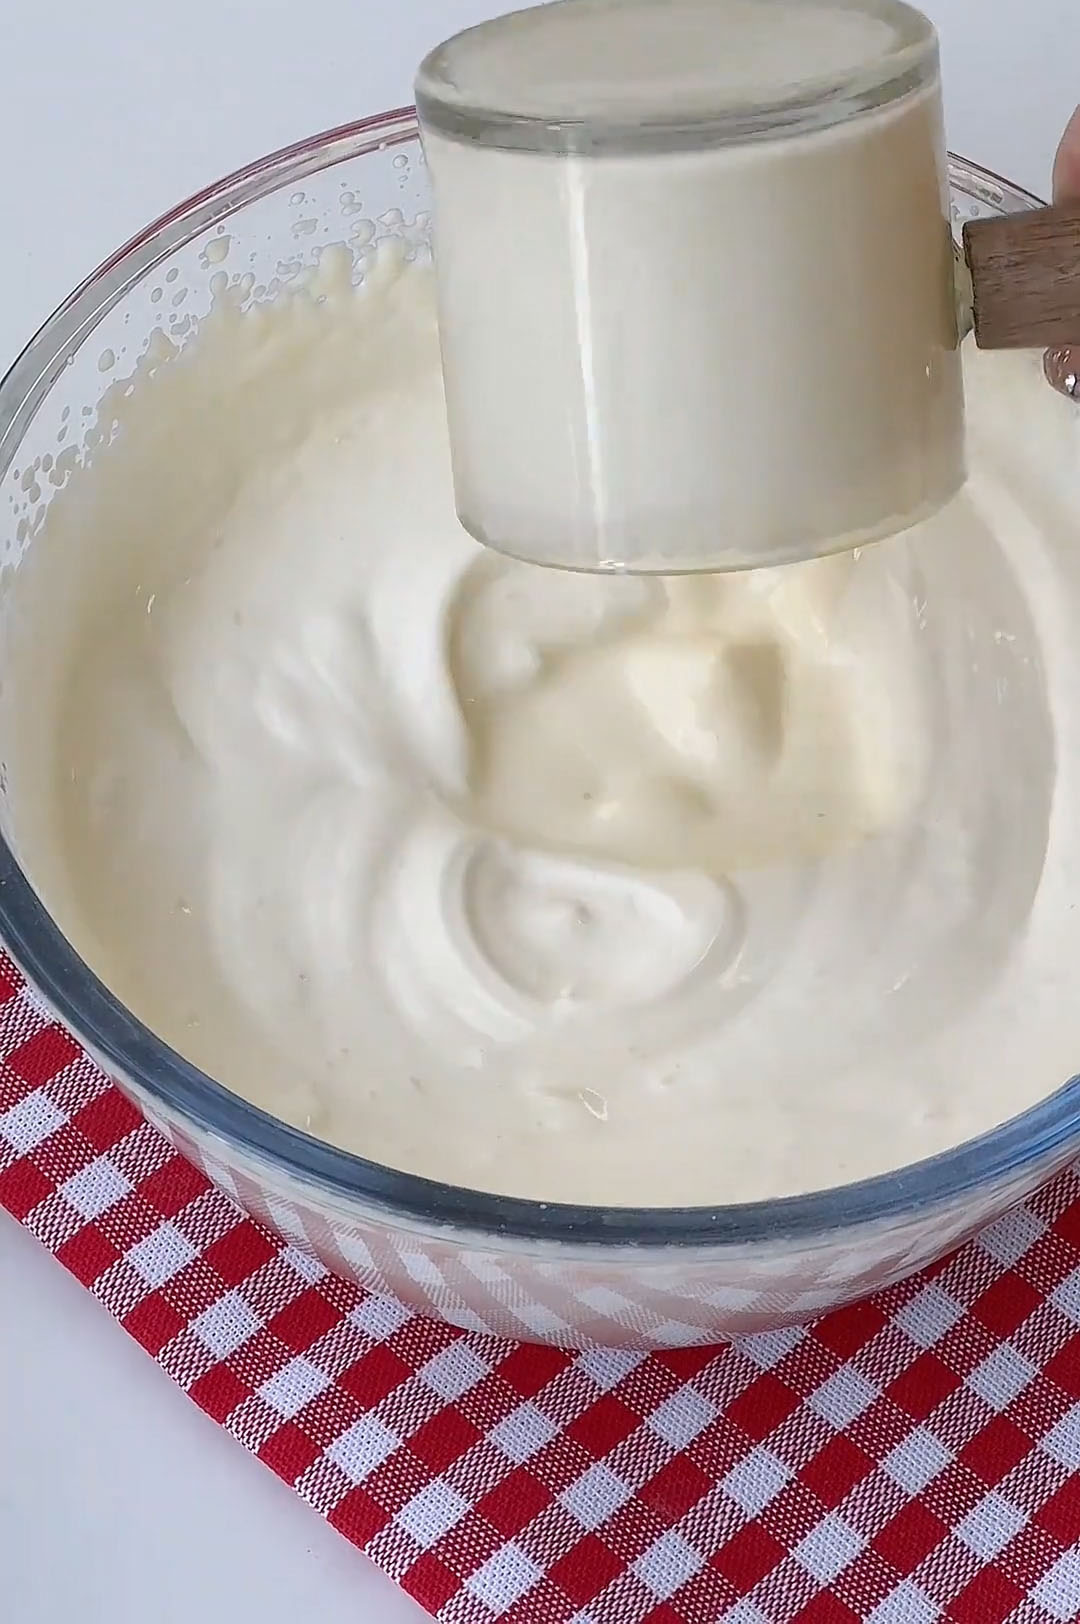
 Squeeze all the water out of the softened gelatin sheets. Place them in a small bowl with the hot milk and stir until the gelatin is completely dissolved and the liquid is clear. Let this mixture cool for a few minutes until it’s no longer hot to the touch (but still liquid).
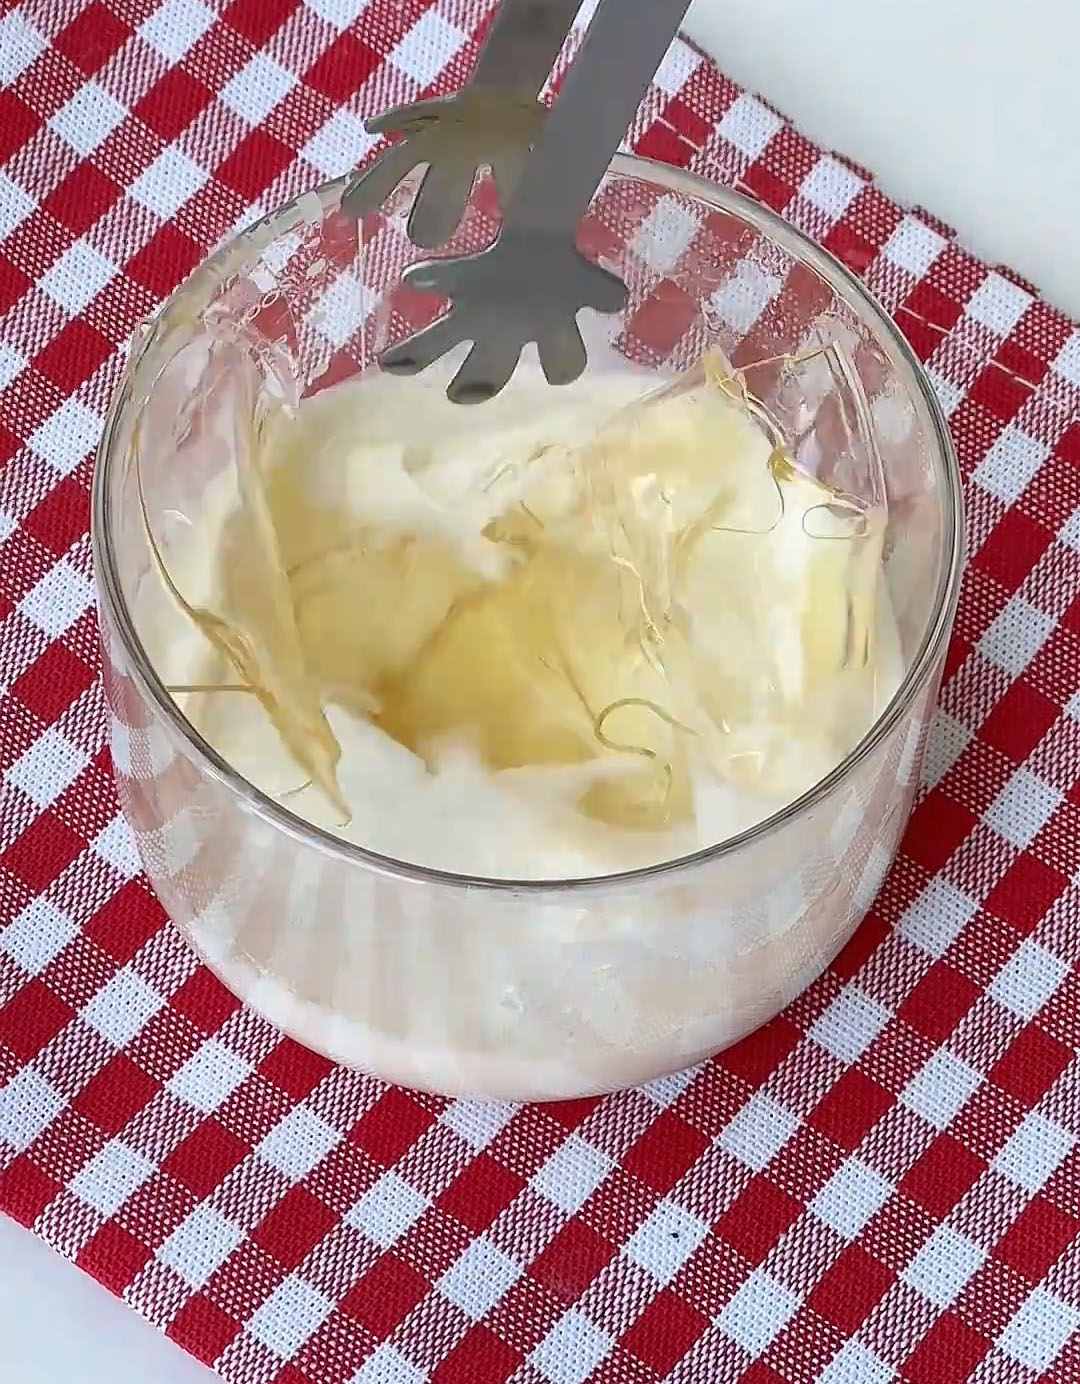
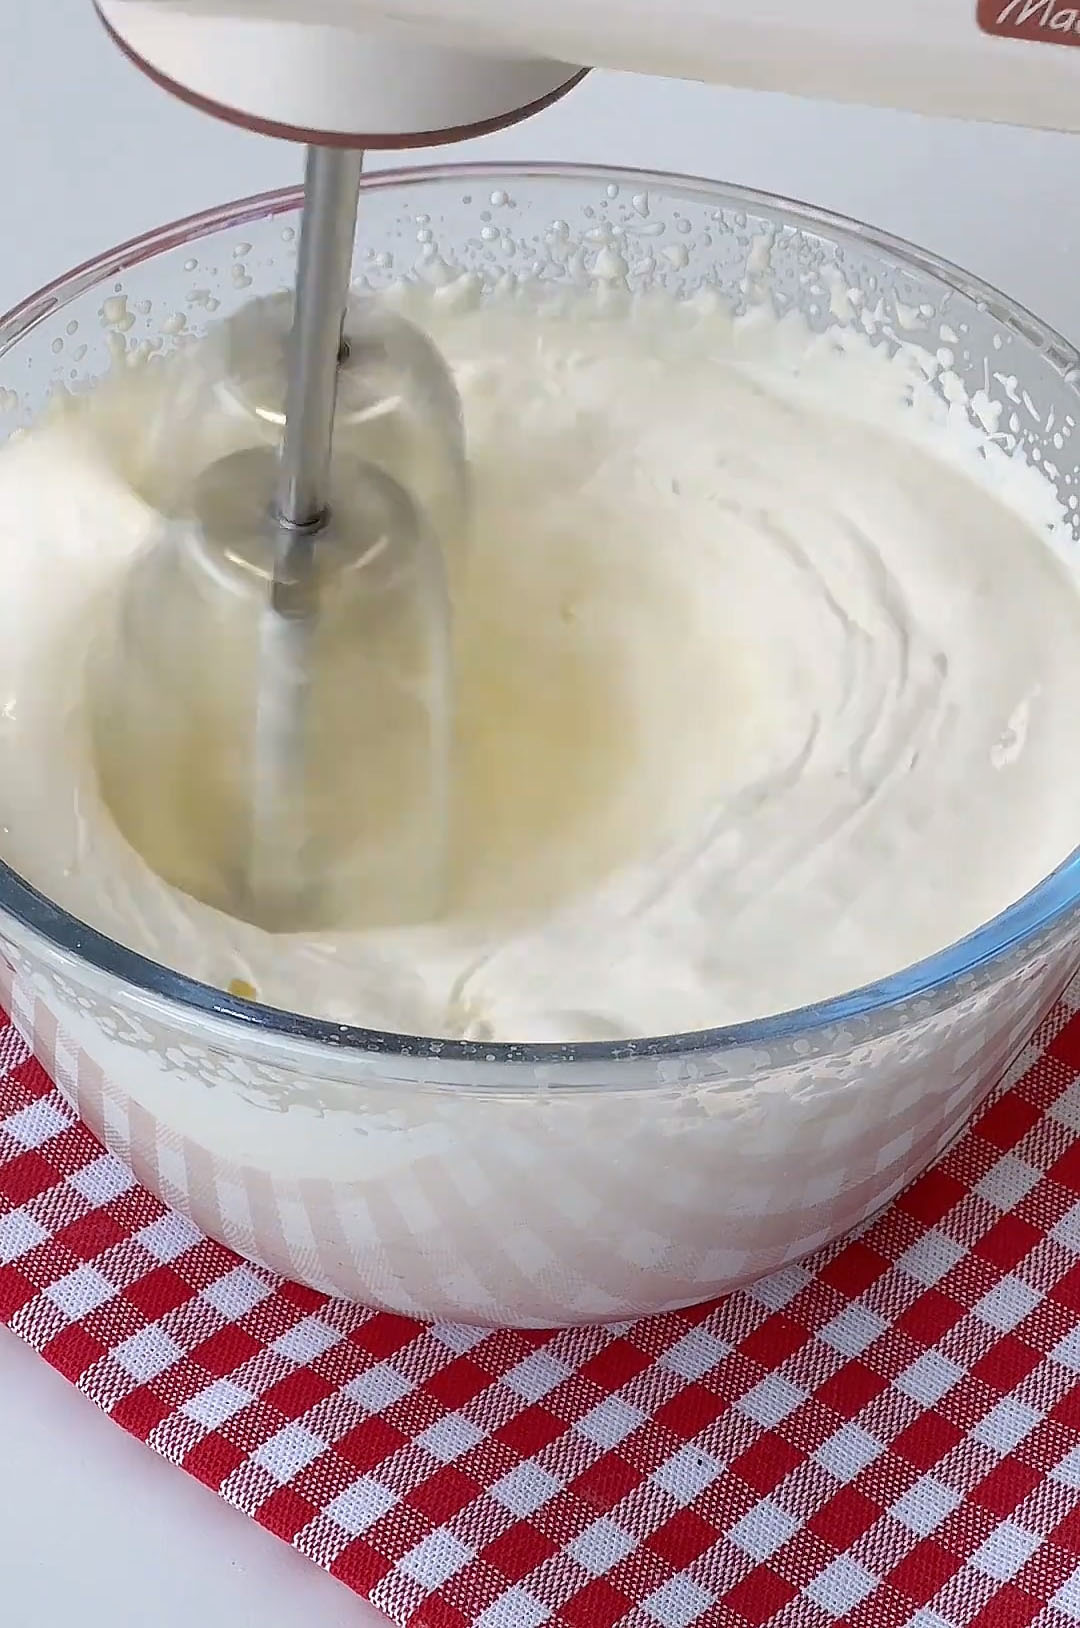
While whisking constantly, slowly drizzle the cooled gelatin-milk mixture into the yogurt-cream mixture. Whisk until it is fully and evenly incorporated. This is your Base Mousse Mixture.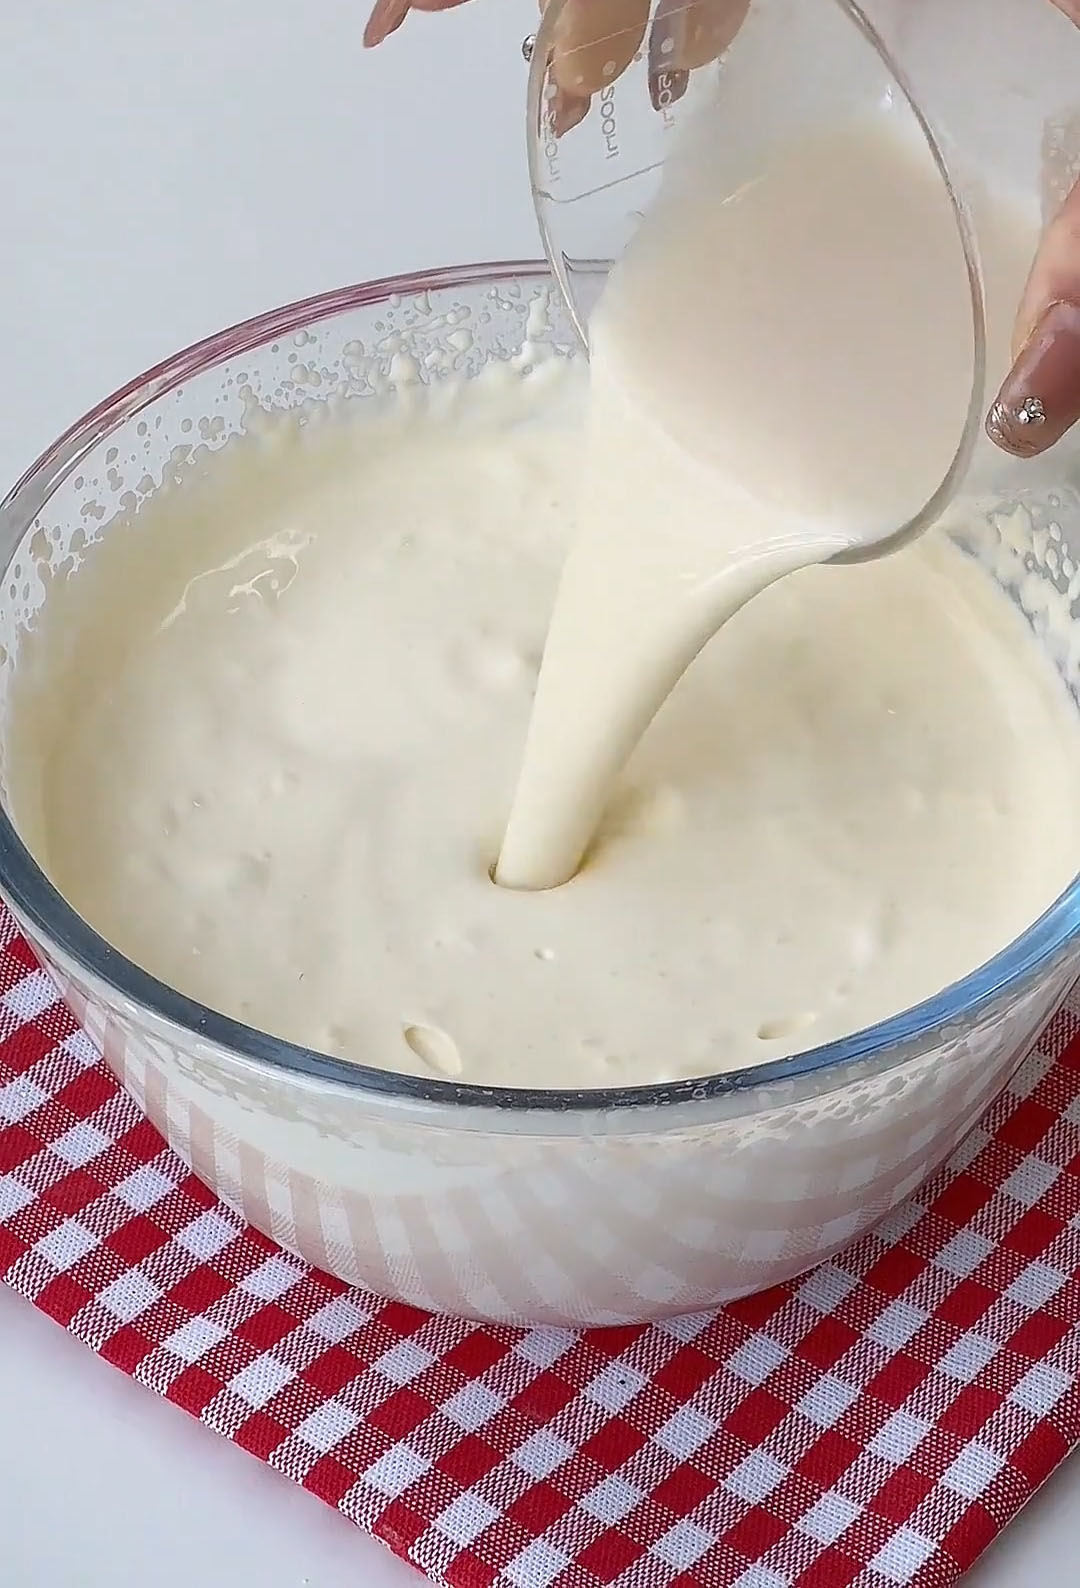
4. Create the Strawberry Layer:
Scoop out 200g of the Base Mousse Mixture into a separate bowl. Add 180g of the strawberry sauce.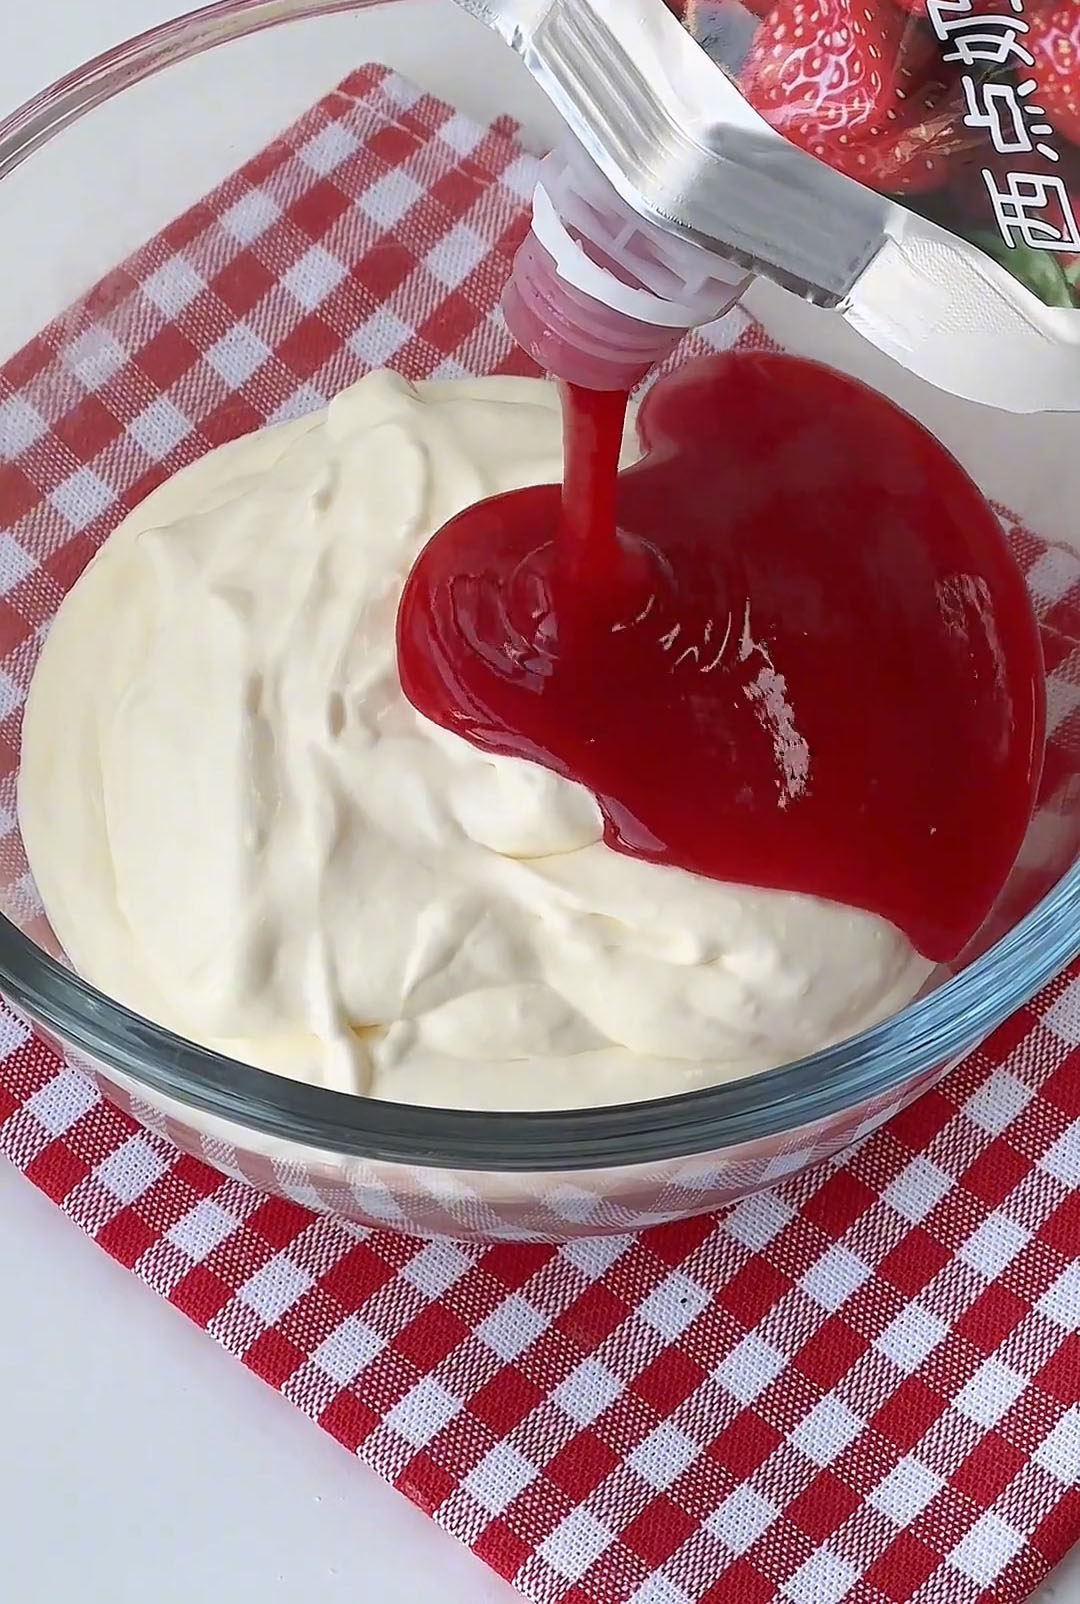
Gently fold or whisk until the strawberry sauce is completely and evenly blended in, creating a vibrant pink Strawberry Mousse Mixture.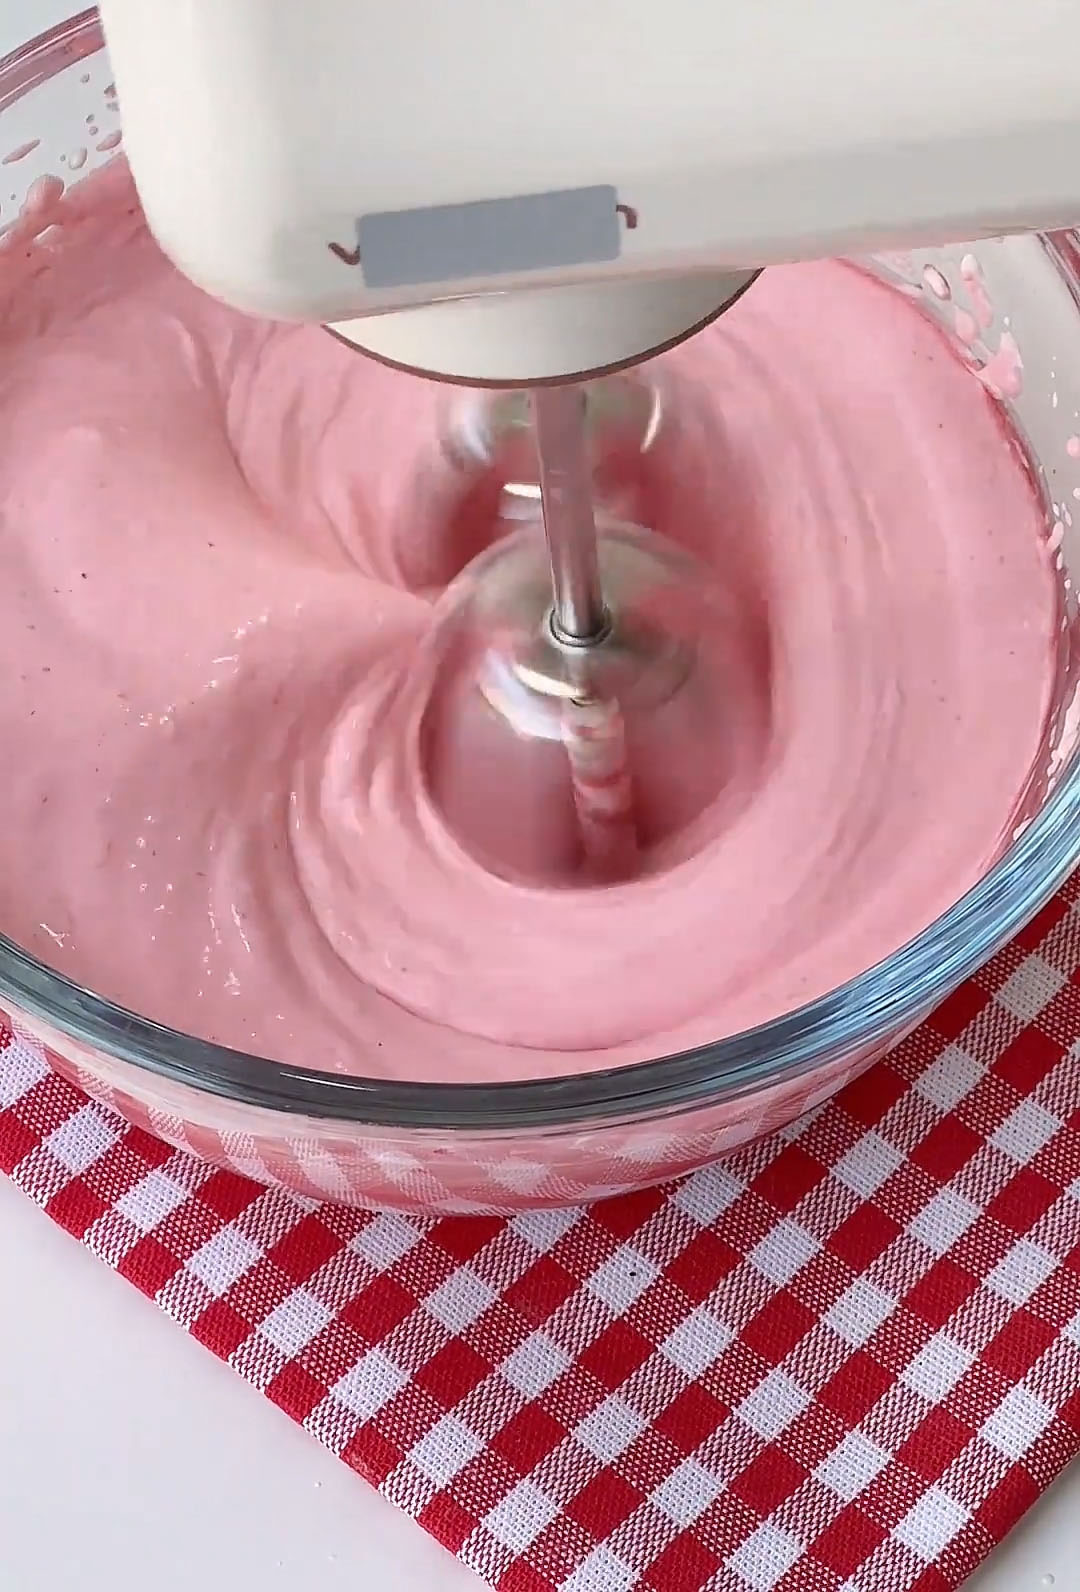
5. Assemble the First Layer:
Divide the Strawberry Mousse Mixture evenly among your serving cups or glasses (about 4-6, depending on size). Gently tap the cups on the counter to level the mixture. Place them in the refrigerator to chill and set for 1 hour, or until the surface is firm to a gentle touch.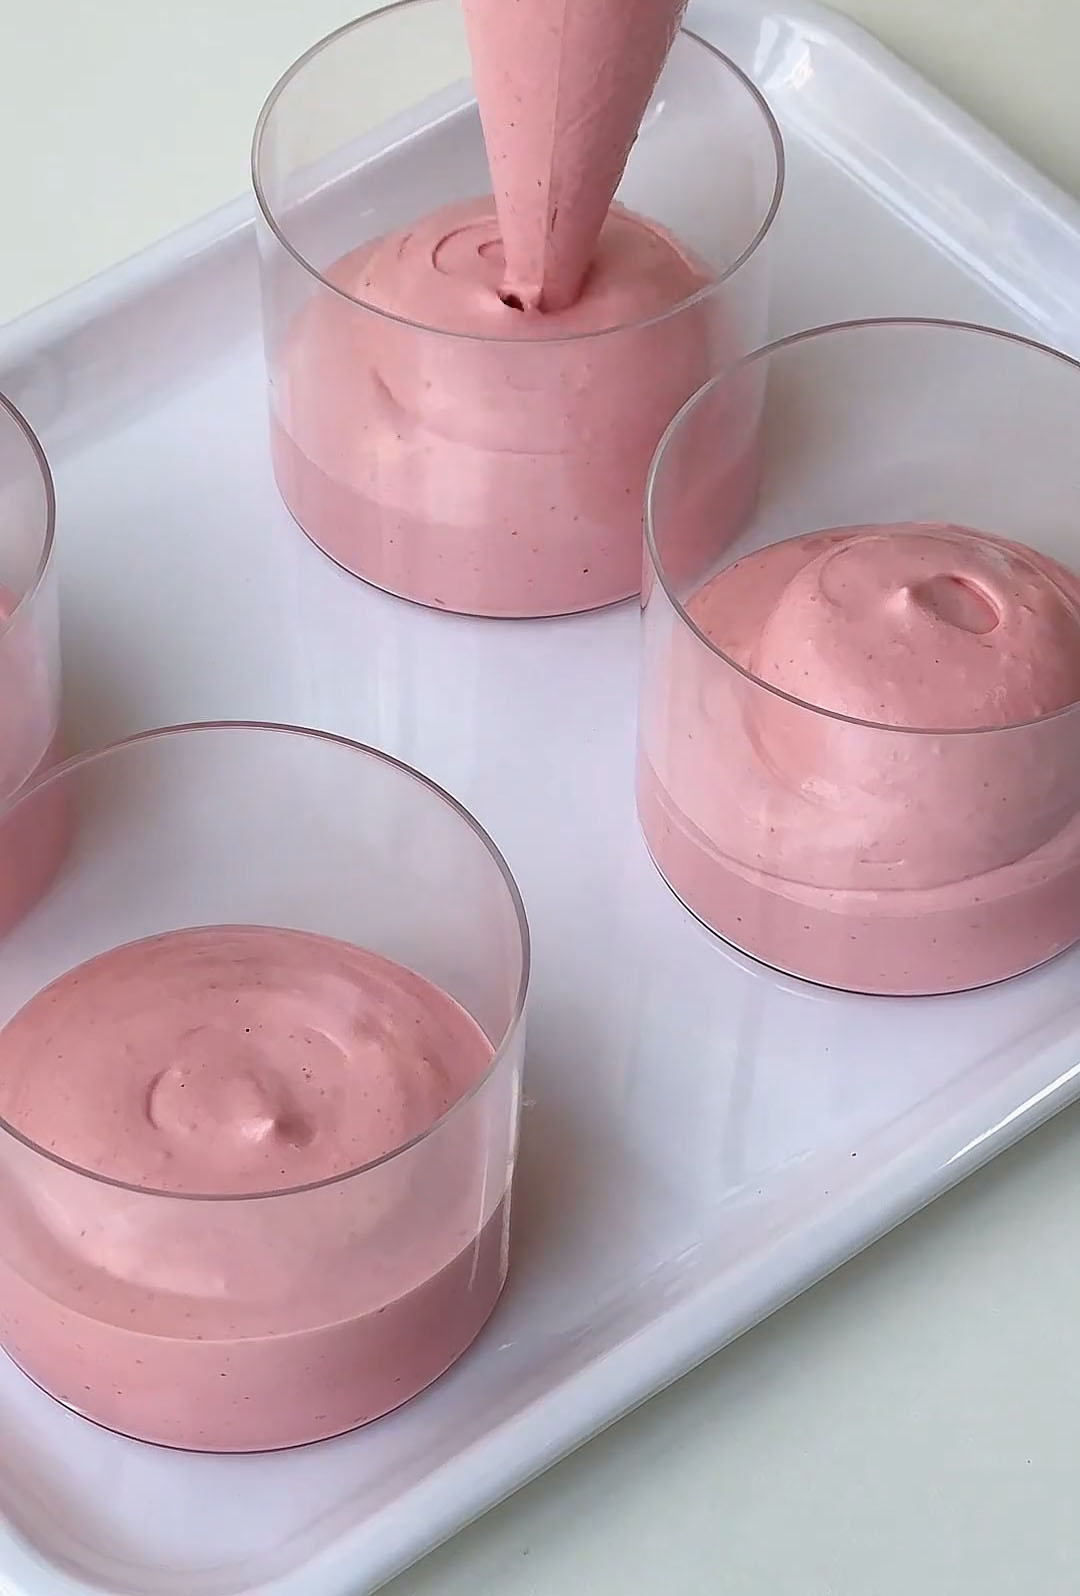
6. Add the Second Layer:
Once the first layer is set, remove the cups from the fridge. Divide the remaining plain Base Mousse Mixture evenly among the cups, gently pouring or spooning it over the pink layer. Return the cups to the refrigerator to set for another 1 hour.
7. Decorate and Final Chill:
After the second layer has set, spoon or drizzle a little extra strawberry sauce over the top of each mousse. Chill for a final 30 minutes to let the topping settle.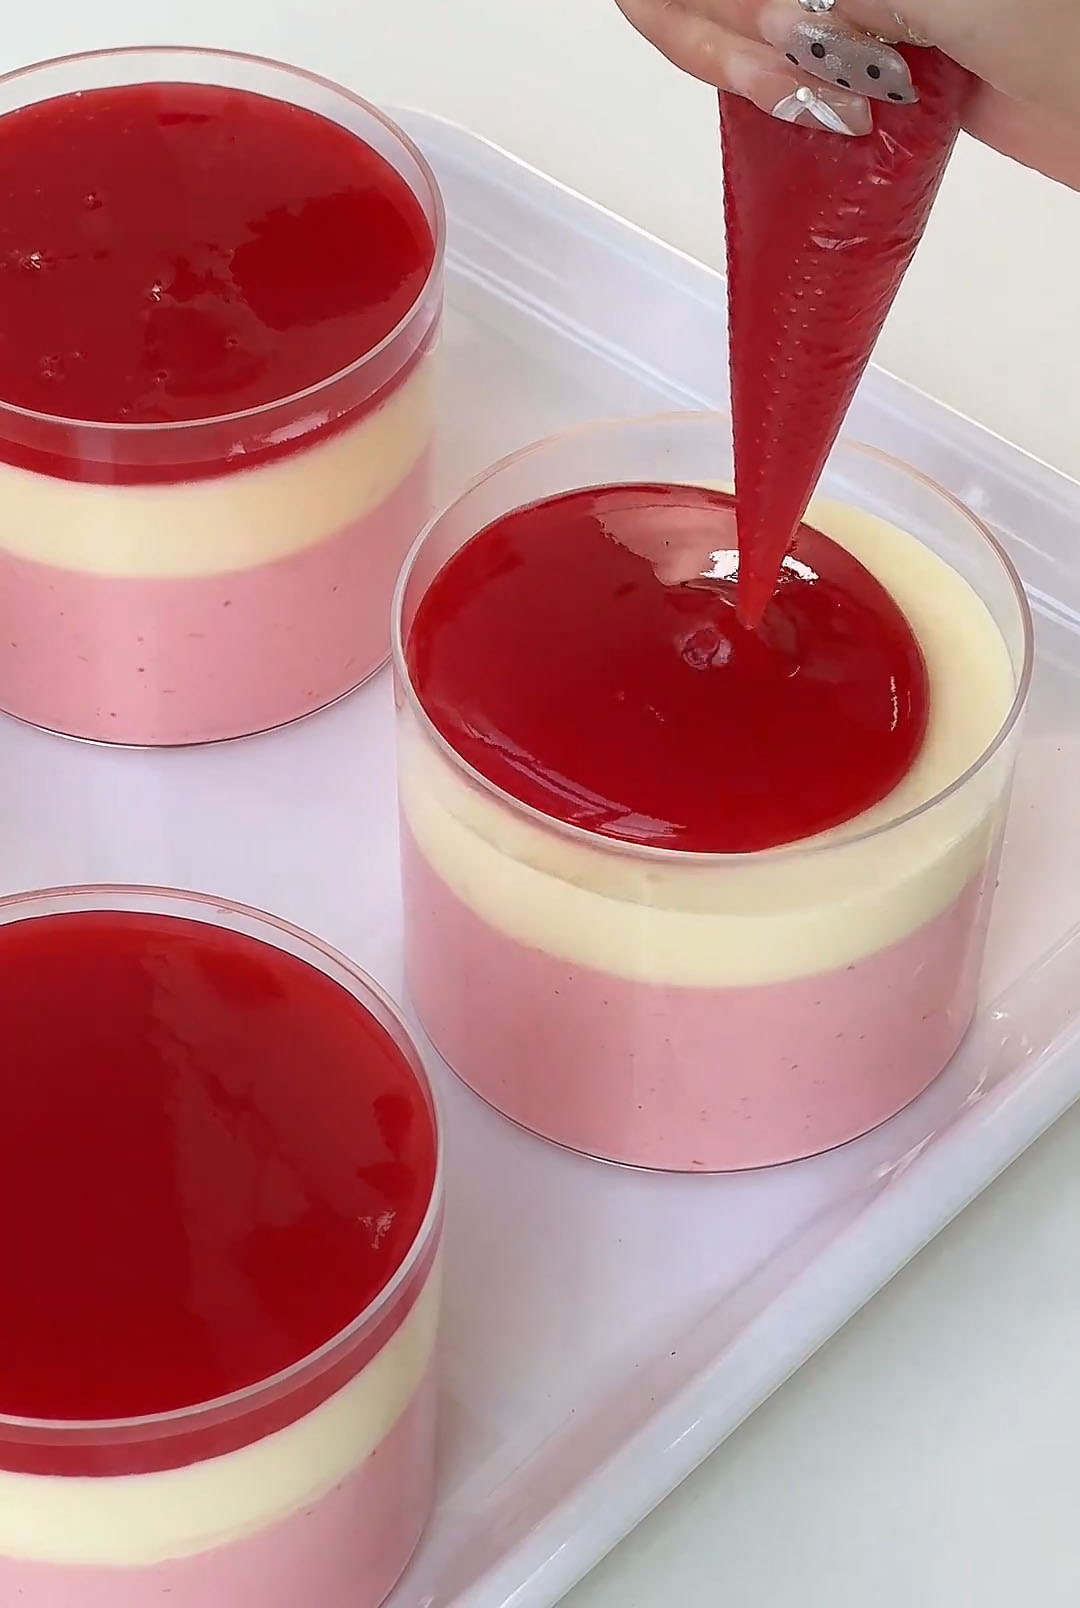
8. Serve:
Just before serving, top each mousse cup with a fresh, whole strawberry. Enjoy immediately!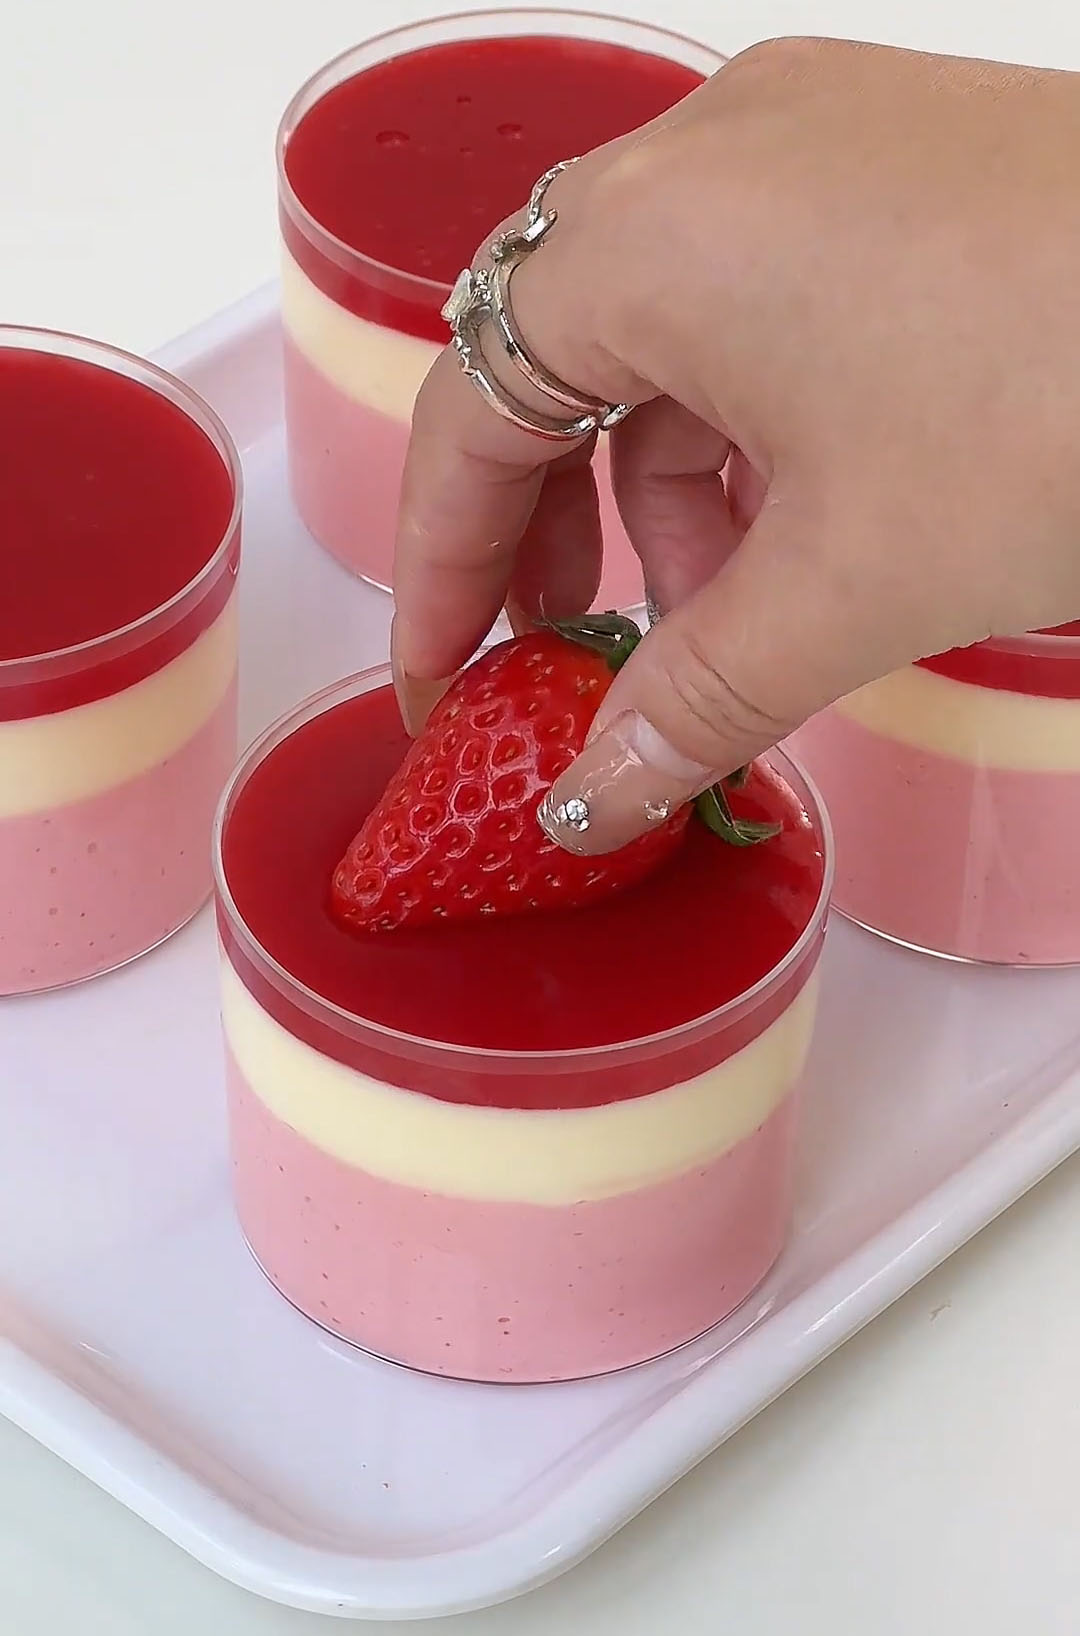
Storage
The assembled mousse cups can be stored, covered, in the refrigerator for up to 3 days. For best texture and appearance, add the final strawberry garnish right before serving.
Tips & Tricks
- Gelatin is Key: Always use ice-cold water to soak gelatin sheets. Adding hot gelatin liquid to the cream mixture will melt the cream and prevent setting. Letting the gelatin-milk cool to room temperature is a non-negotiable step.
- Whip to Soft Peaks Only: Over-whipping the cream will make your mousse dense and heavy, not light and airy. Stop when the cream is thick and lush but still soft.
- Patience with Chilling: Don’t rush the chilling time between layers. Each layer must be completely set before adding the next, or they will bleed into each other and you’ll lose the defined look.
- Easy Layering: If you don’t have a piping bag, use a small measuring cup with a spout or a spoon to gently add each layer. Pouring slowly onto the back of the spoon can help prevent dents in the set layer below.
Frequently Asked Questions
Can I use gelatin powder instead of sheets?
Yes. Use 1 tablespoon (about 7-8g) of unflavored powdered gelatin. Sprinkle it evenly over 60g of cold water in a small bowl. Let it “bloom” for 5 minutes until it looks like wet sand. Then, add the hot milk and stir to dissolve completely. Proceed with the recipe as written.
My mousse didn’t set. What went wrong?
The most common reasons are: 1) The gelatin wasn’t fully dissolved before adding it. 2) The gelatin-milk mixture was still too hot when mixed into the cream, causing the cream to deflate and the gelatin to not distribute properly. 3) The chilling time was insufficient between layers.
Can I make this dairy-free or with different fruit?
For dairy-free, use a well-chilled coconut cream (the solid part from a can) instead of whipping cream, and a dairy-free yogurt. The flavor and texture will vary. This method works beautifully with other thick fruit purees like raspberry, mango, or passionfruit in place of the strawberry sauce.
Layered Strawberry Mousse Cups (Elegant No-Bake Dessert)
Ingredients
Base Mousse Mixture
- 300 g whipping cream cold
- 30 g powdered sugar
- 150 g thick plain yogurt e.g., Greek yogurt
- 10 g gelatin sheets
- 30 g hot milk any fat percentage
Strawberry Layer & Topping
- 180 g thick strawberry sauce or jam
- Extra strawberry sauce for topping
- 4 fresh strawberries for garnish
Instructions
Prepare the Gelatin:
- Place the gelatin sheets in a shallow bowl of ice water. Let them soften for 5-10 minutes until they become floppy and translucent.
Whip the Cream:
- In a large mixing bowl, combine the cold whipping cream and powdered sugar. Using an electric mixer with a whisk attachment, whip on medium speed until the cream thickens and reaches soft peaks. It should be billowy and hold a gentle shape but still be slightly fluid—this is crucial for a tender mousse. Set aside.
Make the Base Mousse Mixture:
- Add the yogurt to the whipped cream. Use the electric mixer on low speed to blend them together until just smooth and no streaks remain.
- Squeeze all the water out of the softened gelatin sheets. Place them in a small bowl with the hot milk and stir until the gelatin is completely dissolved and the liquid is clear. Let this mixture cool for a few minutes until it's no longer hot to the touch (but still liquid).
- While whisking constantly, slowly drizzle the cooled gelatin-milk mixture into the yogurt-cream mixture. Whisk until it is fully and evenly incorporated. This is your Base Mousse Mixture.
Create the Strawberry Layer:
- Scoop out 200g of the Base Mousse Mixture into a separate bowl. Add 180g of the strawberry sauce.
- Gently fold or whisk until the strawberry sauce is completely and evenly blended in, creating a vibrant pink Strawberry Mousse Mixture.
Assemble the First Layer:
- Divide the Strawberry Mousse Mixture evenly among your serving cups or glasses (about 4-6, depending on size). Gently tap the cups on the counter to level the mixture. Place them in the refrigerator to chill and set for 1 hour, or until the surface is firm to a gentle touch.
Add the Second Layer:
- Once the first layer is set, remove the cups from the fridge. Divide the remaining plain Base Mousse Mixture evenly among the cups, gently pouring or spooning it over the pink layer. Return the cups to the refrigerator to set for another 1 hour.
Decorate and Final Chill:
- After the second layer has set, spoon or drizzle a little extra strawberry sauce over the top of each mousse. Chill for a final 30 minutes to let the topping settle.
Serve:
- Just before serving, top each mousse cup with a fresh, whole strawberry. Enjoy immediately!
Leave a Reply